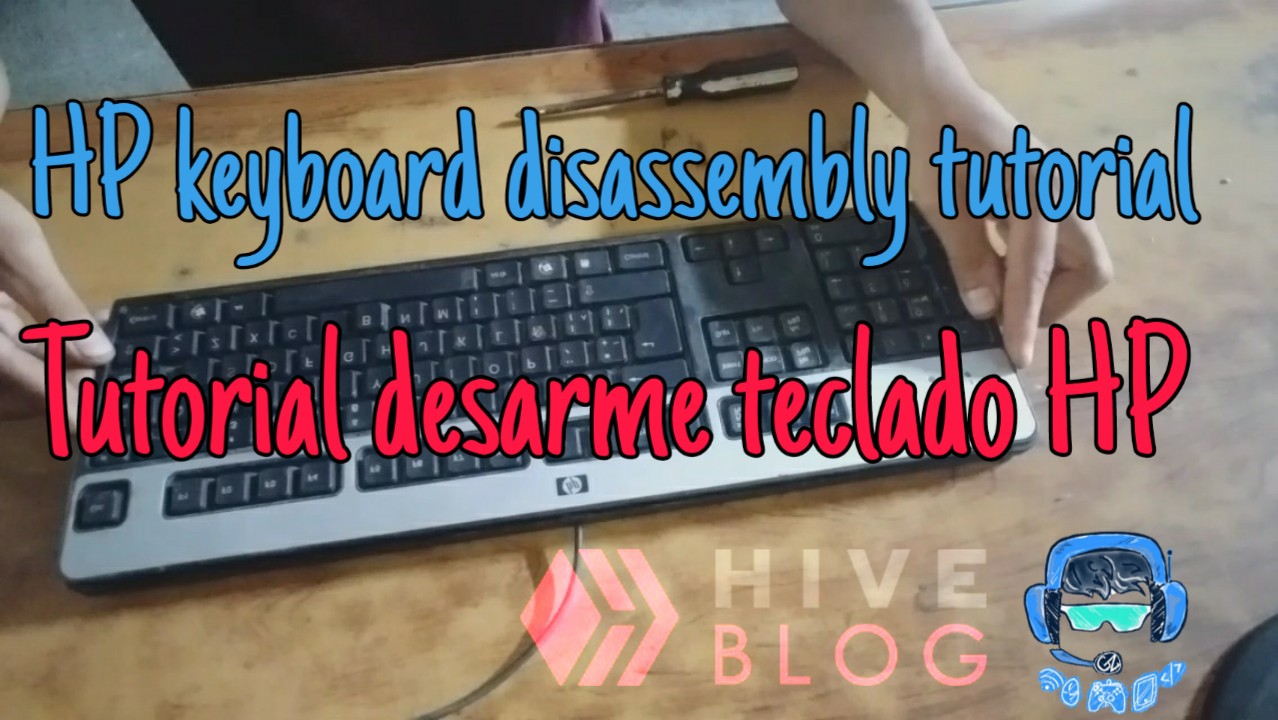
hp keyboard disassembly tutorial [Eng/Esp]
5
About :
content sources
.deepl translation
gift:
facebook logo
instagram logo
logo beehive
logo zone of the week
Spanish

Hello dear friends, how are you, I'm Daniel, I hope everyone is well and I hope you can enjoy everything in your next December. For today I want to bring you some very interesting content.
My home computer not long ago got wet, I explained it a while ago in a post about a month ago, with the rains that have happened lately in Venezuela, almost all my work team for hive has gotten wet and It has almost been damaged, but thank God who has given me knowledge for these repairs and I have managed to check the faults and repair them.
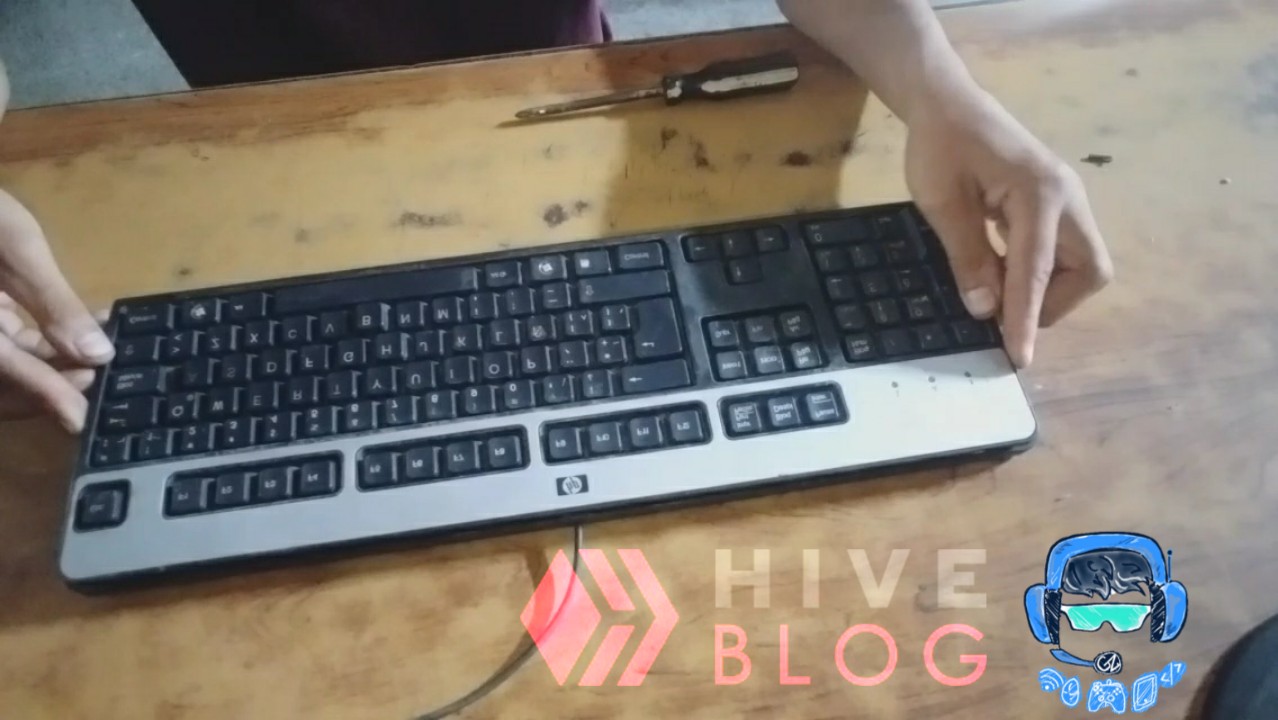
Here I am going to show you the keyboard of my computer. I had never disassembled it, but at this moment I had to see it disassembled because when I arrived and saw it after the rain it was wet on top. So the safest thing is that water had fallen inside its connections, that is, I had to check it without thinking about it and that's what it looks like on the inside.
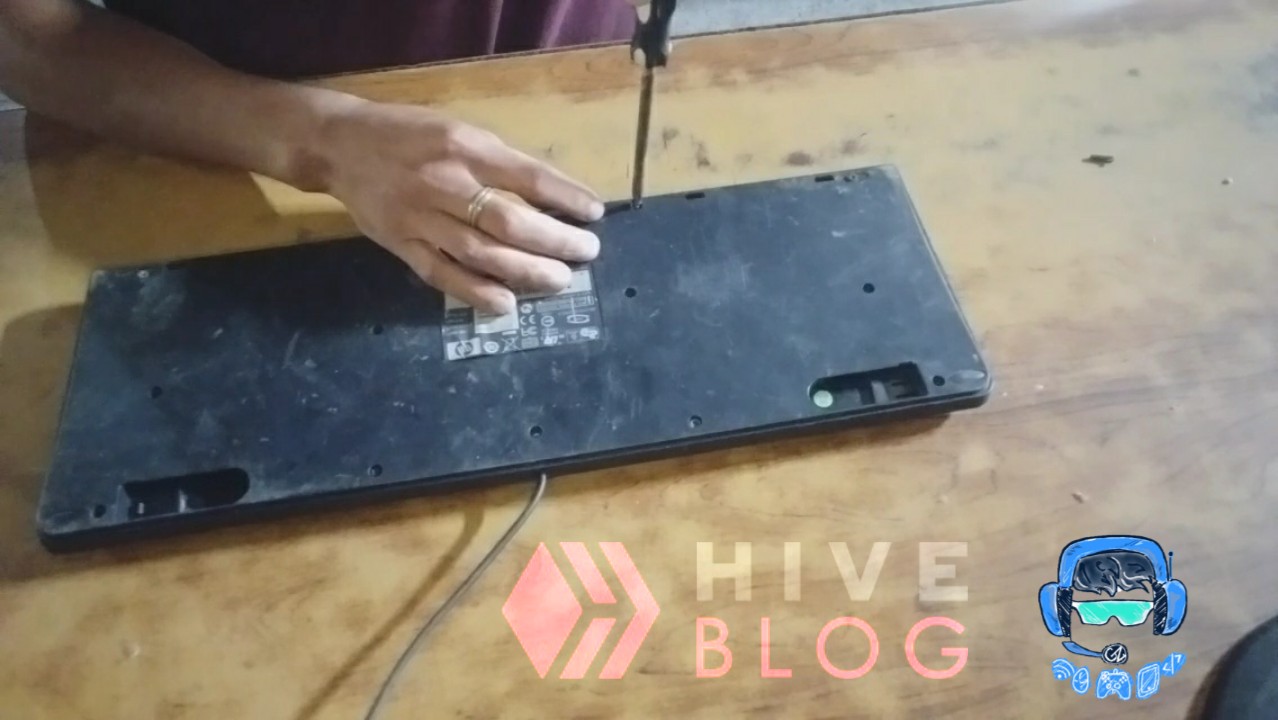
Inside this tool there are very peculiar things, but first we have to remove its screws, there are approximately 15 screws on the back, and then carefully lift the cover. If we don't want to have problems with the order of the keyboard buttons, we simply have to disassemble it from the back cover, not from the front leg, because if we do that, the buttons would get messy and it is a very tedious job to do it again.
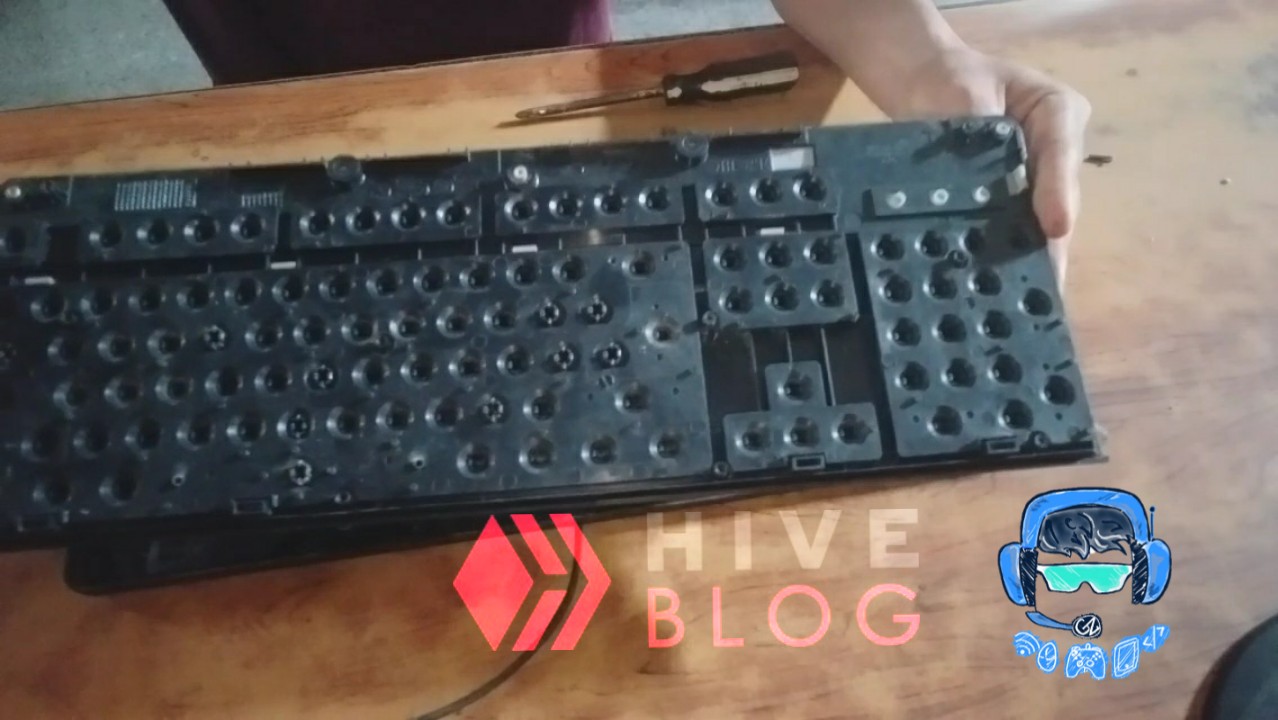
To carry out this work It was very easy because specifically This keyboard model prevents the buttons from cluttering thanks to the fact that a plastic protects them when I disassemble it.
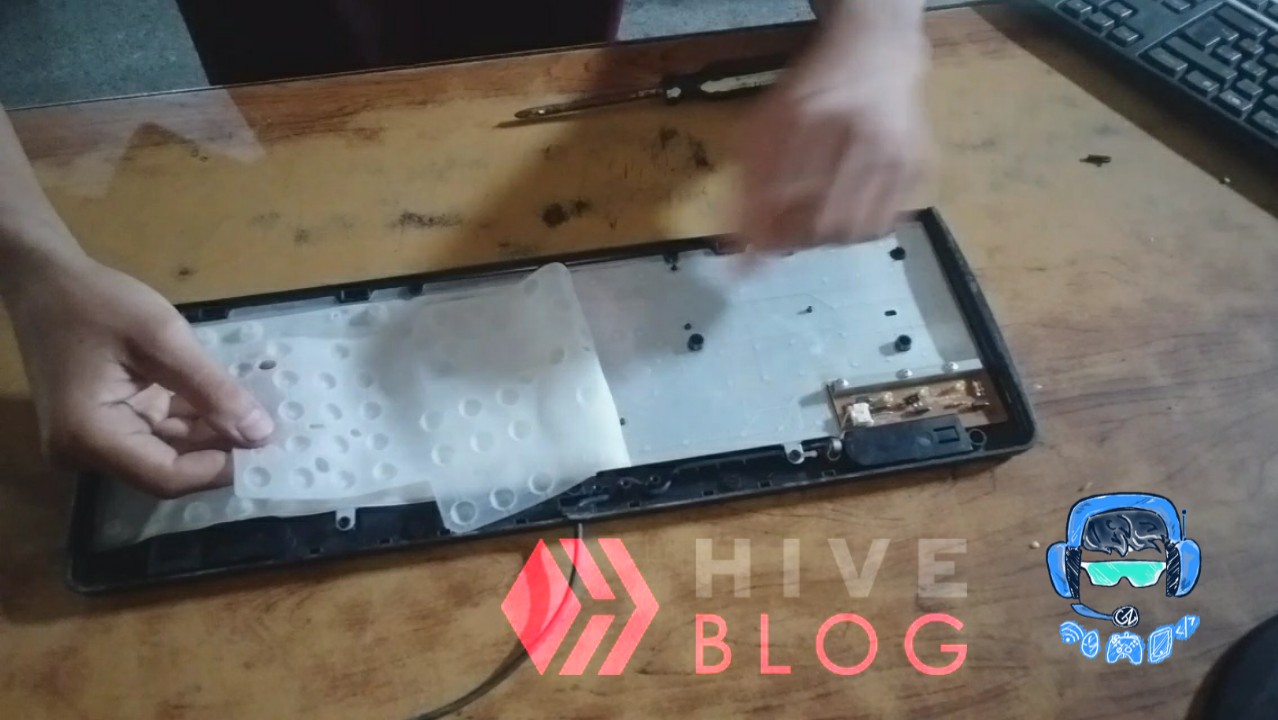
This equipment has a plastic membrane that only serves to apply pressure and movements, it has a lot of suckers that are in charge of exerting the pressure towards the outside and your fingers exert the pressure towards the inside. All this with the function that when you touch a button a sucker is pressed and by exerting pressure it makes contact with that keyboard. After that plastic membrane comes current track membranes. They are two and one carries the negative current and the other carries the positive current.
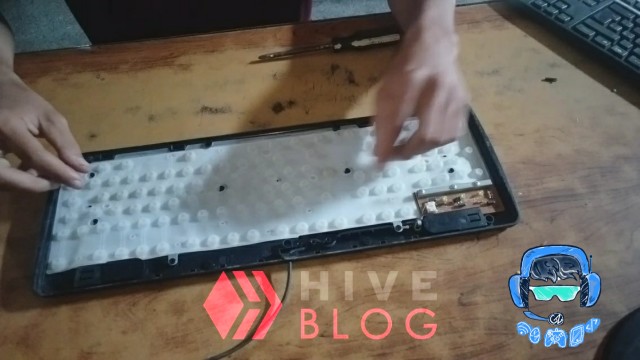
This means that when the suckers are pressed, the negative and positive currents come together so that pressure is exerted and the information that we need to execute and be able to exercise the function of the button is sent. This is very simple and basic. A little above all the membranes of this equipment is the plate and it is in charge of transforming the pulsations of our fingers on the current membranes into signals that convert the information into bytes of letters for the computer, it is a very complex job .
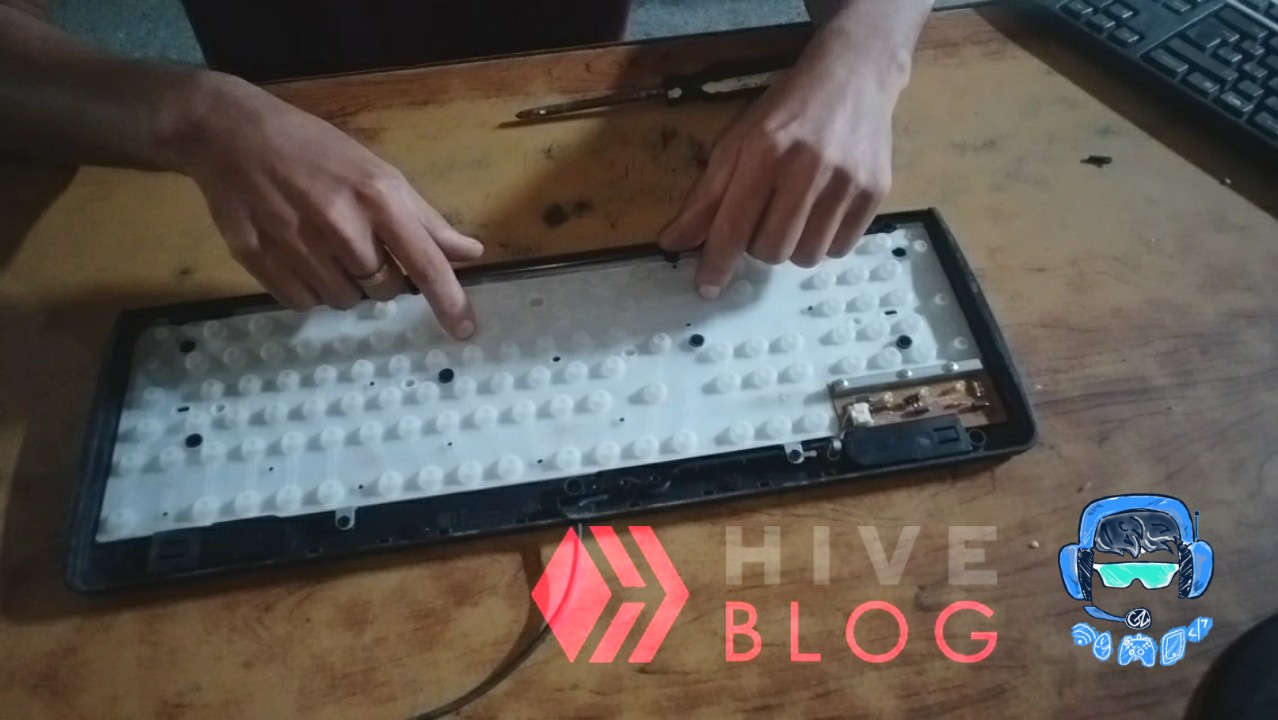
When I disassembled all this equipment I realized that it had not gotten wet, that it had not been damaged. Even better for me It was practically intact on the inside like new and I liked this a lot, it only remains to reassemble it and leave it as it was before. I did this work to be able to verify that my keyboard was fully functional and not damaged and thank God the keyboard is good. Here I leave that video for you to see I hope you like it
Español
Hola queridos amigos Cómo están soy Daniel, espero todos estén bien y esperado puedan disfrutar todo de su próximo diciembre. Para hoy le quiero traer un contenido bien interesante.
La computadora de mi casa no hace mucho, se mojó, yo lo expliqué hace un tiempo en un post de hace un mes aproximadamente, con las lluvias que han pasado últimamente en Venezuela, casi todo mi equipo de trabajo para hive se me ha mojado y casi se me ha dañado, pero gracias a Dios que me ha dado conocimiento para estas reparaciones y he logrado revisar las fallas y repararlas.
Por aquí le voy a mostrar el teclado de mi computadora. Yo nunca lo había desarmado, pero para este momento tenía que verlo desarmado porque cuando llegué y lo vi después de la lluvia estaba mojado por arriba. Entonces lo más seguro es que le hubiera caído agua dentro en sus conexiones, es decir, tenía que comprobarlo sin pensarlo y así se ve por las partes de adentro.
Dentro de esta herramienta Hay cosas muy peculiares, pero primero tenemos que quitar sus tornillos, son aproximadamente 15 tornillos que tiene en la parte trasera, y luego levantar la tapa con mucho cuidado. Si no queremos tener problemas con el orden de los botones del teclado simplemente tenemos que desarmarlo desde la tapa de atrás, no por la pata de adelante porque si lo hacemos los botones se desordenarían y es un trabajo muy tedioso volverlo hacer.
Para realizar este trabajo Fue muy fácil porque específicamente Este modelo de teclado evita que de desorden en los botones Gracias a que un plástico los protege cuando yo lo desarme.
Este equipo tiene una membrana de plástico que solo sirve para hacer presión y movimientos, tiene muchísimos chupones que se encargan de hacer la presión hacia afuera y tus dedos hacen la presión hacia dentro. Todo esto con la función de que cuando tú tocas un botón se presiona un chupón y ejerciendo presión haga el contacto de ese teclado. Luego de esa membrana de plástico viene luego membranas de pistas de corrientes. Son dos y una lleva la corriente negativa y la otra lleva la corriente positiva.
Esto hace que al pulsar los chupones se junte la corriente negativa y la positiva para que se ejerza presión y se envíe la información que necesitamos ejecutar y poder ejercer la función del botón. Esto es muy simple y básico. Un poco más arriba de todas las membranas de este equipo se encuentra la placa y ella se encarga de transformar las pulsaciones de nuestros dedos sobre las membranas de corriente en señales qué convierten la información en bytes de letras para la computadora, es un trabajo muy complejo.
Cuando yo desarme todo este equipo me di cuenta de que no se había mojado, que no se había dañado. Mejor aún para mí Estaba prácticamente intacto por la parte de adentro como nuevo y Esto me gustó mucho, solo queda volverlo a armar y dejarlo cómo estaba antes. Este trabajo lo realicé para poder verificar que mi teclado estuviera en completo funcionamiento y no estuviera dañado y gracias a Dios el teclado está bueno. Por acá les dejo ese video para que lo vea espero les guste
fuentes del contenido
Traducción deepl
gift:
Logo facebook
logo instagram
Logo hive
Logo week zone
Regitrate en hive
Ganar algunios pequeños tokens por buscar en google. Registrare aqui
 Instagram
 Facebook
.png)

Show more
Tags :
Woo!
This creator can upvote comments using 3speak's stake today because they are a top performing creator!
Leave a quality comment relating to their content and you could receive an upvote
worth at least a dollar.
Their limit for today is $0!
Their limit for today is $0!

1 views
2 years ago
$
3 views
a year ago
$
1 views
a year ago
$

14 views
a year ago
$
4 views
a year ago
$
More Videos

11 views
a year ago
$

16 views
9 months ago
$
2 views
2 years ago
$

4 views
a year ago
$

Hive Open Mic +WEEK 143 “Voice of Hope”❤"El cielo y el Infierno" | Melodía Original de @Williepicana
3 views
a year ago
$

3 views
a year ago
$

10 views
3 months ago
$

33 views
a year ago
$

17 views
8 months ago
$

15 views
a year ago
$

5 views
3 months ago
$

14 views
a year ago
$

0 views
2 years ago
$

17 views
a year ago
$

11 views
a year ago
$

24 views
a year ago
$

18 views
a year ago
$

10 views
a year ago
$

6 views
9 months ago
$

13 views
9 months ago
$

Stream en VIVO || ajedrez || Ambos dimos una buena partida || LIVE Stream || chess || We both played
1 views
2 years ago
$

38 views
2 years ago
$
Comments:
Reply:
To comment on this video please connect a HIVE account to your profile: Connect HIVE Account