Porta destornillador con aplique de gato en quilling [Esp-Eng]
34
About :
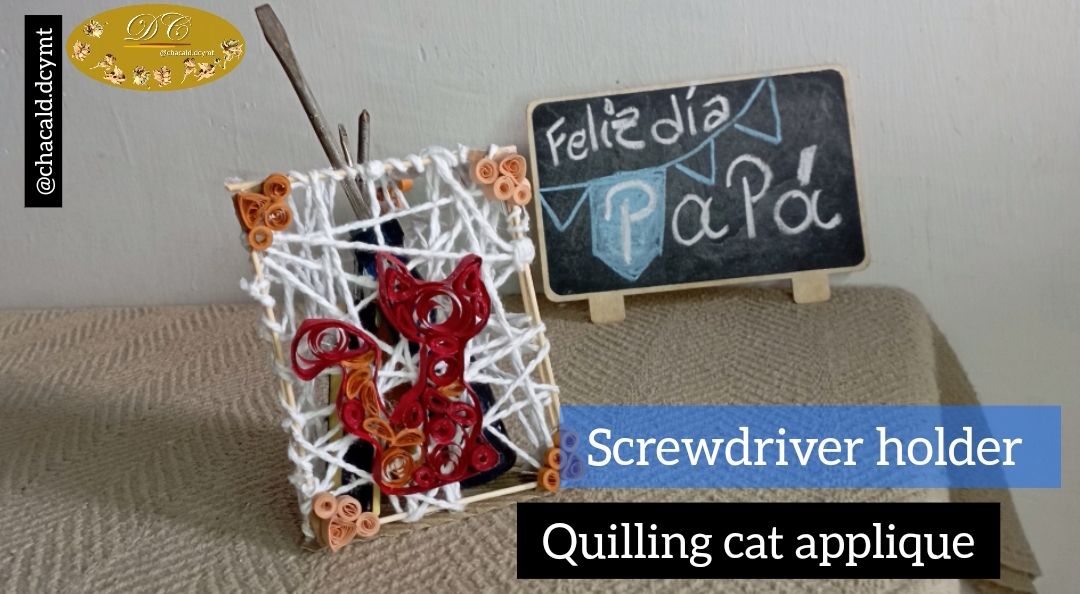
¡Saludos amigos amantes de las artes manuales! Sean bienvenidos una vez más a mi taller Bricolaje DC en esta oportunidad haremos un porta destornilladores con aplique de gato en quilling. Les invito seguir este paso a paso.
Greetings friends who love handicrafts! Welcome once again to my workshop Bricolaje DC in this opportunity we will make a screwdriver holder with cat applique in quilling. I invite you to follow this step by step.
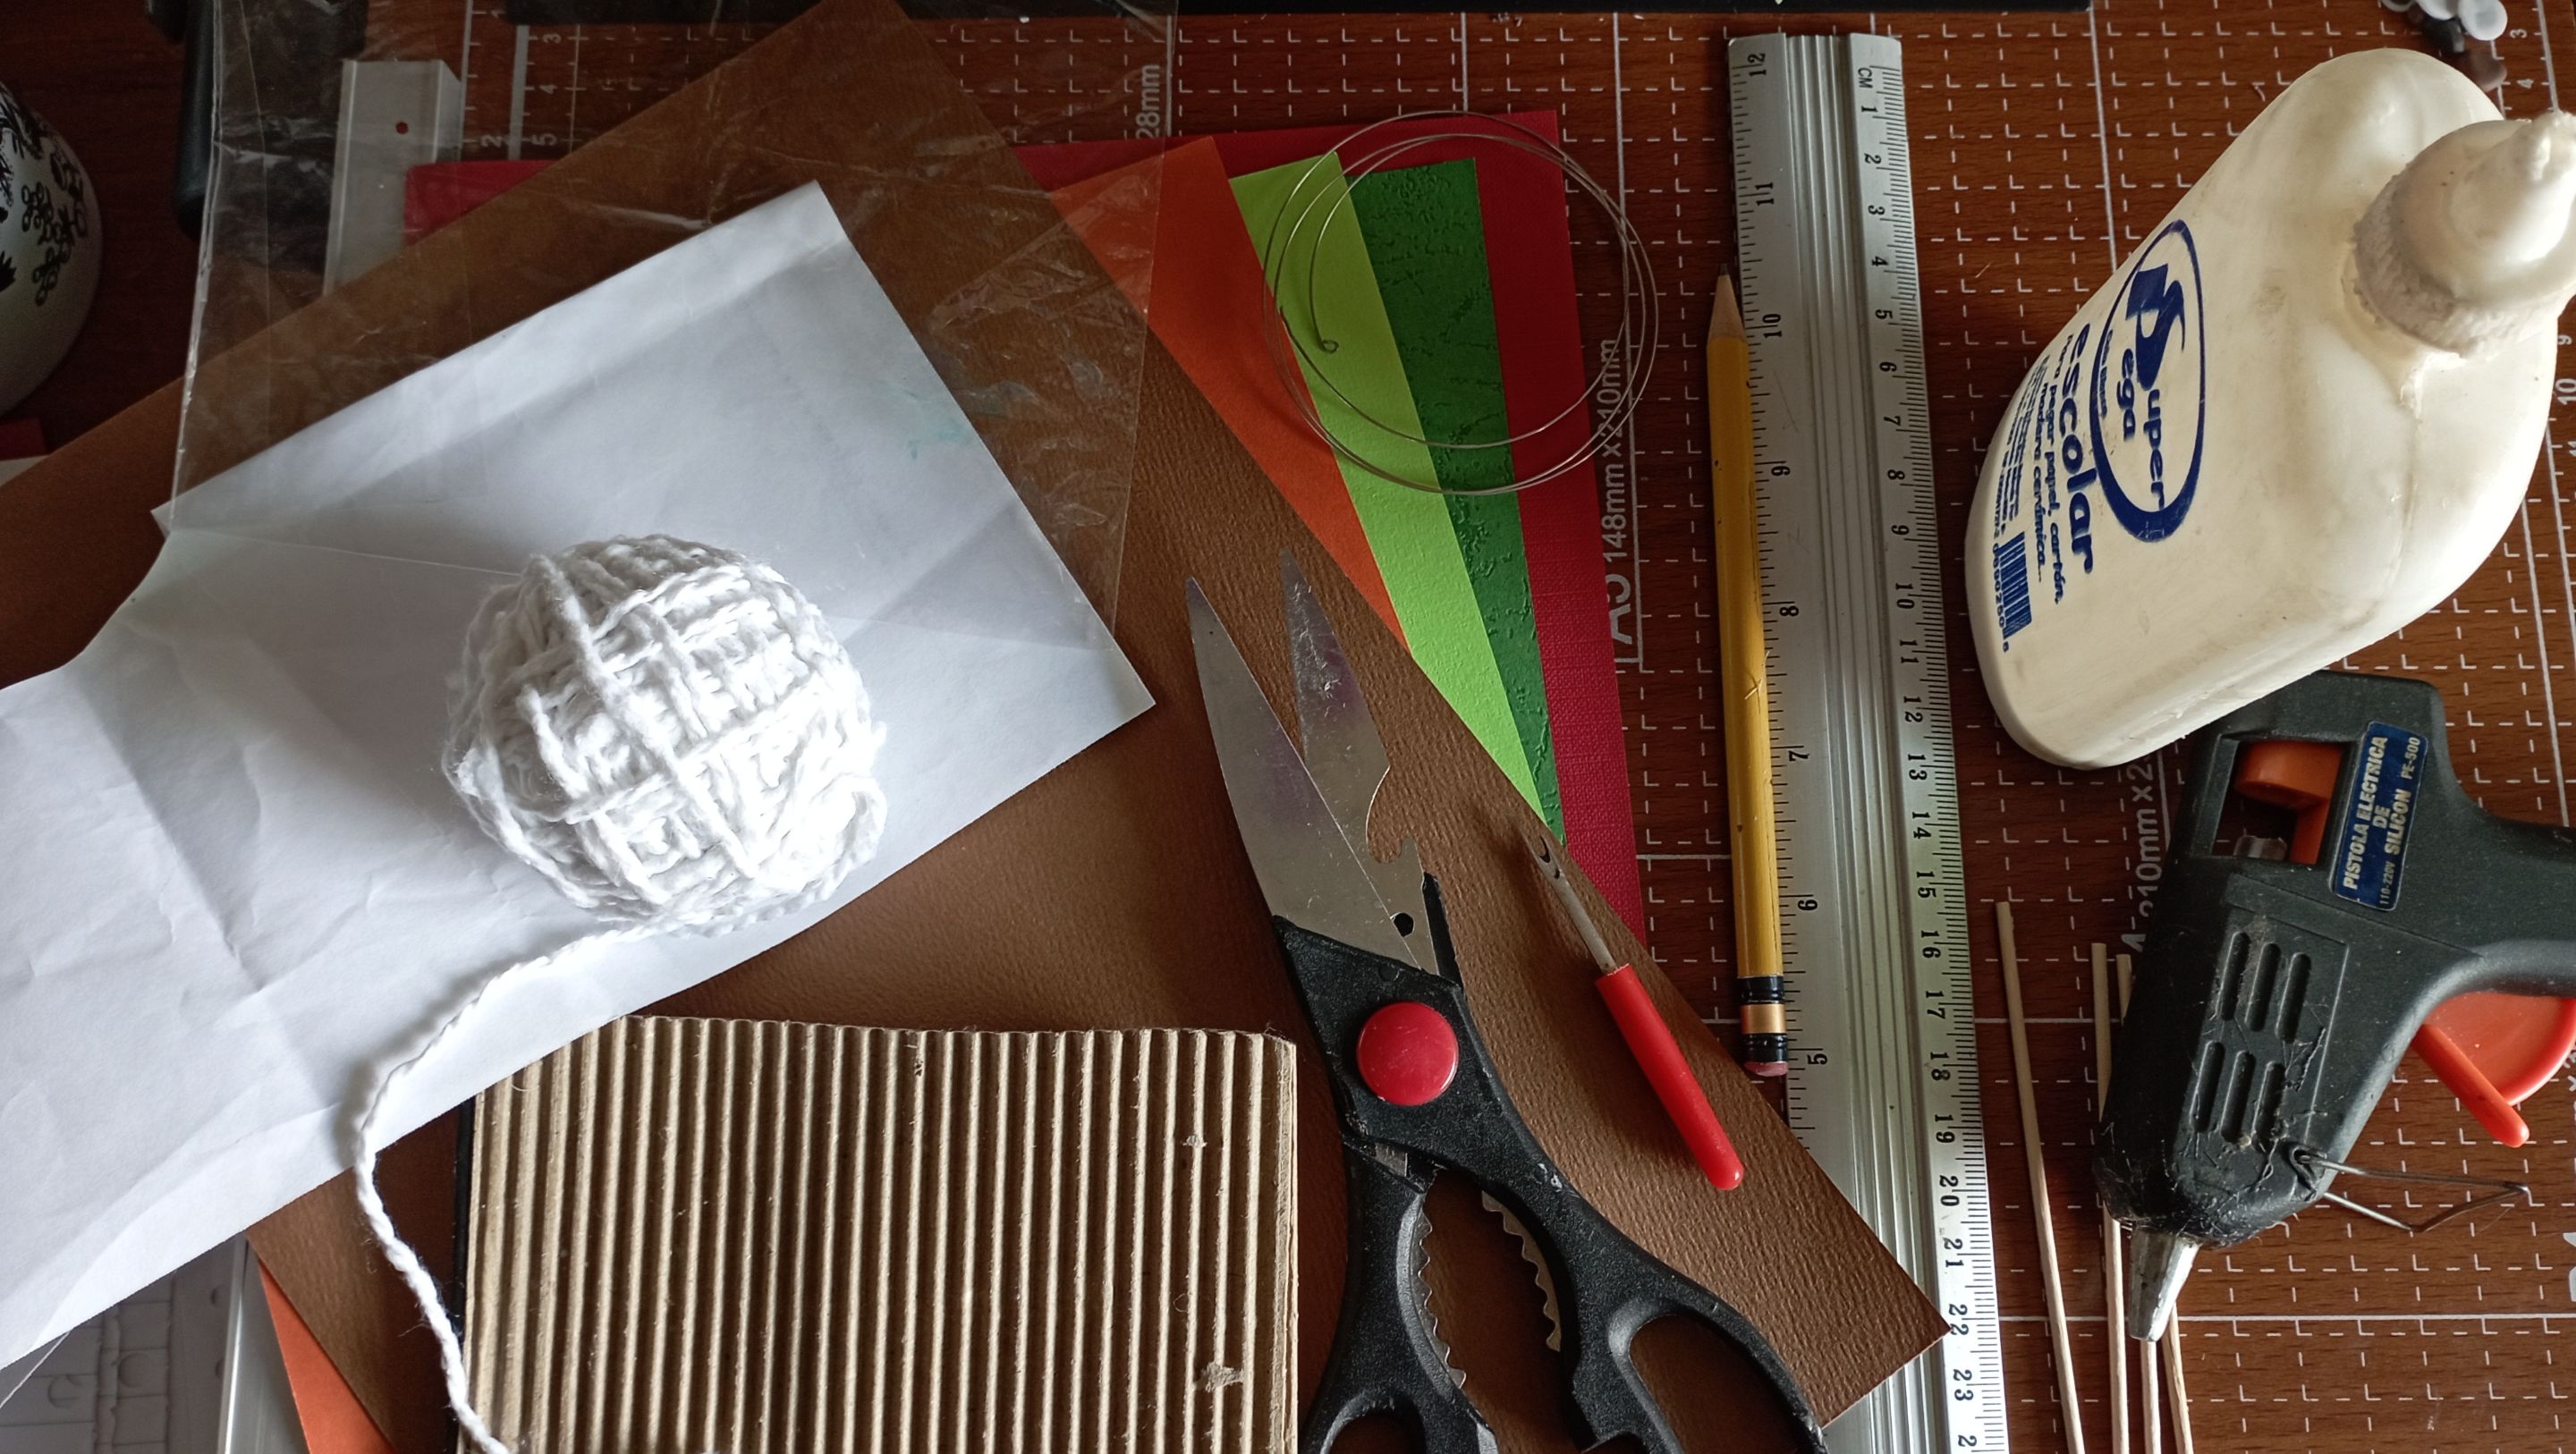
Materiales a utilizar:
-Papel de colores
-Regla de medir
-Lápiz
-Pegamento de carpintería
-Silicona
-Palitos de altura finos
-Lana
-Alambre de cobre fino
-Cartón corrugado, un trozo
-Tijera
-Aguja para quilling
-Hoja de papel
-Papel plástico
Materials to be used:
-Colored paper
-Measuring ruler
-Pencil
-Woodworking glue
-Silicone
-Thin height sticks
-Wool
-Thin copper wire
-Corrugated cardboard, one piece
-Scissors
-Quilling needle
-Paper sheet
-Plastic paper
Elaboración:
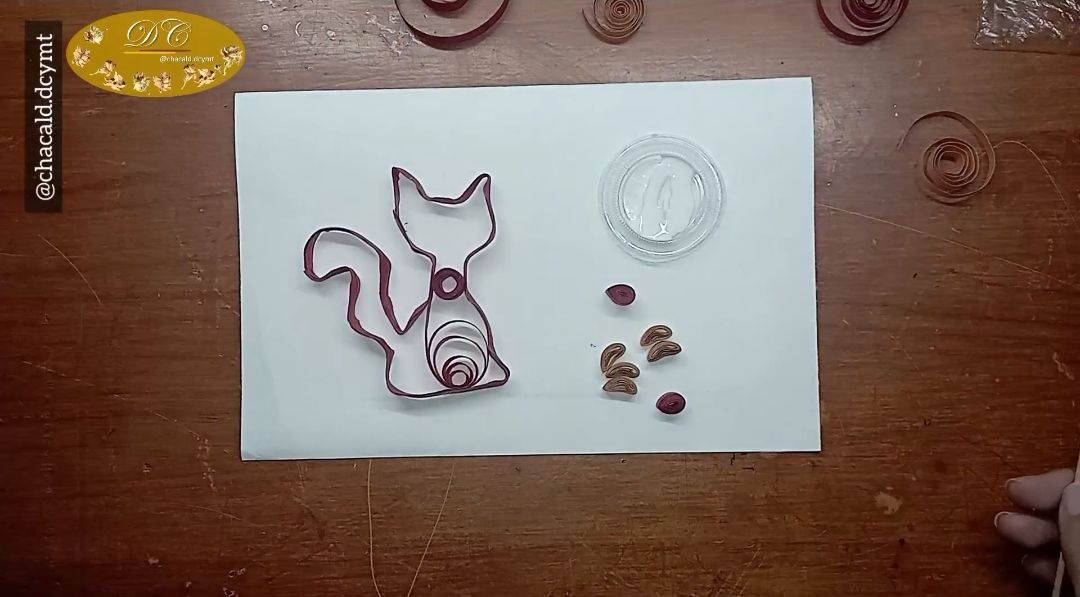
-Comenzamos seleccionando los colores del papel que vamos a utilizar. Haremos un gato y unas huellitas para decorar.
-Una vez que seleccionamos el papel marcamos con la regla para luego cortar tiras de un milímetro.
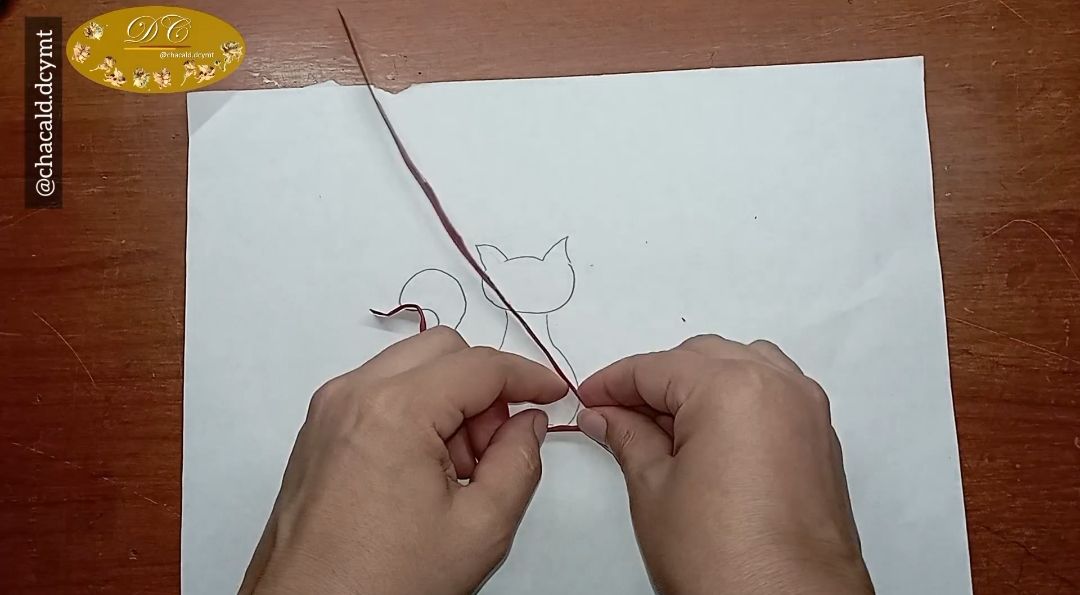
-Hacemos el diseño del gato en la hoja blanca. Cubrimos con el papel plástico y vamos a hacer el borde del gato con una tira especial, resistente y moldeable, que haremos con una tira de papel, alambre y otra tira de papel.
Elaboration:
-We start by selecting the colors of the paper we are going to use. We will make a cat and some little holes to decorate.
-Once we select the paper we mark with the ruler and then cut one millimeter strips.
-We make the cat design on the white sheet. We cover with the plastic paper and we will make the edge of the cat with a special strip, resistant and moldable, that we will make with a strip of paper, wire and another strip of paper.
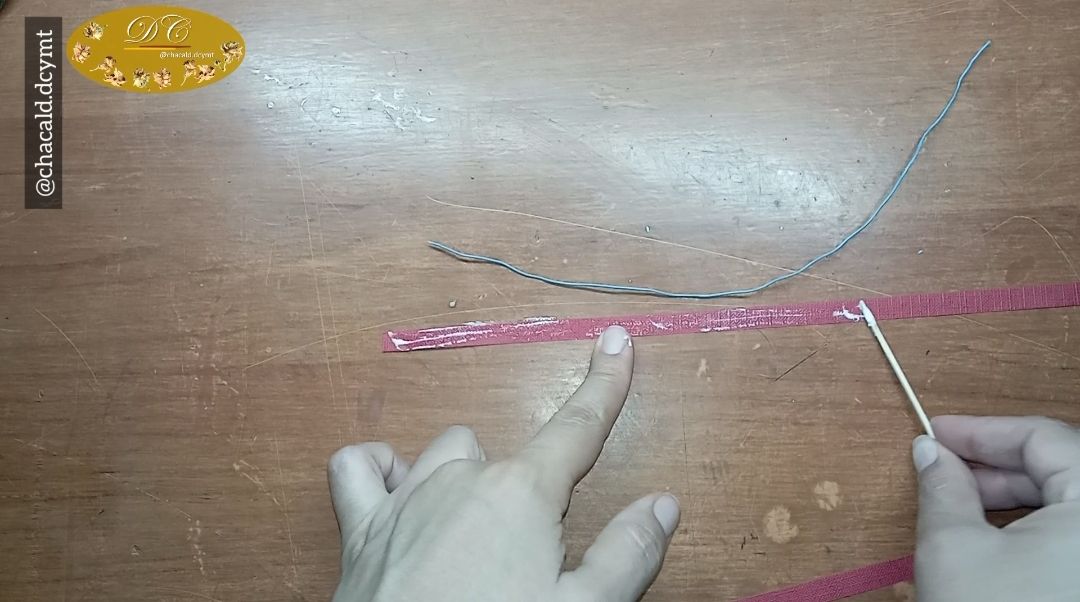
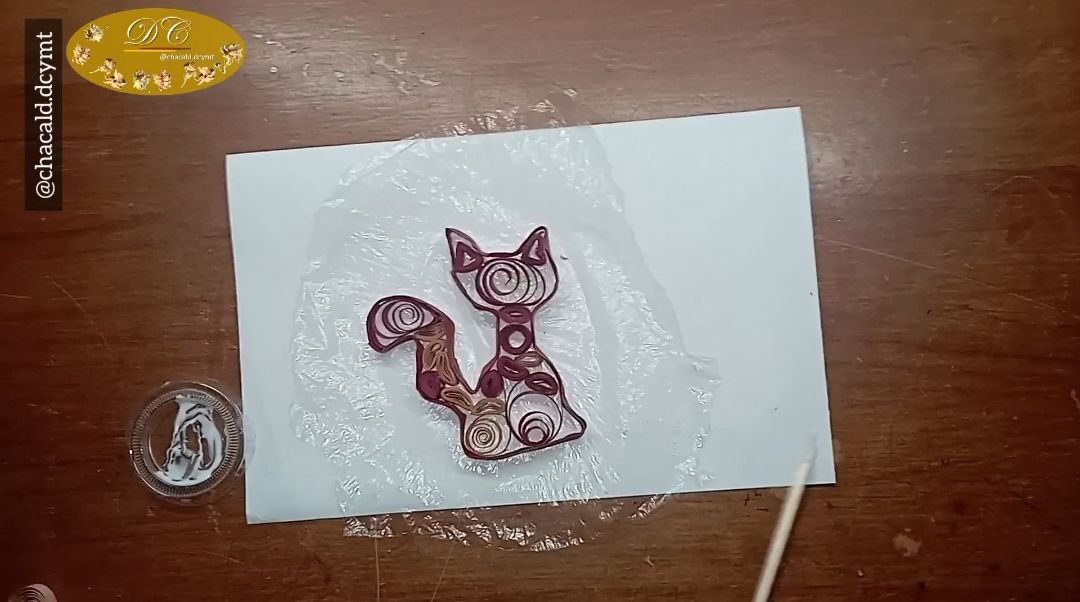
-Una vez que hacemos nuestra tira especial con alambre, procedemos a seguir las líneas del diseño del gato sobre el papel.
-Cuando hemos armado la silueta del gato, vamos a rellenar con algunas figuras en quilling. Dejamos secar.
-Once we make our special strip with wire, we proceed to follow the lines of the cat design on the paper.
-When we have assembled the silhouette of the cat, we are going to fill it with some quilling figures. Let it dry.
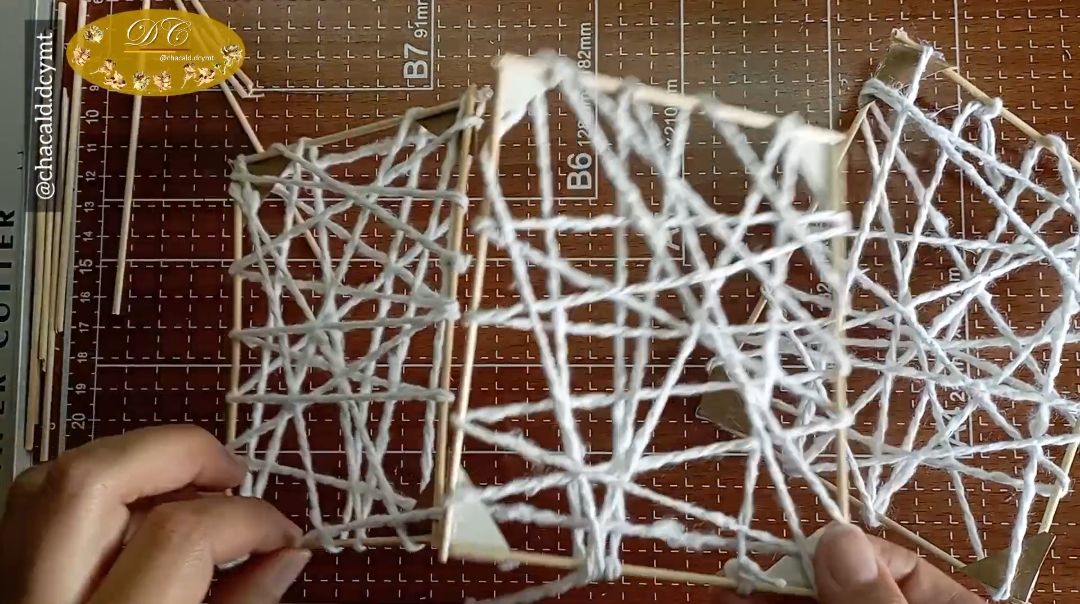
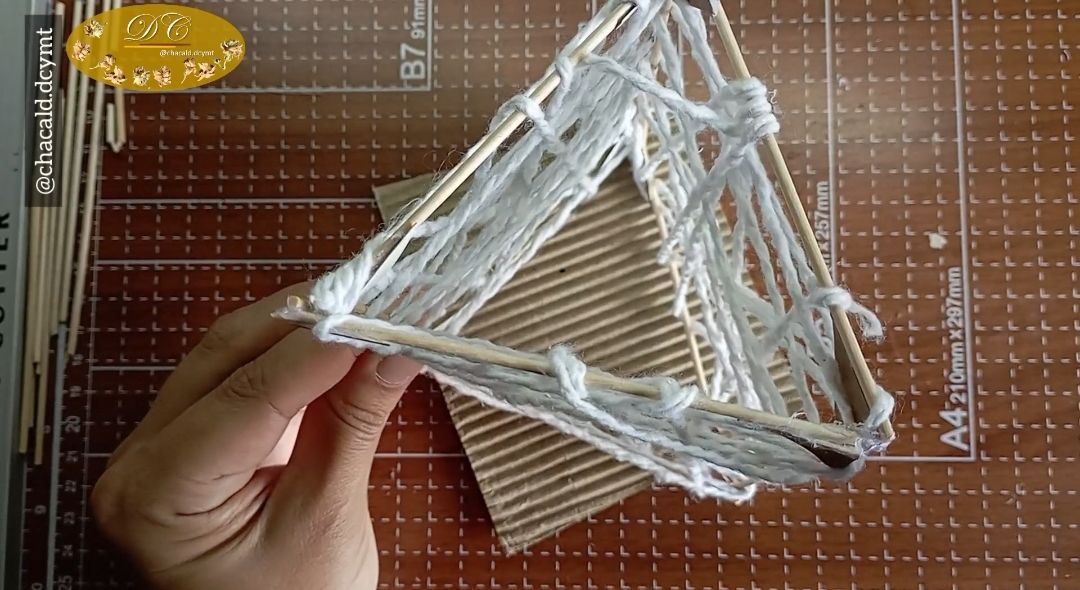
-Con los palitos de altura vamos a hacer un cuadrado y pegamos las puntas con silicona. Con la lana enrollamos para hacer una especie de pared. Repetimos esto tres veces.
-With the sticks we are going to make a square and glue the ends with silicone. With the wool we roll up to make a kind of wall. We repeat this three times.
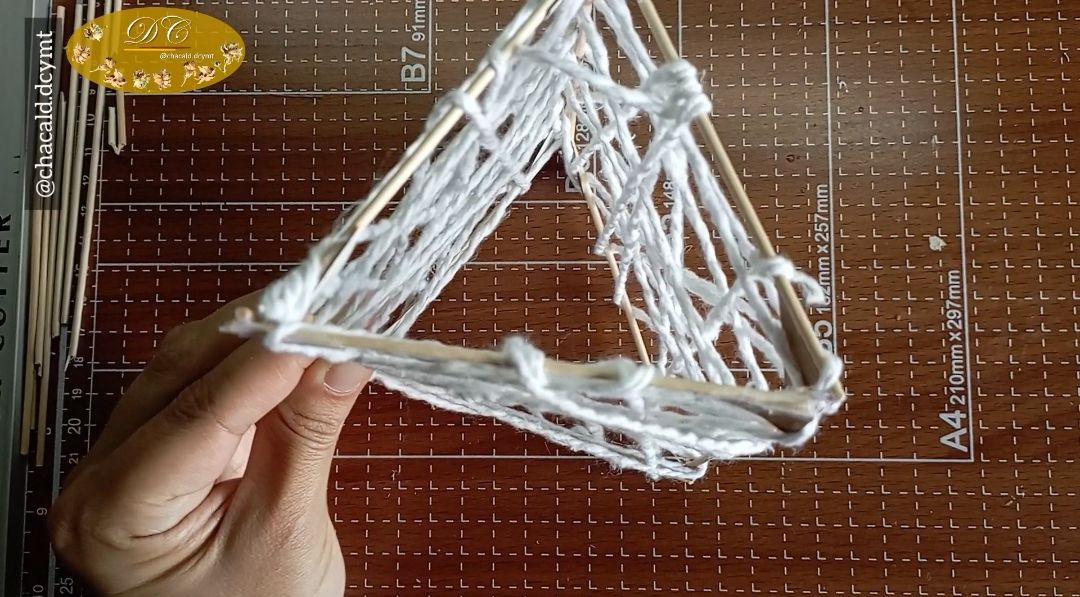
-Pegamos las tres paredes para formar un recipiente en forma de triángulo.
We glue the three walls together to form a triangle-shaped container.
-Luego con el cartón corrugado vamos a hacer el fondo. Pegamos en la parte inferior y recortamos el excedente.
-Then with the corrugated cardboard we are going to make the bottom. We glue on the bottom and cut off the excess.
-En una de las paredes de nuestro recipiente, vamos a pegar el gato de quilling y algunas huellitas que hacemos con los rollitos que nos quedan.
-Podemos aplicar una capa de pegamento a toda la lana y dejar secar al sol, esto le dará resistencia al recipiente ya que es para herramientas de trabajo.
Y es así como terminamos de hacer un porta destornilladores.
-On one of the walls of our container, we are going to glue the quilling cat and some little holes that we make with the rolls that we have left.
-We can apply a layer of glue to all the wool and let it dry in the sun, this will give strength to the container as it is for working tools.
And this is how we finish making a screwdriver holder.

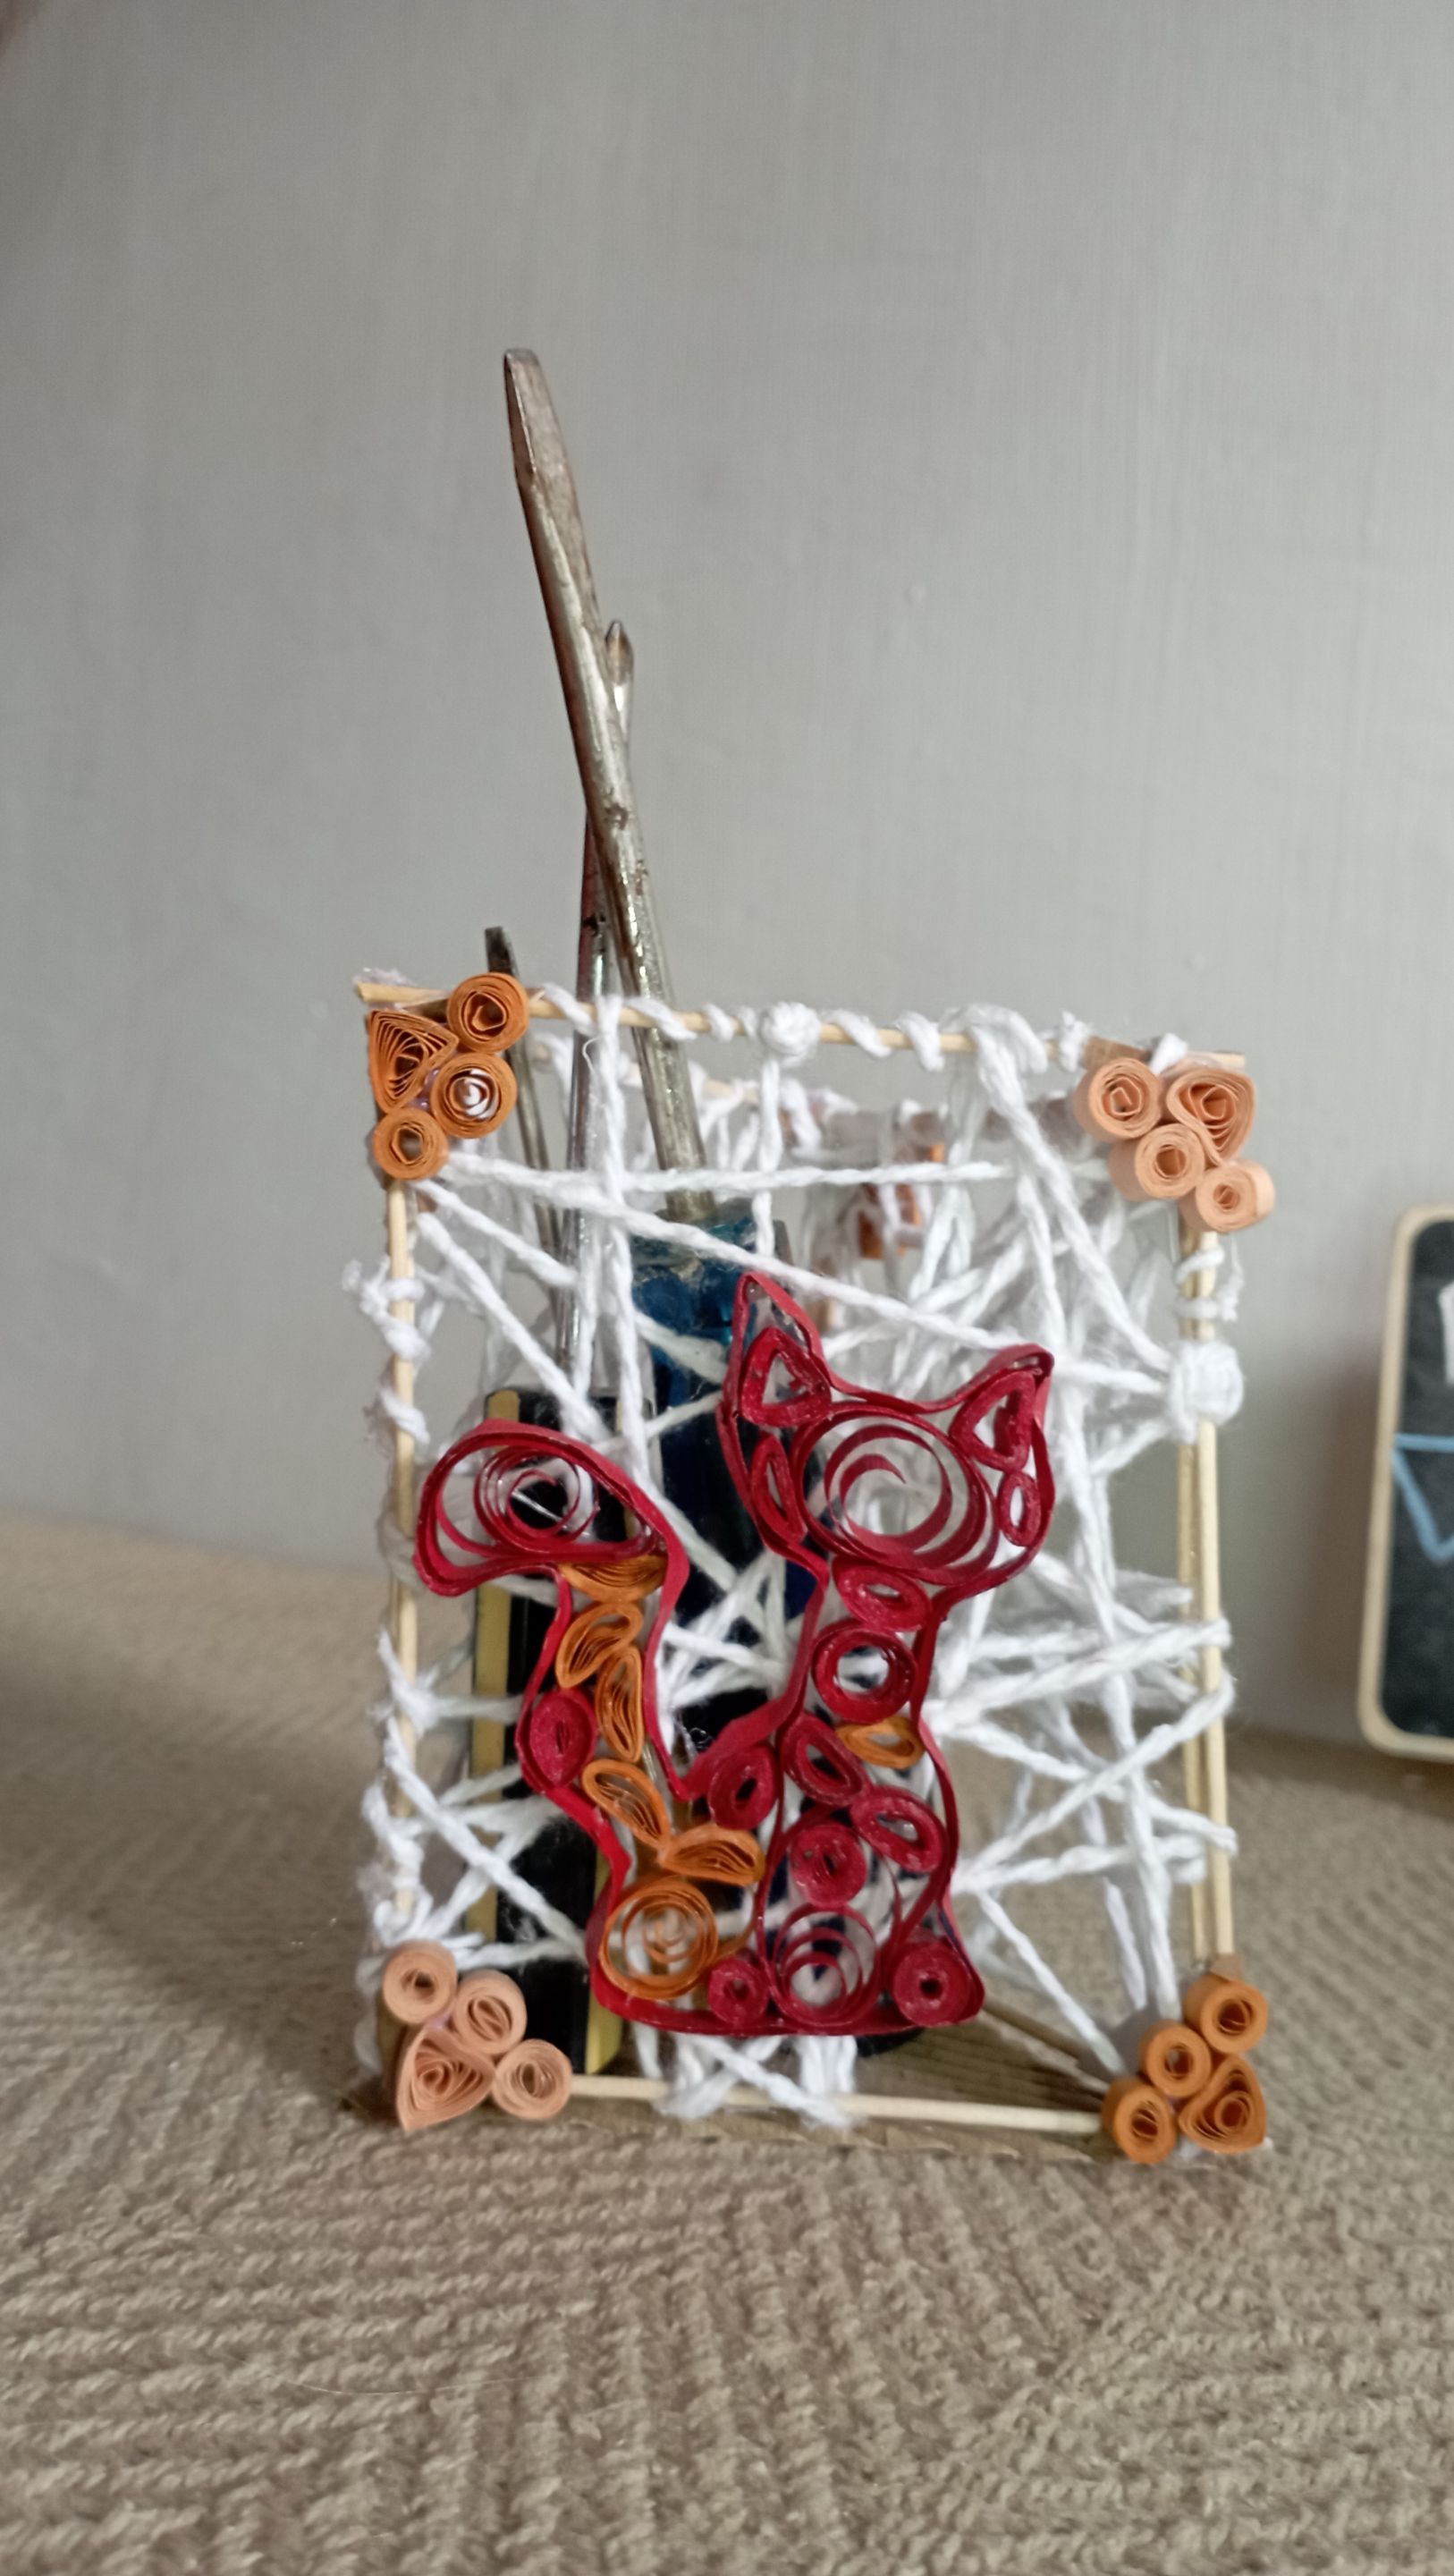
Con este sencillo trabajo podemos organizar un poco las herramientas de una forma moderna y sencilla de realizar. Espero les guste y se animen a realizarlo. Gracias por visitar mi publicación, nos vemos en una próxima oportunidad. Chao!
With this simple work we can organize the tools in a modern and simple way. I hope you like it and I encourage you to do it. Thanks for visiting my publication, see you next time. Bye!
Original content by the author.
Resources: App: Canva / Giphy / Inshot
*The song in this video is freely available in the InShot app.
Music: 5 Cents Back
Musician: music by audionautix.com
License
📷 Redmi 10 Smartphone
Translation done with Deepl.com
✿ All Rights Reserved || © @chacald.dcymt 2023 ✿
💌 Discord: chacald.dcymt#3549
Twitter @chacald1
_
Contenido original del autor.
Recursos: App: Canva / Giphy / Inshot
*La canción de este vídeo es de libre uso disponible en la app de InShot
Música: 5 Cents Back
Músico: music by audionautix.com
Licencia
📷 Redmi 10 Smartphone
Traducido con Deepl.com
✿ Todos los Derechos Reservados || © @chacald.dcymt 2023 ✿
💌 Discord: chacald.dcymt#3549
Twitter @chacald1
Show more
Tags :
Woo!
This creator can upvote comments using 3speak's stake today because they are a top performing creator!
Leave a quality comment relating to their content and you could receive an upvote
worth at least a dollar.
Their limit for today is $0!
Their limit for today is $0!

17 views
a year ago
$
27 views
a year ago
$
12 views
a year ago
$
21 views
8 months ago
$

51 views
a year ago
$
More Videos
70 views
7 months ago
$
26 views
a year ago
$

3 views
2 years ago
$
1 views
2 years ago
$
11 views
2 years ago
$
8 views
5 months ago
$
14 views
a year ago
$
7 views
2 years ago
$

9 views
3 years ago
$
4 views
3 years ago
$
1 views
2 years ago
$

4 views
3 months ago
$

50 views
2 years ago
$
4 views
2 years ago
$
0 views
3 years ago
$

11 views
9 months ago
$

7 views
3 weeks ago
$

0 views
3 years ago
$

9 views
3 years ago
$

4 views
4 years ago
$
15 views
9 months ago
$
15 views
2 years ago
$
0 views
2 years ago
$
37 views
2 years ago
$
Comments:
Reply:
To comment on this video please connect a HIVE account to your profile: Connect HIVE Account