DIY asakuki mini-projector cleaning [Eng-Esp]
21
About :
Greetings friends! Today I would like to share with you some tips on the maintenance of a mini projector. Join me and I'll show you.
One year ago I bought a portable mini projector ASAKUKI model Avigator 410W, it has been one of the best investments I have made, since I don't have a TV and the mini projector more than a device for sporadic use is a device for daily use at home. The image and sound are perfectly adapted to my room where it is installed.
Over time the screens got dirty. The small fan often pushes the dust inside and it accumulates on the mirrors, lenses and screen. To clean them is really simple, but we must take into account some aspects to perform the maintenance from home.
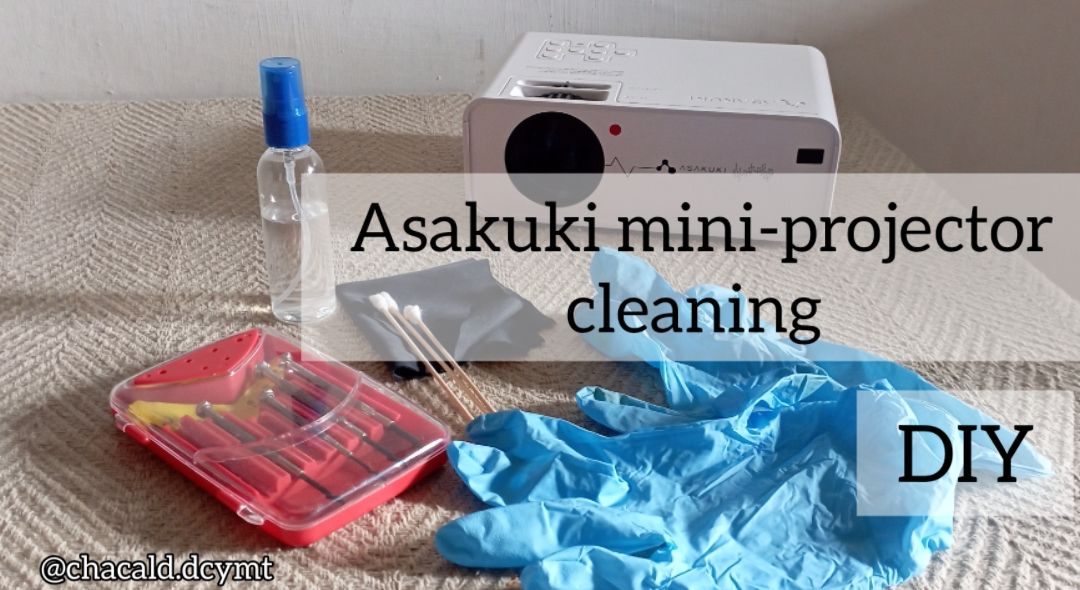
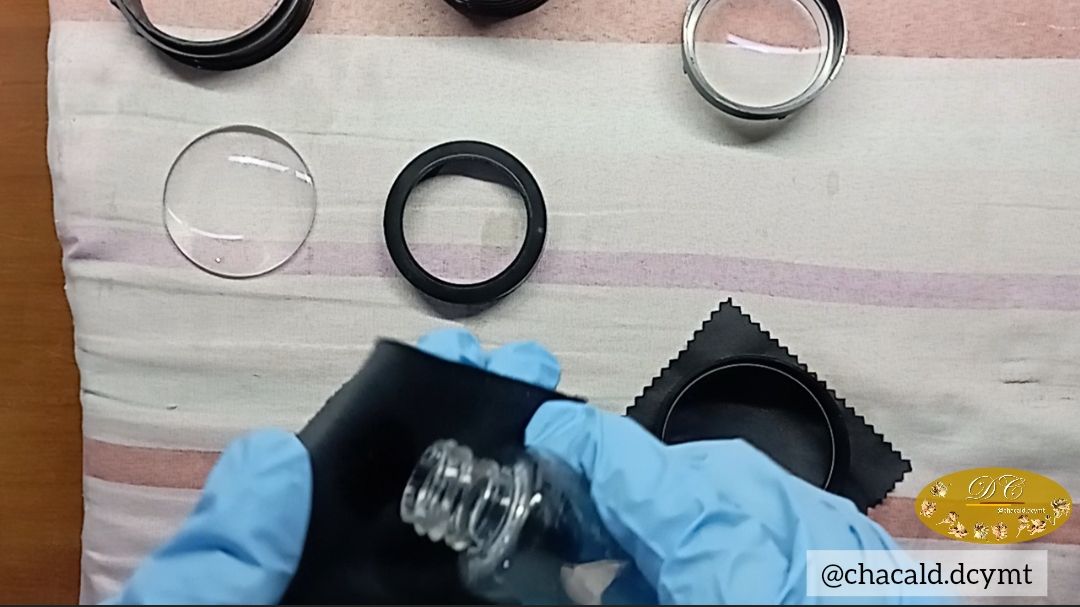
The first thing we must do is to have latex gloves, so we avoid leaving fingerprints on the already cleaned lenses and they do not get scratched. We will also use cotton applicators and screen cleaning cloth, special screwdrivers for electrical equipment and absolute alcohol, i.e. not diluted in water.
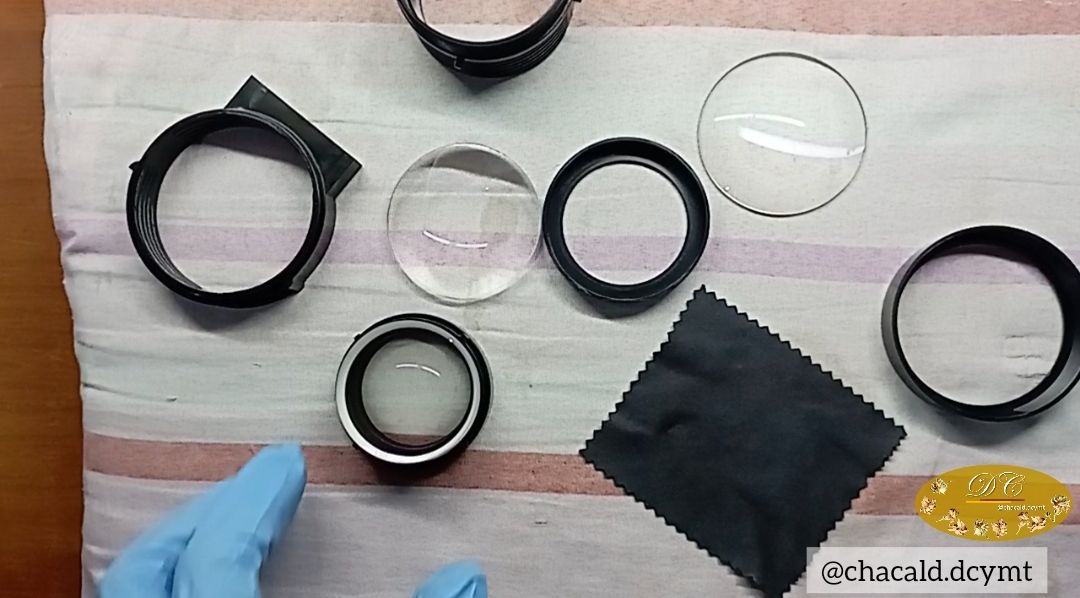
The mini-projector has a hole at the bottom through which you can insert an applicator and clean the screens, but it is uncomfortable and often we can not reach the corners where dust accumulates. That is why it is best to remove the entire casing and clean the lenses one by one first, then the screens and finally the fan.
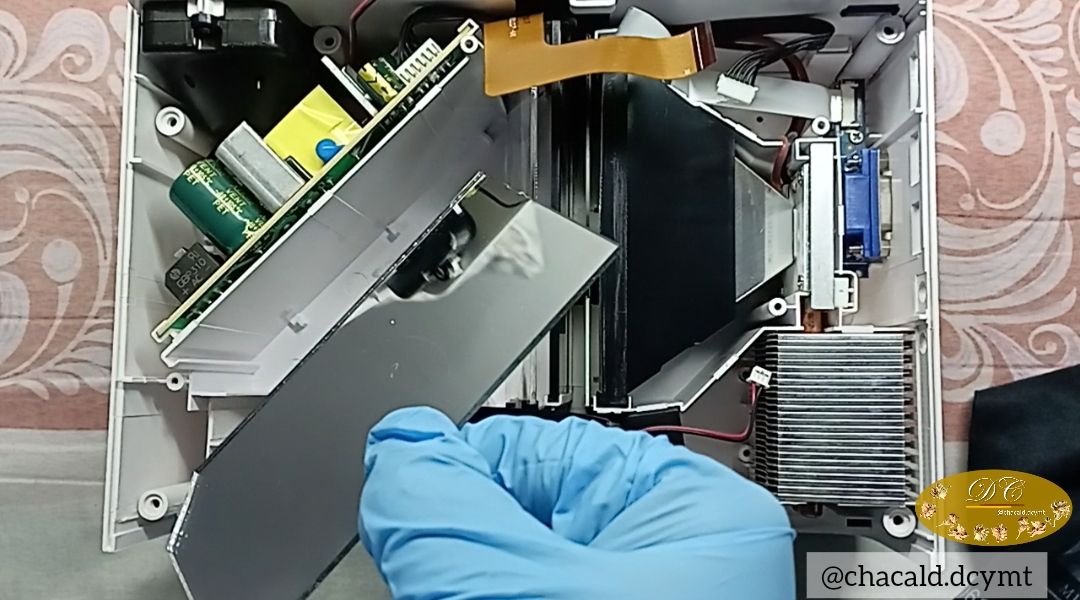
One of my recommendations when opening a computer, is to record each step and then know through the video where the pieces go, in case you have doubts. Another important thing is to have containers for the different screws and a cloth surface so that the screens do not get scratched. Knowing this we can start.
I can also recommend to clean one screen at a time and put it back immediately we finish cleaning it, this way we avoid getting it dirty again and avoid accidents.
Once we have cleaned each part, we are going to reconnect the ports, the screen and the fan. We place the cover that covers the lower part and finally the casing.
After we have done this cleaning it will not be necessary to uncover the equipment the next time to clean it. We can wake up the bottom and with an applicator and alcohol clean the center of each screen.
Thank you for visiting my publication and see you next time.

Versión en español
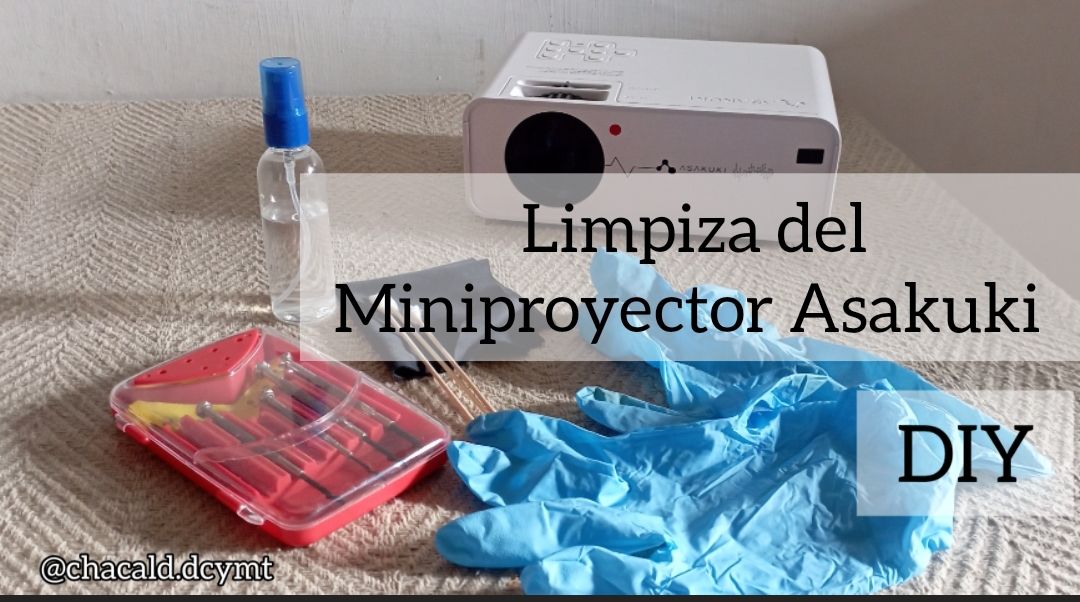
Limpieza del miniproyector asakuki
DIY
Saludos amigos! Hoy me gustaría compartir con ustedes algunos tips sobre el mantenimiento de un miniproyector. Acompáñenme y les enseño.
Hace 1 año compré un miniproyector portátil marca ASAKUKI modelo Avigator 410W, ha sido una de las mejores inversiones que he hecho, ya que no tengo televisor y el miniproyector más que un equipo para uso esporádico es un equipo de uso diario en casa. La imágen y el sonido se adaptan perfectamente a mi habitación que es donde está instalado.
Con el tiempo se ensuciaron las pantallas. El pequeño ventilador muchas veces empuja el polvo hacia adentro y se va acumulando en los espejos, los lentes y la pantalla. Para limpiarlas es realmente sencillo, pero debemos tener en cuenta algunos aspectos para realizar el mantenimiento desde casa.
Lo primero que debemos hacer es tener guantes de látex, así evitamos jegar huellas en los cristales ya limpios y no se rayan. Vamos a utilizar también aplicadores de algodón y paño limpia pantallas, destornilladores especiales para equipos eléctricos y alcohol absoluto, es decir que no esté diluido en agua.
El miniproyector en la parte de abajo, tiene un orificio por donde se pude introducir un aplicador y limpiar las pantallas, pero resulta ser incómodo y muchas veces no podemos llegar hasta las esquinas que es donde se acumula el polvo. Por eso lo mejor es retirar la carcasa completa y limpiar uno a uno los lentes primero, luego las pantallas y por último el ventilador.
Una de mis recomendaciones al abrir un equipo, es que grabar cada paso para luego saber mediante el vídeo dónde van las piezas, eso en caso de tener dudas. Otra cosa importante es tener recipientes para los tornillos diferentes y una superficie de tela para que las pantallas no se rayen. Sabiendo esto podemos comenzar.
También puedo recomendar limpiar una pantalla a la vez y volver a colocarla inmediatamente que terminamos de limpiarla, así evitamos que se ensucie de nuevo y evitamos accidentes.
Una vez que hemos limpiado cada pieza, vamos a volver a conectar los puertos, la pantalla y el ventilador. Colocamos la tapa que cubre la parte inferior y por último la carcasa.
Después que realizamos esta limpieza ya no será necesario destapar el equipo la siguiente vez para limpiarlo. Podemos despertar la parte de abajo y con un aplicador y alcohol limpiar el centro de cada pantalla.

Gracias por visitar mi publicación y nos vemos en una próxima oportunidad.

Original content by the author.
Resources: App: Canva / Giphy / Inshot
The song in the video is freely available on the InShot App.
Music: Accra
Musician: Jeff Kaale
📷 Redmi 10 Smartphone
Translation done with Deepl.com
✿ All Rights Reserved || © @chacald.dcymt 2023 ✿
💌 Discord: chacald.dcymt#3549
Twitter @chacald1
_
Contenido original del autor.
Recursos: App: Canva / Giphy / Inshot
La canción del vídeo es de libre uso disponible en la App de InShot
Música: Accra
Músico: Jeff Kaale
📷 Redmi 10 Smartphone
Traducido con Deepl.com
✿ Todos los Derechos Reservados || © @chacald.dcymt 2023 ✿
💌 Discord: chacald.dcymt#3549
Twitter @chacald1
Show more
Tags :
Woo!
This creator can upvote comments using 3speak's stake today because they are a top performing creator!
Leave a quality comment relating to their content and you could receive an upvote
worth at least a dollar.
Their limit for today is $0!
Their limit for today is $0!

11 views
2 years ago
$

34 views
a year ago
$

35 views
2 years ago
$

51 views
2 years ago
$

23 views
a year ago
$
More Videos

16 views
a year ago
$

13 views
a year ago
$

5 views
8 months ago
$

23 views
8 months ago
$

7 views
2 years ago
$

1 views
a year ago
$

2 views
6 months ago
$

2 views
a year ago
$

34 views
a year ago
$
6 views
3 years ago
$

6 views
10 months ago
$

3 views
2 years ago
$

8 views
6 months ago
$

1 views
a year ago
$

3 views
2 years ago
$

17 views
a year ago
$

13 views
a year ago
$

2 views
3 years ago
$

5 views
2 years ago
$

7 views
3 years ago
$

4 views
3 weeks ago
$

16 views
a year ago
$

3 views
2 years ago
$
Comments:
Reply:
To comment on this video please connect a HIVE account to your profile: Connect HIVE Account