Beautiful chest of 16 pieces of paper // Origami // DIYHUB Origami Contest (English/Spanish)
17
About :
A loving greeting to all my Hive friends, it is a pleasure for me to be in the great community DIYHub participating in the contest proposed for the celebration of the world origami day. I confess that I have really enjoyed this celebration, because I know that origami is complex to some people and that's why it is not as popular as it should be, but this contest has opened the space for many people to express their paper folding skills, as well as others who are discovering the beauty of this beautiful art.
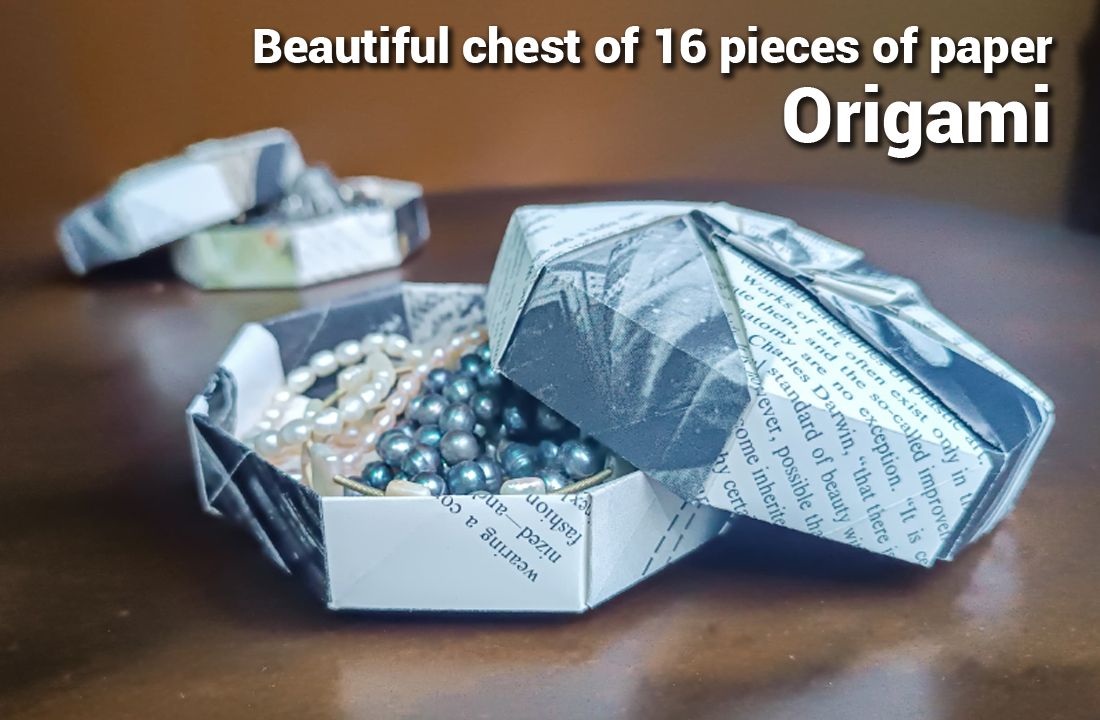
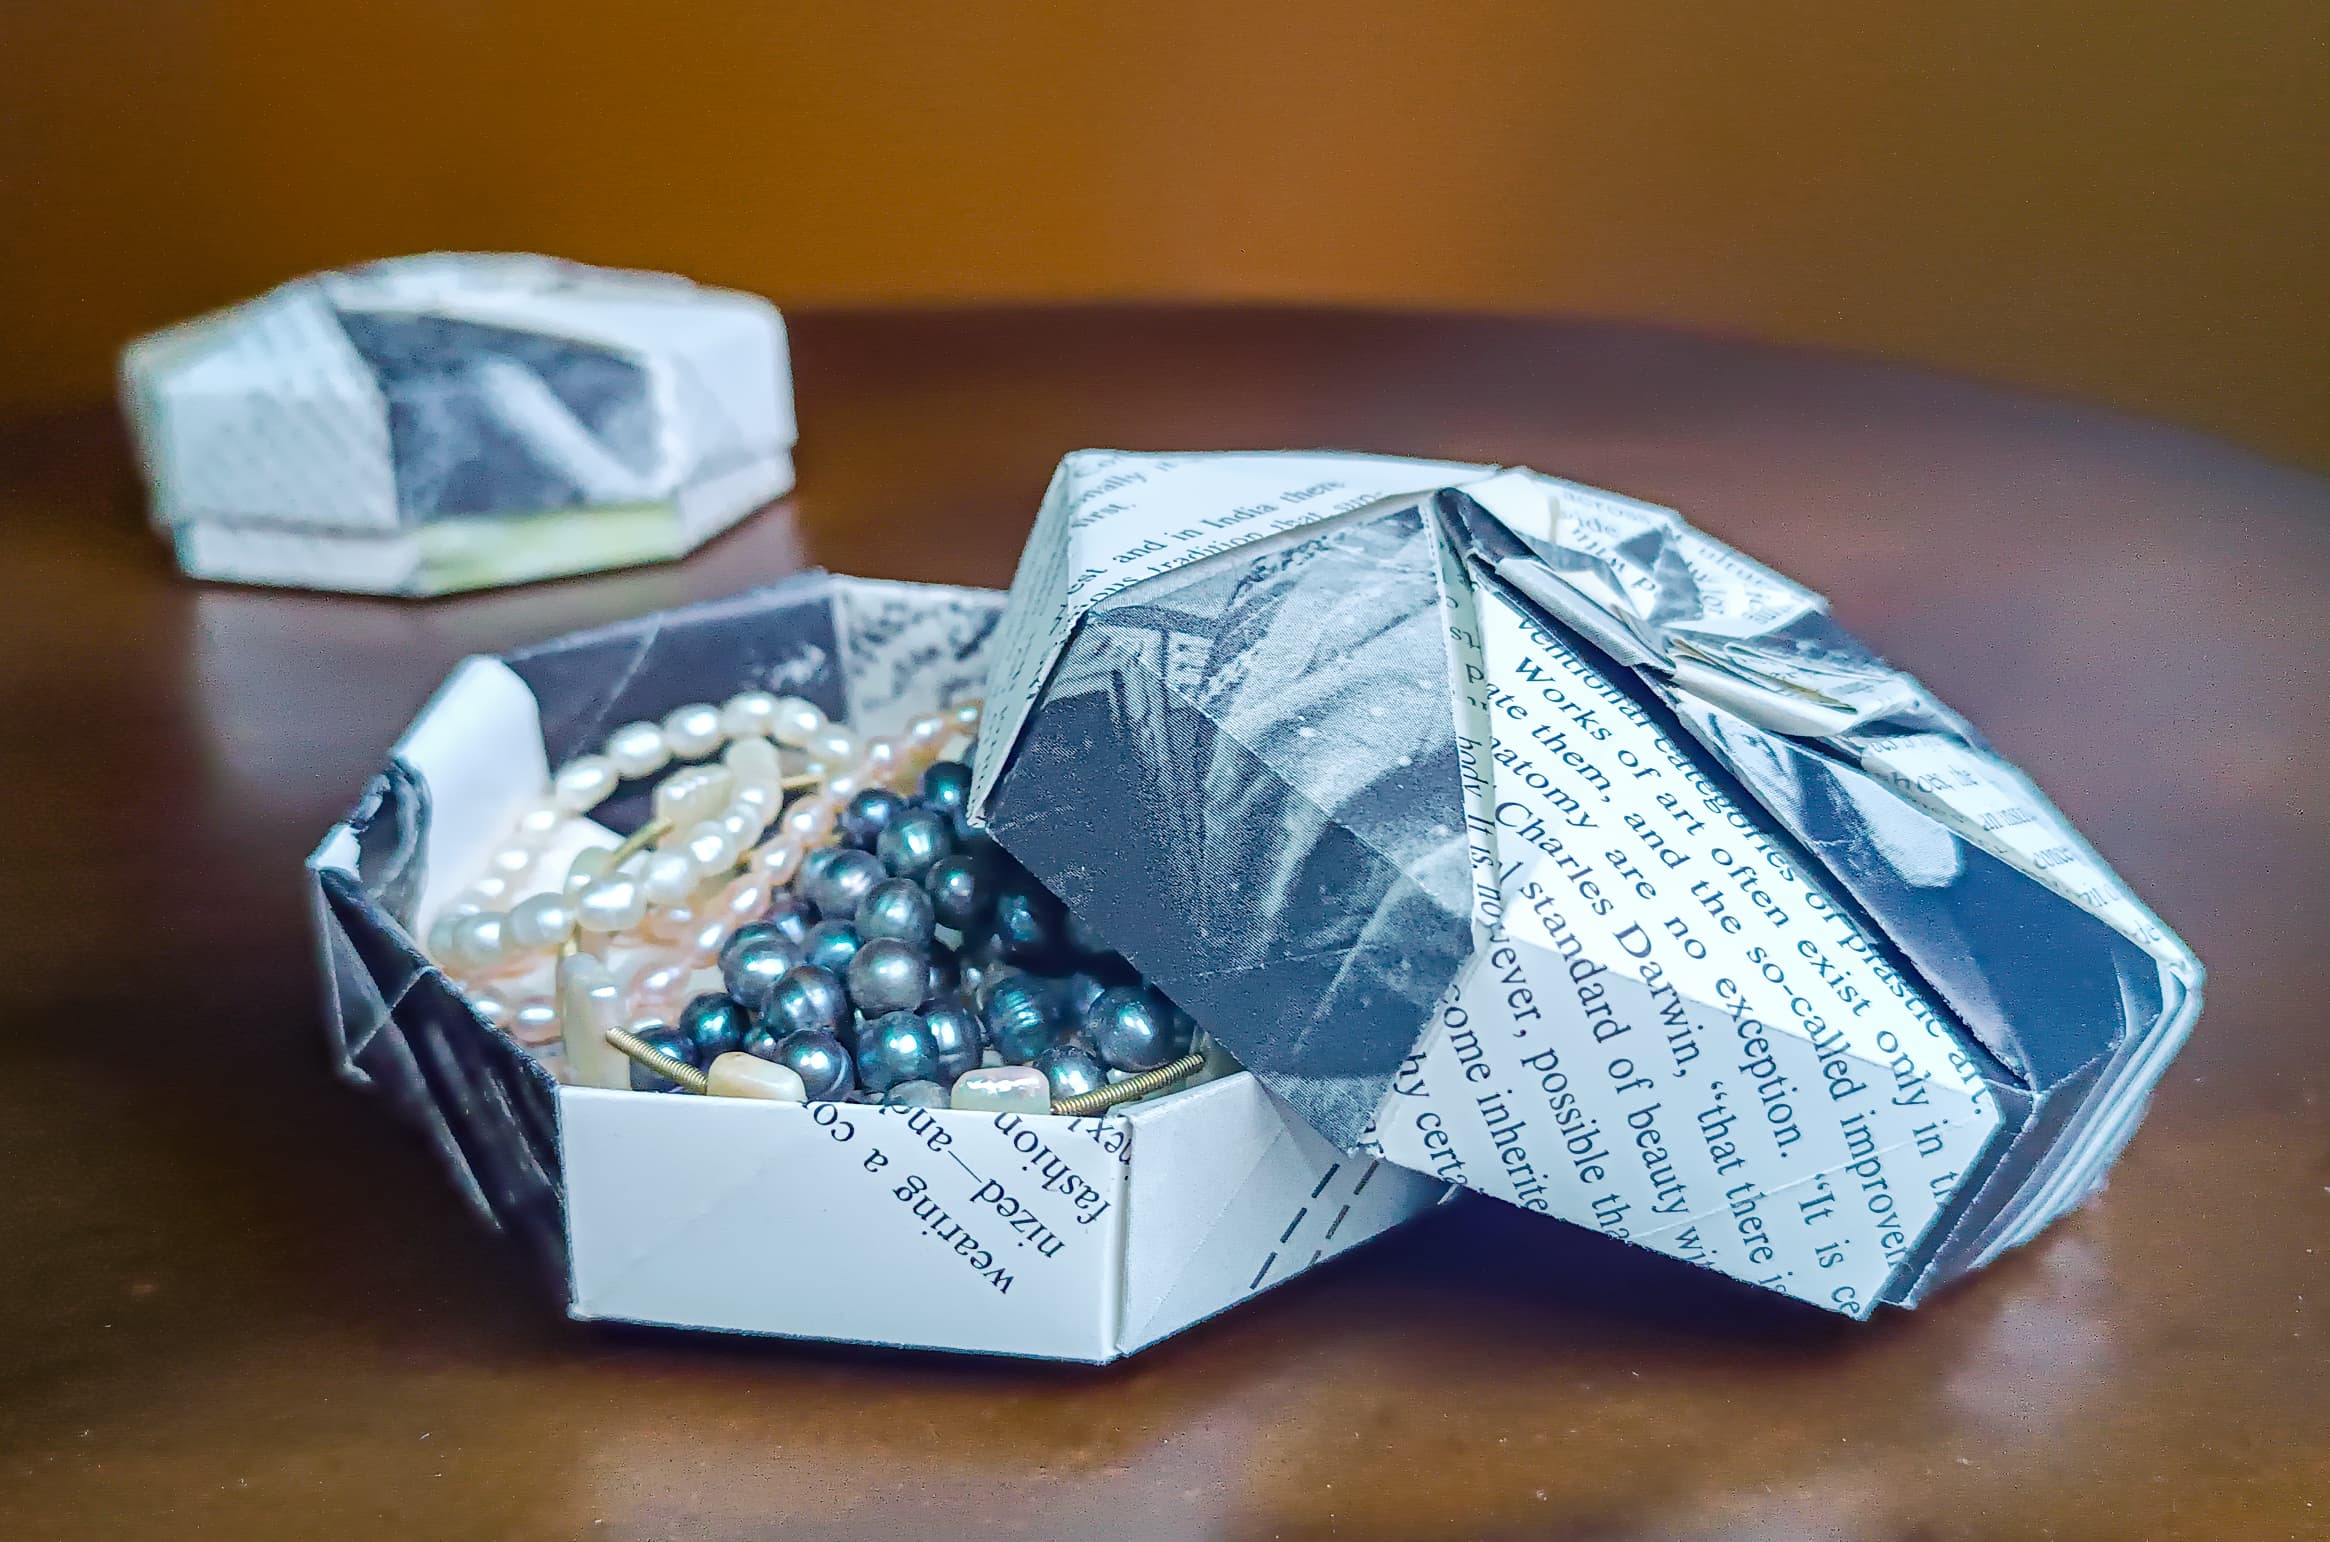
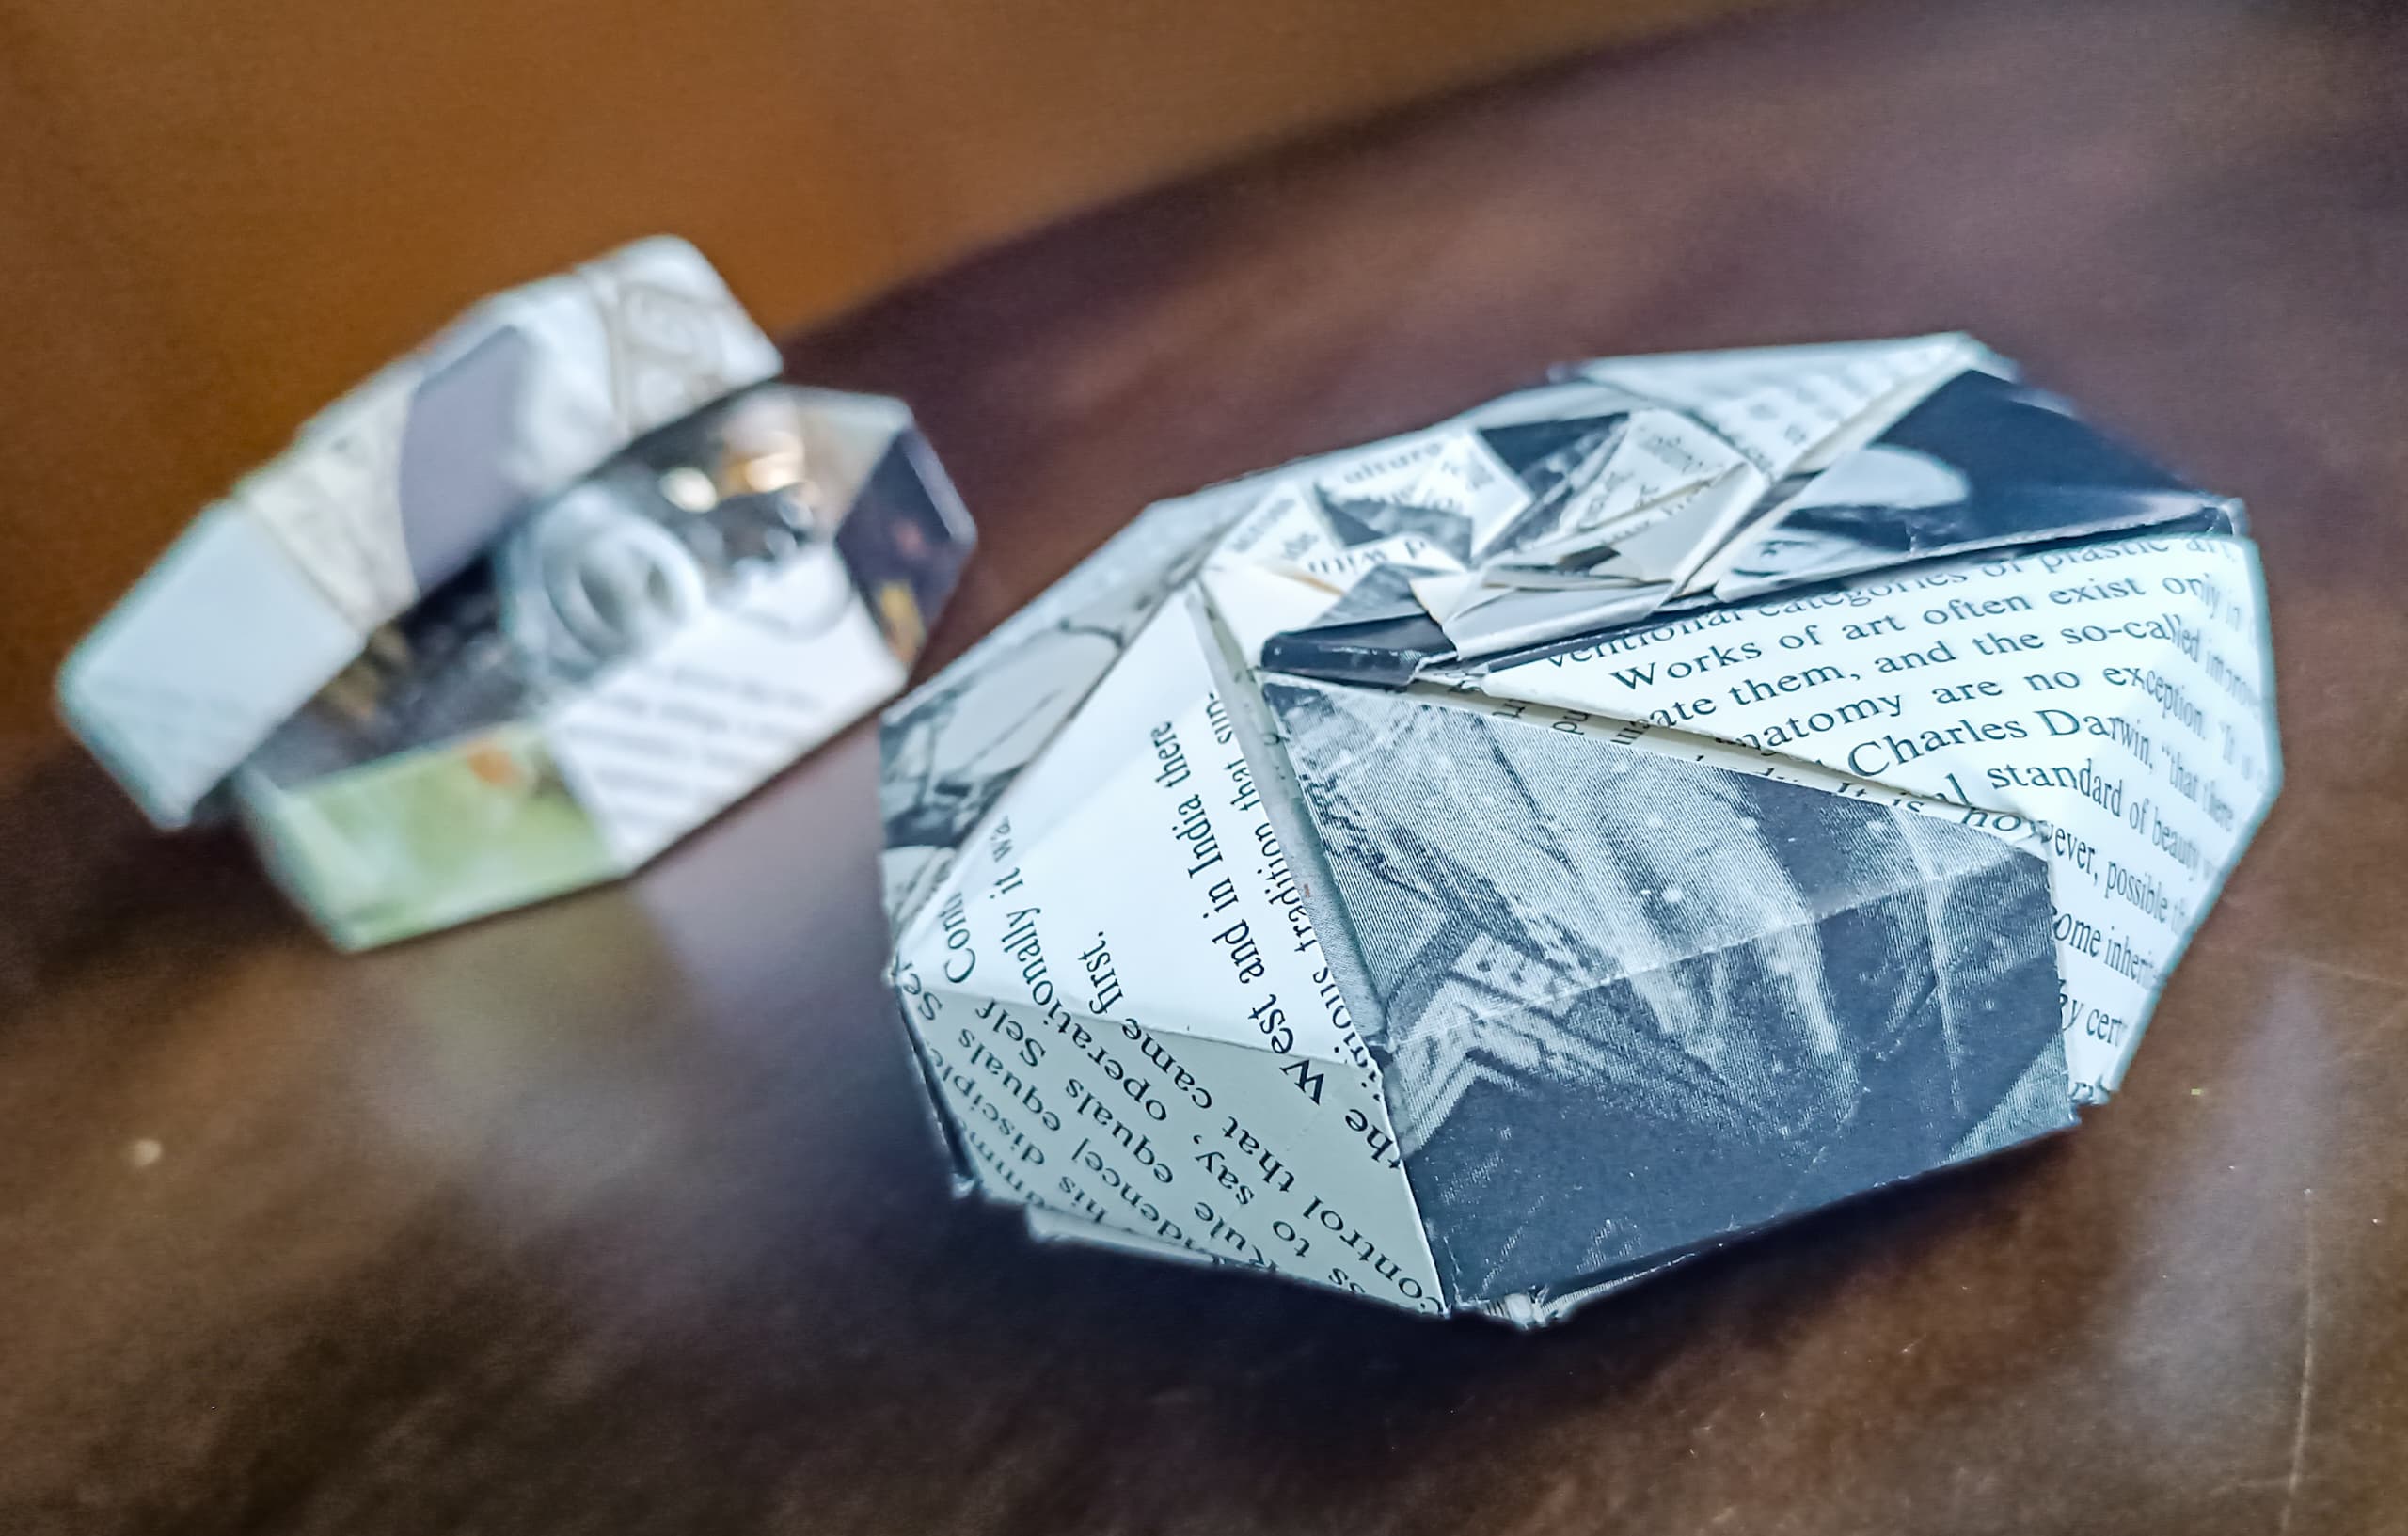
This time I want to bring you a beautiful chest made of origami. As it is well expressed in the basic characteristics of origami, we do not need scissors or glue. The figure assembles itself, supported by its good structure, for this we need to make folds and a precise assembly. What I enjoy the most about this figure is that although it looks complex it is really easy, because we only need to learn how to fold a piece and we will do it 16 times. Then we only need to understand the assembly.
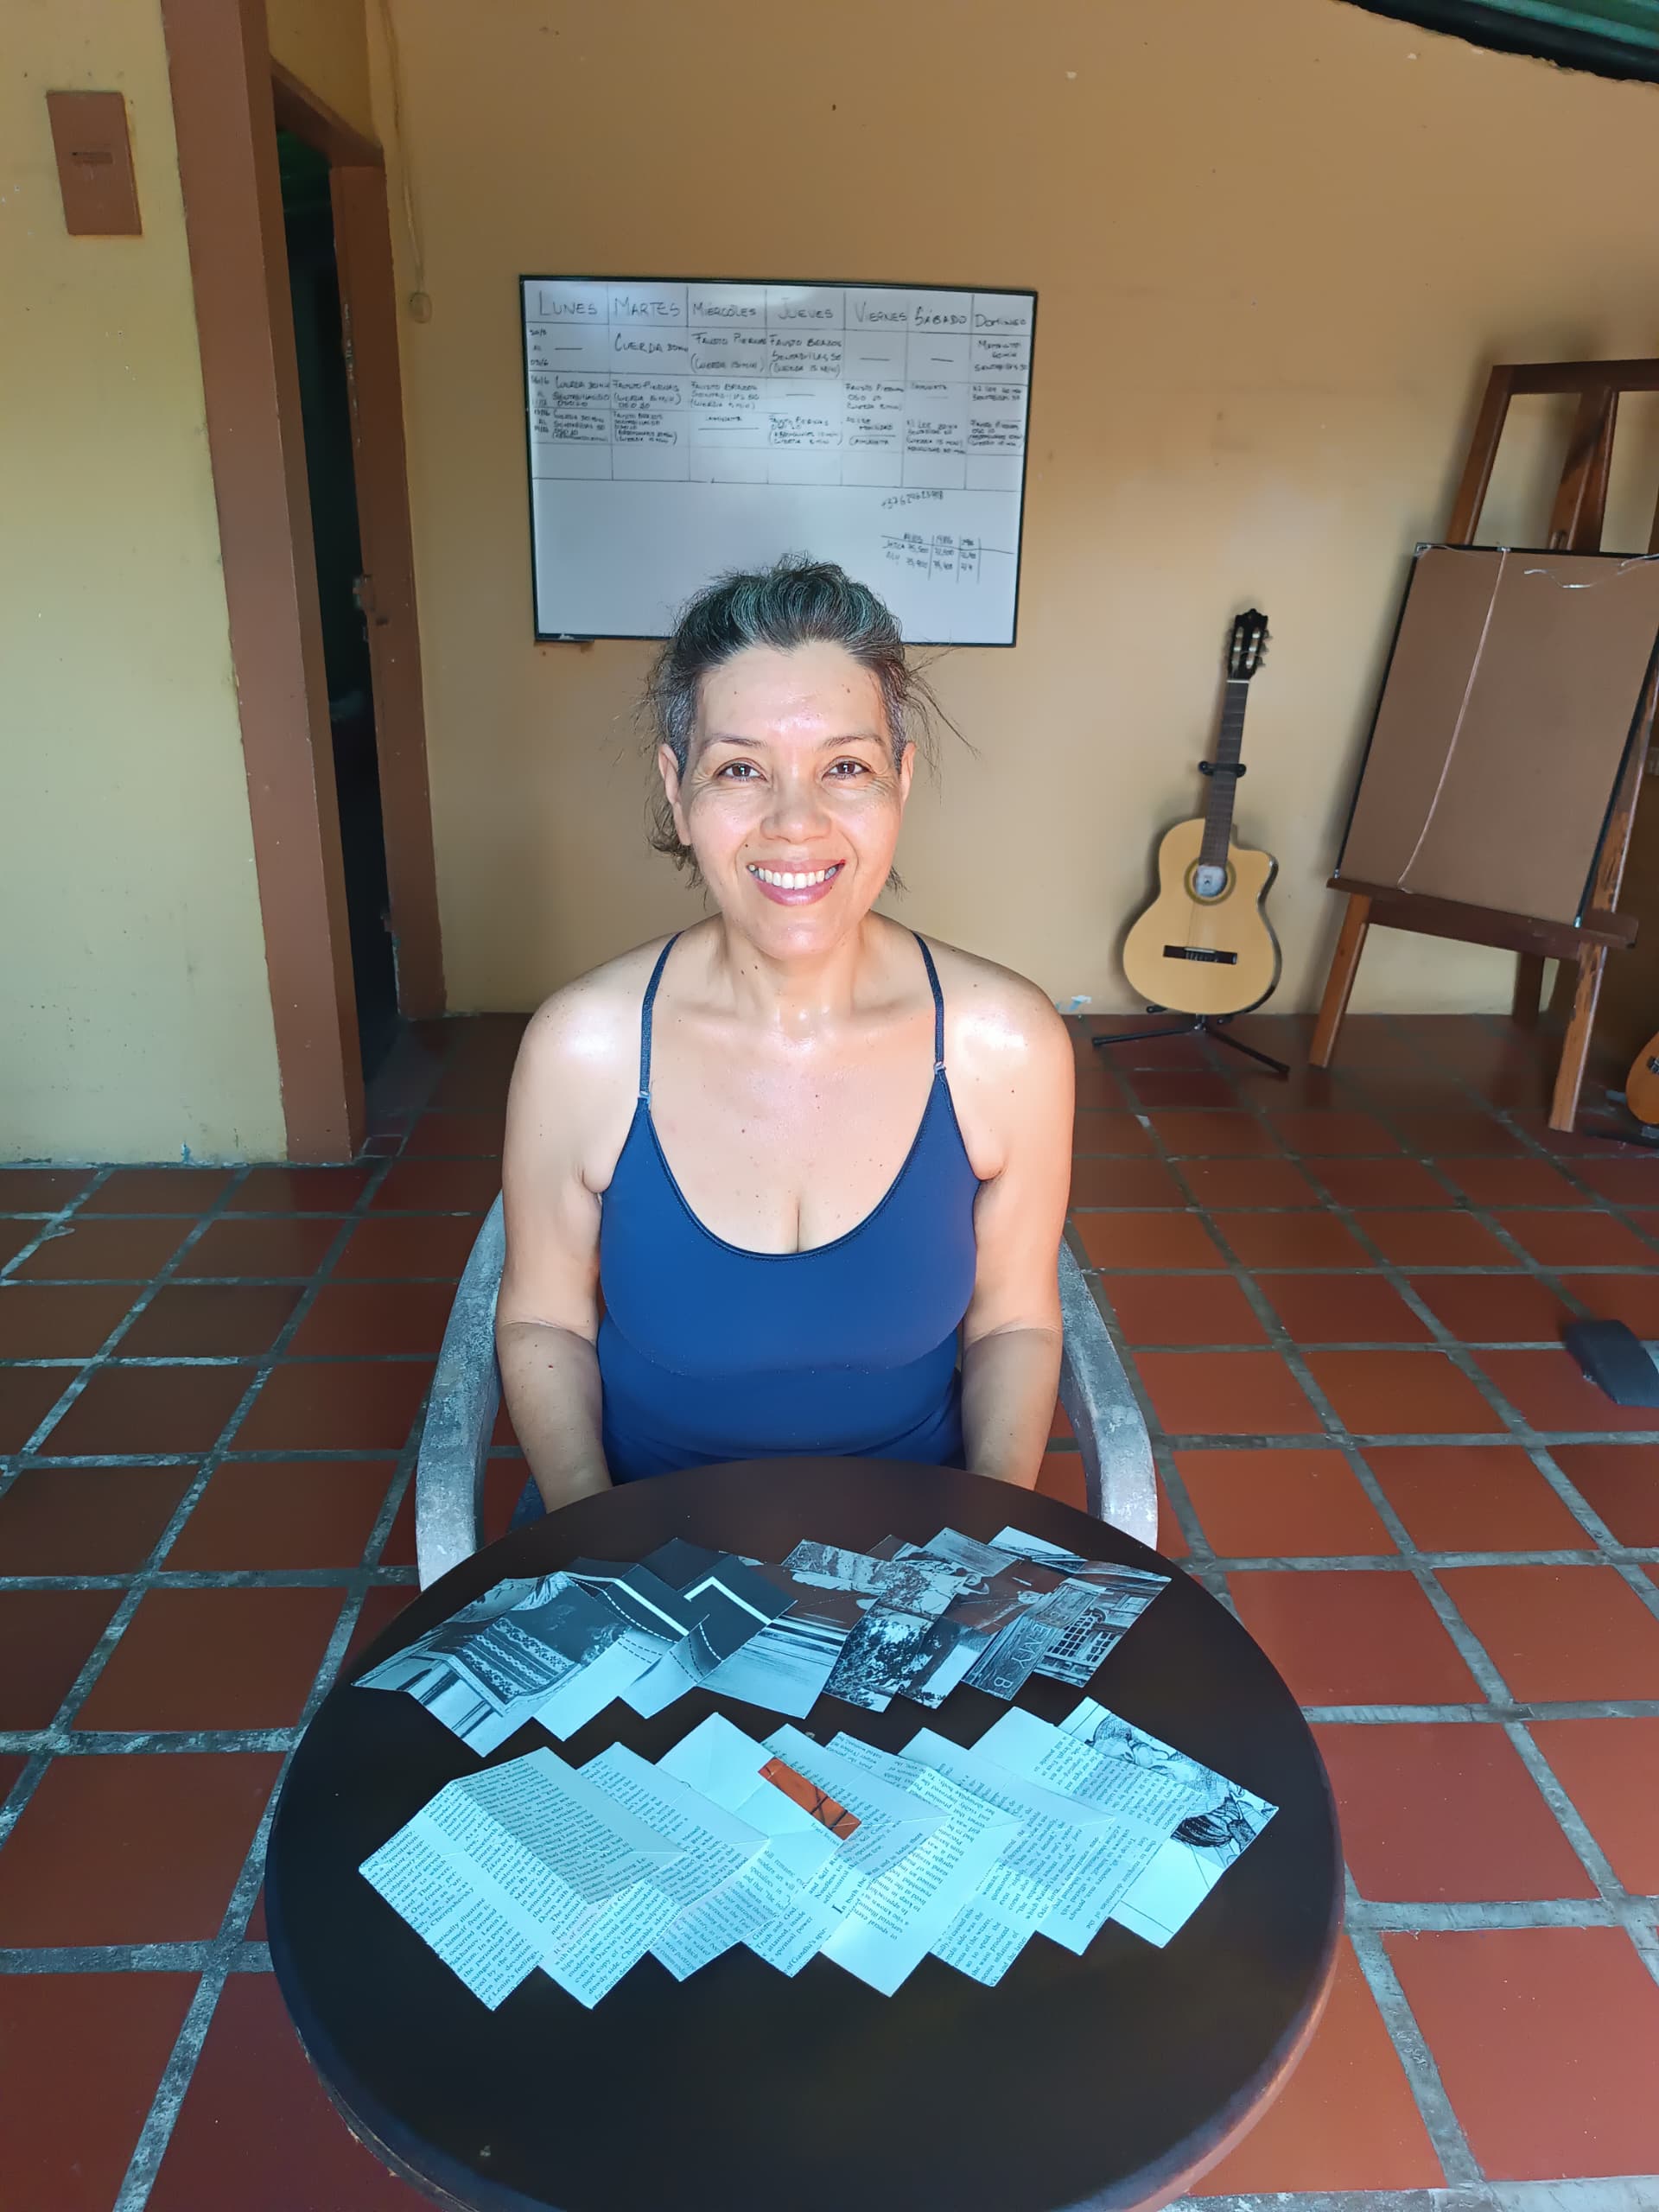
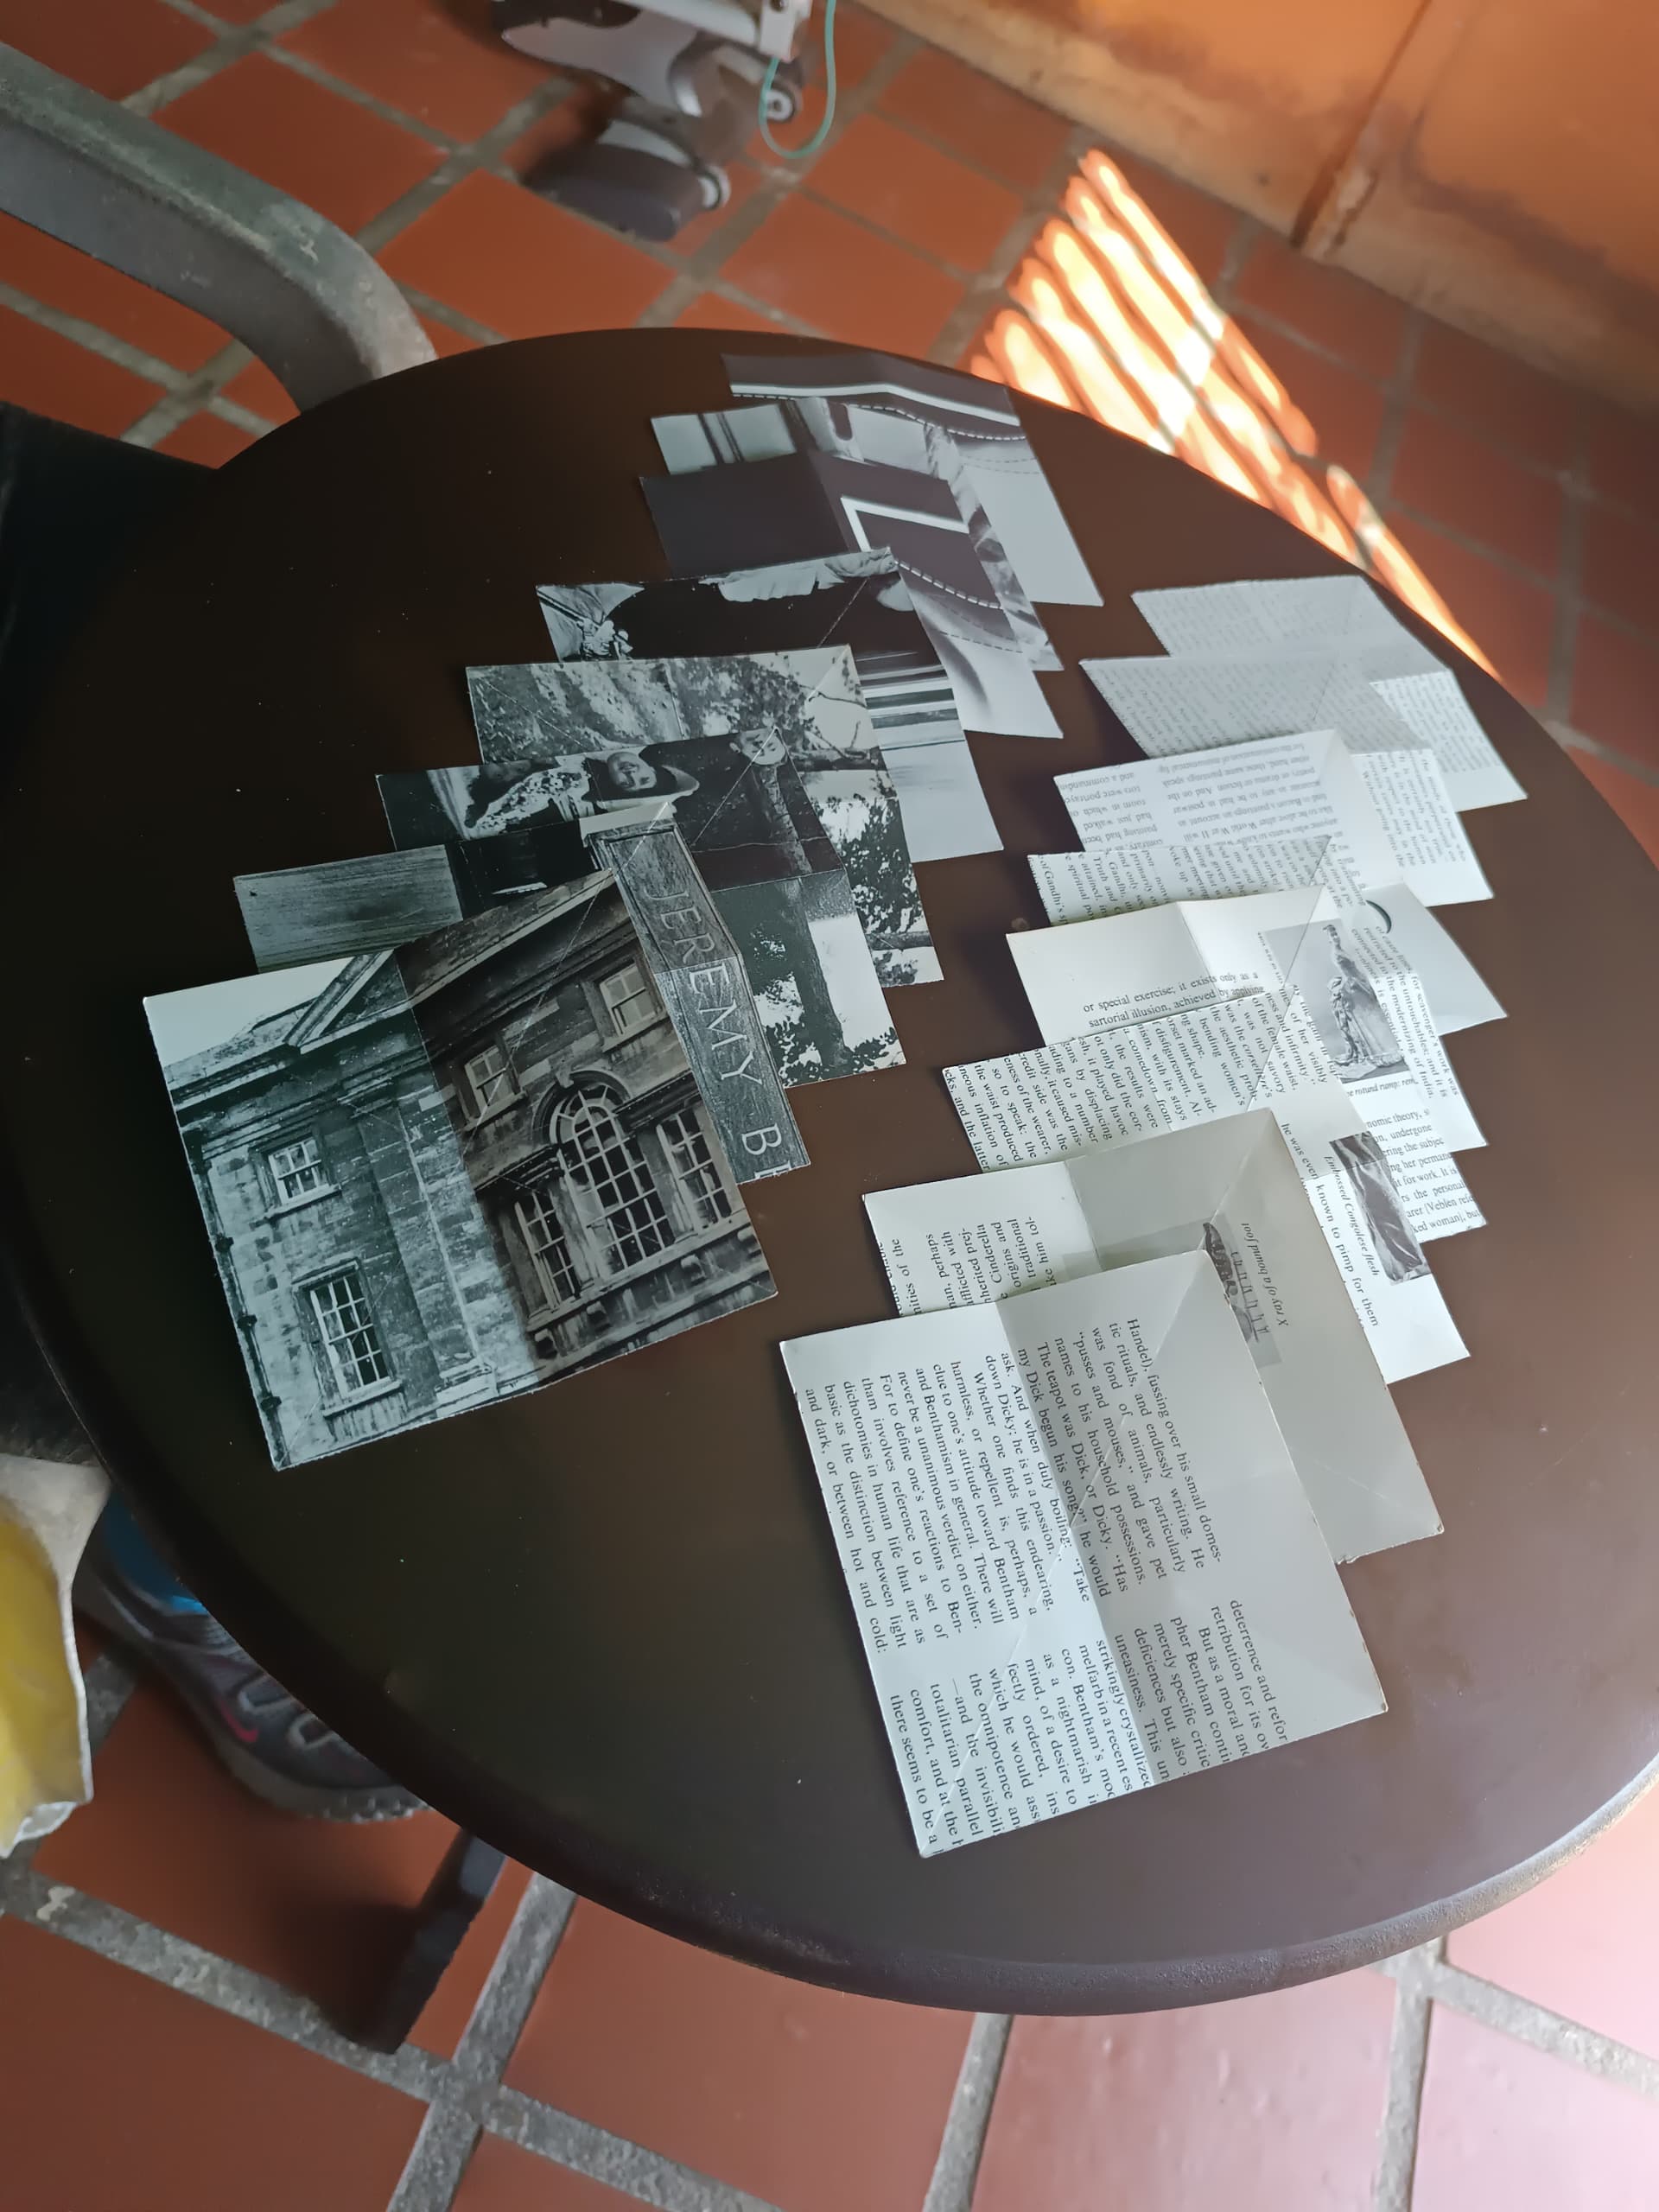
The first thing we will do is to get 16 squares of paper of the same size. In my case they are all 10 cm by 10 cm. For this I used the paper of an old magazine, since it was in German and as I do not understand the language and nobody I know knows it, I wanted to recycle the paper, as it is warm and with very impressive black and white shades. The good thing about origami is that it also allows us to give a second use to the paper.
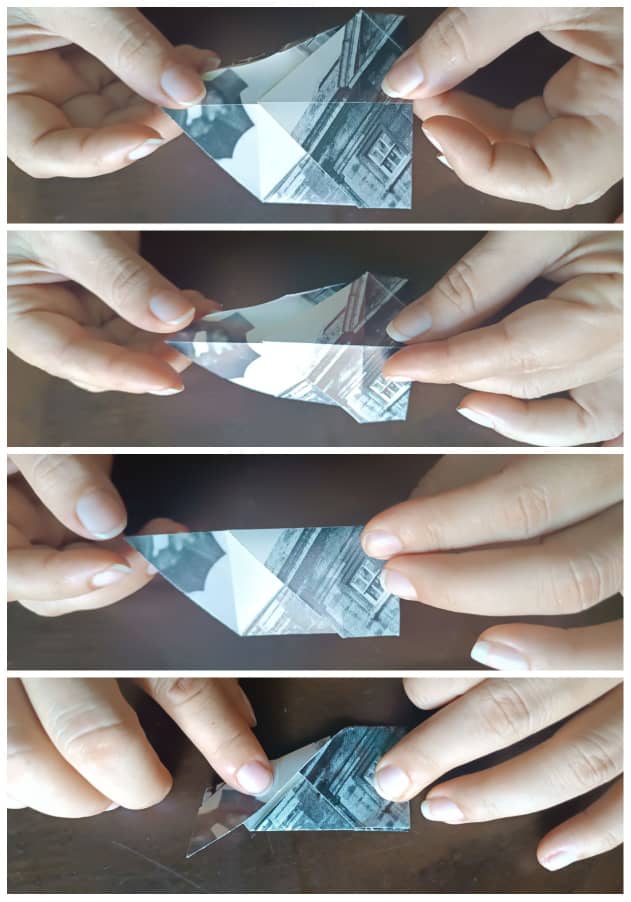
We will take one of the squares of paper and mark the guide lines. For this we will join the ends and fold the square in a rectangular and triangular shape by rotating the ends. Until when we open it we can see lines in the form of an asterisk.
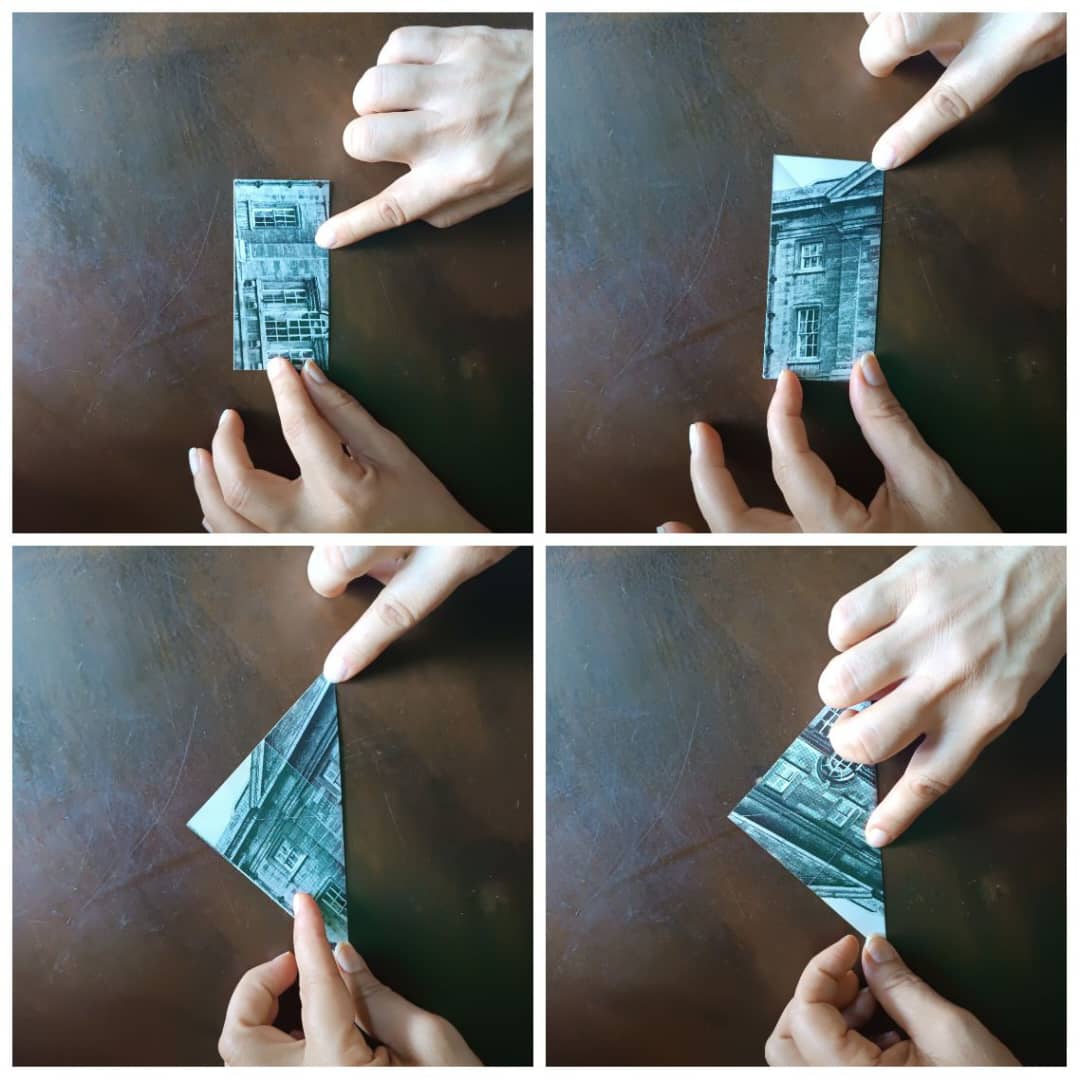
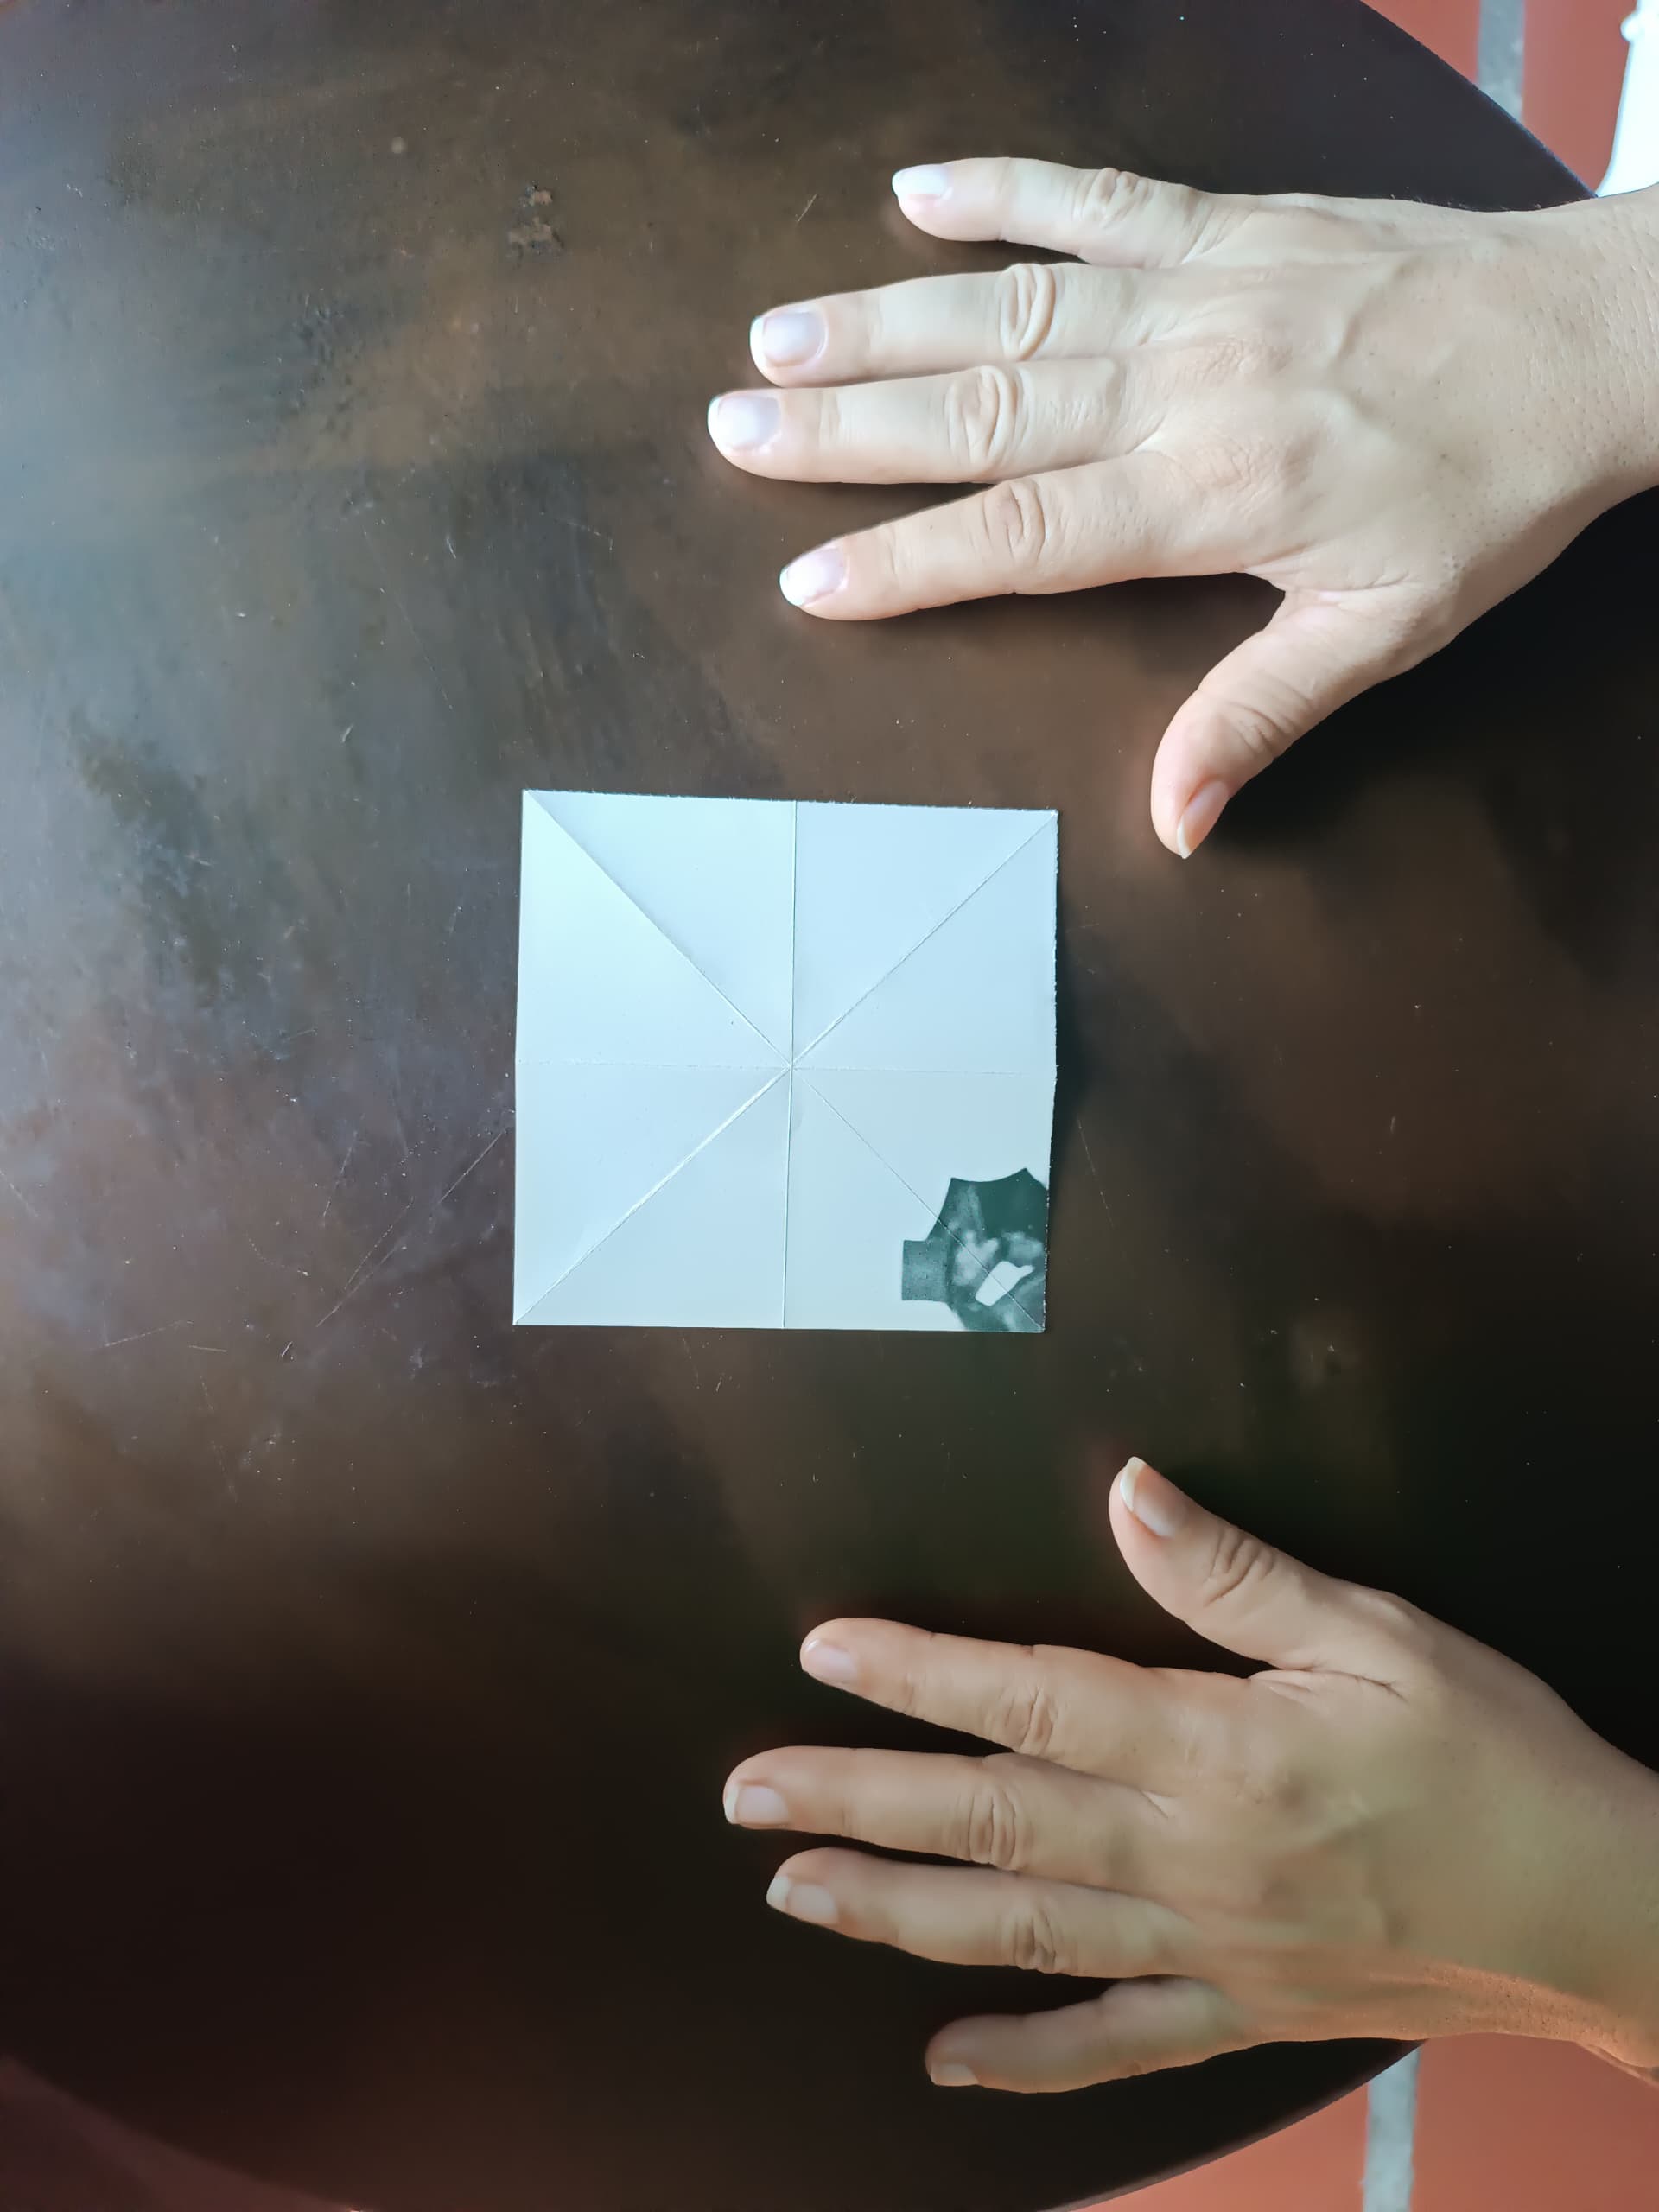
Next we will bring the four points of the square to the middle point, which will be marked by the asterisk we made.
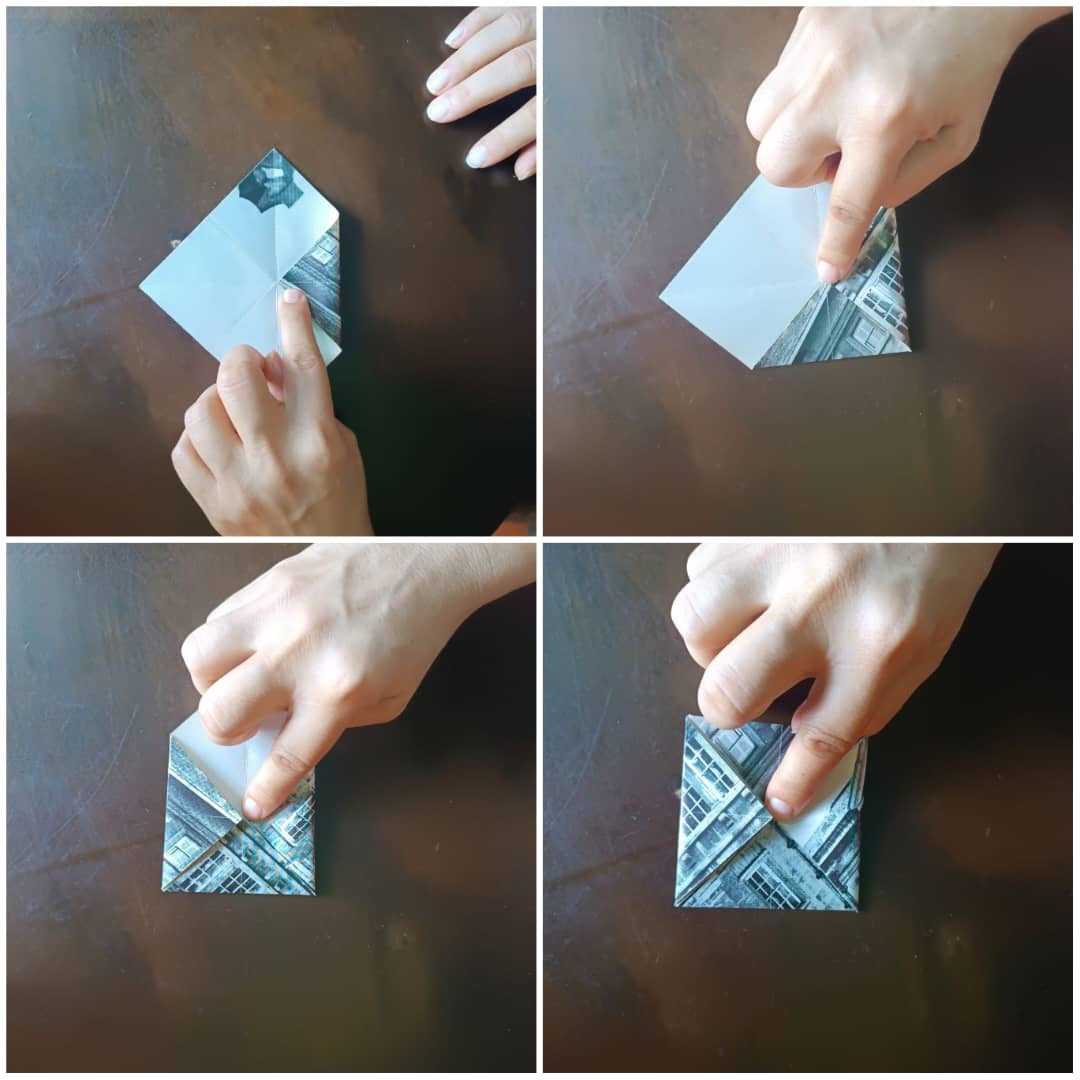
Next we will open two of the ends, this folding and unfolding is very common in origami, since some folds are made with the purpose of marking a line that will serve as a guide for another fold. In this case we will take one of the ends that we unfolded to the guide line that was marked with the opposite end. And we will also fold one of the sides making it coincide with the edge of the triangle that was formed in the center.
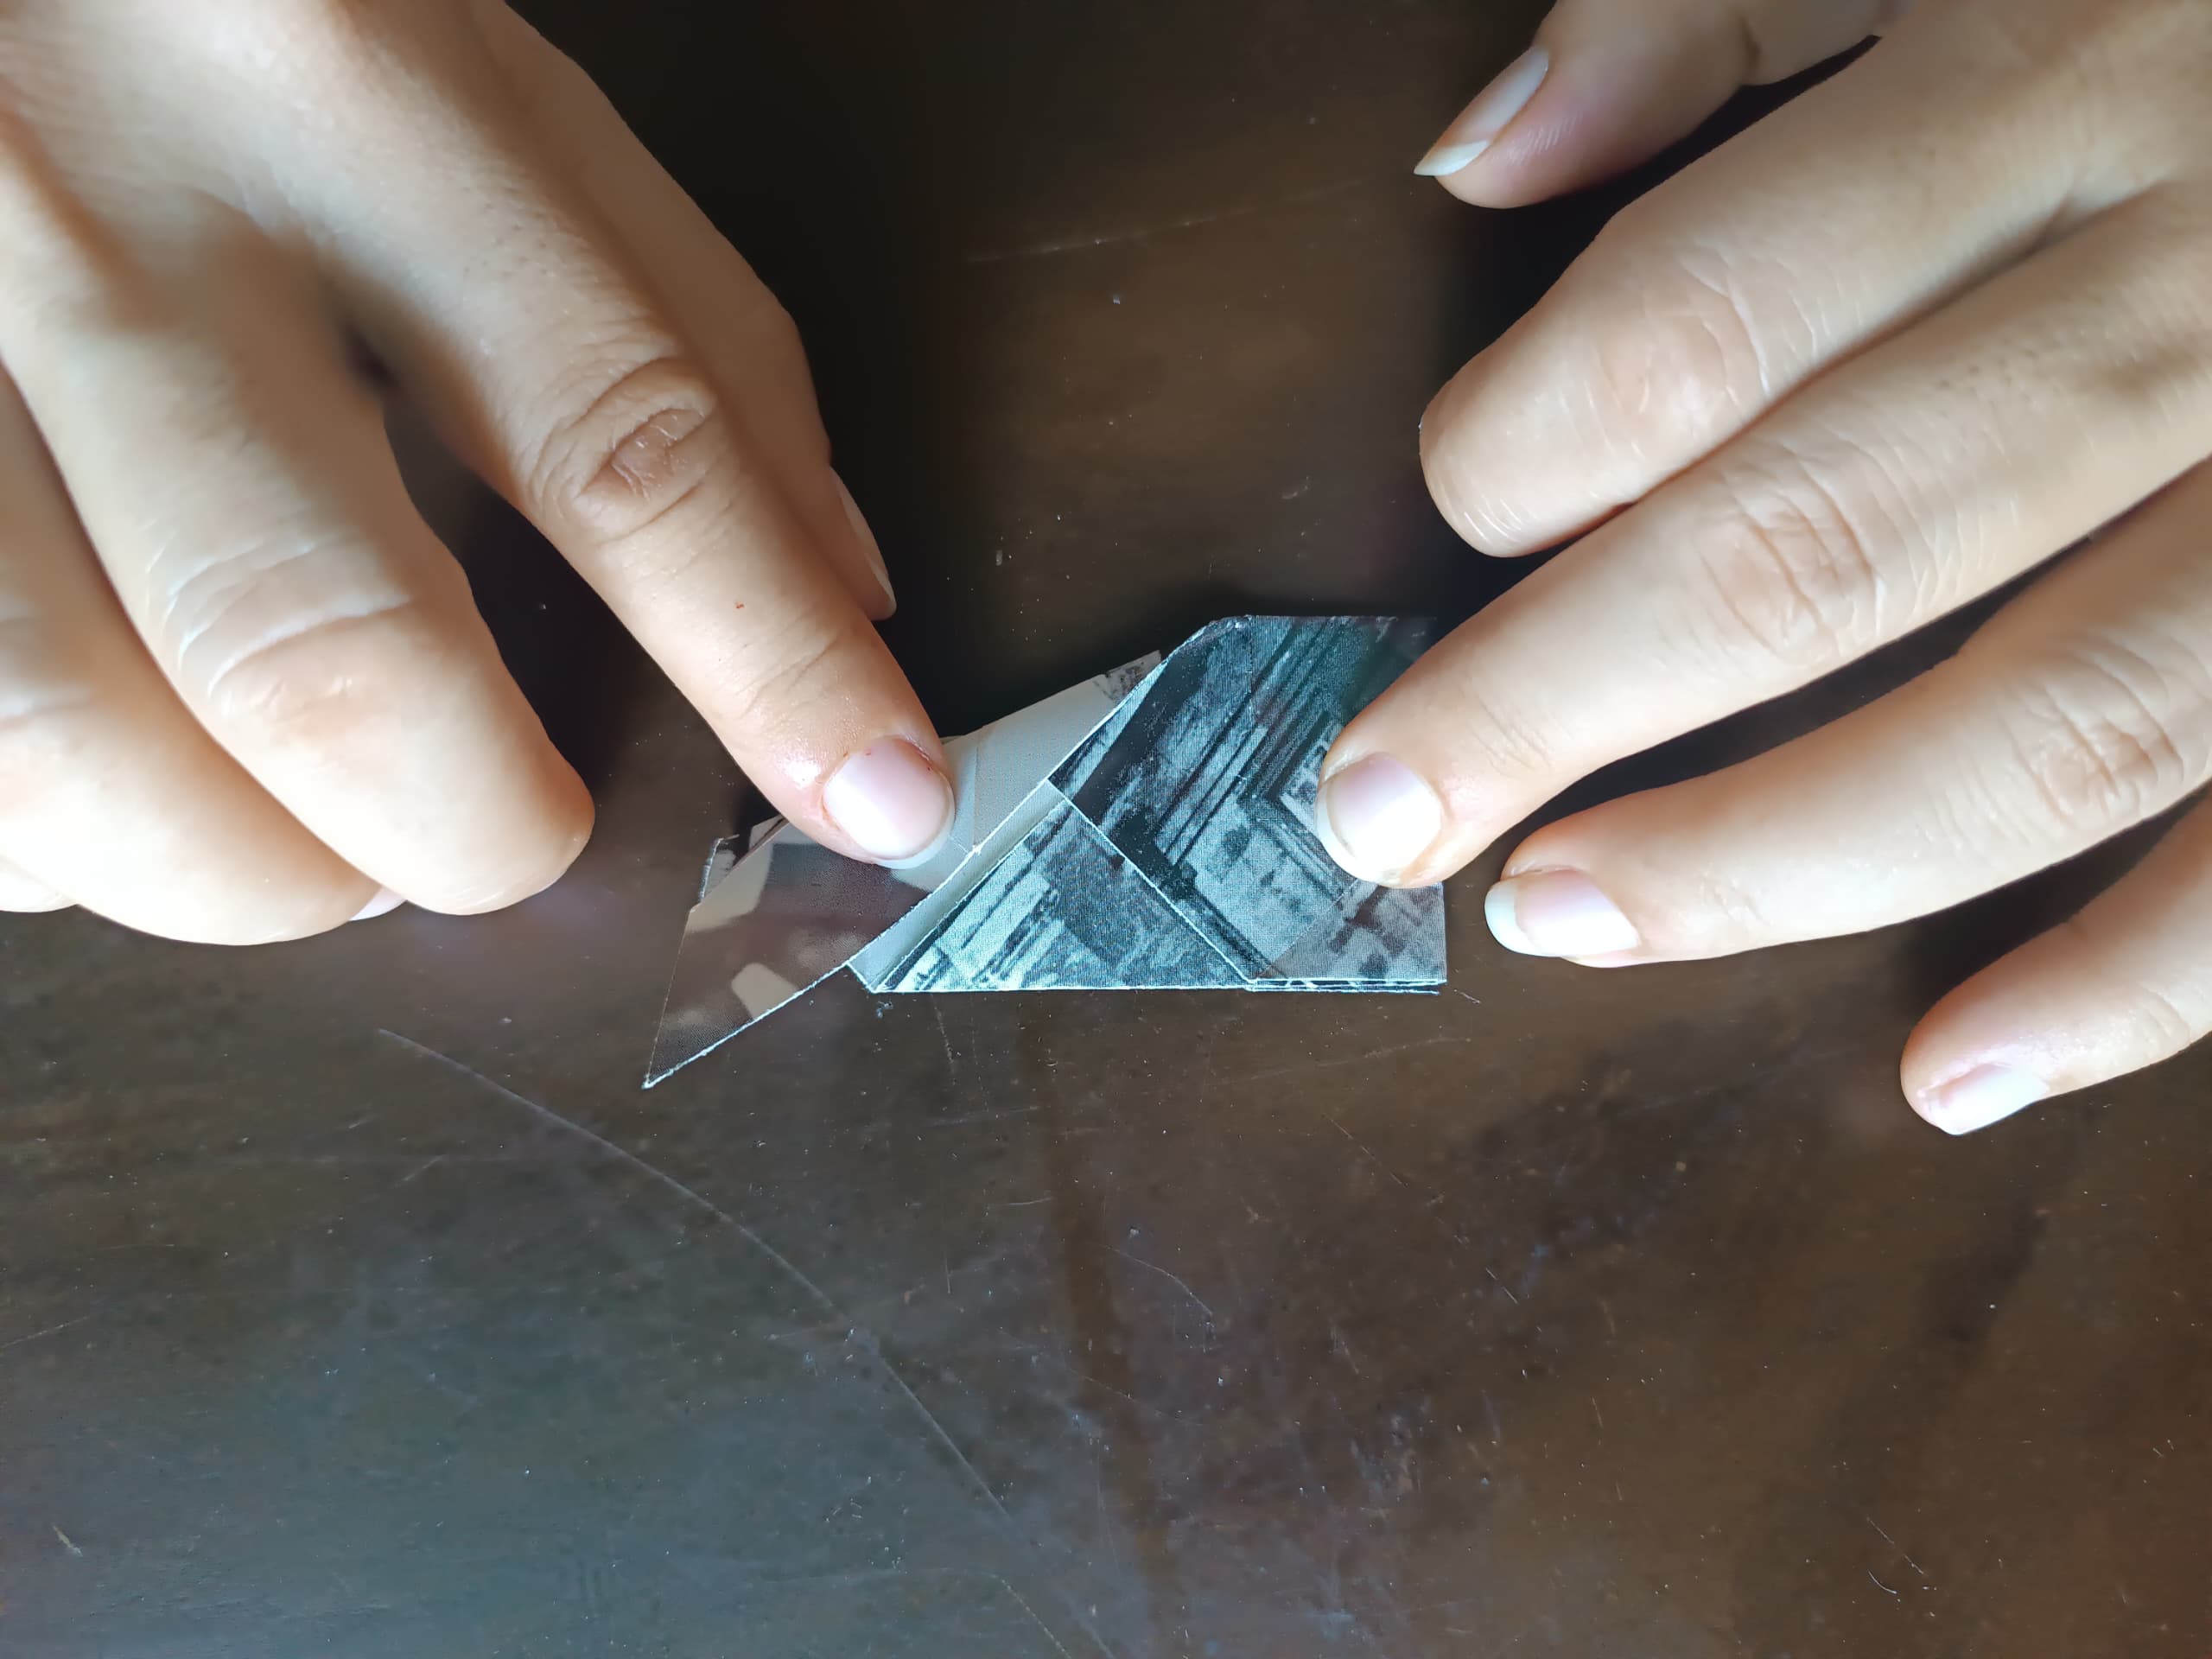
Finally we will fold the figure in half, that line is also marked along the figure. When we mark well the guide lines the figure assembles itself. This implies not to omit any line, but not to make extra lines either.
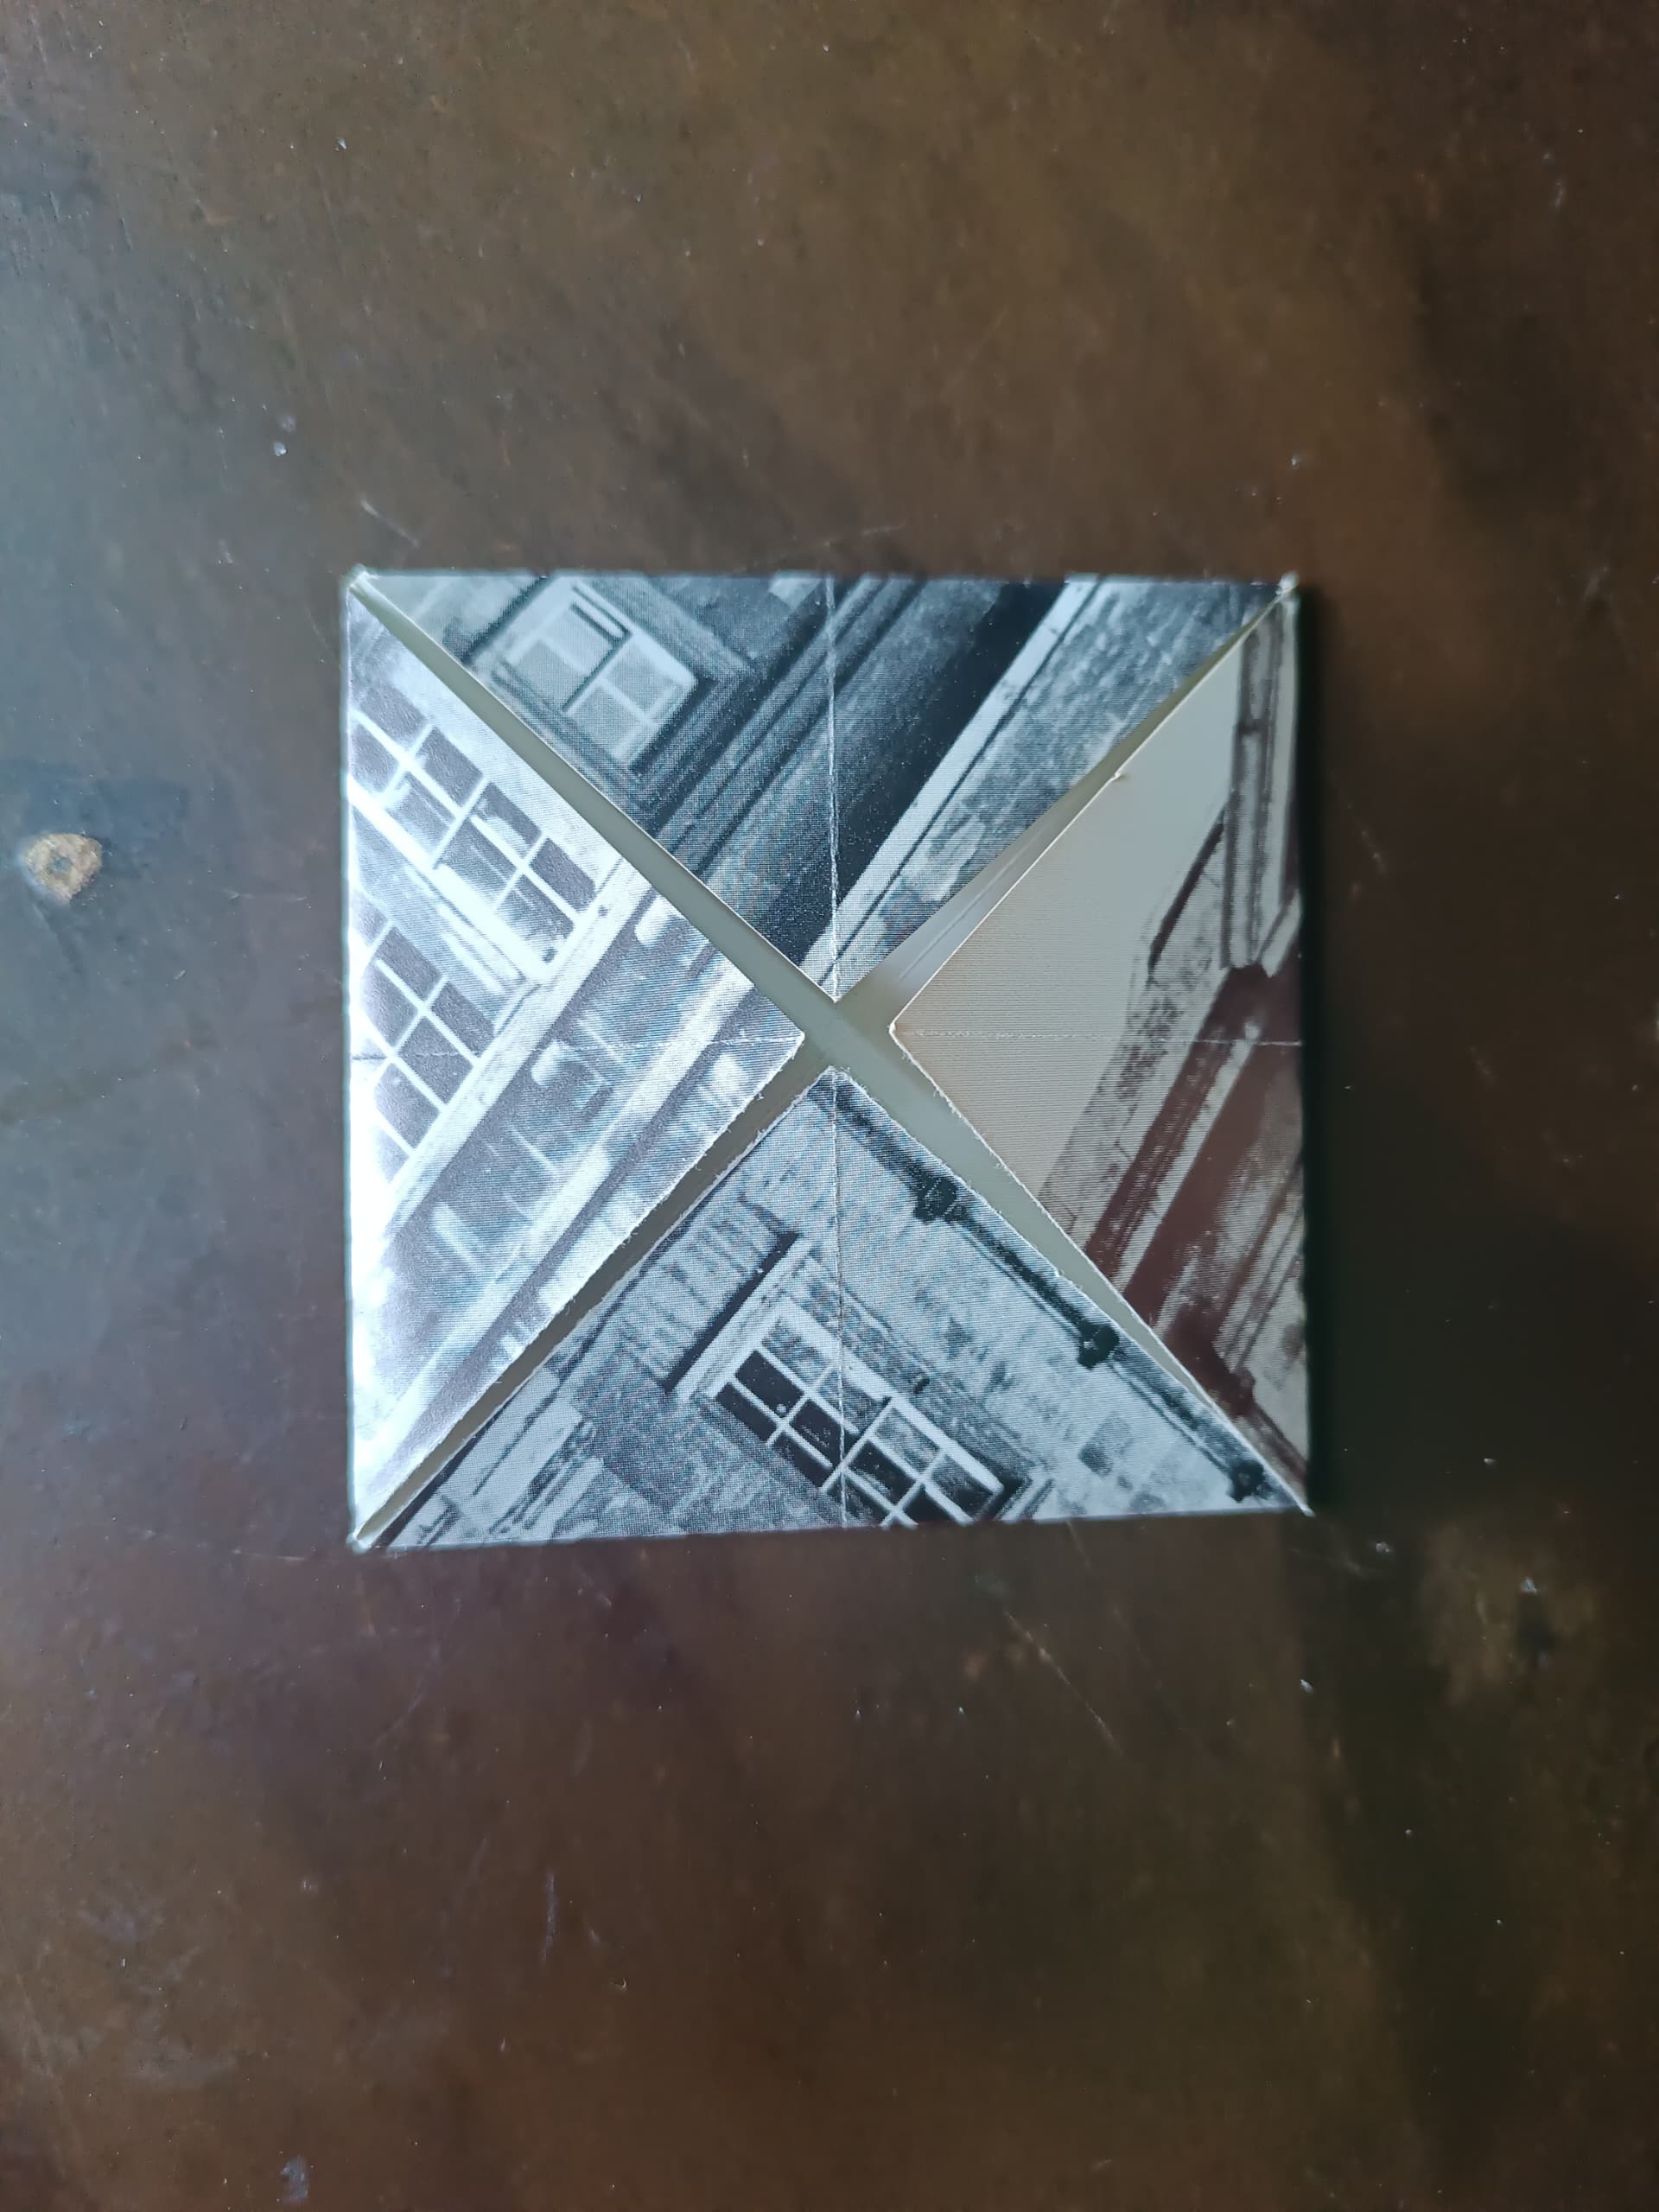
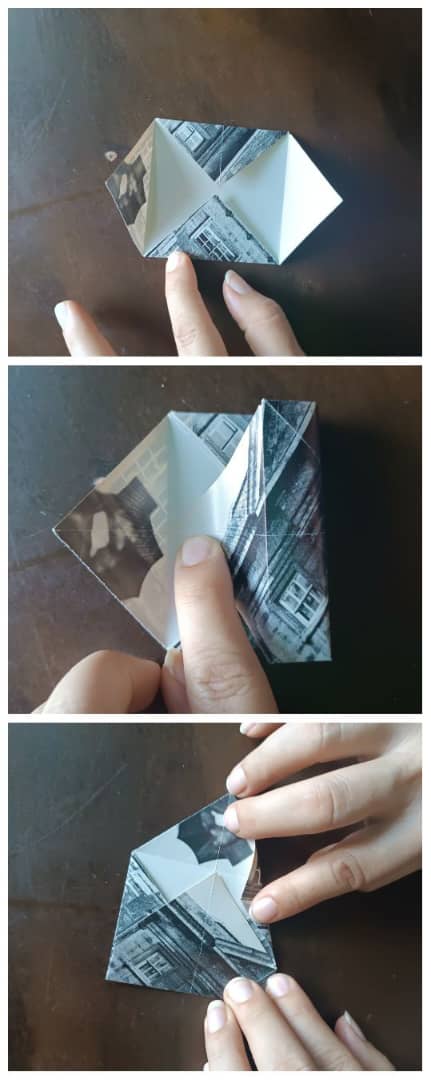
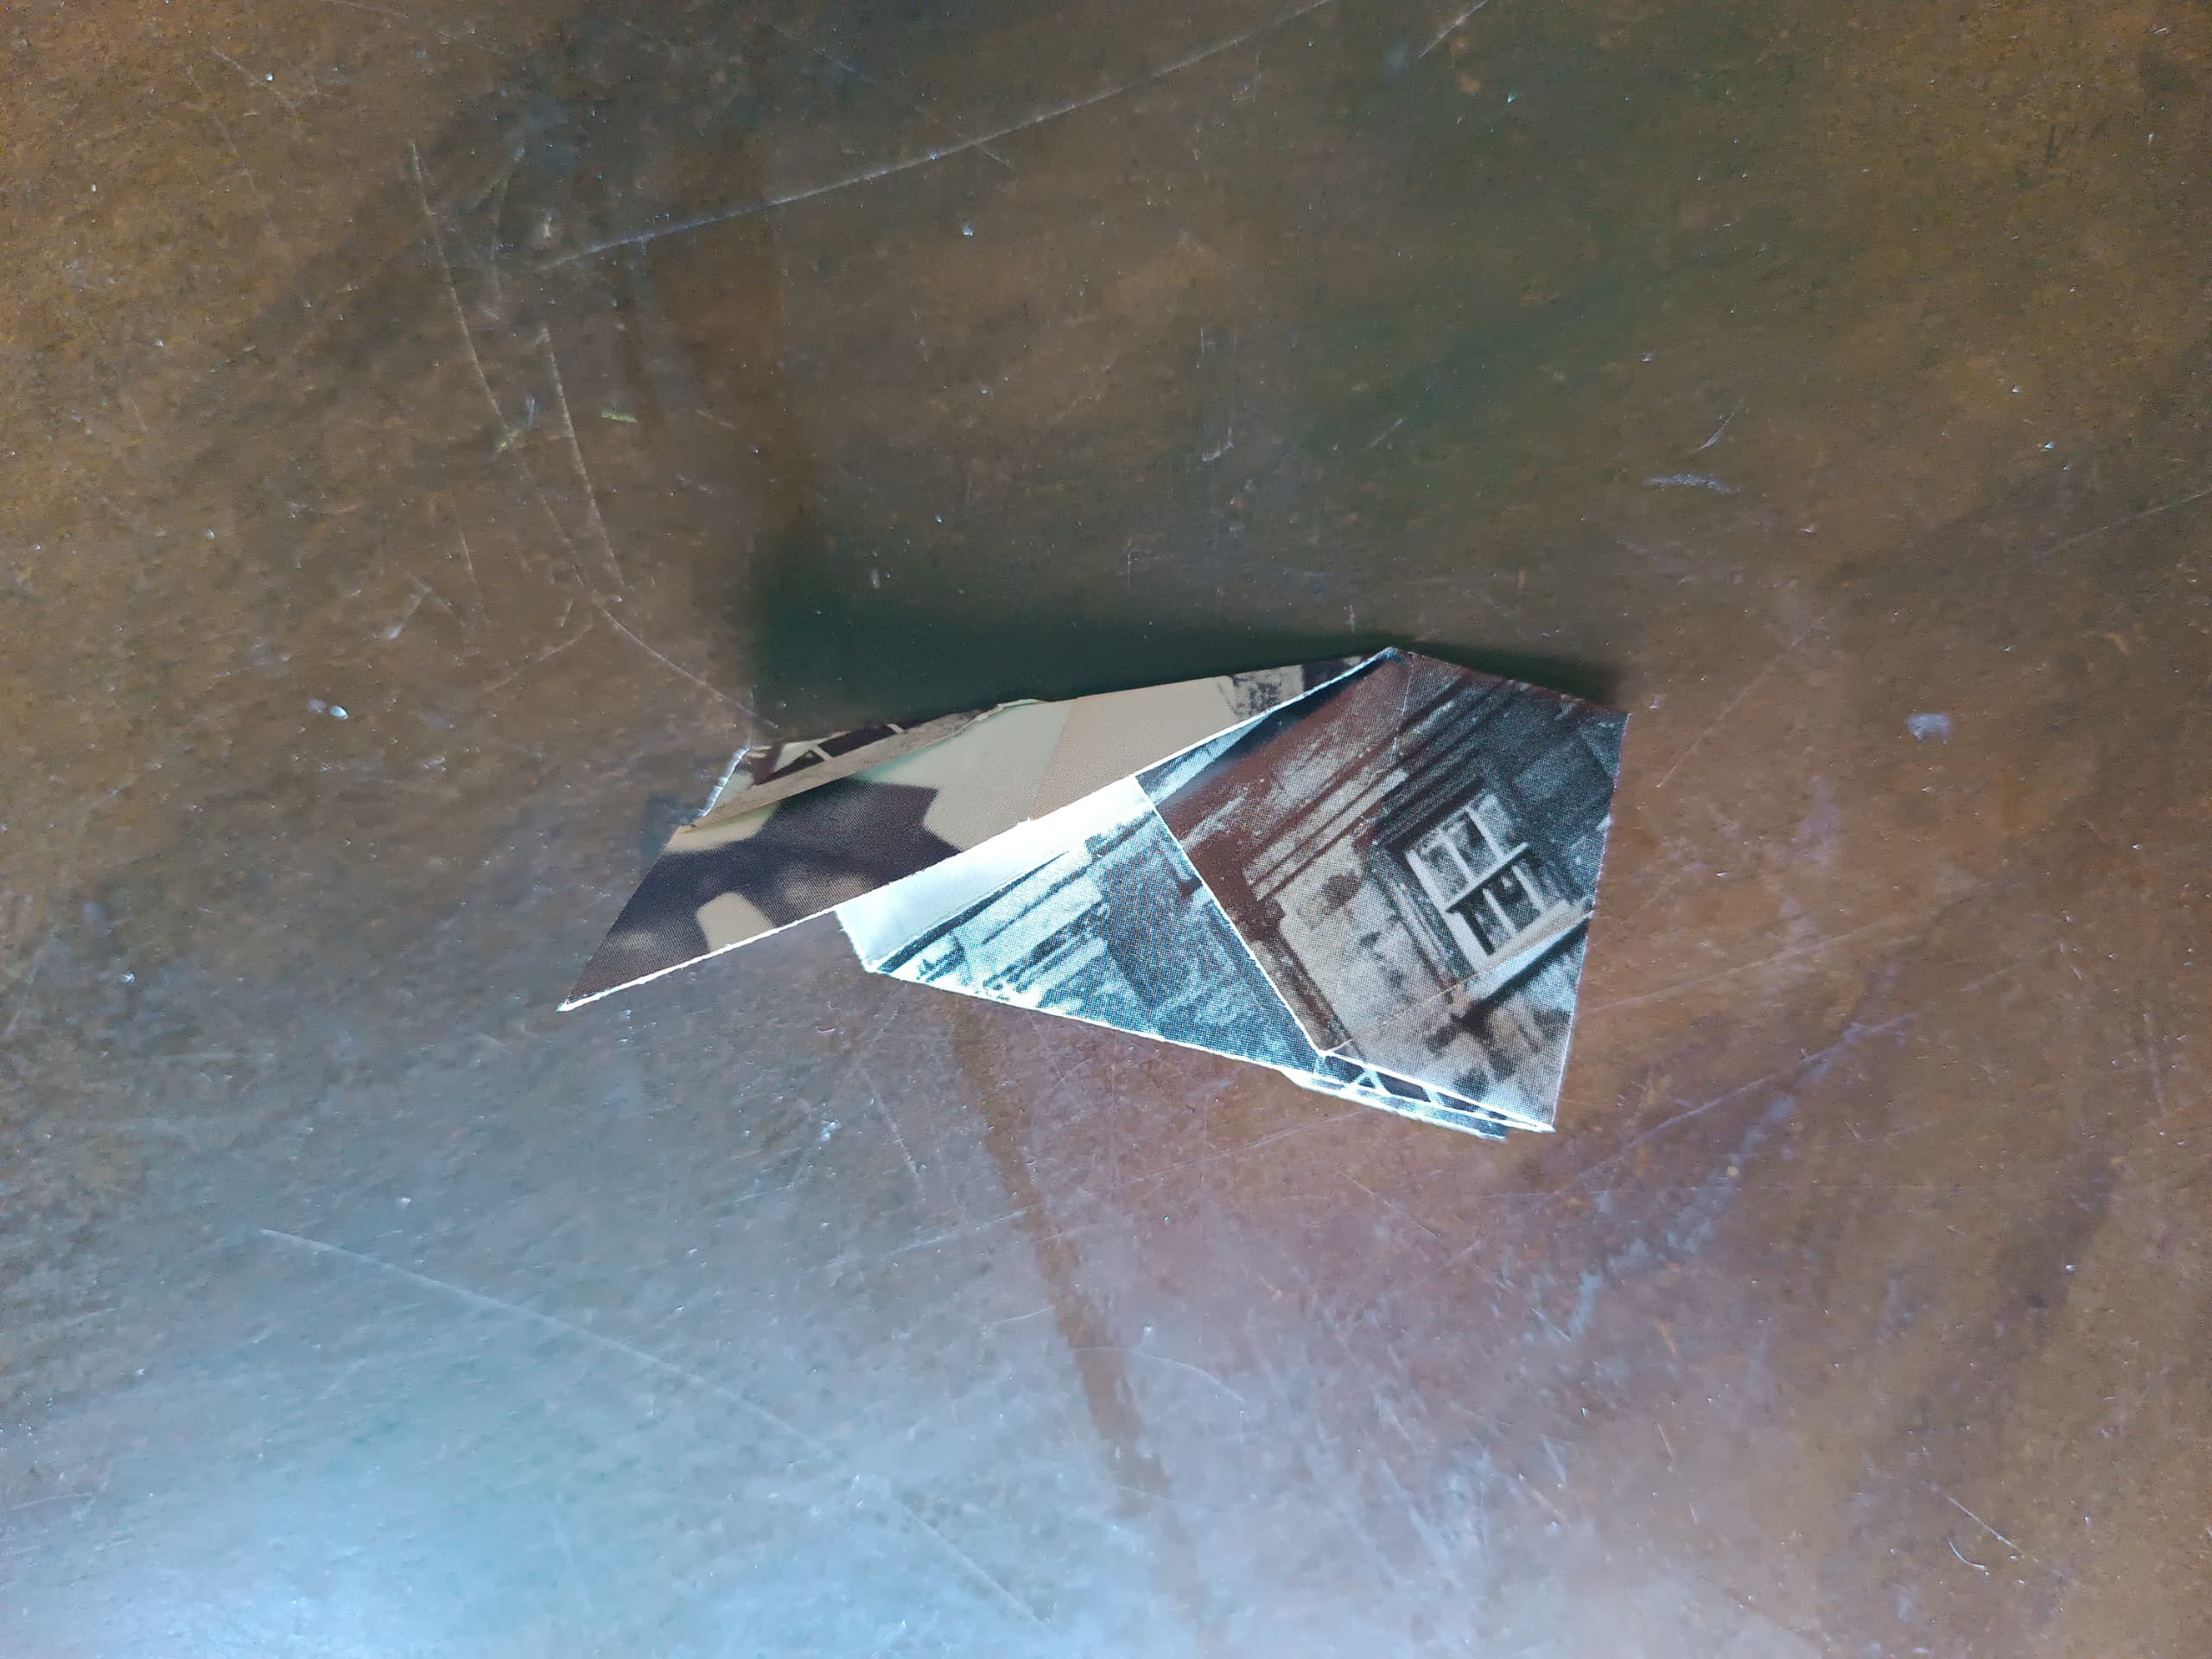
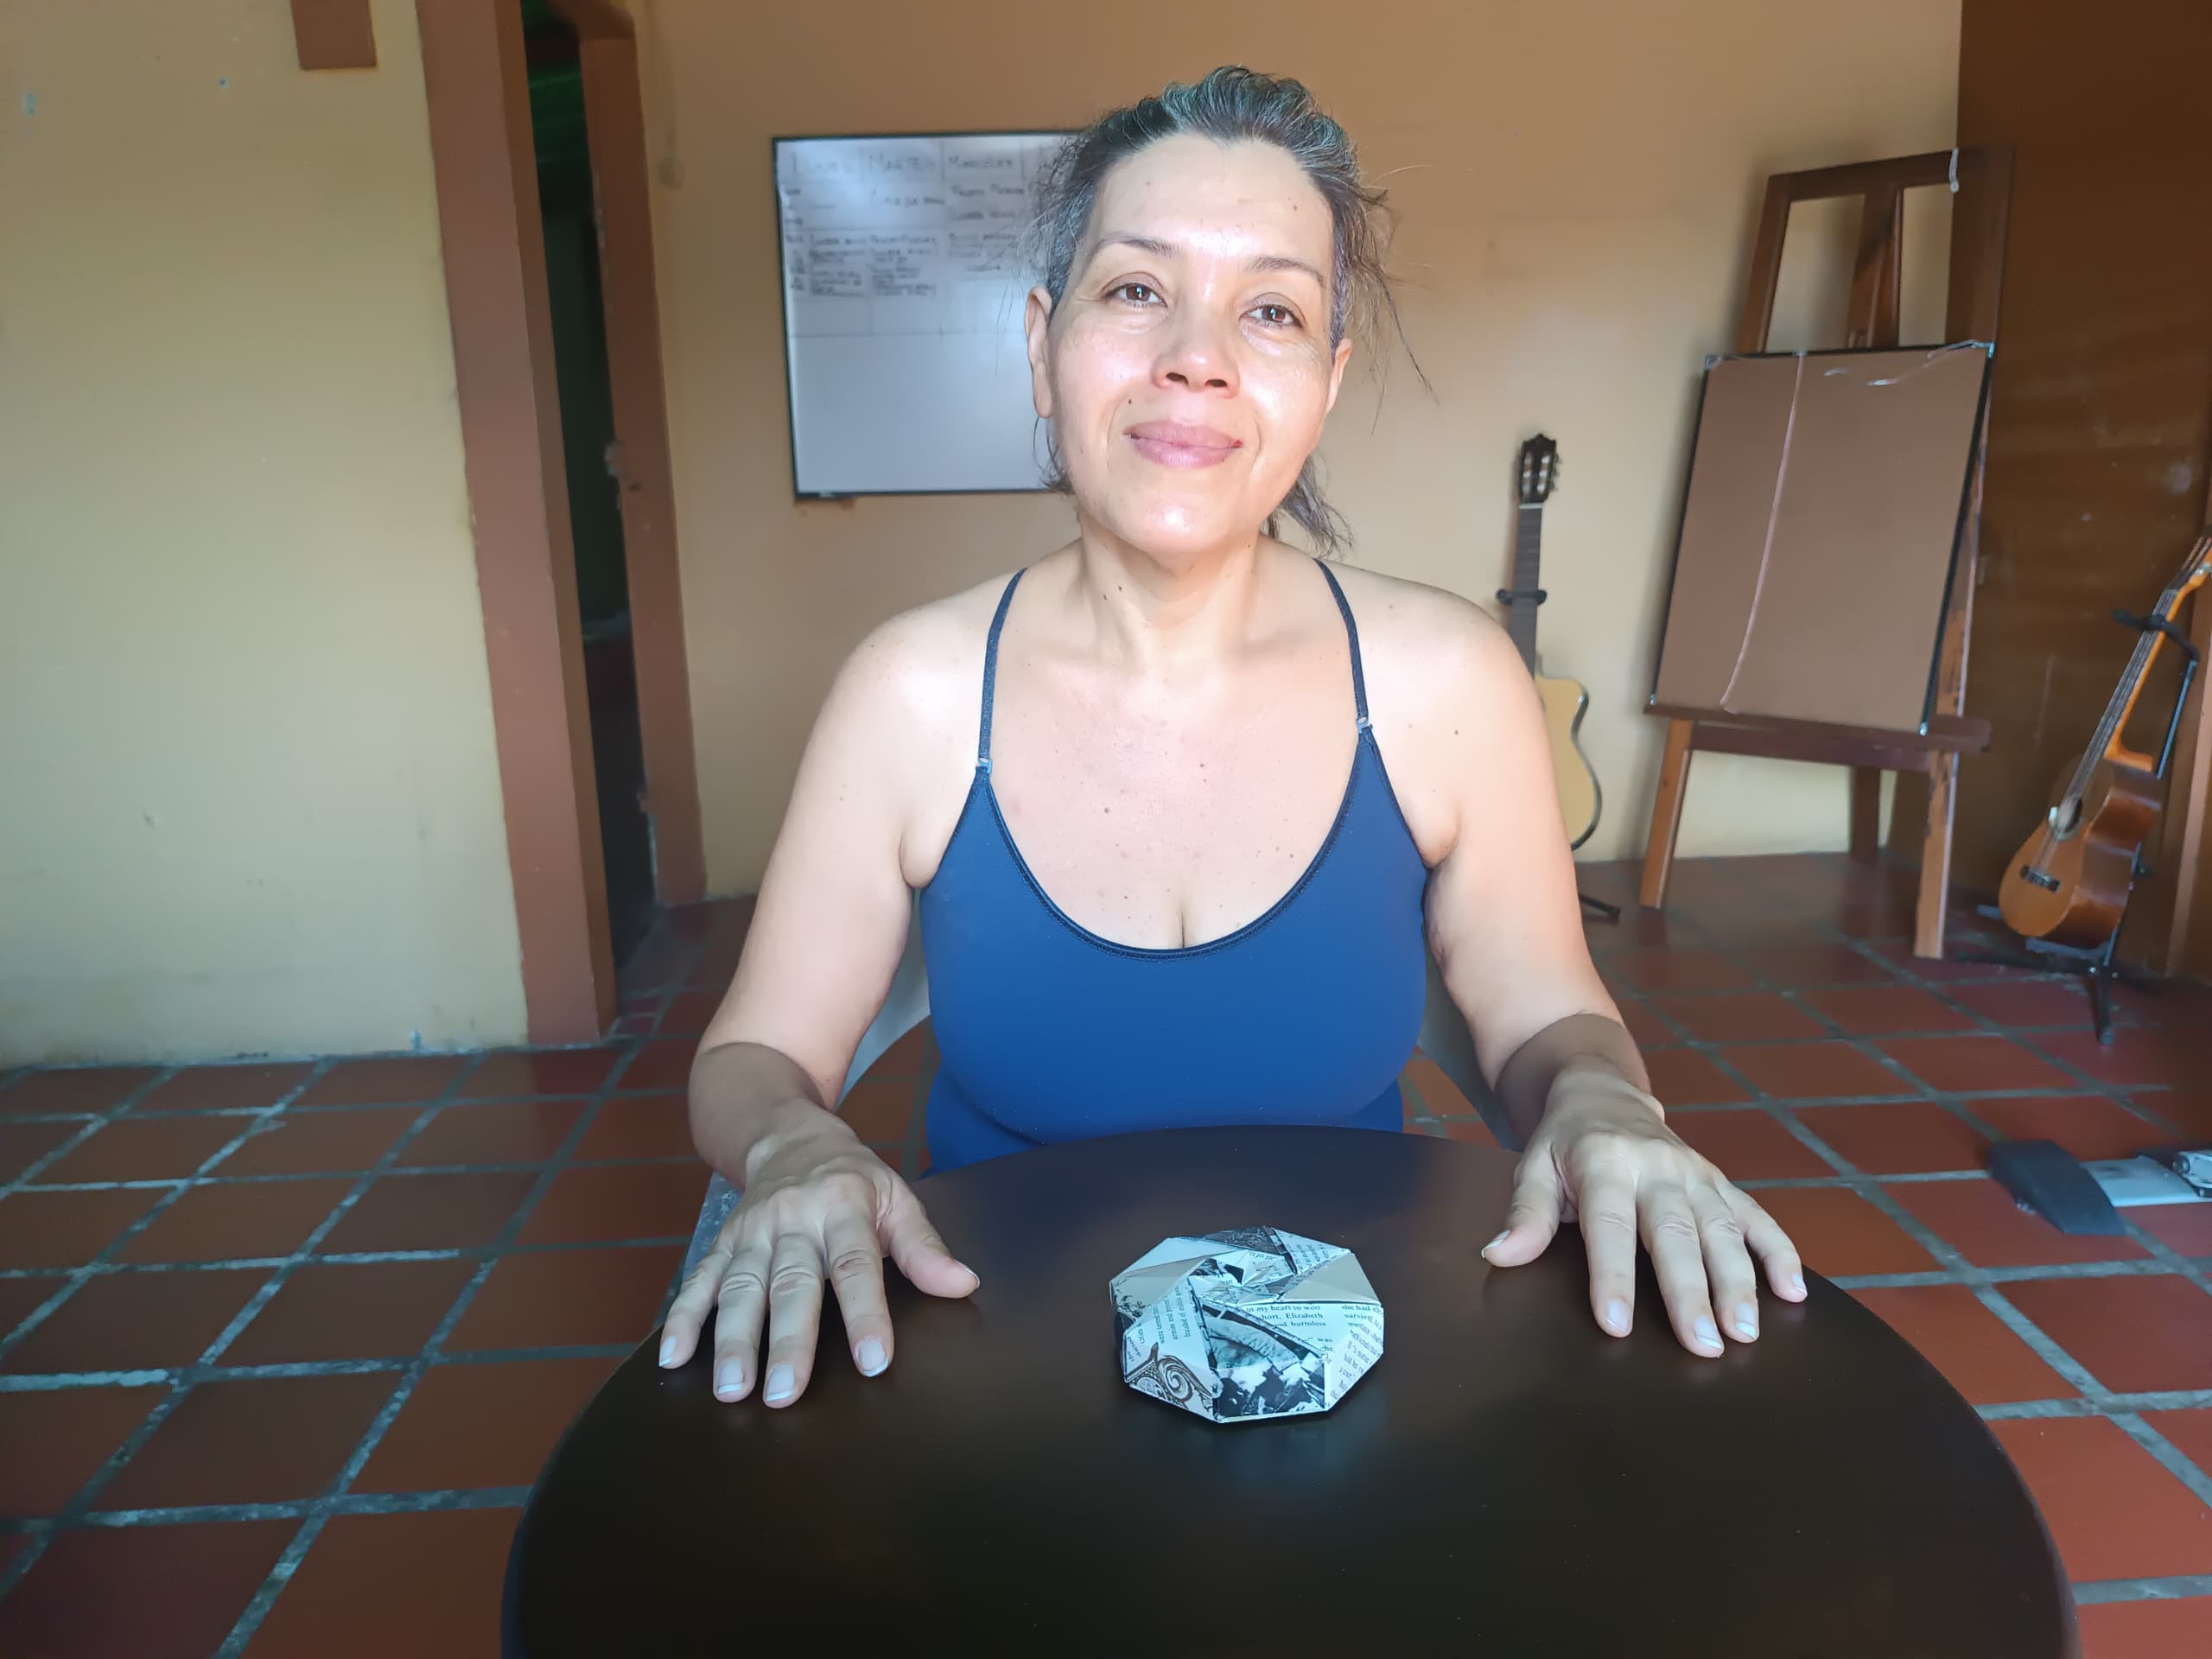
Our figure is ready, now we will do the same with the other 15 squares. When we have our 16 folded figures we will assemble, this part can be better appreciated in the video I made for you, where you will find more detailed folds and assembly.
I hope you enjoy making this figure, it is beautiful and functional, it has been very useful for me to organize my work materials or to give gifts. It can be made in smaller or much larger sizes, I have used this chest in all possible sizes. Its structure is very resistant so it even supports heavy things. As I said it is a marvel.
Thanks for joining me in this process, doing one of the activities I love the most, which is folding paper. See you soon.
Original content by the author.
Resources: Xiaomi redmi note 11s
Own photos
Music by JuliusH from Pixabay source/fuente
Translated with Deepl.com
All rights reserved || @jetta.amaya// 2023
Hermoso cofre de 16 piezas de papel // Origami // DIYHUB Origami Contest (Ingles/Español)
Un saludo amoroso para todos mis amigos de Hive, es todo un placer para mí estar en la grandiosa comunidad DIYHub participando en el concurso propuesto para la celebración del día mundial del origami. Confieso que he disfrutado mucho de esta celebración, porque sé que el origami le resulta complejo a algunas personas y por eso no es tan popular como debería, pero este concurso ha abierto el espacio para que muchas personas expresen sus habilidades doblando papel, así como otras que están incursionando y descubriendo la belleza de este hermoso arte.
En esta ocasión quiero traerles un hermoso cofre hecho de origami. Como bien lo expresa las características básicas del origami no necesitaremos tijeras, ni pega. La figura se arma sola, apoyada en su buena estructura, para esto necesitamos hacer dobleces y un ensamblado preciso. Lo que más disfruto de esta figura que aunque se ve compleja es realmente fácil, pues solo necesitaremos aprender a doblar una pieza y esa misma la haremos 16 veces. Después solo nos quedara comprender el ensamblado.
Lo primero que haremos será conseguir 16 cuadrados de papel del mismo tamaño. En mi caso todos son de 10 cm por 10 cm. Para esto utilicé el papel de una vieja revista, ya que estaba en alemán y como no entiendo el idioma y nadie que conozco lo conoce quise reciclar el papel, ya que es de cálida y con unos matices de blanco y negro muy imponentes. Lo bueno del origami es que también nos permite darle un segundo uso al papel.
Tomaremos uno de los cuadros de papel y marcaremos las líneas guías. Para esto uniremos las puntas y doblaremos el cuadrado en forma rectangular y triangular rotando las puntas. Hasta que cuando lo abramos se aprecien líneas en forma de un asterisco.
Enseguida llevaremos las cuatro puntas del cuadrado hasta el punto media, que será marcado por el asterisco que hicimos.
A continuación abriremos dos de las puntas, este doblar y desdoblar es muy común en el origami, ya que algunos dobleces se hacen con la finalidad de marcar una línea que servirá de guía para otro dobles. En este caso llevaremos una de las puntas que desdoblamos hasta la línea guía que se marcó con la del extremo contrario. Y también doblaremos uno de los laterales haciéndole coincidir con el borde del triángulo que se formó en el centro.
Por ultimo doblaremos la figura a la mitad, esa línea también está marcada a lo largo de la figura. Cuando marcamos bien las líneas guías la figura se arma sola. Esto implica no omitir ninguna línea, pero tampoco hacer líneas de más.
Ya está lista nuestra figura, ahora haremos lo mismo con los otros 15 cuadrados. Cuando tengamos nuestras 16 figuras dobladas nos dispondremos a ensamblar, esta parte podrán apreciarla mejor en el video que hice para ustedes, donde encontraran más detallado los dobleces y el ensamble.
Espero disfruten de realizar esta figura, es hermosa y funcional, a mí me ha servido mucho para organizar mis materiales de trabajo o para der obsequios. Se puede hacer de tamaño más pequeño o mucho más grande, yo he aprovechado este cofre en todos los tamaños posibles. Su estructura es muy resistente así que soporta incluso cosas pesadas. Como les dije es ina maravilla.
Gracias por acompañarme en este proceso, realizando una de las actividades que más amo que es doblar papel. Hasta pronto.
Contenido original del autor.
Recursos: Xiaomi redmi note 11s
Fotos propias
Música por JuliusH de pixabay source/fuente
Traducido con Deepl.com
Todos los derechos reservados || @jetta.amaya// 2023
Show more
Tags :
Woo!
This creator can upvote comments using 3speak's stake today because they are a top performing creator!
Leave a quality comment relating to their content and you could receive an upvote
worth at least a dollar.
Their limit for today is $0!
Their limit for today is $0!

9 views
11 months ago
$

12 views
a year ago
$

17 views
11 months ago
$

10 views
a year ago
$

6 views
a year ago
$
More Videos

44 views
a year ago
$

24 views
8 months ago
$

13 views
a year ago
$

5 views
11 months ago
$

4 views
2 weeks ago
$

11 views
a year ago
$

9 views
2 years ago
$

9 views
2 years ago
$

0 views
2 years ago
$

18 views
a year ago
$

28 views
4 years ago
$

1 views
a year ago
$

36 views
4 months ago
$

48 views
2 years ago
$

6 views
9 months ago
$
12 views
7 months ago
$

2 views
2 years ago
$

4 views
a year ago
$

4 views
2 years ago
$

35 views
a year ago
$

21 views
a year ago
$

9 views
a year ago
$

Comments:
Reply:
To comment on this video please connect a HIVE account to your profile: Connect HIVE Account