(Esp/Eng) Quebrada ❤️ Broken – Tutorial - AV Design
41
About :

suavemente pulido y tratado,
así es un corazón emocional,
susceptible a todo lo mundanal.
Los golpes, las heridas,
lo quiebran sin medidas,
lo resquebrajan en mil grietas,
dejando permanentes esas betas.
Quebrada…
Like a fine and delicate crystal,
smoothly polished and treated,
so is an emotional heart,
susceptible to everything worldly.
The blows, the wounds
break it beyond measure,
crack it into a thousand cracks,
leaving those betas permanent.
Broken...
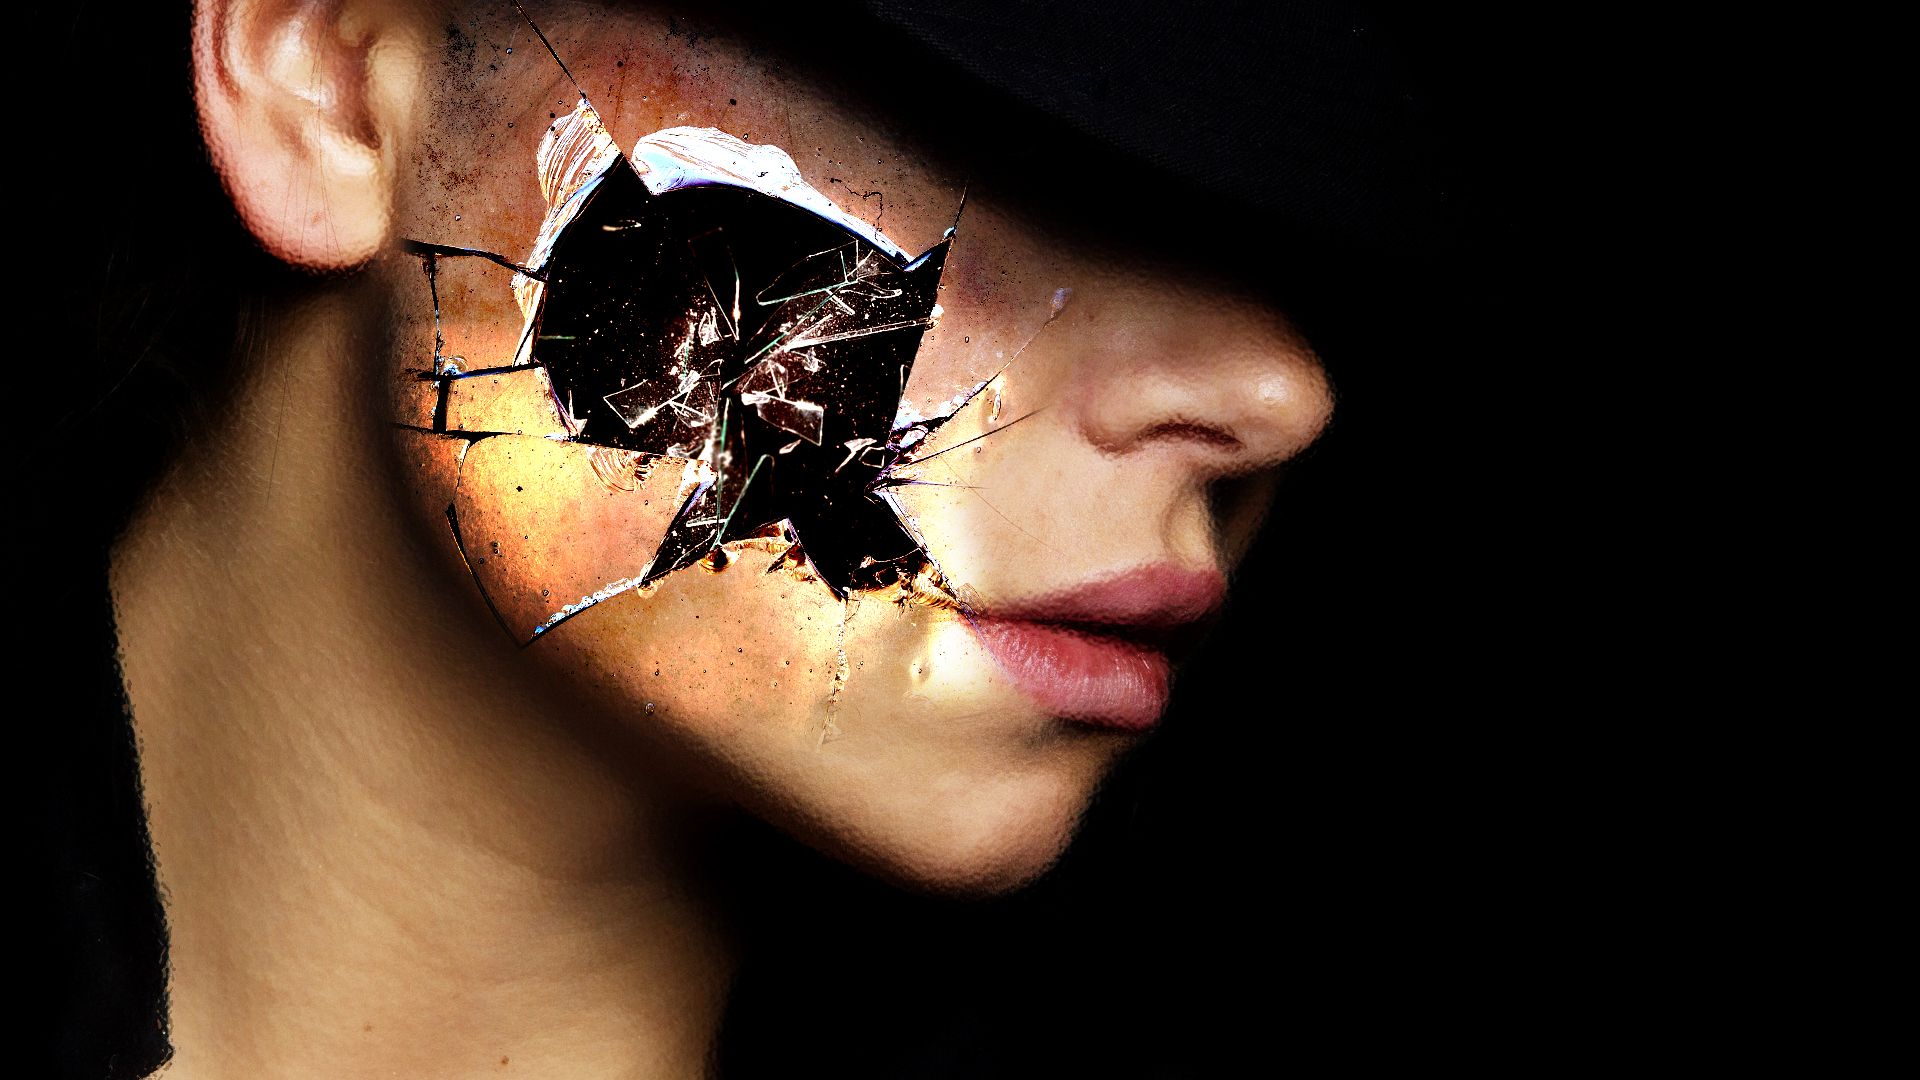
Buenos días, tardes o noches a toda la hermosa comunidad de @alienarthive en HIVE, espero se encuentren todos excelente.
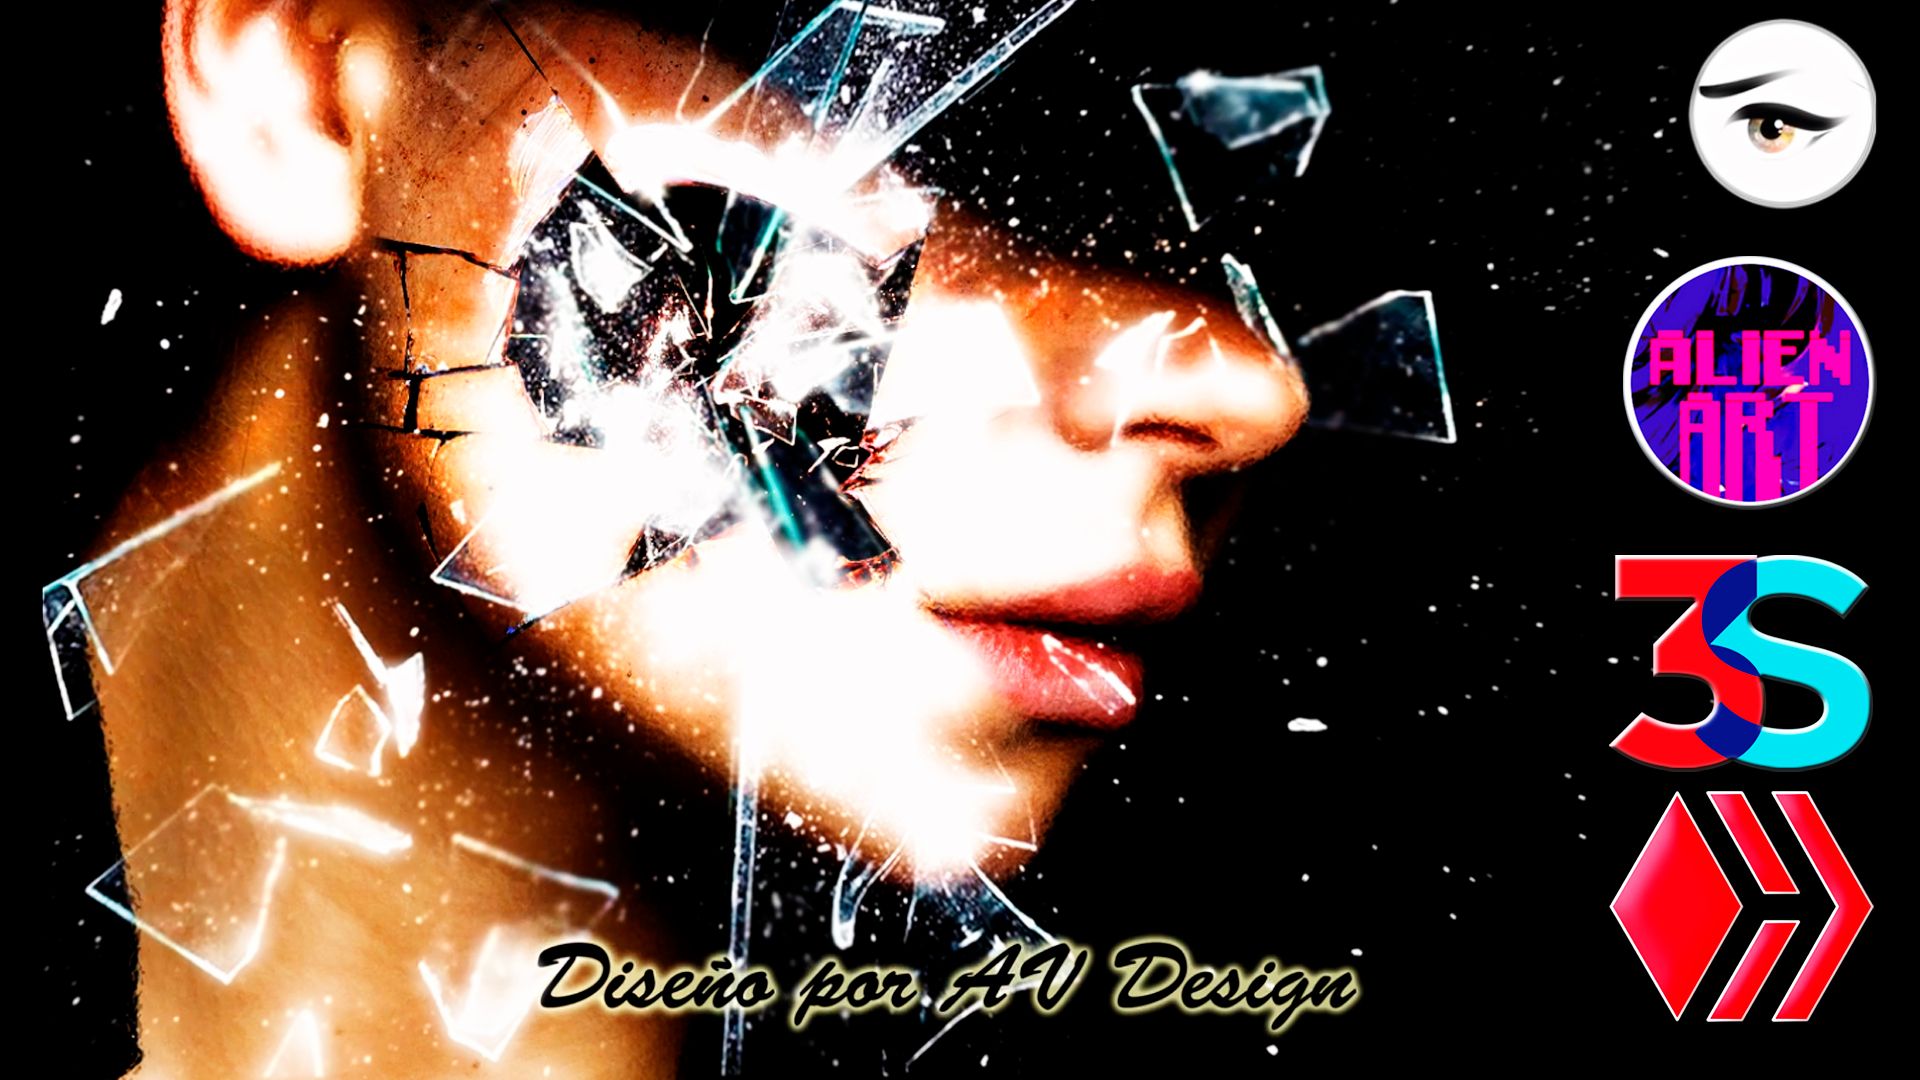
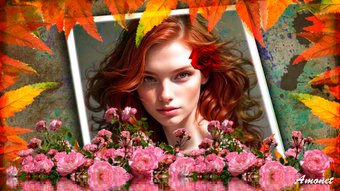
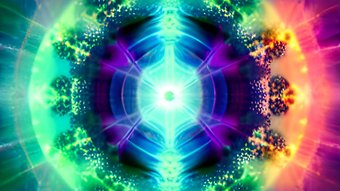
Hoy les traigo un diseño sencillo inspirado en la comparación que realicé en mi mente pensando en cuando un corazón sale lastimado.
El cristal se quiebra y parte en múltiples pedazos y aunque se vuelvan a unir a pegar, se nota dónde están esas grietas. Ya no vuelve a ser el mismo.
El corazón aprende y se hace más fuerte, no deja de sentir, pero es más resistente a salir herido.
Los escritos que están debajo del diseño son siempre escritos por mí, inspirados en el diseño.
Today I bring you a simple design inspired by the comparison I made in my mind thinking about when a heart gets hurt.
The glass breaks and splits into multiple pieces and even if they are glued back together, you can see where the cracks are. It is never the same again.
The heart learns and becomes stronger, it doesn't stop feeling but it is more resistant to getting hurt.
The writings below the design are always written by me, inspired by the design.

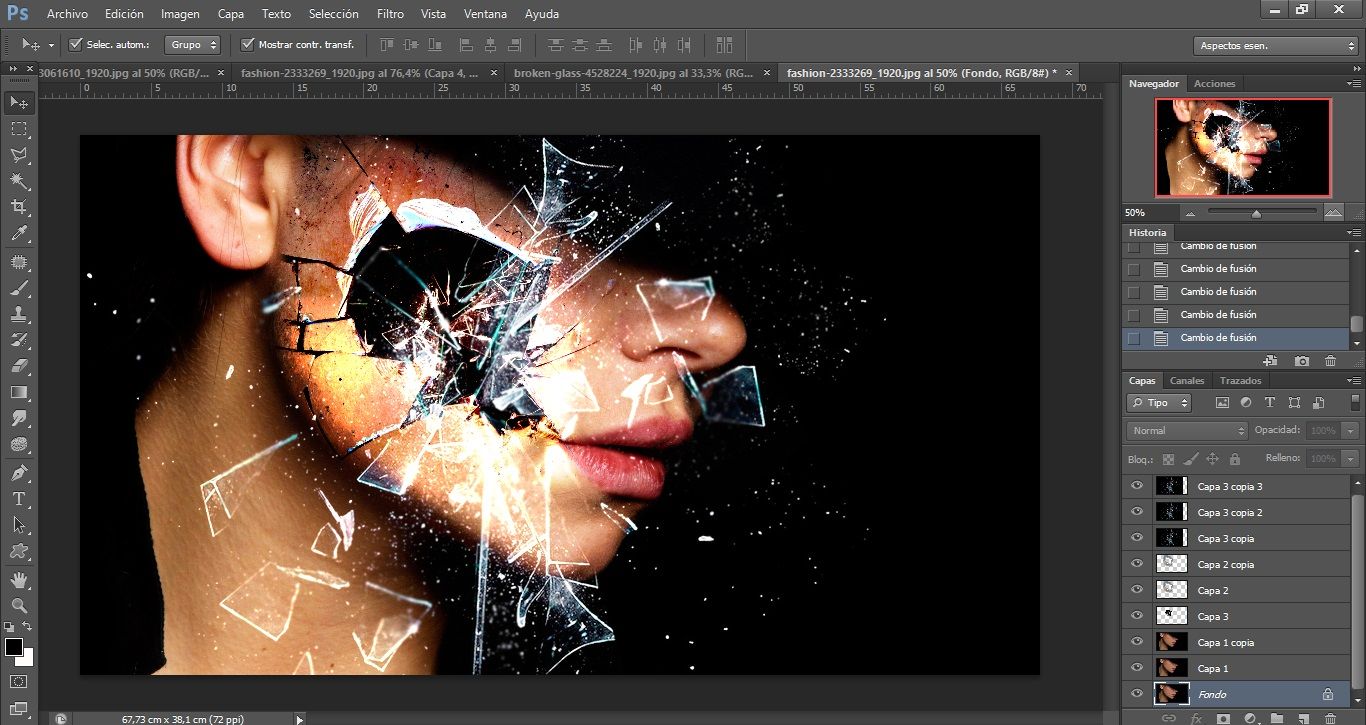
Proceso del diseño:
Está realizado y editado en Photoshop con 3 imágenes y 10 capas.
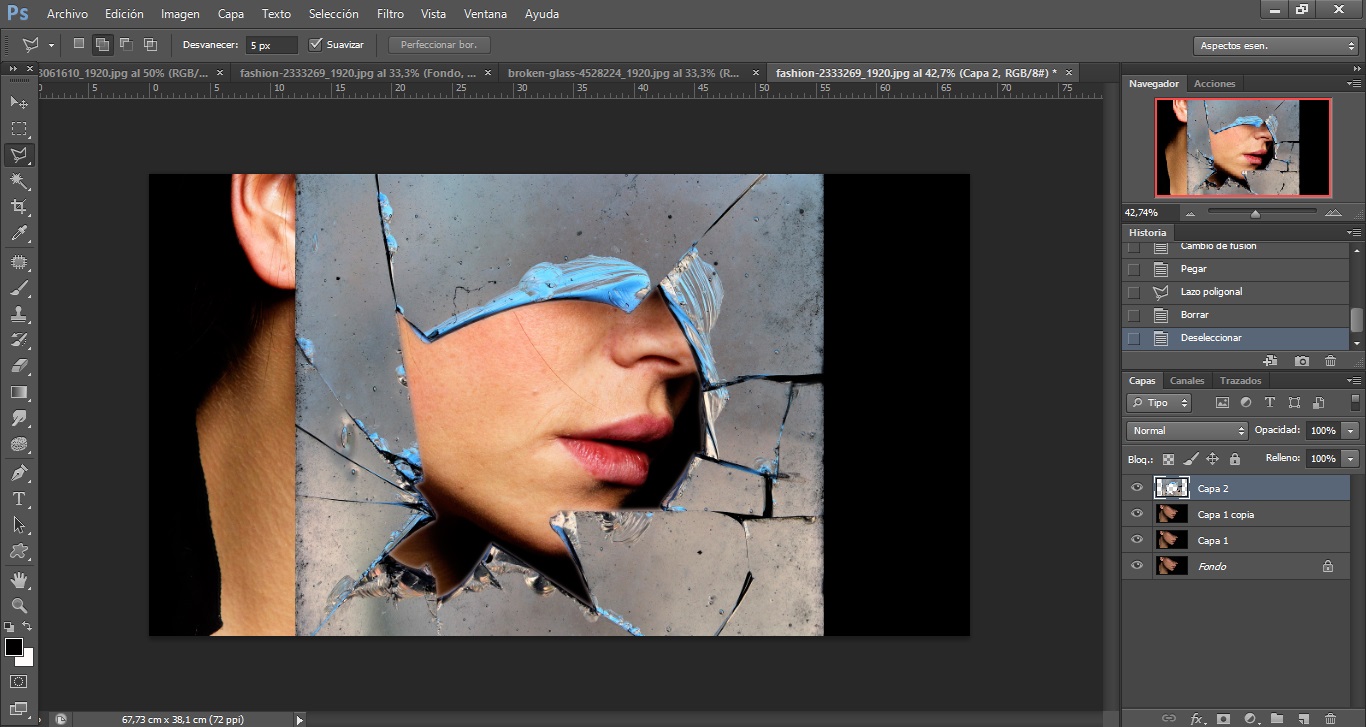
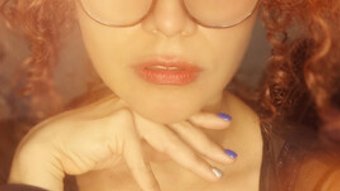
La imagen de fondo es el rostro de una mujer, pero sin que se le vea la mirada. De la misma realicé 3 capas con modos de fusión normal, trama y luz suave.
A la primera le coloque un filtro de cristal para asimilarla al vidrio.
La segunda imagen es de un cristal roto, recorte sus bordes para dejar solamente el centro, lo coloque sobre la mujer borrando con la goma suavizada sus bordes, mezclándola así con la piel del rostro. La rote un poco a gusto.
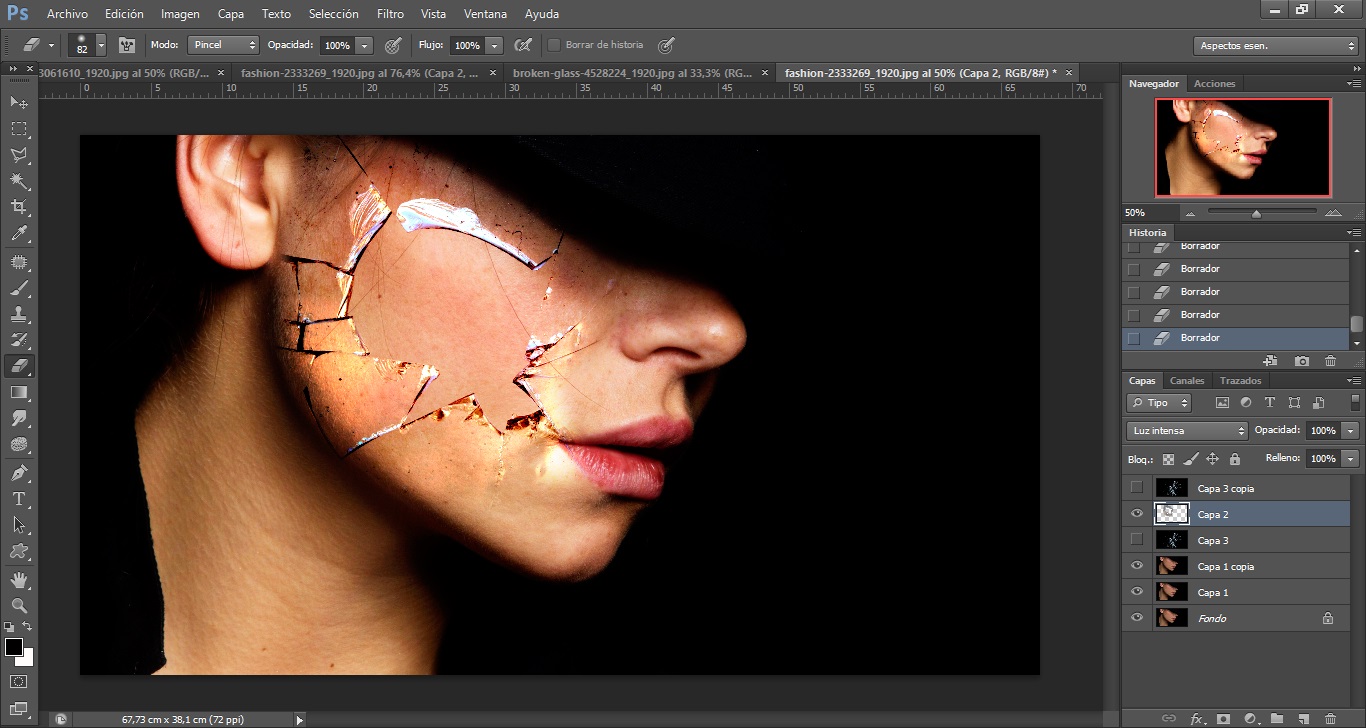
Luego seleccioné con la herramienta lazo poligonal, toda la zona del centro quebrado del cristal y lo suprimí. A esa capa le di modo de fusión luz intensa. Duplique esa capa para realzar el color.
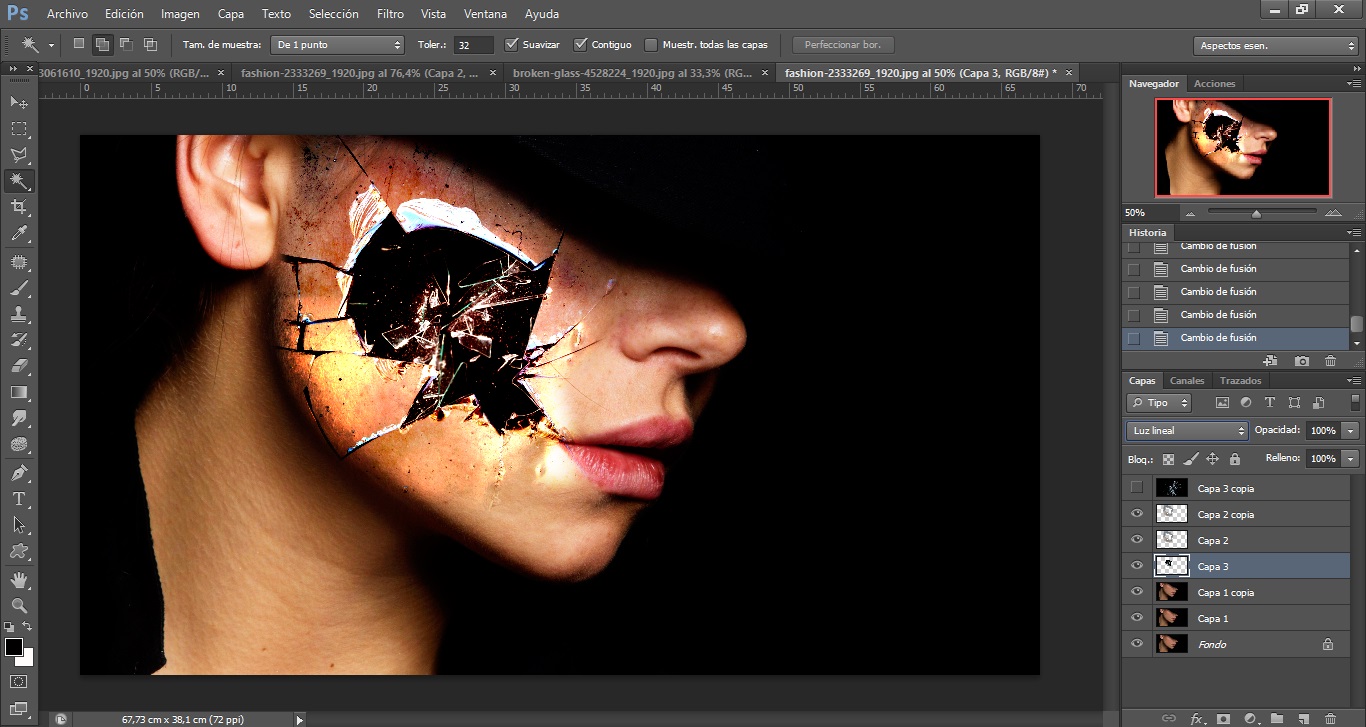
La tercera imagen que elegí es también de un cristal roto, y ésta la usé doblemente.
Una debajo de la capa del otro cristal haciéndola más pequeña para que quepa dentro y ajustándola a la anterior. Para esto seleccioné el interior del primer cristal, luego puse selección, inverso. Fui a la capa anteriormente mencionada y borré el sobrante.
Duplique la capa y les coloque los siguientes modos de fusión: luz lineal y sobreexposición lineal.
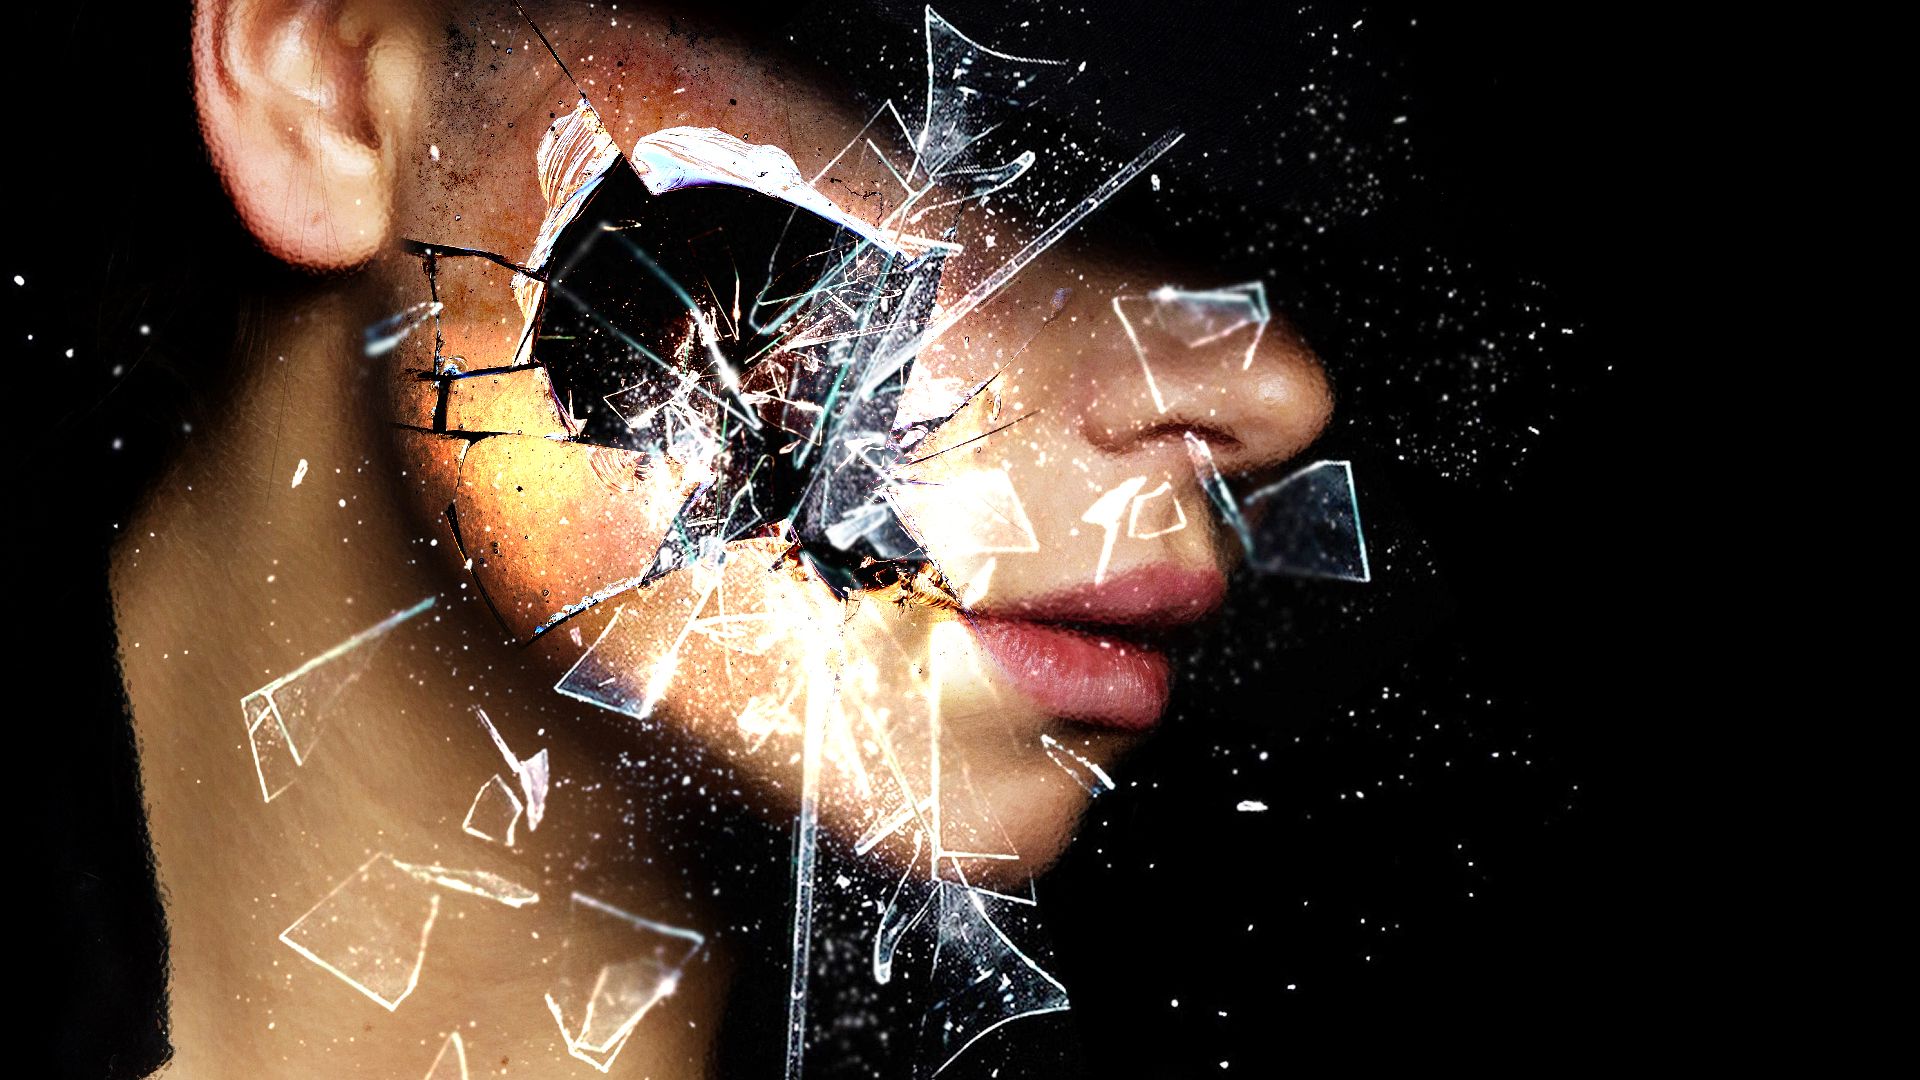
Esa misma imagen la utilicé sobre todo el diseño para simular el movimiento de los cristales cuando se rompen. De esta realicé 3 capas y les coloqué los siguientes modos de fusión: Sobreexponer color, aclarar y trama.
La animación la realice totalmente en After Effects, utilizando efectos de luces y trabajando las imágenes en su opacidad, eso hace que aparezca o desaparezca una determinada capa, y escala, dando la sensación de movimiento.
Esperando sea de su agrado la obra que he realizado y siempre muy agradecida, les envío un gran saludo a todos y cada uno de los que conforman esta hermosa comunidad.
Gracias por leer y mirar mi trabajo.
Amonet - AV Design
Design process:
It is made and edited in Photoshop with 3 images and 10 layers.
The background image is a woman's face, but without her eyes showing. I made 3 layers with normal, raster and soft light blending modes.
I added a glass filter to the first one to make it look like glass.
The second image is of a broken glass, I cut its edges to leave only the centre, I placed it over the woman erasing with the softened eraser its edges, blending it with the skin of the face. I rotated it a bit to my liking.
Then I selected with the polygonal lasso tool the whole area of the broken centre of the glass and deleted it. To that layer I gave it a blending mode of intense light. I duplicated that layer to enhance the colour.
The third image I chose is also of a broken crystal, and this one I used twice.
One under the layer of the other glass making it smaller to fit inside and adjusting it to the previous one. For this I selected the inside of the first crystal, then put selection, inverse. I went to the aforementioned layer and deleted the excess.
I duplicated the layer and set the following blending modes: linear light and linear overexposure.
That same image I used over the whole design to simulate the movement of the crystals when they break. From this I made 3 layers and placed the following blending modes: Overexpose colour, lighten and raster.
The animation was made entirely in After Effects, using light effects and working the images in their opacity, that makes a certain layer appear or disappear, and scale, giving the sensation of movement.
Hoping you like the work I have done and always very grateful, I send a big greeting to each and every one of you who make up this beautiful community.
Thank you for reading and watching my work.
Amonet - AV Design
Diseño realizado en Photoshop CS6 - Design made in Photoshop CS6
Separadores creados por mí en Photoshop - Separators created by me in Photoshop
Animación en After Effect - Animation in After Effect
Traductor utilizado Deepl.com versión gratuita - Used translator Deepl.com free version

Show more
Tags :
Woo!
This creator can upvote comments using 3speak's stake today because they are a top performing creator!
Leave a quality comment relating to their content and you could receive an upvote
worth at least a dollar.
Their limit for today is $0!
Their limit for today is $0!
35 views
a year ago
$

19 views
a month ago
$
30 views
a year ago
$

37 views
a year ago
$
24 views
a month ago
$
More Videos
3 views
a year ago
$
12 views
a year ago
$
28 views
2 years ago
$
11 views
2 years ago
$
21 views
9 months ago
$
0 views
2 years ago
$
7 views
a year ago
$

2 views
3 months ago
$
8 views
2 years ago
$

1 views
8 months ago
$

4 views
2 years ago
$
12 views
9 months ago
$

2 views
a year ago
$
4 views
3 years ago
$

8 views
a year ago
$
4 views
6 months ago
$
2 views
11 months ago
$

8 views
2 years ago
$
8 views
4 months ago
$
75 views
a year ago
$

5 views
a year ago
$
2 views
2 years ago
$

0 views
2 years ago
$
17 views
a year ago
$
Comments:
Reply:
To comment on this video please connect a HIVE account to your profile: Connect HIVE Account