Angelic Mandarin button container, inspired by Splinterlands/ Envase de botones Mandarín Angelical,
24
About :
Hello Splinterland Art friends!
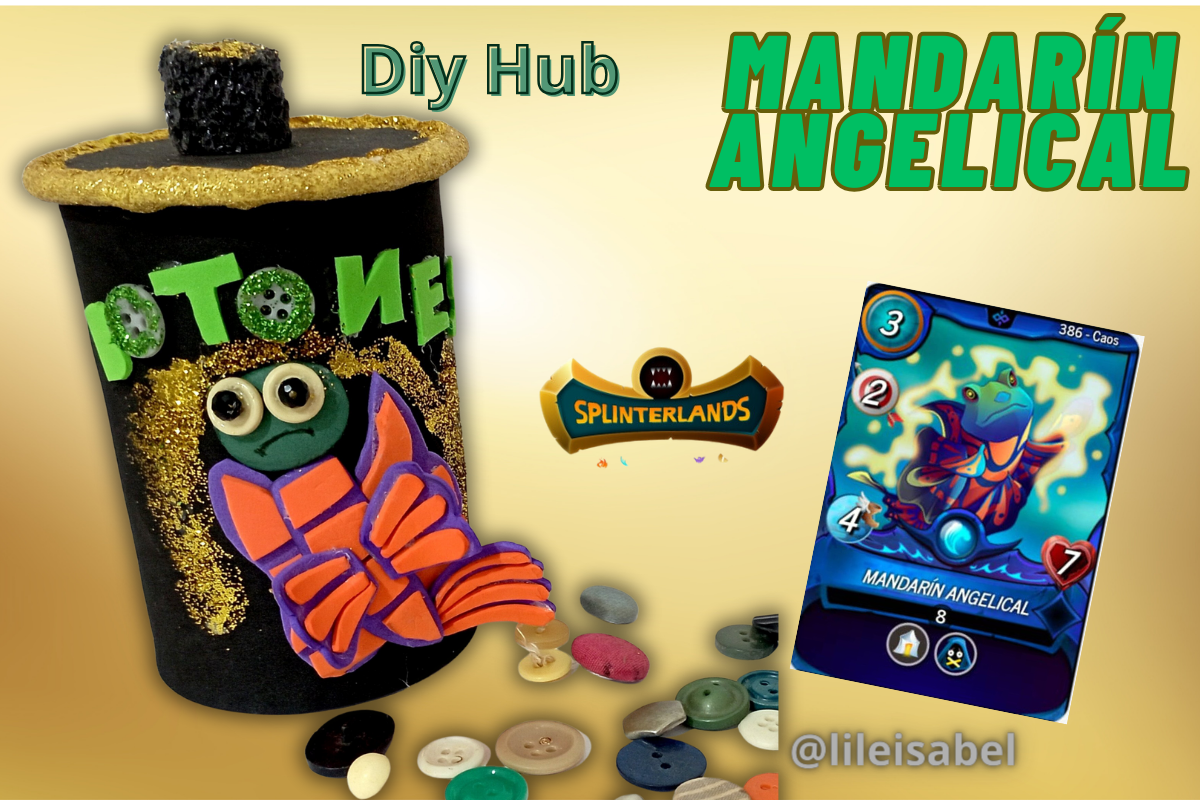
Today I want to share with you a craft I made, a button container made with an empty food can that I recovered. To give it a decorative touch, I decided to use a character from a Splinterlands card: the Angelic Mandarin. This card represents a colorful mandarin fish, and its vibrant colors were perfect to stand out on my button tin, which I lined with black foami.
The Mandarin fish has healing properties, as in the Splinterlands cards, where it can heal the allied monster that has suffered the most damage and reduce the attack of enemy magic monsters. So I needed an eye-catching case to keep an eye on him, and if the chosen character also has healing powers, I think it's perfect, don't you think? Next, I'll show you the process of creating this useful object.
¡Hola amigos de Splinterland Art!
Hoy quiero compartir con ustedes una manualidad que he realizado, un envase para botones hecha con una lata de alimento vacía que recuperé. Para darle un toque decorativo, decidí utilizar un personaje de una carta de Splinterlands: el Mandarín Angelical. Esta carta representa un colorido pez mandarín, y sus vibrantes colores eran perfectos para resaltar sobre mi botonera, que forré de foami negro.
El pez mandarín tiene propiedades curativas, como en las cartas de Splinterlands, donde puede curar al monstruo aliado que haya sufrido más daño y reducir el ataque de los monstruos mágicos enemigos. Así que necesitaba un estuche llamativo para no perderlo de vista, y si además el personaje elegido tiene poderes curativos, ¡me parece perfecto! ¿No les parece? A continuación, te mostraré el proceso de creación de este útil objeto.
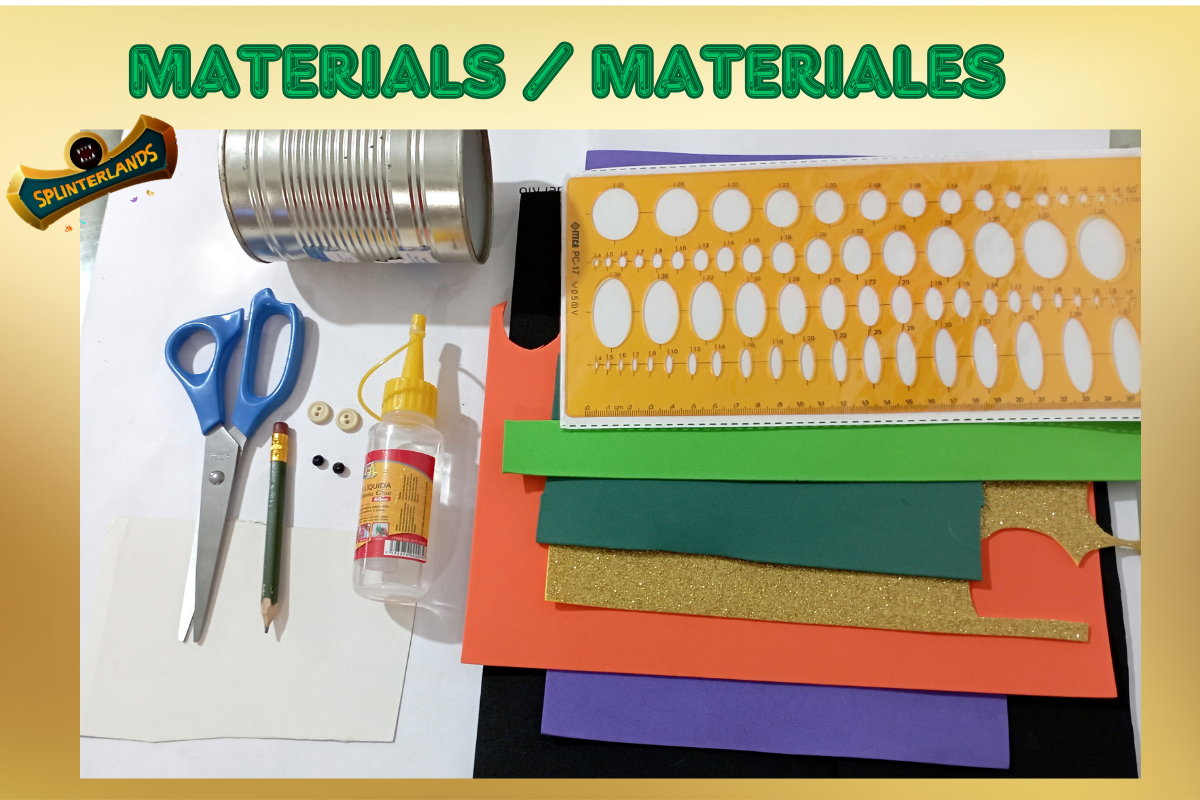
To begin with, I will introduce you to the materials I used, the main ones being an empty food can and foami of different colors. Here is the complete list
Materials:
- 1 empty recovered meat can.
- Foami of different colors.
- Buttons
- Scissors.
- Liquid and solid silicone with gun.
- White glue.
- Gold and green frosting.
- Cardboard.
- Pencil.
- Stencil.
- Electric iron.
- Black polyfoam.exto aquí
Para empezar, les presentaré los materiales que utilicé, siendo los principales una lata de alimento vacía y foami de diferentes colores. Aquí está la lista completa:
Materiales:
- 1 lata de carne vacía recuperada.
- Foami de diferentes colores.
- Botones
- Tijeras.
- Silicona líquida y sólida con pistola.
- Cola blanca.
- Escarcha dorada y verde.
- Cartulina.
- Lápiz.
- Plantilla.
- Plancha eléctrica.
- Poliespuma negra.
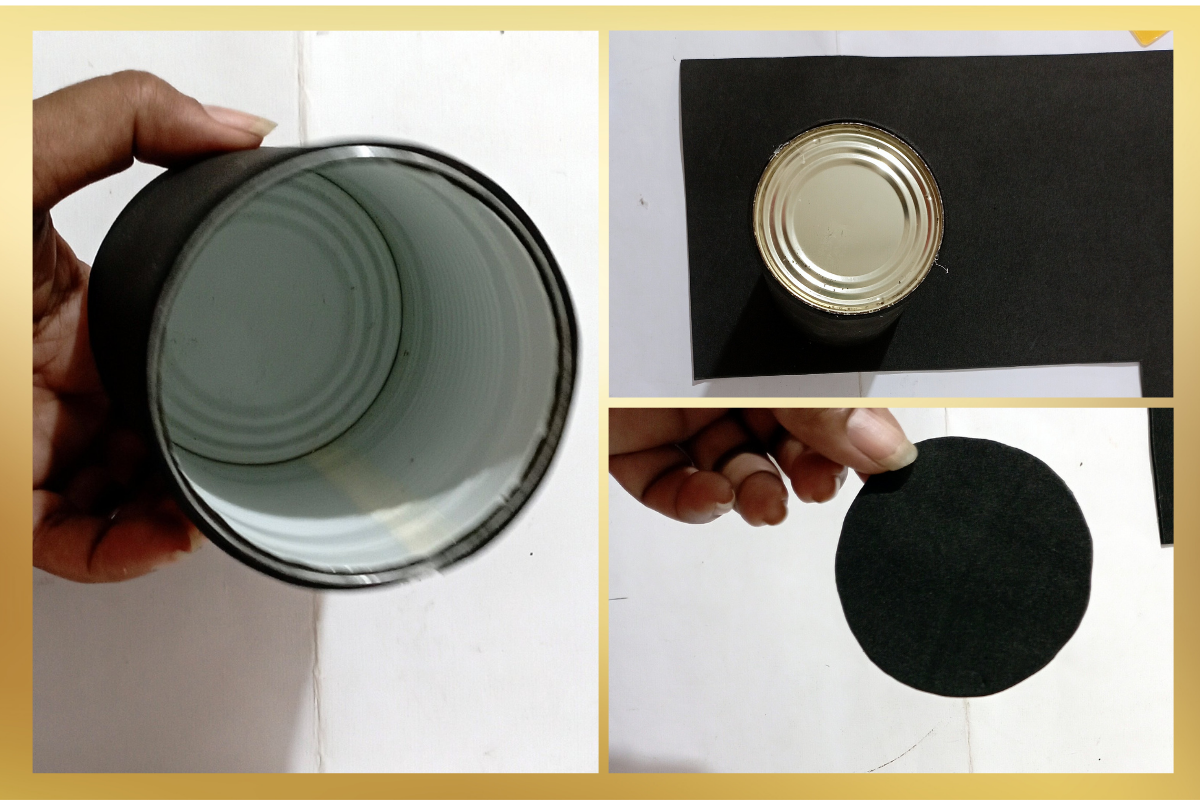
The first thing I did was to carefully clean the can and measure it to cut out the pieces of foami to cover it completely. I cut two rectangles of 12 x 35 cm for the outside and inside, the latter being one centimeter smaller, and I also cut a circle of the diameter of the can to use it as a background. Then, I glued all the pieces together with the silicone gun, achieving a uniform lining of the can.
Lo primero que hice fue limpiar cuidadosamente la lata y medirla para recortar los trozos de foami que la cubrirían por completo. Corté dos rectángulos de 12 x 35 cm para el exterior y el interior, siendo este último un centímetro más pequeño, y corté también un círculo del diámetro de la lata para utilizarlo como fondo. A continuación, pegué todas las piezas con la pistola de silicona, consiguiendo un forrado uniforme de la lata.
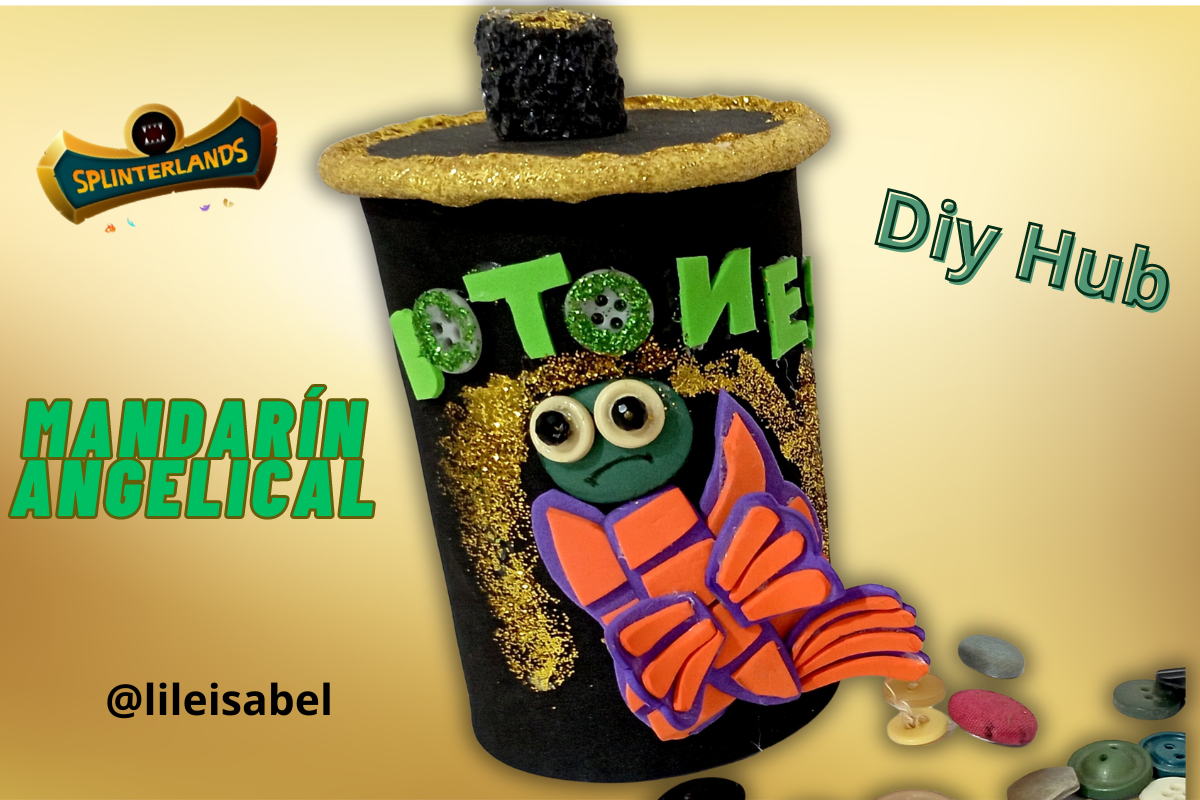
To create the lid, I made three circles of the same size in foami and glued them one on top of the other. Then, I adhered them to a hard cardboard and cut out a larger circle, with an extra 1.5 cm diameter, which I glued onto the foami to give it a special finish. Then, I cut out a 2 x 35 cm strip and used it to line the entire edge of the lid. For a better finish, I applied white glue on top of the gold frosting foami. This is how I finished the lid of the case.
I decided to add a practical detail to the lid: a small piece of black polystyrene foam that I shaped into a rounded shape with a blade. Then, I applied gold frosting to the top and glued it to the lid.
Para crear la tapa, hice tres círculos del mismo tamaño en foami y los pegué uno encima del otro. Luego, los adherí a un cartón duro y recorté un círculo más grande, de 1,5 cm de diámetro extra, que pegué sobre el foami para darle un acabado especial. A continuación, recorté una tira de 2 x 35 cm y la utilicé para forrar todo el borde de la tapa. Para un mejor acabado, apliqué cola blanca sobre el foami de glaseado dorado. Así terminé la tapa del estuche.
Decidí añadir un detalle práctico en la tapa: un pequeño trozo de poliespuma negra al que di forma redondeada con una cuchilla. Luego, apliqué escarcha dorada en la parte superior y lo pegué a la tapa.

To highlight the word "Buttons" in an eye-catching way, I selected lime green foami and wrote the letters B, T, N, E and S. For the letters "O", I decided to replace them with real buttons. I cut out the letters and glued them onto the case. Next, I applied white glue to the buttons and drizzled them with green icing. I also added gold icing to the bottom, where I will place the Mandarin Angelic.
Para resaltar la palabra "Botones" de forma llamativa, seleccioné foami verde limón y escribí las letras B, T, N, E y S. Para las letras "O", decidí sustituirlas por botones de verdad. Recorté las letras y las pegué en el estuche. A continuación, apliqué cola blanca a los botones y los rocié con glaseado verde. También añadí glaseado dorado en la parte inferior, donde colocaré el Mandarín Angelical.

For the creation of the Angelic Mandarin. I followed the following steps:
Para la creación del Mandarín Angélical. Seguí los siguientes pasos:
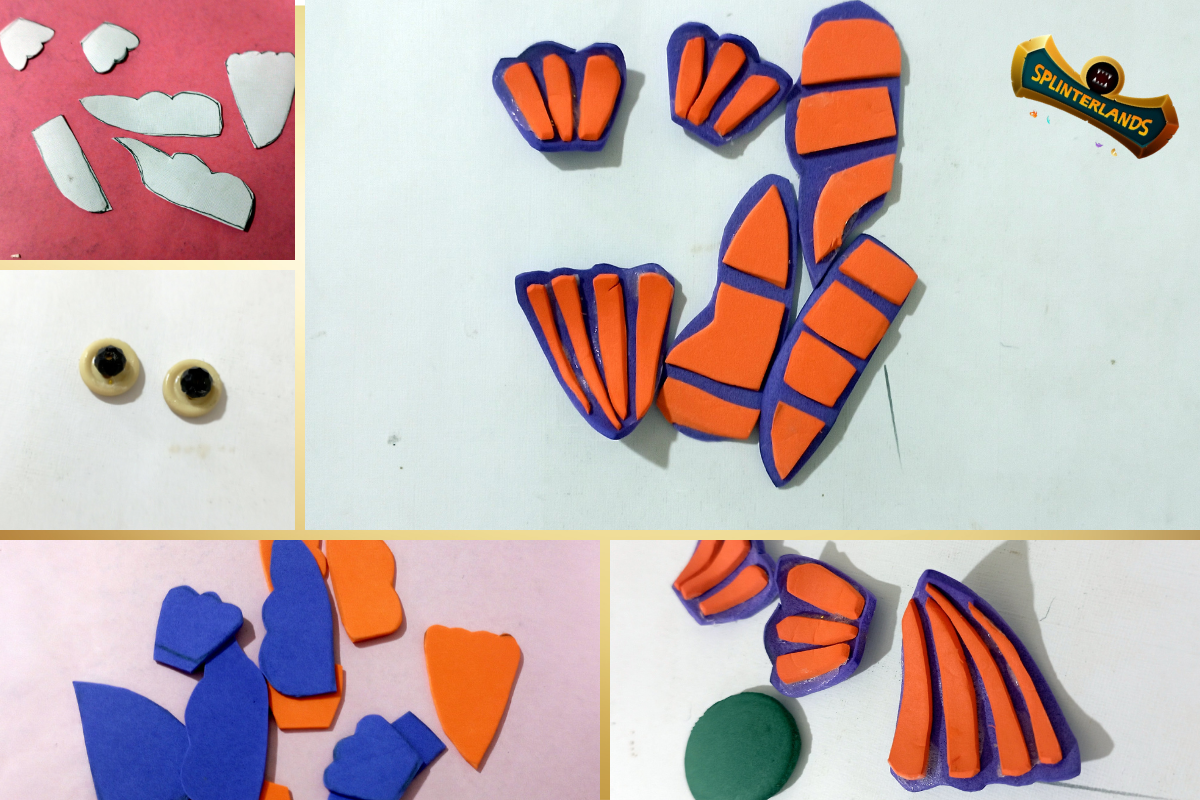
- To make the head, I traced an oval on the green foami using a template and then cut it out.
- I made the eyes with small light-colored buttons and black beads and glued them together, connecting the eyes.
- On cardboard, I painted the fins and body to use as molds.
- I marked the shapes on purple and orange foami, making sure to make the orange shapes 2 millimeters smaller. I then trimmed them around the edge and cut the oranges into several sections.
- I glued them together, forming bicolor fins.
- To give them some curvature, I glued the head, fins and tail to the hot iron.
- Finally, I glued them directly onto the container.
- Para hacer la cabeza, tracé un óvalo en el foami verde utilizando una plantilla y luego lo recorté.
- Los ojos los realicé con botones pequeños color claro y cuentas negras, los pegue entre si, quedando confecciona los ojos
- En una cartulina, pinté las aletas y el cuerpo para utilizarlos como moldes.
- Marqué las figuras en foami de color morado y naranja, asegurándome de hacer las figuras naranjas 2 milímetros más pequeñas. Luego, las recorté por el borde y corté las naranjas en varias secciones.
- Las fui pegando entre sí, formando aletas bicolores.
- Para darles cierta curvatura, pegué la cabeza, las aletas y la cola en la plancha caliente.
- Finalmente, las fui pegando directamente en el envase.
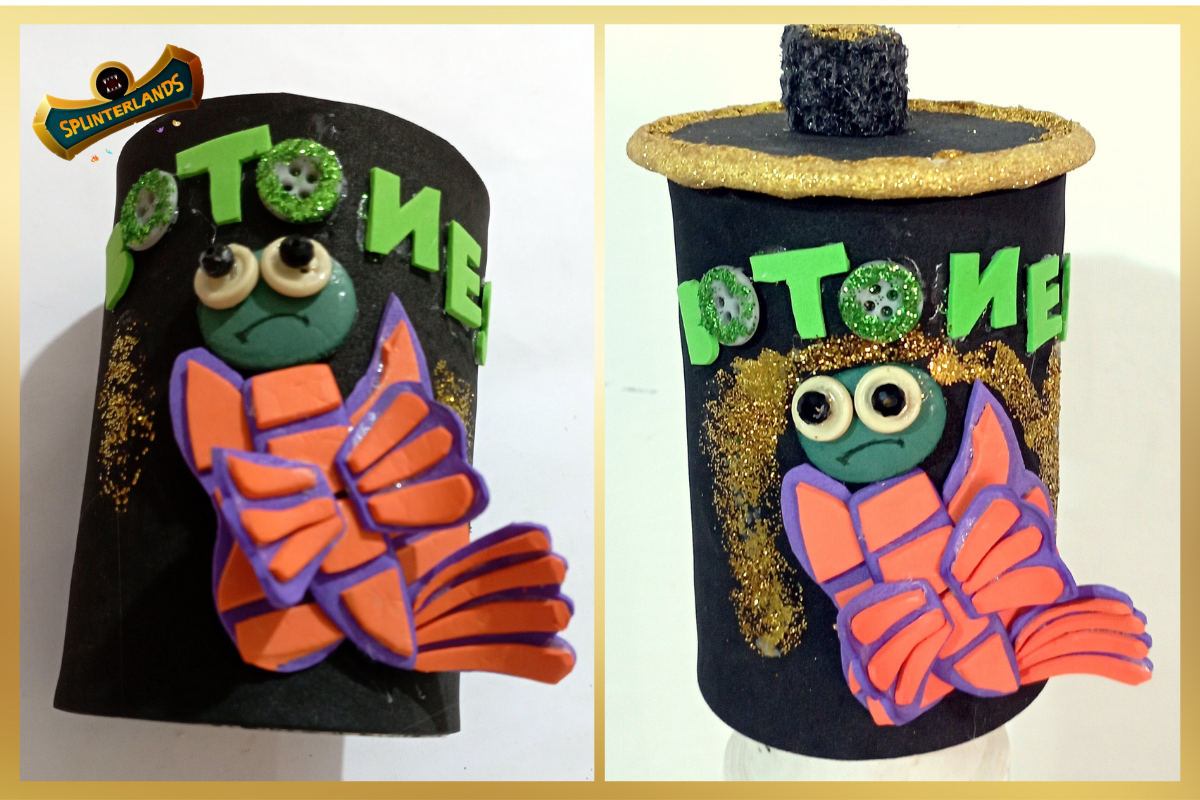
And so I finished this useful craft that allows me to keep my buttons organized! I wanted to replicate a Splinterlands Mandarin Angelical card to participate in this week's Splinterland Art Contest No. 265. Greetings to all and have a lovely day! 👋❤️
¡Y así terminé esta útil manualidad que me permite mantener mis botones organizados! Quise replicar una carta de Splinterlands Mandarin Angelical para participar en el Concurso No.265, de esta semana de Splinterland Art. ¡Saludos para todos y que tengan un hermoso día! 👋❤️

Las fotos fueron tomadas con mi teléfono Xiaomi Note 11
Utilice Traductor DeepL
The video is edited in Inshot. The music is from the application itself Música: Beach Músico: Jeff Kaale
Show more
Tags :
Woo!
This creator can upvote comments using 3speak's stake today because they are a top performing creator!
Leave a quality comment relating to their content and you could receive an upvote
worth at least a dollar.
Their limit for today is $0!
Their limit for today is $0!
Muslos de pollo asados, un delicioso plato familiar / Roasted chicken thighs, a delicious family dis
28 views
7 months ago
$
42 views
7 months ago
$
23 views
a month ago
$
23 views
8 months ago
$

58 views
7 months ago
$
More Videos

5 views
2 years ago
$
2 views
a year ago
$

3 views
2 months ago
$

3 views
a year ago
$

6 views
2 years ago
$

9 views
a year ago
$
6 views
a year ago
$

10 views
2 months ago
$

0 views
4 years ago
$

9 views
4 years ago
$
6 views
3 years ago
$

11 views
2 years ago
$

9 views
2 years ago
$

0 views
11 hours ago
$

Video #41 Rutina De Estiramiento Para Después Del Entrenamiento / Video #41 Stretching And Relaxatio
7 views
2 years ago
$

21 views
a year ago
$

3 views
2 years ago
$

0 views
3 years ago
$

0 views
3 years ago
$

13 views
a year ago
$

6 views
7 months ago
$

7 views
a year ago
$
3 views
6 months ago
$
3 views
4 years ago
$
Comments:
Reply:
To comment on this video please connect a HIVE account to your profile: Connect HIVE Account