0 seconds of 0 secondsVolume 90%
Press shift question mark to access a list of keyboard shortcuts
Keyboard Shortcuts
Shortcuts Open/Close/ or ?
Play/PauseSPACE
Increase Volume↑
Decrease Volume↓
Seek Forward→
Seek Backward←
Captions On/Offc
Fullscreen/Exit Fullscreenf
Mute/Unmutem
Decrease Caption Size-
Increase Caption Size+ or =
Seek %0-9
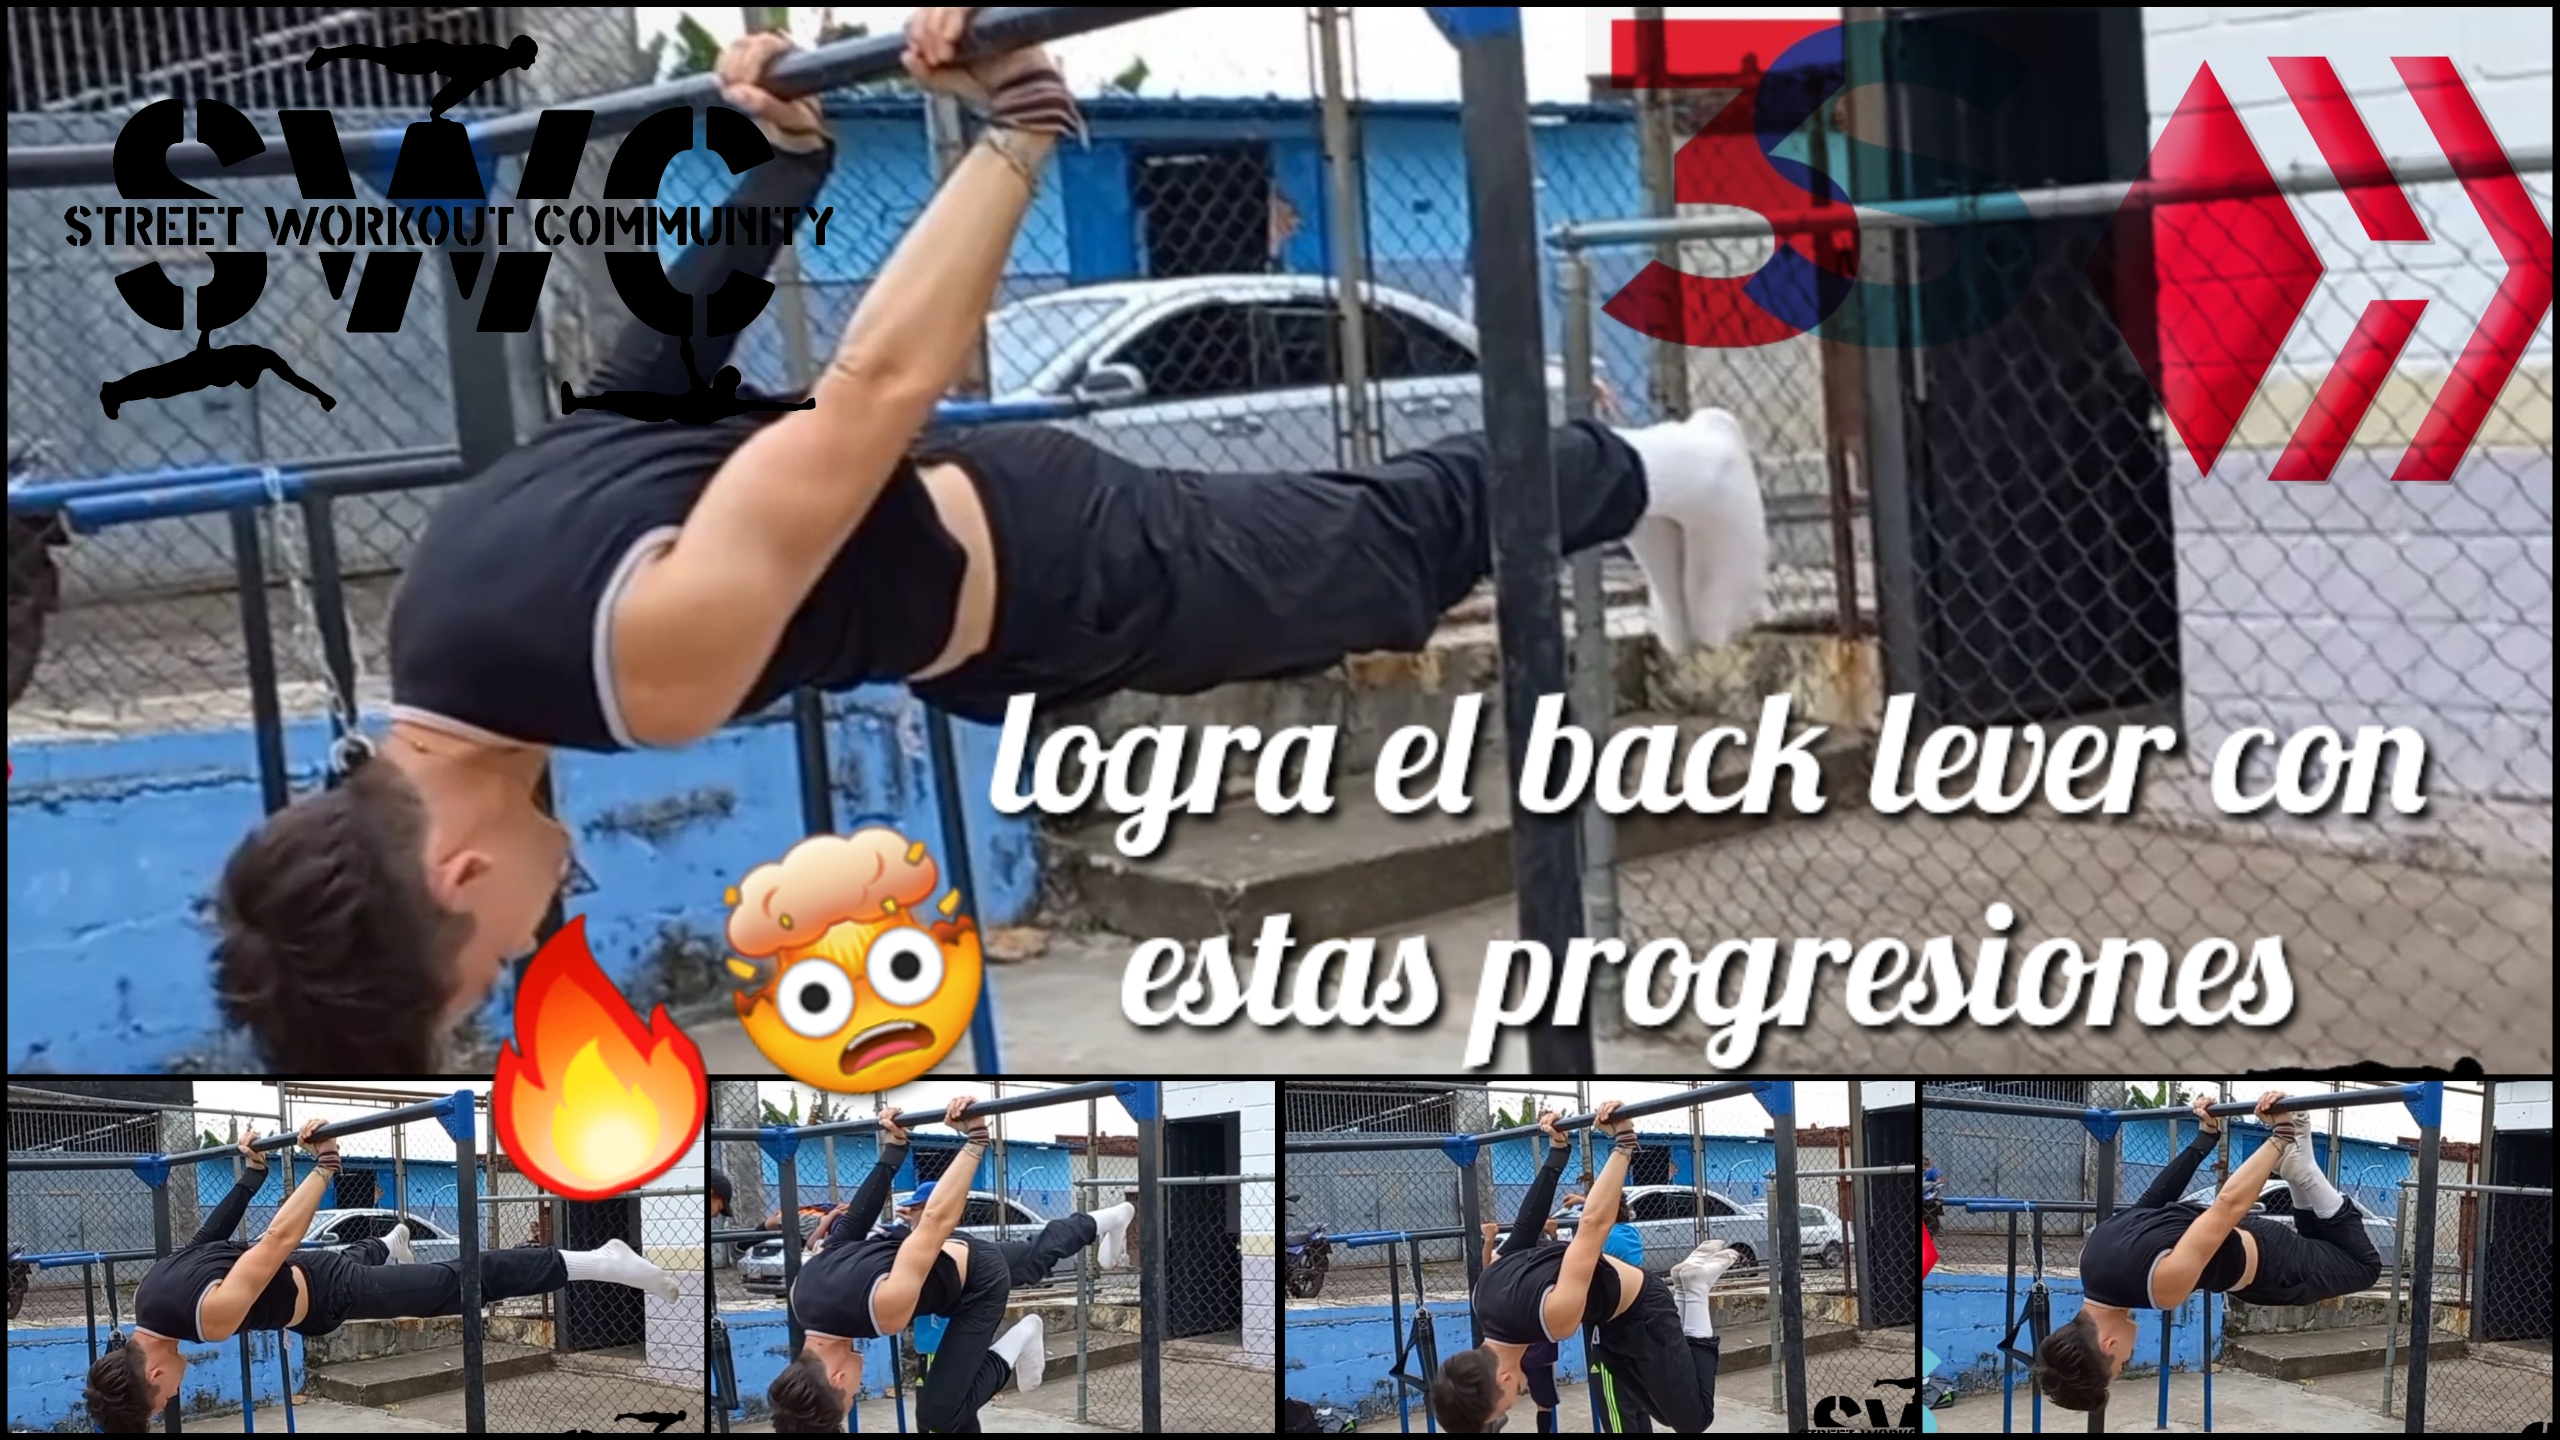
🔥QUIERES OBTENER EL BACK LEVER HAZ ESTAS PROGRESIONES🦾
5 SWC
About :
🔥WANT TO GET THE BACK LEVER🦾 DO THESE PROGRESSIONS💯🤯
Holaa compañeros y Integrantes de hive y la comunidad de SWC Un cordial saludo mi Nombre es Gustavo pernia(@gustavopm-
_sw). Y en esta publicación les mostrare las progresiones que deben tener para poder lograr hacer el movimiento de palanca trasera (BACK LEVER) espero que les sea de su agrado y sea de gran ayuda para que puedan poder lograr este movimiento.
Hello colleagues and Members of hive and the community of SWC A cordial greeting my name is Gustavo pernia(@gustavopm-
_sw). And in this publication I will show you the progressions that you must have to be able to make the back lever movement (BACK LEVER) I hope you like it and it will be of great help so that you can achieve this movement.
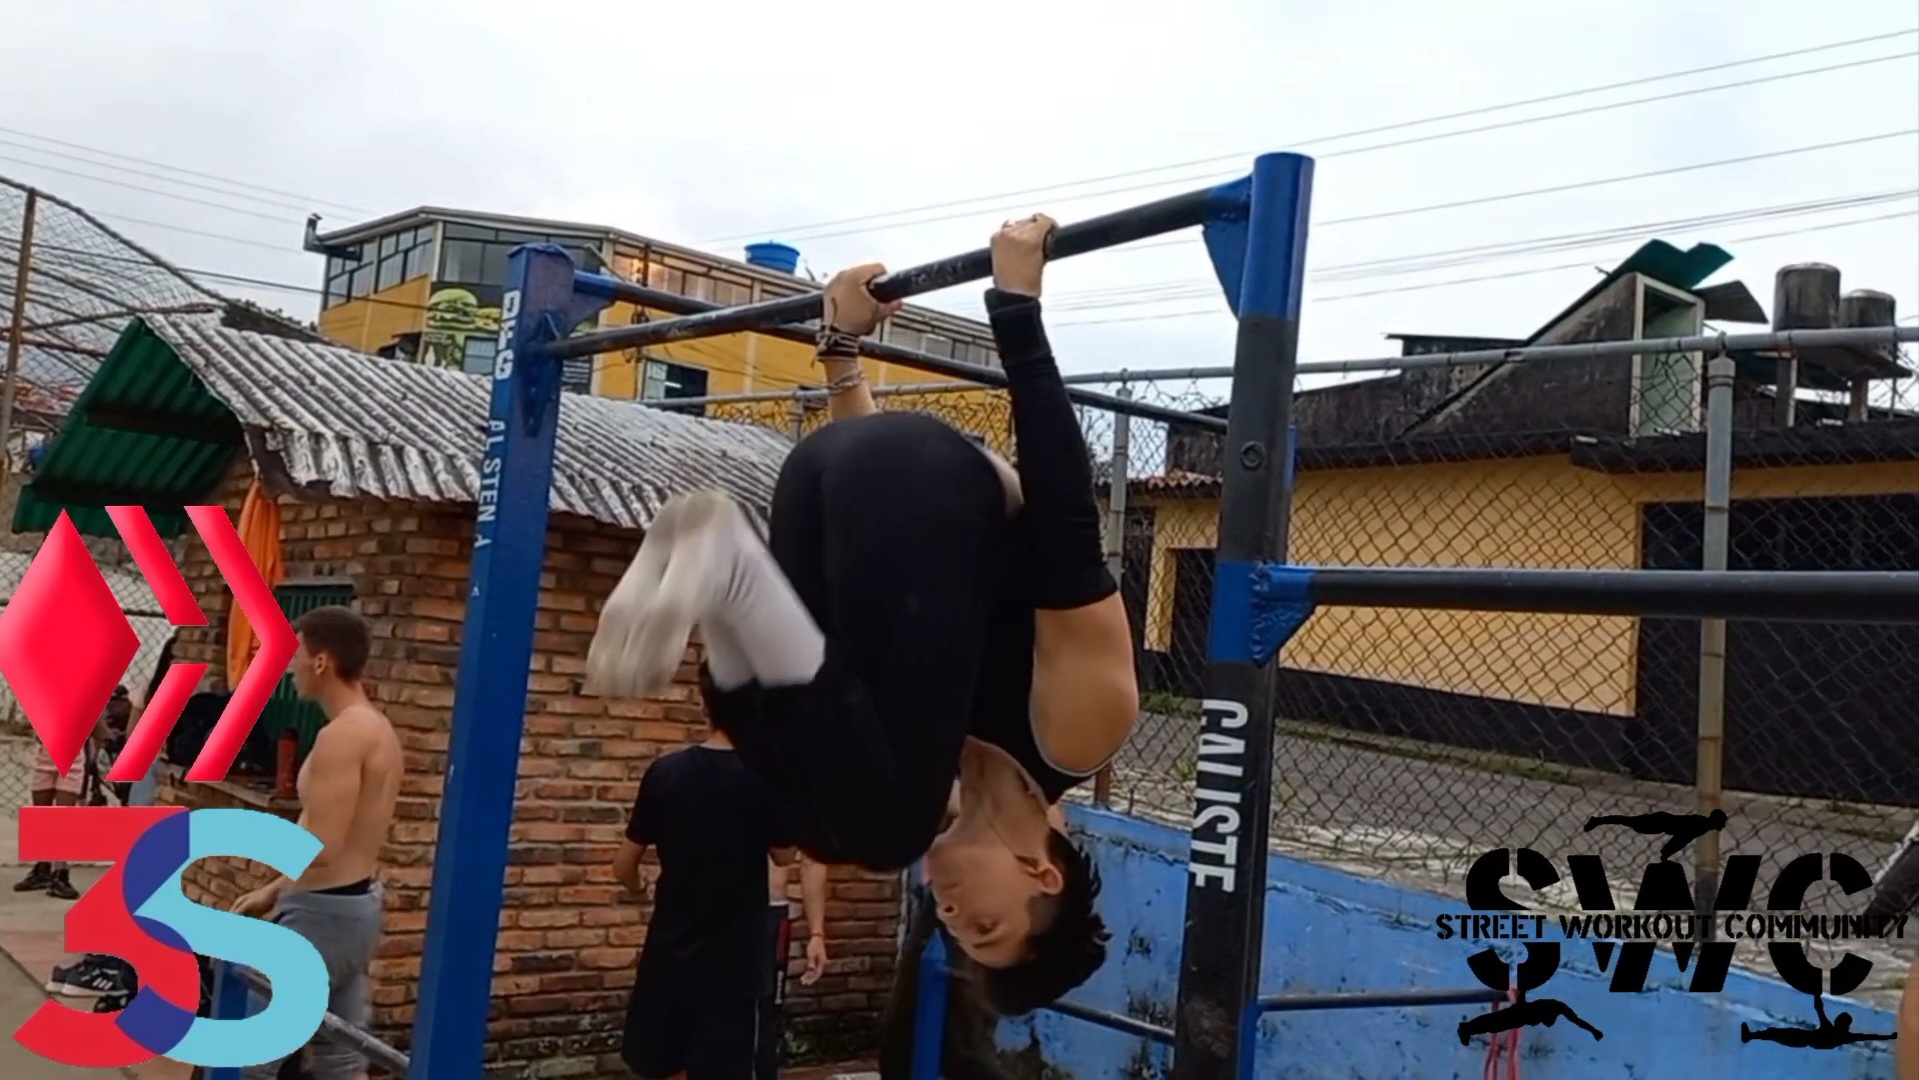
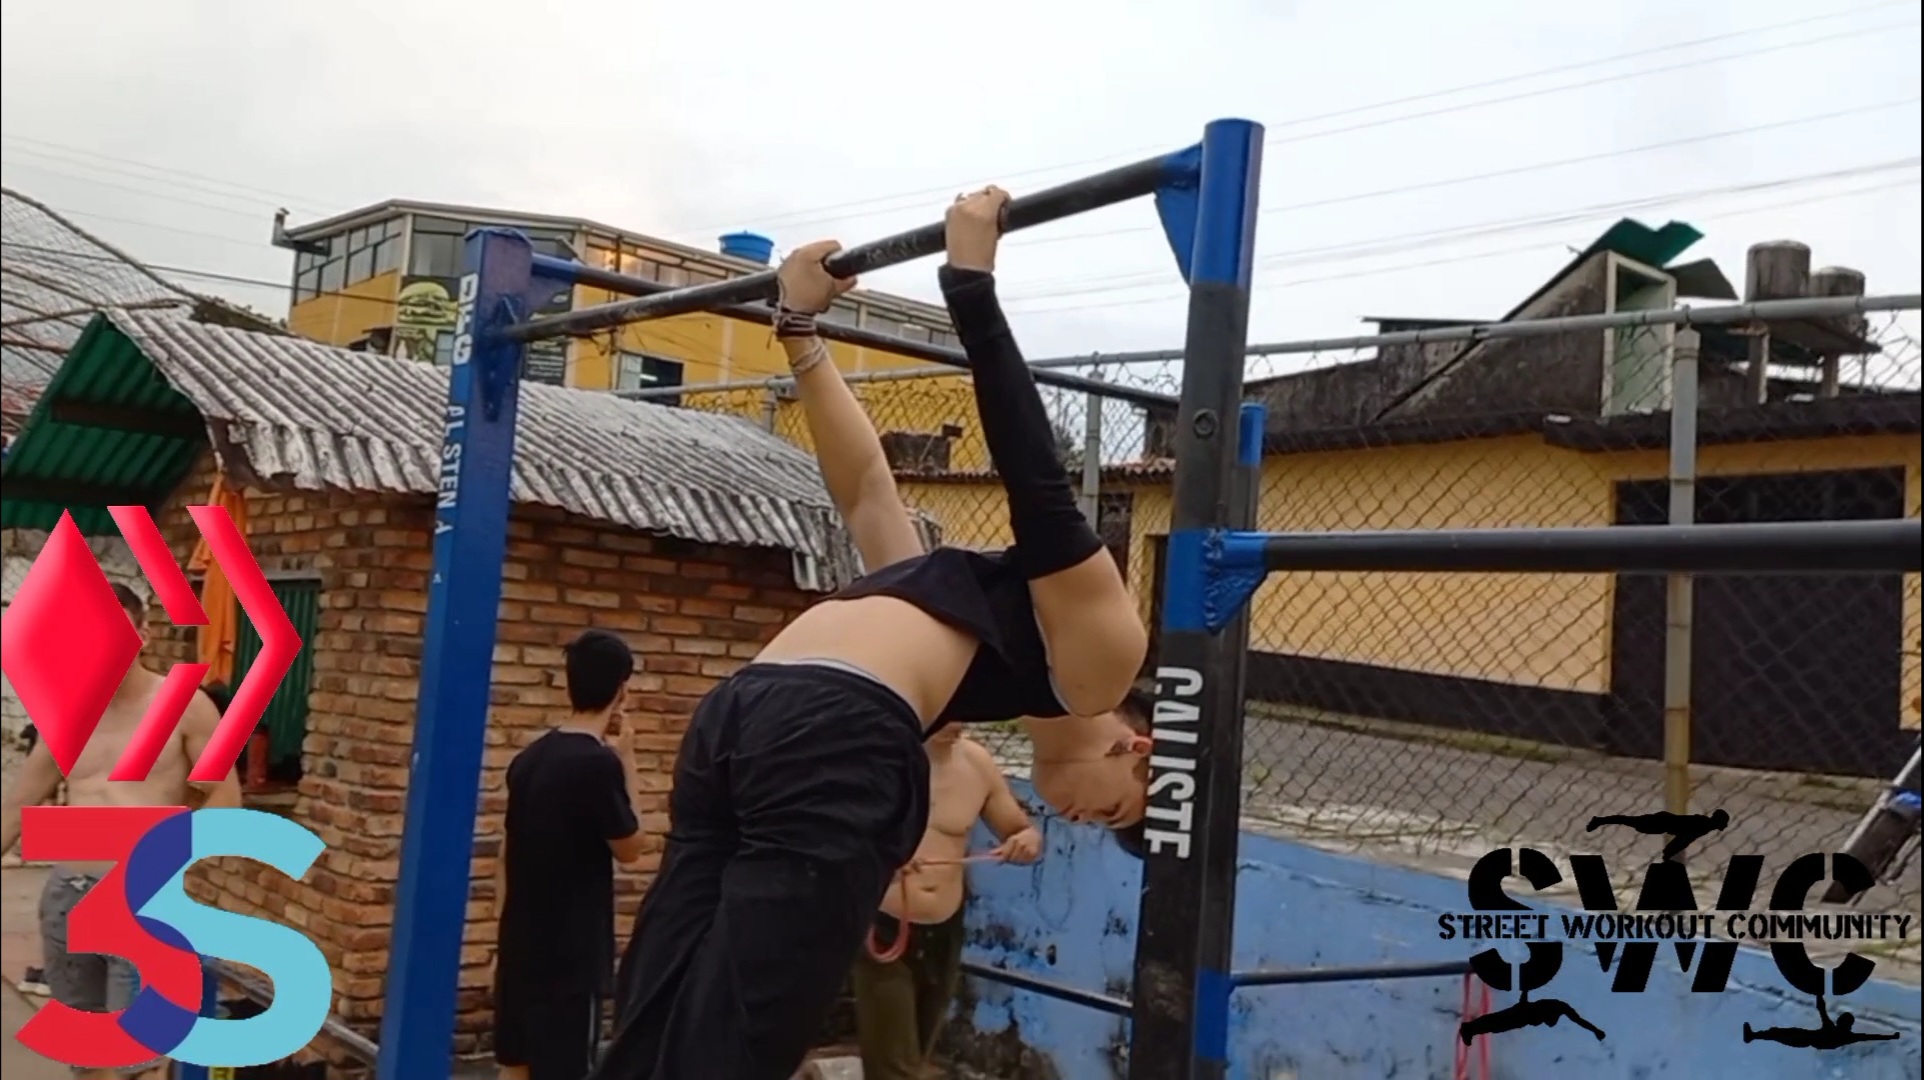
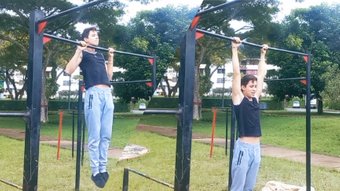
Bueno primero les recomiendo hacer un buen calentamiento a nivel muscular y articular haciendo ejercicios dinámicos o de movimientos y breves estiramiento ya que así prepararemos nuestra musculatura y la articulaciones implicadas, nos colgaremos de la barra y trataremos de hacer una skin de cat o pasar las piernas por el medio de nuestras manos y dejamos caer nuestro cuerpo. Como a continuación verán en la imagen.
Well, first I recommend you do a good warm-up at the muscular and joint level by doing dynamic or movement exercises and brief stretching, since this way we will prepare our muscles and the joints involved, we will hang from the bar and try to do a cat skin or pass our legs through the middle of our hands and let our body fall. As you will see in the image below.
Bueno desde mi punto de vista hacer estas progresiones son necesarias para obtener el back lever y tenerlas en cuenta, ya que es una palanca nivel principiante-intermedio y te podrían ayudar tanto para sacar este elemento estático ,como para mejor la postura o ganar mas segundos.
Well, from my point of view, making these progressions are necessary to obtain the back lever and take them into account, since it is a beginner-intermediate level lever and they could help you both to remove this static element, as well as to improve the posture or gain more seconds. .
1: Tuck back level

Algo muy importante a tener en cuenta es apretar o activar nuestro abdomen, también
cada vez alejar mas las piernas de nuestras manos en linea recta para así generar cargas progresivas y avanzar de progresión.
2: Tuck back lever half
Something very important to keep in mind is to tighten or activate our abdomen, as well
each time move the legs further away from our hands in a straight line in order to generate progressive loads and advance progression.
2: Tuck back lever half
El tuck half de back lever es una progrecion que te puede ayudar a ganar mas fuerza y segundos para la posicion final que es (BACK LEVER) recuerda no perder la postura y mantener la el core o abdomen activado en todo momento.
3:Back lever a una pierna / Back lever one leg
4:Back lever con las piernas abiertas/ Back lever Straddle
The back lever tuck half is a progression that can help you gain more strength and seconds for the final position that is (BACK LEVER) remember not to lose your posture and keep your core or abdomen activated at all times.
3:Back lever a una pierna / Back lever one leg
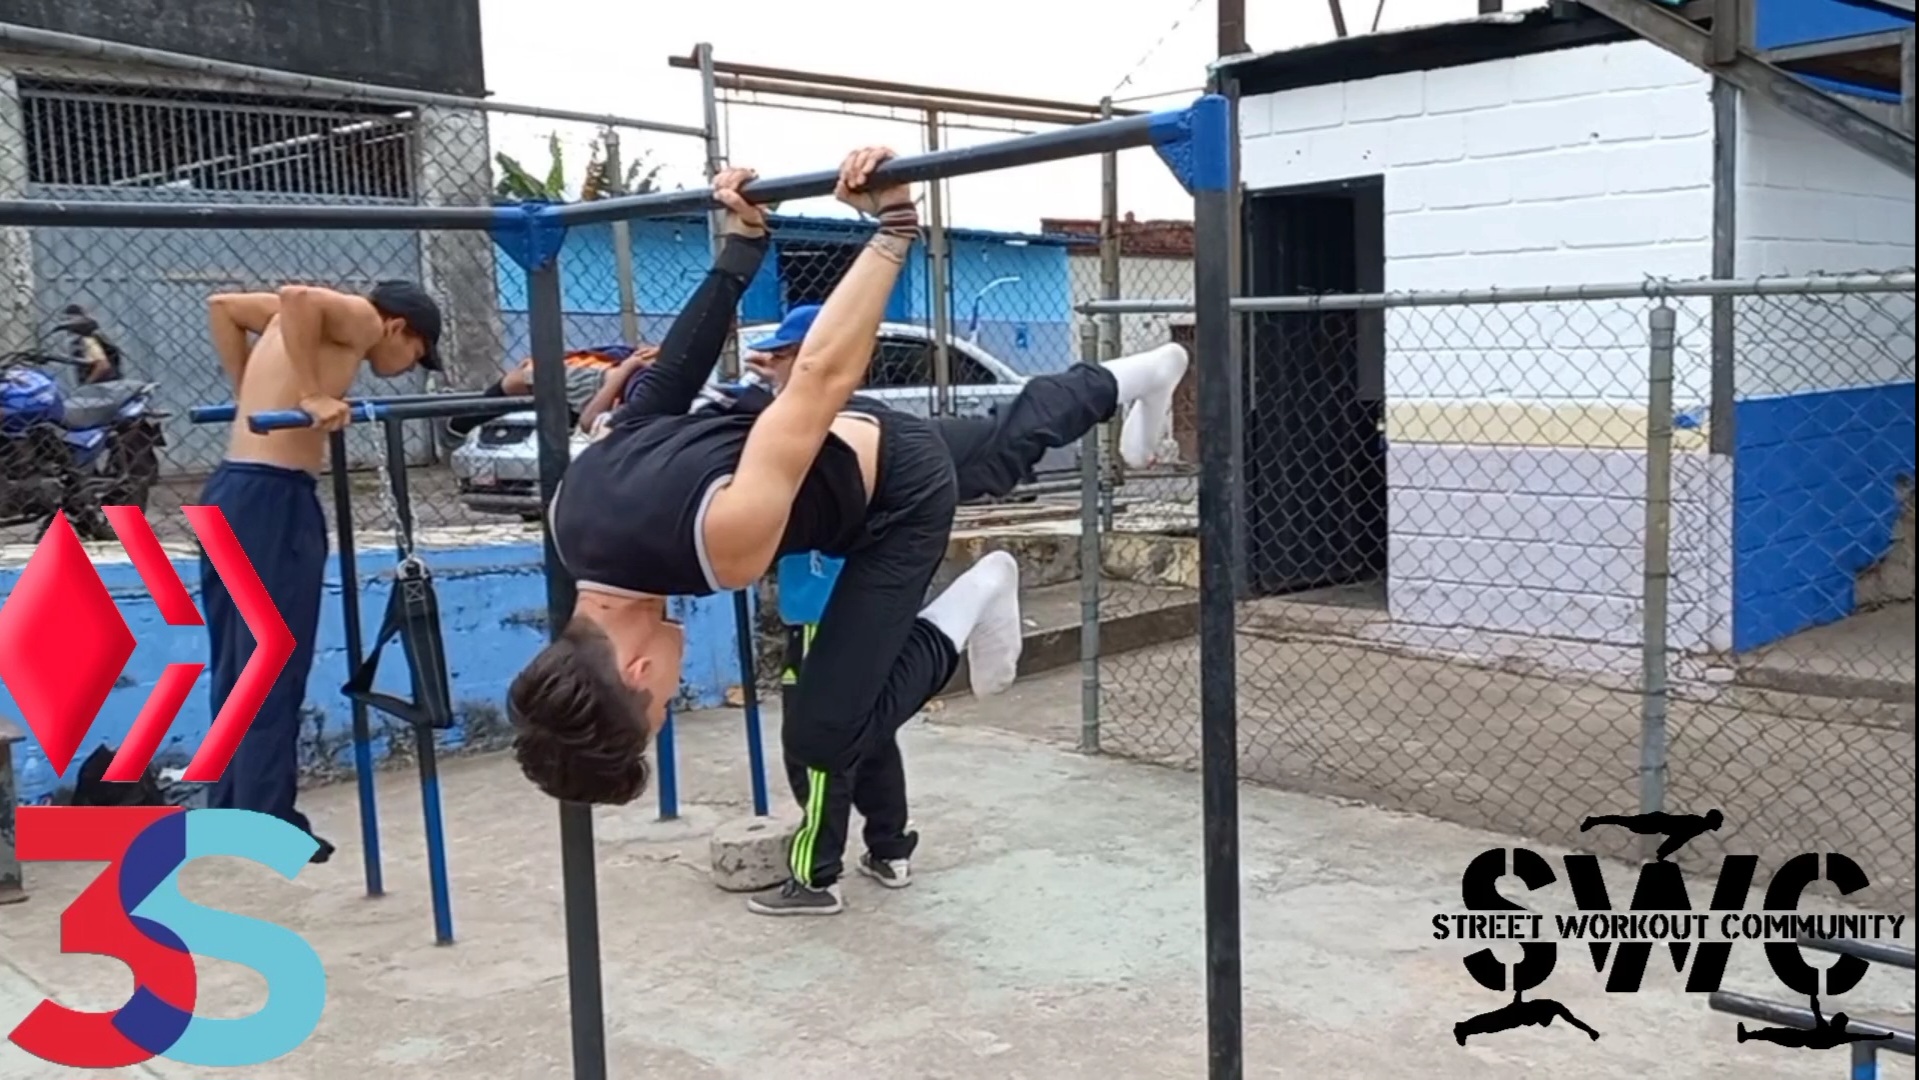
Este ejercicio en lo personal ayuda bastante, siempre y cuando se realice correctamente aguantando la misma cantidad de segundos en cada pierna. Este ejercicio te permite fortalecer los músculos del tren-medio como lo son (la lumbar,abdomen) y ententer la palanca que se debe ejercer en los hombros.
This exercise personally helps a lot, as long as it is done correctly, holding the same number of seconds on each leg. This exercise allows you to strengthen the middle-train muscles such as (lumbar, abdomen) and understand the lever that must be exerted on the shoulders.
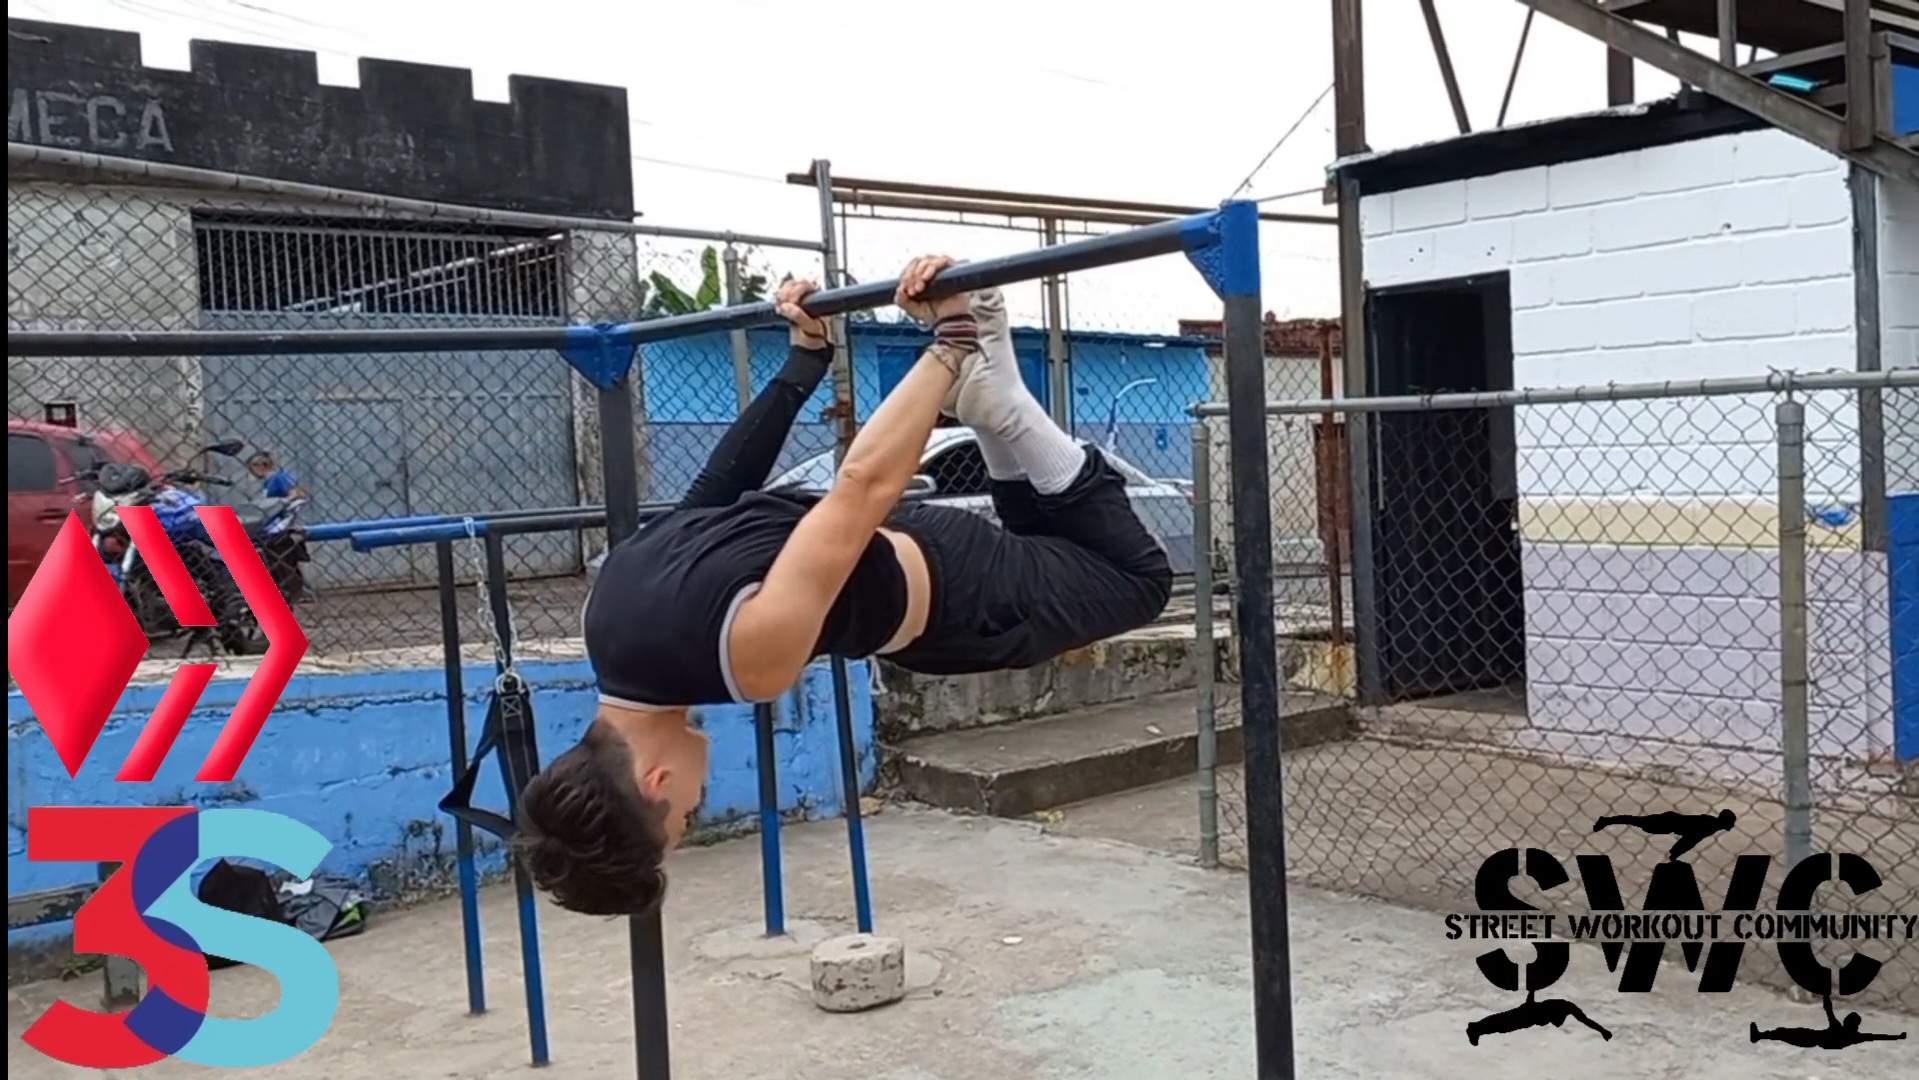
4:Back lever con las piernas abiertas/ Back lever Straddle
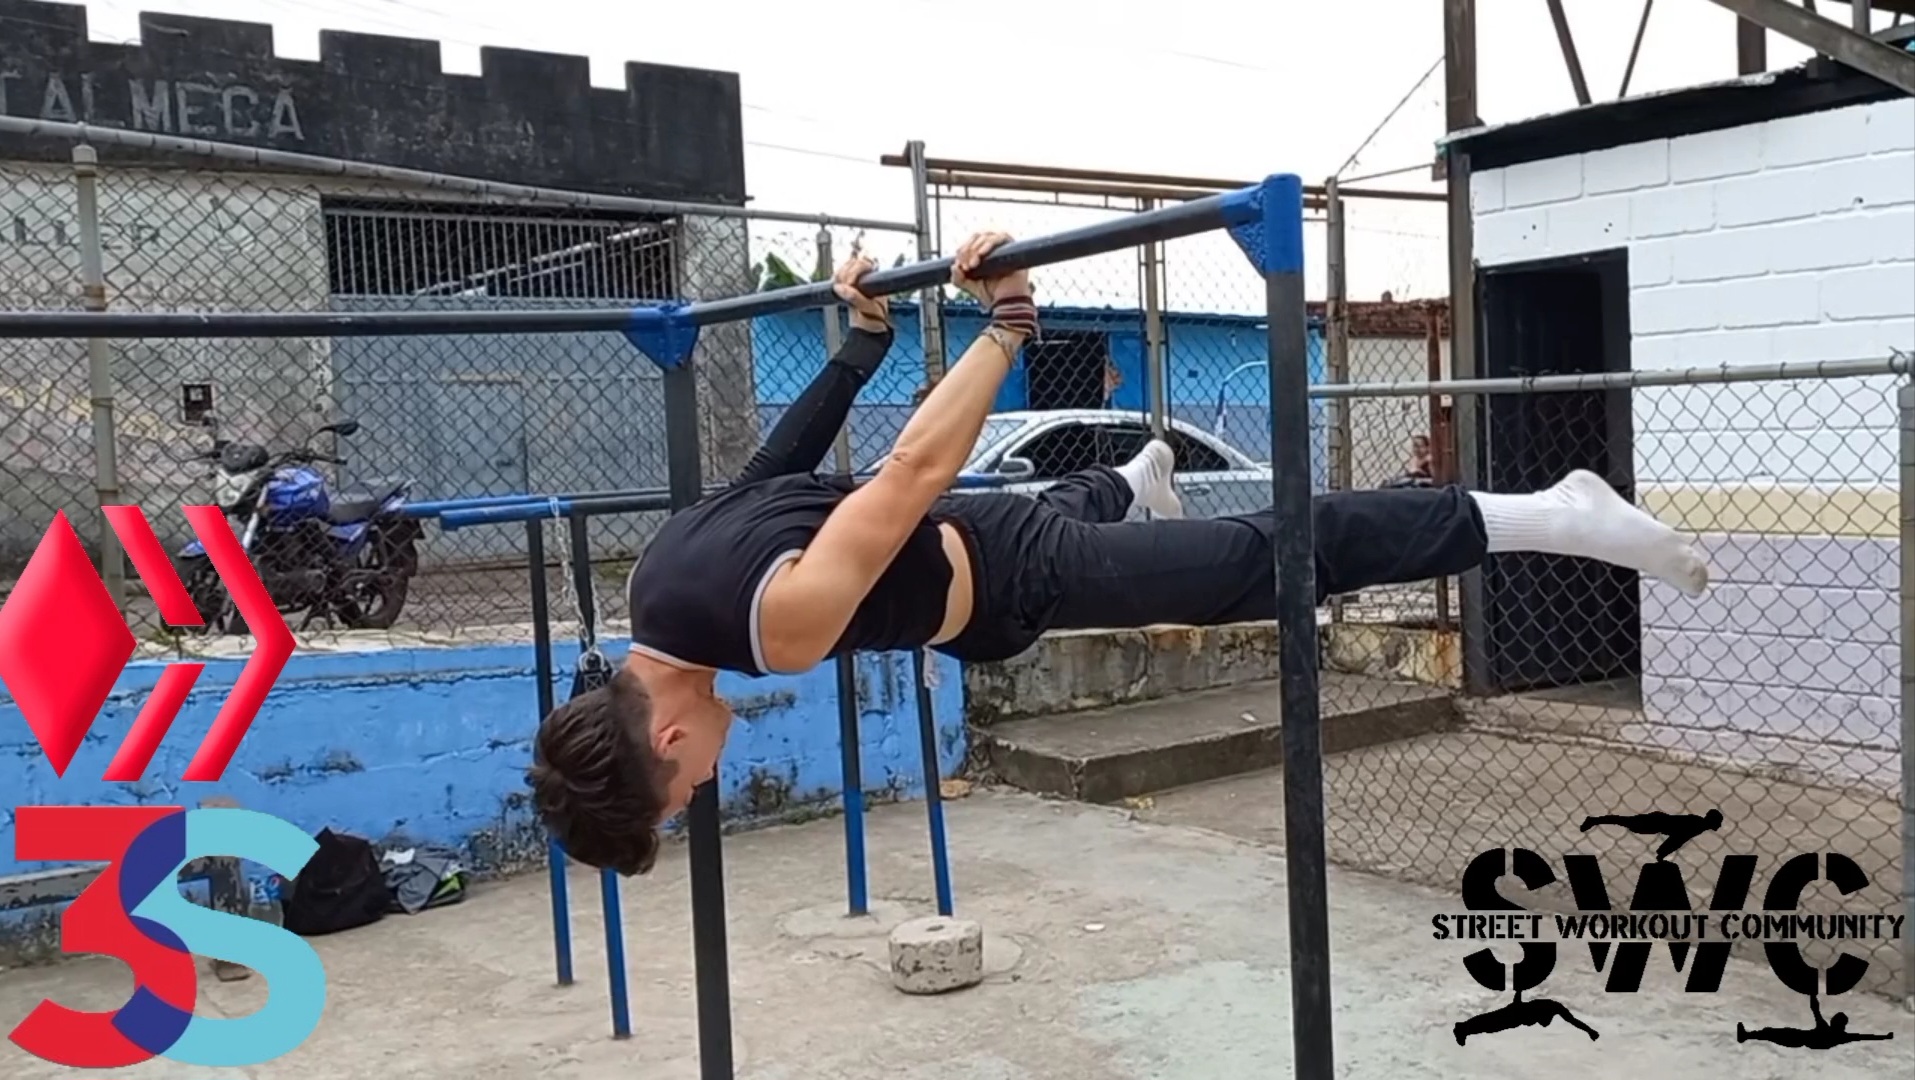
Este ejercicio desde mi punto de vista es la progresión final para lograr la palanca trasera (BACK LEVER) ya que te ayuda a activar toda la musculatura implicada en su totalidad, esta progrecion en lo personal te la recomiendo para ganar segundos y postura.
GRACIAS POR EL APOYO Y VER MI PUBLICACIÓN NOS VEMOS EN EL PRÓXIMO POST🦾🔥
THANKS FOR THE SUPPORT AND SEEING MY POST SEE YOU IN THE NEXT POST 🔥

~~~~~

~~~~~
This exercise from my point of view is the final progression to achieve the back lever (BACK LEVER) since it helps you activate all the muscles involved in its entirety, I personally recommend this progression to gain seconds and posture.
Bueno para concluir espero que les sean de gran ayuda estas progresiones que les mostre anteriormente y que puedan sacar ese back lever!.🦾🔥
Well, to conclude, I hope that these progressions that I showed you previously are of great help and that you can get that back lever!.🔥
EDITION DETAILS
Video editing application: CapCut
Translator: Translate Google

| - | - |
"Es solo el Comienzo"
"Es solo el Comienzo"
🌐Social Media🌐
...Gracias por visitar
Show more
Tags :
Woo!
This creator can upvote comments using 3speak's stake today because they are a top performing creator!
Leave a quality comment relating to their content and you could receive an upvote
worth at least a dollar.
Their limit for today is $0!
Their limit for today is $0!
5 views
2 years ago
$0.97
6 views
2 years ago
$0.57
4 views
2 years ago
$8.97

5 views
2 years ago
$0.03
2 views
a year ago
$0.34
More Videos
5 views
2 years ago
$4.22

1 views
3 years ago
$9.48

15 views
4 months ago
$2.44

22 views
a year ago
$11.58

9 views
6 days ago
$0.02

12 views
3 months ago
$0.89

10 views
a year ago
$17.91

6 views
4 months ago
$0.16

7 views
4 months ago
$0.71

2 views
a year ago
$3.05

8 views
2 months ago
$3.00

4 views
3 months ago
$0.52

13 views
7 months ago
$0.11

60 views
2 years ago
$0.00

10 views
3 years ago
$0.34

5 views
3 months ago
$0.75

3 views
4 years ago
$13.22

8 views
2 years ago
$10.79

7 views
11 months ago
$9.60

7 views
5 days ago
$1.09

8 views
2 months ago
$11.97

2 views
2 years ago
$1.65
@ocdb: 3.3233
@usainvote: 0.3127
@wrestorgonline: 0.2956
@ocd: 0.1878
@meritocracy: 0.0726
@howo: 0.0421
@justbekindtoday: 0.0391
@ocd-witness: 0.0339
@myegoandmyself: 0.0309
@usainvote: 0.3127
@wrestorgonline: 0.2956
@ocd: 0.1878
@meritocracy: 0.0726
@howo: 0.0421
@justbekindtoday: 0.0391
@ocd-witness: 0.0339
@myegoandmyself: 0.0309
@xocdb: -0.0000
@ocdb: 6.6259
@usainvote: 0.6234
@wrestorgonline: 0.5894
@ocd: 0.3745
@meritocracy: 0.1448
@howo: 0.0839
@justbekindtoday: 0.0779
@ocd-witness: 0.0675
@myegoandmyself: 0.0617
@usainvote: 0.6234
@wrestorgonline: 0.5894
@ocd: 0.3745
@meritocracy: 0.1448
@howo: 0.0839
@justbekindtoday: 0.0779
@ocd-witness: 0.0675
@myegoandmyself: 0.0617
@xocdb: -0.0000
Hey Gustavo! Thanks for sharing this routine with the Hive community. It's always good to have some advice from those who are actively practicing.
On the other hand, I see you're not following anyone on Hive, you're barely commenting. I'd like to remind you that Hive is a social platform, engagement is key here. You can get followers and more readers to your post just by commenting. So can I count on you in the near future?
Congratulations @gustavopm-sw! You have completed the following achievement on the Hive blockchain And have been rewarded with New badge(s)
Your next target is to reach 1000 upvotes.
You can view your badges on your board and compare yourself to others in the Ranking
If you no longer want to receive notifications, reply to this comment with the word
STOPCheck out our last posts:
Support the HiveBuzz project. Vote for our proposal!
¡Saludos! @gustavopm-sw Hermano me gustó mucho la calidad del vídeo y el como te expresas en cámara. Las progresiones están muy buenas aunque un poco avanzadas para alguien que apenas comienza en la calistenia, de igual manera está exelente, las haré para mejorar mi Back Lever 💪🏼📈 Sigue así bro ¡Buen post!.
Saludos @gustavopm-sw
Greetings @gustavopm-sw