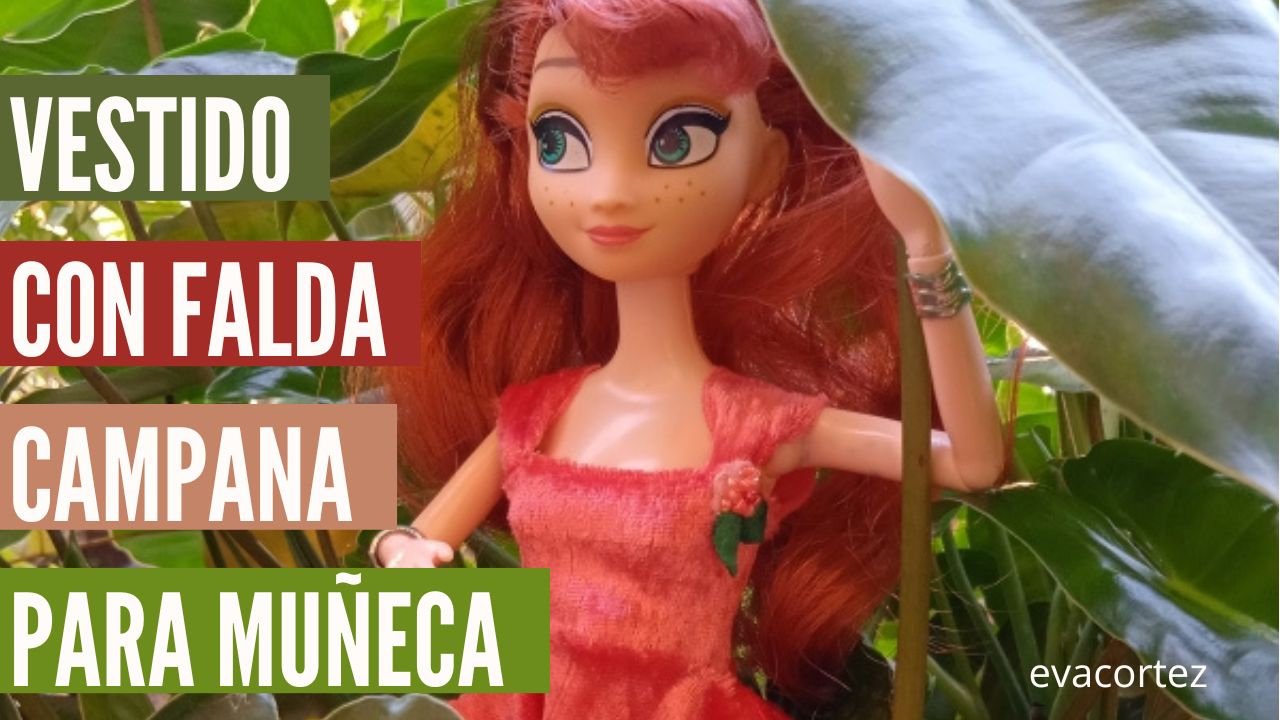
DIY. Vestido con falda campana para una muñeca // DIY. Dress with bell skirt for a doll (ESP-ENG)
5
About :
ESPAÑOL
¡Hola! Soy Anna. Sí, el personaje de la película animada :D
Esta navidad llegué al hogar de Eva; pero, no me gustaba mucho el traje que tenía; era incómodo, estaba descosido :/ y la verdad era bastante feo :D
Le pedí ayuda a Eva y ella muy amablemente hizo para mí este vestido hermoso. Pero dejémos que ella misma nos cuente cómo lo realizó :)
¡Hola nuevamente! soy Eva, bienvenidos a mi blog. En esta oportunidad voy a mostrarles cómo relicé este lindo vestido para nuestra muñeca Anna. Es bastante sencillo, así que presta mucha atención ;)
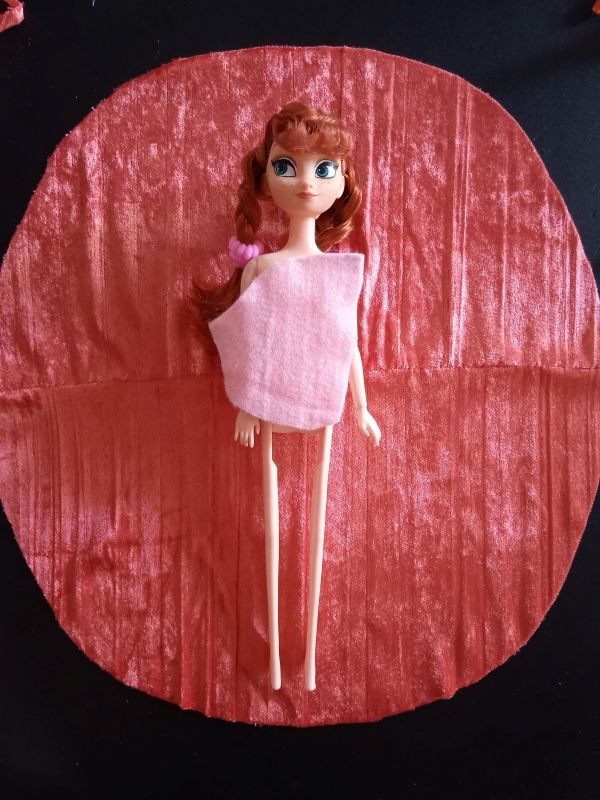
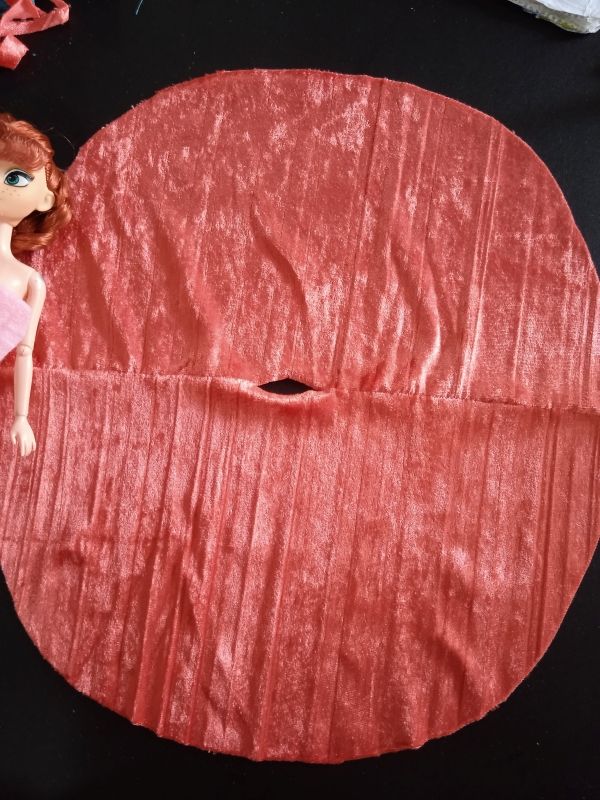
Primeramente, coloqué a la muñeca sobre la tela, para así medir el largo que debería tener la falda del vestido. Es una falda tipo campana; es por ello, que trazaremos un circulo para darle amplitud.
Para trazar la falda sobre la tela, imaginaremos que nuestra muñeca es un compás escolar. De esta manera, la cintura de la muñeca será el centro de la falta y la giraremos para trazar una circunferencia. ¡La muñeca compás! :)
En este caso, no tenía una tela tan grande para marcar el circulo; entonces, tracé dos mitades y luego las uní cosiendolas. En la imagen puedes ver cómo quedó.
Luego, corté un rectángulo, medidas:
ANCHO: siguiendo el contorno de la muñeca, pasando por el busto y la espalda.
LARGO: según el largo desead, desde el escote a la cintura.
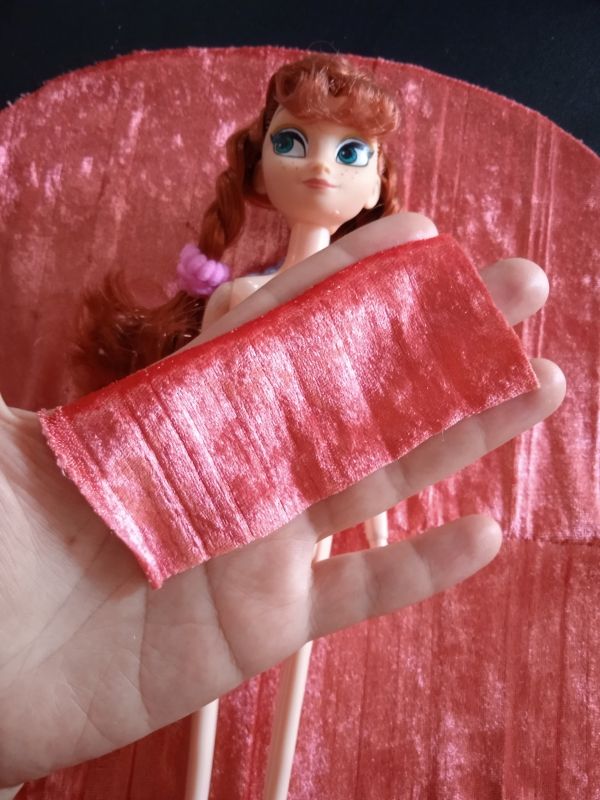
Dejé una abertura en el centro, para la cintura de la muñeca.
Aquí tenemos las dos piezas del vestido.

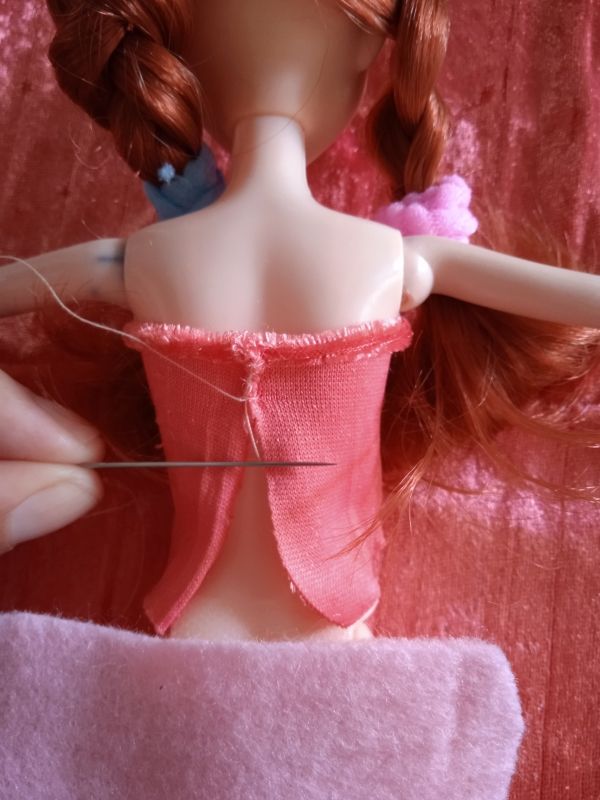
Cosiendo la parte superior del vestido: colocamos la pieza rectangular al rededor del busto de la muñeca y cosemos en la parte trasera, uniendo ambos extremos del rectángulo.
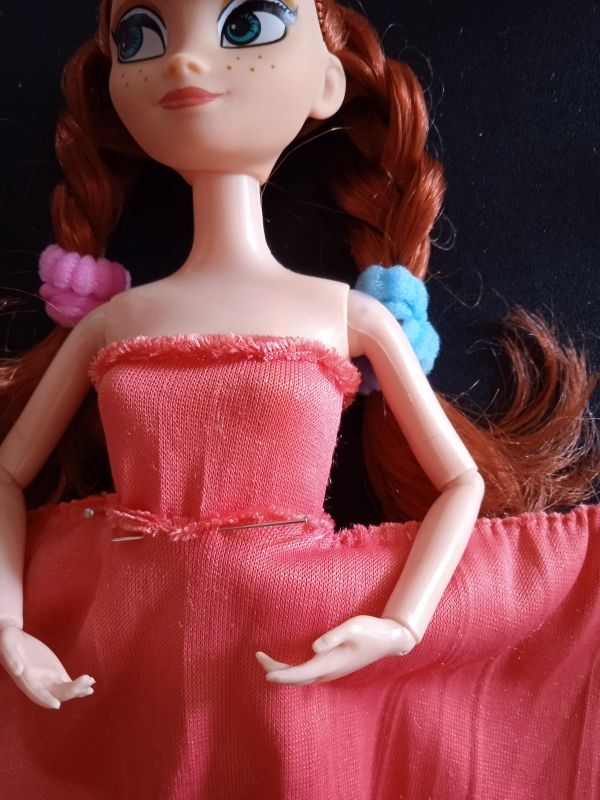
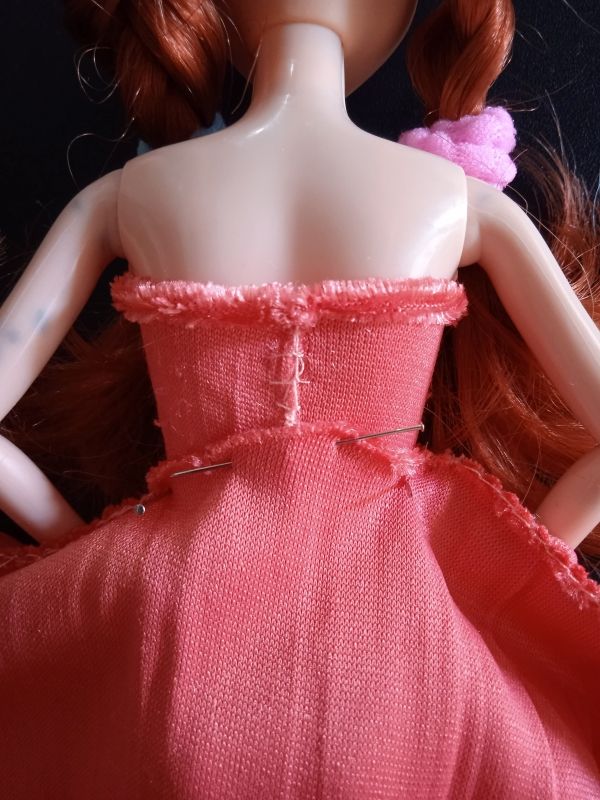
Vamos a armar las piezas del vestido: para ello, unimos la parte superior del vestido con la falda. Unimos en la cintura, tal como te muestro en las imagenes.
Cortamos dos tirantes y lo cosemos a la parte superior del vestido, teniendo en cuenta la altura de los hombros de la muñeca.
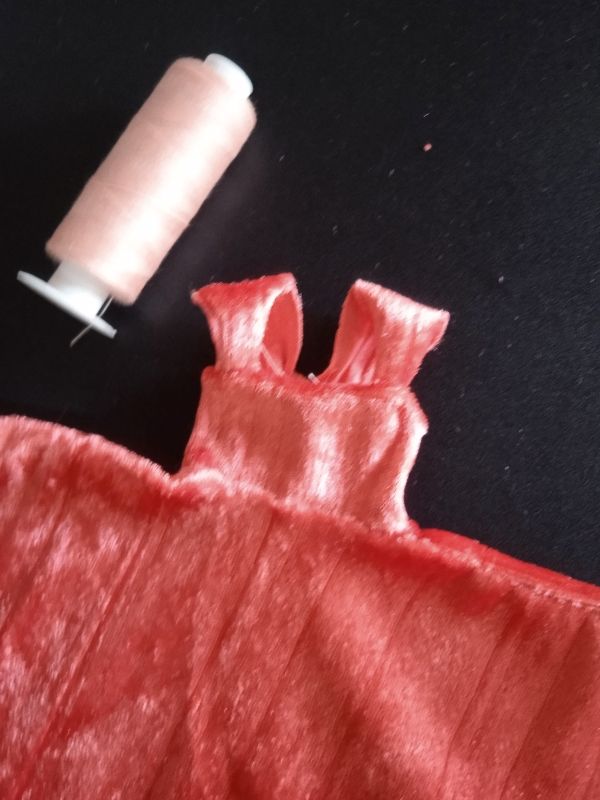
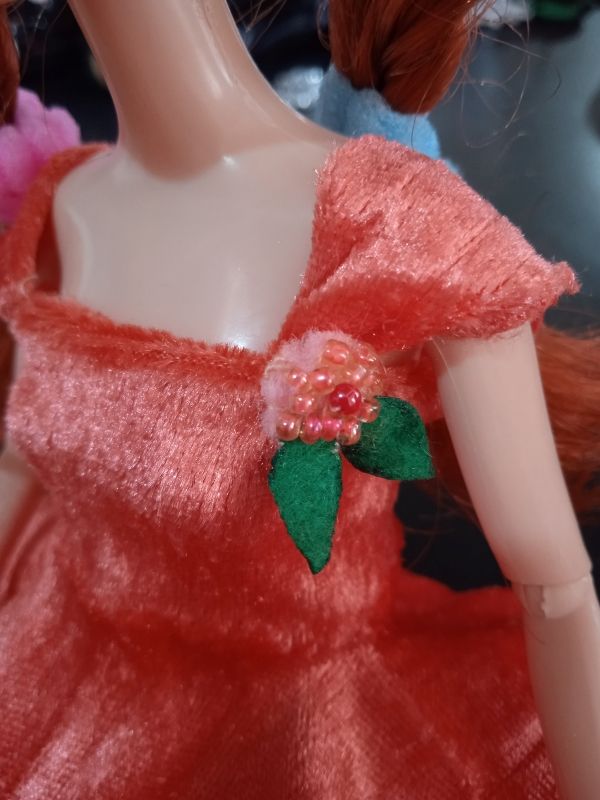
Quise hacerle un pequeño prendedor con mostacillas y fieltro, para darle un "look" primaveral :)
Aquí puedes ver más de cerca el prendedor :)
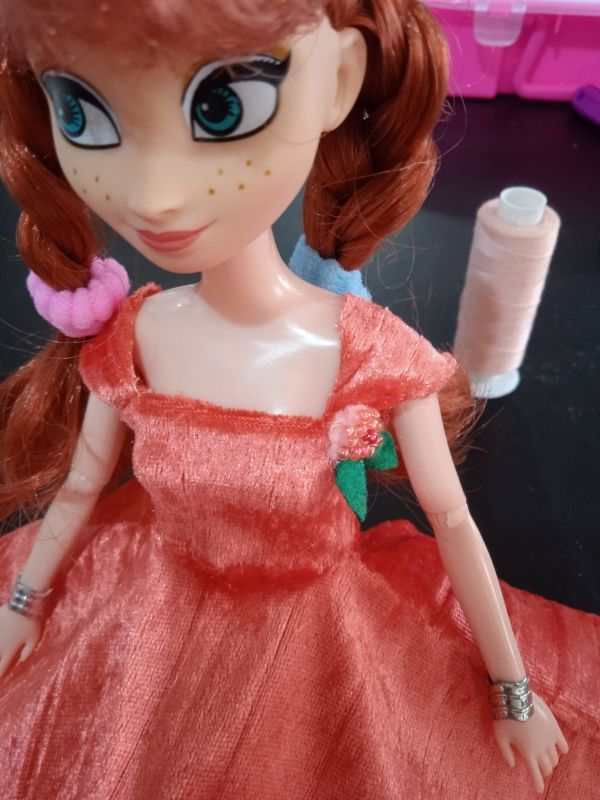
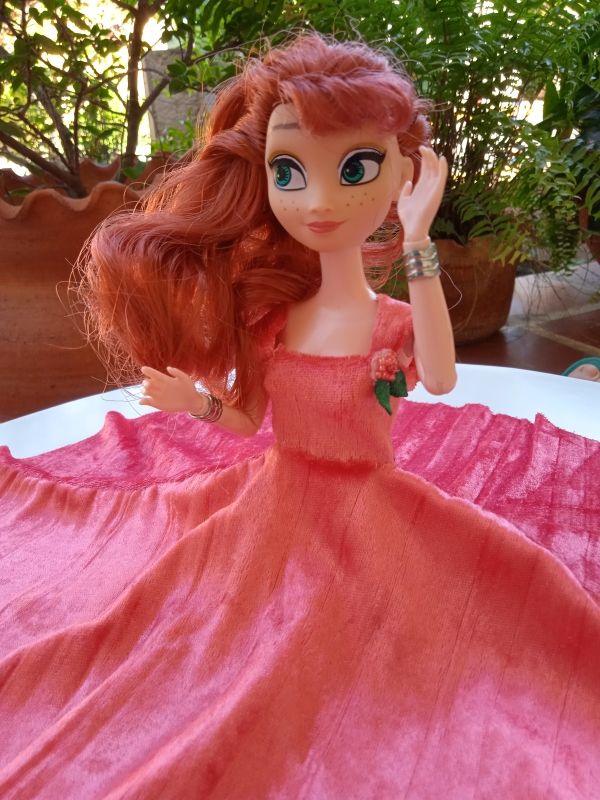
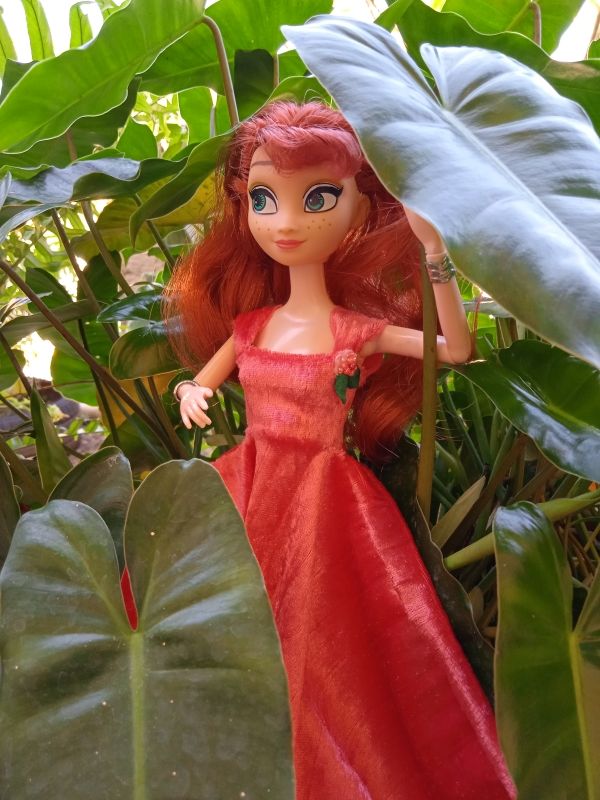
De esta manera, terminamos este lindo vestido tipo campana para esta muñeca :) ya está lista para una sesión de fotos en el jardín.
¿No te parece que ha quedado hermoso? :) A mí, me ha encantado y a mi hija aún más.
Ahora sí ¡Vamos a pasear!
ENGLISH
Hi! I'm Anna. Yes, the character from the animated movie :D
This Christmas I arrived at Eva's home; but, I didn't really like the outfit I had; it was uncomfortable, it was untight :/ and the truth was a bit ugly :D
Join me and I'll show you how they made this beautiful dress for me.
Hello again! I'm Eva, welcome to my blog. This time I'm going to show you how I made this cute dress for our Anna doll. It's quite simple, so pay close attention ;)
First of all, I placed the doll on the fabric, so I could measure the length that the skirt of the dress should have. It is a bell skirt; that's why we will draw a circle to give it width.
To trace the skirt on the fabric, we will imagine that our doll is a school compass. In this way, the waist of the doll will be the center of the skirt and we will turn it to trace a circle. The compass doll! :)
In this case, I didn't have such a big fabric to mark the circle; so, I traced two halves and then I sewed them together. In the picture you can see how it turned out.
Then, I cut a rectangle, measurements:
WIDTH: following the contour of the wrist, passing through the bust and back.
LENGTH: according to the desired length, from the neckline to the waist.
I left an opening in the center, for the doll's waist.
Here we have the two pieces of the dress.
Sewing the upper part of the dress: place the rectangular piece around the bust of the doll and sew at the back, joining both ends of the rectangle.
Let's assemble the pieces of the dress: to do this, we join the upper part of the dress with the skirt. We join at the waist, as I show you in the pictures.
We cut two straps and sew them to the top of the dress, taking into account the height of the doll's shoulders.
I wanted to make her a little pin with beads and felt, to give her a spring look :)
Here you can take a closer look at the pin :)
This way, we finished this cute bell-shaped dress for this doll :) she is now ready for a photo session in the garden.
Don't you think it turned out beautiful? :) Me, I loved it and my daughter even more.
Now let's go for a walk!
Show more
Tags :
Woo!
This creator can upvote comments using 3speak's stake today because they are a top performing creator!
Leave a quality comment relating to their content and you could receive an upvote
worth at least a dollar.
Their limit for today is $0!
Their limit for today is $0!
14 views
3 years ago
$
8 views
a year ago
$
7 views
3 months ago
$

FREE programs to get started in digital art // Programas GRATUITOS para Iniciarte en el arte digital
10 views
3 years ago
$
6 views
3 months ago
$
More Videos

2 views
3 months ago
$

19 views
a year ago
$

4 views
2 years ago
$

6 views
2 years ago
$

29 views
9 months ago
$

0 views
a year ago
$
8 views
3 months ago
$
7 views
a year ago
$

9 views
10 months ago
$
6 views
a year ago
$

17 views
2 years ago
$

8 views
8 months ago
$

14 views
2 years ago
$

17 views
3 years ago
$
2 views
2 years ago
$

9 views
a year ago
$

21 views
a year ago
$

9 views
2 years ago
$

7 views
2 years ago
$

3 views
2 years ago
$

3 views
a year ago
$

15 views
2 years ago
$
4 views
2 years ago
$

1 views
a week ago
$

9 views
6 months ago
$
Comments:
Reply:
To comment on this video please connect a HIVE account to your profile: Connect HIVE Account