Christmas Balls ǀ Bolas de Navidad
18
About :
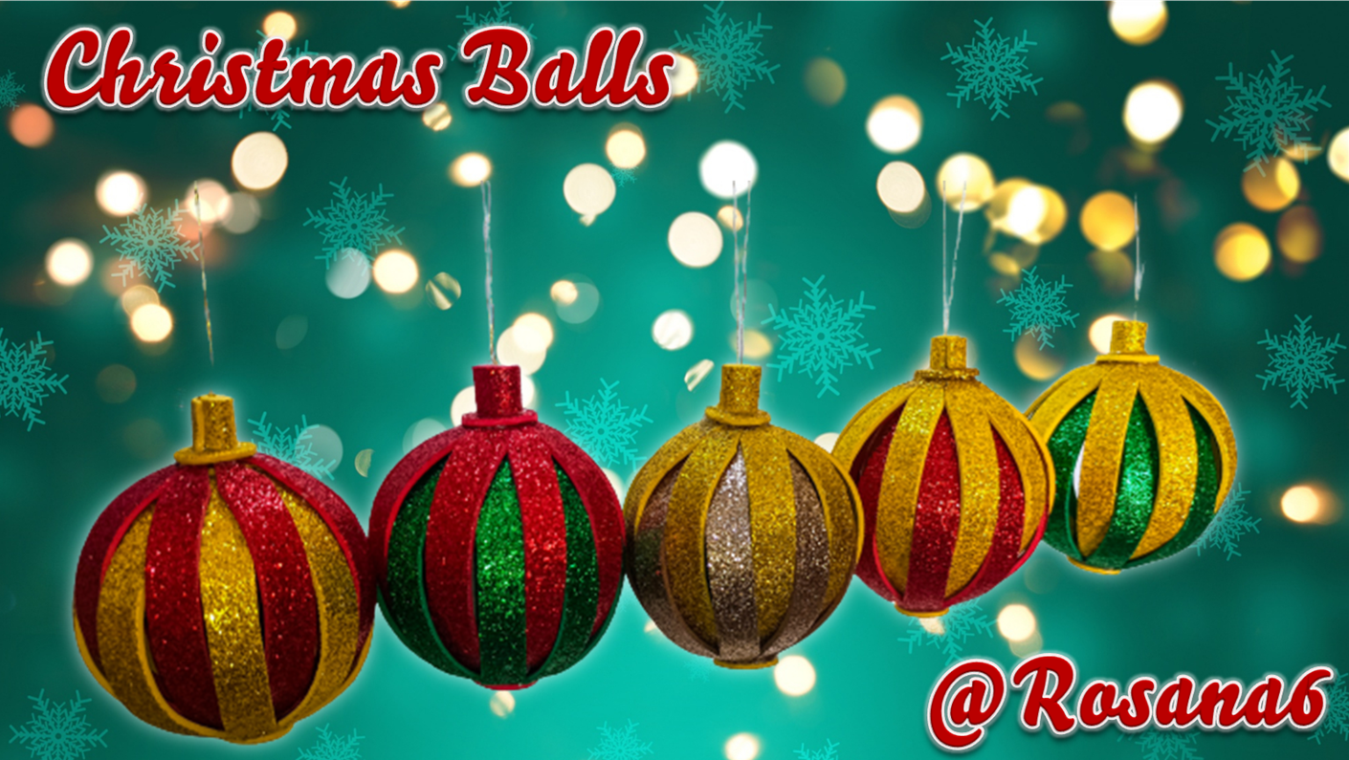
Greetings, friends of Hive DIY! We are at the gates of the most beautiful time of the year, Christmas. On this occasion, I want to show you a beautiful and eye-catching craft. This is Christmas balls of glittered Foamy, excellent choice as ornaments for the tree. Let's see the materials and the step by step.
¡Saludos, amigos de Hive DIY! Estamos a las puertas de la época más bonita de año, la navidad. En esta ocasión, quiero mostrarles una hermosa y llamativa manualidad. Se trata de unas Bolas de Navidad de Foamy escarchado, excelente opción como adornos para el arbolito. Veamos los materiales y el paso a paso.
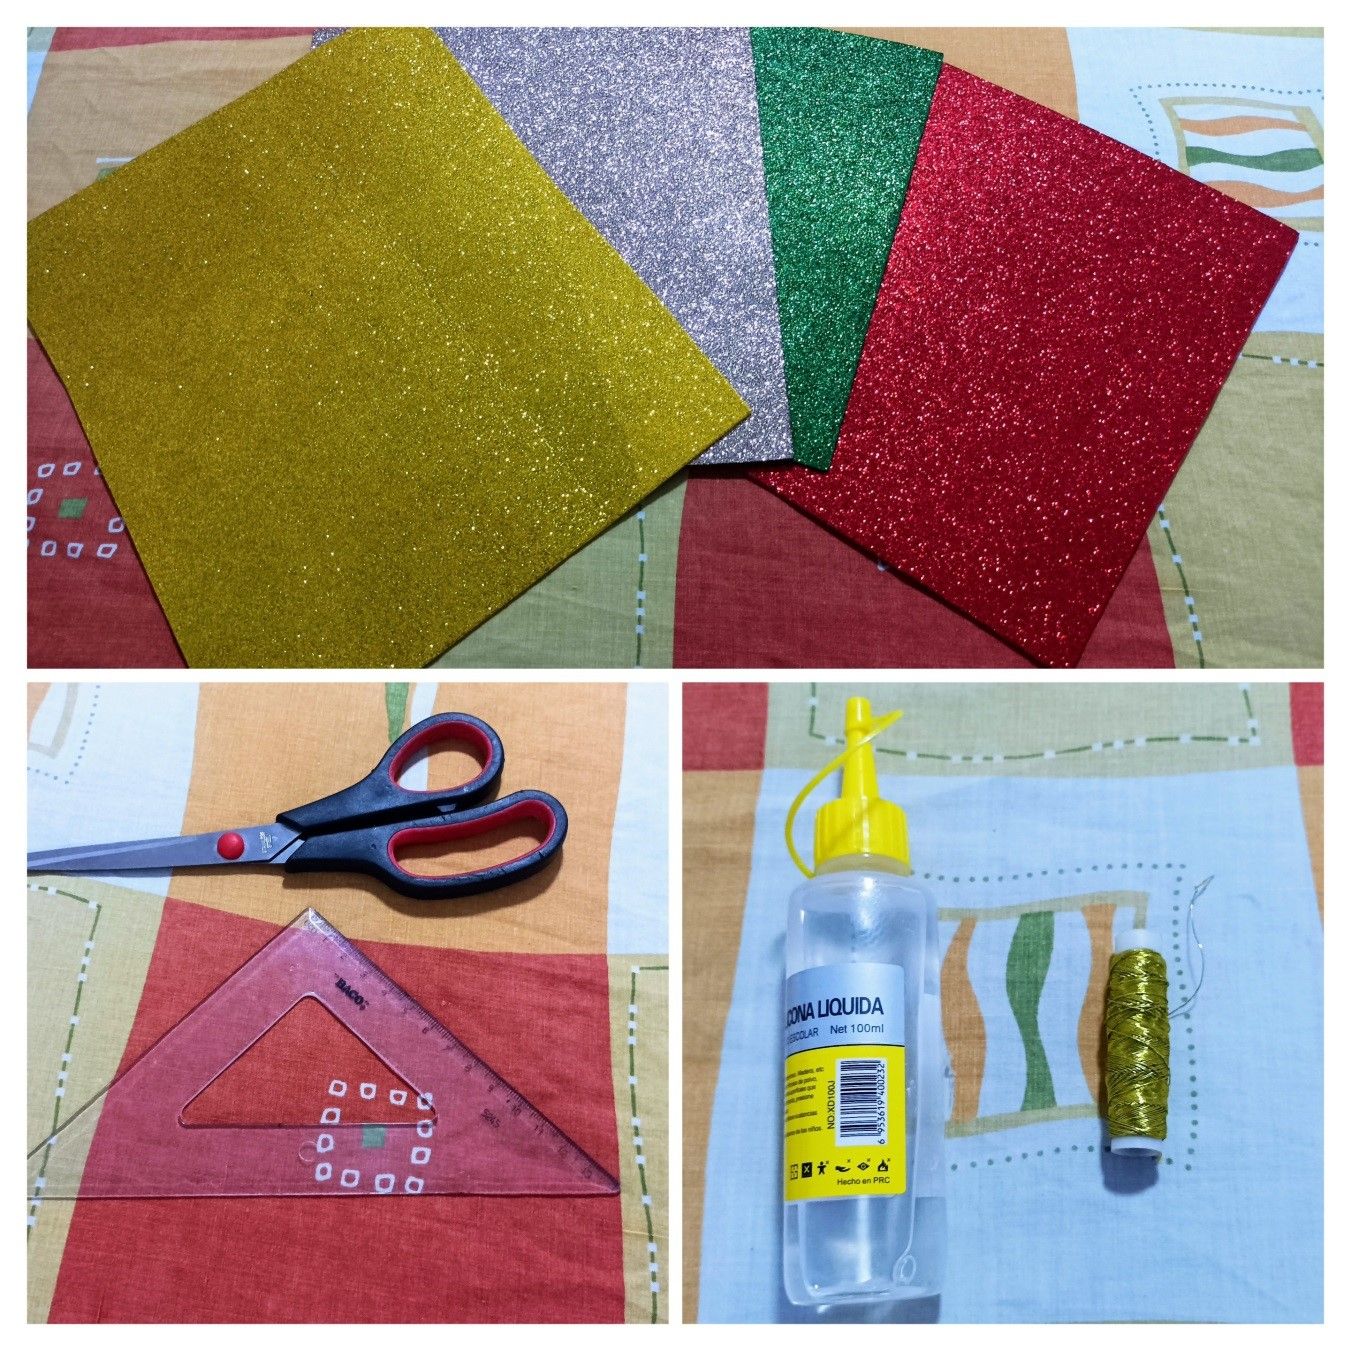
We will need / Vamos a necesitar:
Sheets of glittered Foamy, Scissors, Ruler, Liquid Silicone and Golden thread.
Pliegos de Foamy escarchado, Tijera, Regla, Silicón líquido e Hilo dorado.
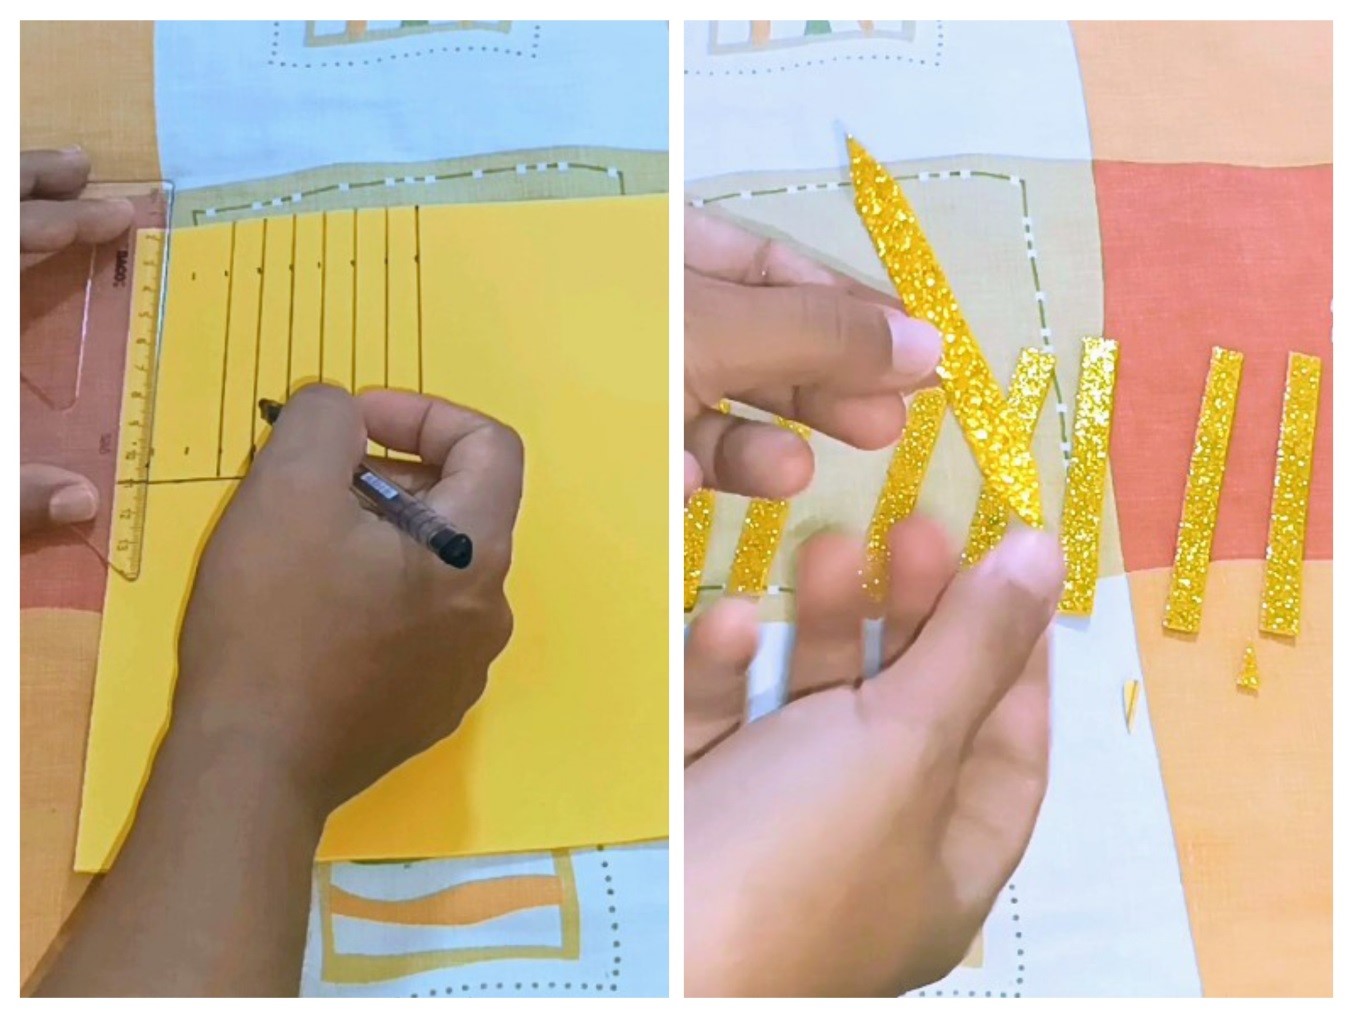
We start by marking 1x9.5 cm on the Foamy sheet to obtain 18 pieces in the form of strips, 9 of one color and 9 of another of our preference. Then, we are going to make diagonal cuts at the ends of the strips at about 1.5 cm until they are as shown in the image.
Iniciamos marcando unas medidas de 1x9.5 cm en la lámina de Foamy para obtener 18 piezas en forma de tiras, 9 de un color y 9 de otro de nuestra preferencia. Luego, vamos a hacer cortes diagonales en las puntas de las tiras a unos 1.5 cm hasta que queden como se ven en la imagen.
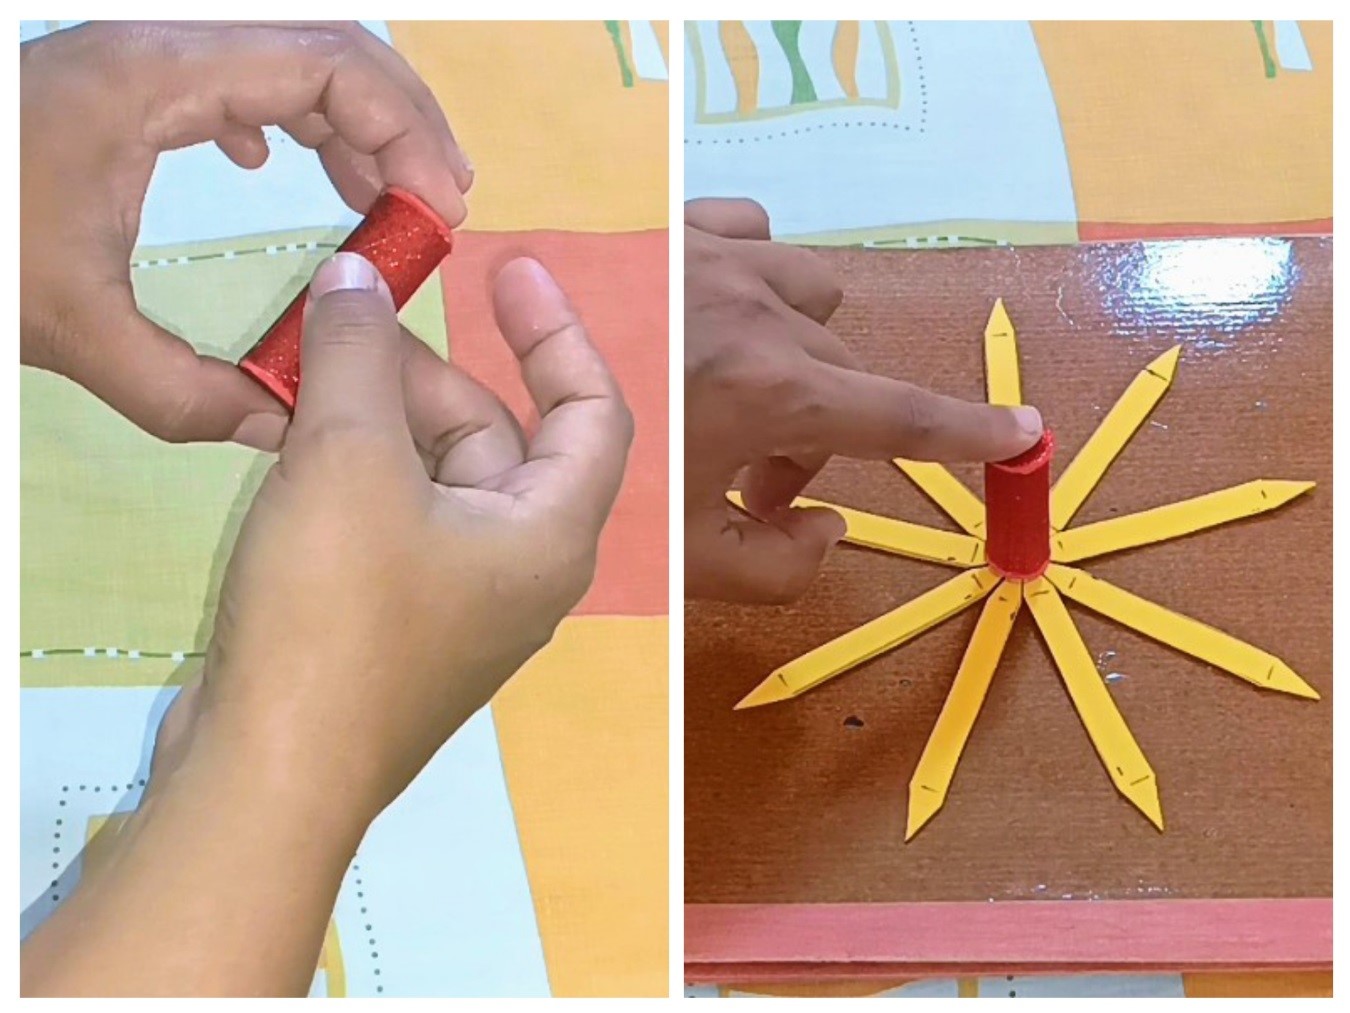
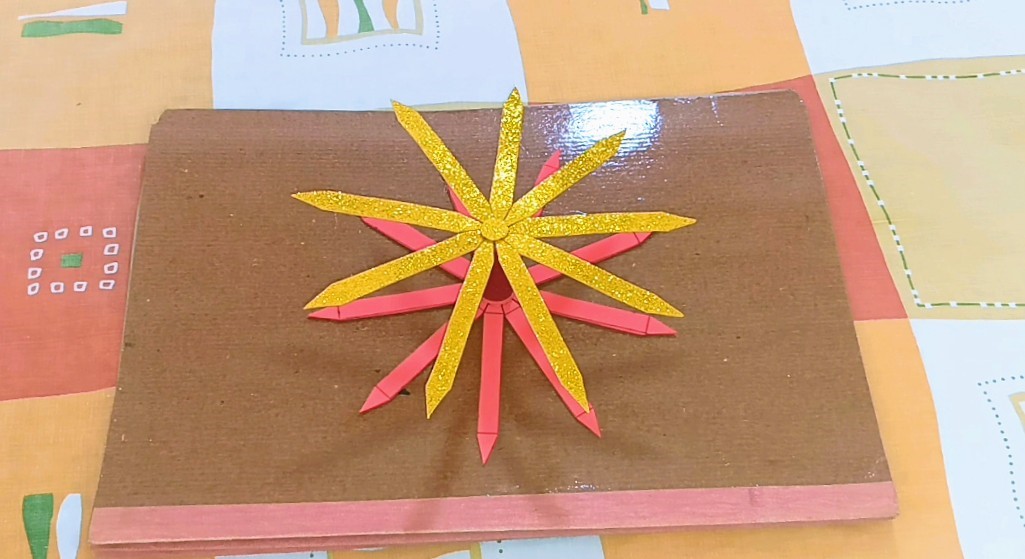
For the central base we need to take a 5x5 cm foamy cutout and glue it with the help of a support strip, and then place two 1.8 cm caps on them. Once the base has dried we place it on 9 strips of the same color that are positioned as shown in the image, glue with liquid silicone and let it dry.
Para la base central necesitamos tomar un recorte de foamy de 5x5 cm y pegarlo con la ayuda de una tira de soporte, para posteriormente colocarles dos tapas de 1.8cm. Una vez haya secado la base la colocamos sobre 9 tiras de un mismo color que estén posicionadas como se ve en la imagen, pegamos con silicón líquido y dejamos secar.
When it has dried, we glue this piece on the 9 strips of the other color, as follows.
Cuando haya secado, pegamos esta pieza sobre las 9 tiras del otro color, de la siguiente manera.
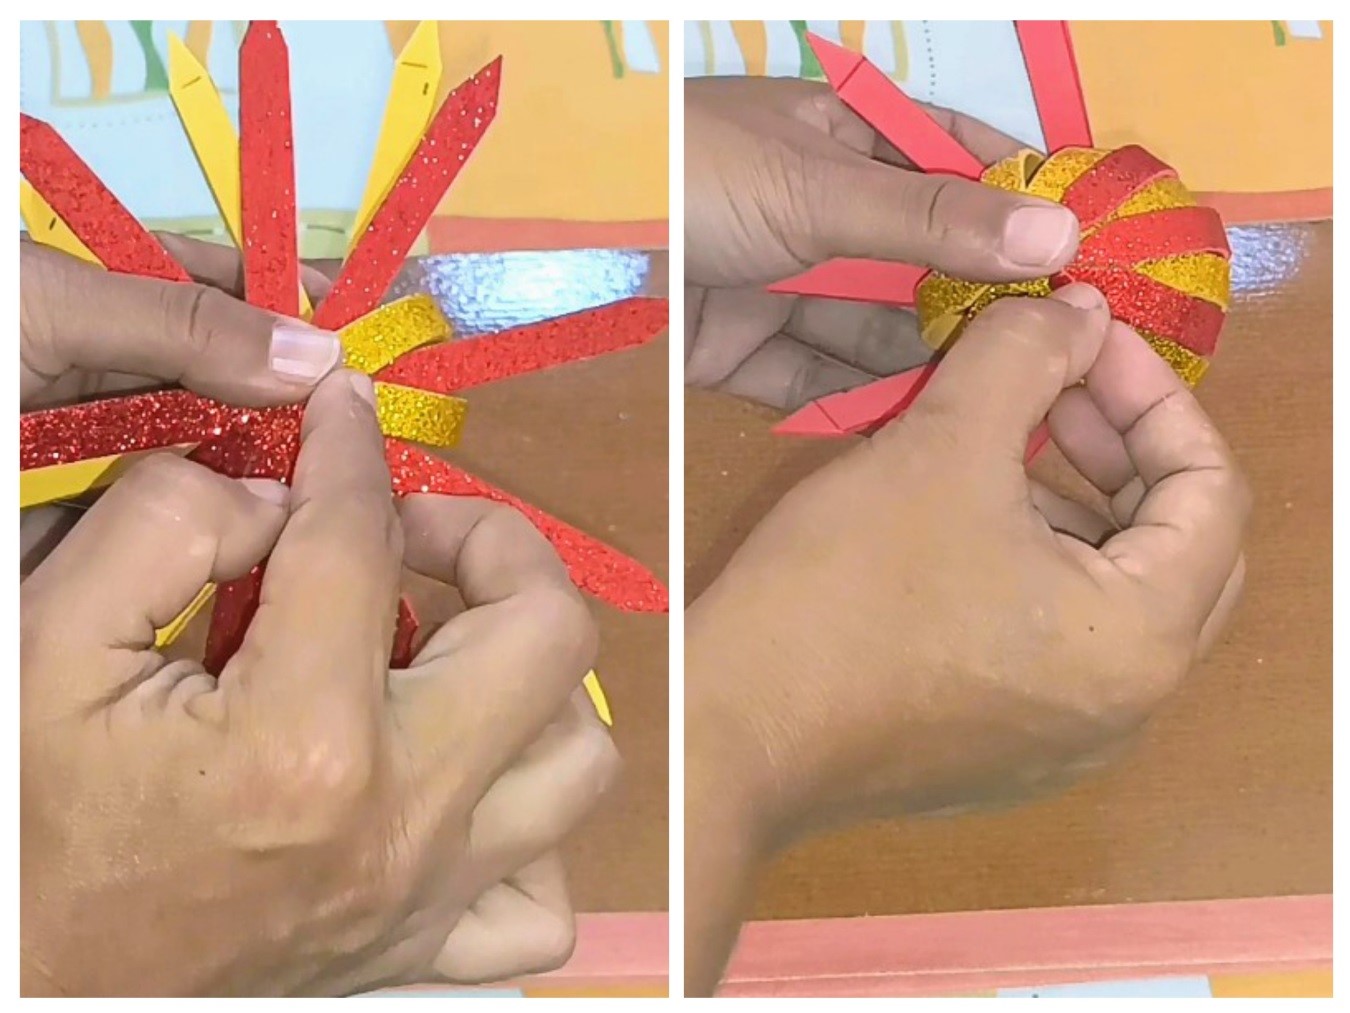
Glue the ends of the strips on the central base of the piece from one end to the other, intertwining the colors.
Pasamos a pegar las puntas de las tiras en la base central de la pieza desde un extremo al otro, entrelazando los clores.
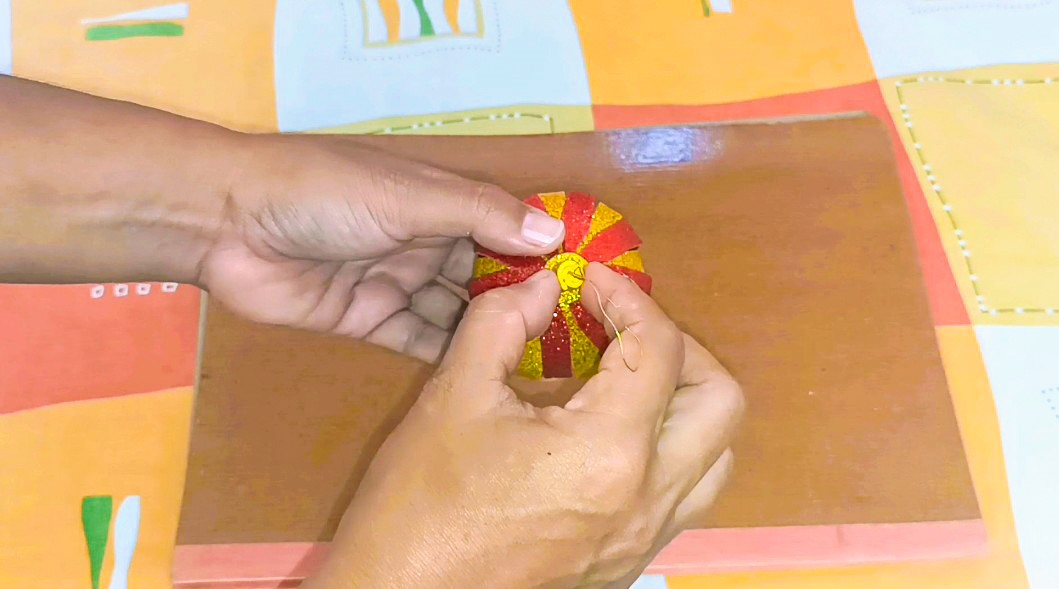
Once the sphere is dry, we place golden thread reinforced with a piece of foamy rolled up to serve as a fastener for the ball. This we glue it on one of the 2 foamy circles that we will place at each end of the sphere.
Una vez seca la esfera, le colocamos hilo dorado reforzado con un trozo de foamy enrollado que sirva de sujetador para la bola. Este lo pegamos sobre uno de los 2 círculos de foamy que colocaremos en cada extremo de la esfera.
This is how our decorative balls look like, in different colors that we can combine according to our preference. If you liked this craft, please let me know in the comments. Thank you very much for your presence. See you soon!
Así quedan nuestras bolas decorativas de diversos colores que podemos combinar según nuestra preferencia. Si les gustó esta manualidad, háganmelo saber en los comentarios. Muchas gracias por su presencia. ¡Nos vemos pronto!


Tags :
Their limit for today is $0!





















Comments:
Reply:
To comment on this video please connect a HIVE account to your profile: Connect HIVE Account