How to change an outlet Esp-Eng
10
About :
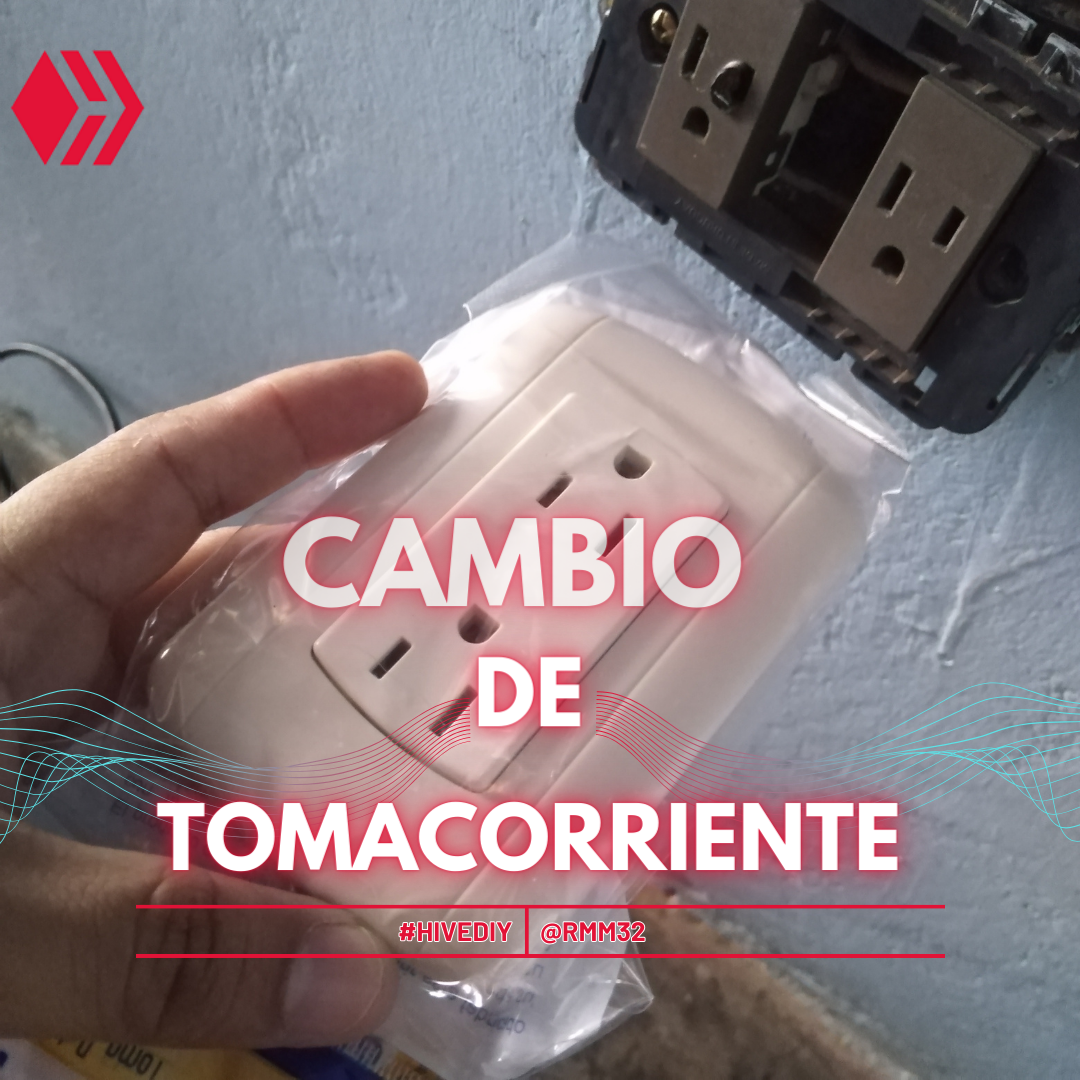
Saludos Hivers Artesanos.
Como ya me conocen un poco más, y saben que realizó trabajos variados, aquí muestro cómo cambié un viejo tomacorriente de mi casa, este tomacorriente había sufrido un exceso de calentamiento porque en el se conectó la máquina de soldar.
Greetings Hivers Craftsmen.
As you already know me a little more, and you know that I have done various works, here I show how I changed an old outlet in my house, this outlet had suffered an excess of heating because the welding machine was connected to it.
Algunos tomacorrientes están diseñados para soportar mayor amperaje y otros no, aún sabiendo esto, cuando estábamos haciéndole remodelaciones a la casa nos vimos obligados en conectar la máquina de soldar en esta toma, ya que no había otra cercana.
Some outlets are designed to withstand higher amperage and others are not, even knowing this, when we were remodeling the house we were forced to plug the welding machine into this outlet, as there was no other nearby.
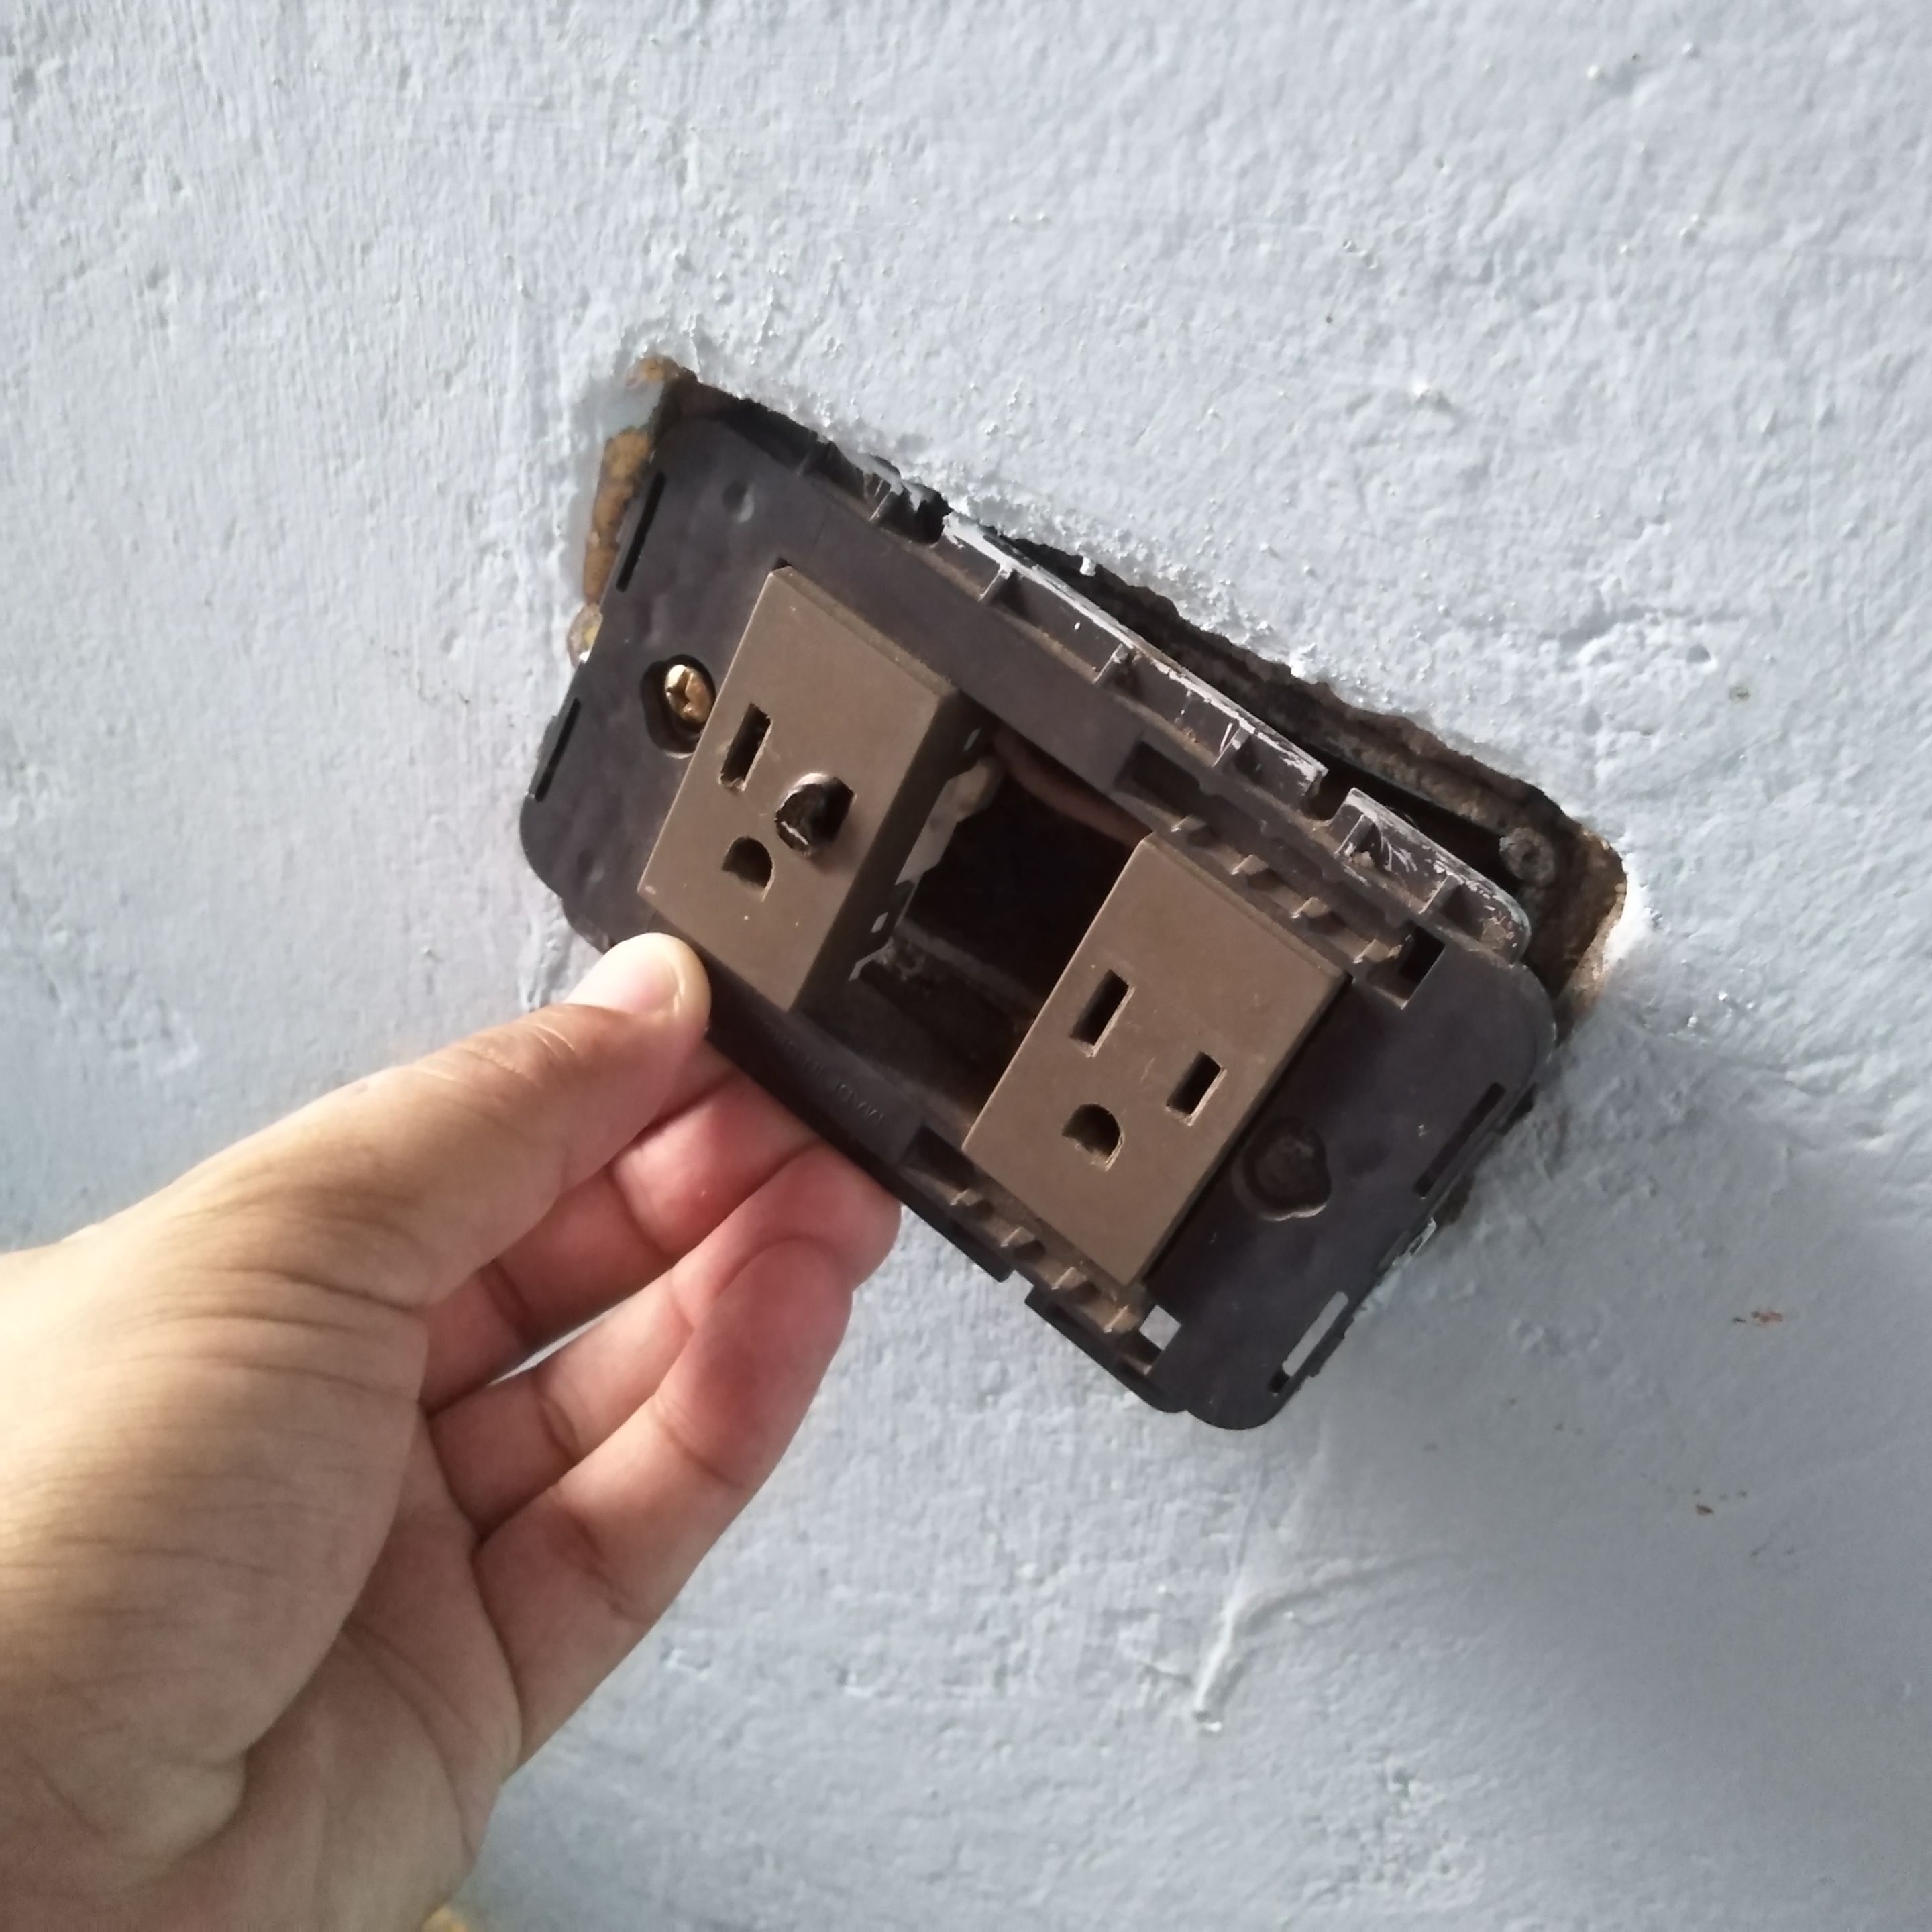
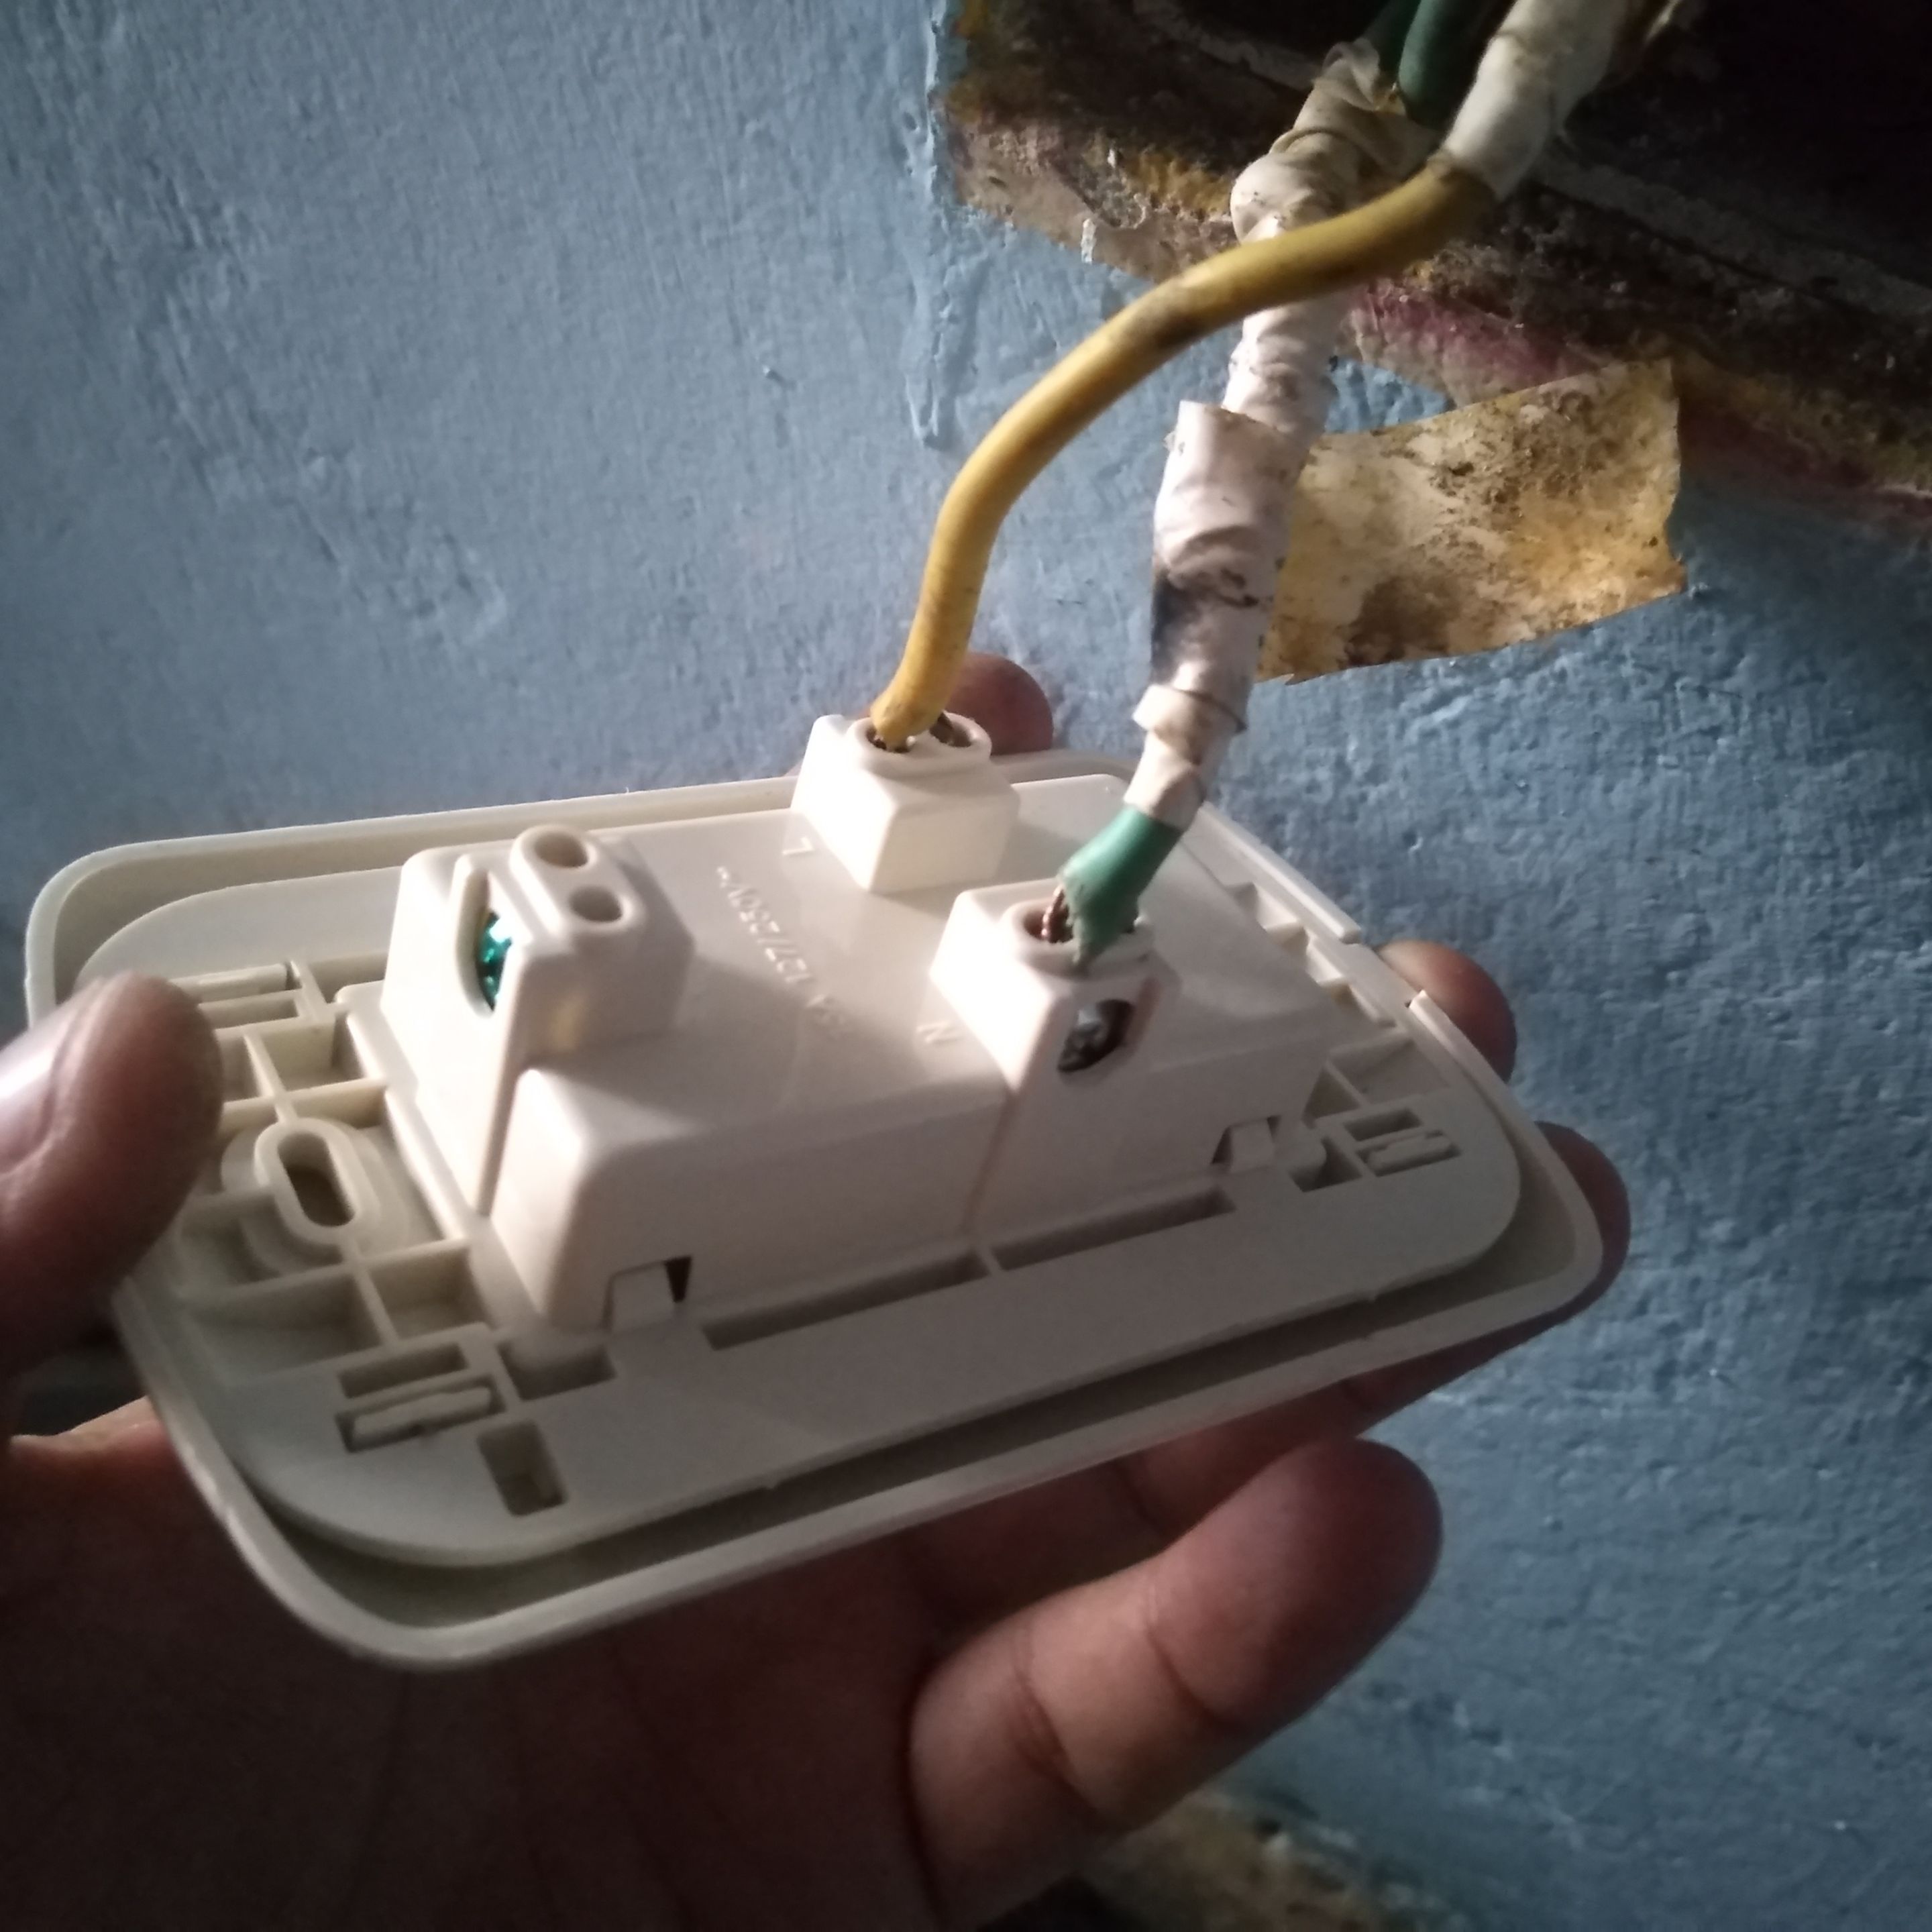
Como verán, el plástico del enchufe se derritió y en su interior los cables estaban bastante deteriorados.
Decidí cambiar este tomacorriente para conectar en él un congelador con su debido protector.
As you can see, the plastic of the plug was melted and the wires inside were quite deteriorated.
I decided to replace this outlet to connect a freezer with its protector.
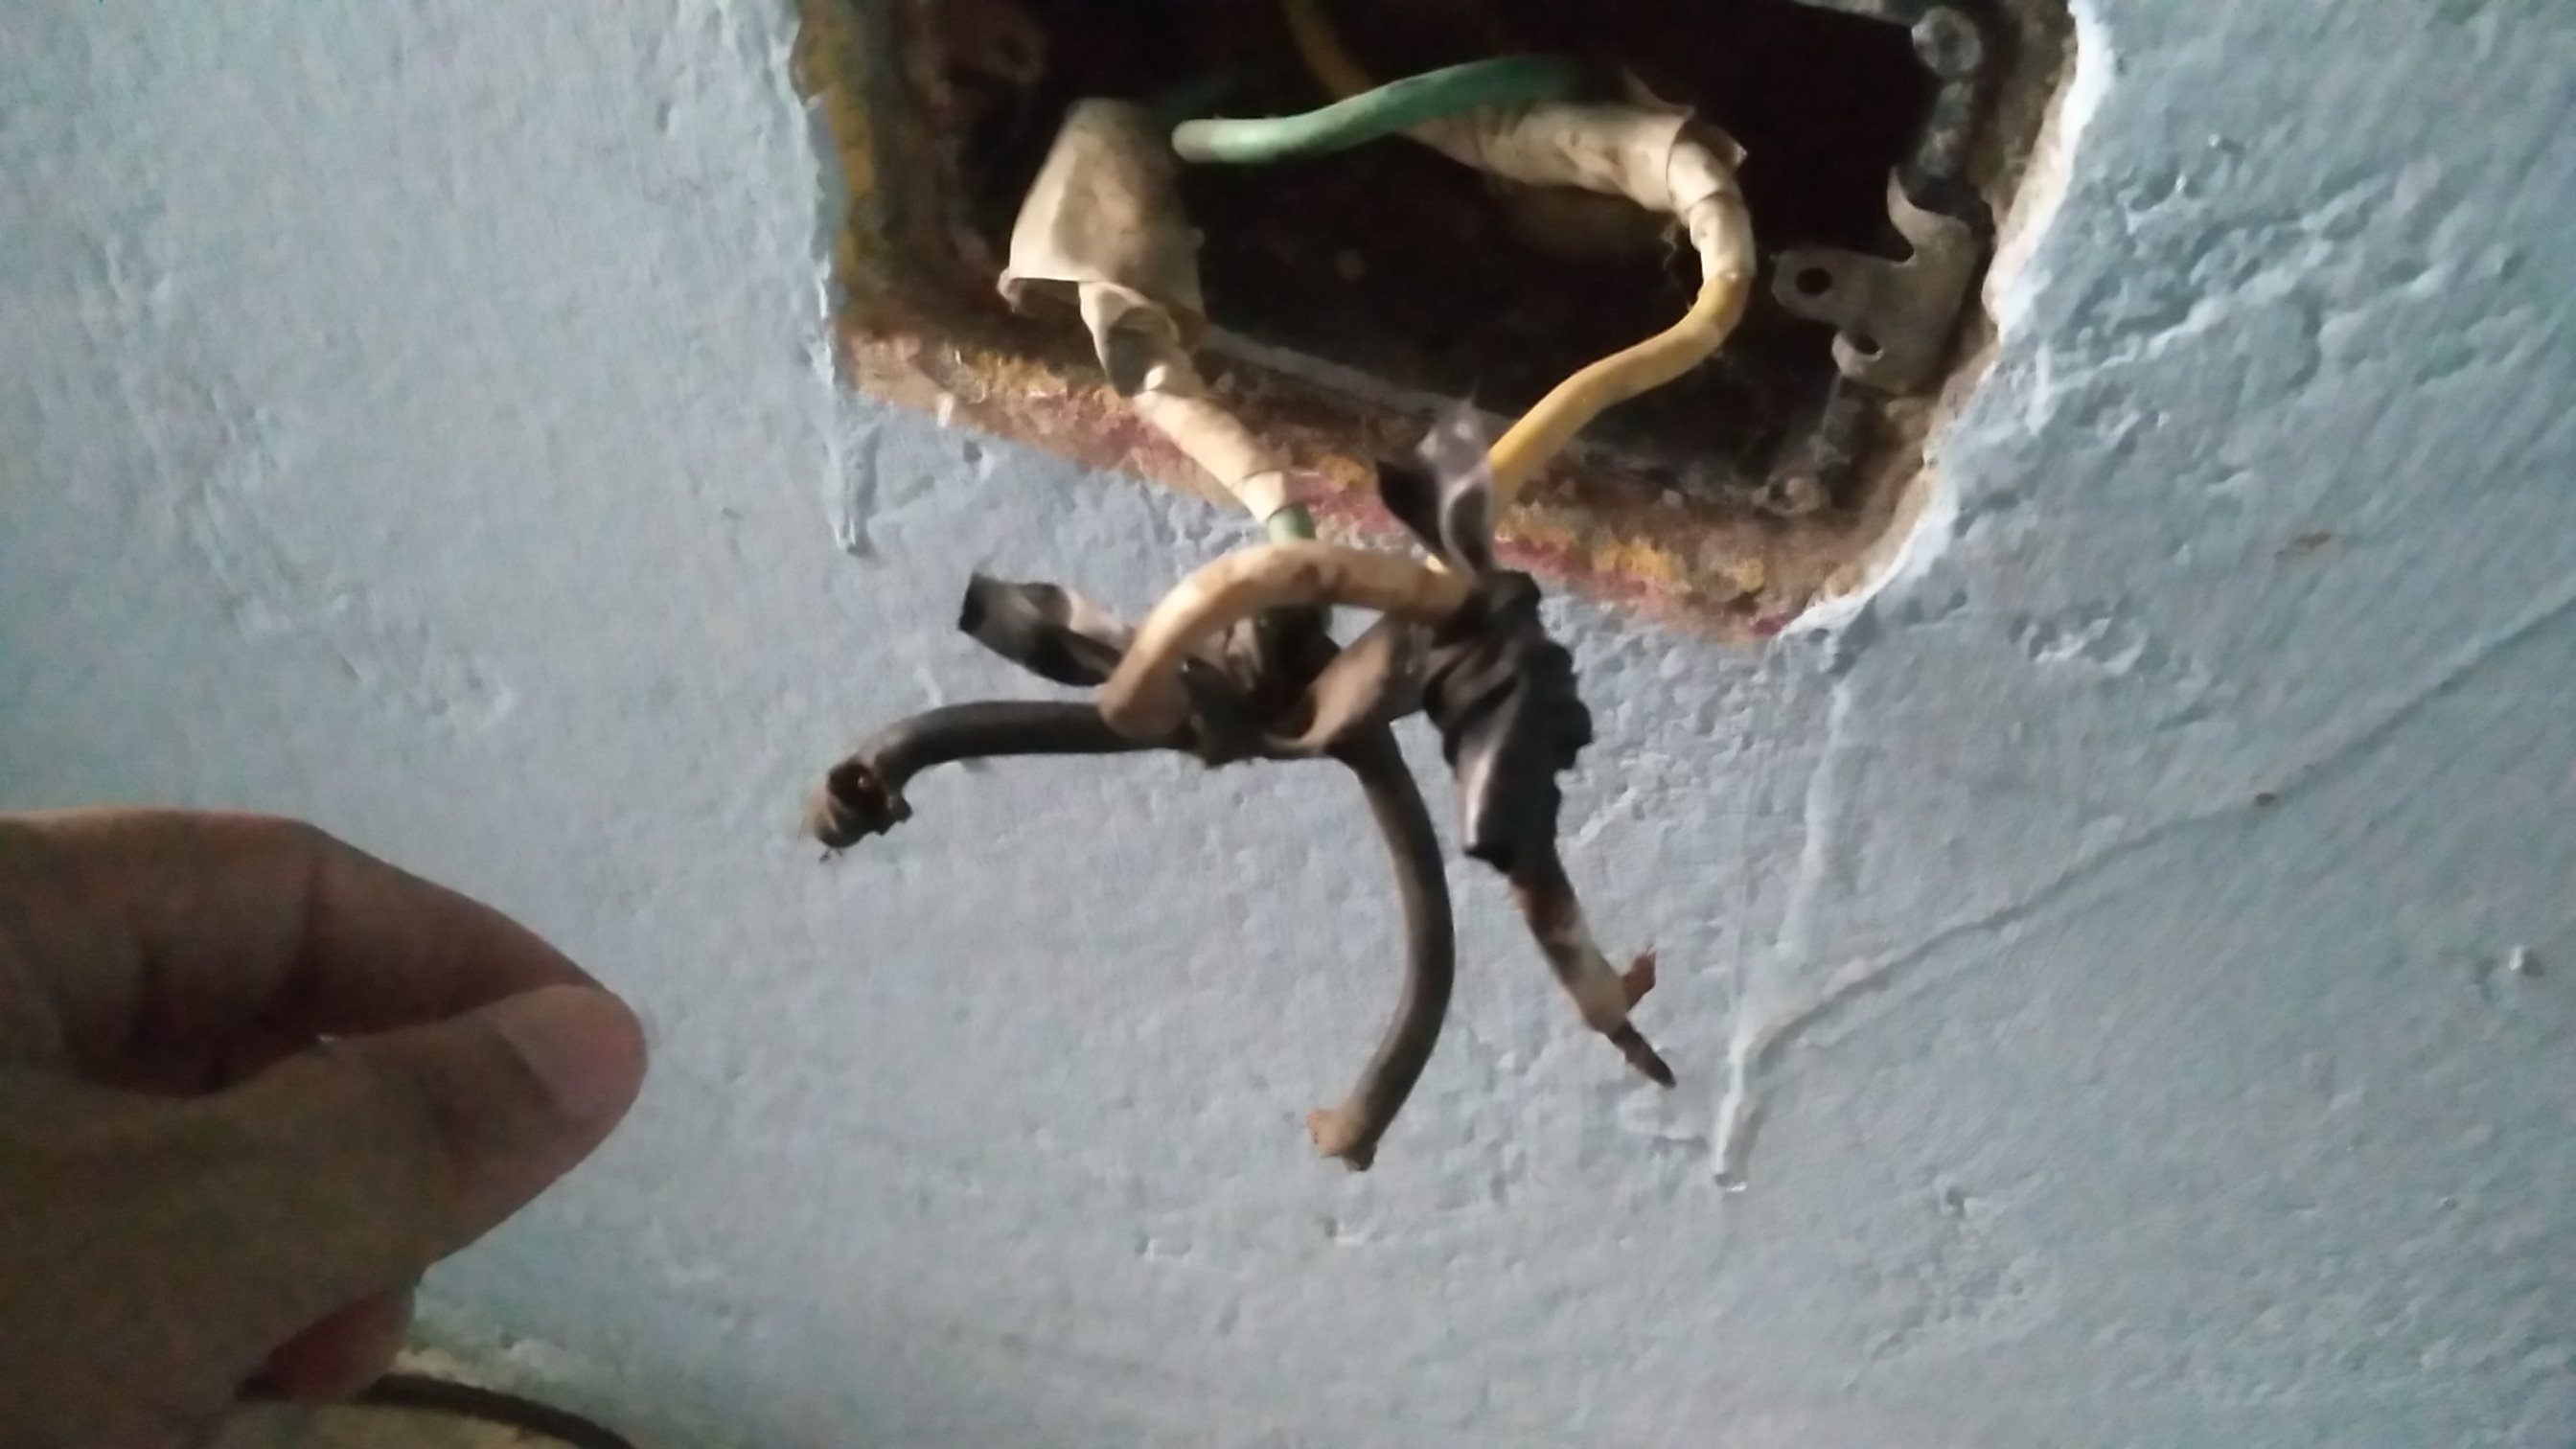
Para ello era necesario desconectar el viejo tomacorriente y eliminar los cables dañados.
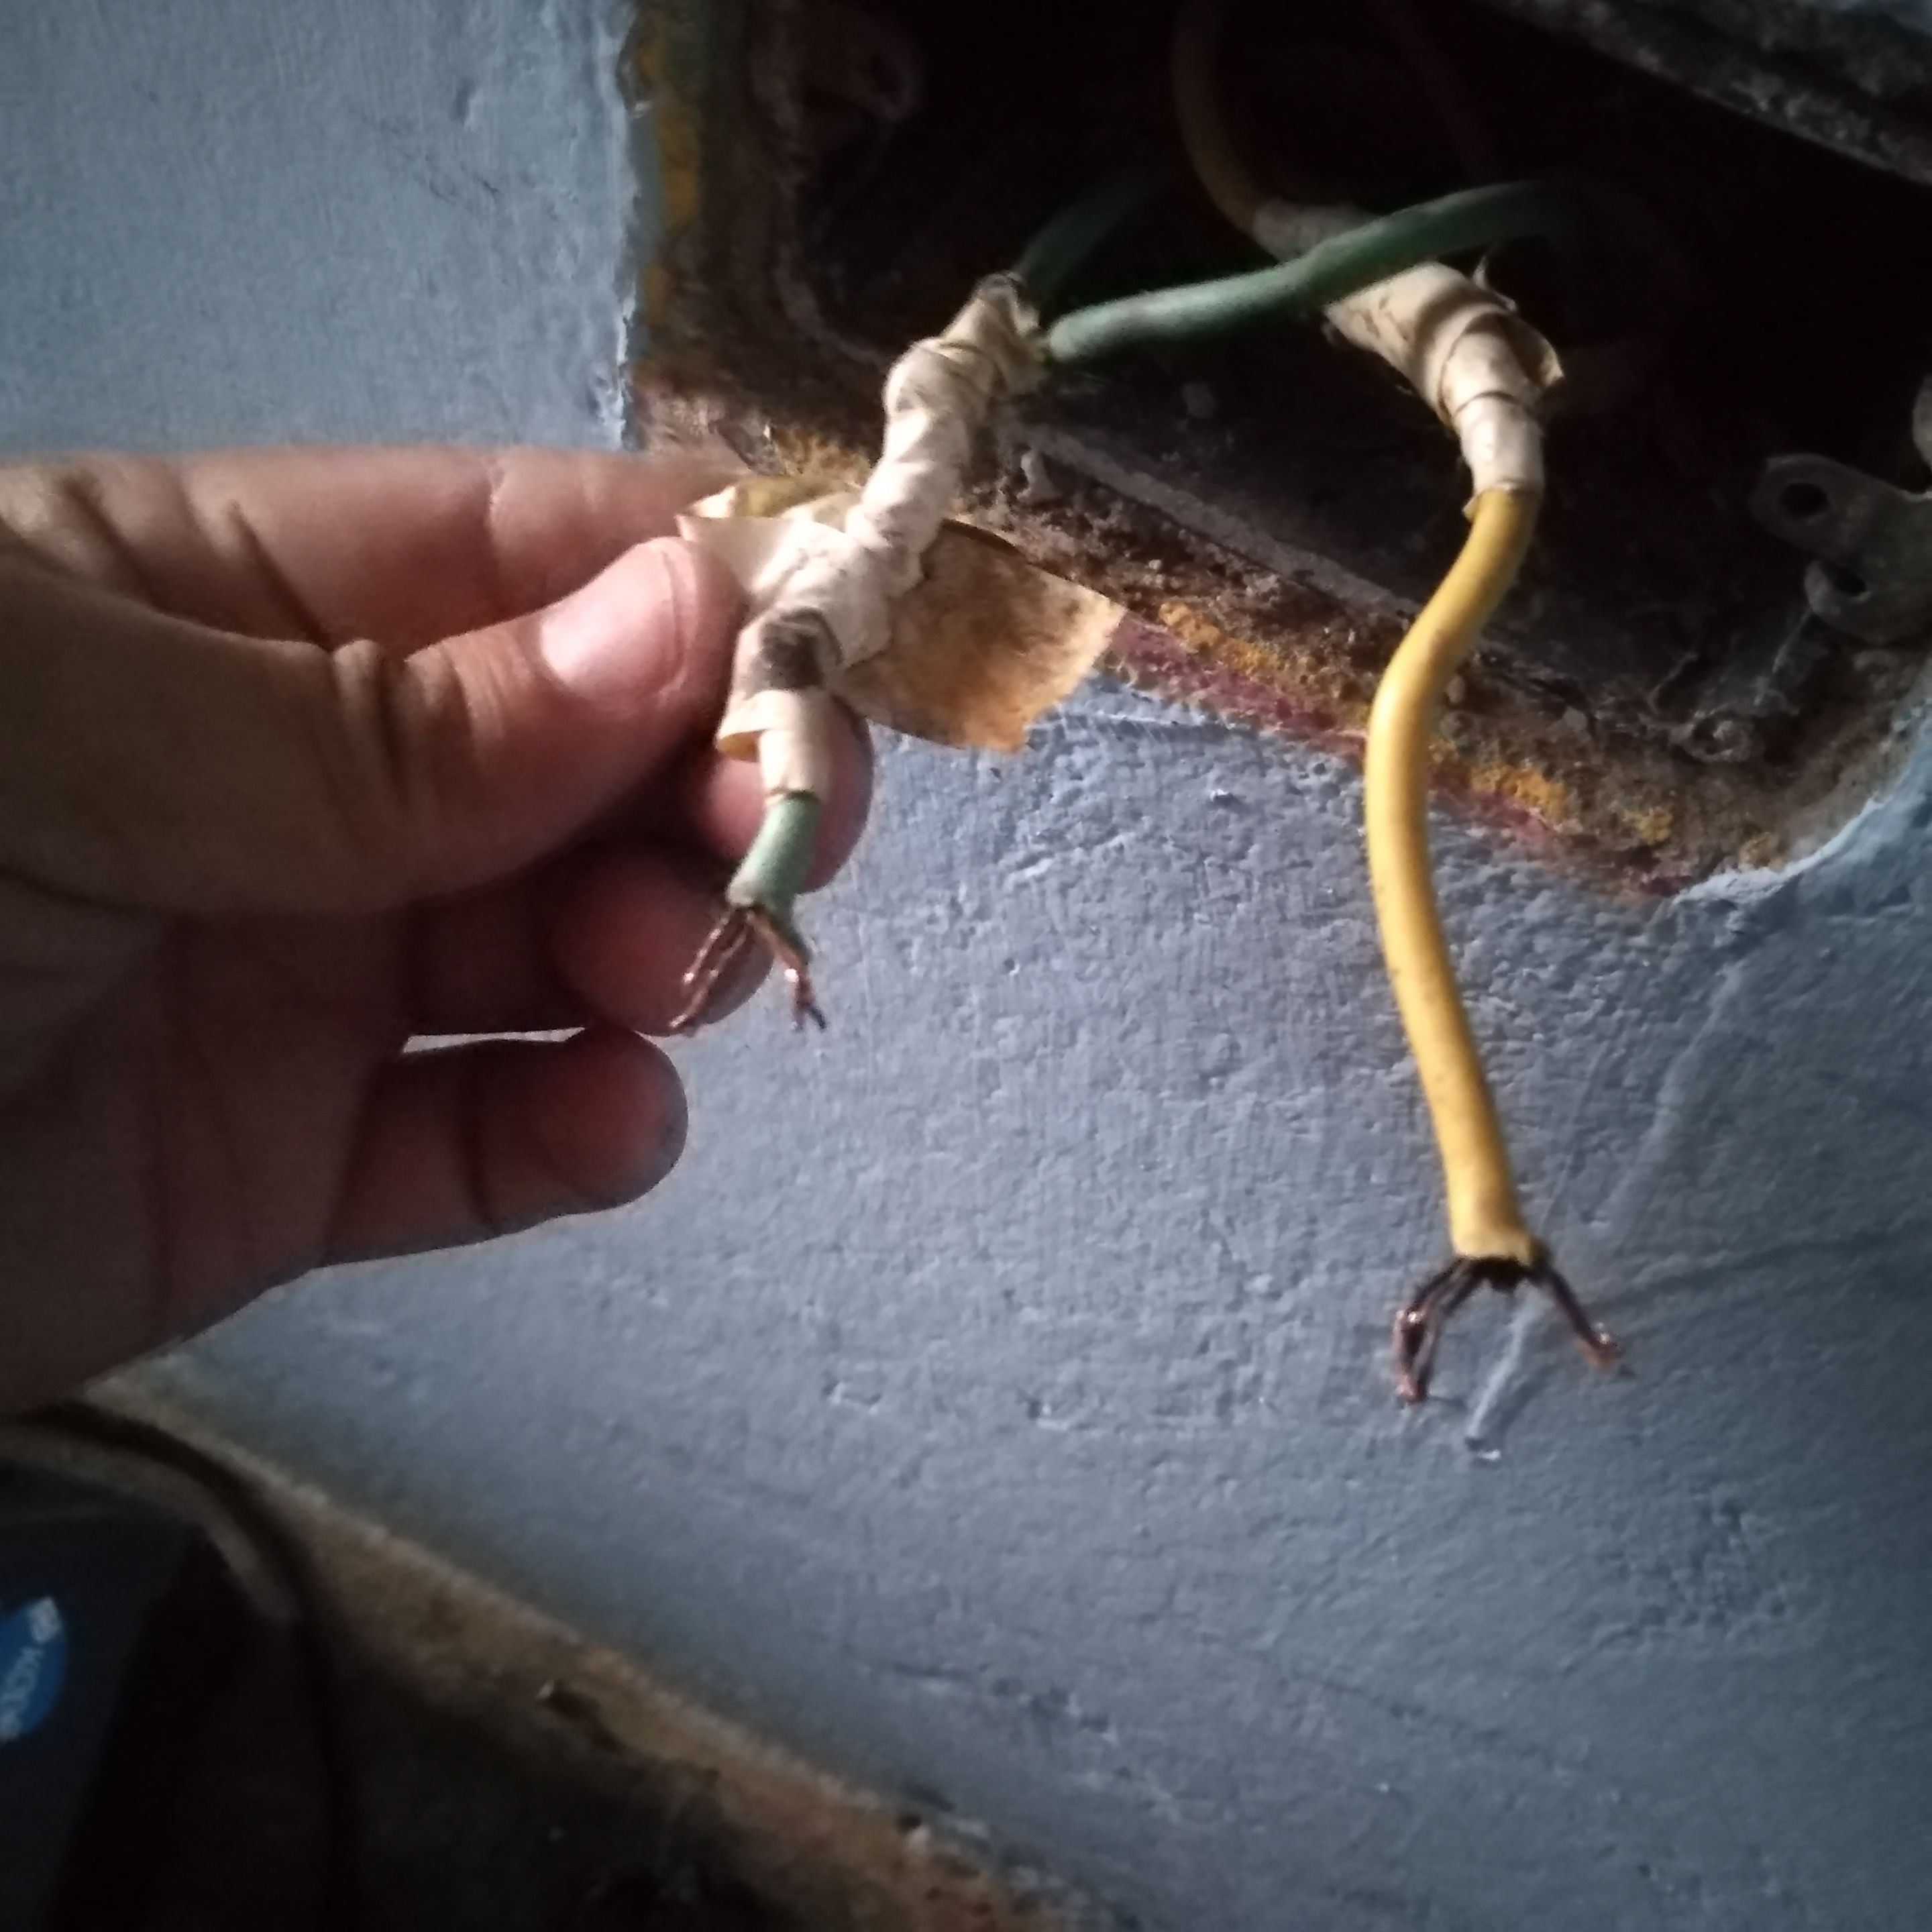
Dejando solo la sección en buen estado, este tomacorriente que he comprado es de dos enchufes, pero me gustó porque internamente ya viene conectado en paralelo.
En cambio el tomacorriente anterior no tenía esta particularidad, así que el electricista que lo instaló tuvo que agregar una sección de cable adicional.
Ahora este cable adicional no es necesario, solo debo quitarlos, pelar los cables y dejar solo dos.
To do this it was necessary to disconnect the old outlet and remove the damaged wires.
Leaving only the section in good condition, this outlet I bought is a two-plug outlet, but I liked it because internally it is already wired in parallel.
The previous outlet did not have this feature, so the electrician who installed it had to add an extra section of wire.
Now this additional wire is not necessary, I just have to remove them, strip the wires and leave only two.
Como los cables son de alambre grueso debo separarlos por la mitar para que ingresen en los orificios de los enchufes.
Ahora sí puedo atornillar para que el tomacorriente quede bien instalado.
Since the wires are thick wire, I have to separate them at the mitar so that they fit into the holes of the sockets.
Now I can screw them in so that the outlet is properly installed.
Cabe destacar que este trabajo se debe realizar sin electricidad en la casa si no es un experto, es la forma más segura de hacer el cambio de un tomacorrientes.
Además debemos tener siempre calzado al momento de trabajar con electricidad para evitar que nuestro cuerpo actúe como conductor y cerremos el circuito accidentalmente.
Sí esto sucede sufriremos una descarga eléctrica.
It should be noted that this work should be done without electricity in the house if you are not an expert, it is the safest way to make the change of an outlet.
In addition we must always have footwear when working with electricity to prevent our body from acting as a conductor and accidentally close the circuit.
If this happens we will suffer an electric shock.

Al final tuvimos el resultado deseado, el tomacorriente se instaló adecuadamente y ahora el congelador está funcionando correctamente.
In the end we had the desired result, the outlet was installed properly and now the freezer is working properly.
Todas las fotografías fueron tomadas con mí Smartphone Huawei Dub-Al00.

Show more
Tags :
Woo!
This creator can upvote comments using 3speak's stake today because they are a top performing creator!
Leave a quality comment relating to their content and you could receive an upvote
worth at least a dollar.
Their limit for today is $0!
Their limit for today is $0!
12 views
a month ago
$
5 views
a month ago
$

1 views
a month ago
$
3 views
a month ago
$
8 views
a month ago
$
More Videos

2 views
2 years ago
$

13 views
a year ago
$

Hive Open Mic167 OTAKU."Mi corazon encantado" Opening Dragon Ball GT. Cover@rulejazmingarcia(ENG/ES)
16 views
10 months ago
$

5 views
2 years ago
$

52 views
2 years ago
$

24 views
3 years ago
$

3 views
a year ago
$

3 views
4 years ago
$

3 views
2 years ago
$

19 views
7 months ago
$

6 views
a year ago
$

8 views
a year ago
$

2 views
11 months ago
$

28 views
a year ago
$

23 views
2 years ago
$

16 views
3 years ago
$

0 views
4 years ago
$

41 views
a year ago
$

11 views
4 months ago
$

9 views
3 years ago
$

34 views
2 years ago
$

2 views
2 years ago
$

8 views
a year ago
$
Comments:
Reply:
To comment on this video please connect a HIVE account to your profile: Connect HIVE Account