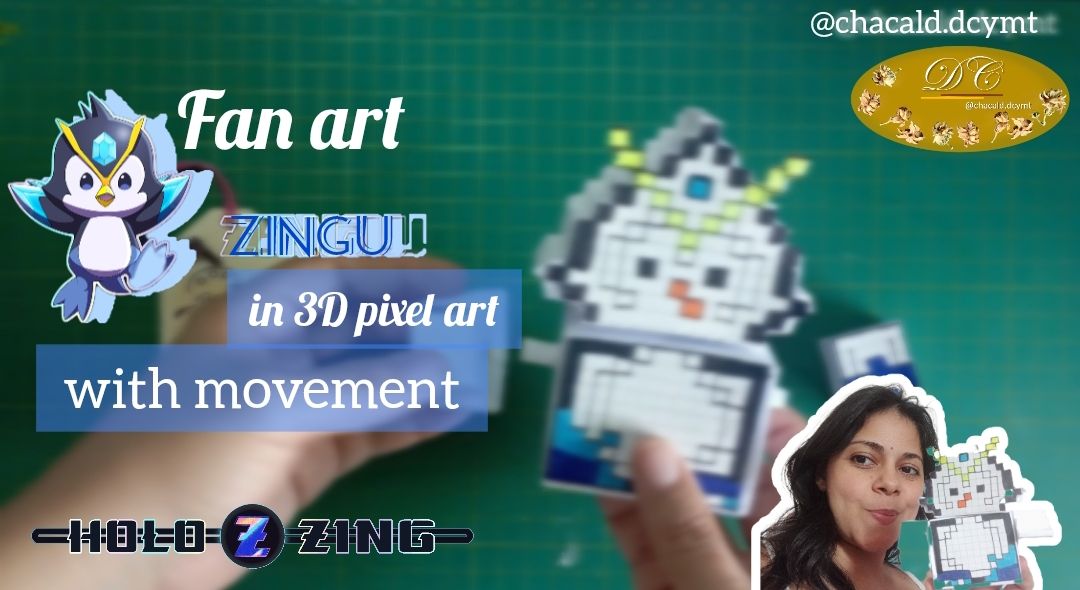
Fan art of Zingu in 3D pixel art with movement| Tutorial [Eng-Spa]
32
About :
Greetings friends who love handicrafts! Welcome once again to my DC DIY workshop. This time I invite you to join me in the elaboration of my 3D pixel art version of Zingu.
¡Saludos amigos amantes de las artes manuales! Sean bienvenidos una vez más a mi taller Bricolaje DC. En esta oportunidad los invito a acompañarme en la elaboración de mi versión en pixel art 3D con movimiento de Zingu.
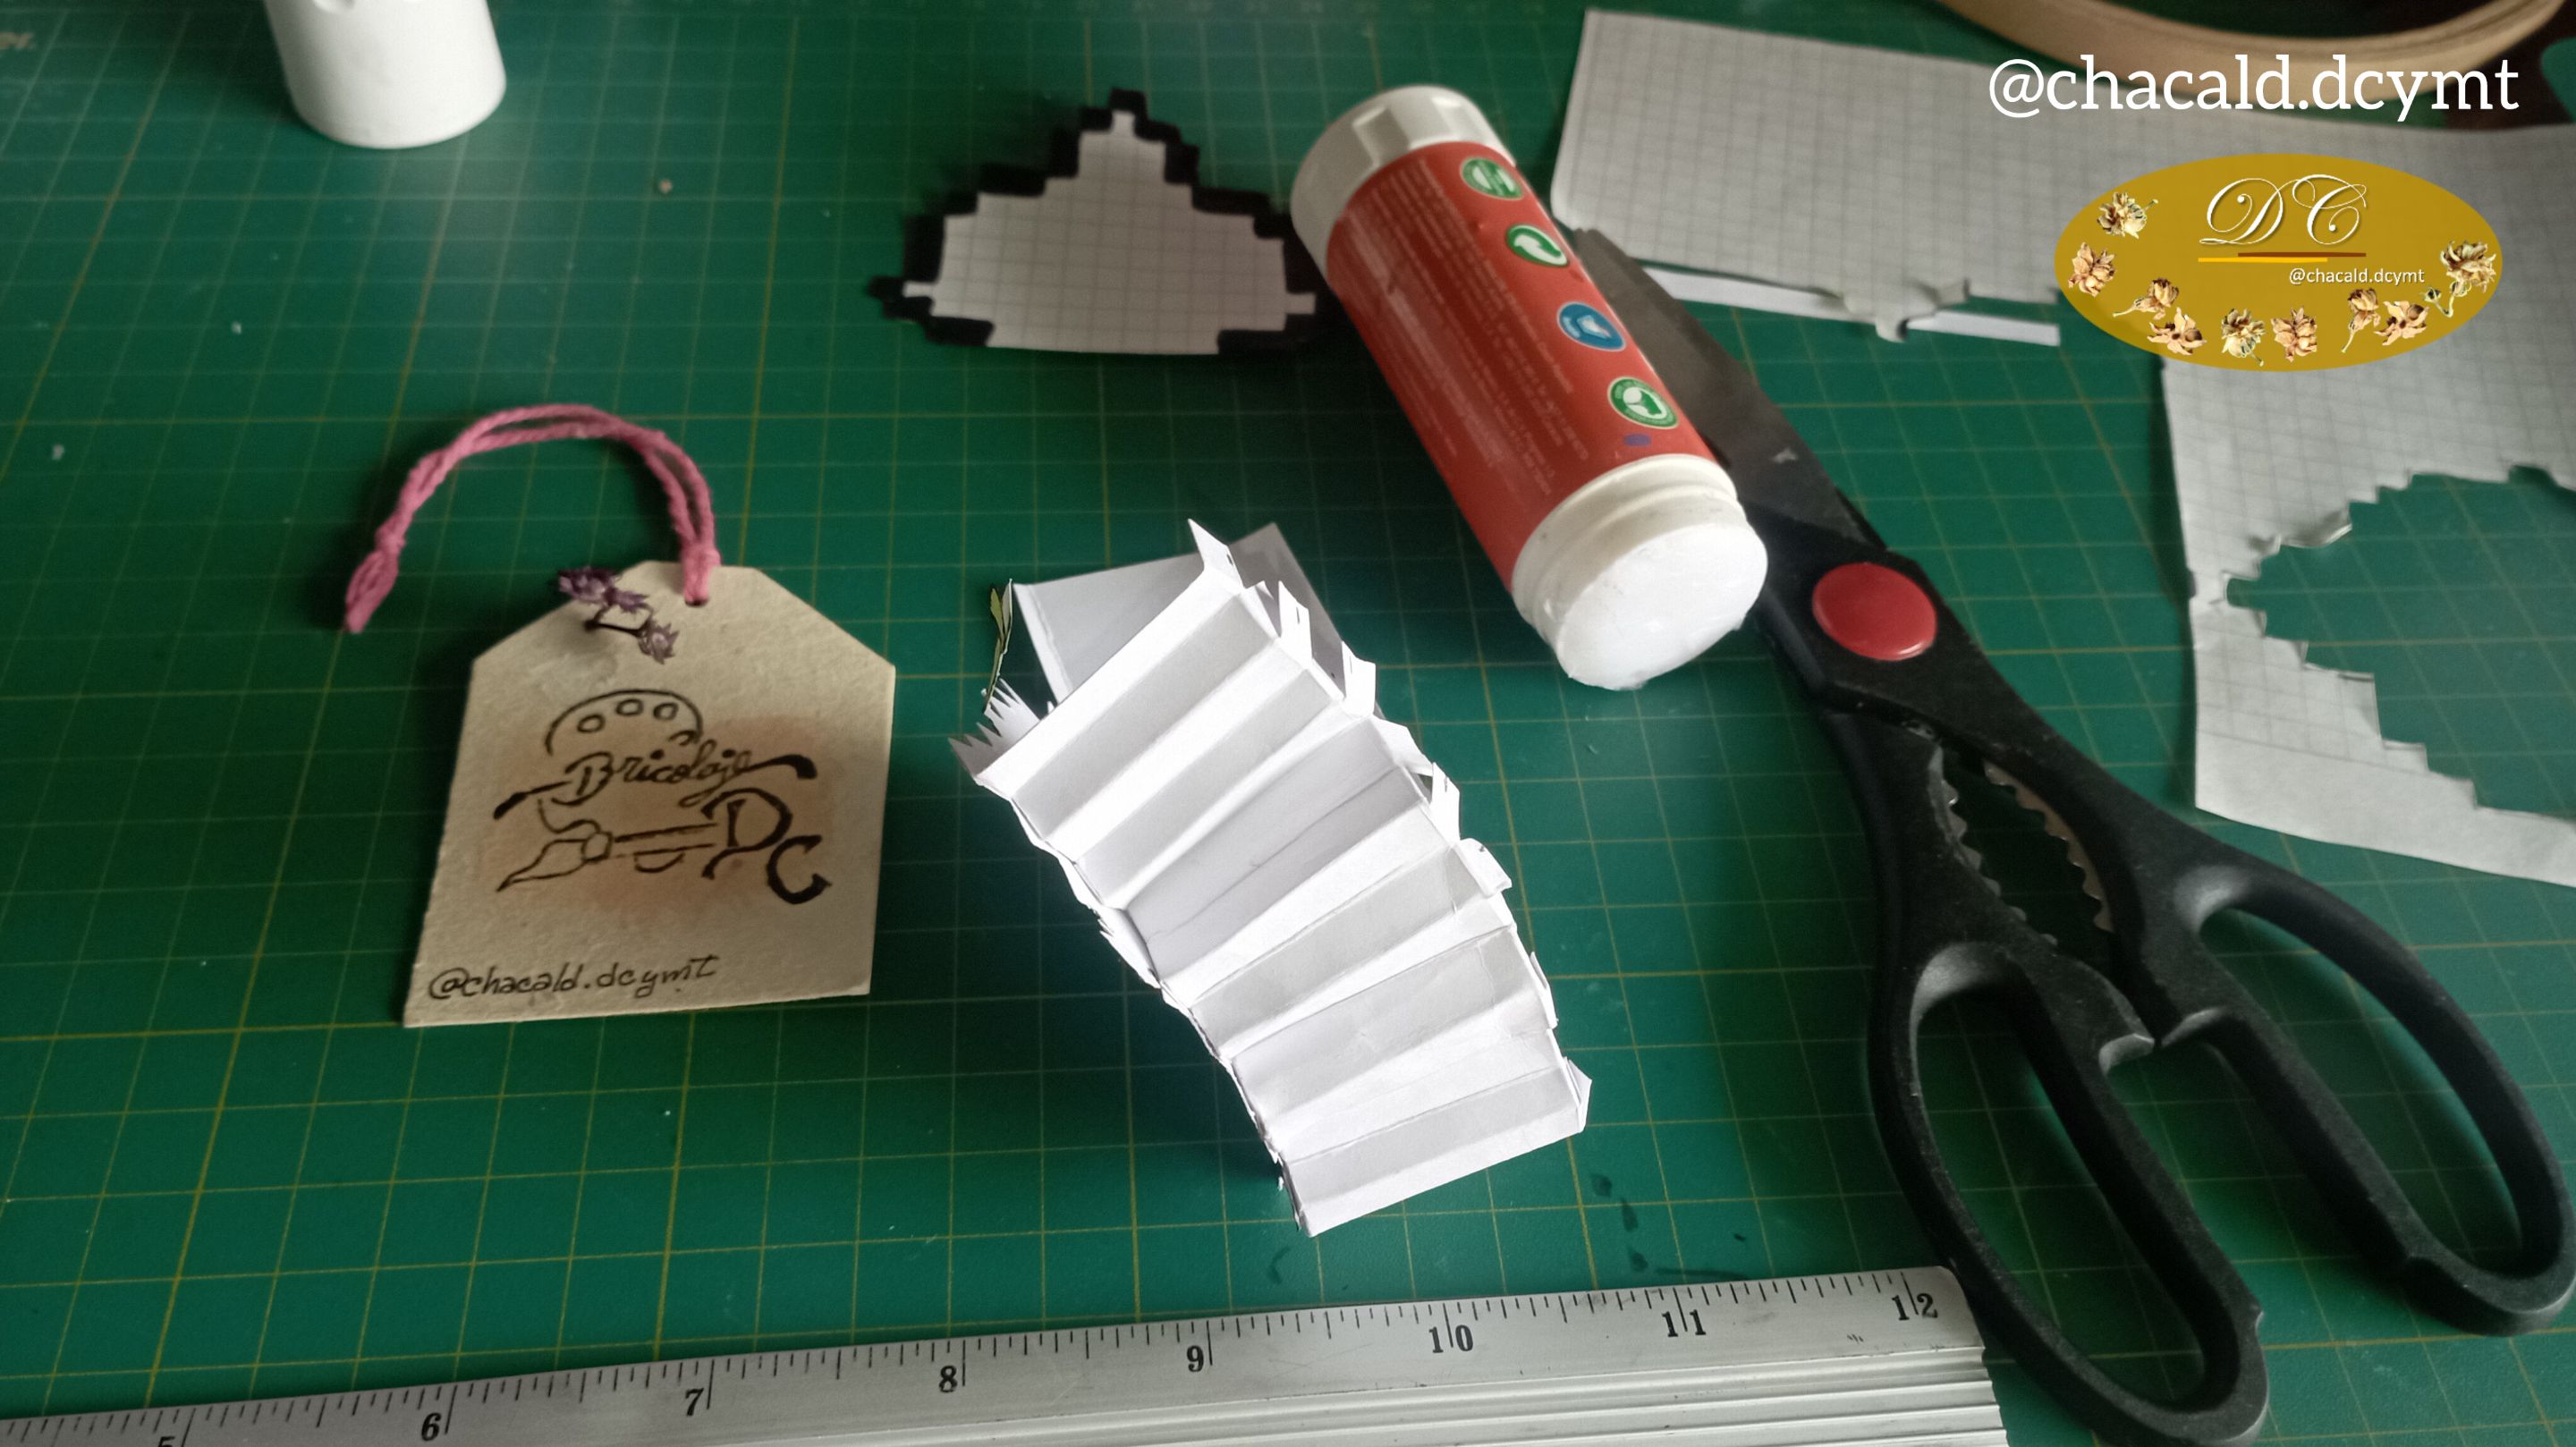
I used the following materials for this project:
2 sheets of graph paper
Pencil
Brush markers
School glue
Glue stick
Gel pen with 0.5 millimeter tip
Scissors
White opaline cardboard
Metric ruler
Para la elaboración de este proyecto utilicé los siguientes materiales:
2 hojas de papel cuadriculado
Lapiz
Marcadores punta pincel
Pegamento escolar
Pegamento en barra
Bolígrafo de gel punta 0.5 milímetros
Tijera
Cartulina opalina de color blanco
Regla métrica
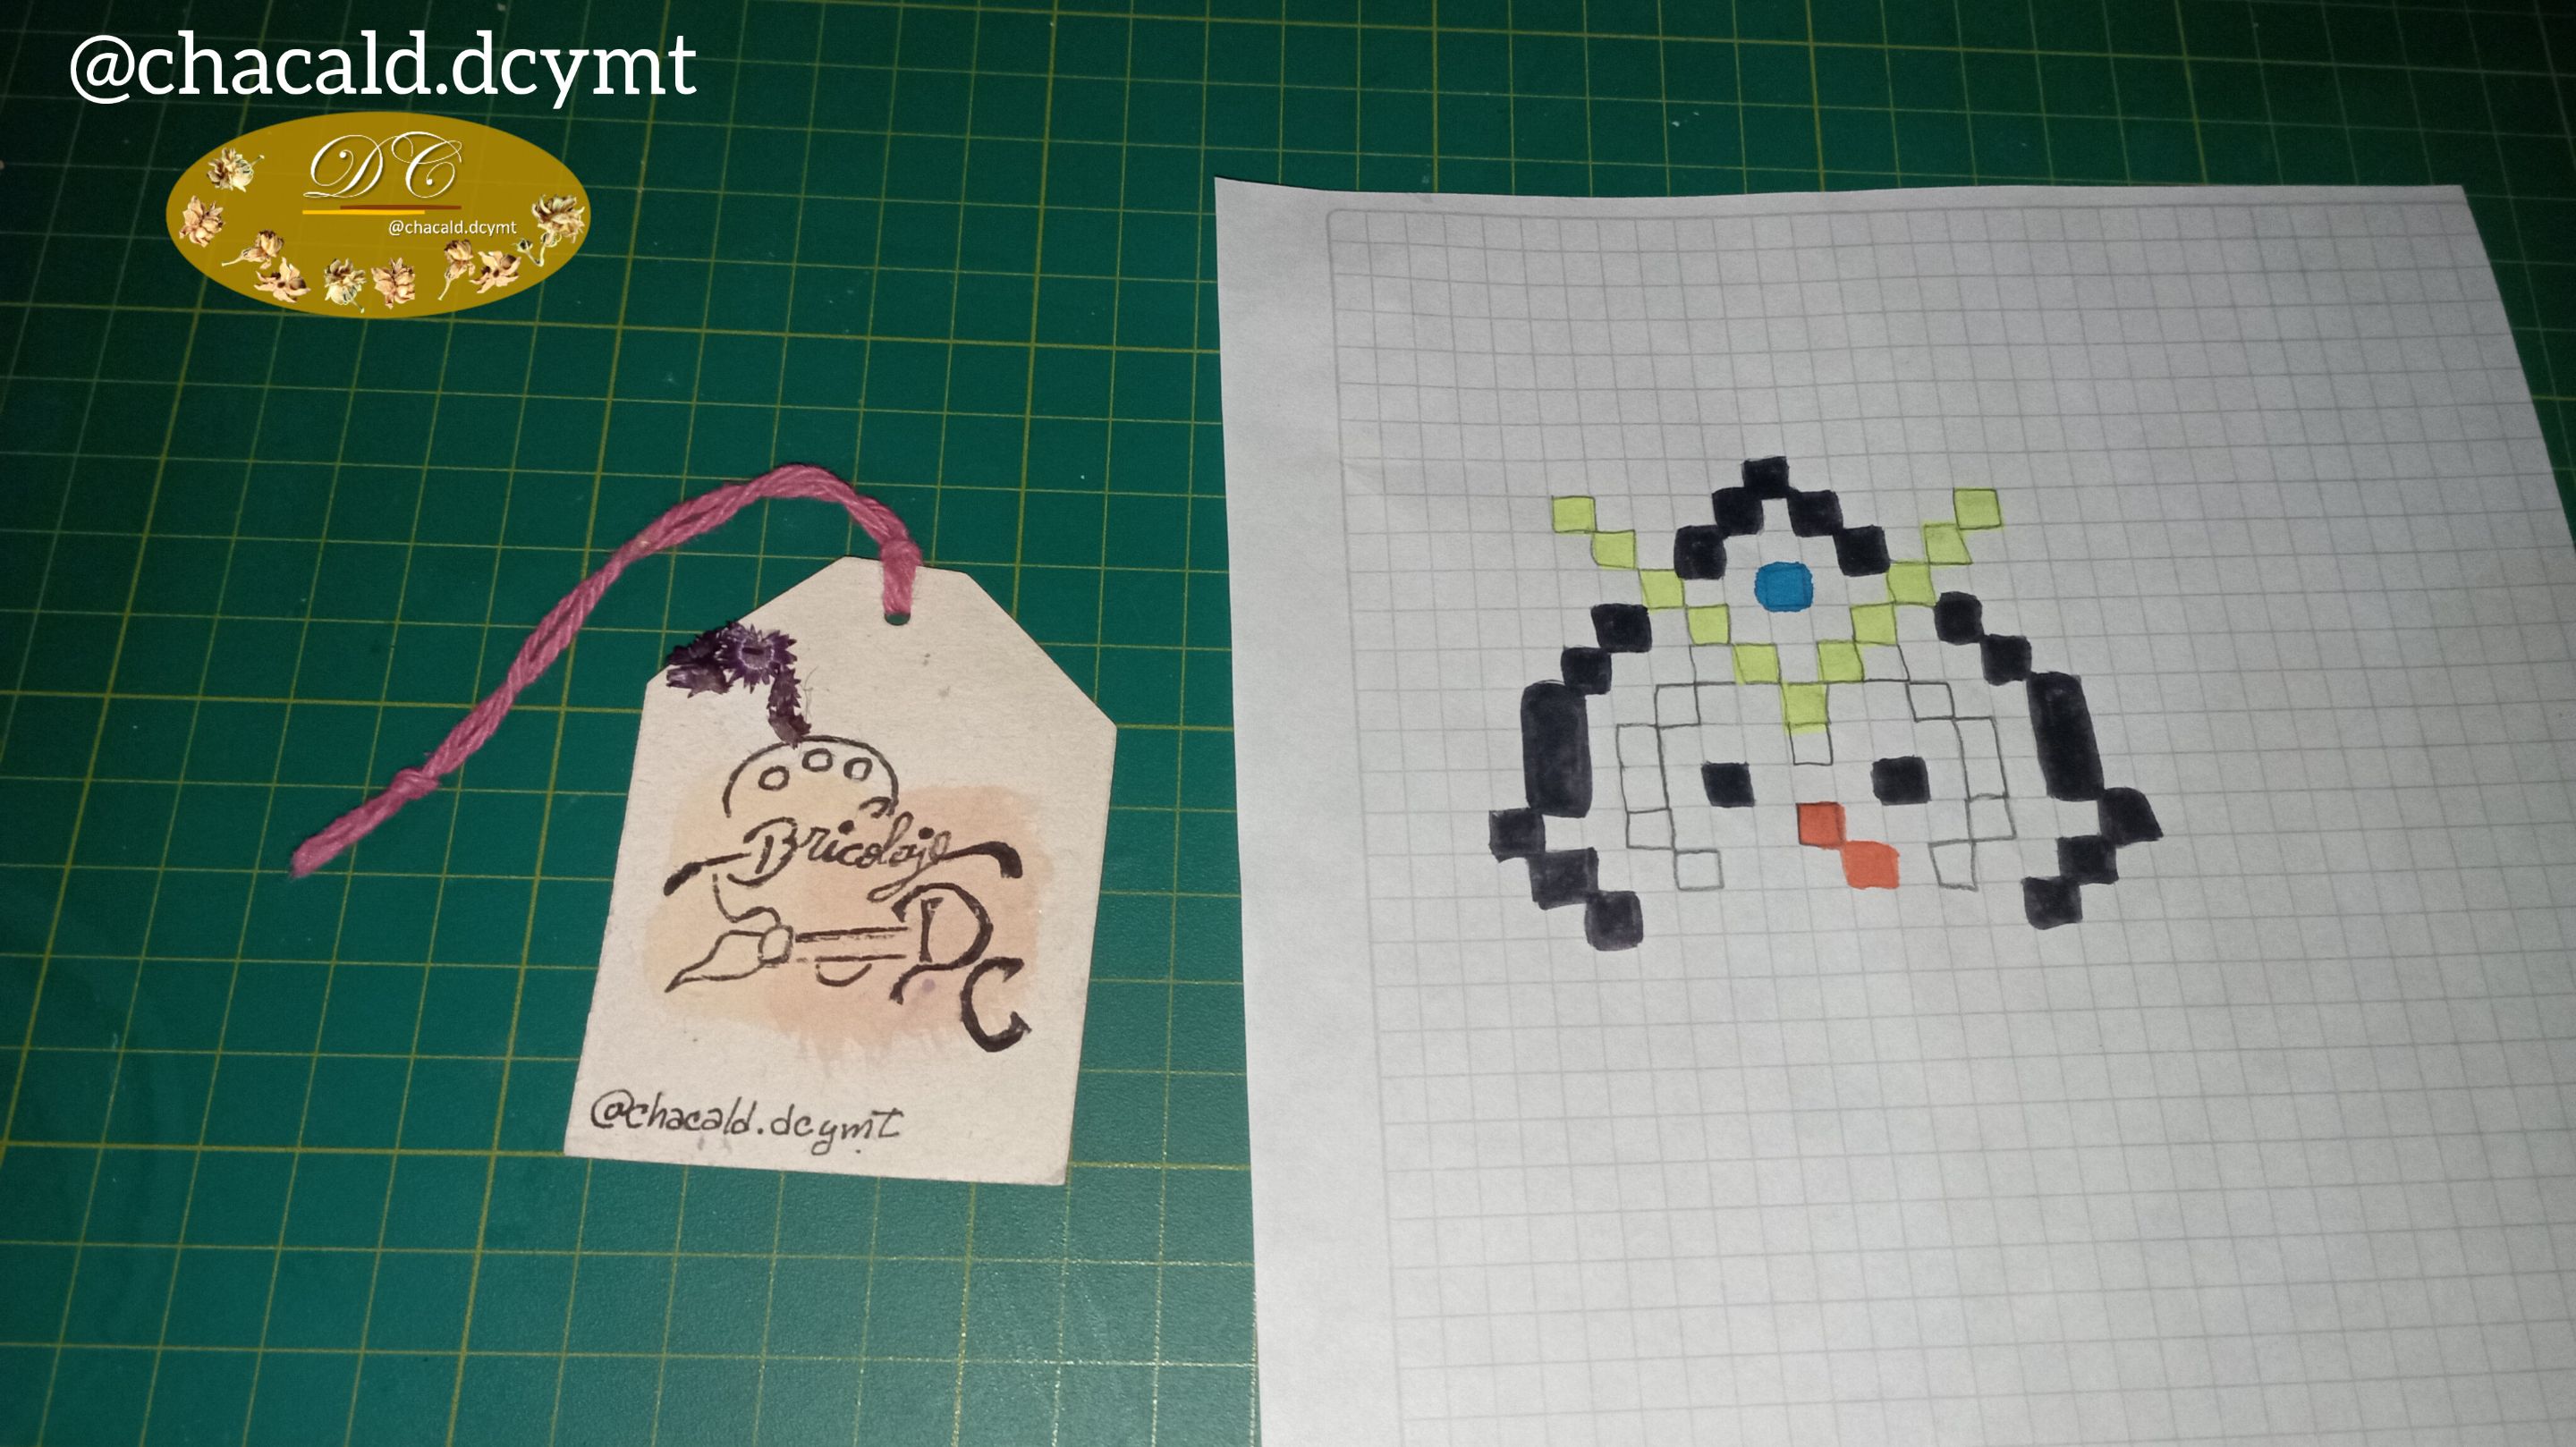
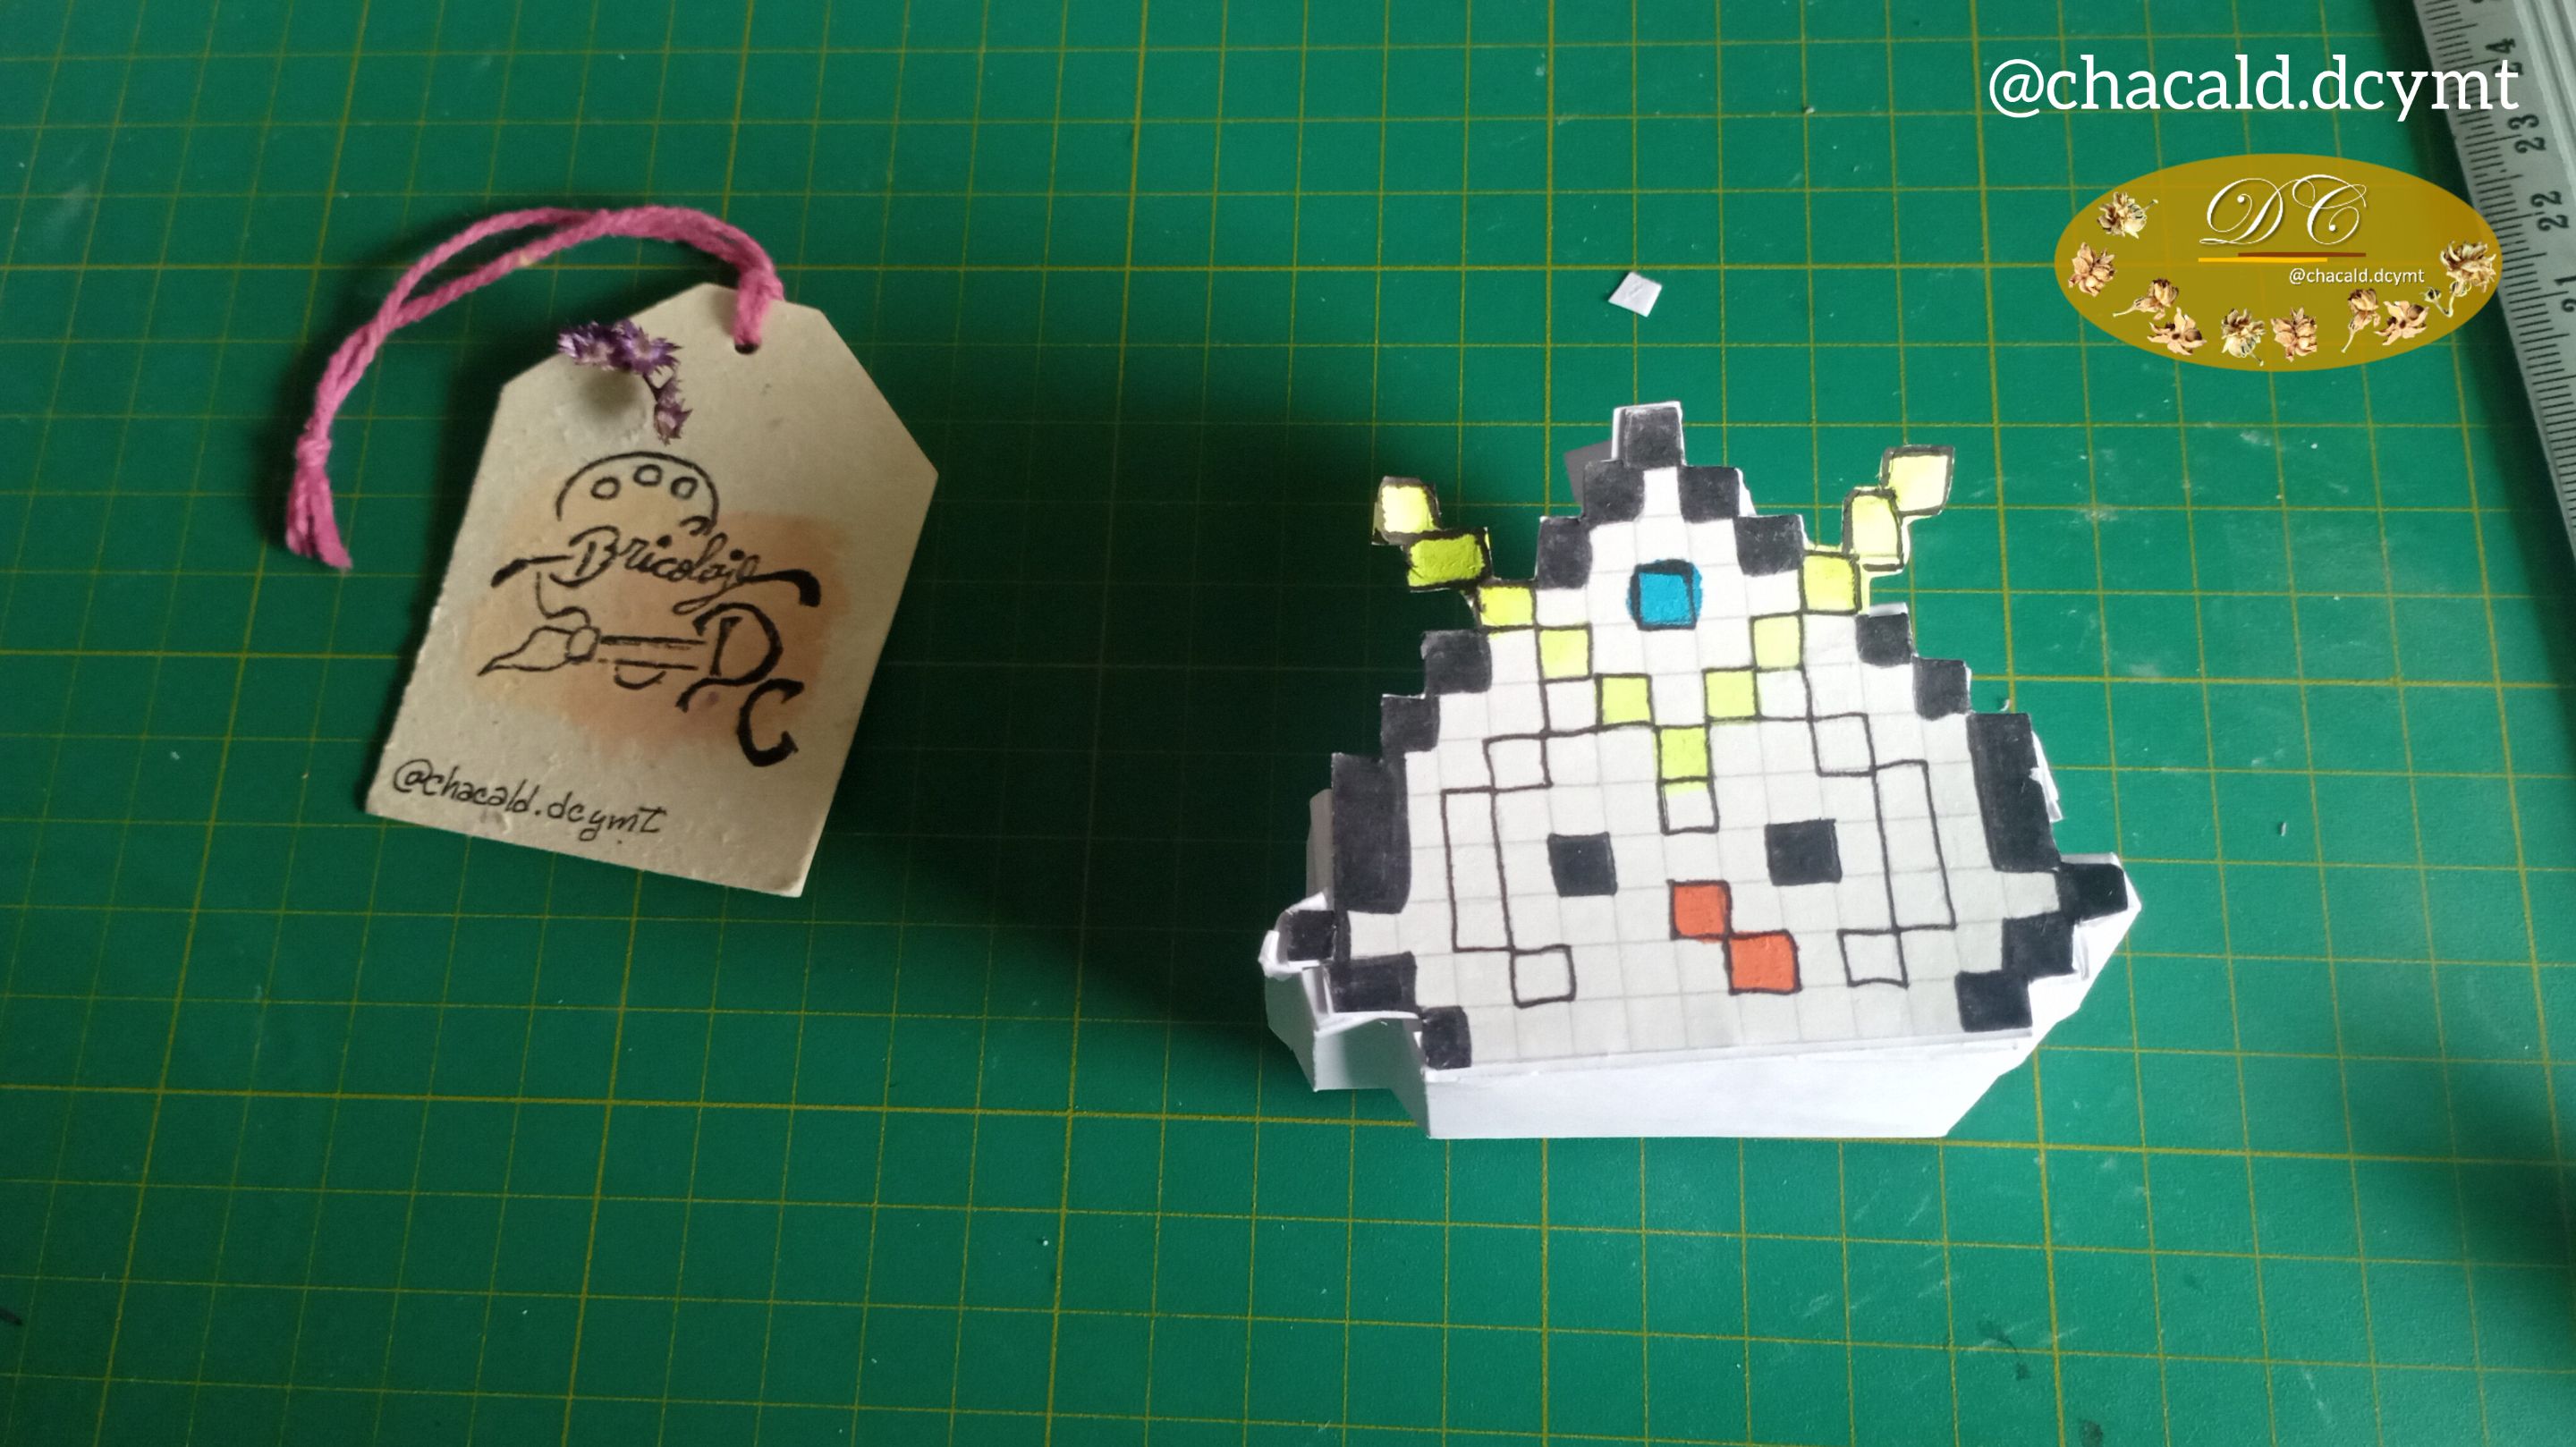
I started by making a pencil sketch on the graph paper. This part seemed simple to me. I separated the head from the body to give it movement, so I made 2 pieces of the head. Front and back.
Comencé haciendo el boceto a lapiz sobre el papel cuadriculado. Esta parte me pareció sencilla. Separé la cabeza del cuerpo para darle movimiento, así que hice 2 piezas de la cabeza. Por delante y por detrás.
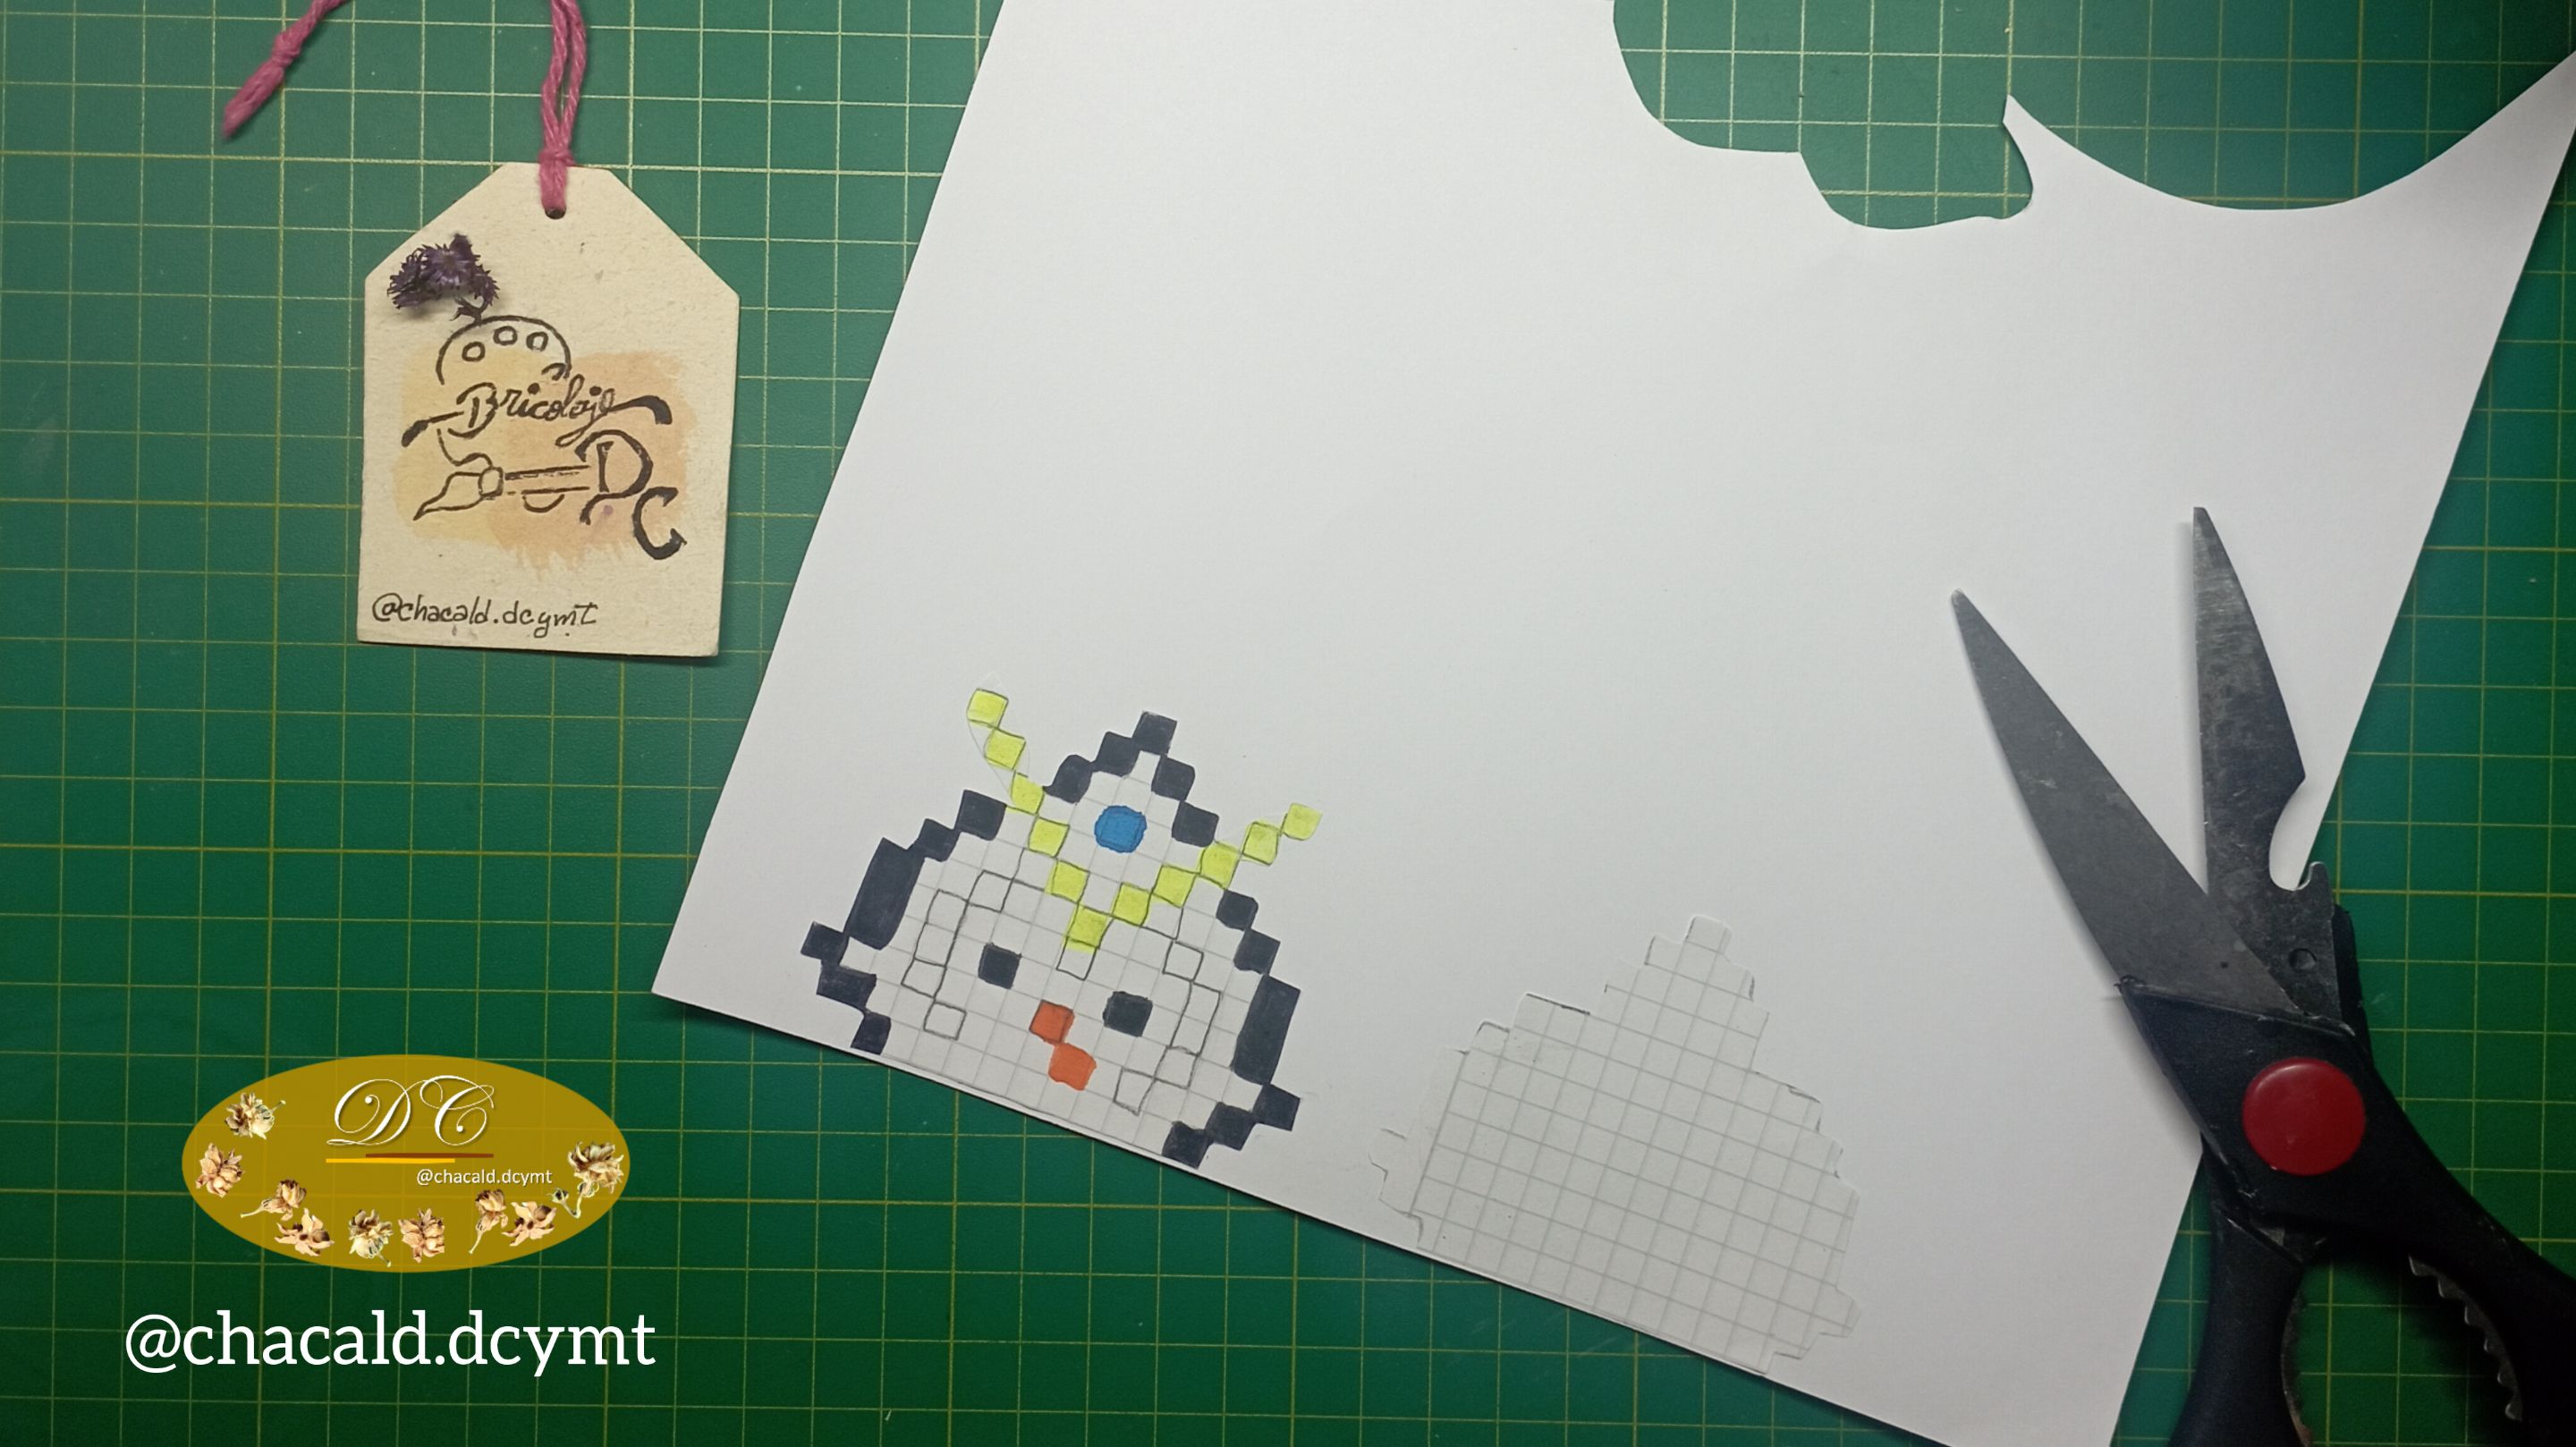
I cut out the head pieces from the graph paper, glued them to the cardboard with the glue stick and cut them out. This will give it stability and strength.
Recorté las piezas de la cabeza en el papel cuadriculado, con el pegamento en barra las pegué sobre la cartulina y recorté. Esto le dará estabilidad y fuerza.
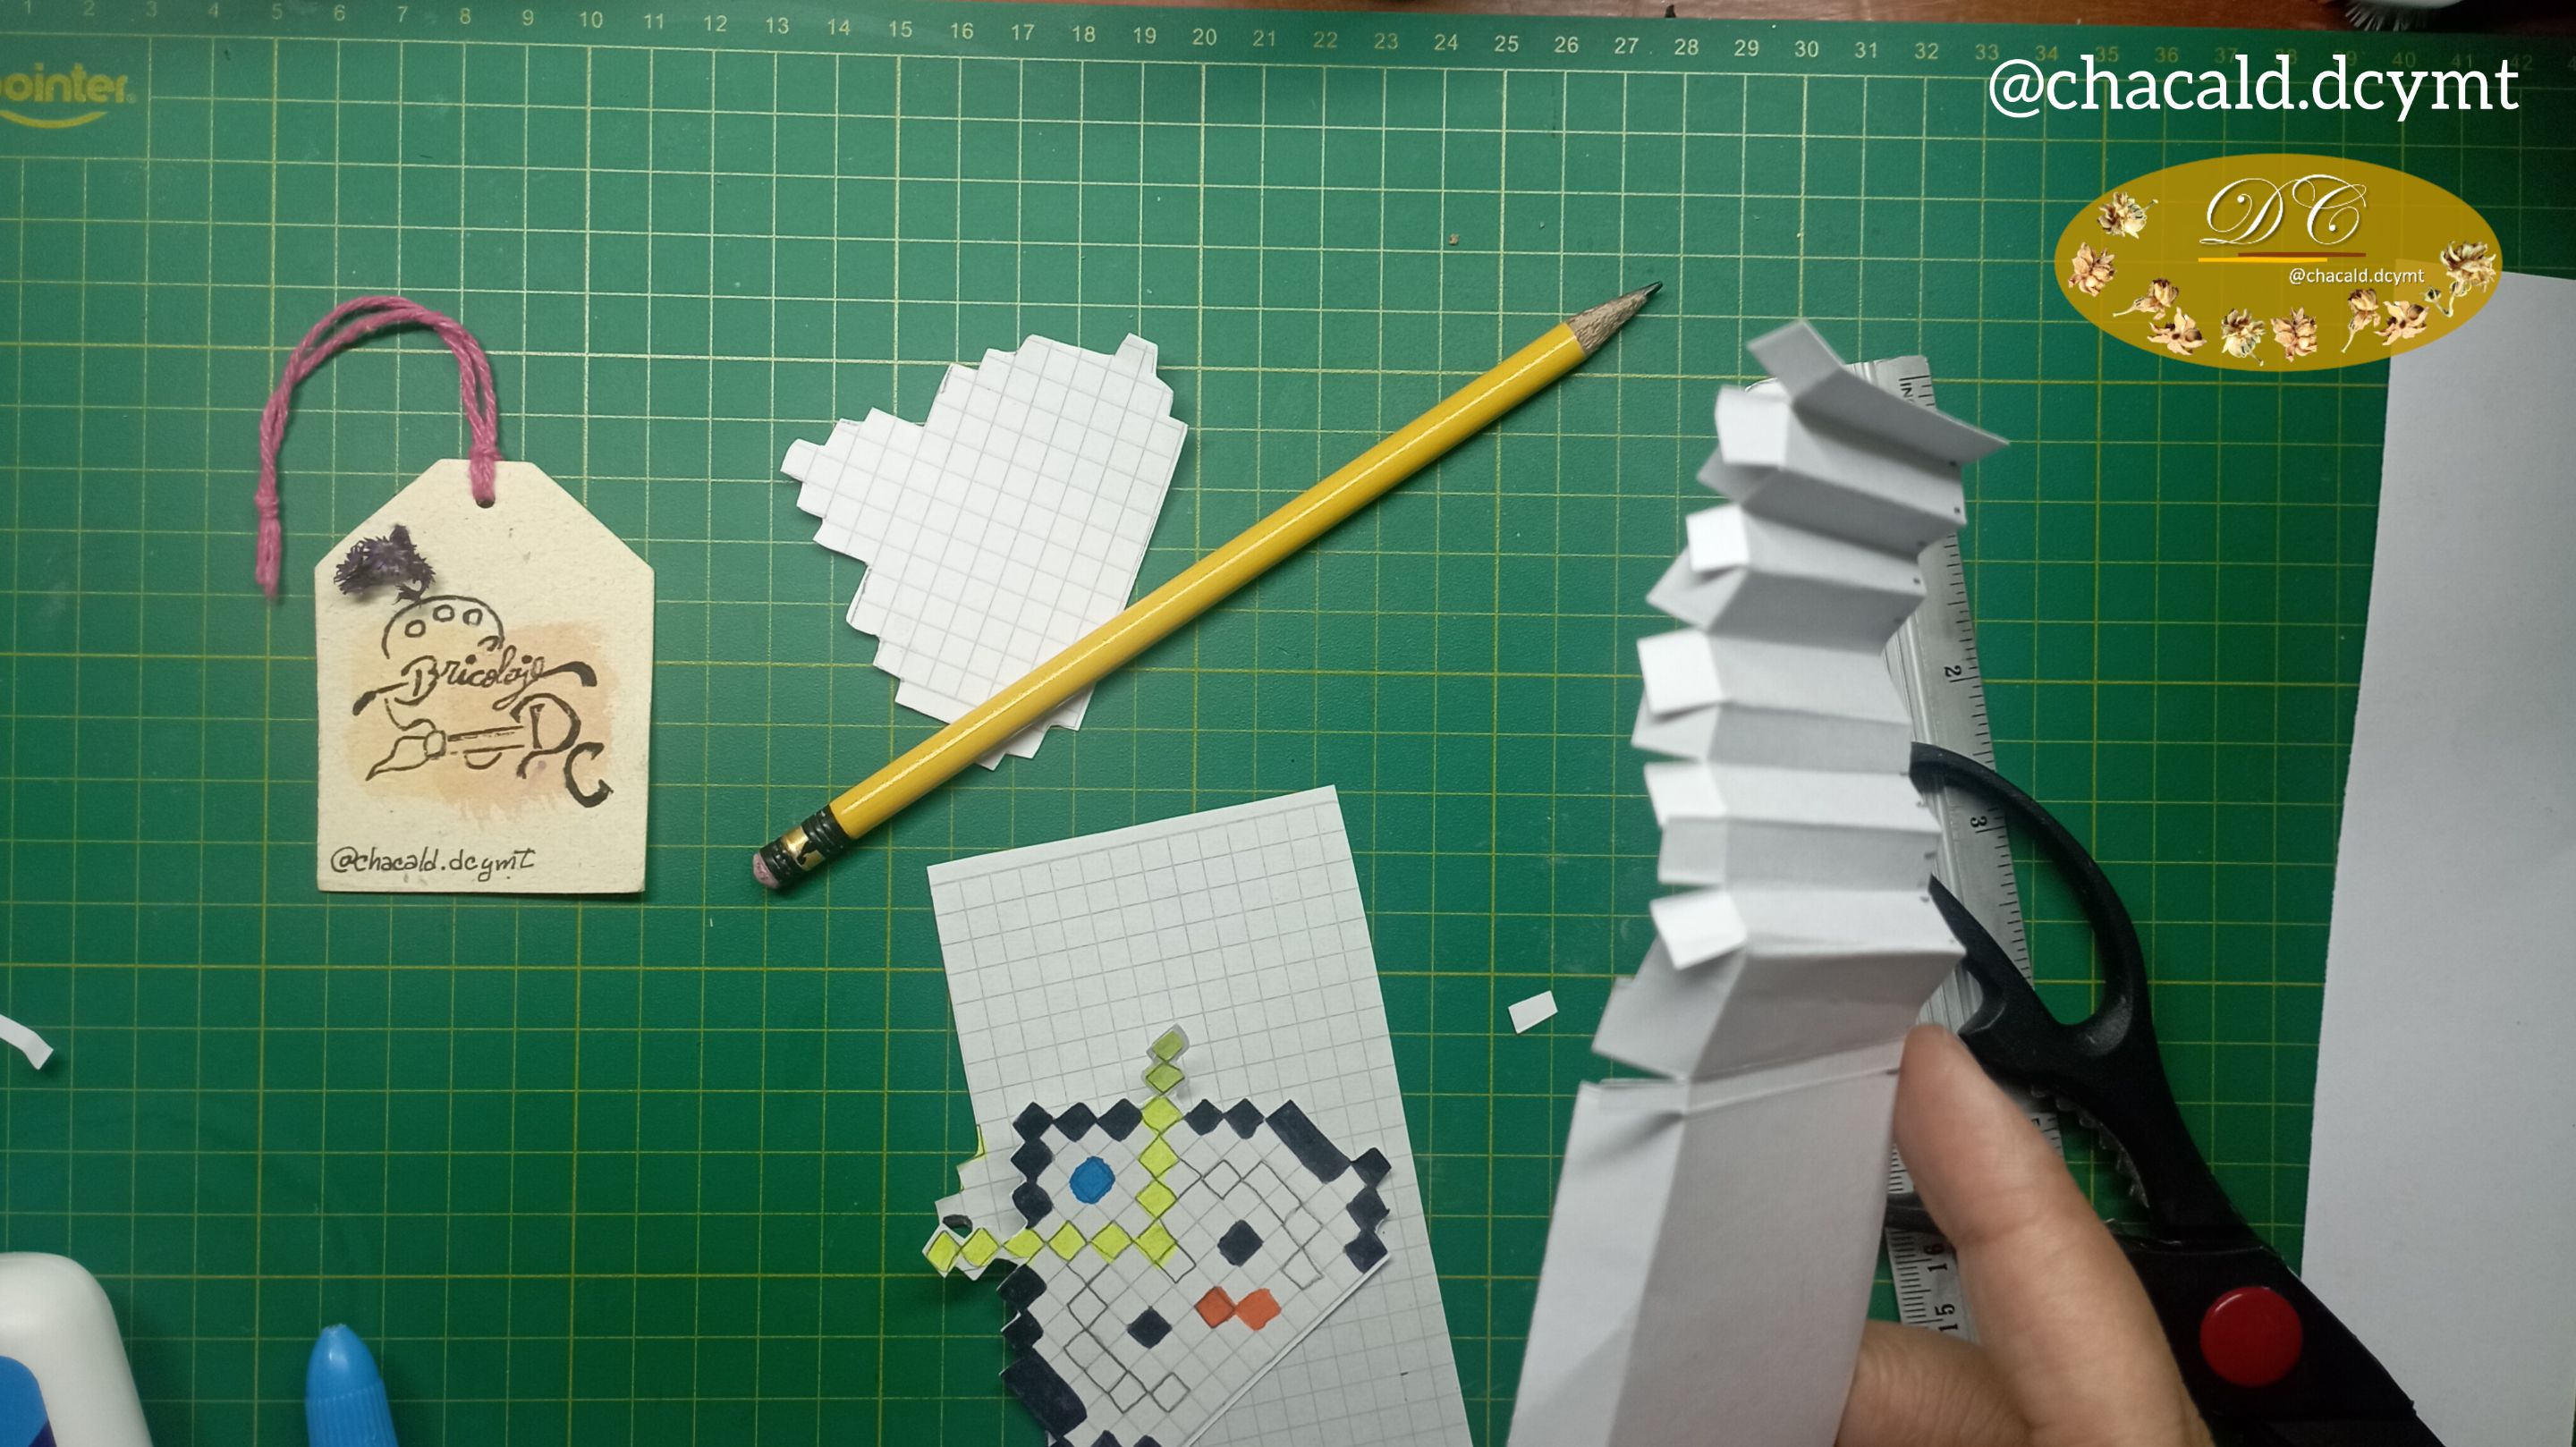
Then I took a piece of cardboard 4 centimeters wide and began to make the folds according to the squares that corresponded to the shape of the penguin's head.
Luego tomé un trozo de cartulina de 4 centímetros de ancho y comencé a hacer los pliegues según los cuadros que correspondían en la forma de la cabeza del pingüino.
 |  |
|---|
I glued the folded cardboard on both pieces of the head to make it 3D. Then I punched with the pencil to introduce a cylinder of cardboard that will give the head movement.
Pegué la cartulina plegada en ambas piezas de la cabeza para que quedara en 3D. Luego perforé con el lápiz para introducir un cilindro de cartulina que le dará el movimiento a la cabeza.
In the same way as the head, I made the body and wings separately. I also made a slightly longer cylinder of cardboard that went through the body to embed the wings and give it movement as well.
De la misma forma que la cabeza, hice el cuerpo y las alas por separado. También hice un cilindro de cartulina un poco más largo que atravesó el cuerpo para incrustar las alas y así darle movimiento también.
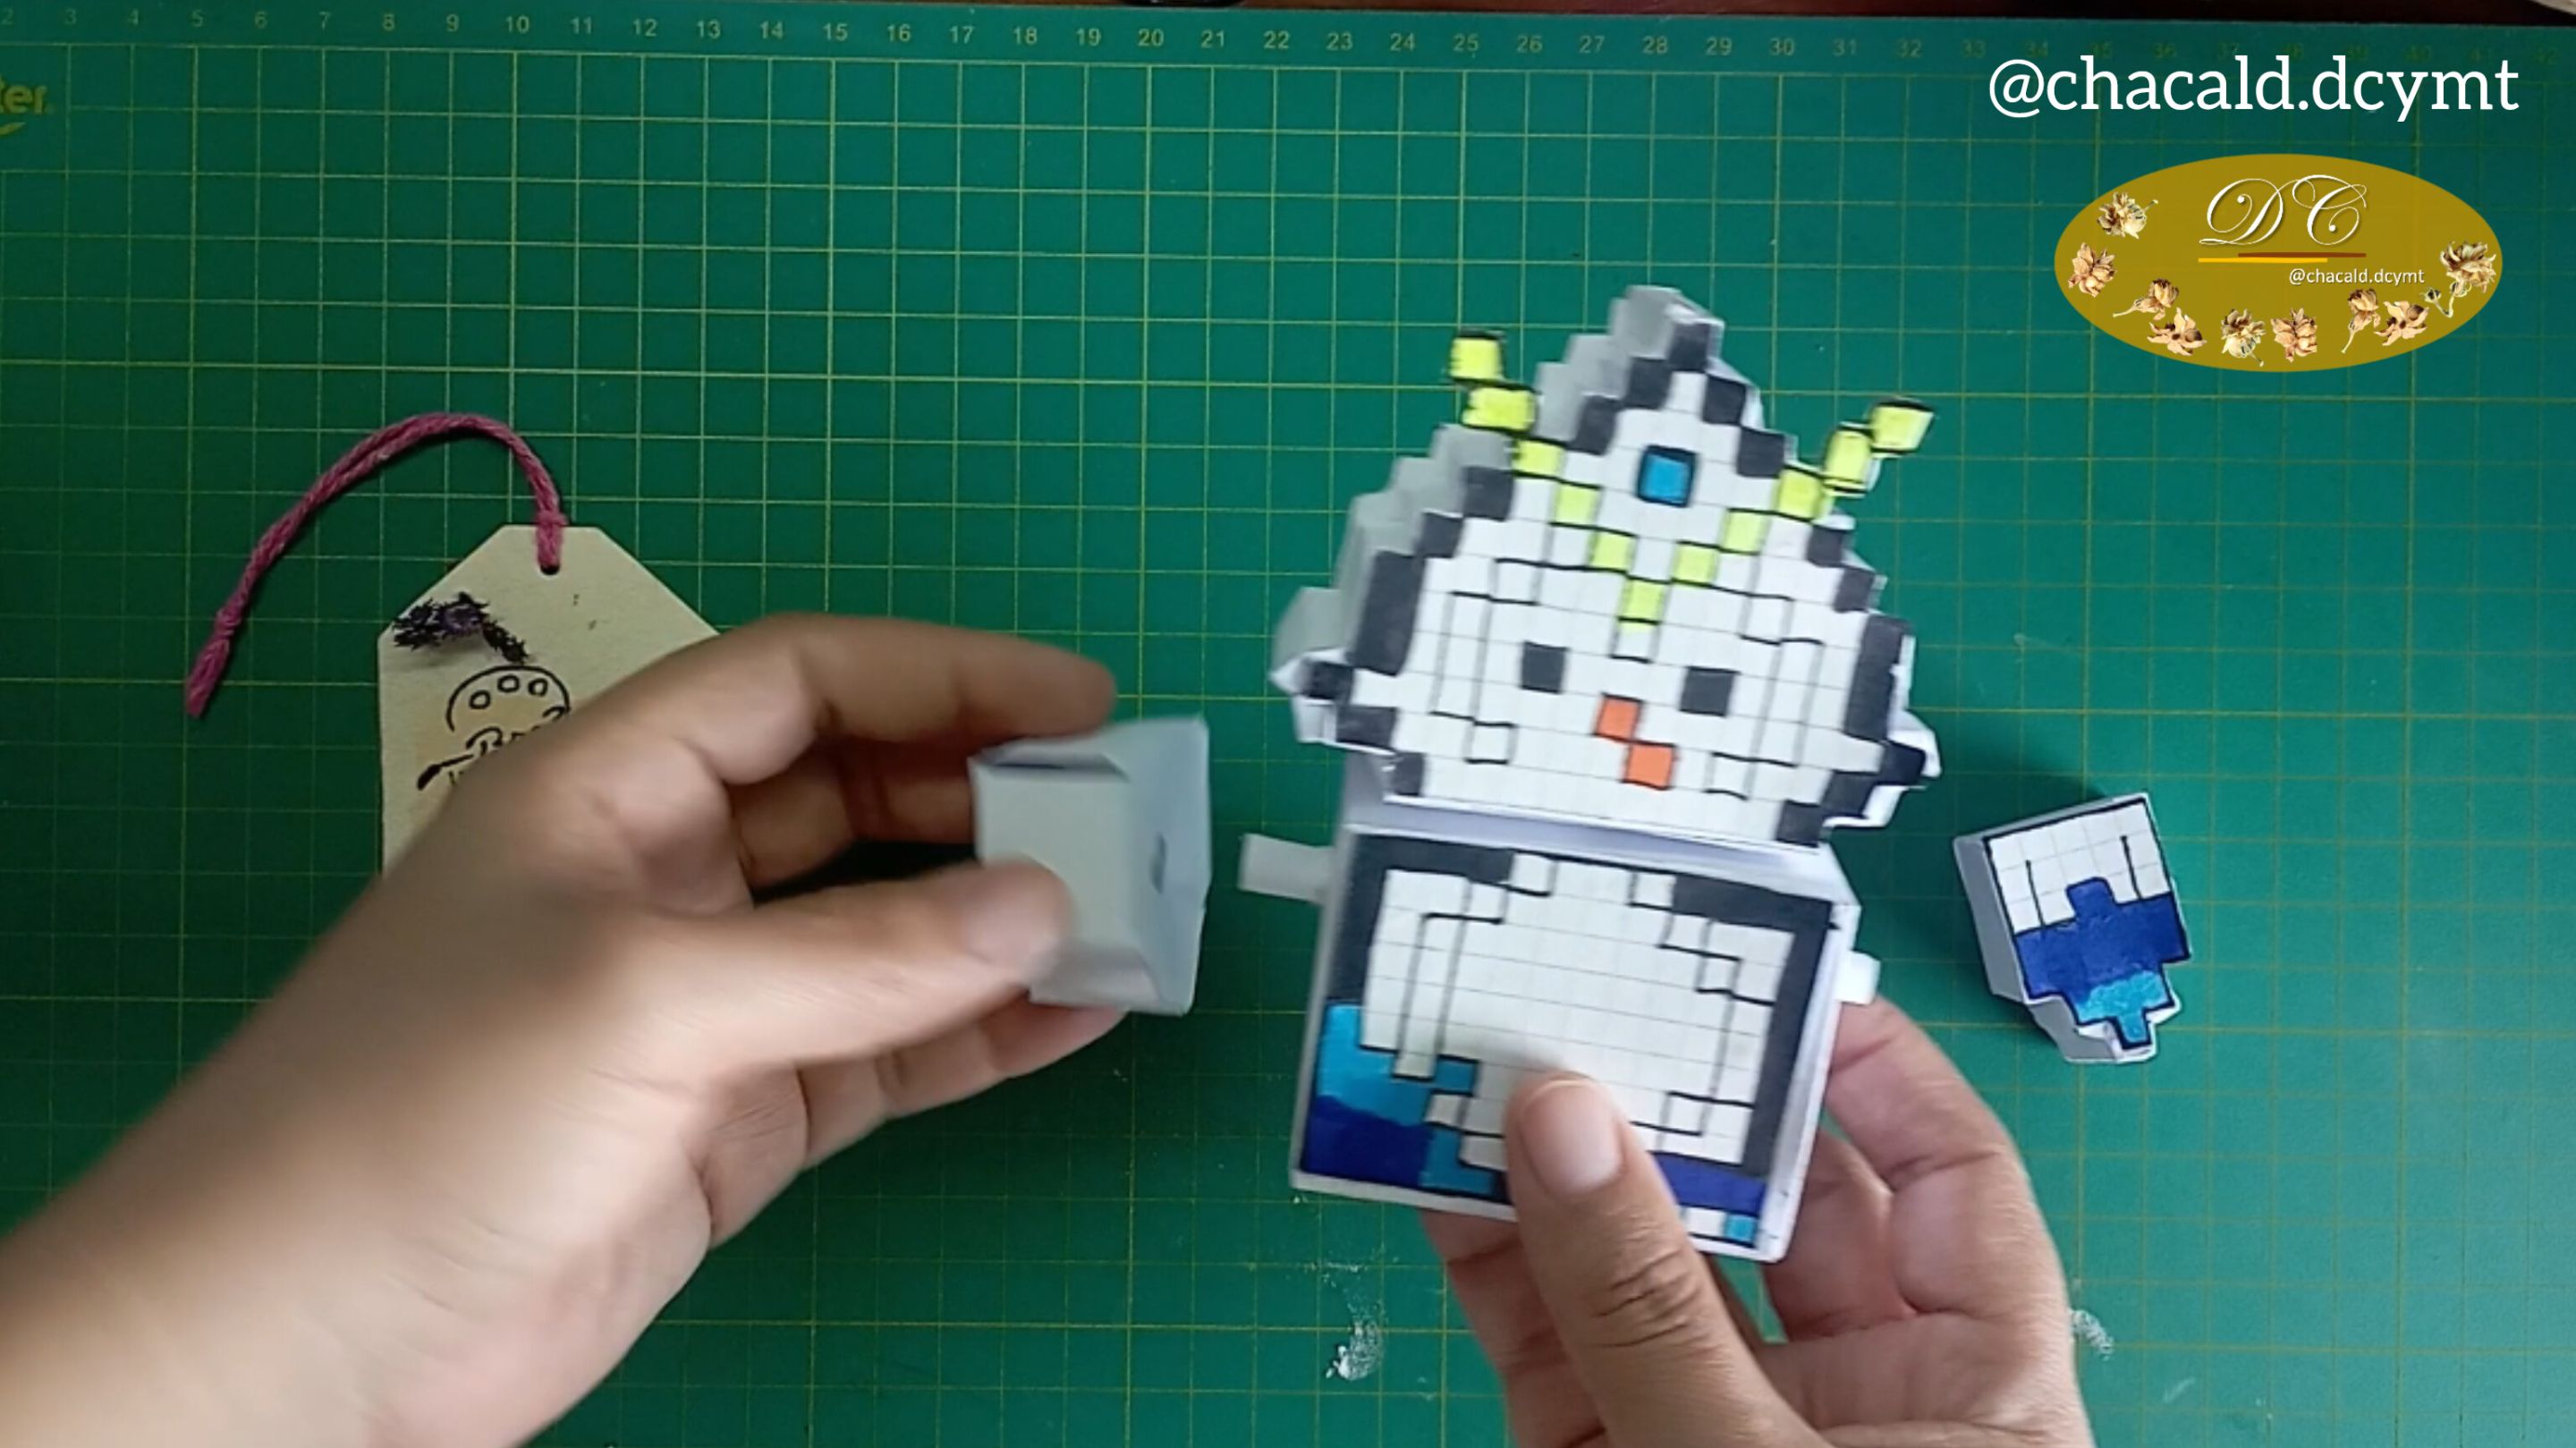
And this is how this little Zingu looks like in Pixel art 3D with movement. I loved the final result. If you don't want to miss any detail of the step by step I invite you to watch the video and enjoy every step.
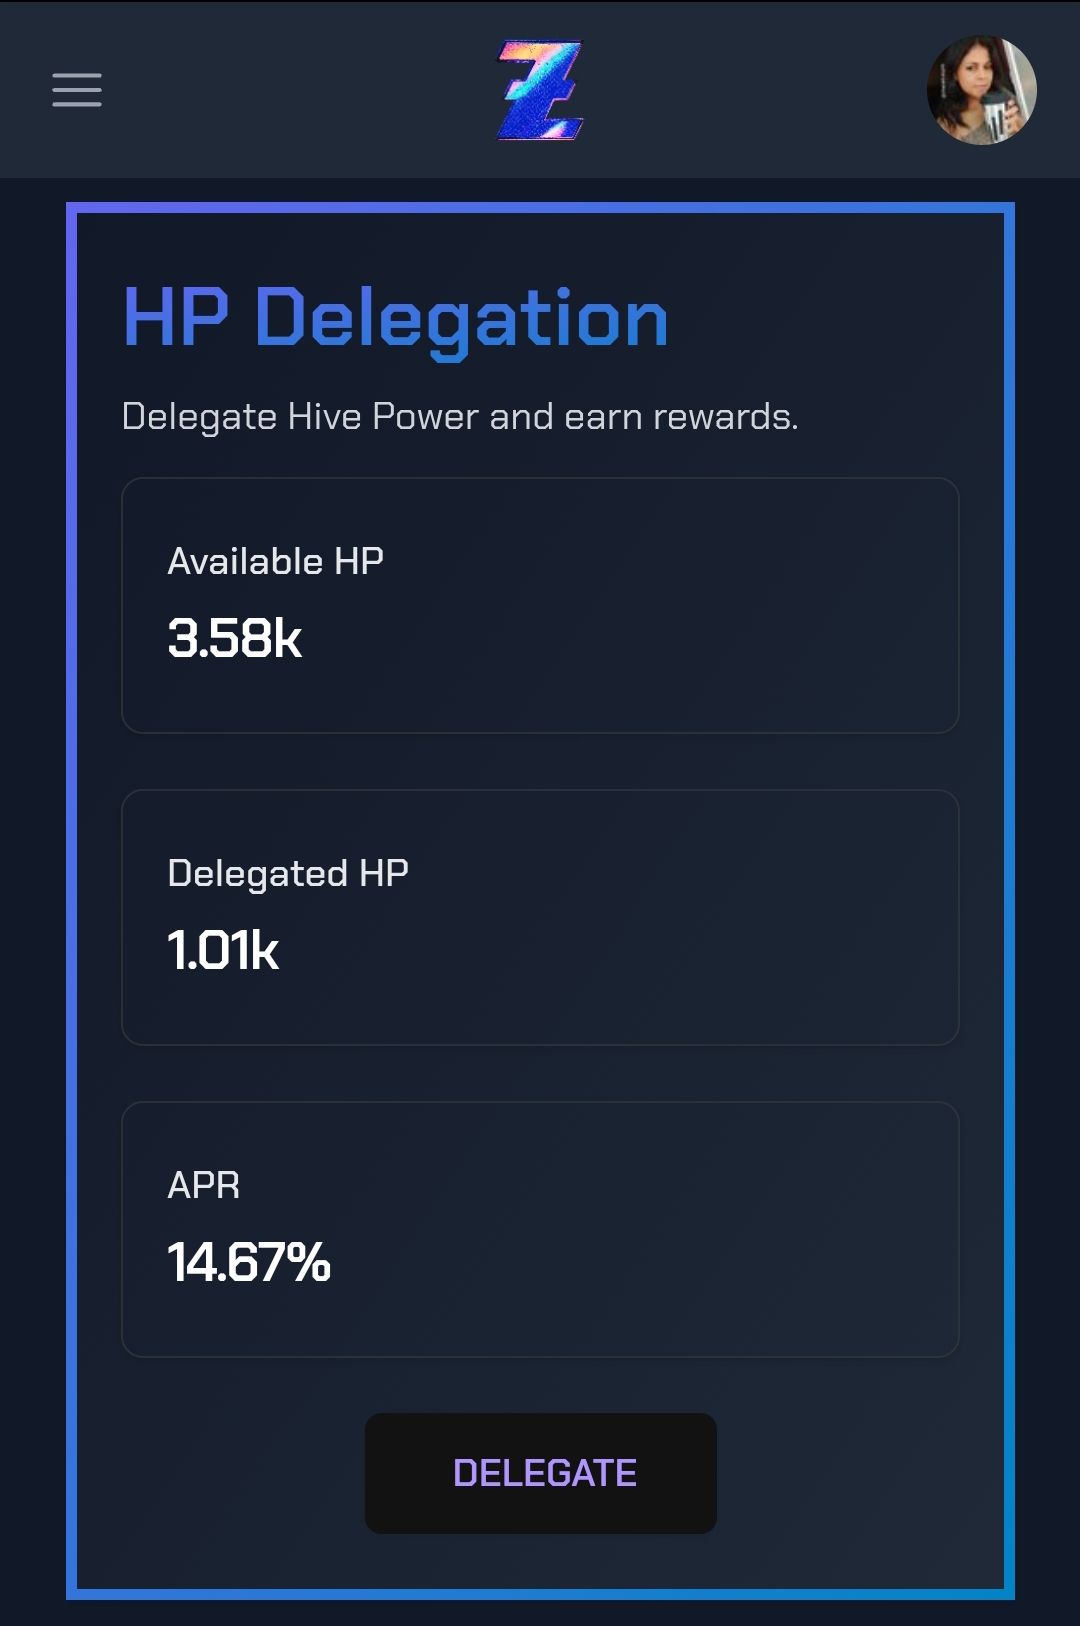
Taking advantage of the moment, I would like to show you the benefits I have had with the delegation. If you are not yet part of this project, I invite you to join with the following link
Y así es como queda este pequeño Zingu en Pixel art 3D con movimiento. Me encantó el resultado final. Si no quieres perderte detalle del paso a paso te invito a ver el video y a disfrutar de cada paso.
Aprovechando el momento, me gustaría enseñarles los beneficios que he tenido con la delegación. Si todavía no formas parte de este proyecto, te invito a unirte con el siguiente link
 |  |
|---|
I hope you like my projects. Thank you for visiting and supporting my publication. See you next time. Bye!
Espero les guste mis proyecto. Gracias por visitar y apoyar mi publicación. Nos vemos en una próxima oportunidad. Chao!
Original content by the author.
Resources: App: Canva / Giphy / Inshot
The music in this video is free to use, available on the InShot App.
Music: Make Me Feel
Músico: Not The King
📷 Redmi 10 Smartphone
Translation done with Deepl.com
✿ All Rights Reserved || © @chacald.dcymt 2024✿
💌 Discord: chacald.dcymt#3549
X: @chacald1
Reddit: chacald
_
Contenido original del autor.
Recursos: App: Canva / Giphy / Inshot
La música de este video es de libre uso, disponible en la App de InShot
Música: Make Me Feel
Músico: Not The King
📷 Redmi 10 Smartphone
Traducido con Deepl.com
✿ Todos los Derechos Reservados || © @chacald.dcymt 2024✿
💌 Discord: chacald.dcymt#3549
X: @chacald1
Reddit: chacald
Show more
Tags :
Woo!
This creator can upvote comments using 3speak's stake today because they are a top performing creator!
Leave a quality comment relating to their content and you could receive an upvote
worth at least a dollar.
Their limit for today is $0!
Their limit for today is $0!

51 views
a year ago
$

16 views
a year ago
$
11 views
a year ago
$
17 views
a year ago
$
25 views
a year ago
$
More Videos
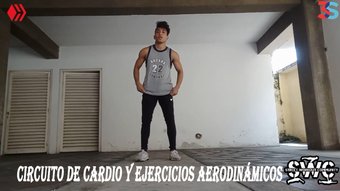
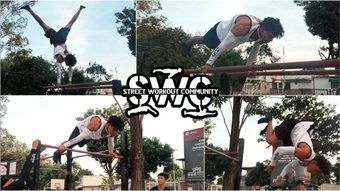
Circuito de cardio y ejercicios aerodinámicos | Cardio circuit and aerodynamic exercises [ESP | ENG]
8 views
a year ago
$
8 views
4 years ago
$

30 views
2 years ago
$

13 views
a year ago
$

5 views
2 years ago
$
36 views
11 months ago
$
23 views
a year ago
$
83 views
2 years ago
$
5 views
5 months ago
$

5 views
10 months ago
$

20 views
4 months ago
$
3 views
2 years ago
$

5 views
6 months ago
$
8 views
6 months ago
$
23 views
a year ago
$
4 views
4 months ago
$
3 views
a year ago
$
8 views
4 years ago
$
6 views
2 years ago
$

0 views
2 years ago
$
7 views
7 months ago
$
1 views
2 years ago
$
5 views
10 months ago
$

2 views
6 months ago
$
Comments:
Reply:
To comment on this video please connect a HIVE account to your profile: Connect HIVE Account