Gasolina venezolana sucia daña mi moto [ESP/ENG]
3
About :
¡Hola, compañeras abejas! Soy Daniel, tu compañero de reparaciones en el apasionante mundo de las motos. Ya nos conocemos y sé que estás buscando información sobre reparación y limpieza de mangueras de combustible de motos porque si estás aquí es por algo, jeje. No te preocupes, estoy aquí para ayudarte. En este blog encontrarás una guía completa con todos los pasos que necesitas para repararlos y limpiarlos. Desde la identificación del problema hasta la resolución de problemas, te guiaré en cada paso, así que prepárate para ponerte manos a la obra y devolver a tu motor todo su esplendor para que no vuelva a averiarse nunca más. Me encantaría formar parte de tu experiencia en este blog, ¡empecemos!
Esta reparación se hizo porque el motor empezó a calarse de vez en cuando cuando no había explosión, y poco a poco los demás fallos fueron empeorando hasta llegar al punto de que el motor ya no arrancaba, tenía que pisar fuerte el pedal para que arrancara, y seguía limpiando la cámara de gasolina ya que posiblemente estaba obstruida. Os sorprenderá lo que veis en el vídeo que he encontrado.
Hi, bees mates! I'm Daniel, your repair mate in the exciting world of motorcycles. We already know each other and I know you're looking for information about repairing and cleaning motorcycle fuel hoses because if you're here it's for something, hahaha. Don't worry, I'm here to help you. In this blog you will find a complete guide with all the steps you need to repair and clean them. From identifying the problem to solving problems, I will guide you through each step, so get ready to get your hands dirty and return your engine to all its splendor so it never breaks down again. I would love to be part of your experience in this blog, let's get started!
This repair was made because the engine started to stall from time to time when there was no explosion, and gradually other failures worsened to the point where the engine would not start, I had to step hard on the pedal for it to start, and I continued to clean the gas chamber since it was probably blocked. You will be surprised at what you see in the video I found.
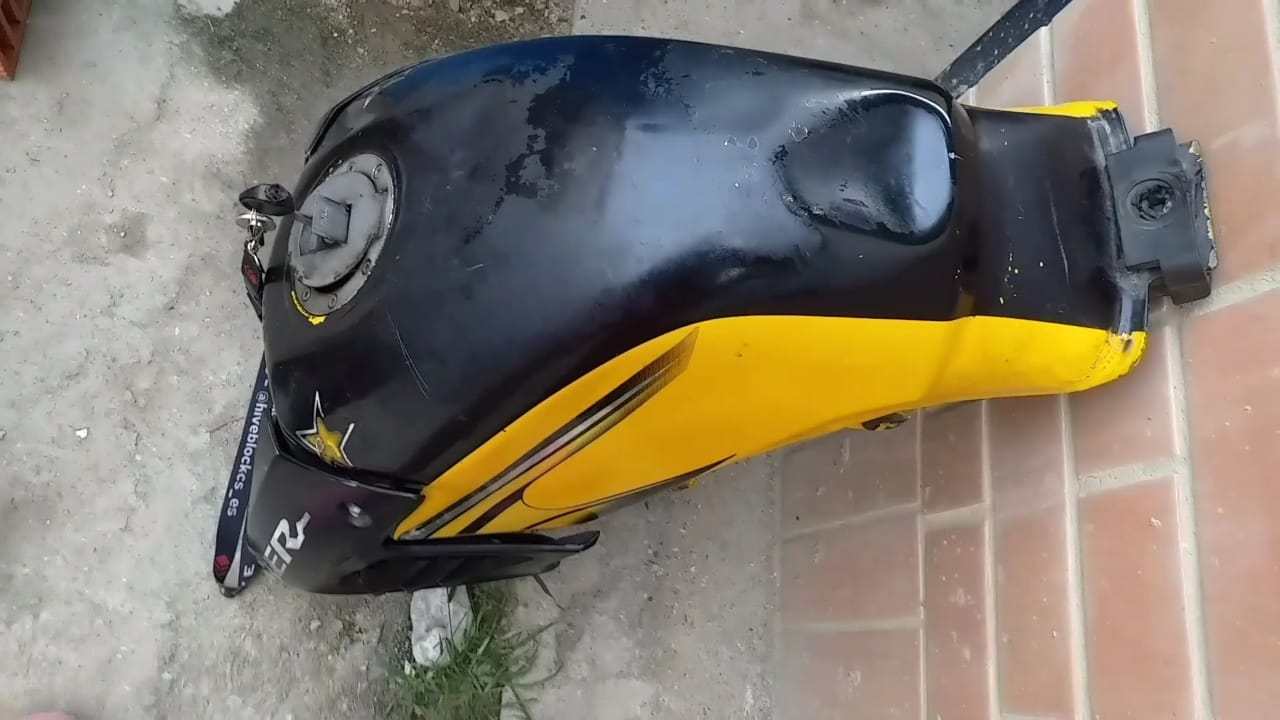
- Coger el depósito: primero, asegúrate de que tienes las herramientas adecuadas y una zona de trabajo limpia. Retira el tanque de gasolina del motor siguiendo las instrucciones del fabricante. Esto te dará acceso a las partes internas para una limpieza a fondo.
- Take out the gas tank: first, make sure you have the right tools and a clean work area. Remove the gas tank from the engine following the manufacturer's instructions. This will give you access to the internal parts for a thorough cleaning.
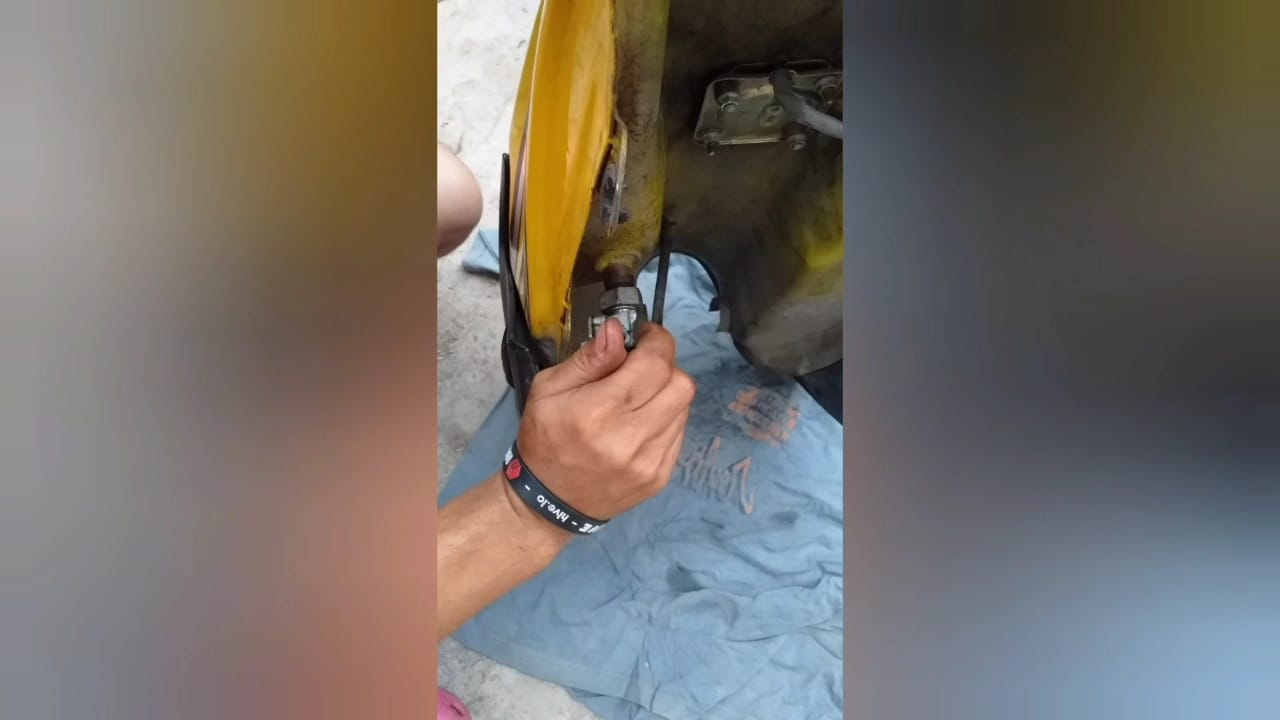
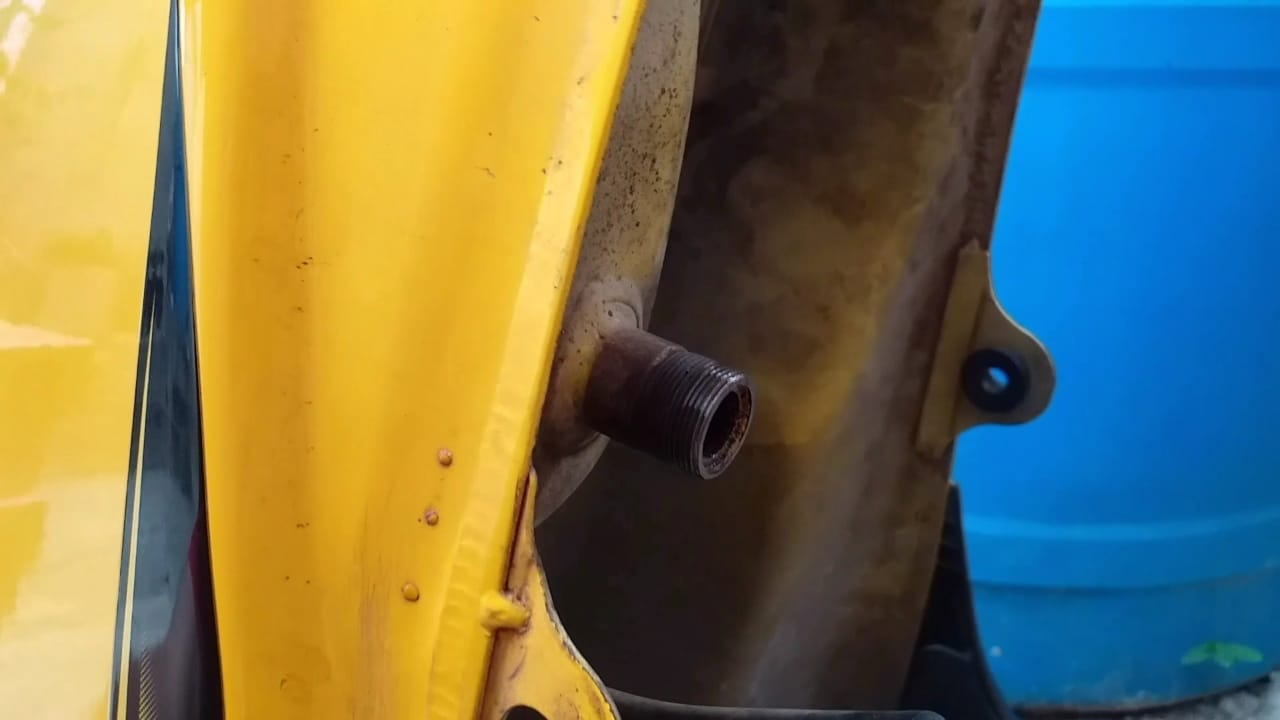
- Desconecte todo el sistema de combustible: desconecte todas las mangueras y tuberías que conectan el depósito de combustible con el carburador. Marcar o etiquetar cada pieza para facilitar el posterior montaje.
- Disconnect the entire fuel system: disconnect all hoses and pipes that connect the fuel tank to the carburetor. Mark or label each piece to facilitate subsequent assembly.
- Desmontar el conjunto del carburador: desmontar cuidadosamente el carburador sacando todos los cables y retirando los tornillos de fijación. Recuerde mantener las piezas en buen estado y limpiarlas a fondo con un limpiador de carburadores adecuado.
- Disassemble the carburetor set: carefully disassemble the carburetor by removing all the wires and removing the fixing screws. Remember to keep the parts in good condition and clean them thoroughly with a suitable carburetor cleaner.
- Limpie el depósito de combustible: Recuerde utilizar un limpiador especial para depósitos de combustible para eliminar cualquier residuo o depósito que pueda haberse acumulado en el depósito. Agítelo enérgicamente y aclárelo con agua limpia hasta que el depósito quede completamente limpio.
- Clean the fuel tank: Remember to use a special cleaner for fuel tanks to remove any residue or deposit that may have accumulated in the tank. Shake it vigorously and rinse it with clean water until the tank is completely clean.
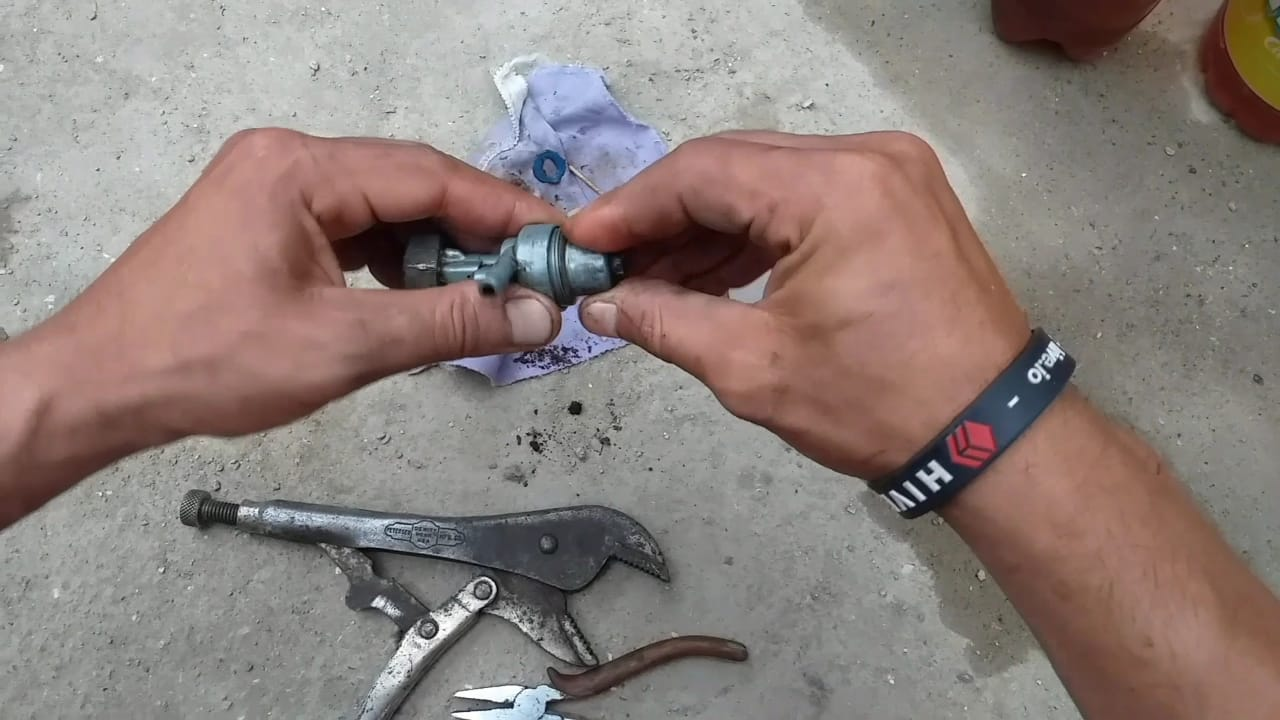
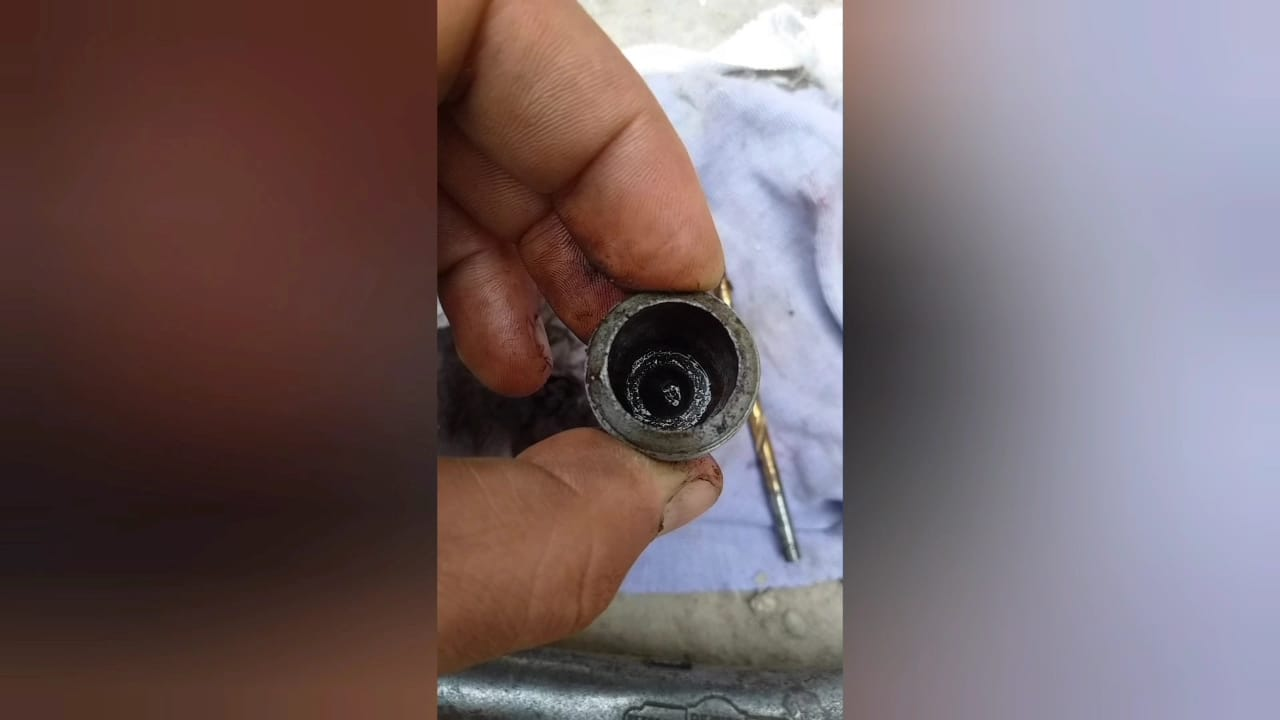
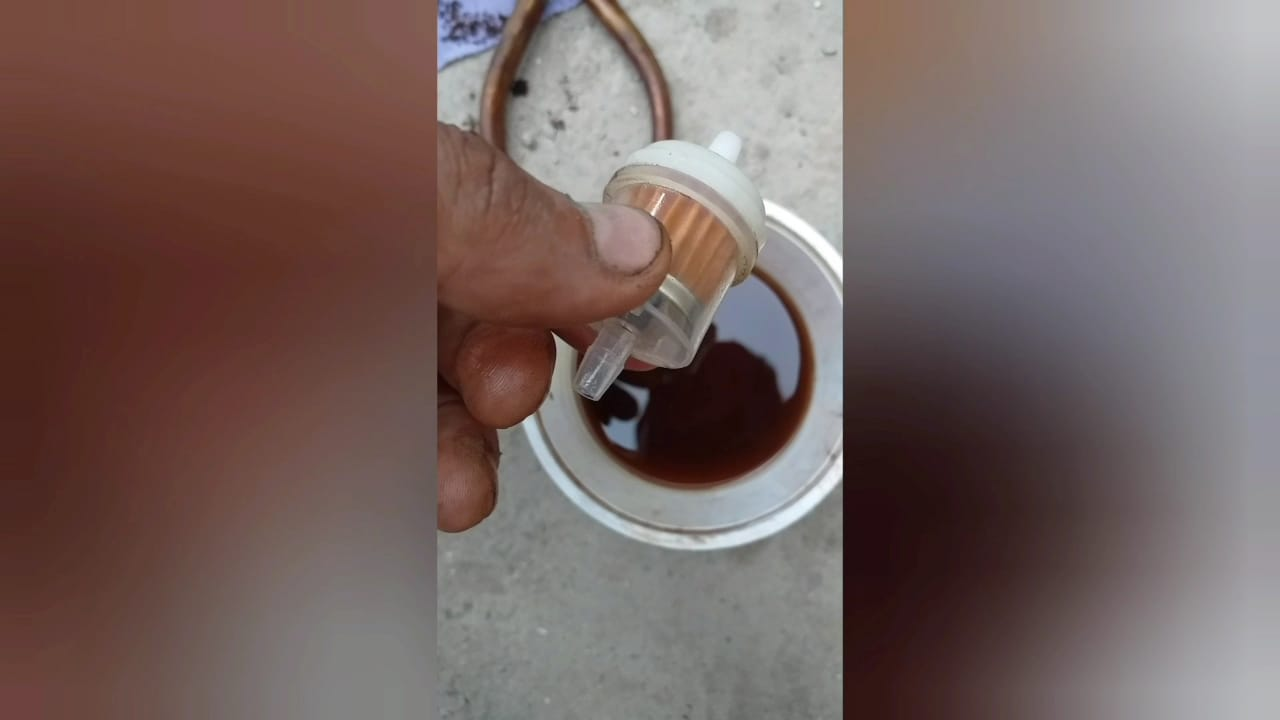
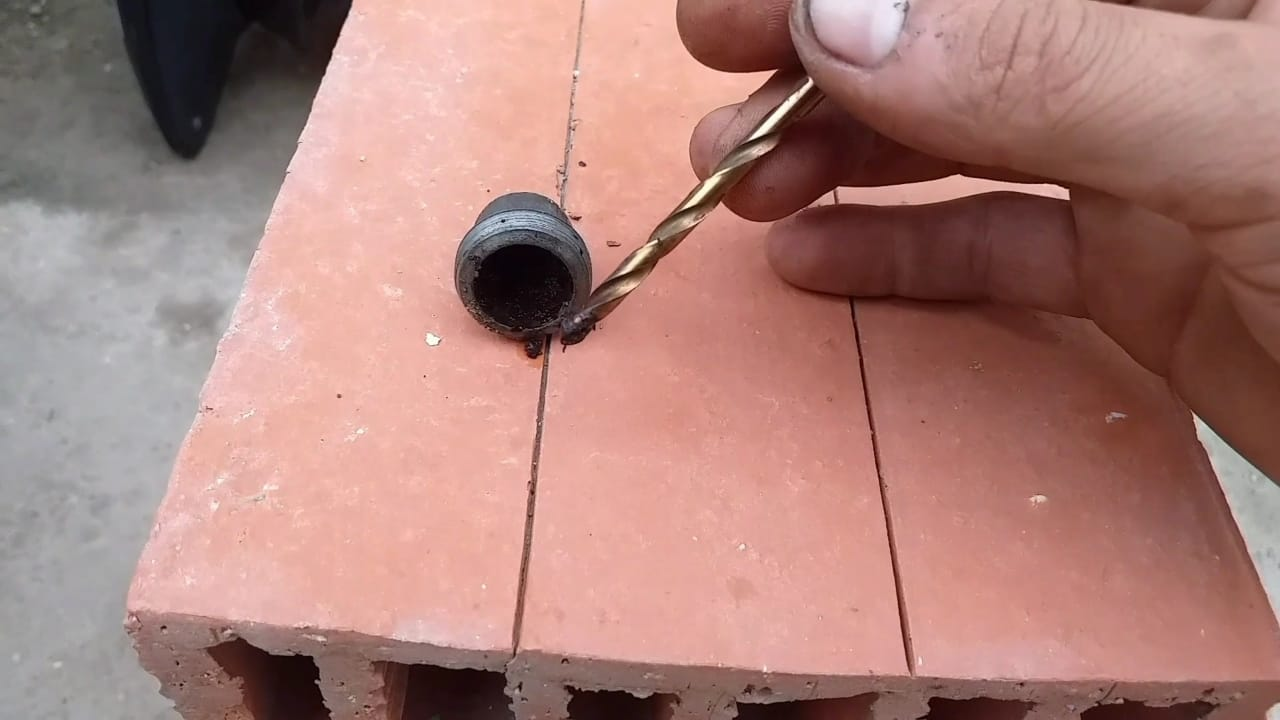
- Limpieza de tuberías, filtro y mangueras Compruebe y limpie todas las tuberías, incluida la válvula del depósito, el filtro y las mangueras, utilizando un cepillo suave y un disolvente adecuado para eliminar cualquier atasco o suciedad acumulada.
- Cleaning of pipes, filter and hoses Check and clean all pipes, including the tank valve, filter and hoses, using a soft brush and an appropriate solvent to remove any clogging or accumulated dirt.
- Limpie el interior del carburador: después de desmontar todas las piezas, sumerja el carburador en el limpiador de carburadores recomendado por el fabricante. Antes de volver a montar el carburador, asegúrese de enjuagarlo a fondo y eliminar cualquier residuo.
- Clean the inside of the carburetor: after disassembling all the parts, immerse the carburetor in the carburetor cleaner recommended by the manufacturer. Before remounting the carburetor, make sure to rinse it thoroughly and remove any residue.
Recuerde seguir las instrucciones del fabricante y llevar el equipo de protección adecuado durante todo el proceso. Un mantenimiento regular y una limpieza adecuada garantizarán el óptimo rendimiento de tu moto. Diviértete y mantén tu bicicleta en buen estado.
En resumen, los pasos que he descrito en este blog son esenciales para reparar la bicicleta con éxito. Recuerda que la paciencia y la atención a los detalles son esenciales en todas las etapas. Tómate tu tiempo, sigue las instrucciones y utiliza las herramientas adecuadas: ¡no tengas miedo de ensuciarte las manos! Con determinación y perseverancia, lo conseguirás. Recuerda que cada moto es única, por lo que es importante adaptar los pasos a tu modelo. ¡Así que no dudes en preguntar a los expertos si lo necesitas! ¡Disfruta del proceso y mantén viva tu pasión por las motos!
Remember to follow the manufacturer's instructions and wear the proper safety gear throughout the process. Regular maintenance and proper cleaning will ensure optimal performance for your bike. Have fun and keep your bike in good condition.
In summary, the steps I have described in this blog are essential for successfully repairing your bike. Remember that patience and attention to detail are essential at all stages. Take your time, follow the instructions, and use the right tools: don't be afraid to get your hands dirty! With determination and perseverance, you will succeed. Remember that each bike is unique, so it is important to adapt the steps to your model. So don't hesitate to ask the experts if you need to! Enjoy the process and keep your passion for bikes alive!
Translated and formatted with Hive Translator by @noakmilo.
Venta pantallas netflix pago con hbd
Telegram
web
gift:
Guias
hive kaychain
Regitrarse en hive
Link de registro
Gana usando google
Show more
Tags :
Woo!
This creator can upvote comments using 3speak's stake today because they are a top performing creator!
Leave a quality comment relating to their content and you could receive an upvote
worth at least a dollar.
Their limit for today is $0!
Their limit for today is $0!
4 views
2 years ago
$

Tutorial how to change charging port on alcatel 5041a / Tutorial cambio puerto de carga en alcatel 5
3 views
3 years ago
$

6 views
2 years ago
$

7 views
3 years ago
$

4 views
3 years ago
$
More Videos

5 views
3 years ago
$

3 views
3 years ago
$

9 views
a year ago
$

6 views
2 years ago
$

Espavlog || Hablemos de.....|| Hay una Hora exacta para publicar y aumentar tus ganancias? @nerdvana
18 views
3 years ago
$

34 views
4 years ago
$

10 views
3 years ago
$

16 views
a year ago
$

16 views
a year ago
$

9 views
3 years ago
$

12 views
3 years ago
$

26 views
2 years ago
$

21 views
a year ago
$

15 views
a year ago
$

6 views
3 years ago
$

9 views
4 years ago
$

13 views
2 years ago
$

28 views
2 years ago
$

5 views
3 years ago
$

59 views
2 months ago
$

13 views
3 years ago
$

62 views
a year ago
$

6 views
4 years ago
$

3 views
a year ago
$
@theycallmedan: 2.2859
@drbanner: 0.6791
@jschindler: 0.3360
@alpha: 0.3200
@minnowsupport: 0.2953
@blocktrades: 0.2648
@aliento: 0.2165
@aliento.love: 0.2123
@blocktrades.com: 0.1286
@drbanner: 0.6791
@jschindler: 0.3360
@alpha: 0.3200
@minnowsupport: 0.2953
@blocktrades: 0.2648
@aliento: 0.2165
@aliento.love: 0.2123
@blocktrades.com: 0.1286
Comments:
Reply:
To comment on this video please connect a HIVE account to your profile: Connect HIVE Account