[ENG/ESP] Decorated bottle for candle
15
About :
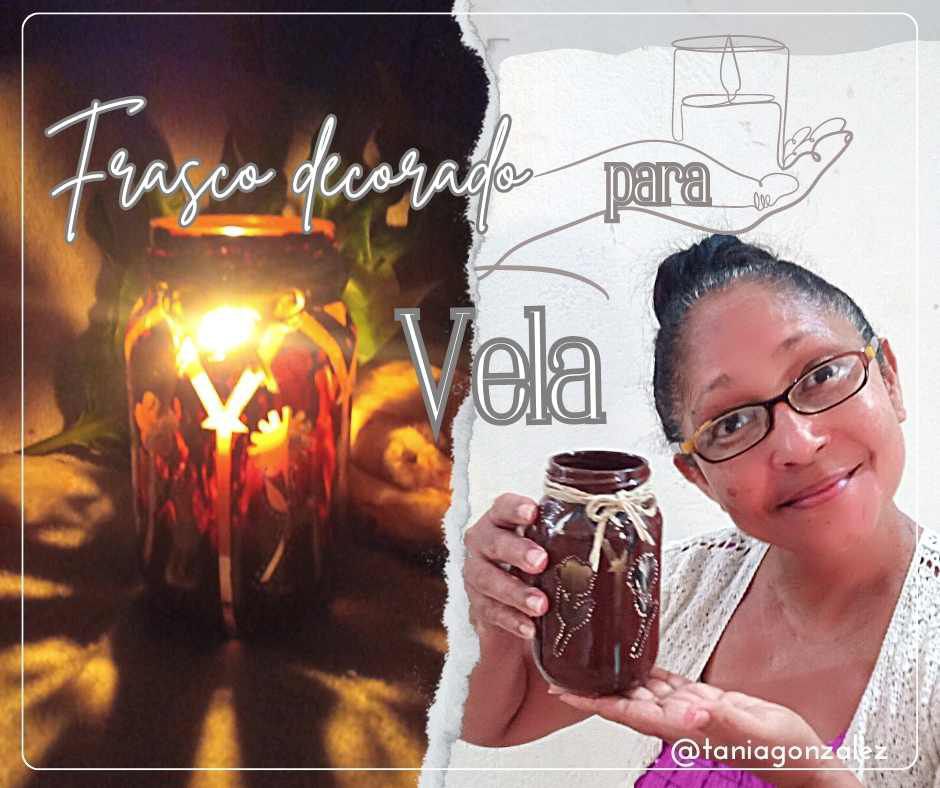
Hello! Greetings to everyone in this beautiful #Diyhub community. Once again, I am here with you to show you another one of my crafts. This time, I will show you how to decorate a glass jar to place a candle.
I confess that I love having candles at home. They look so much better when they are well decorated. Not only do we enjoy a coffee by candlelight, but it also serves us well when the power goes out and we go through that unpleasant moment, creating a more pleasant atmosphere.
Below, I will show you step by step how I made this craft and the materials I used. If you can't watch the video, don't worry, you can also find a detailed explanation in the photos.
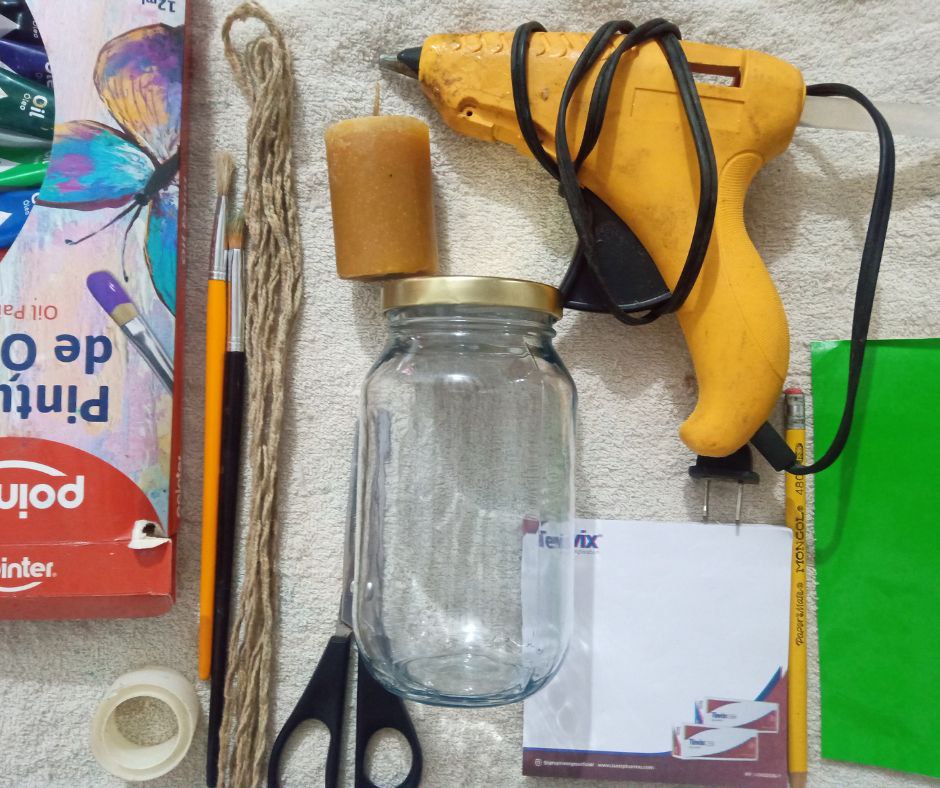
Materials:
- Mayonnaise jar
- Oil paint
- White paper
- Green sticker vinyl
- Pencil
- Scissors
- String
- Silicone gun
- Adhesive tape
- Candle
¡Hola! Saludos a todos en esta hermosa comunidad de #Diyhub. Una vez más, estoy aquí con ustedes para mostrarles otra de mis manualidades. En esta ocasión, les enseñaré cómo decorar un frasco de vidrio para colocar una vela.
Les confieso que me encanta tener velas en casa. Se ven mucho mejor cuando están bien adornadas. No solo disfrutamos de un café a la luz de la vela, sino que también nos sirve cuando se va la luz y pasamos por ese momento desagradable, creando un ambiente más agradable.
A continuación, les mostraré paso a paso cómo hice esta manualidad y los materiales que utilicé. Si no pueden ver el video, no se preocupen, también podrán encontrar una explicación detallada en las fotos.
Materiales:
- Frasco de mayonesa
- Pintura al óleo
- Papel blanco
- Vinilo de calcomanía verde
- Lápiz
- Tijeras
- Cuerda
- Pistola de silicona
- Cinta adhesiva
- Vela
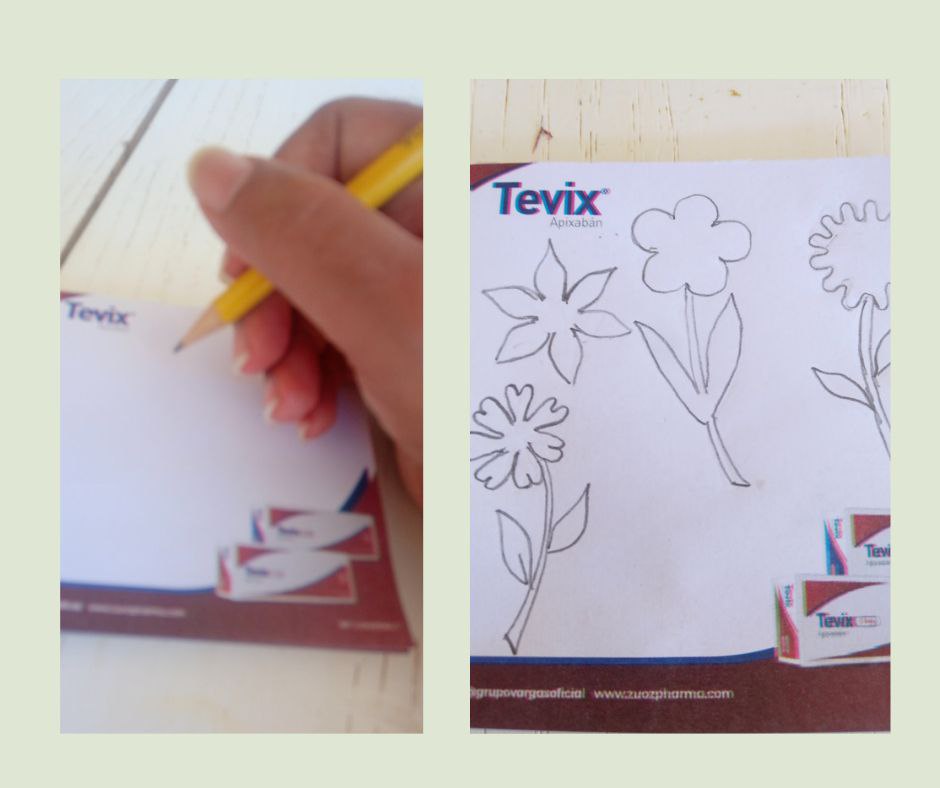
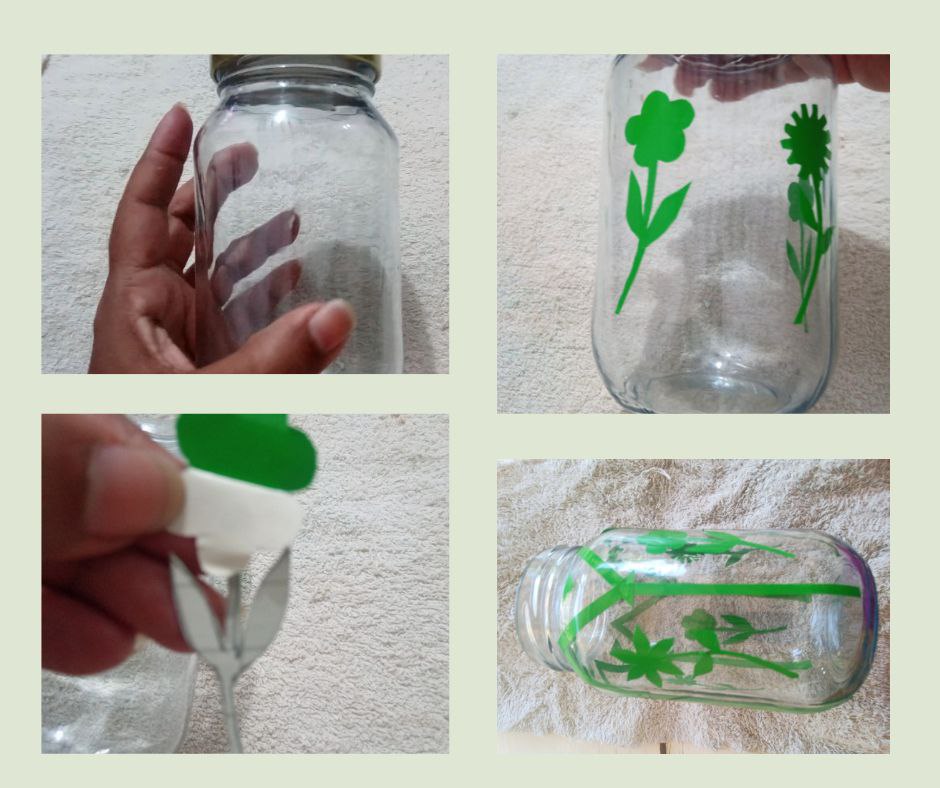
The first thing I did was to design on sheets of paper the flowers that I was going to use to decorate the jar.
Lo primero que hice fue diseñar en hojas de papel las flores que iba a utilizar para decorar el frasco.
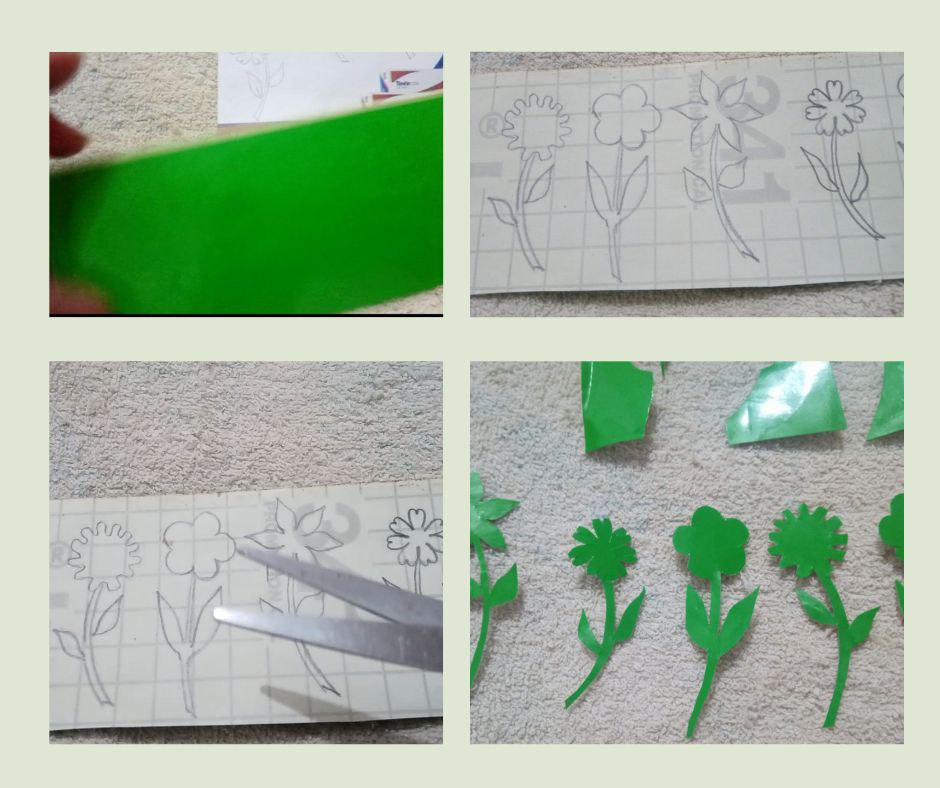
Then, I transferred the design to the decal vinyl and cut it out with scissors.
Luego, transferí el diseño al vinilo de calcomanía y lo recorté con las tijeras.
Next, I glued the decals to the jar, carefully removing the backing and gluing them slowly to avoid damaging the design. I also used the scraps of decal paper to continue decorating the jar, as you can see in the photos.
A continuación, pegué las calcomanías al frasco, quitando con cuidado la parte de atrás y pegándolas despacio para evitar dañar el diseño. También aproveché los retazos de papel de calcomanía para seguir decorando el frasco, como podrán ver en las fotos.
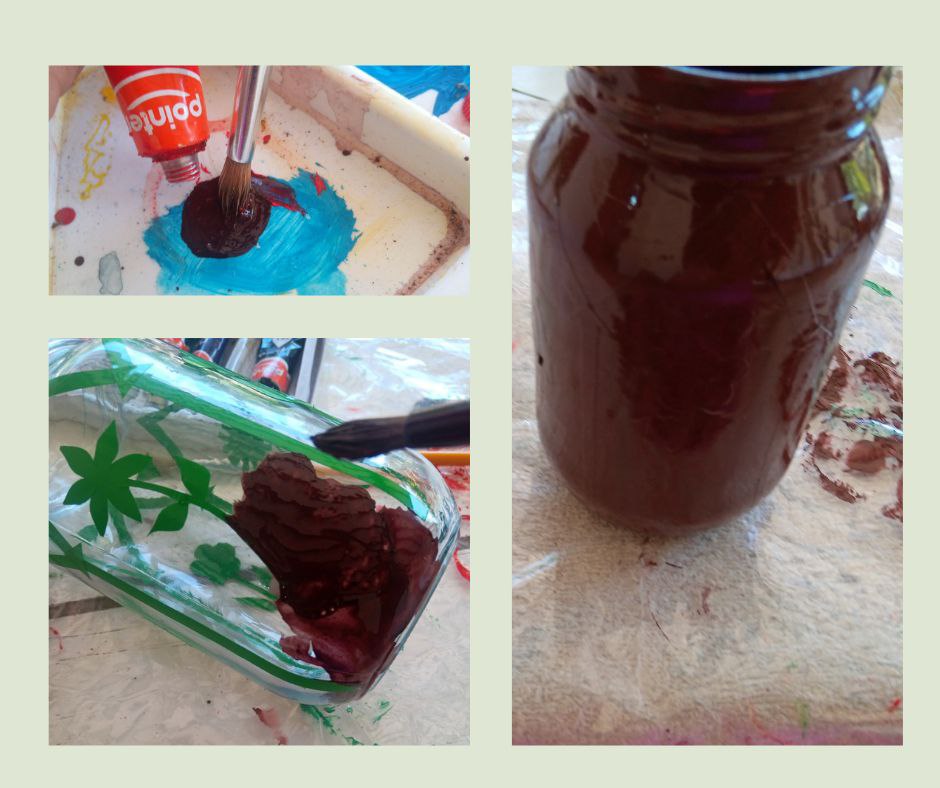
Next, I began to combine the paint colors to achieve the desired effect and painted the jar covering the decals.
Después, comencé a combinar los colores de pintura para lograr el efecto deseado y pinté el frasco cubriendo las calcomanías.
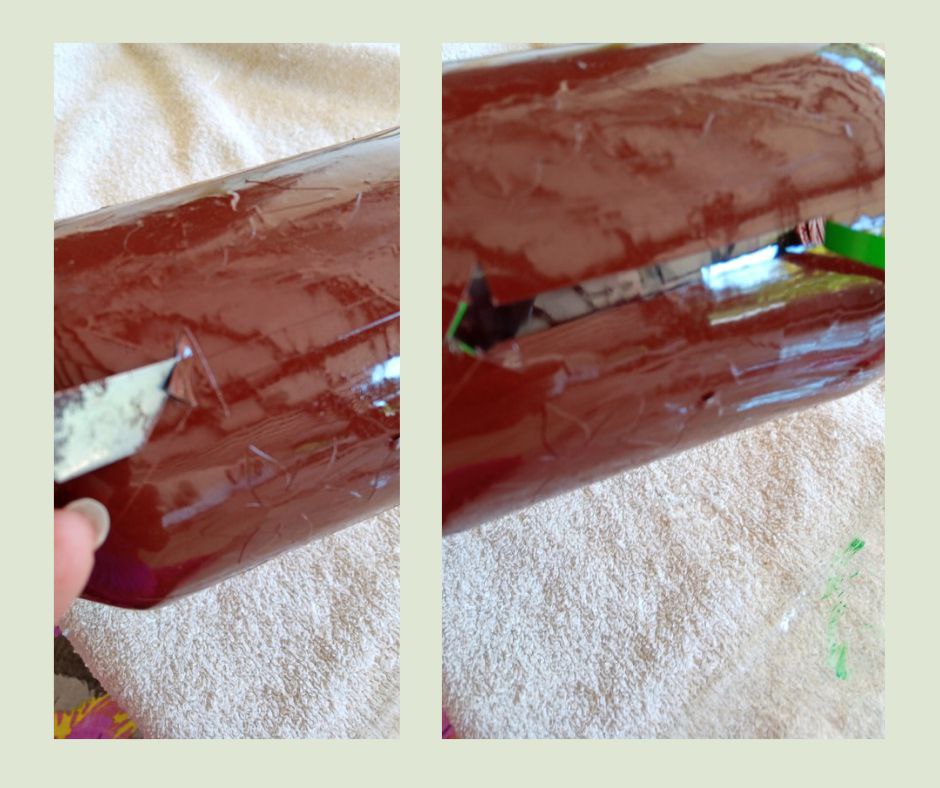
Once the paint was dry, I removed the decals carefully using a mock-up knife to avoid damaging the paint.
Una vez que la pintura se secó, retiré las calcomanías con cuidado usando una cuchilla de maqueta para evitar dañar la pintura.
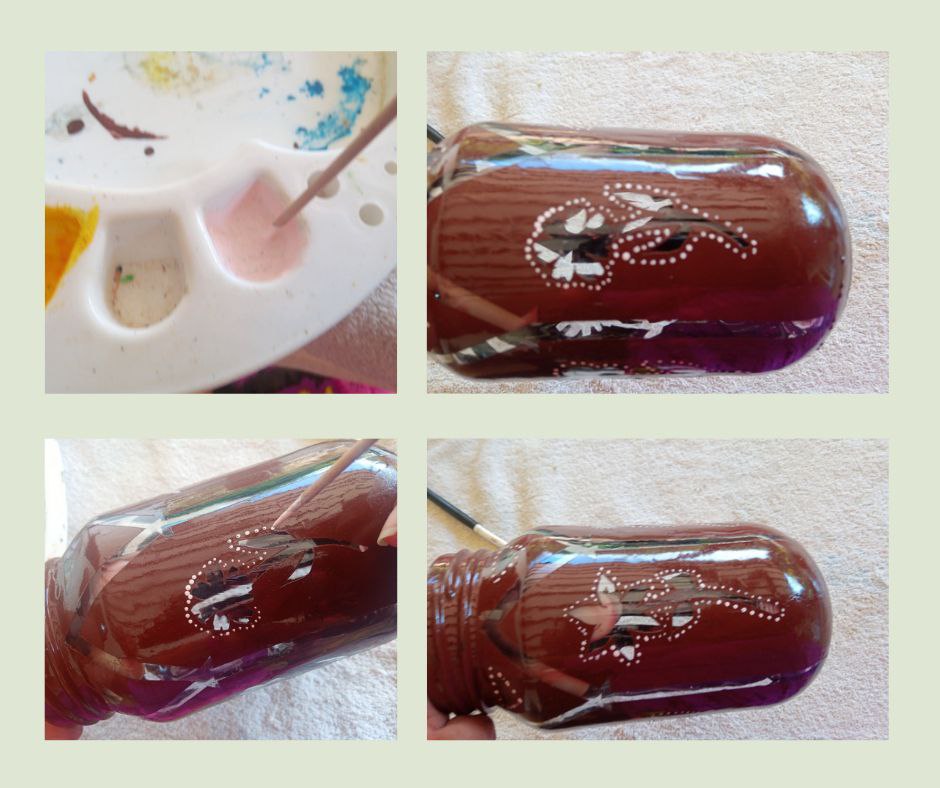
Then, I prepared a pink paint and, using a skewer stick, decorated the entire edge of each flower using the pointillism technique.
Luego, preparé una pintura rosada y, utilizando un palillo de brocheta, decoré todo el borde de cada flor utilizando la técnica del puntillismo.
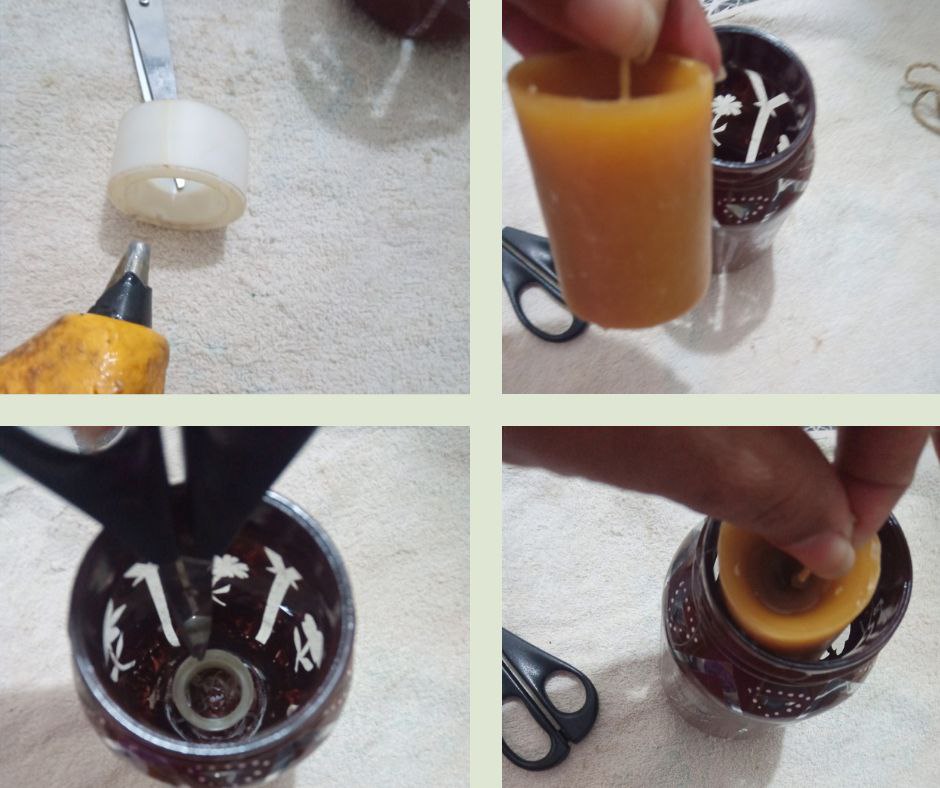
Next, I glued the mandrel of the roll of tape inside the jar to serve as a base to place the candle, which I placed later.
Después, pegué el mandril del rollo de cinta adhesiva dentro del frasco para que sirviera como base para colocar la vela, la cual coloqué posteriormente.
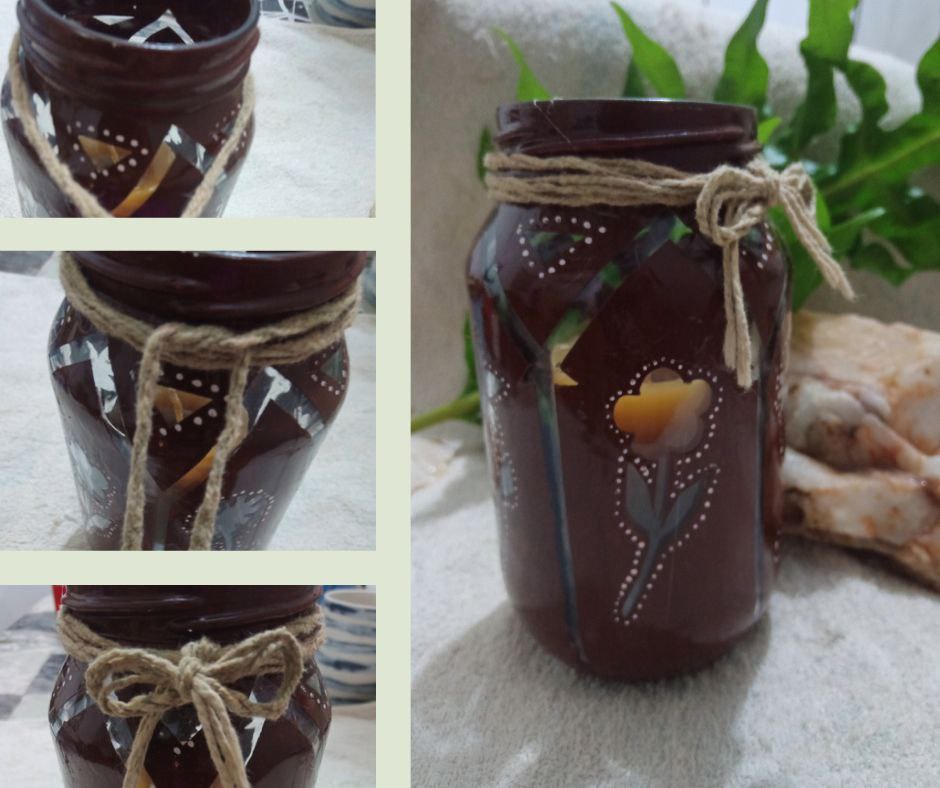
Finally, it was time to add the bow. I took the cord, twisted it backwards, twisted it forwards, tied a knot and made the bow.
Finalmente, llegó el momento de añadir el lazo. Tomé el cordón, le di una vuelta hacia atrás, otra hacia adelante, hice un nudo y elaboré el lazo.
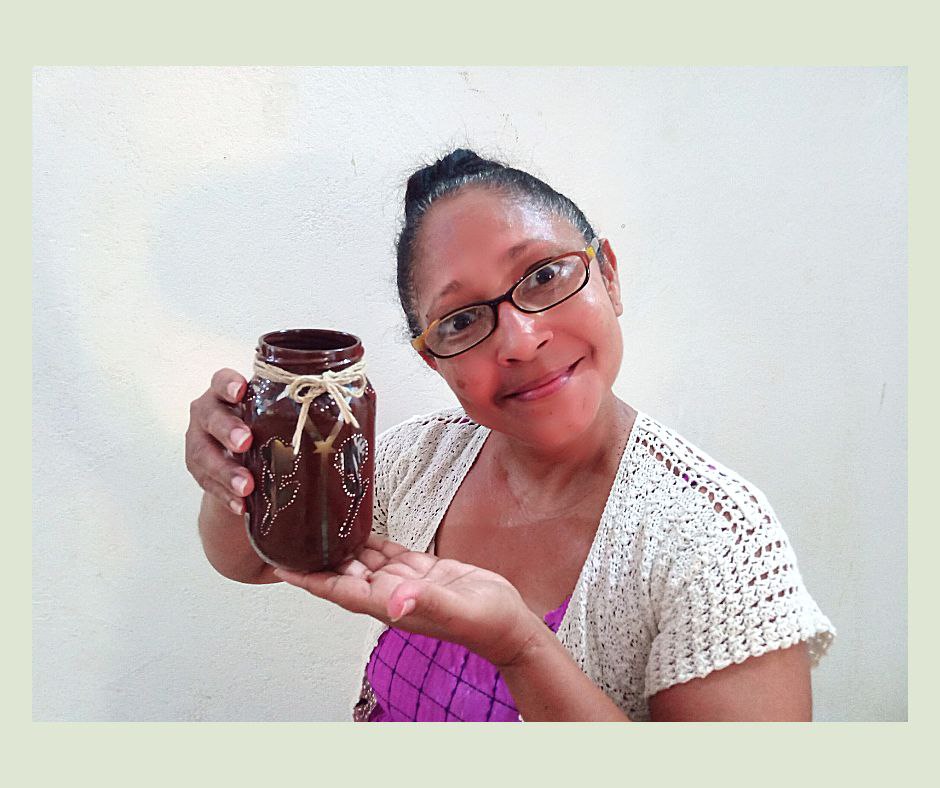
Here you can see the candle holder jar, completely finished!
¡Aquí pueden ver el frasco porta velas, completamente terminado!
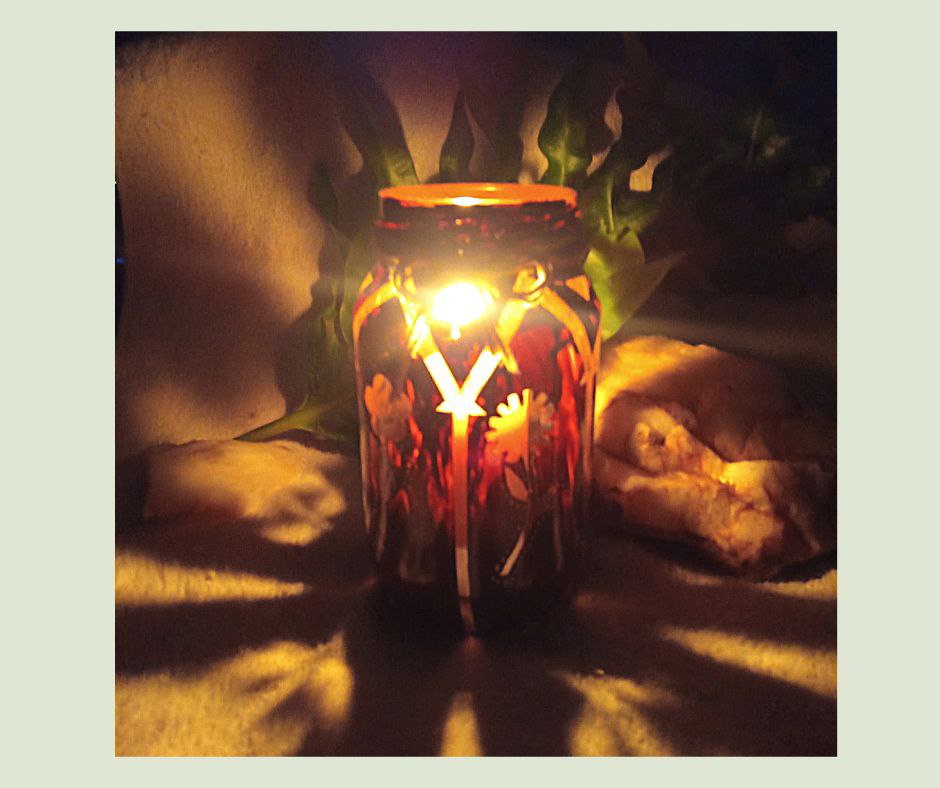
With the candle lit you will appreciate how beautiful it looks.
Con la vela encendida podrán apreciar lo hermoso que se ve.
Dear friends, I hope you found this craft useful and liked it. I wish you an excellent evening.
Bye!
Queridos amigos, espero que esta manualidad les haya sido útil y les haya gustado. Les deseo una excelente noche.
¡Chao!

The photos were taken with a Bison X10 Pro
DeepeL was used
Video was made with Inshot
Photos was made with Canvas
Show more
Tags :
Woo!
This creator can upvote comments using 3speak's stake today because they are a top performing creator!
Leave a quality comment relating to their content and you could receive an upvote
worth at least a dollar.
Their limit for today is $0!
Their limit for today is $0!

16 views
a year ago
$

14 views
5 months ago
$
18 views
7 months ago
$

16 views
6 months ago
$

17 views
7 months ago
$
More Videos

26 views
3 months ago
$

19 views
3 months ago
$

19 views
6 months ago
$

23 views
2 years ago
$

11 views
a year ago
$

4 views
a year ago
$

3 views
2 years ago
$

20 views
a year ago
$
18 views
7 months ago
$

5 views
2 months ago
$
3 views
a year ago
$
3 views
2 years ago
$

1 views
2 years ago
$

38 views
3 years ago
$

9 views
a year ago
$

4 views
a year ago
$

9 views
a year ago
$

1 views
a year ago
$

1 views
2 years ago
$

4 views
2 years ago
$

2 views
3 years ago
$

26 views
7 months ago
$
Comments:
Reply:
To comment on this video please connect a HIVE account to your profile: Connect HIVE Account