[EN-ES] Bookmark, make your own.// Marcador de libros, haz el tuyo.
24
About :
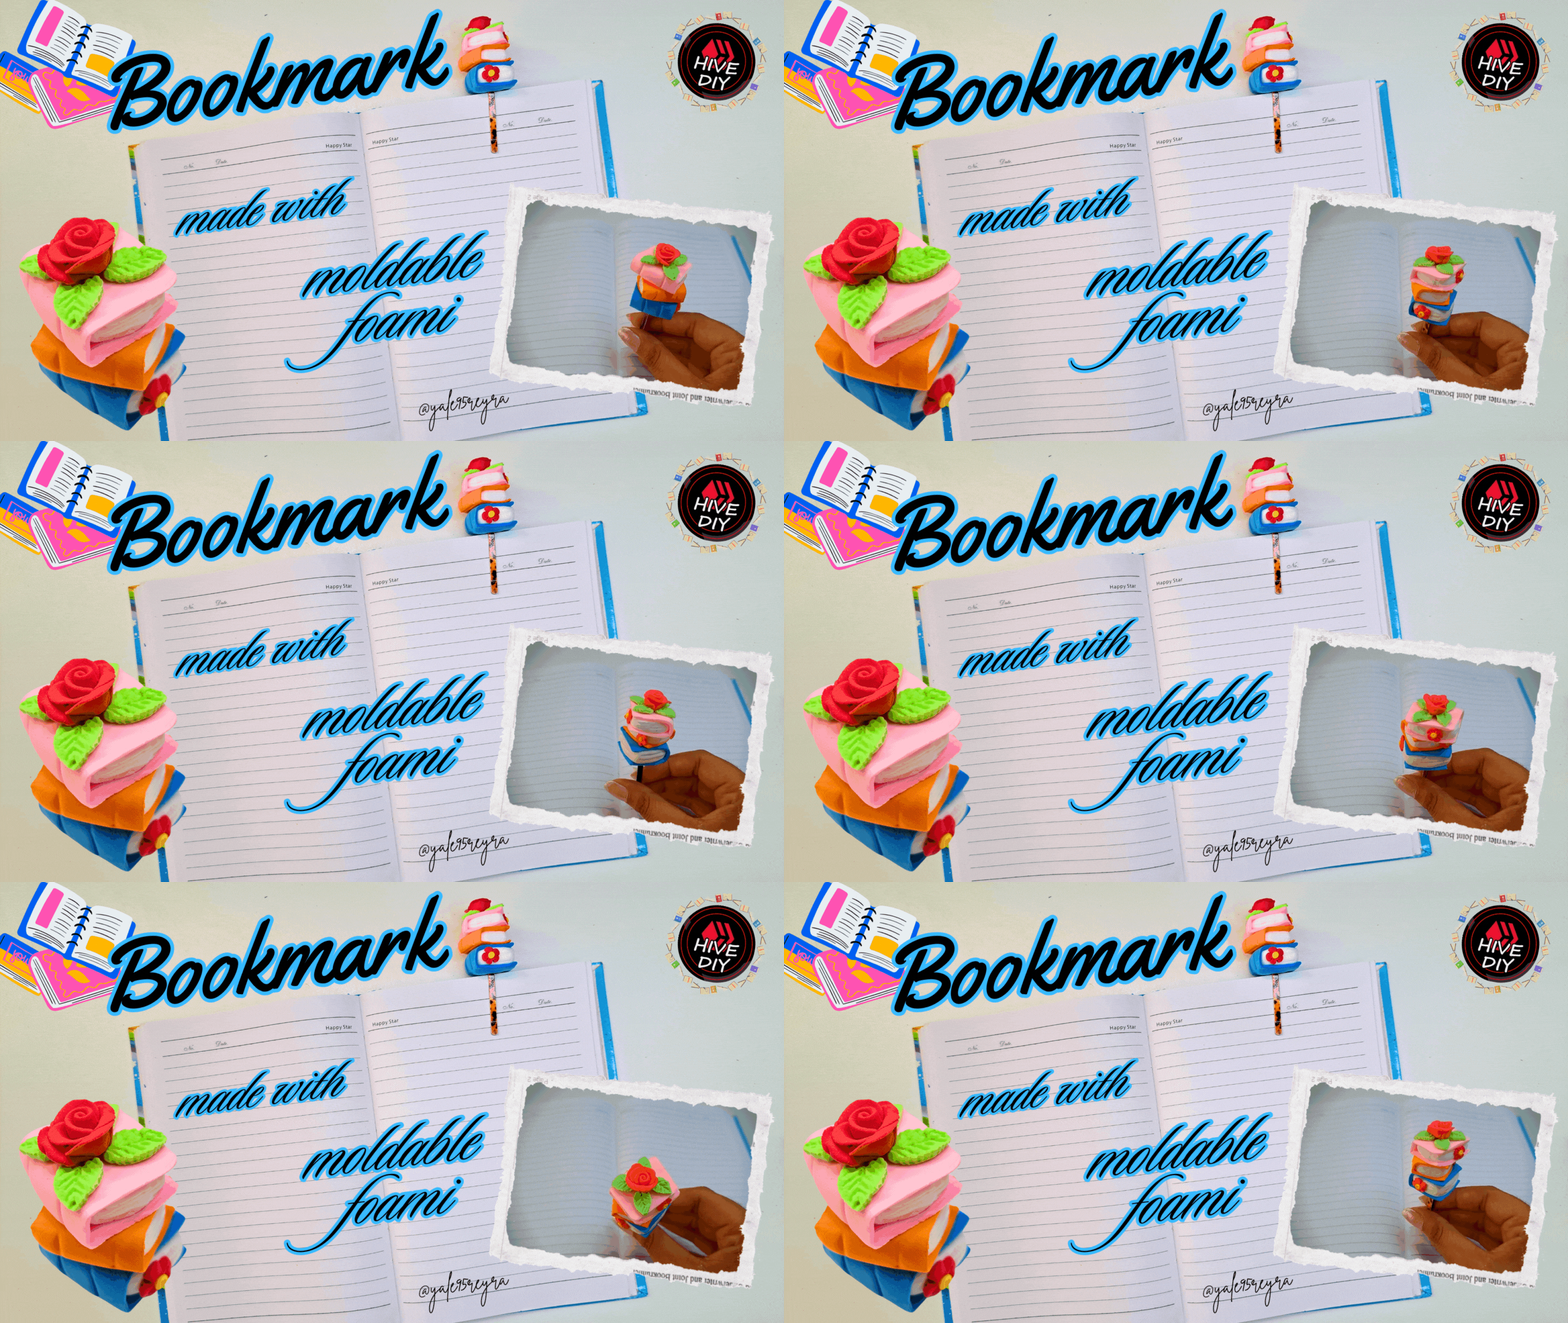
Hello dear friends who love crafts, once again here, giving you a new video tutorial. I like to read, although most of the time I do it in digital books because I have no way to acquire them physically, plus in our cell phone we can store thousands of books that we can never accumulate at home, no matter how big it was. But, I don't know about you, but I love it and it fills me with satisfaction to turn the pages, I feel that I advance more in reading, and not to forget that we take more care of our eyesight, because it would be a long time glued to the screen.
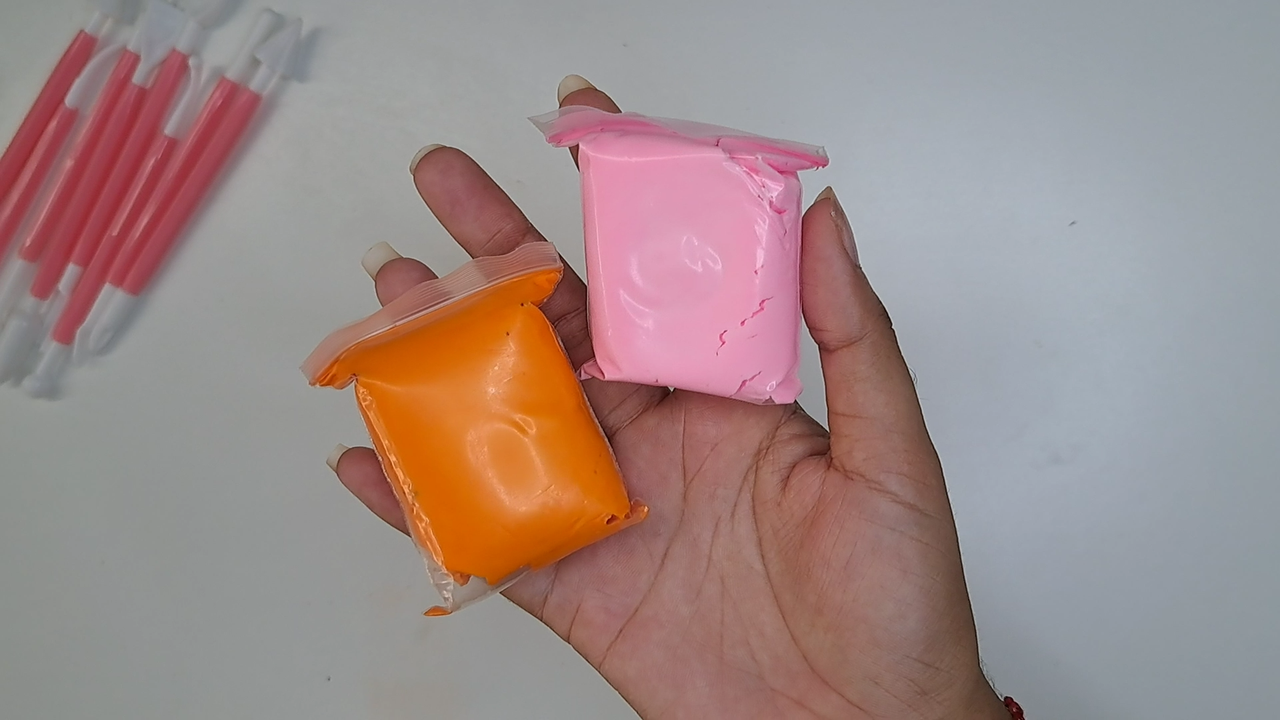
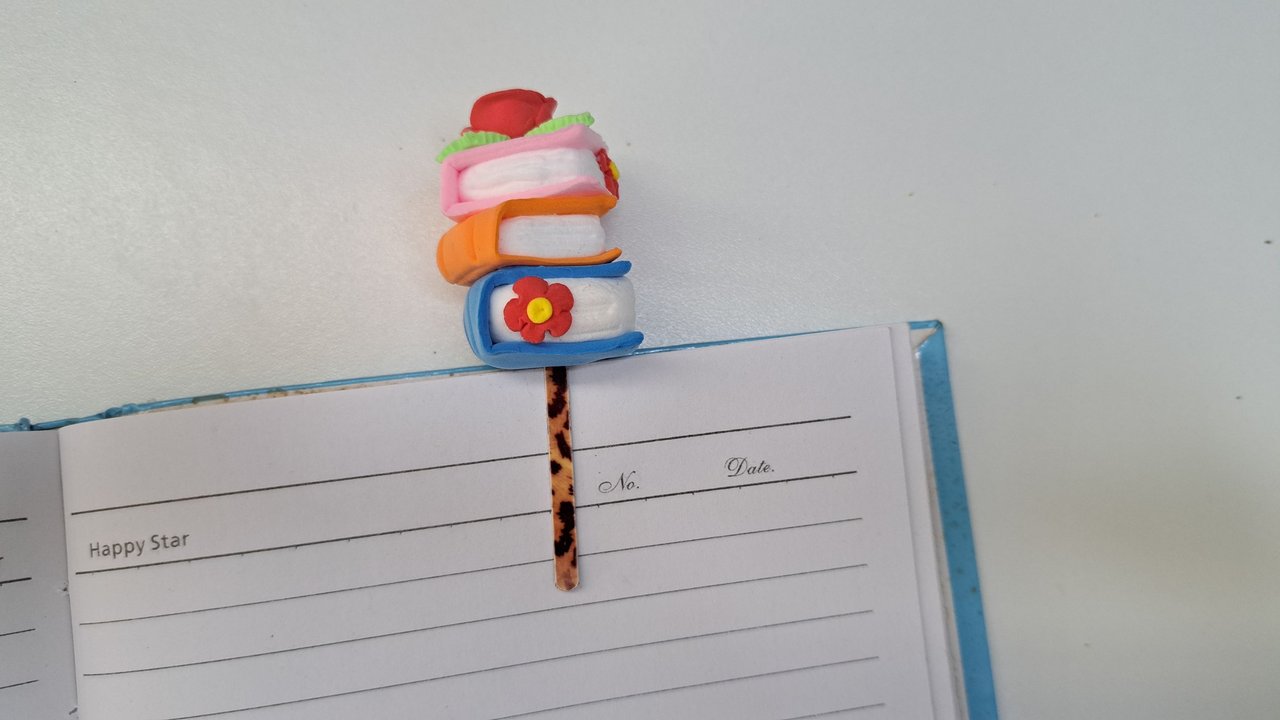
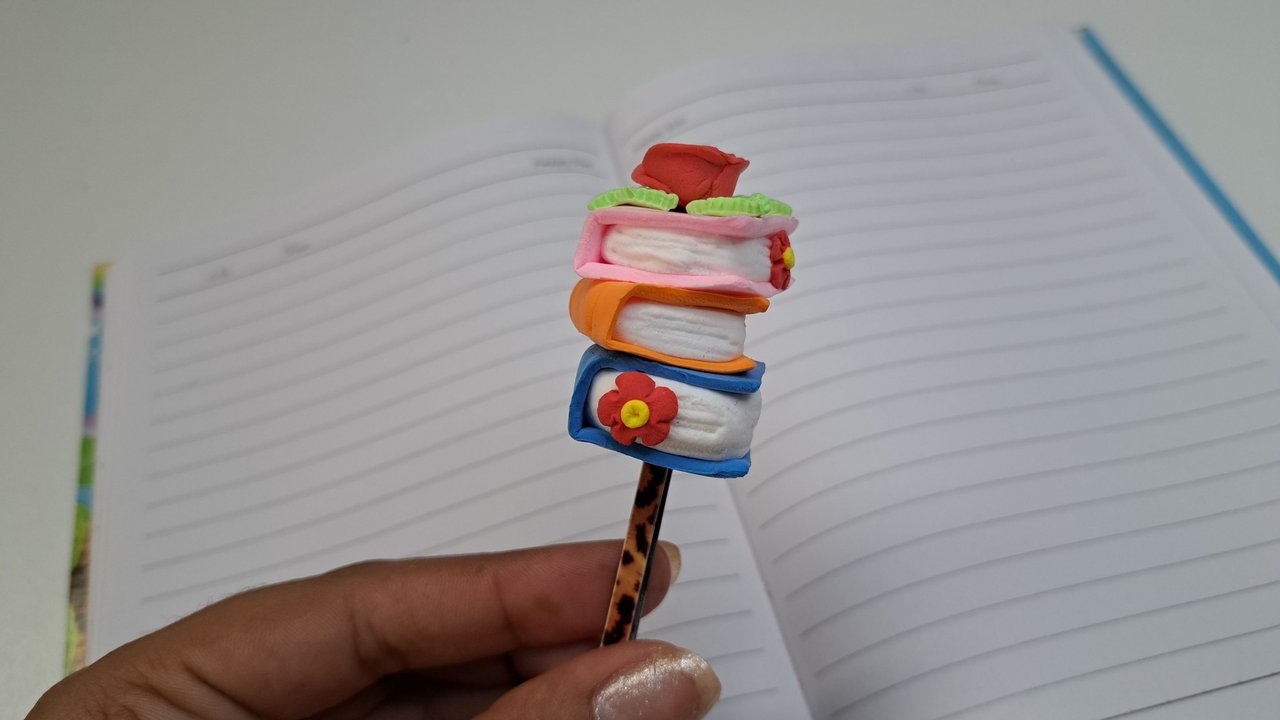
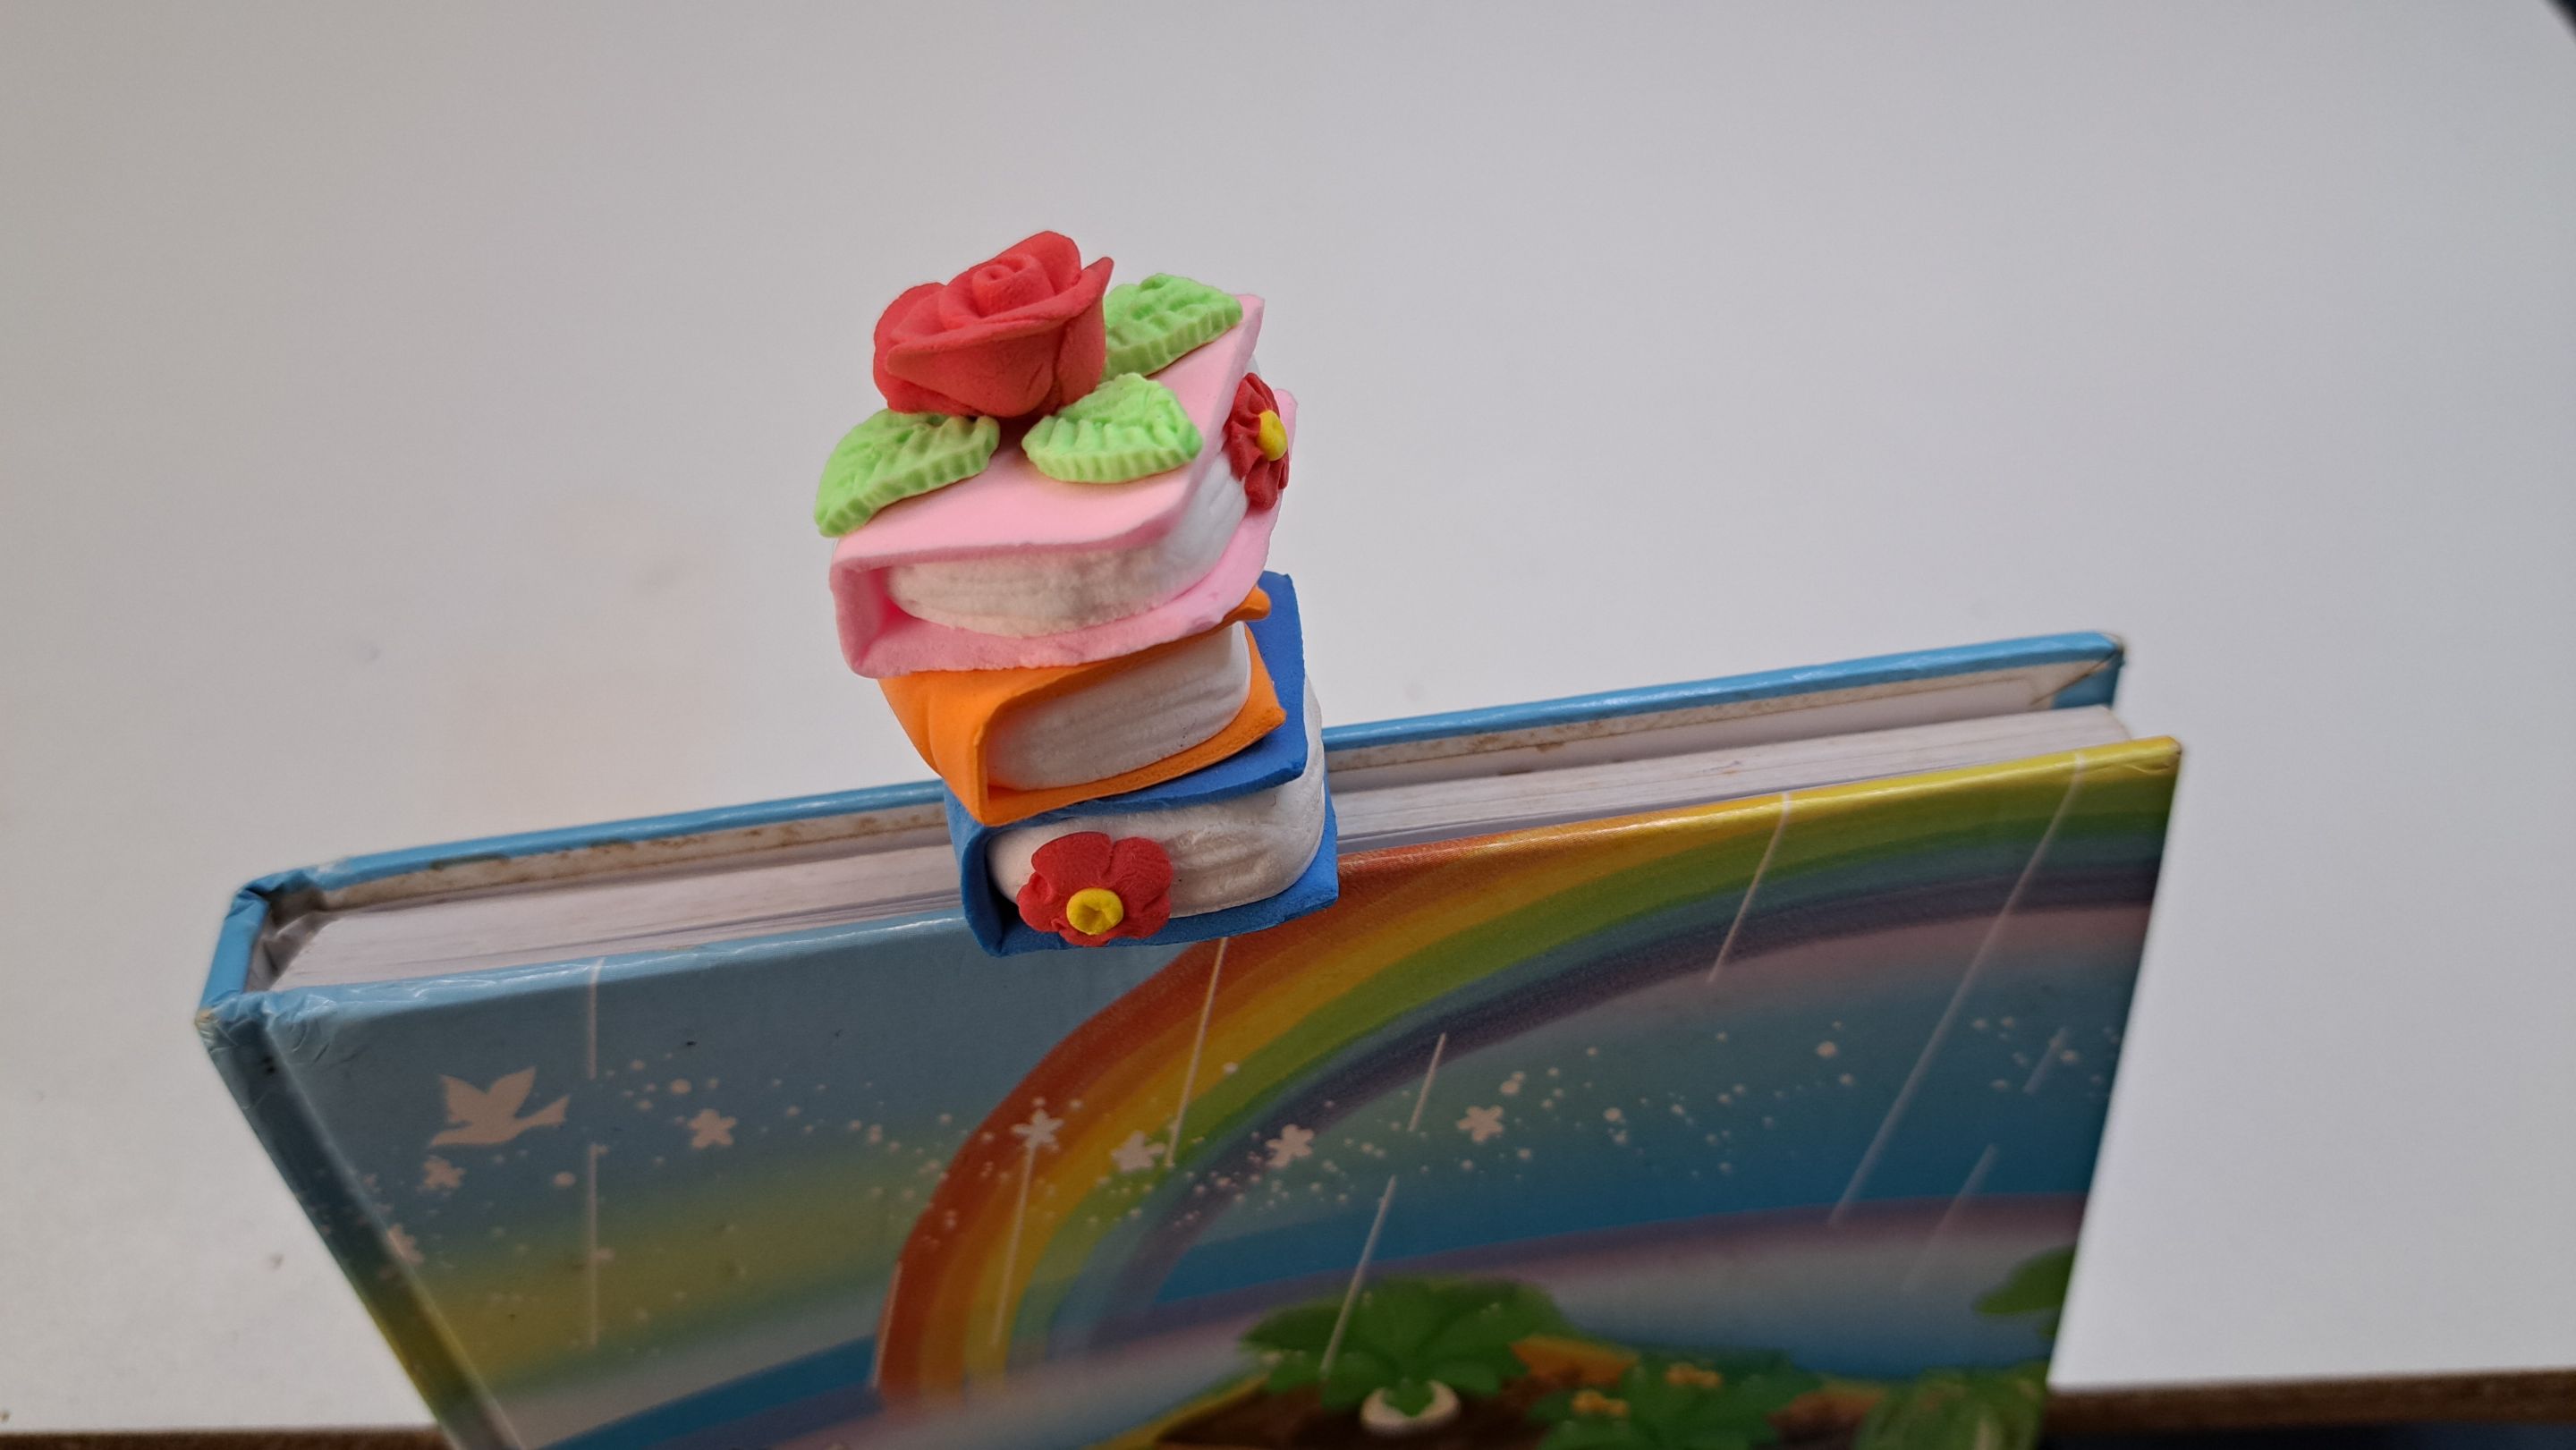
For those who prefer physical books, this video tutorial is dedicated to you, today I present a bookmark, which will allow you to find directly the page on which we paused the day before. I chose a somewhat obvious design, but nothing better to characterize it. The material used was moldable foami, easy to use and very economical, although most bookmarks tend to be cheap, we take the opportunity to let our imagination fly with the design we want.
Below, I show you the materials used and a summary of the elaboration process, I invite you to watch the video so you don't miss any detail of the step by step, I hope you like it.
Hola queridos amigos amantes de las manualidades, una vez más por acá, regalándoles un nuevo video tutorial. Me gusta leer, aunque la mayoría de las veces lo hago en libros digitales porque no tengo la forma de adquirirlos de forma física, además de que en nuestro teléfono móvil podemos almacenar miles de libros que no podremos acumular nunca en casa, por más grande que fuera. Pero, no se a ti, pero a mi me encanta y me llena de satisfacción el pasar de las páginas, siento que avanzo más en la lectura, y no olvidar que cuidamos más nuestra vista, porque sería mucho tiempo pegado a la pantalla.
Para aquellas personas que prefieren los libros físicos, va dedicado este video tutorial, hoy les presento un marcador de libros, el cual permitirá encontrar directamente la página en la que hicimos una pausa el día anterior. Elegí un diseño un tanto obvio, pero nada mejor que lo caracterice. El material utilizado fue foami moldeable, de fácil manejo y muy económico, aunque la mayoría de los marcadores tienden a ser baratos, aprovechamos para echar a volar nuestra imaginación con el diseño que queramos.
A continuación, te muestro los materiales utilizados y un resumen del proceso de elaboración, te invito a ver el video para que no te pierdas ningún detalle del paso a paso, espero te guste.
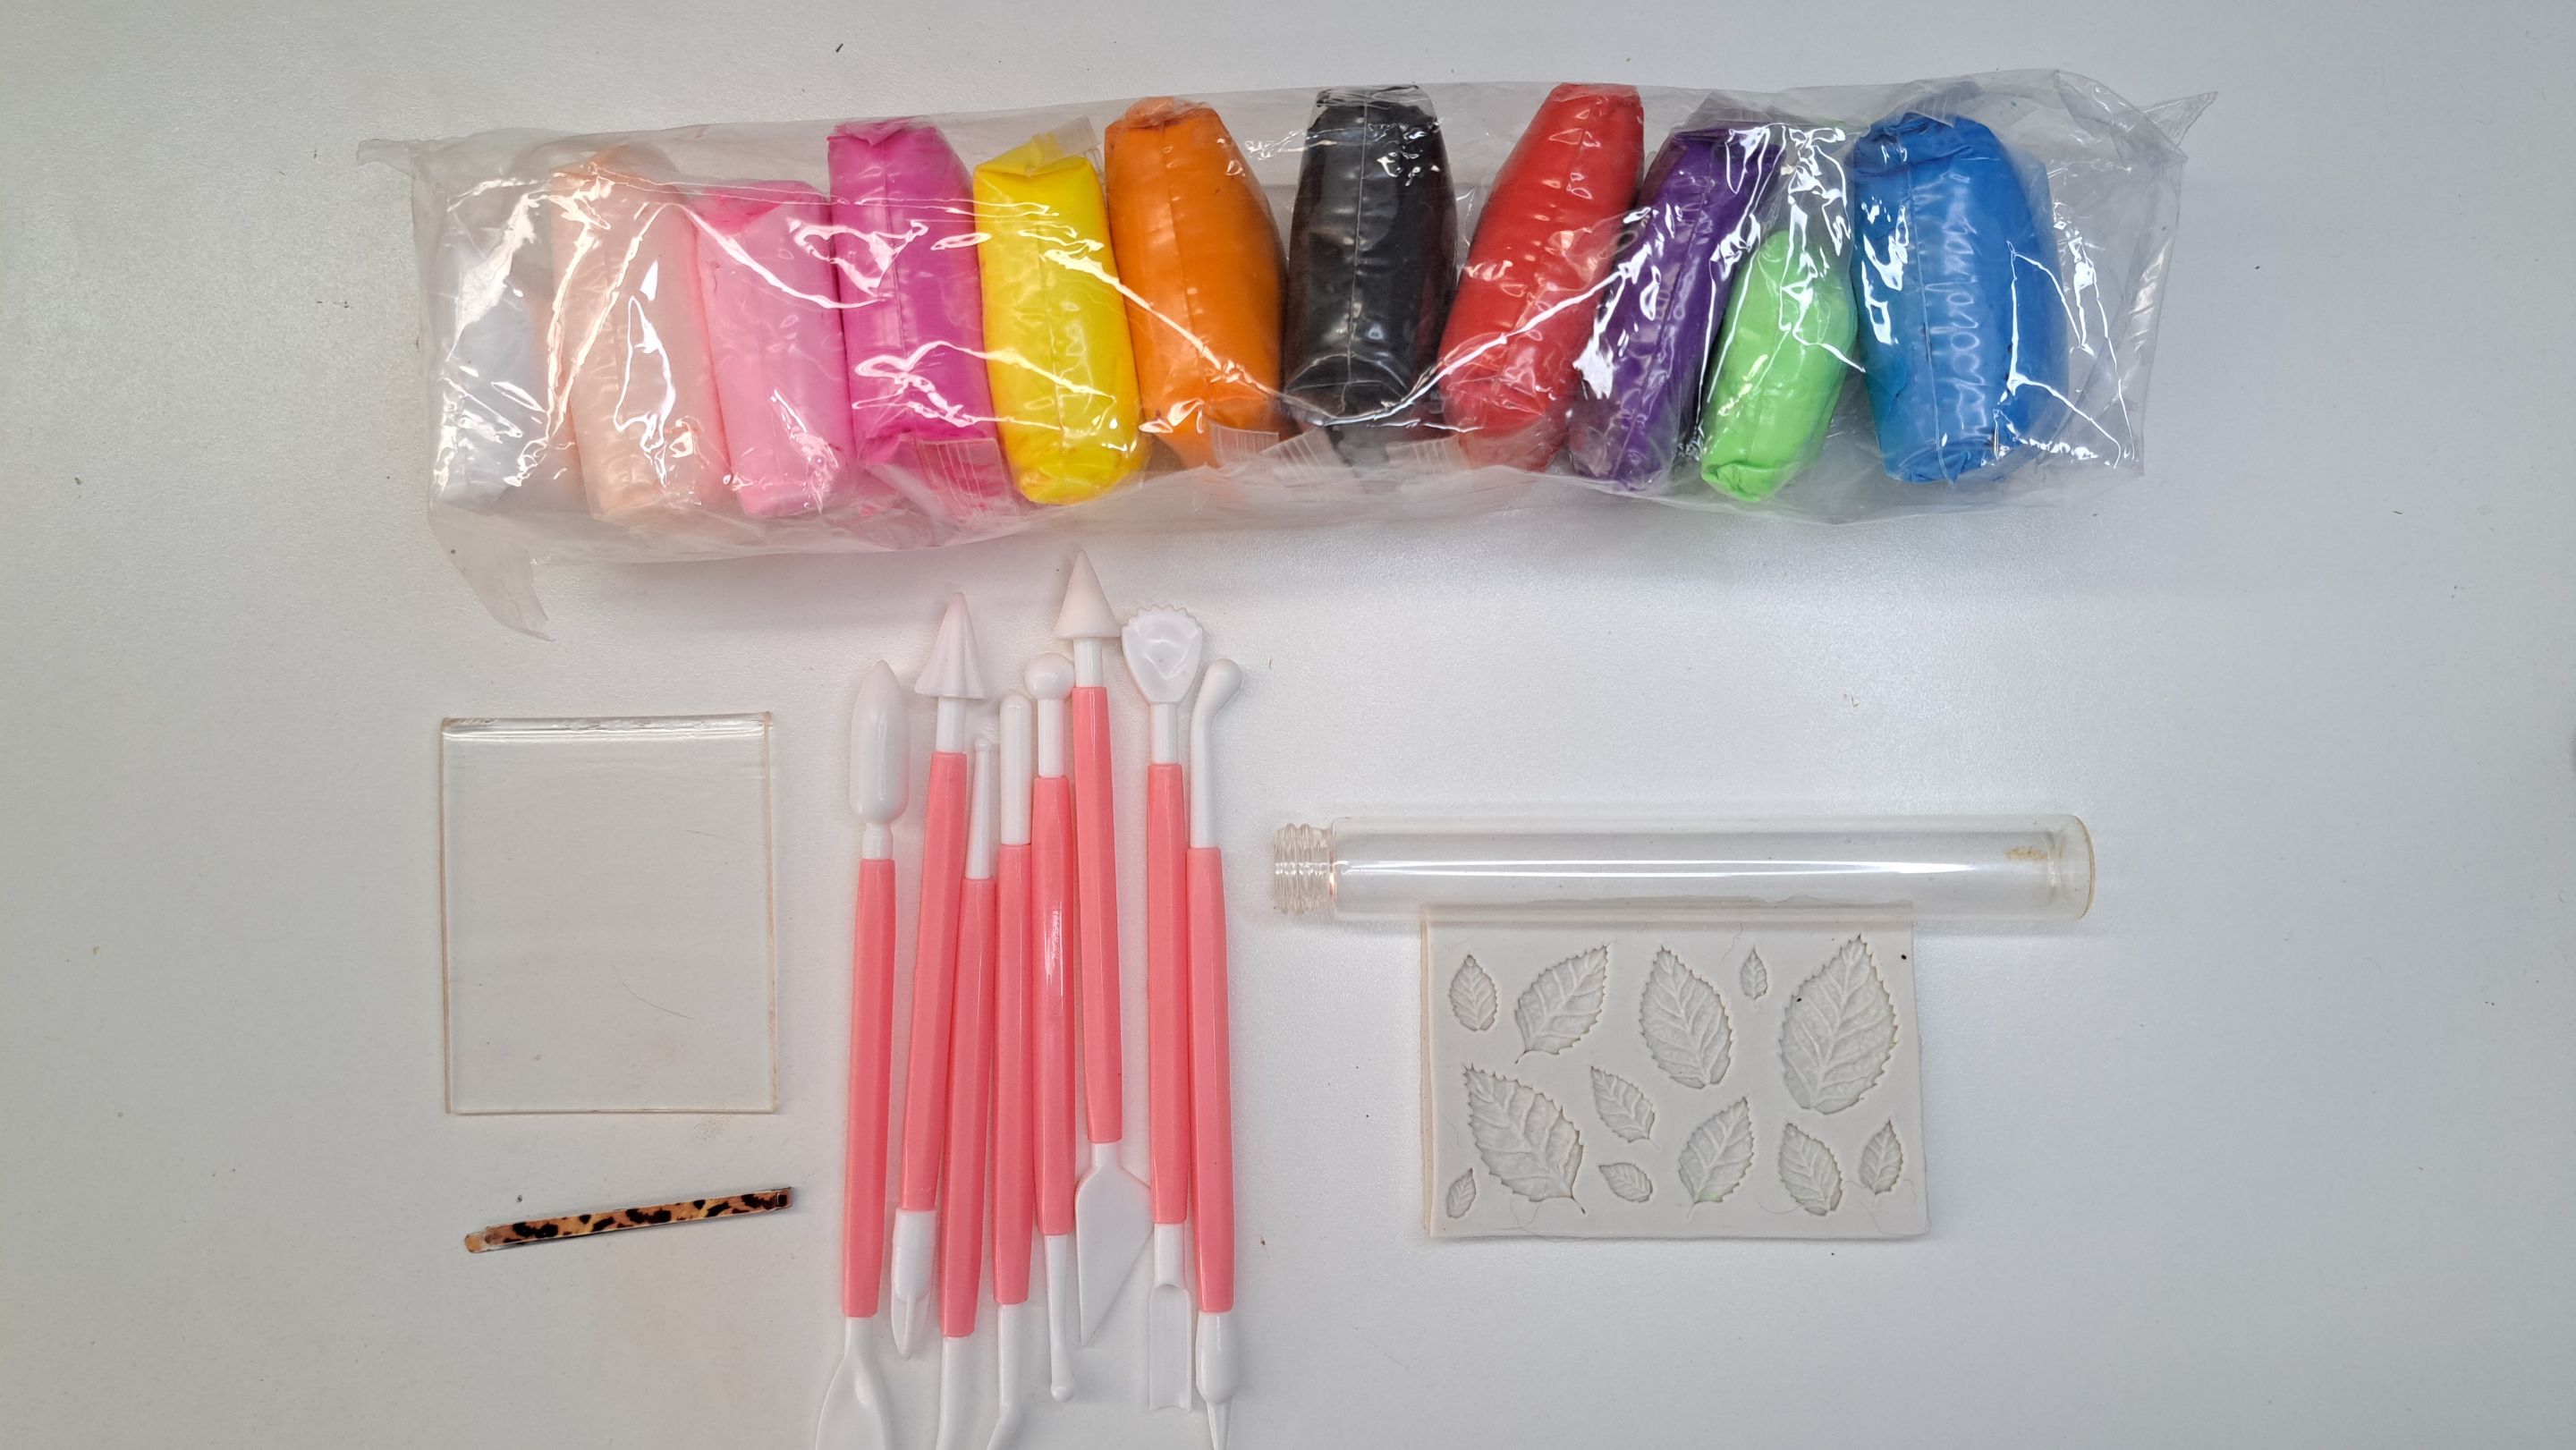
Materials // Materiales
- Moldable Foami / Foami moldeable
- Stakes / Estecas
- Transparent acrylic plate / Placa transparente de acrílico
- Roller / Rodillo
- Leaf mold / Molde de hojas
- Clip / Presilla
Step by step // Paso a paso
 |
 |
 |
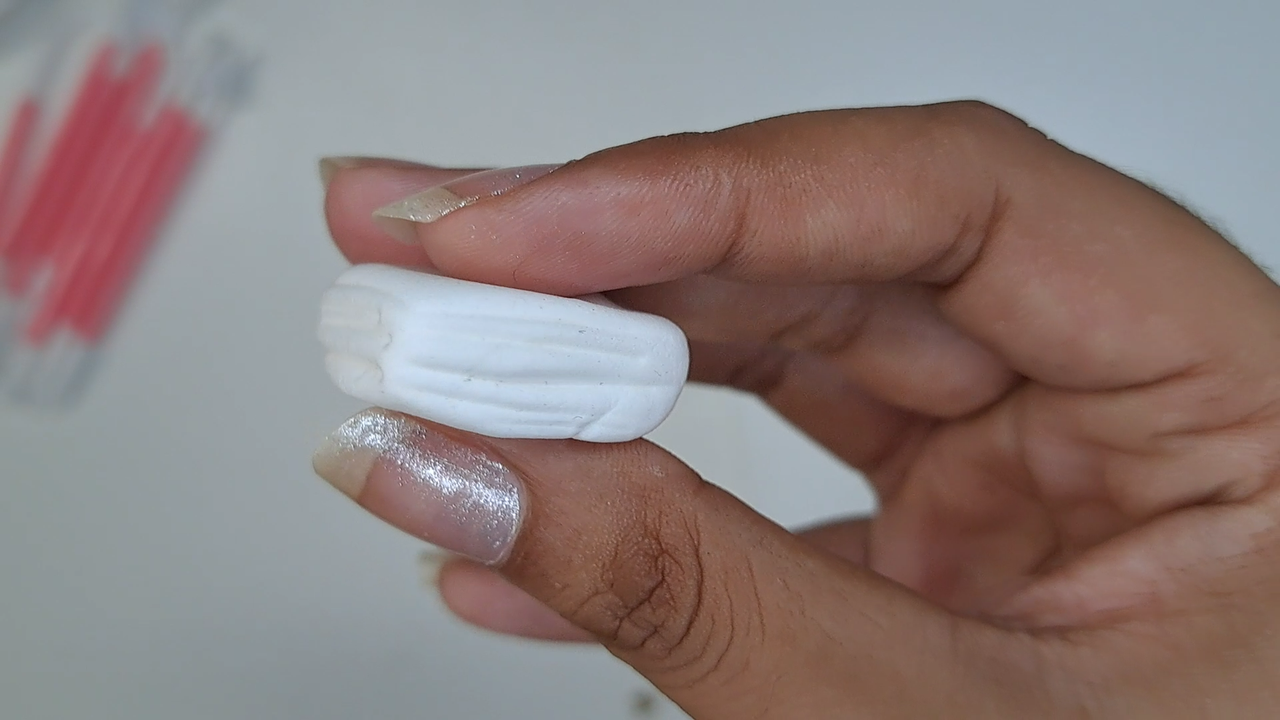 |
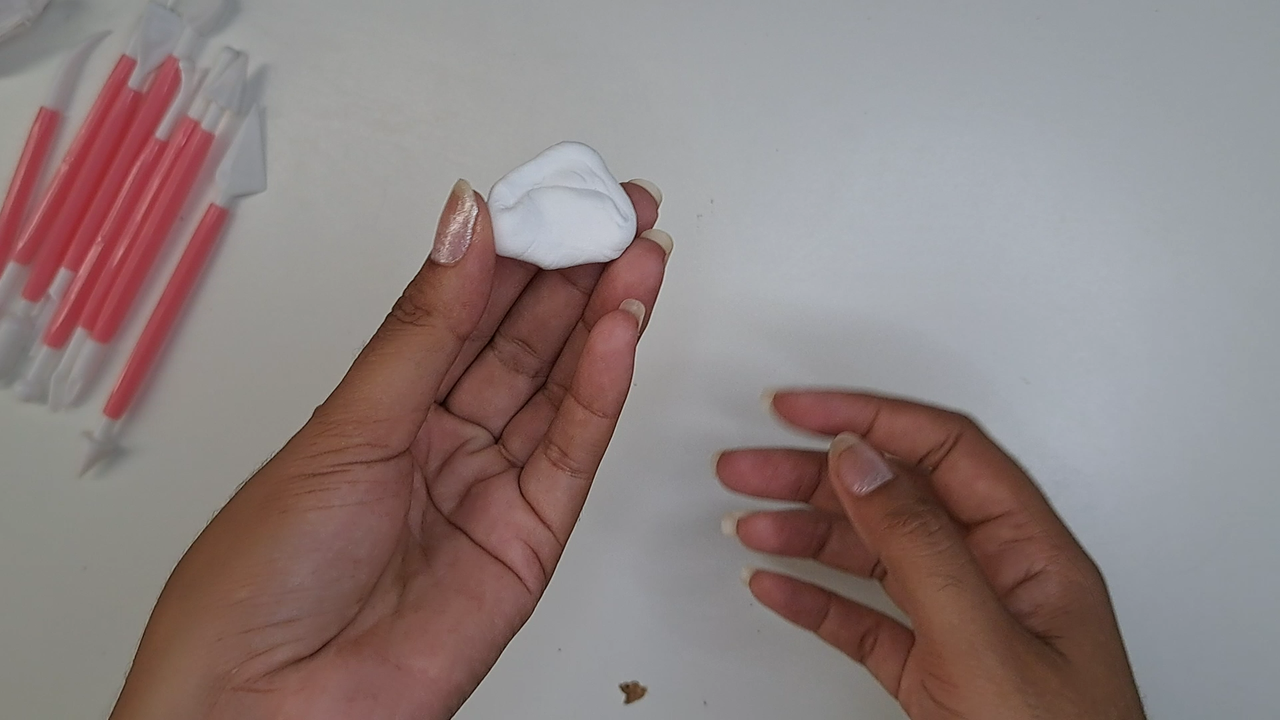
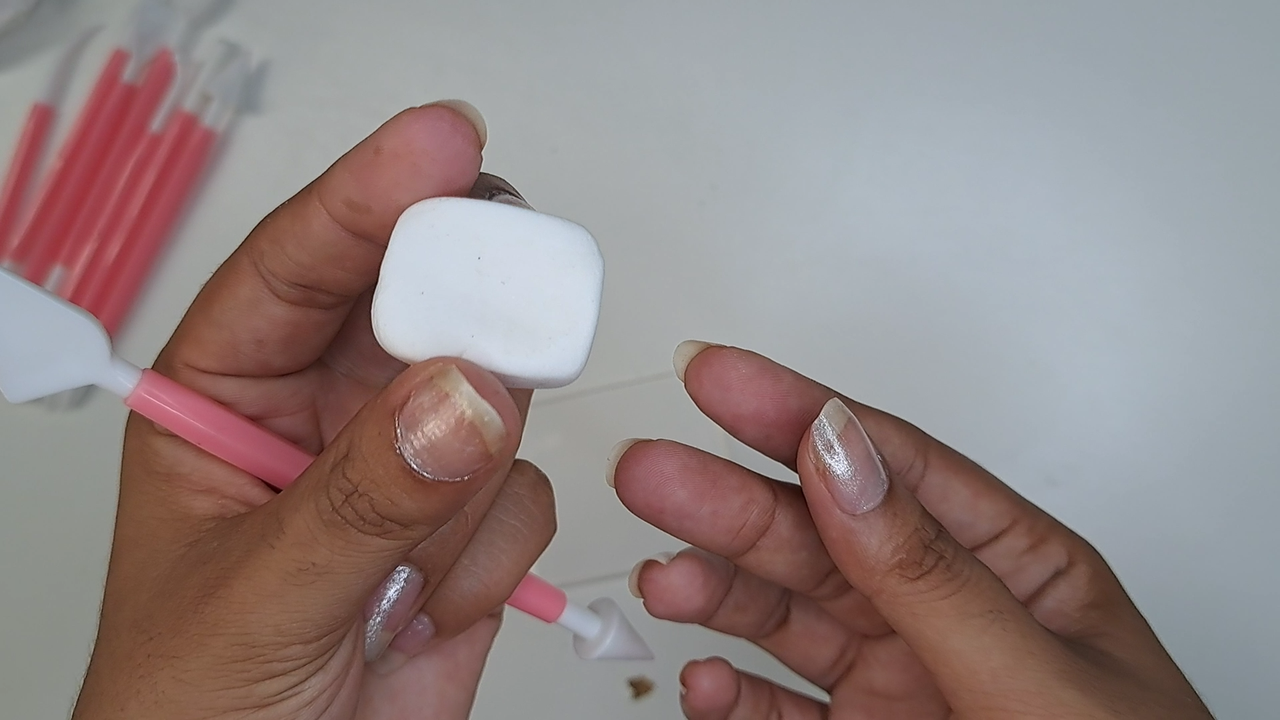
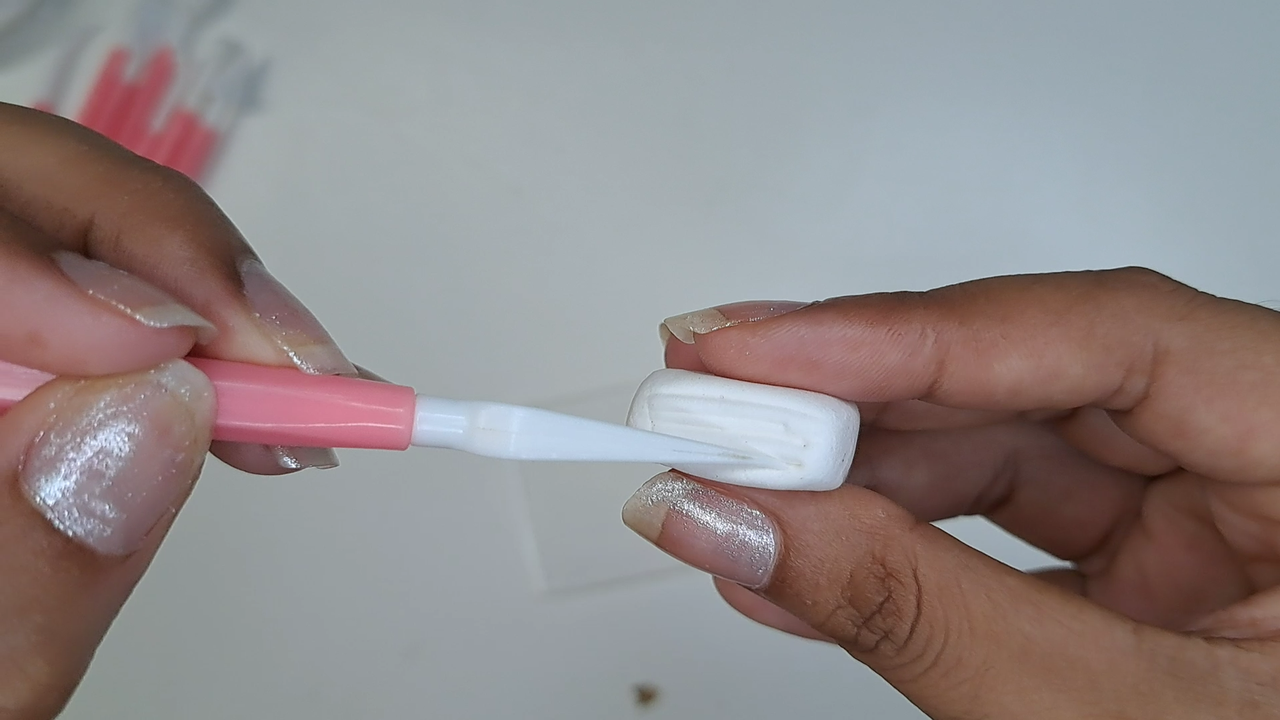
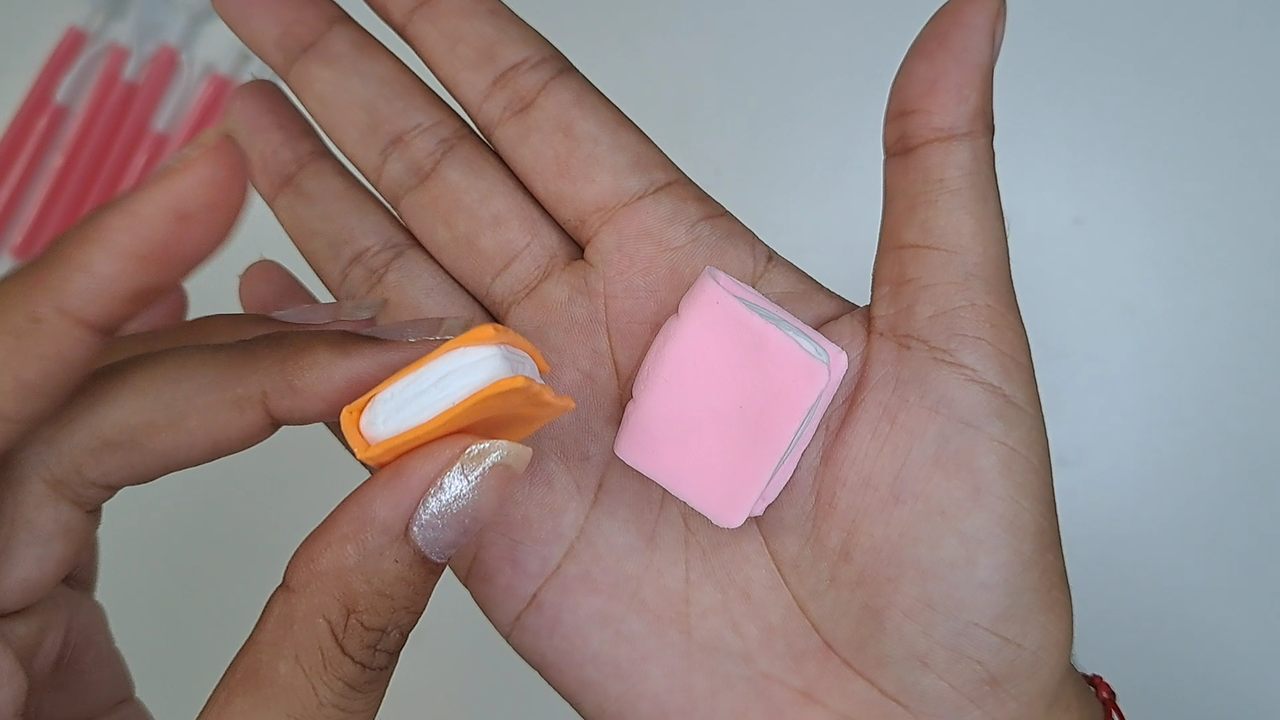
First, we take white moldable foami to make the inside of a book, that is, the pages. To do this, make a square with horizontal lines on three of the four sides.
Primeramente, tomamos foami moldeable de color blanco para elaborar la parte interior de un libro, o sea, las hojas. Para ello, hacer un cuadro al que se le marcan lineas horizontales por tres de los cuatro lados.
 |
 |
 |
 |
 |
 |
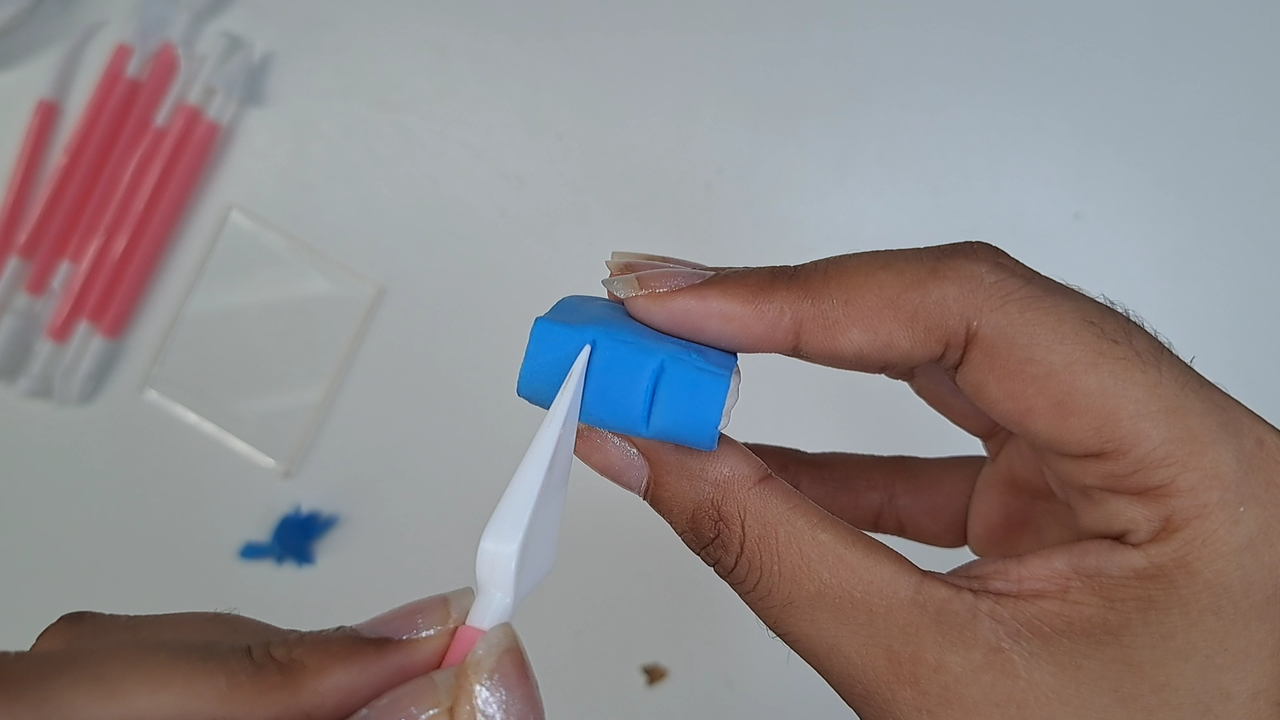 |
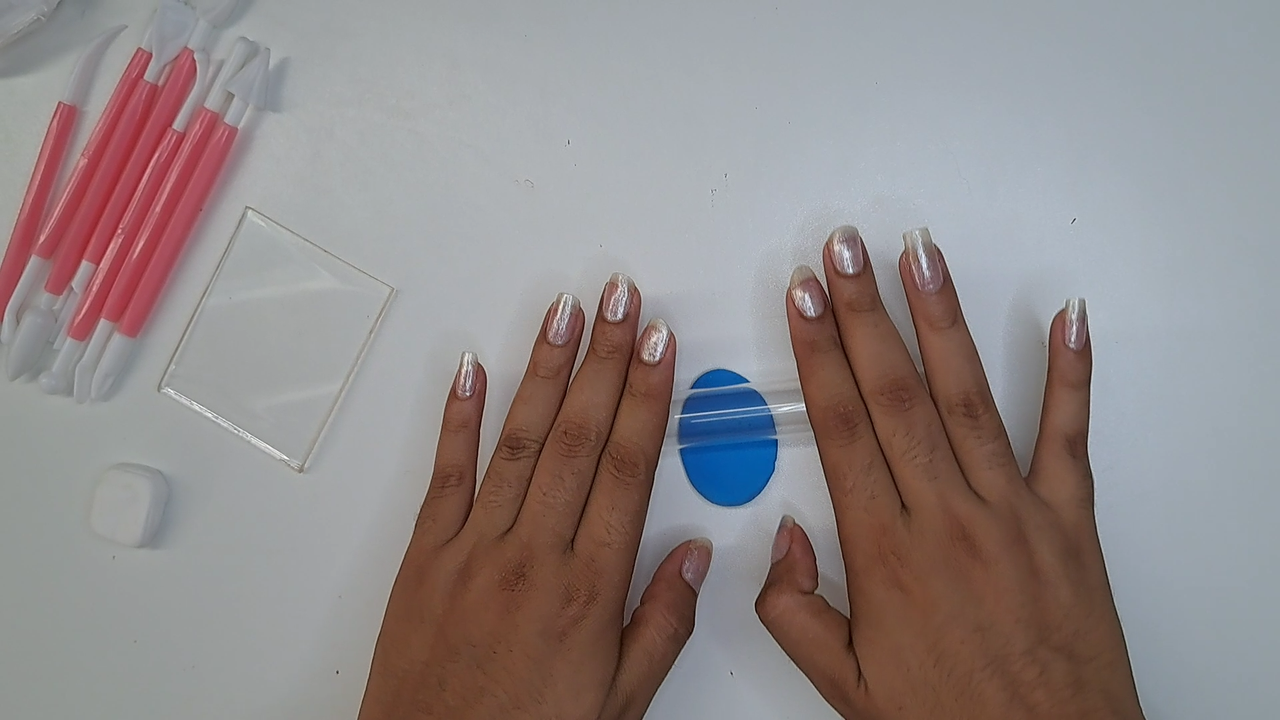
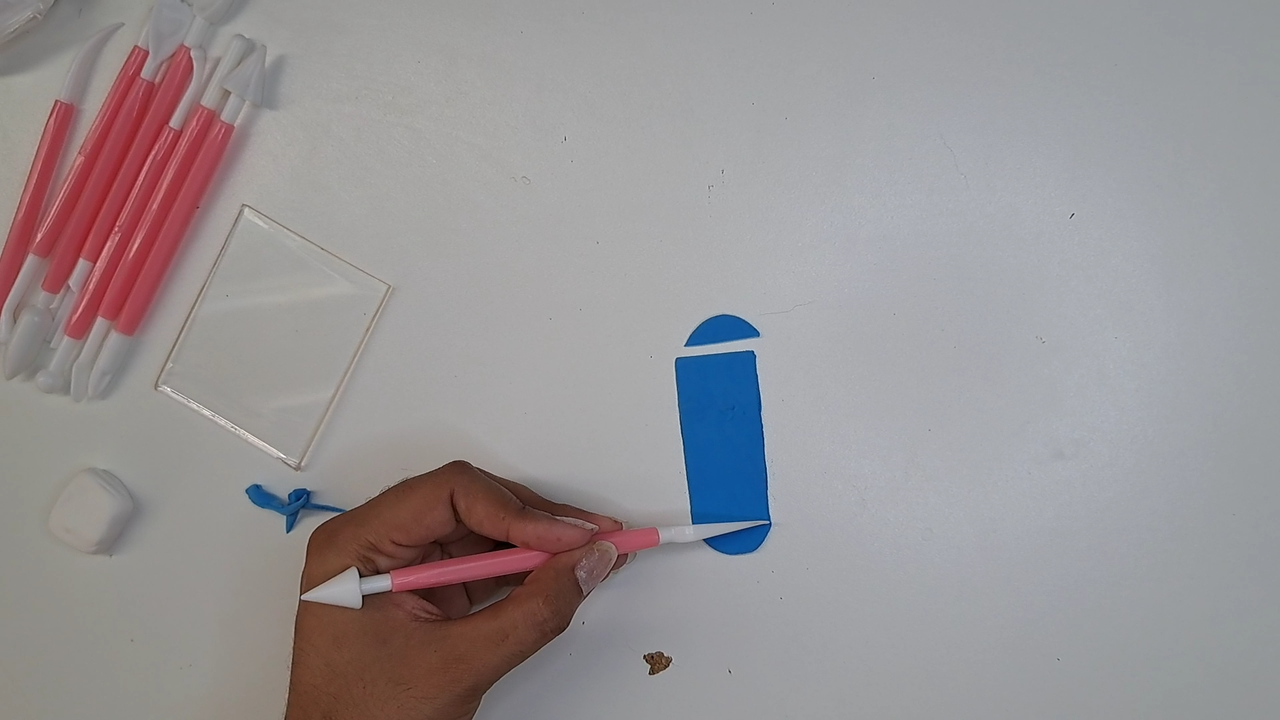
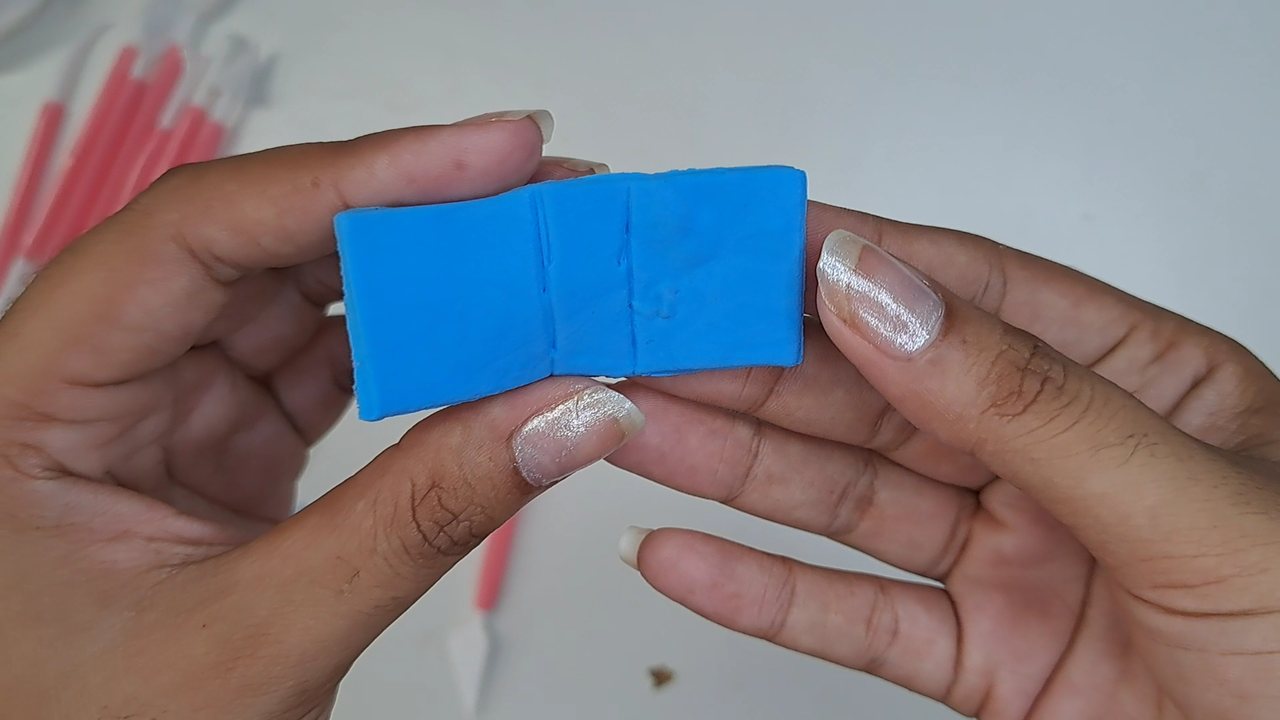
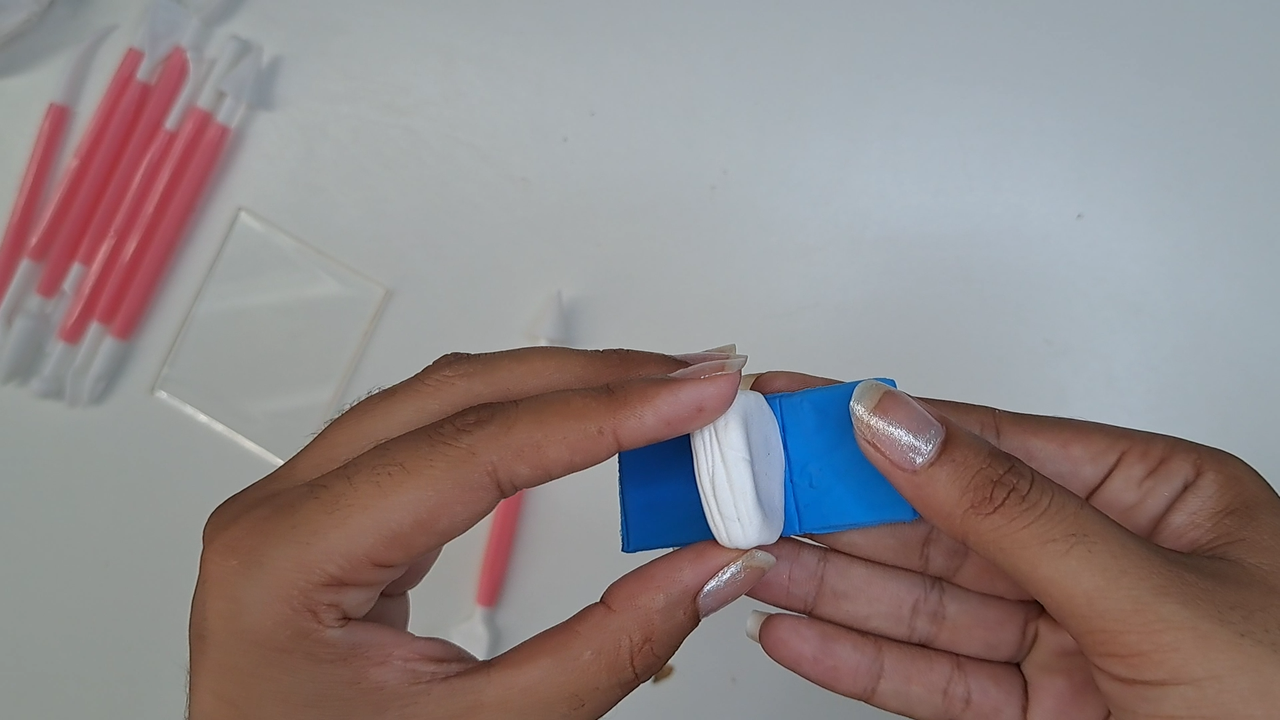
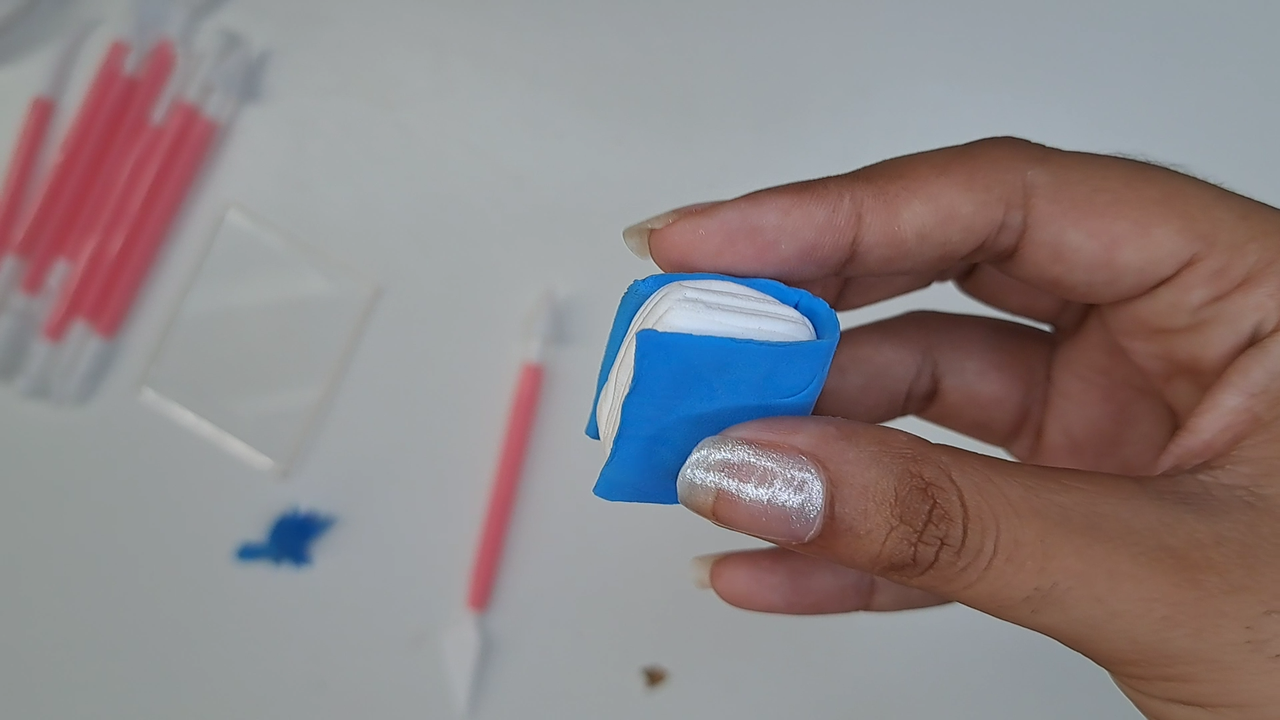
For the book cover, take foami of the desired color and flatten a small portion with a rolling pin. Then mark and cut a rectangle taking the measurements of the inner square. Place starting from the center and finally, make two lines on the side of the book.
Para la cubierta del libro, tomar foami del color deseado y aplanar una pequeña porción con el rodillo. Luego marcar y cortar un rectángulo tomando las medidas del cuadro interior. Colocar comenzando desde el centro y por último, hacer dos lineas en la parte lateral del libro.
 |
 |
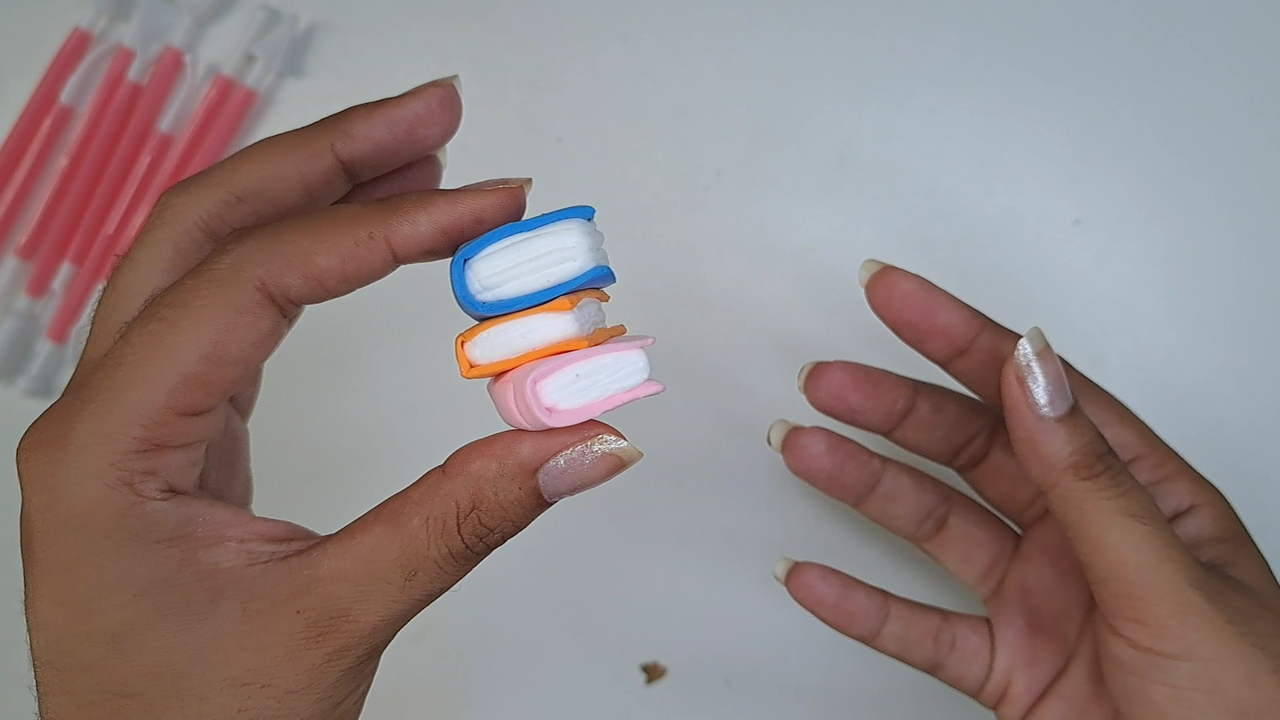 |
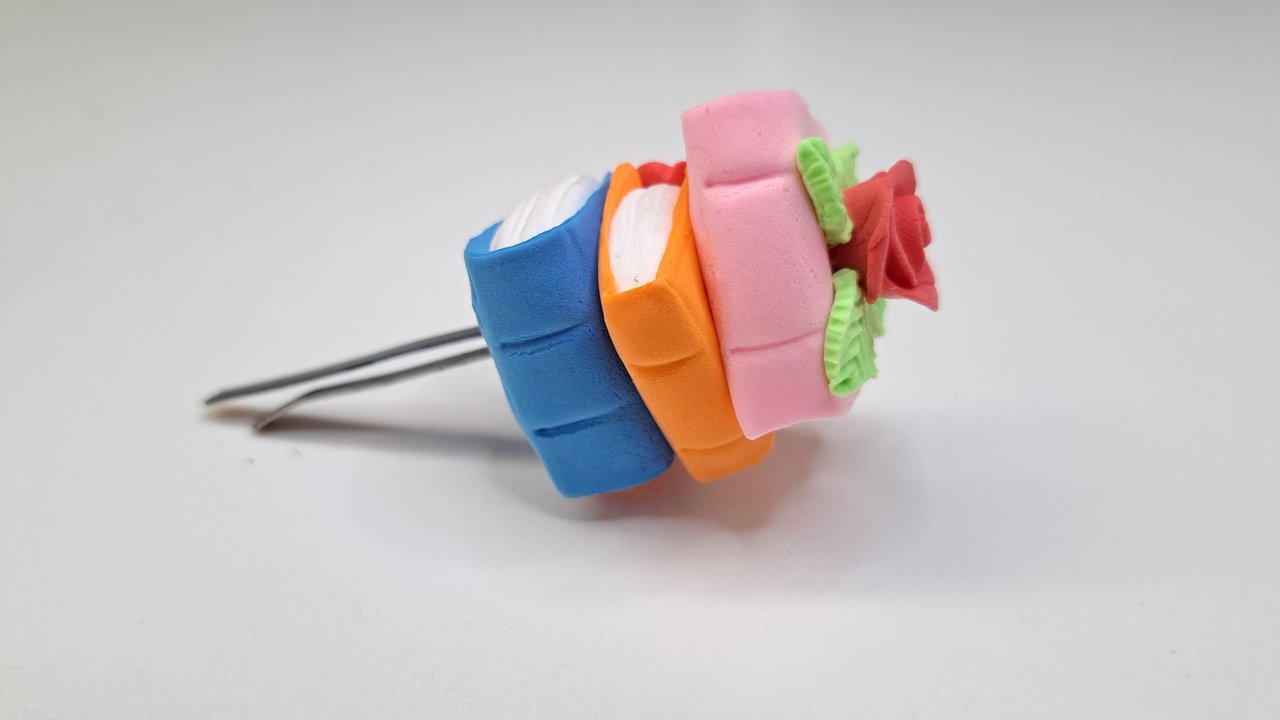
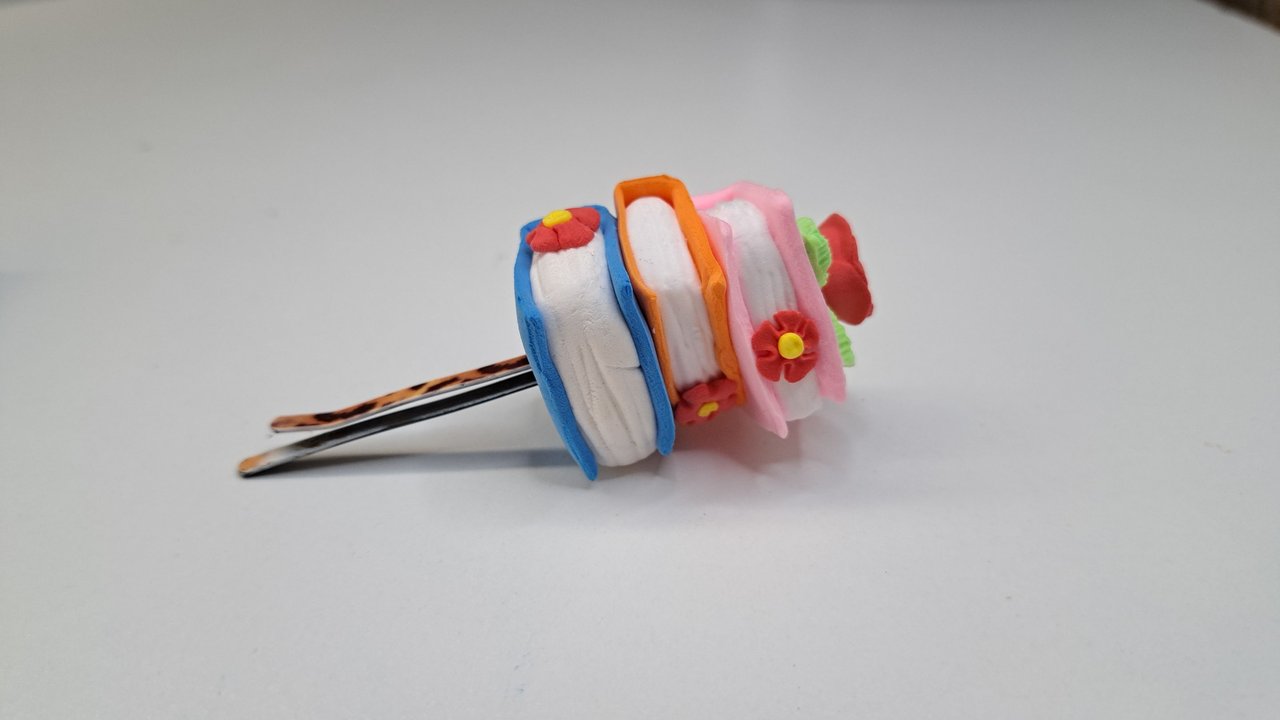
To make two more books we do the same process, the colors chosen will be according to our preference. When the three are ready, place one on top of the other, but not in an orderly manner, but a little misaligned to highlight its shape, you will see that it looks nicer. It is not necessary to use glue, the material sticks only when it is wet.
Para hacer dos libros más realizamos el mismo proceso, los colores escogidos serán según nuestra preferencia. Cuando los tres estén listos, colocar uno encima del otro, pero no de forma ordenada, sino un poco desalineados para que resalte su forma, verás que se ve más bonito. No es necesario usar pegamento, el material se pega solo cuando está húmedo.
 |
 |
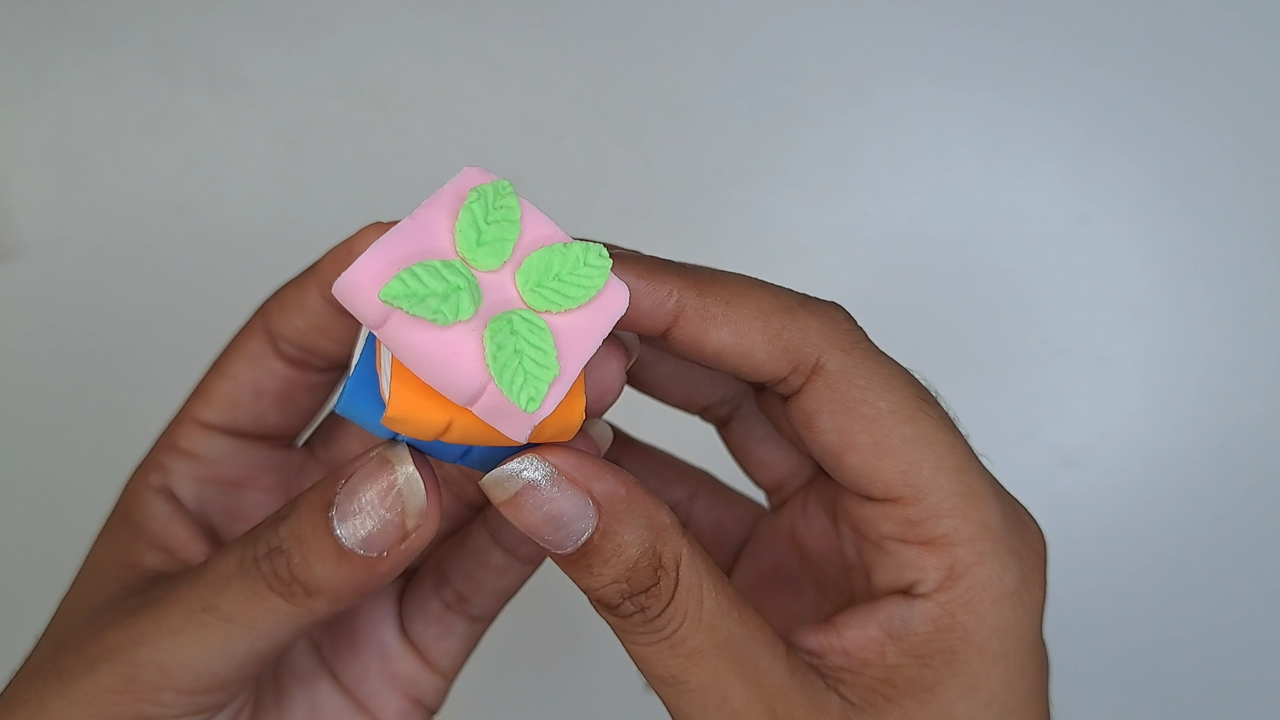 |
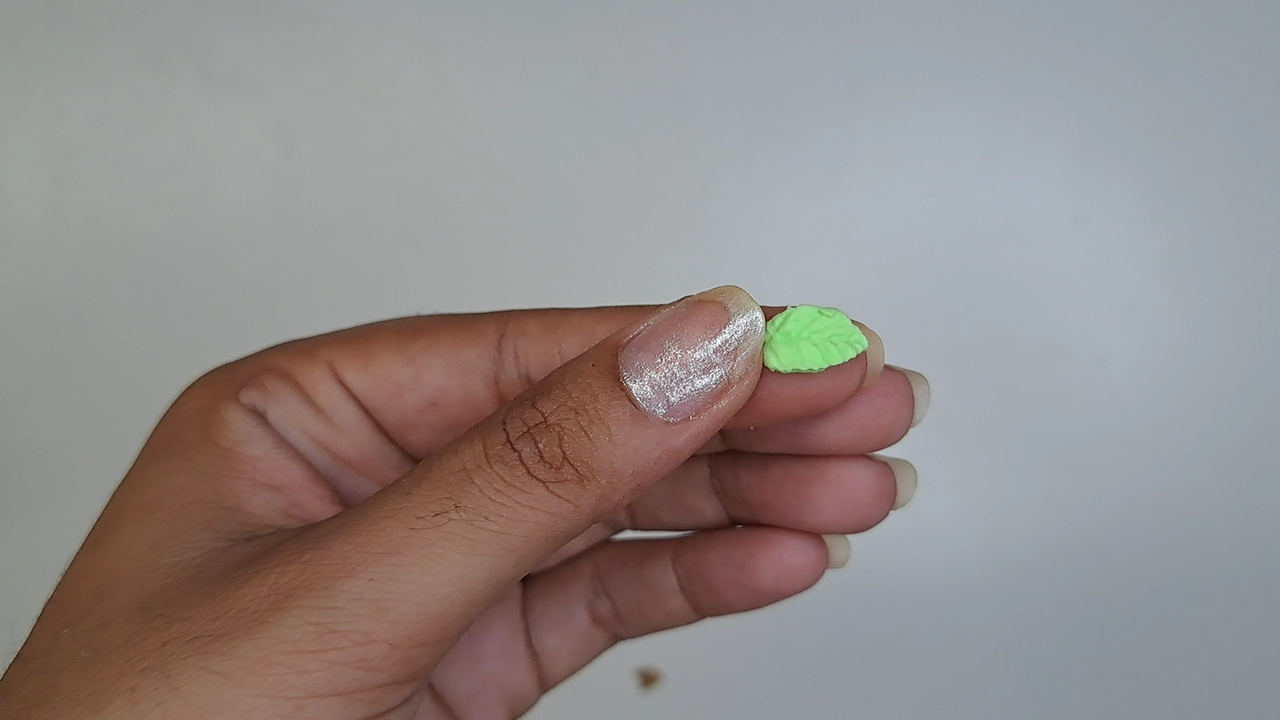
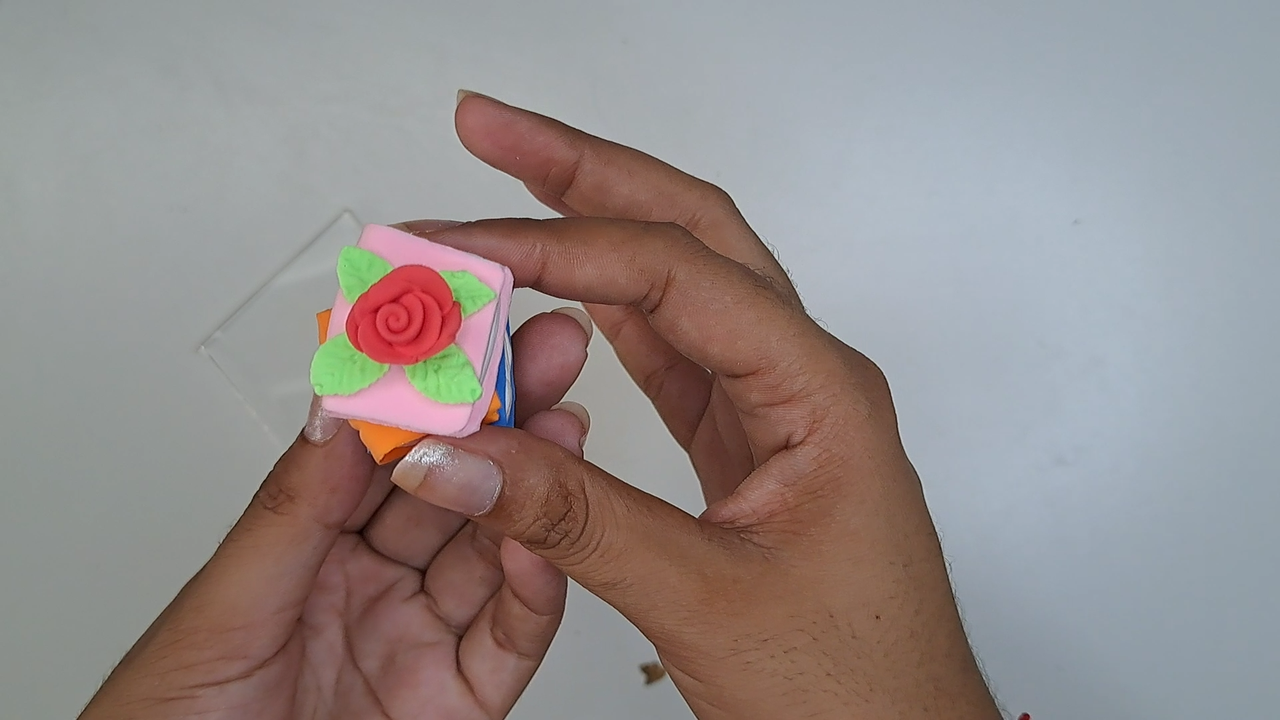
To decorate it and give it a more picturesque touch, I made some leaves using a silicone mode that I recently acquired, it saves me a lot of time and they look beautiful. I placed them on top of the first book.
Para decorarlo y darle un toque más pintoresco, realicé unas hojas utilizando un mode de silicona que adquirí recientemente, me ahorra mucho tiempo y quedan hermosas. Las situé encima del primer libro.
 |
 |
 |
 |
 |
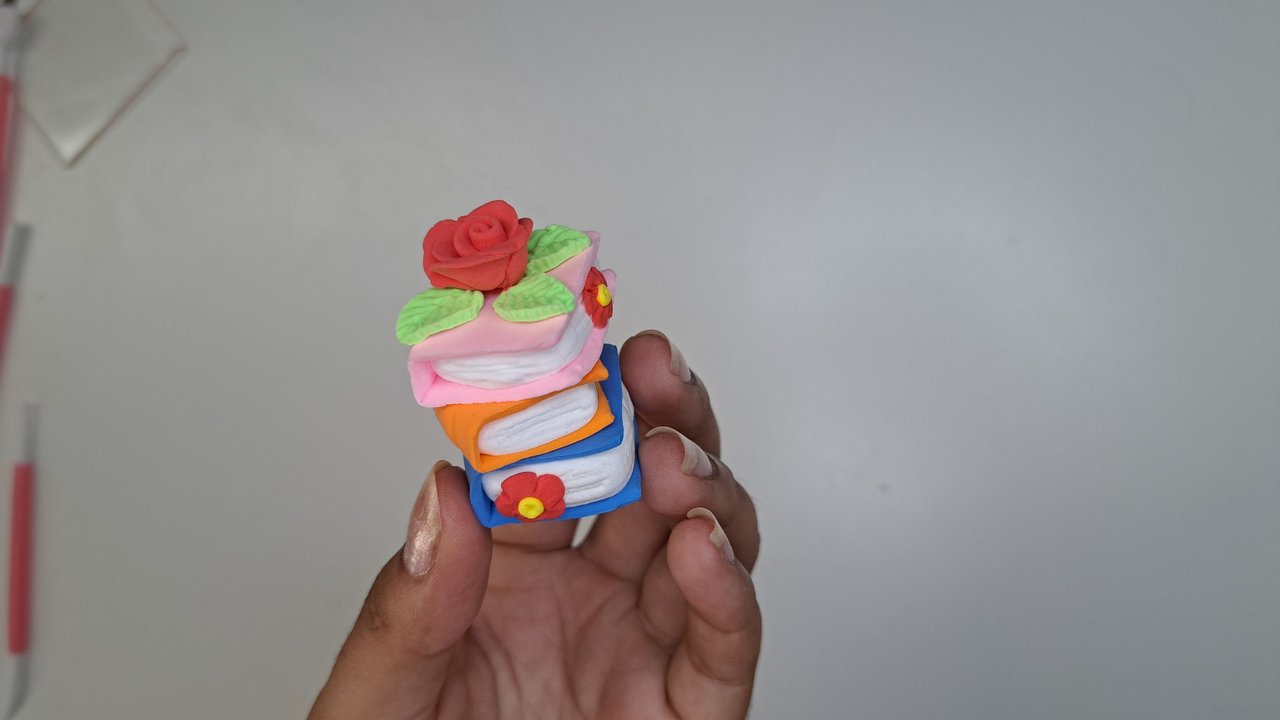 |
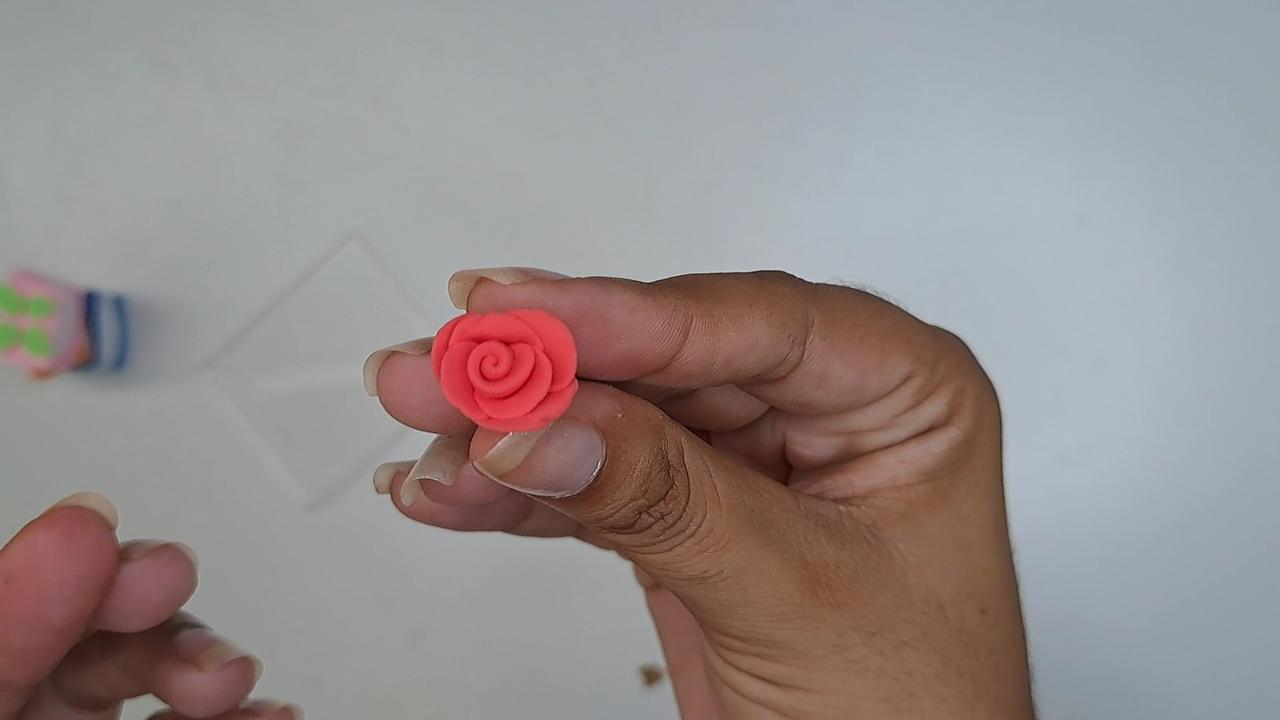
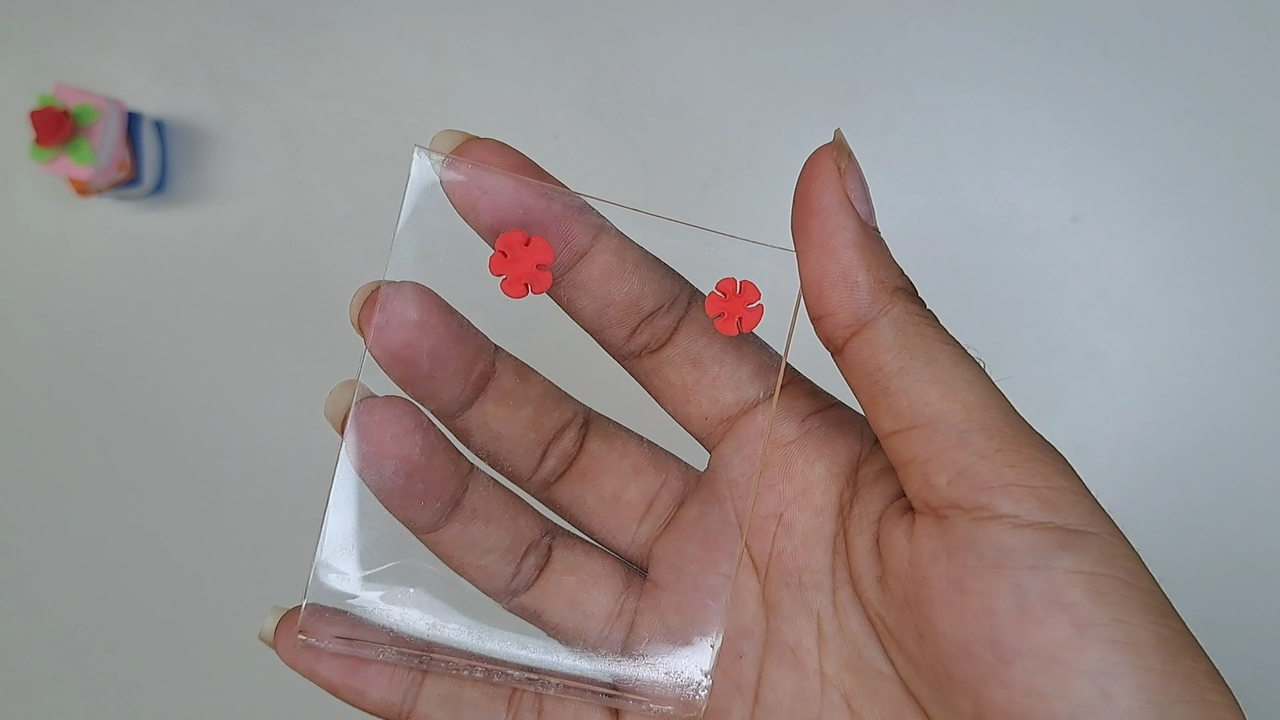
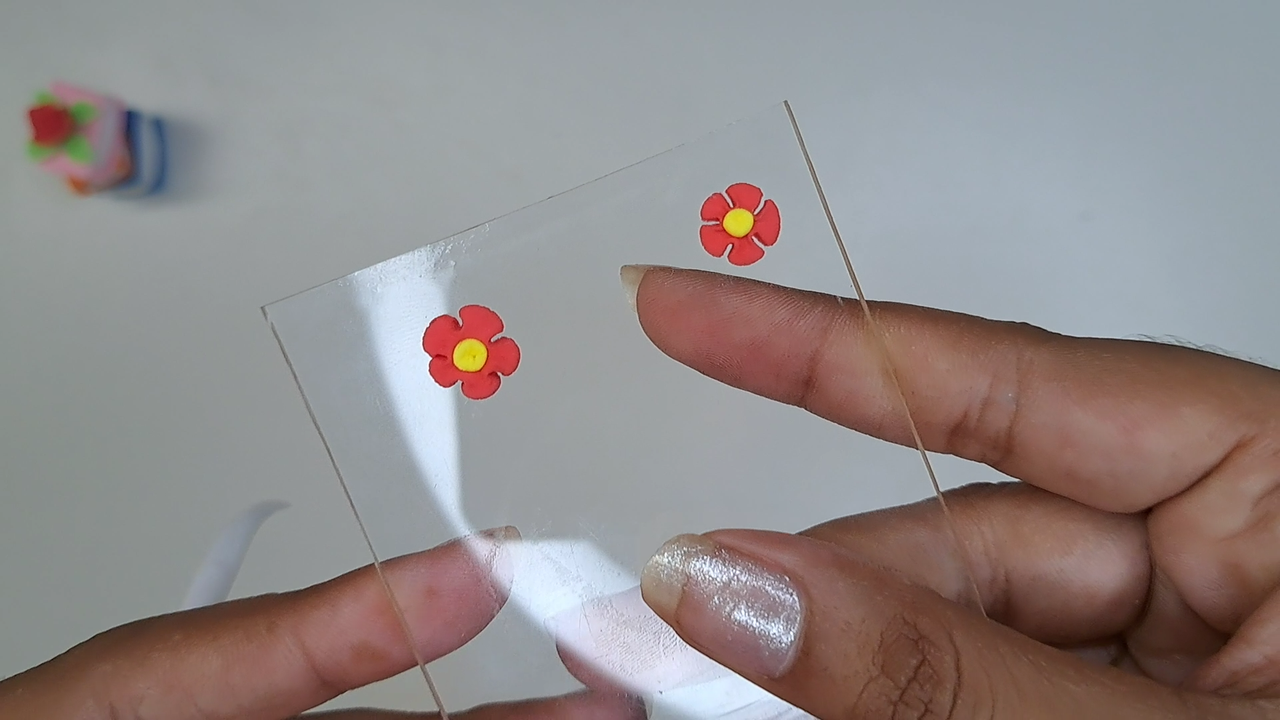
The flowers are very easy to make, in the video tutorial I show you how to make them without missing the smallest detail. The rose is placed in the center of the leaves and the other flowers on the sides.
Las flores son muy fáciles de hacer, en el video tutorial te muestro como elaborarlas sin perderte el más mínimo detalle. La rosa se coloca en el centro de las hojitas y las demás florecitas a los costados.
 |
 |
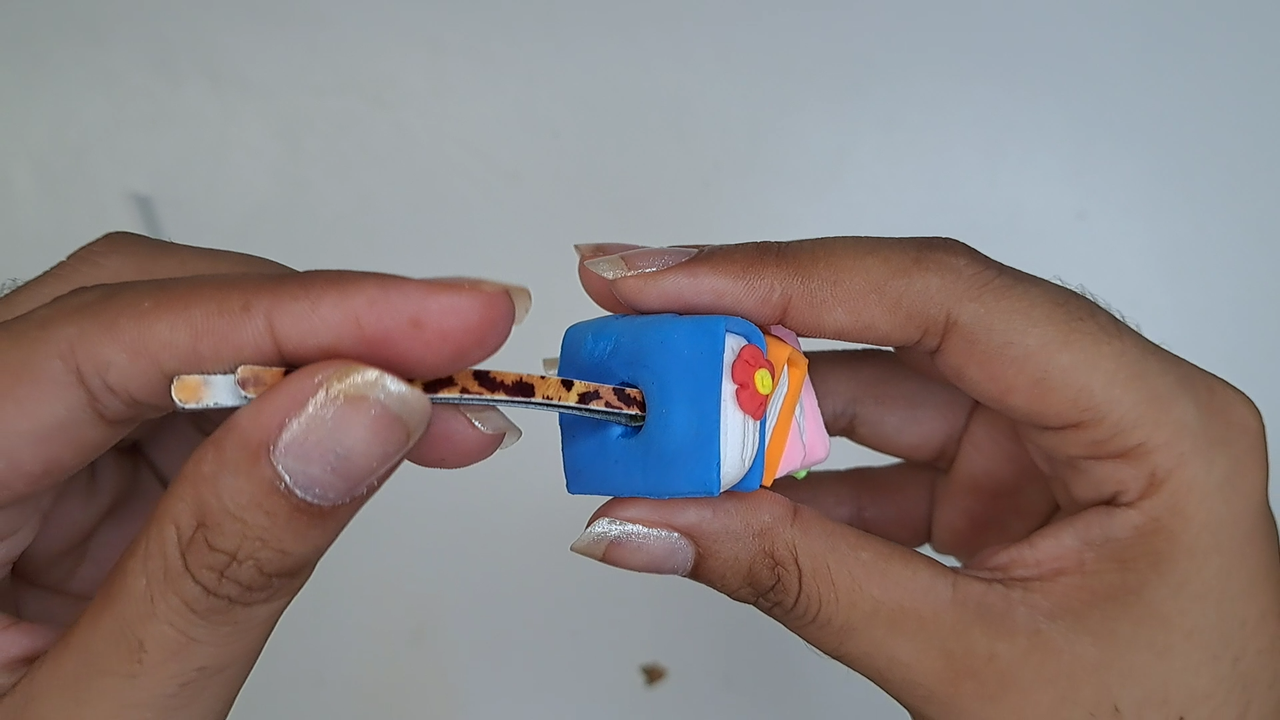 |
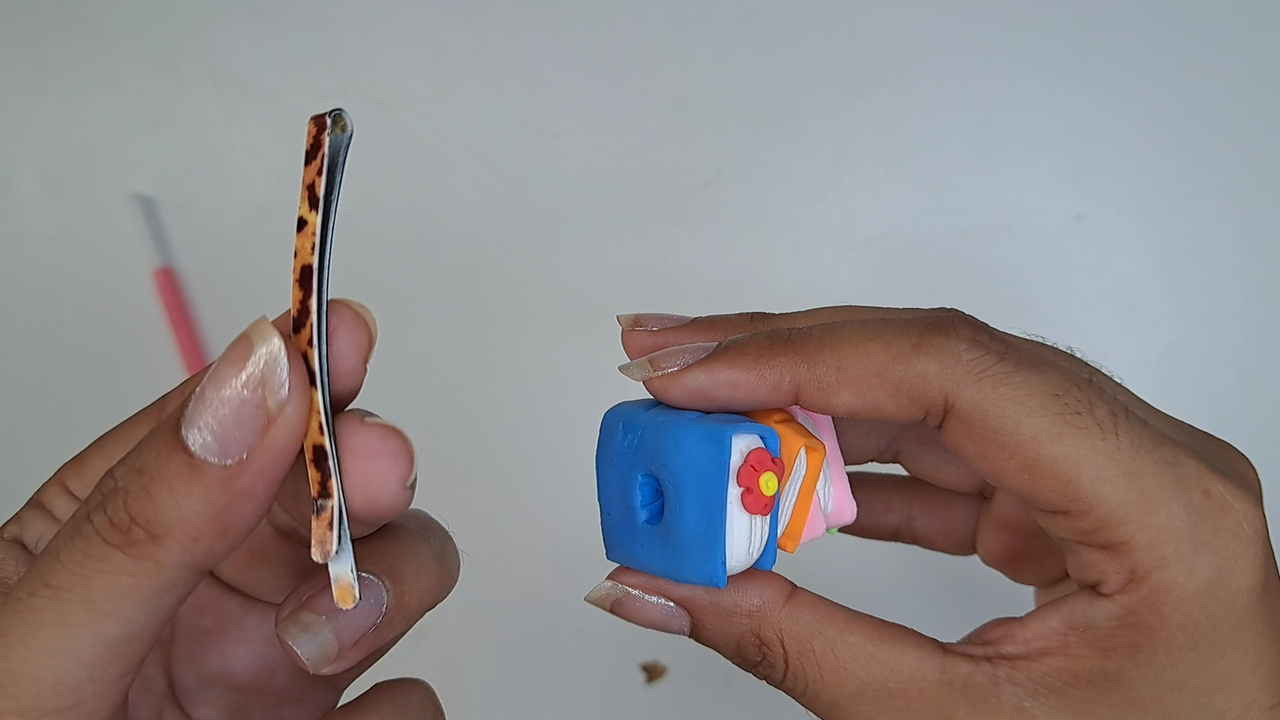
Finally, a hole is opened at the bottom where the clip is inserted.
Para finalizar, en la parte de abajo se abre un orificio donde se introduce la presilla.
 |
 |
 |
 |
This beautiful bookmark that will allow us to return to the last page read more easily is now finished. I hope you like it and that it motivates you to make your own. Let me know in the comments what you thought of it and any new suggestions. Best regards.
Ya está terminado este hermoso marcador de libros que nos permitirá regresar a la última página leída con mayor facilidad. Espero te agrade y te motive a elaborar uno propio. Déjame en los comentarios que te pareció y nuevas sugerencias. Un saludo.
Cover made in Canva
English is not my native language, translated by DeepL
Edited in Movavi Editor
Music by Mike Kripak from Pixabay
Tags :
Their limit for today is $0!
More Videos
@threespeak: 3.7317
@ocdb: 2.9085
@curangel: 2.2143
@lazy-panda: 0.5511
@azircon: 0.4337
@rocky1: 0.3512
@xeldal: 0.2690
@enki: 0.1441


















Comments:
Reply:
To comment on this video please connect a HIVE account to your profile: Connect HIVE Account