CREATIVE SUNDAY || Mastering the Art of Solar Fan Assembly: A Step-by-Step Guide
16
About :
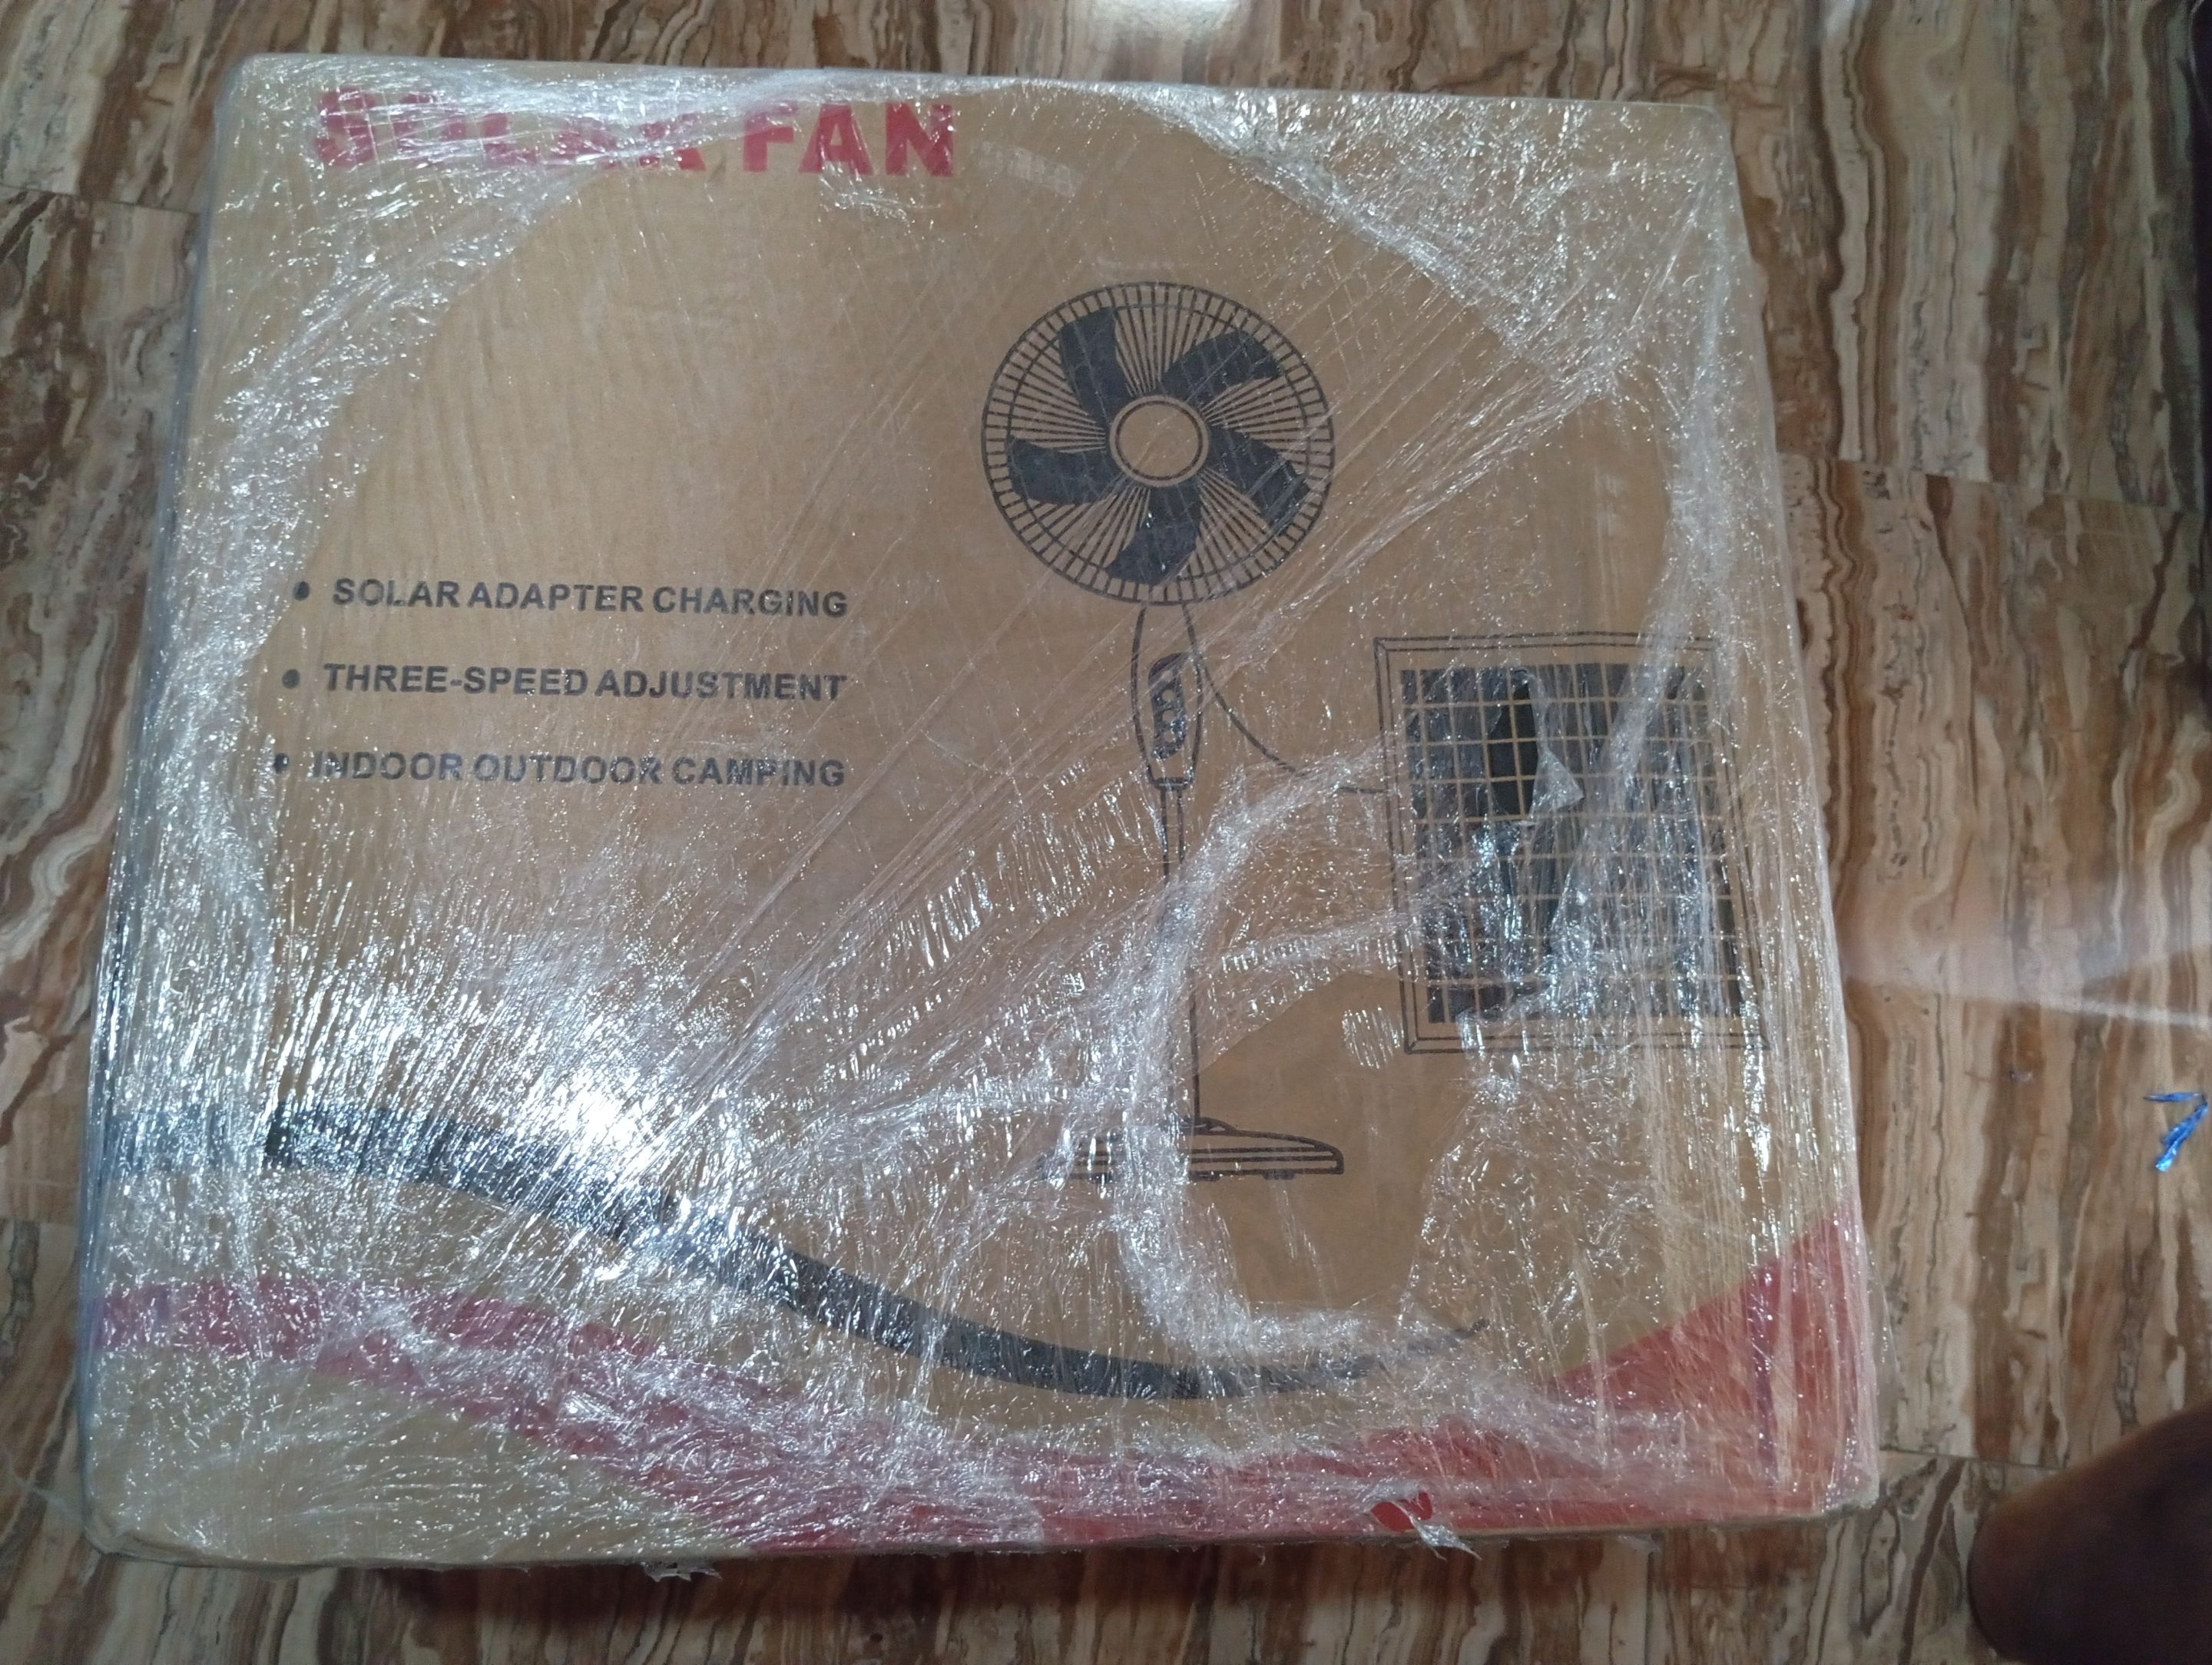
Good day, friends on the hive blockchain. It's a wonderful day, and today I'll love to show you how I coupled this solar fan I just purchased together. Like I said a few days ago, the heat in this part of the world is becoming unbearable, and this made me seek a way out by purchasing this rechargeable fan, which can keep the temperature of the room more conducive whenever there's no electricity.
And like I said a few days ago in one of my posts about having to ditch the first one I ordered because the price went down a few days after I played the order, the second one I ordered recently arrived, and here is how I coupled the fan various parts together, which I want to show you as my creative aspect for the creative Sunday in the hive learners community.
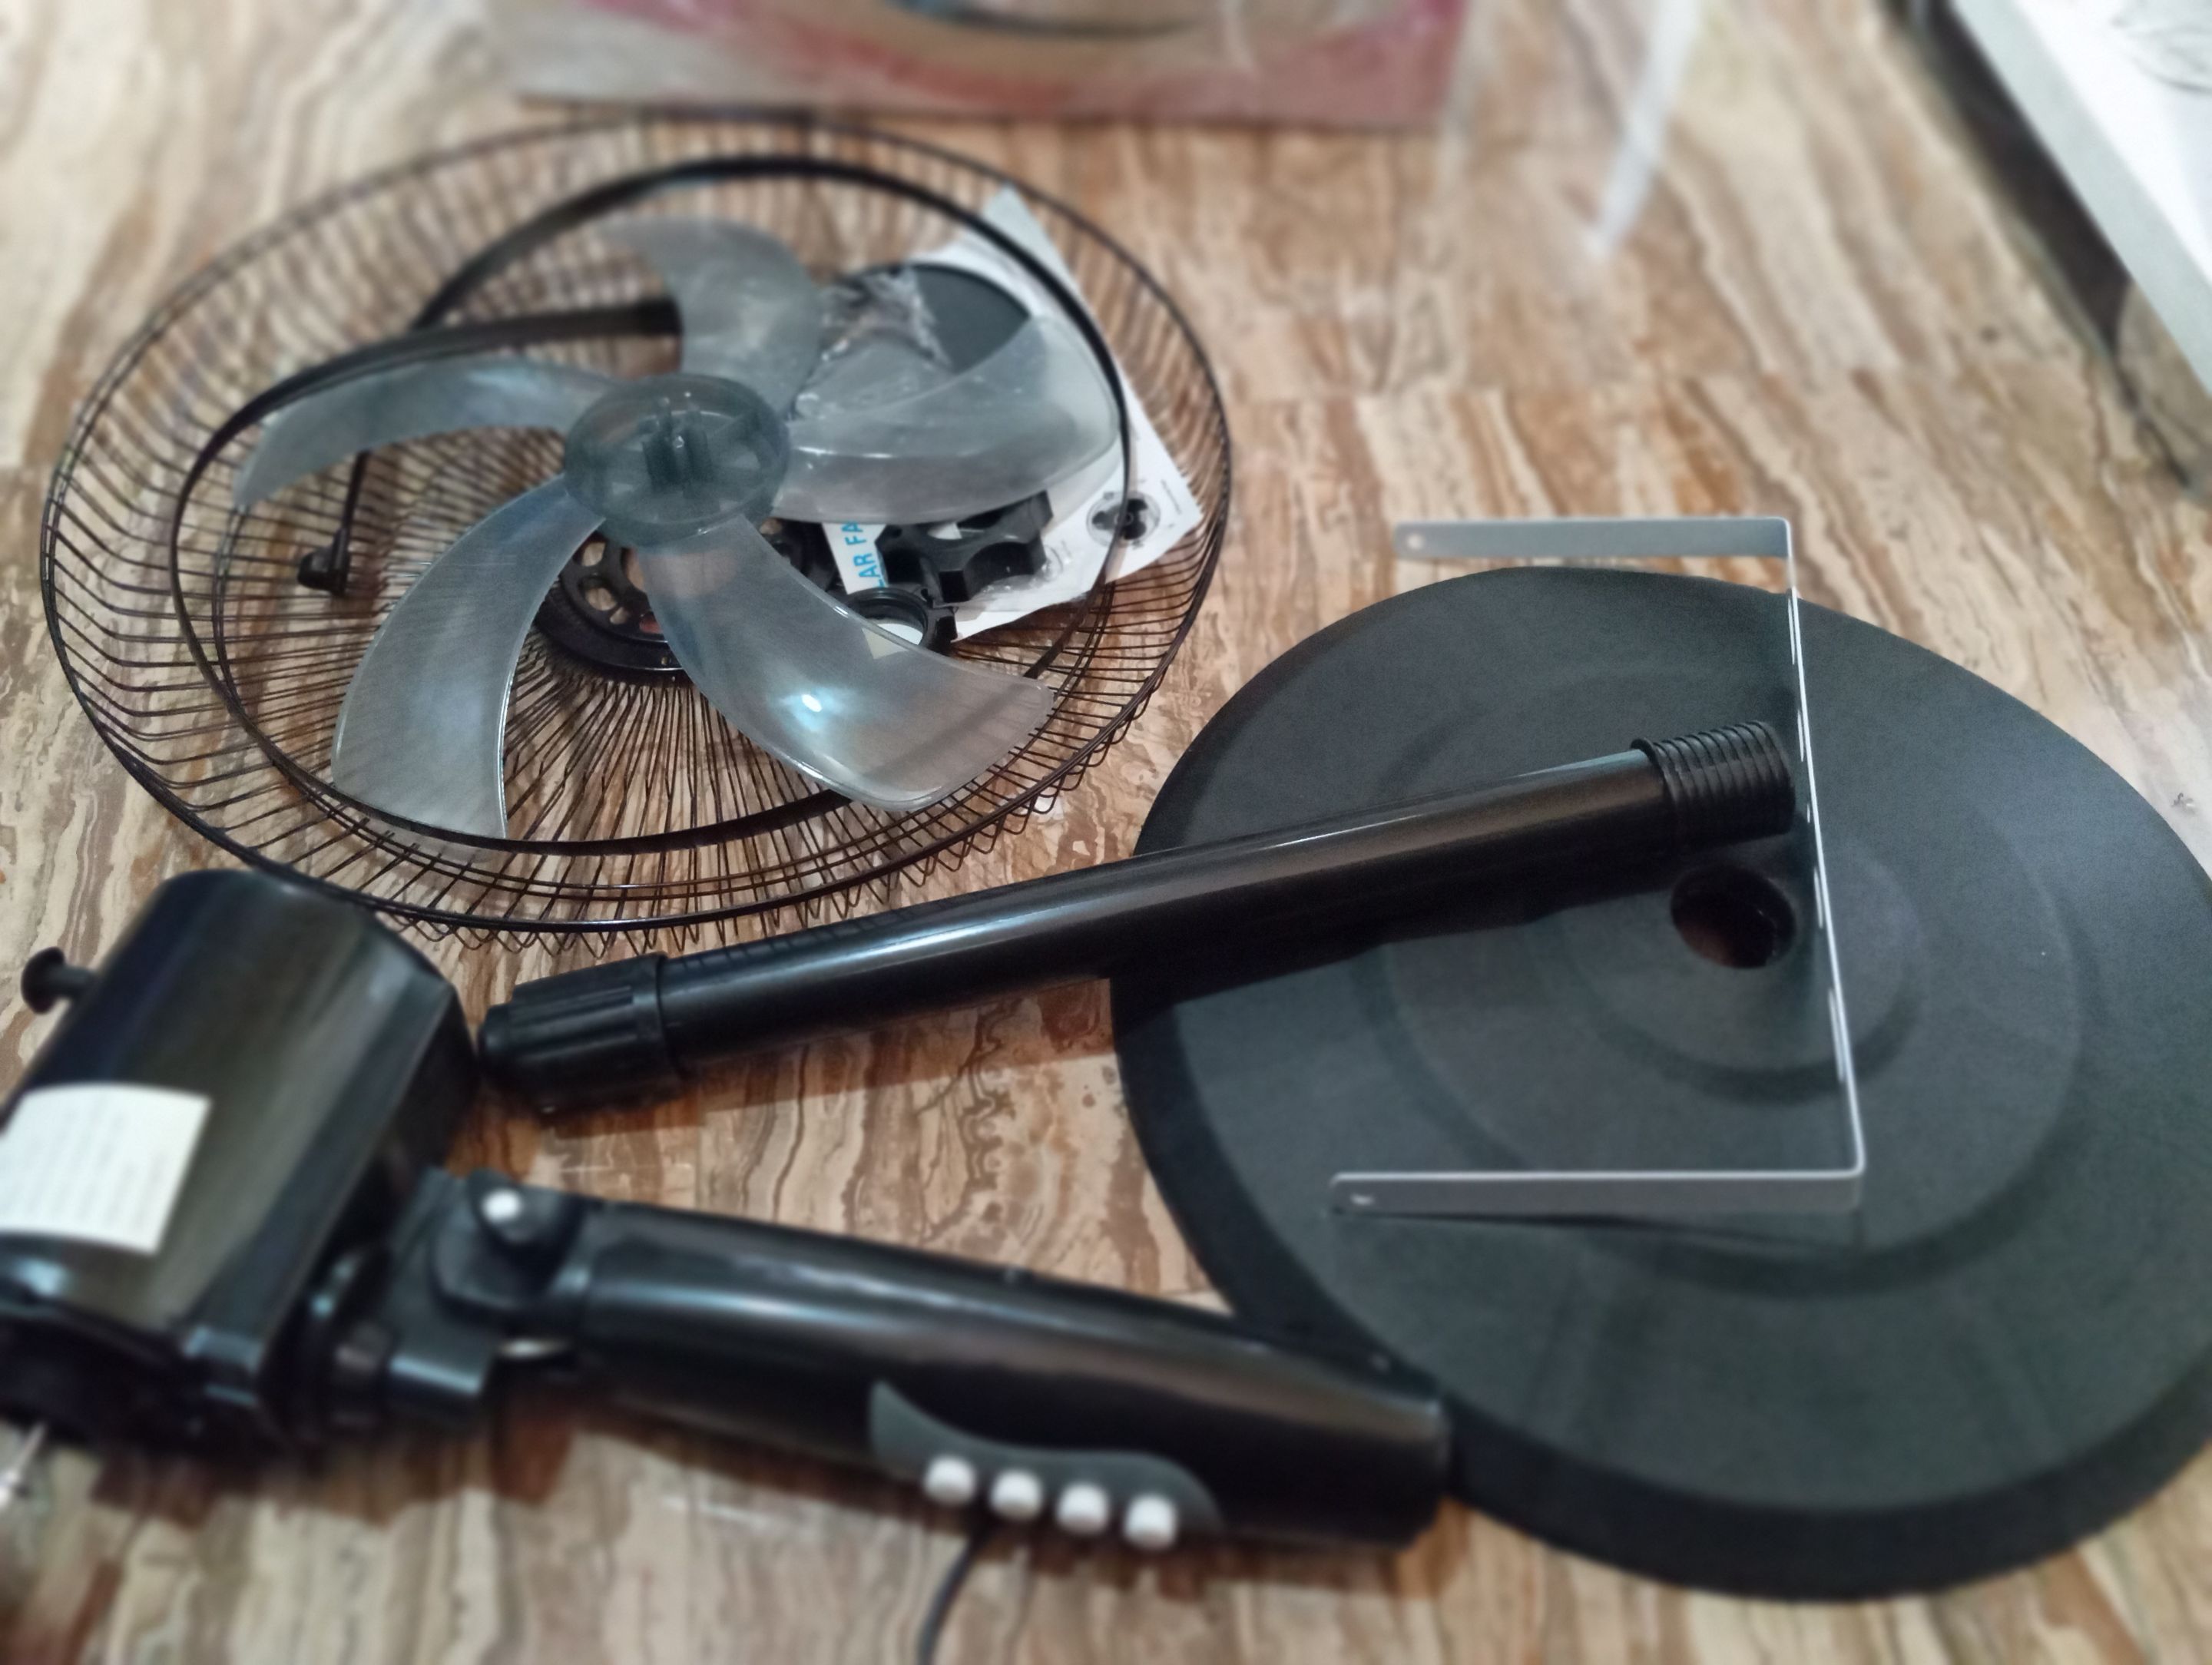
I'm not much of a specialist in fixing this, so I don't know the names of most of the parts of the fan and didn't make use of any equipment as it was really easy to put together despite being all scattered inside the box, so below are the few steps I followed in making this stand firm.
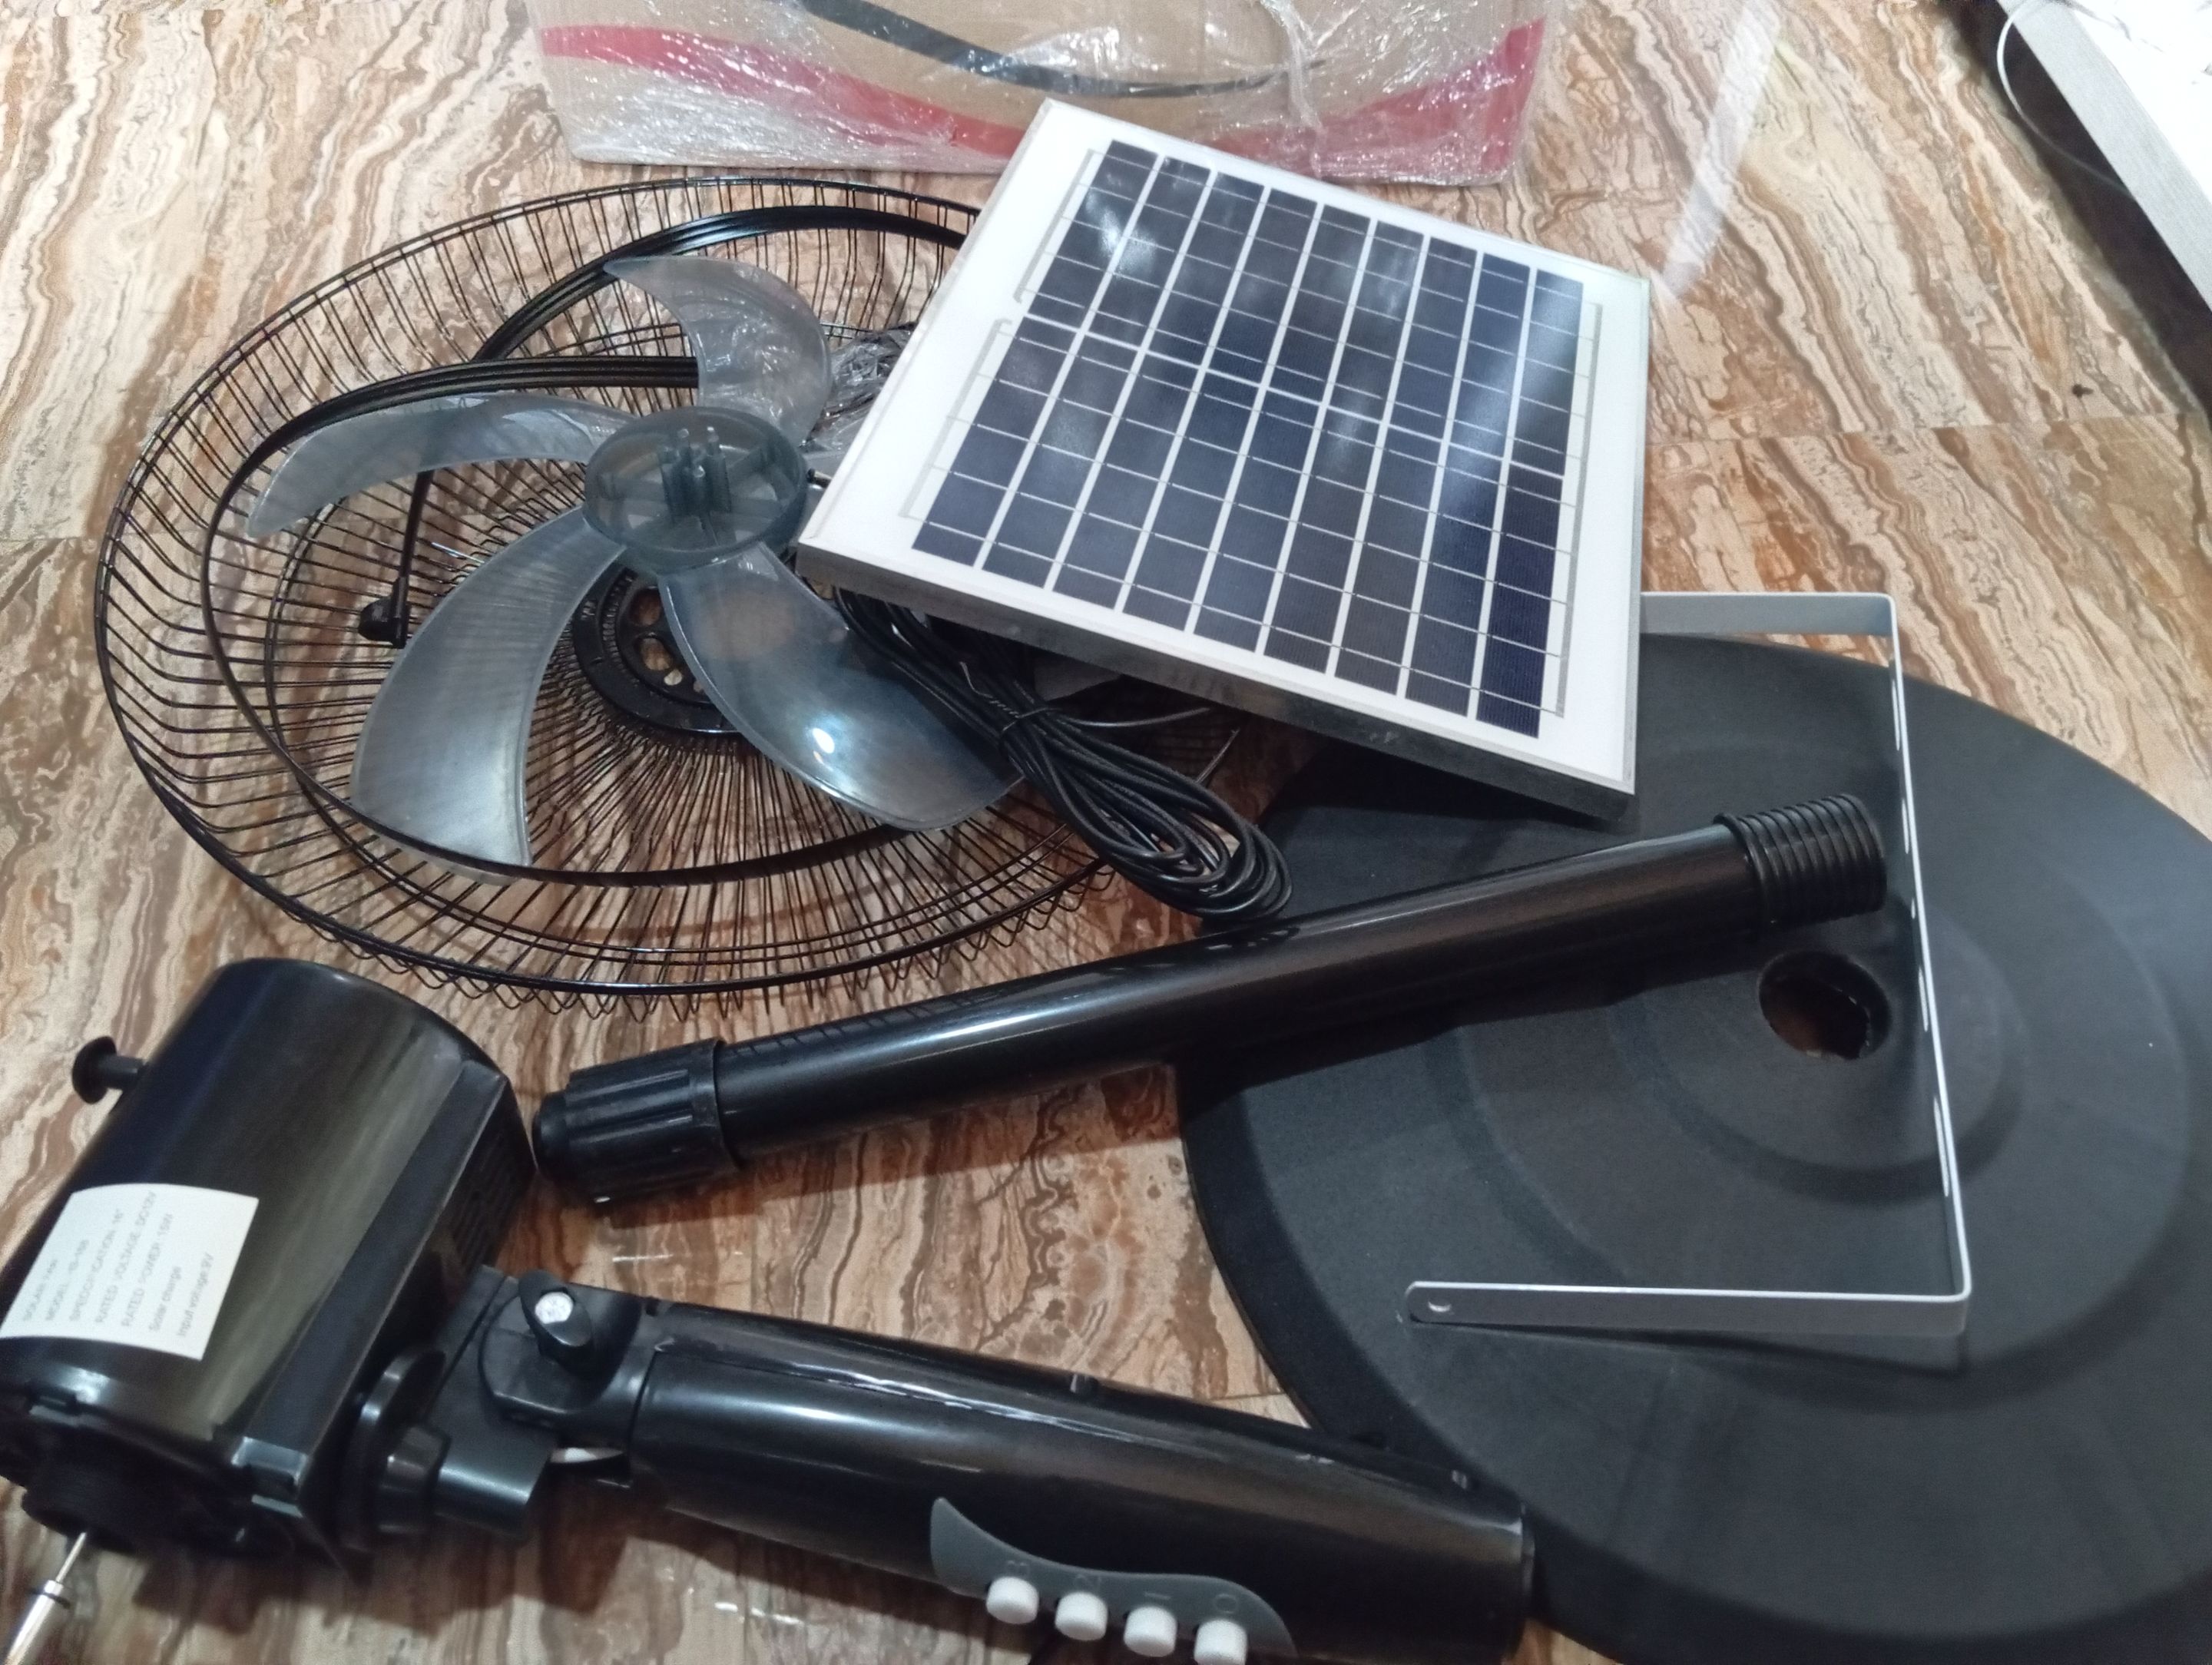
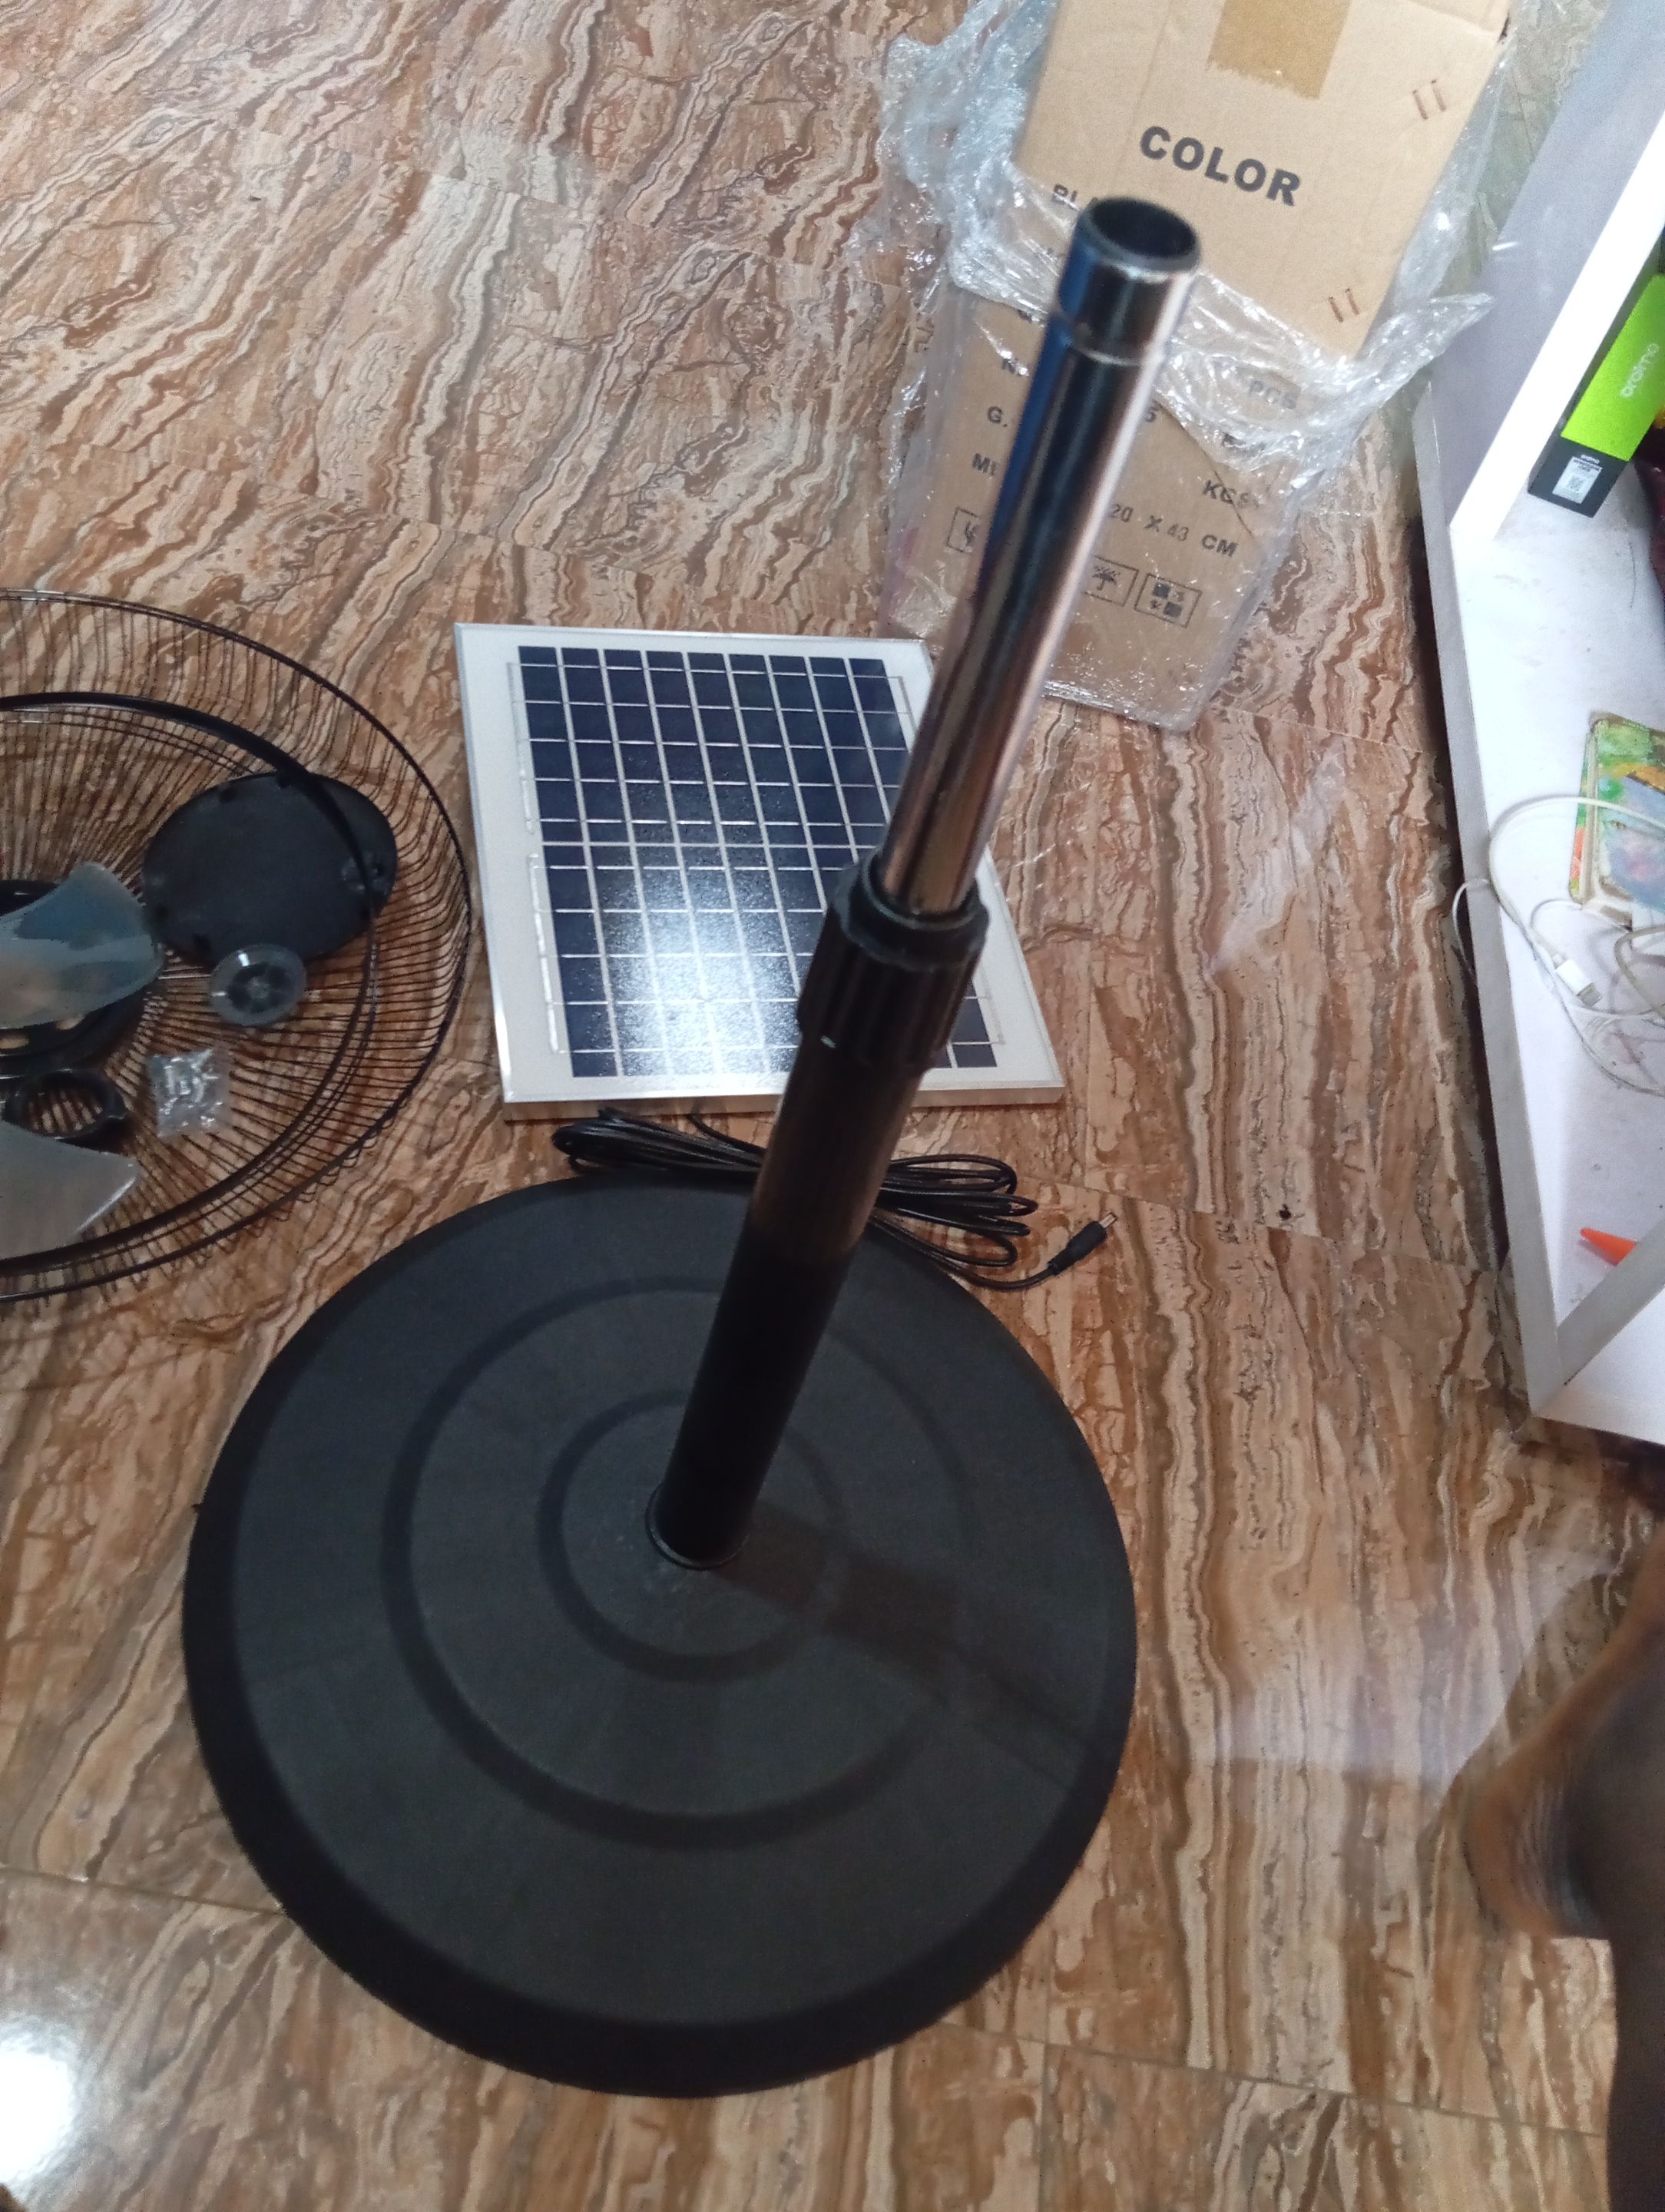
- First, I unboxed the fan box and brought out all the body parts, after which I started sorting each one into its own category.
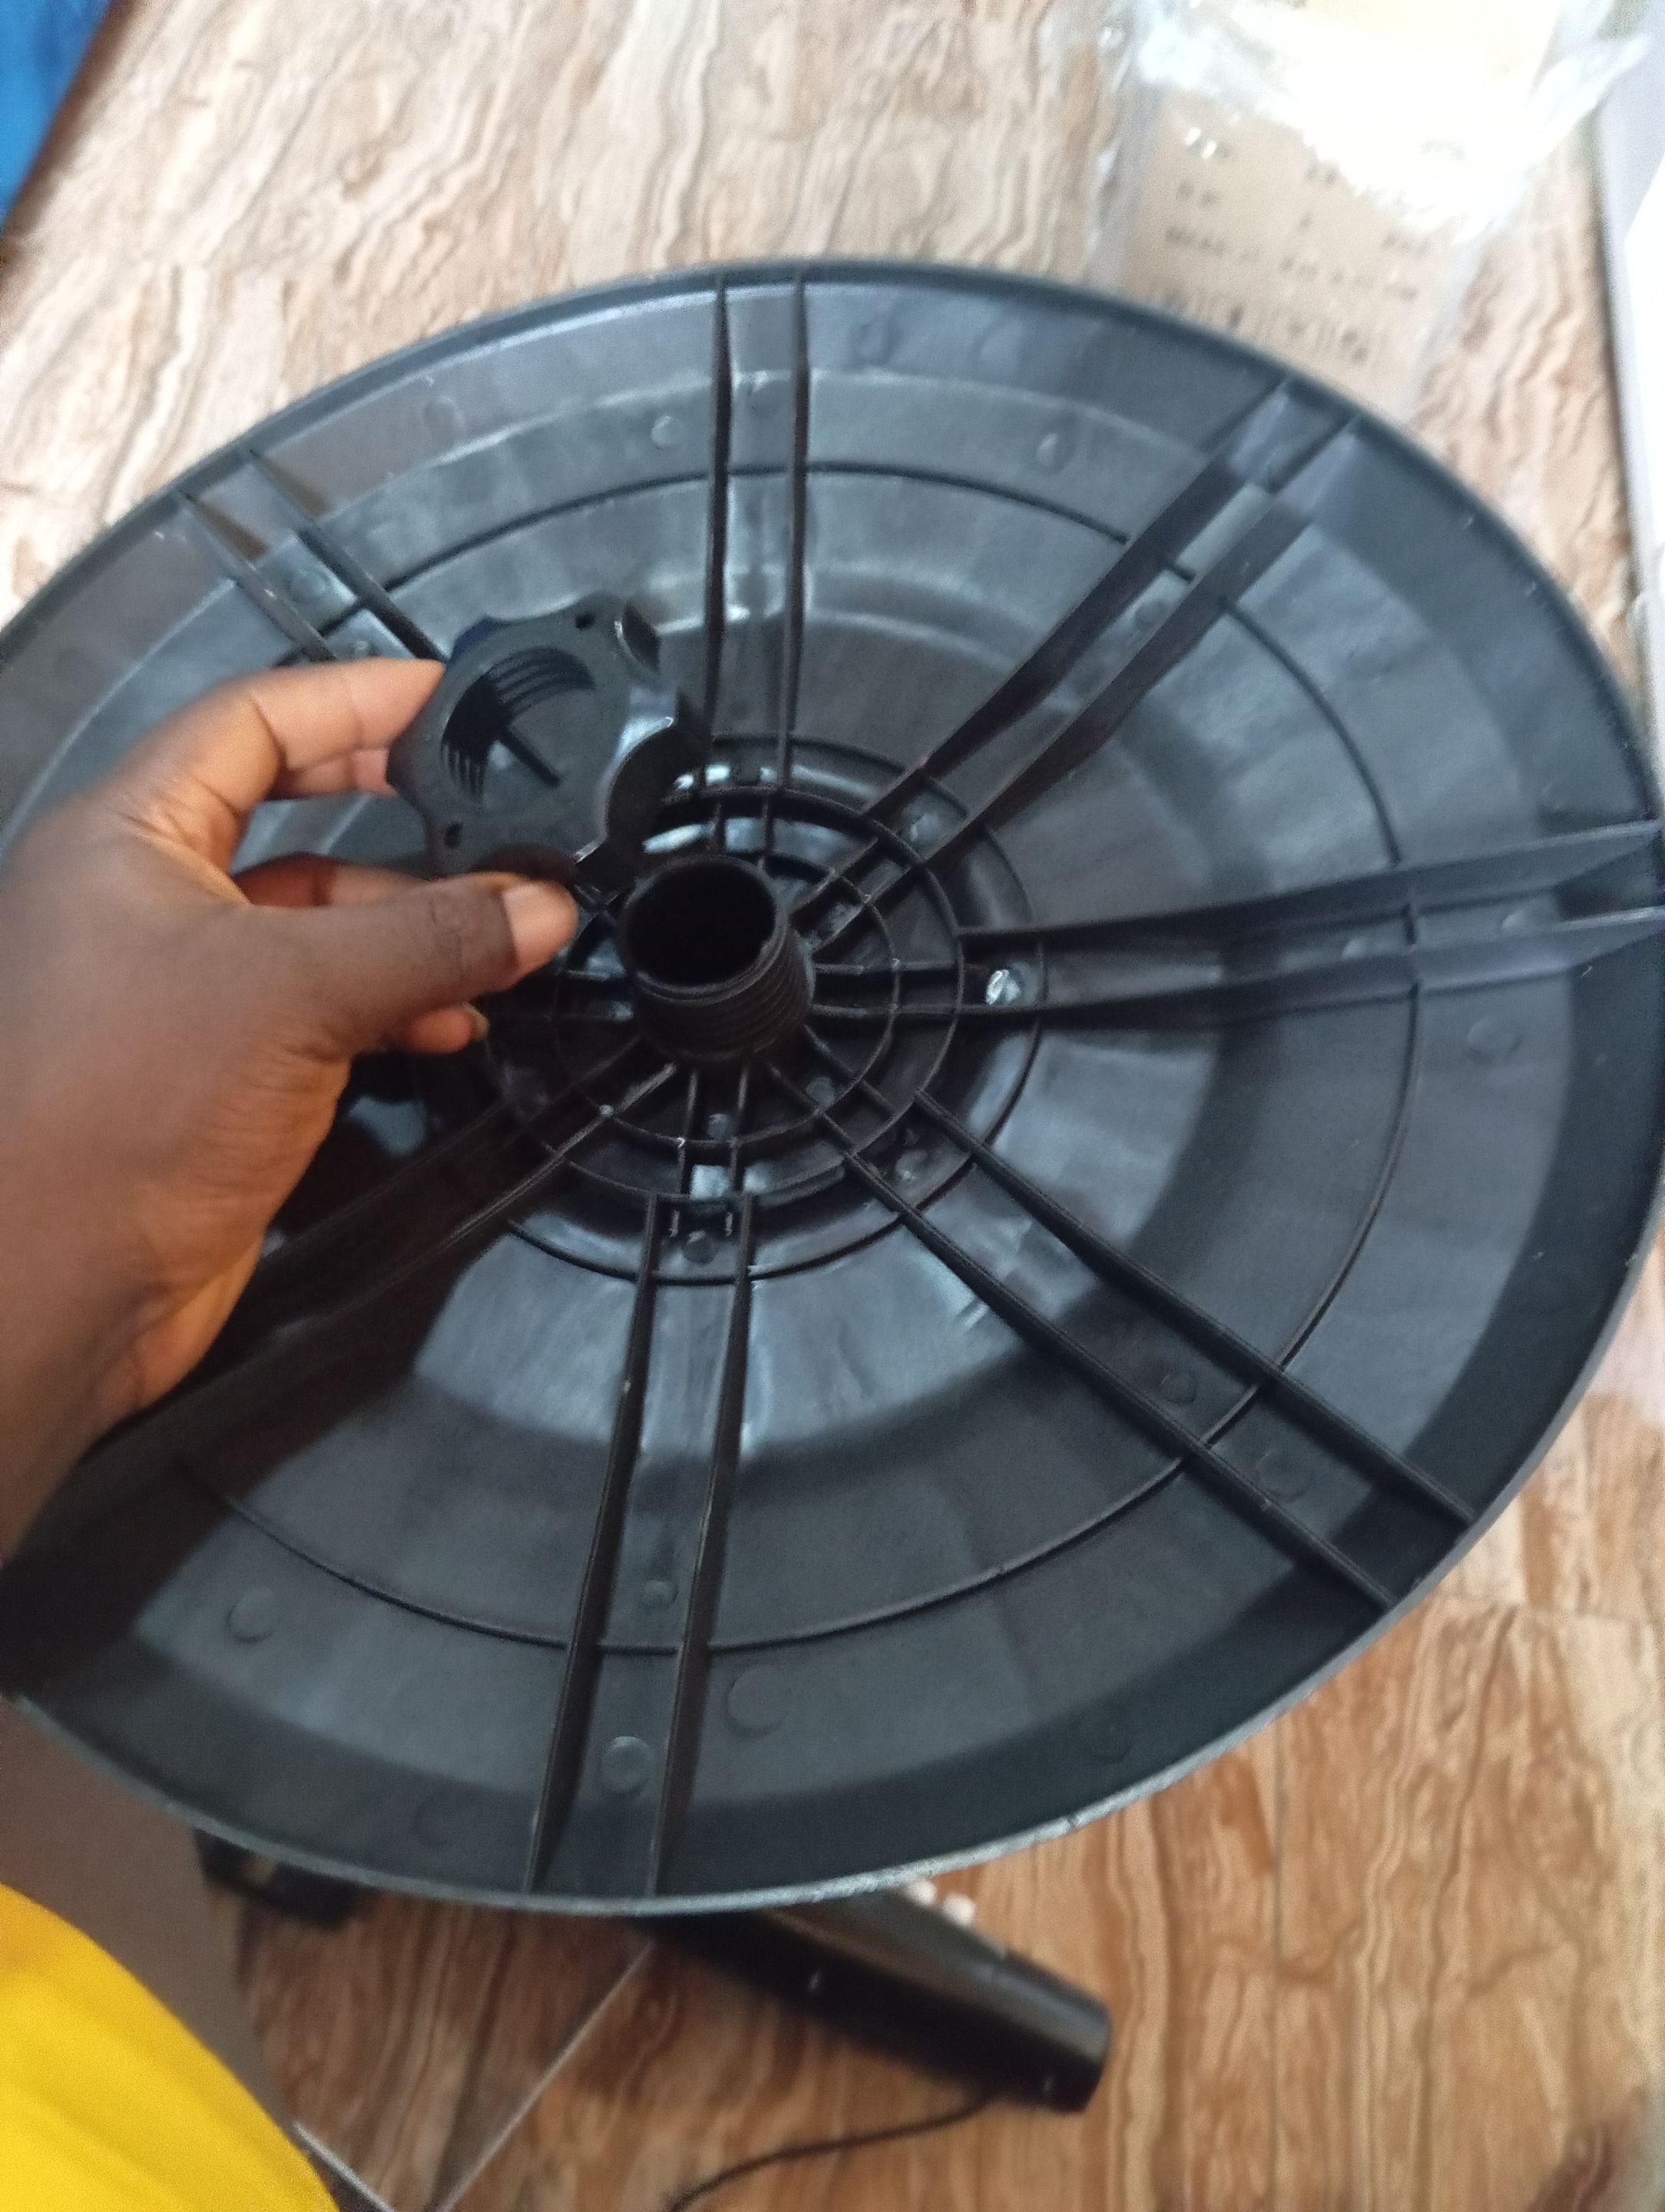
- After this, I began the joining by first picking up the stand and the ground tray, and it's a plastic screw. I fix both together until it's standing firm.
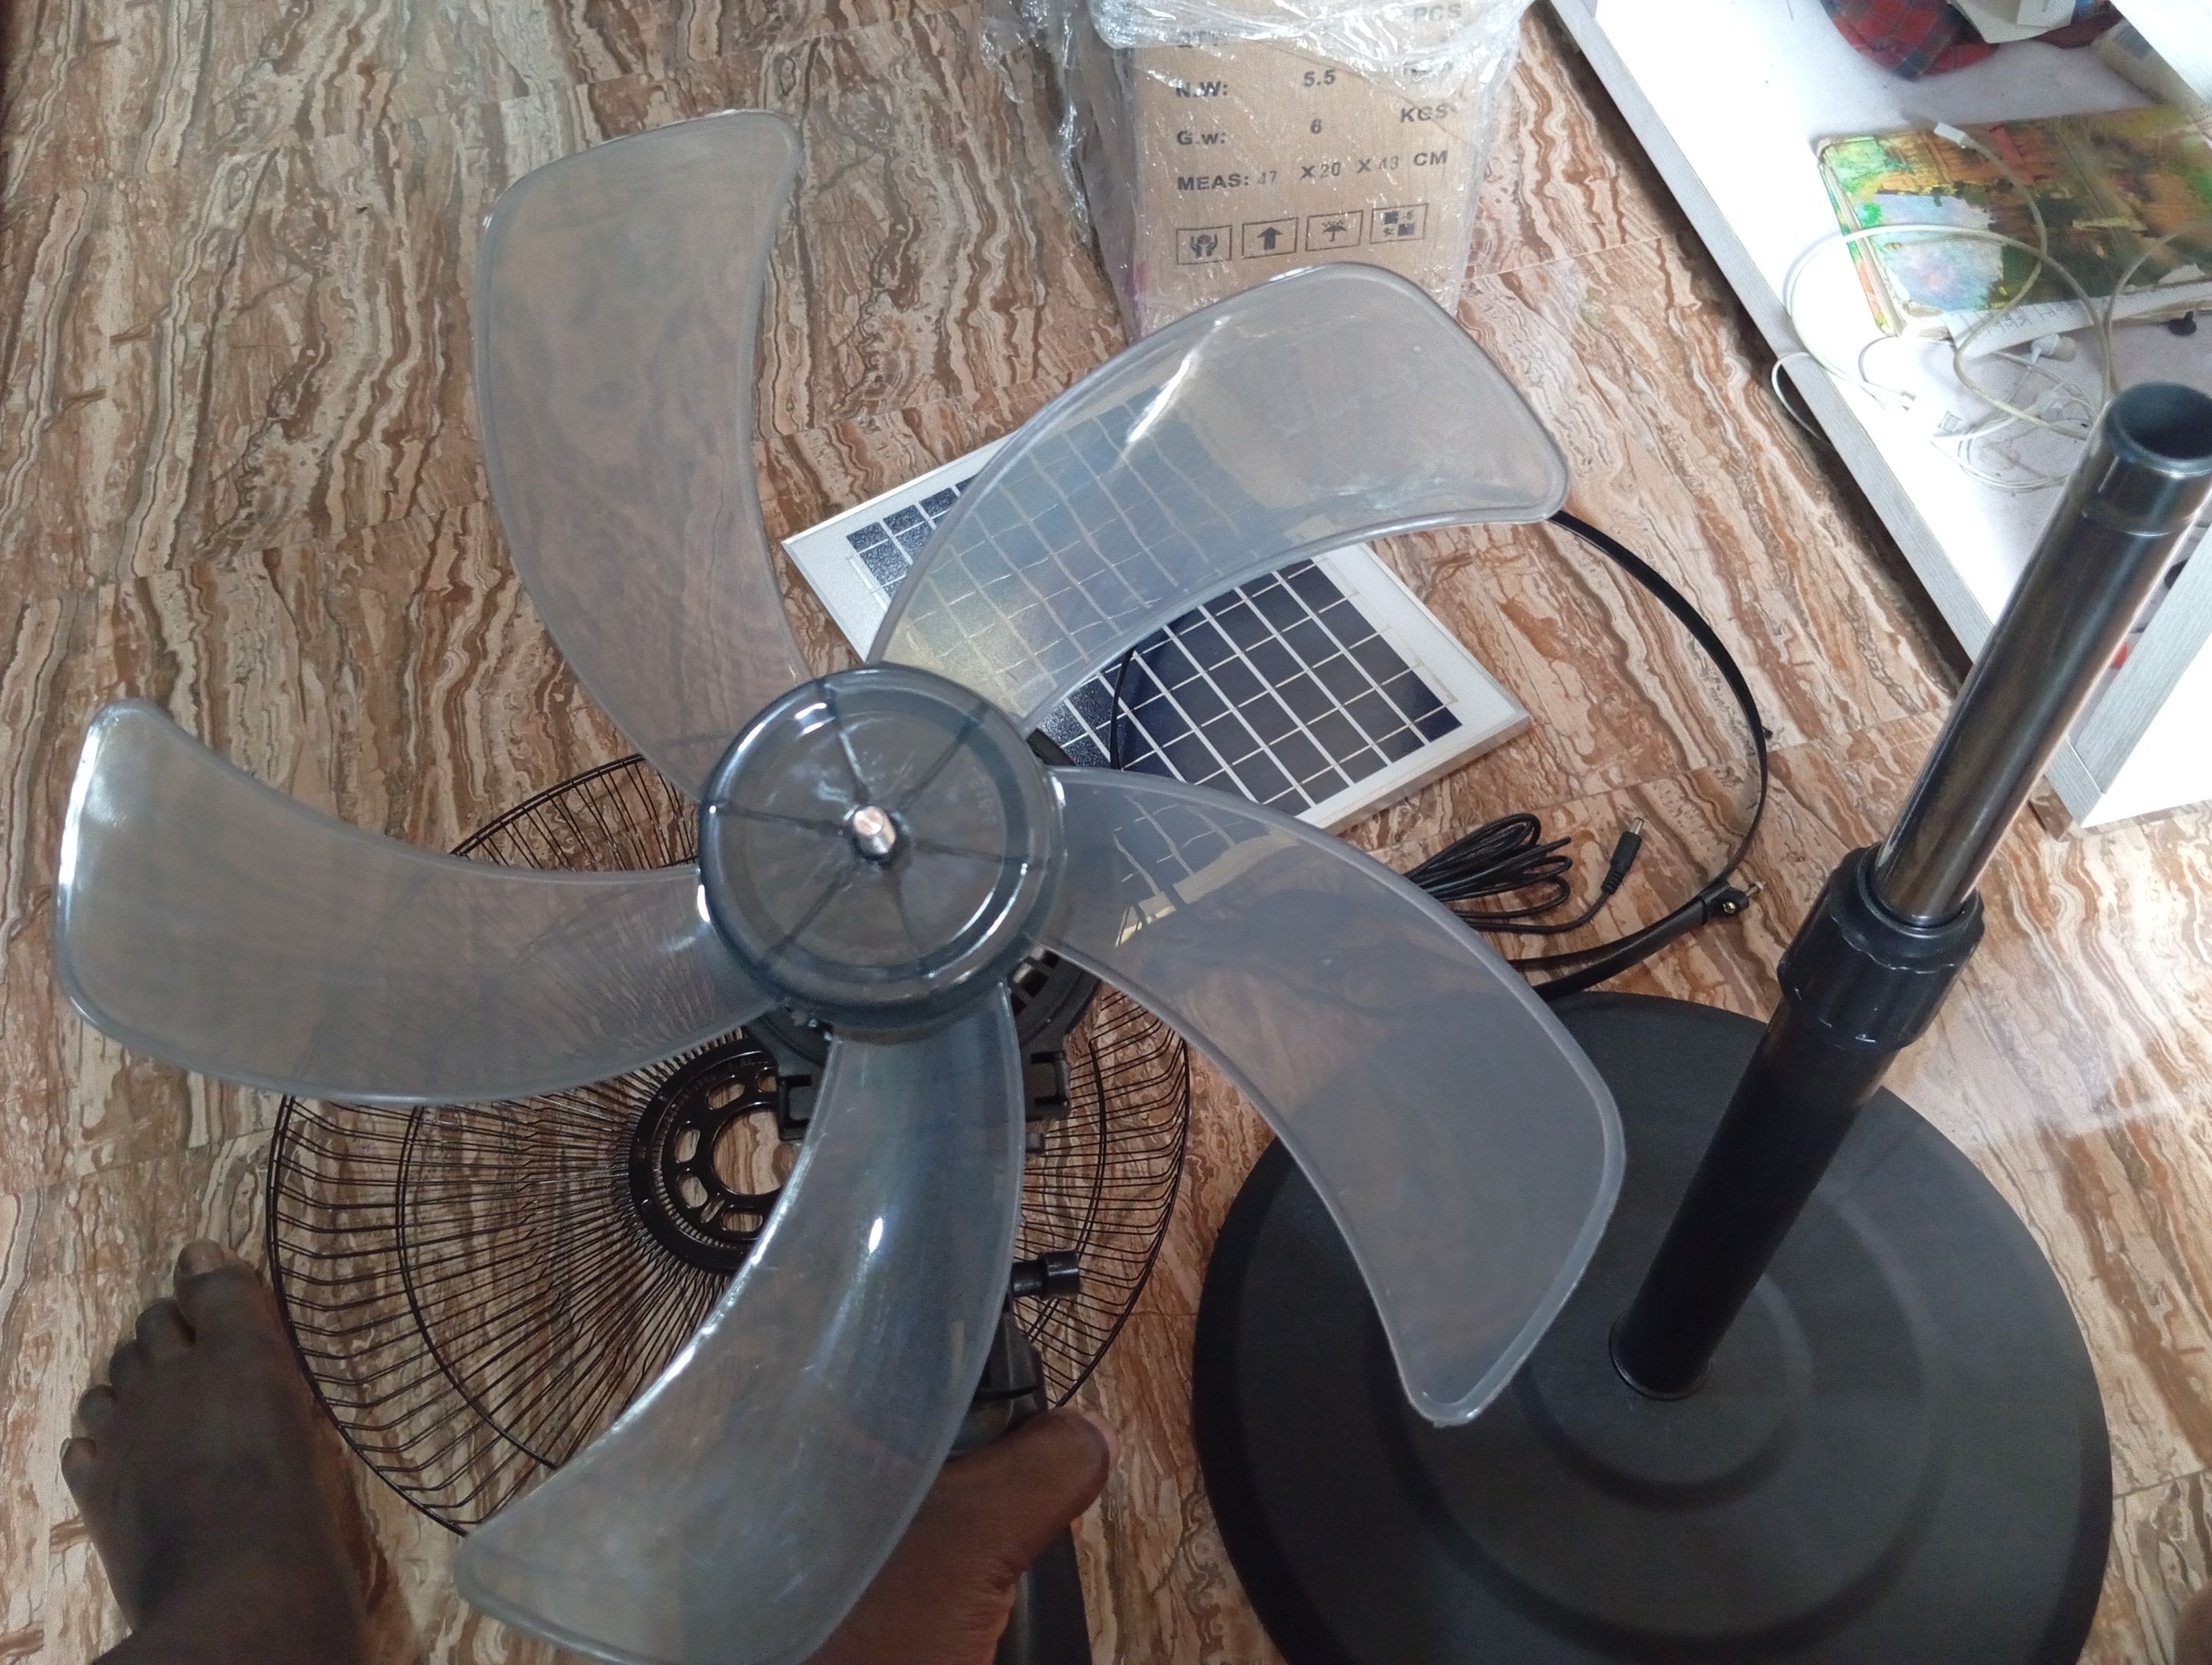
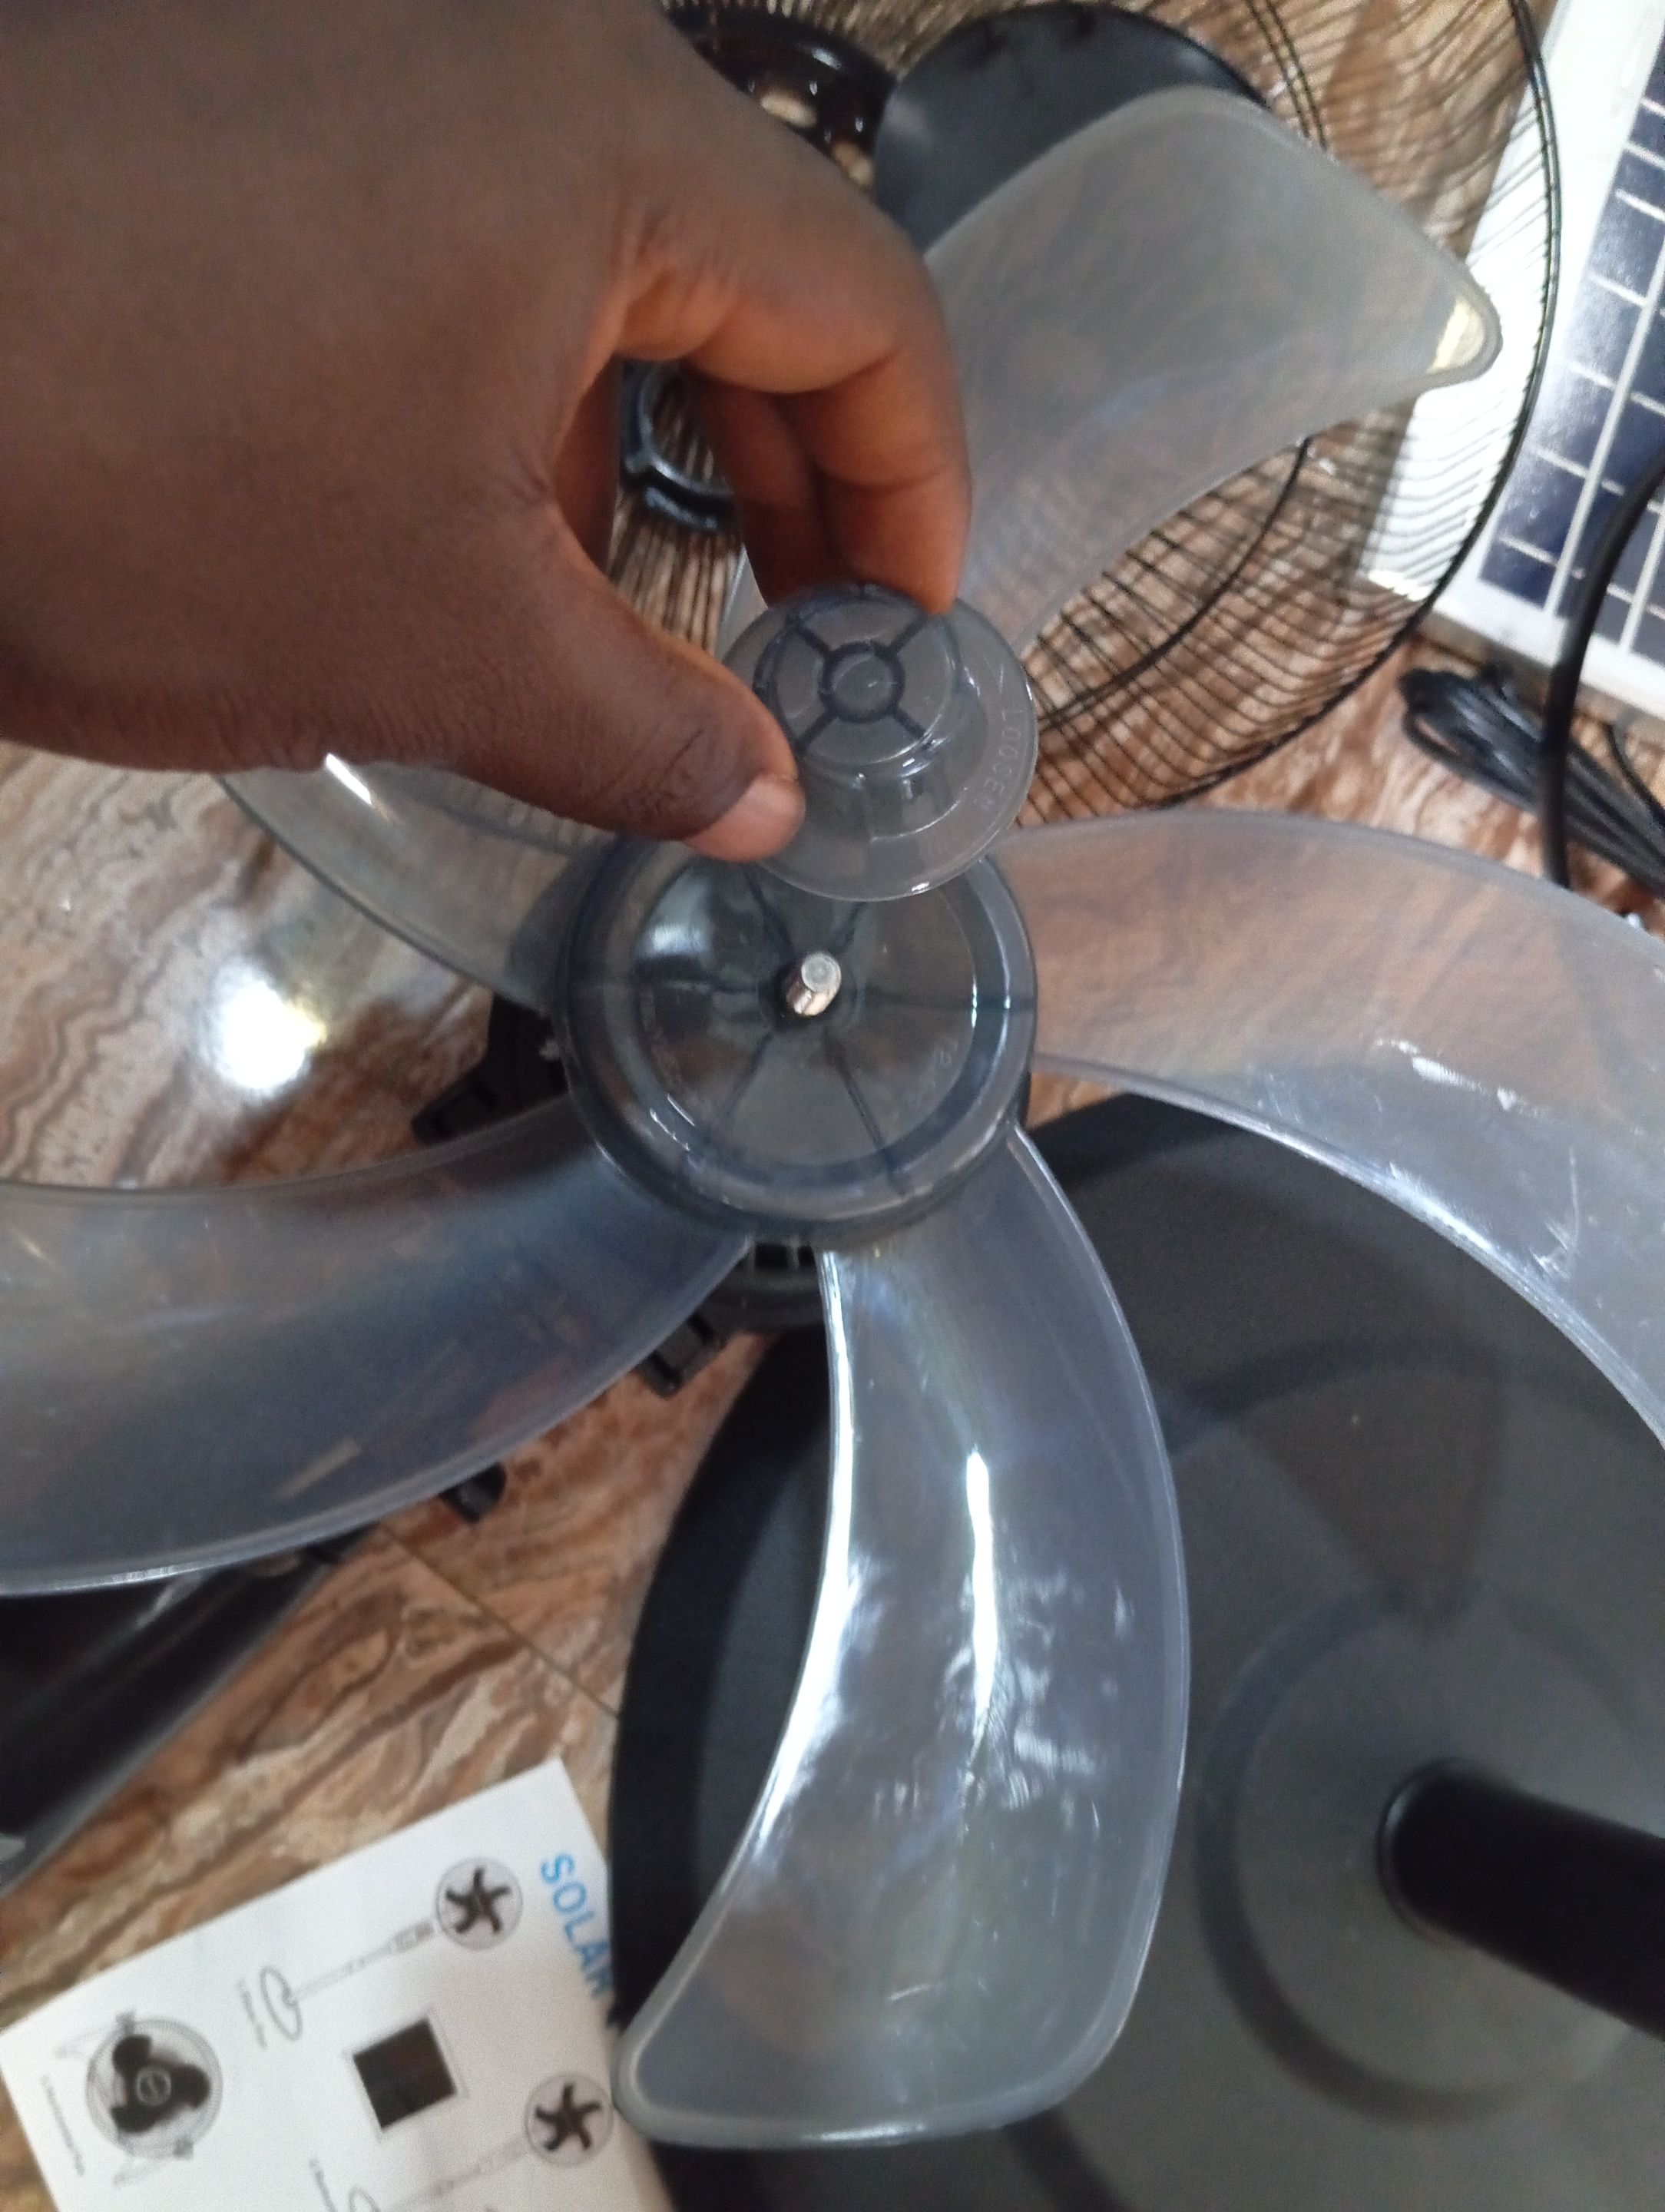
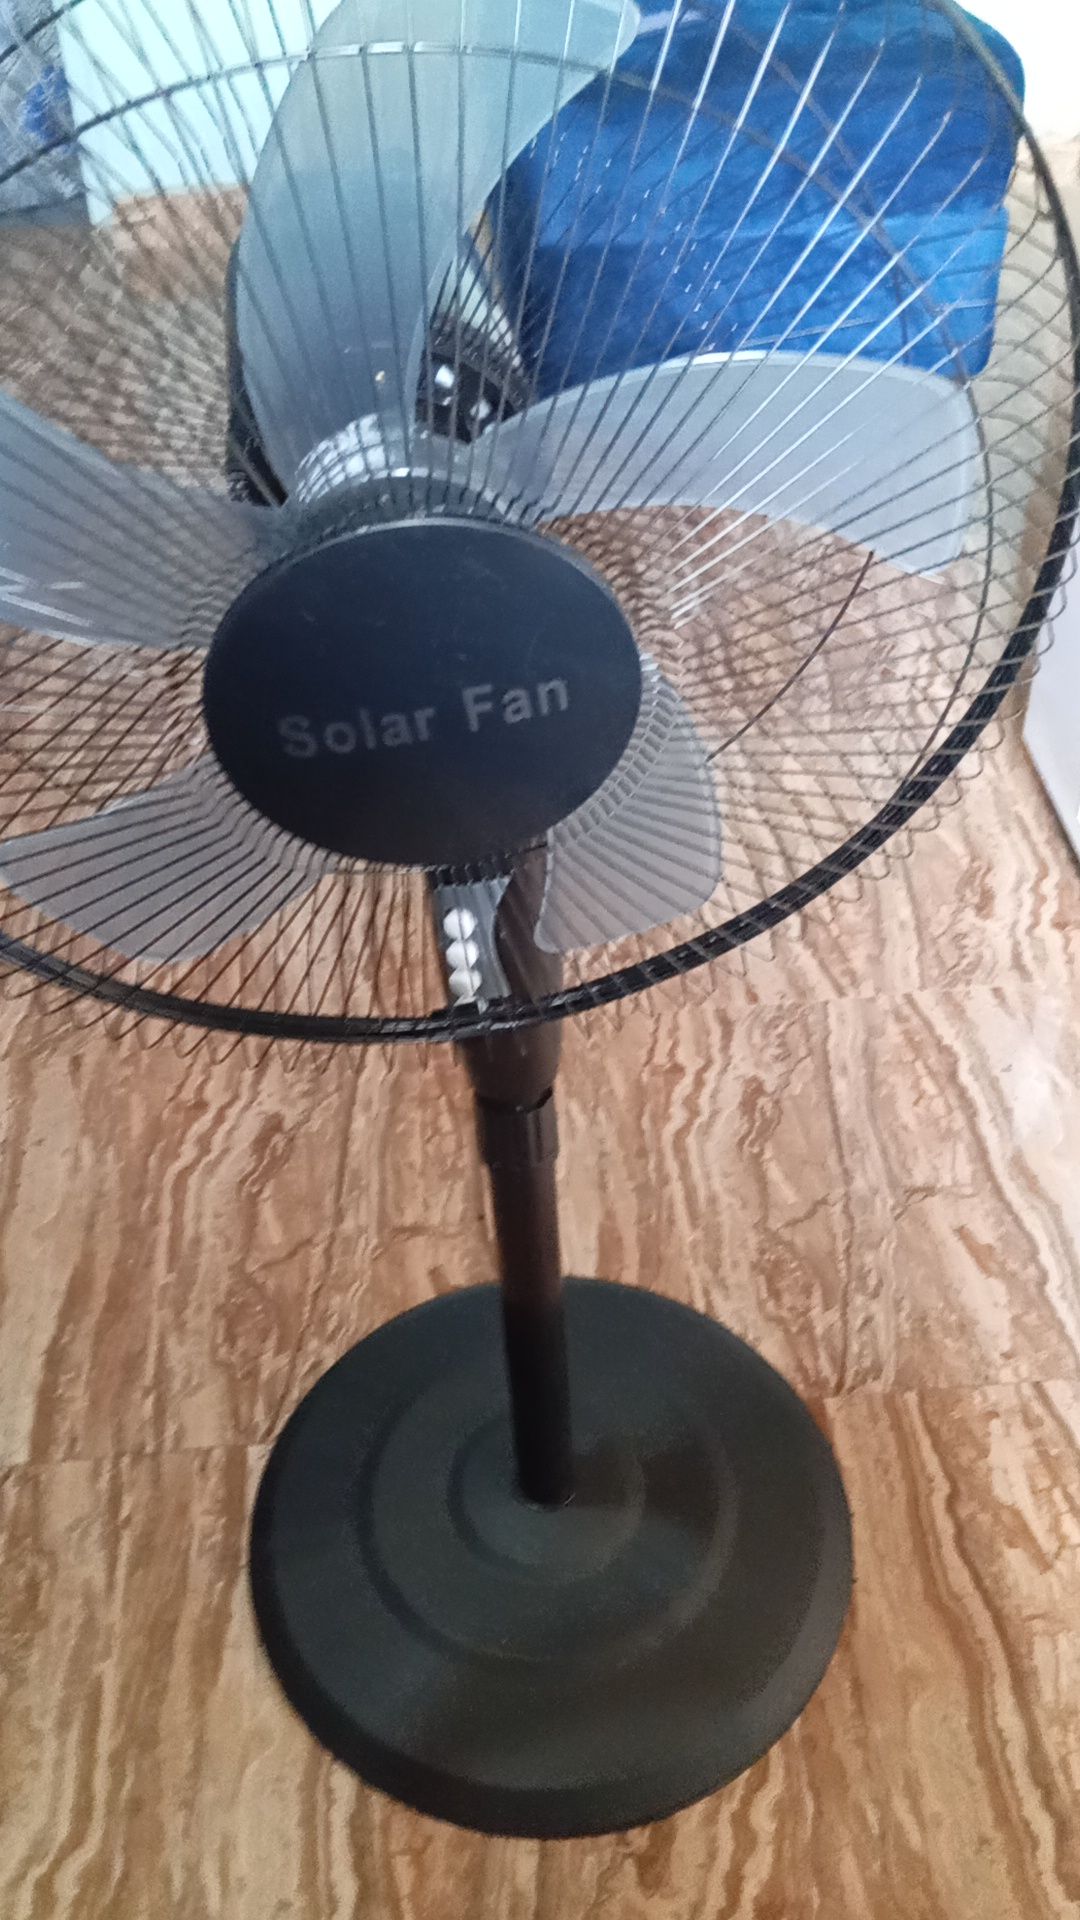
- And move that I moved, fixing the blowing wheel and the engine part, and assembling each part together according to the drawing on the carton.
- Once that was set, I also fixed the net that was supposed to be at the back and front to cover the blowing wheel, and that's how I came to the end of fixing the fan; like I said, it's very easy to couple.
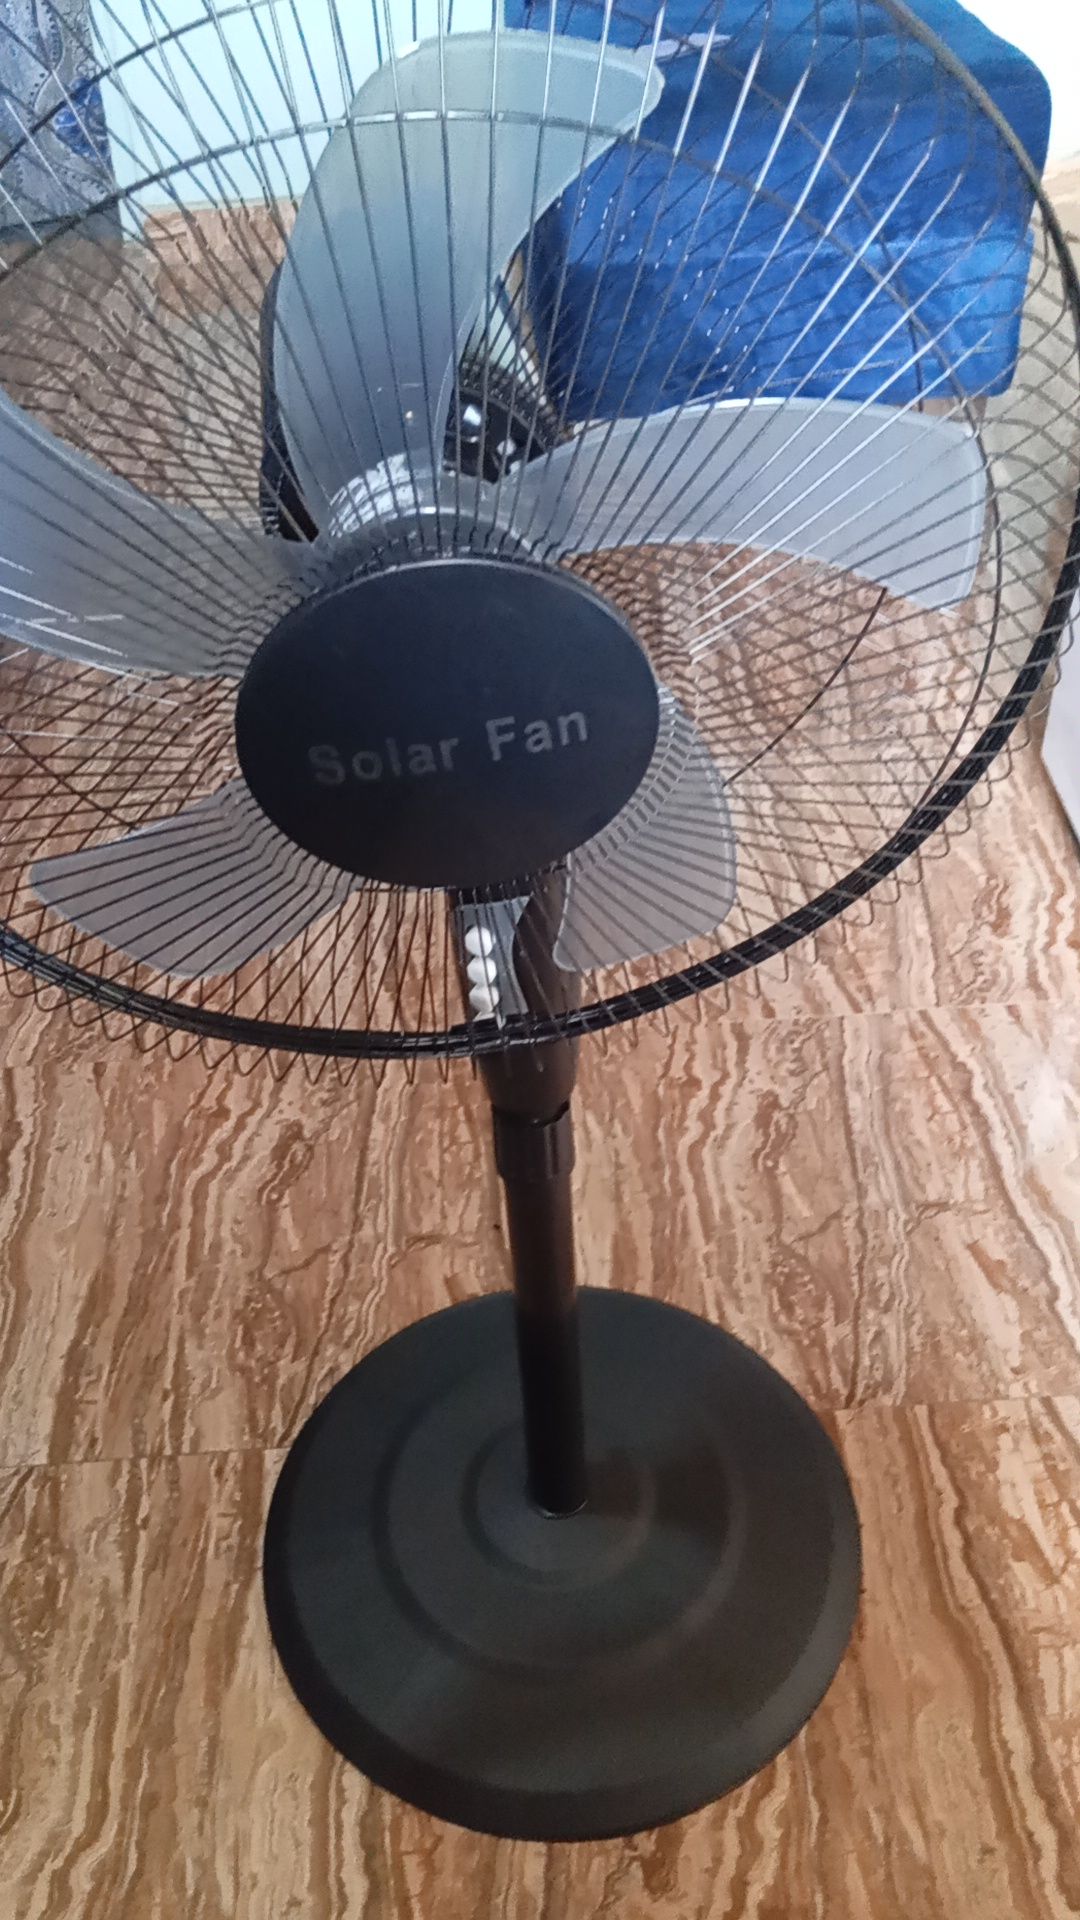
And I'm glad it was because I was worried about what if I couldn't fix it before, but after calling the customer care of Jumia, who assured me that it'd be easy to fix, I see it was really so.
And I've tried to charge it with both electricity and sunlight, and I can categorically tell you that although it wasn't fully charged when I stopped charging for the first time to try it through the night, I was pleased to see it lasted for as long as 8 hours before it shut down, and with this, I can't help but pray it lasts longer if I later get to fully charge it.
That's about it for today. I hope you enjoyed the read. Do have a wonderful day and stay blessed.
Show more
Tags :
Woo!
This creator can upvote comments using 3speak's stake today because they are a top performing creator!
Leave a quality comment relating to their content and you could receive an upvote
worth at least a dollar.
Their limit for today is $0!
Their limit for today is $0!

13 views
4 months ago
$

19 views
9 months ago
$

15 views
a week ago
$

20 views
10 months ago
$

13 views
2 years ago
$
More Videos

9 views
a year ago
$

4 views
2 years ago
$

3 views
a year ago
$

6 views
2 years ago
$

6 views
6 months ago
$

28 views
a year ago
$

12 views
8 months ago
$

187 views
a year ago
$

22 views
a year ago
$

8 views
6 months ago
$

6 views
2 months ago
$

1 views
3 years ago
$

18 views
3 months ago
$

11 views
a year ago
$

11 views
a year ago
$

24 views
2 years ago
$

21 views
3 months ago
$

43 views
a year ago
$

55 views
a year ago
$

9 views
a year ago
$

10 views
9 months ago
$

14 views
7 months ago
$

49 views
a year ago
$

1 views
2 months ago
$

8 views
3 years ago
$
Comments:
Reply:
To comment on this video please connect a HIVE account to your profile: Connect HIVE Account