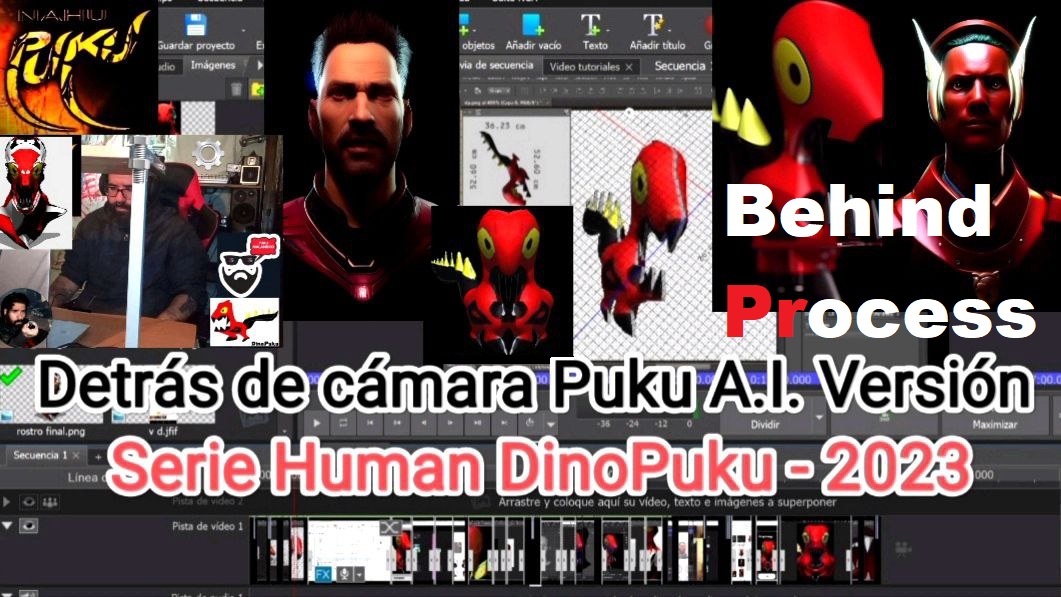
Behind the process - Detrás de cámara A.I. Versión - Serie Human DinoPuku - 2023
15
About :
Behind the process - Detrás de cámara A.I. Versión - Serie Human DinoPuku - 2023
PukuGreetings to all my pukufriends. I present you this video recorded at PukuEstudio titled: Behind the process - Detrás de cámara A.I. Versión - Serie Human DinoPuku - 2023. I hope you like it and it's my new video for Hive, 237 for 3Speak. Blessings.
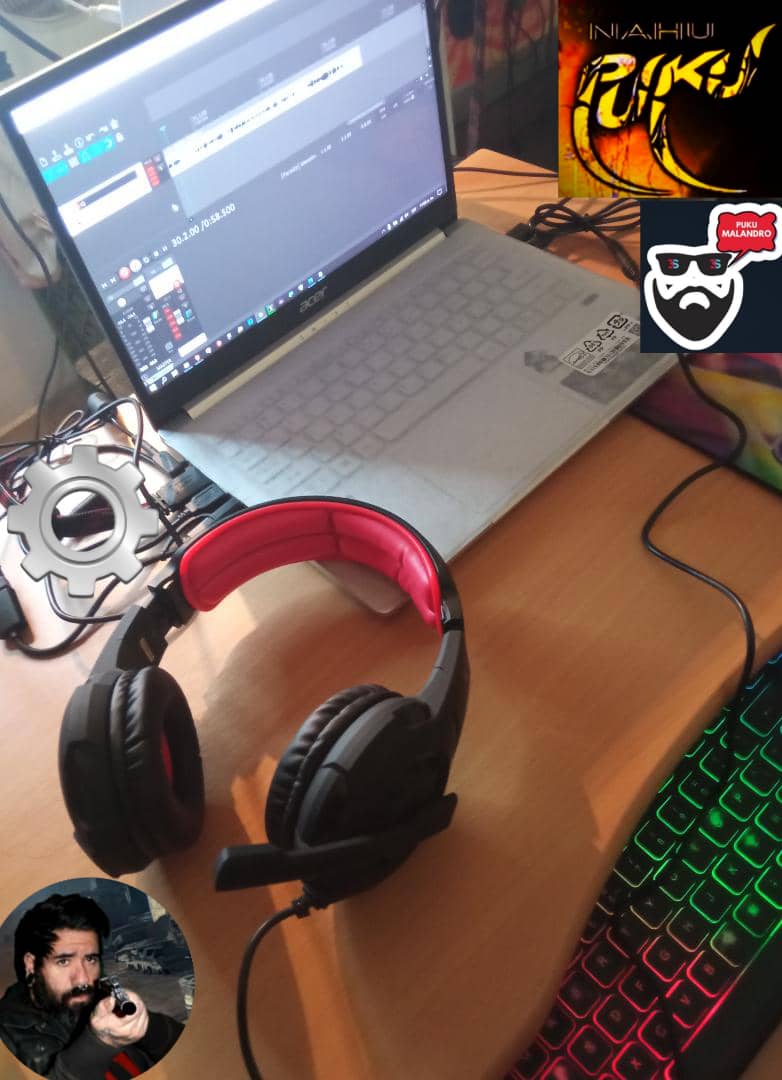
In this video, we will see a behind the scenes of how I recorded the videos of Artificial Intelligence, it consists of many parts because it was really quite complicated to do, the process took about five hours approximately, because first was to build from scratch a three-dimensional model of DinoPuku, then pass it to the artificial intelligences, then convert the face or the shape of the head from Photoshop to Blender with Facebuilder, to be able to render it in 3D and make the molds to create the profile, and then create all the videos, that took quite a few hours, an idea that I wanted to do since October last year, since many months ago, I was working with artificial intelligences, and especially with the DinoPuku, and well, here you will see a little, how was the editing process on the computer. To make this video, I'm using a new microphone and headphones, which I acquired thanks to Hive.
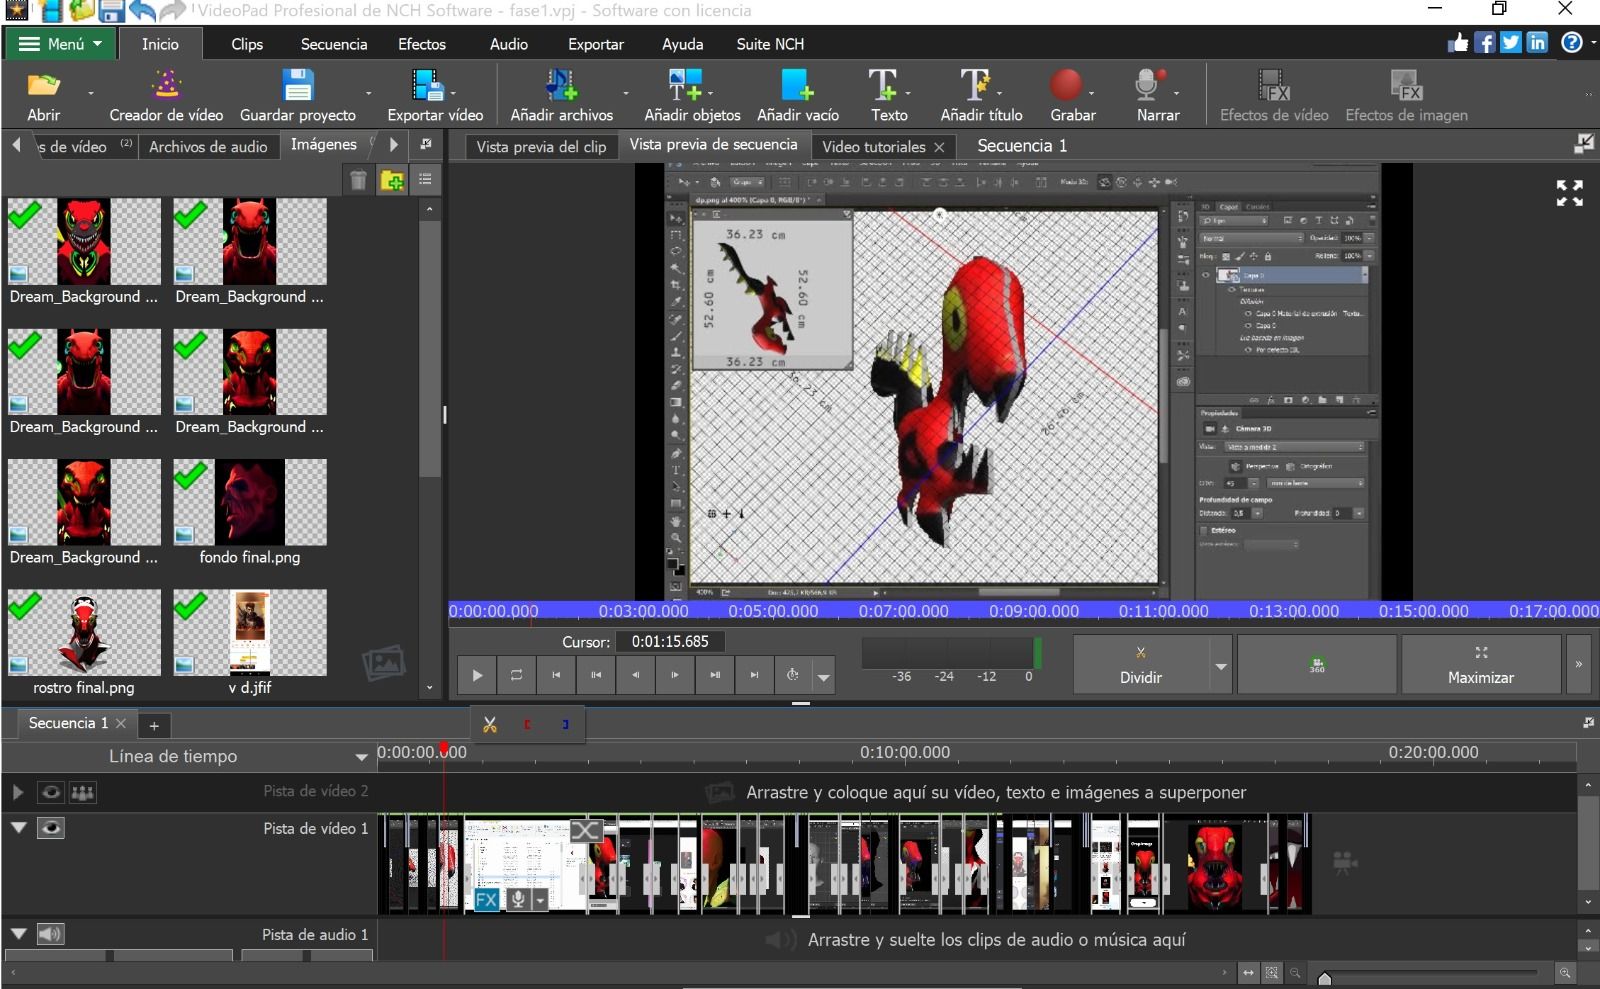
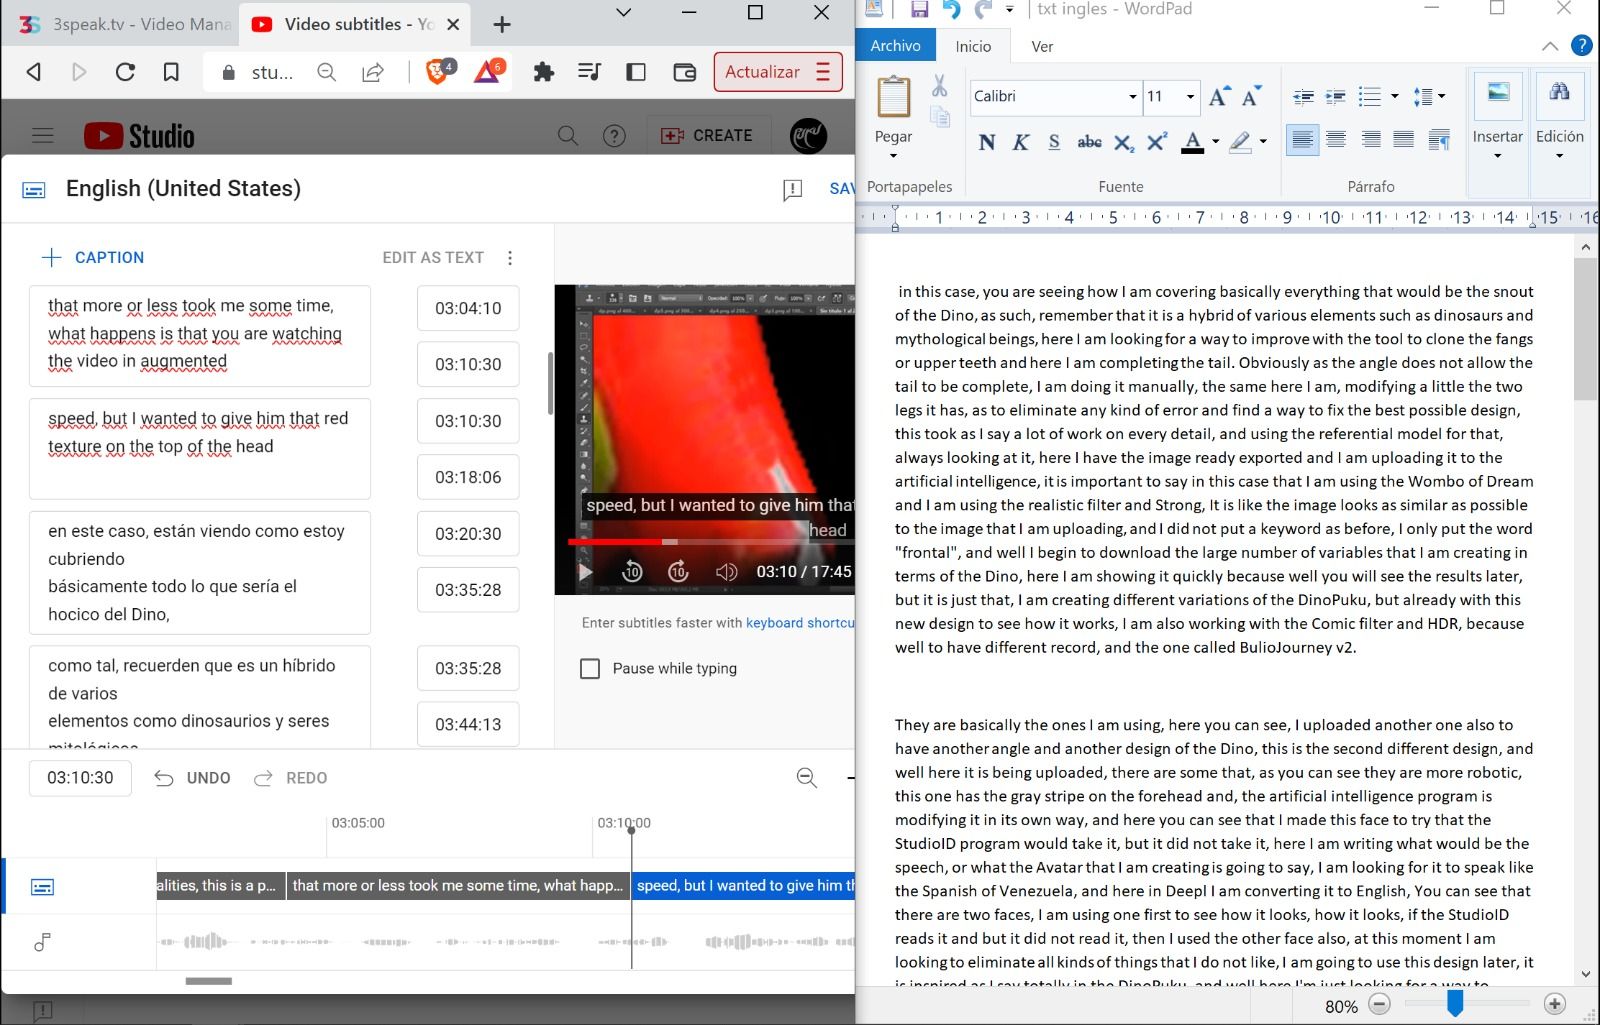
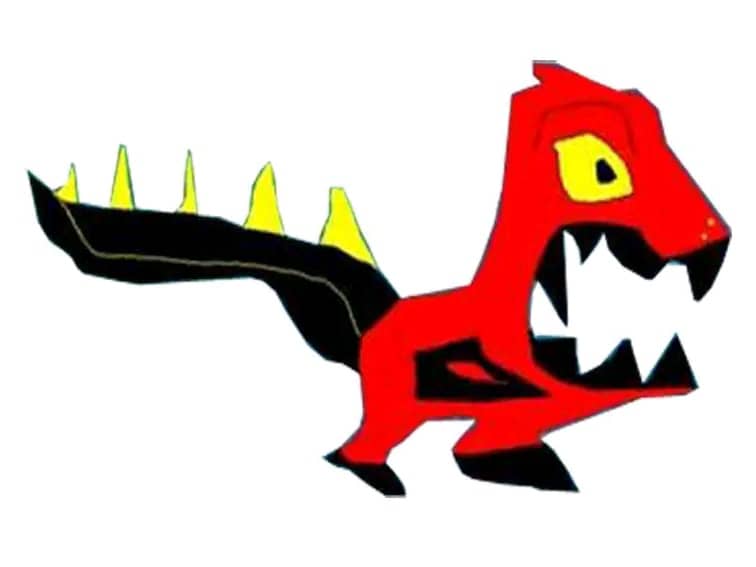
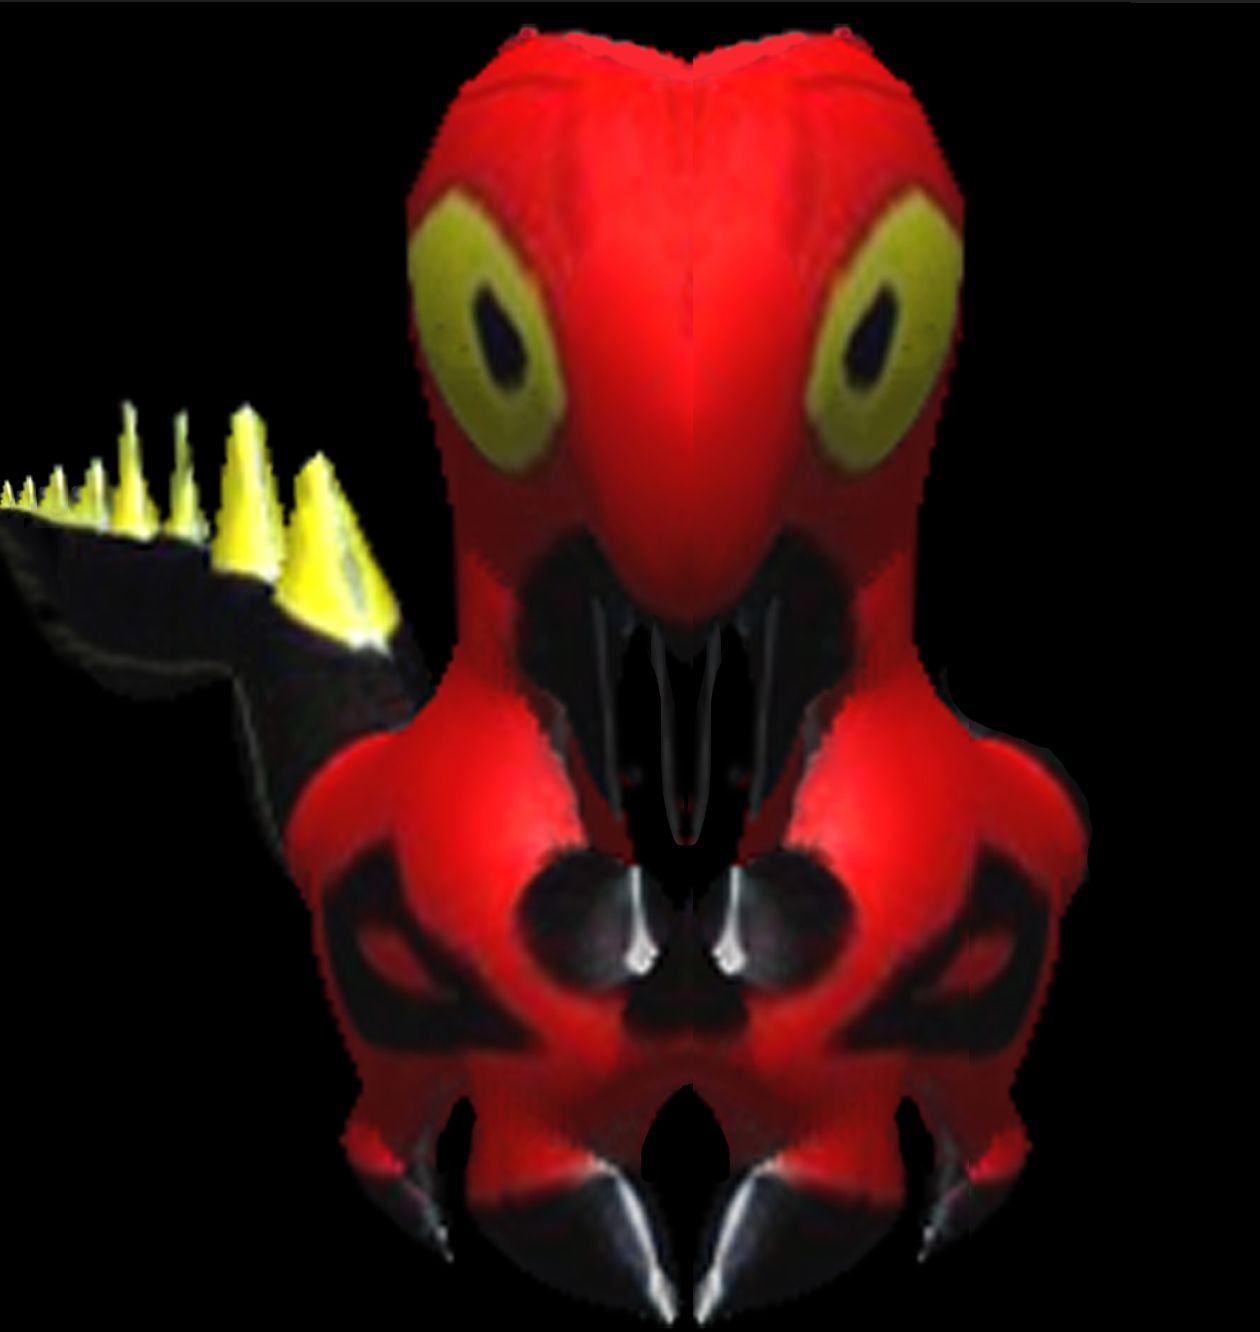
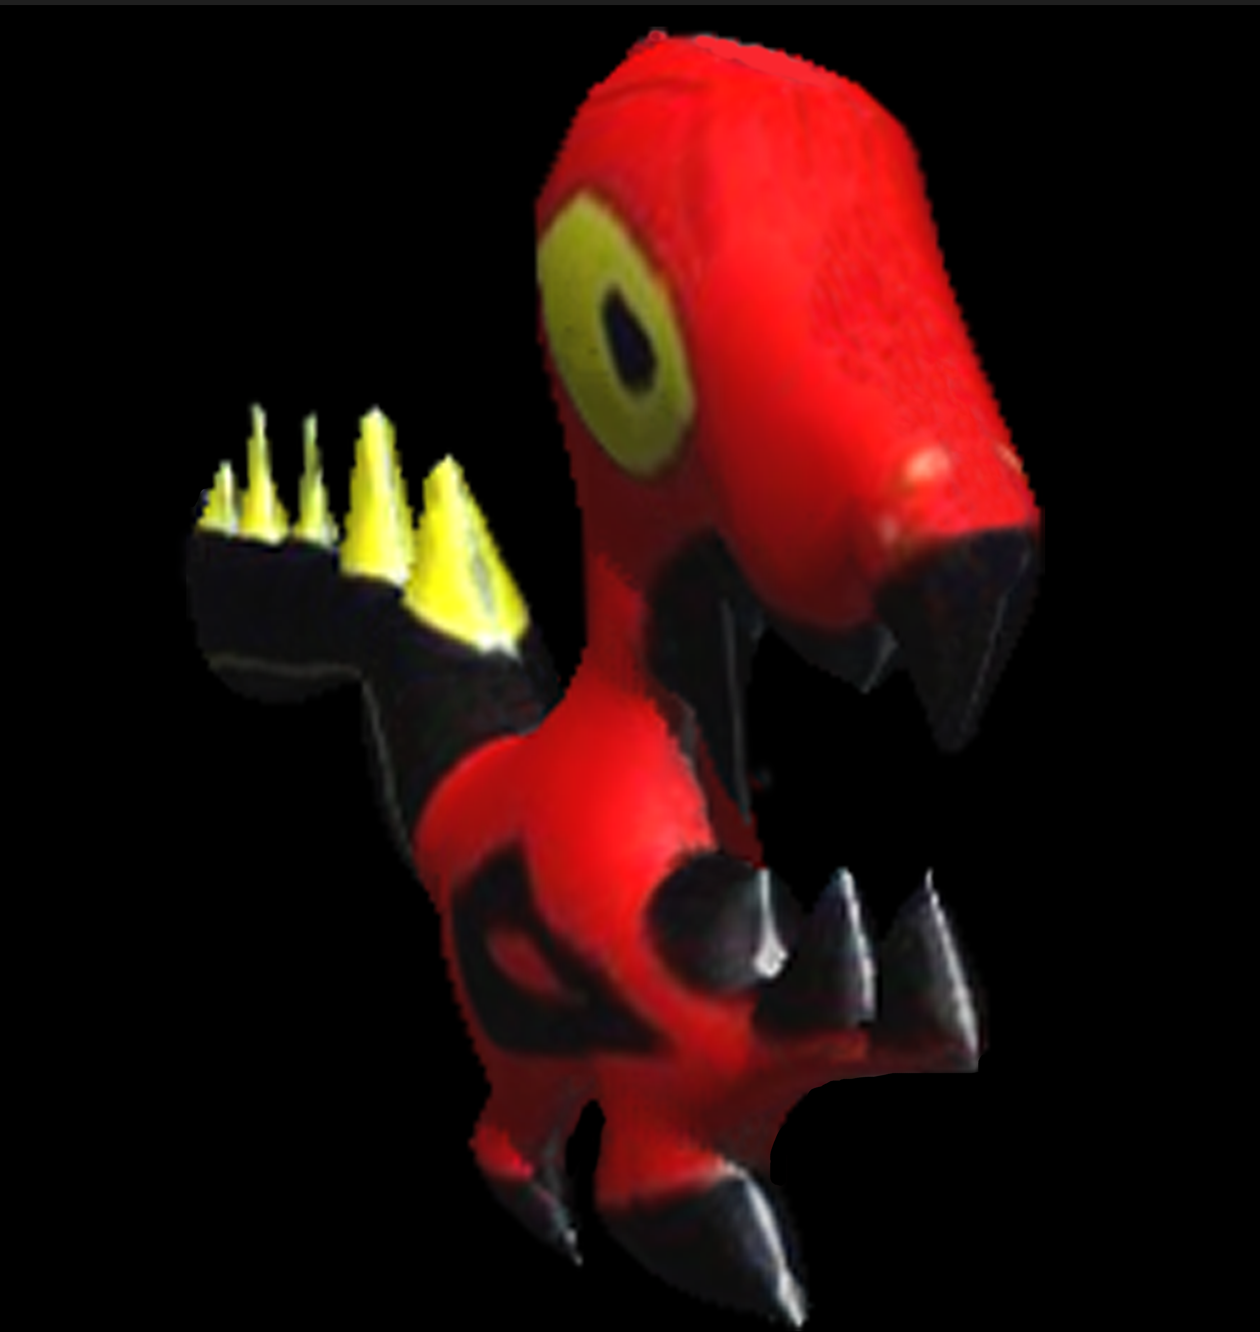
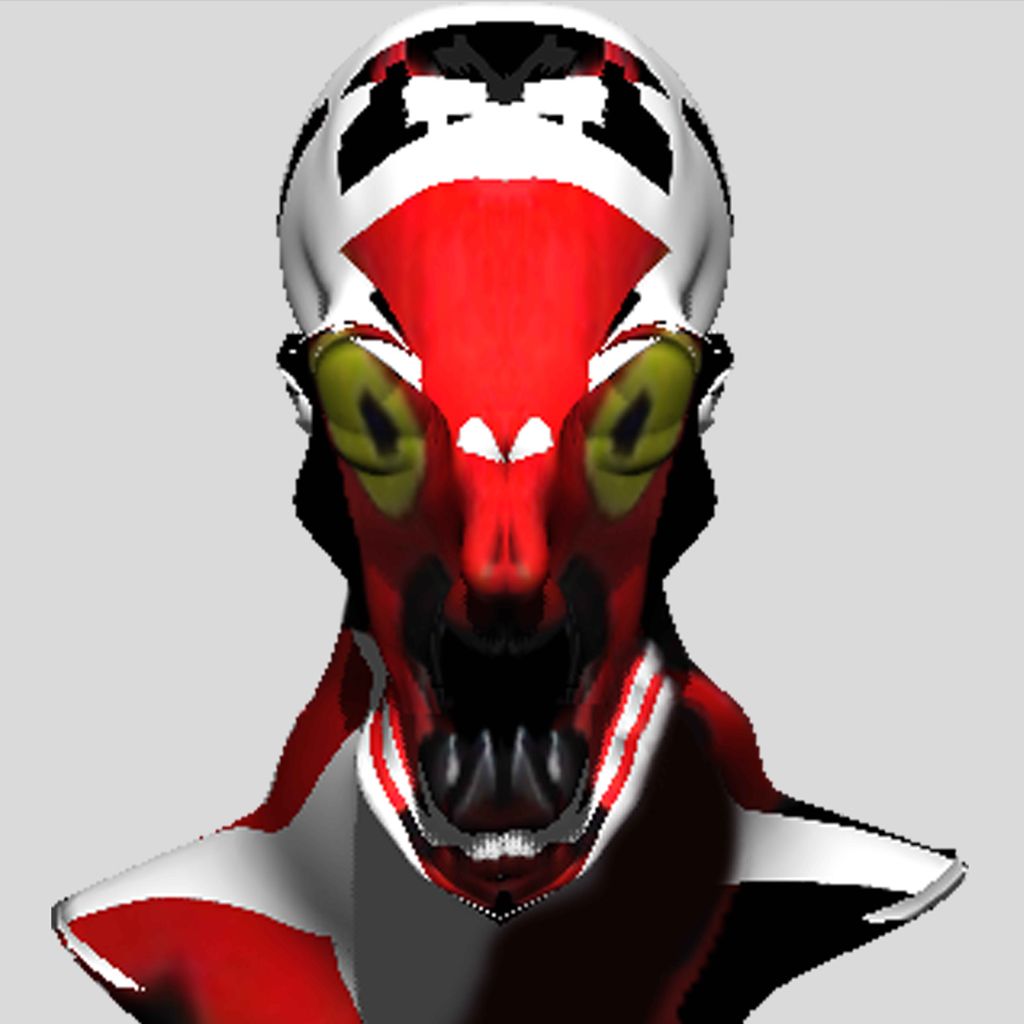
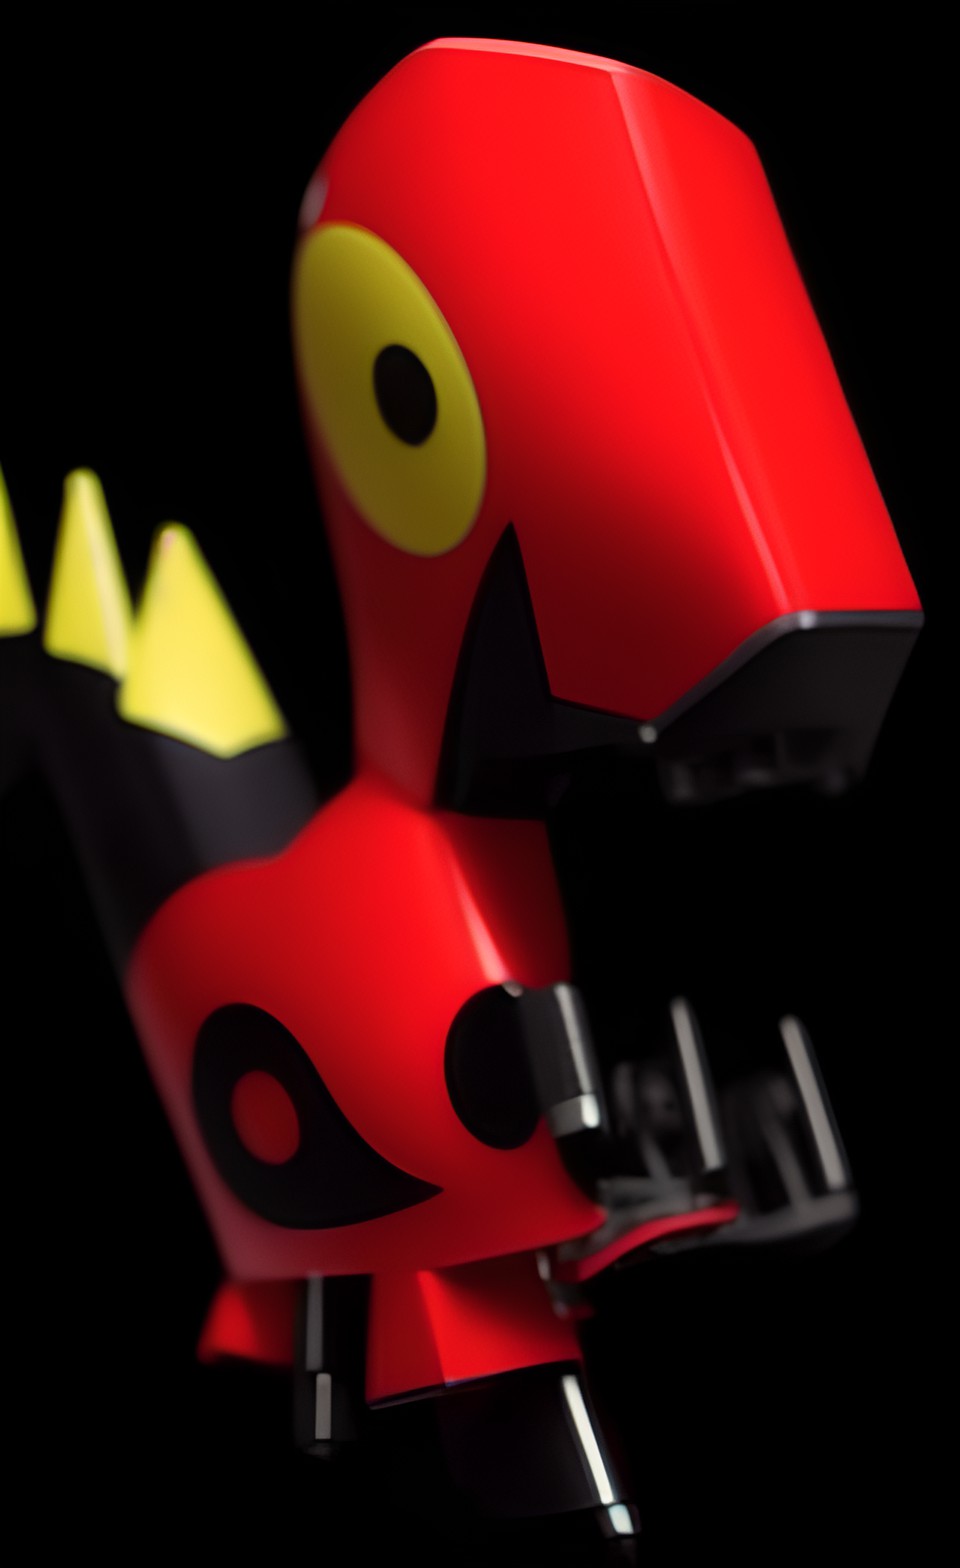
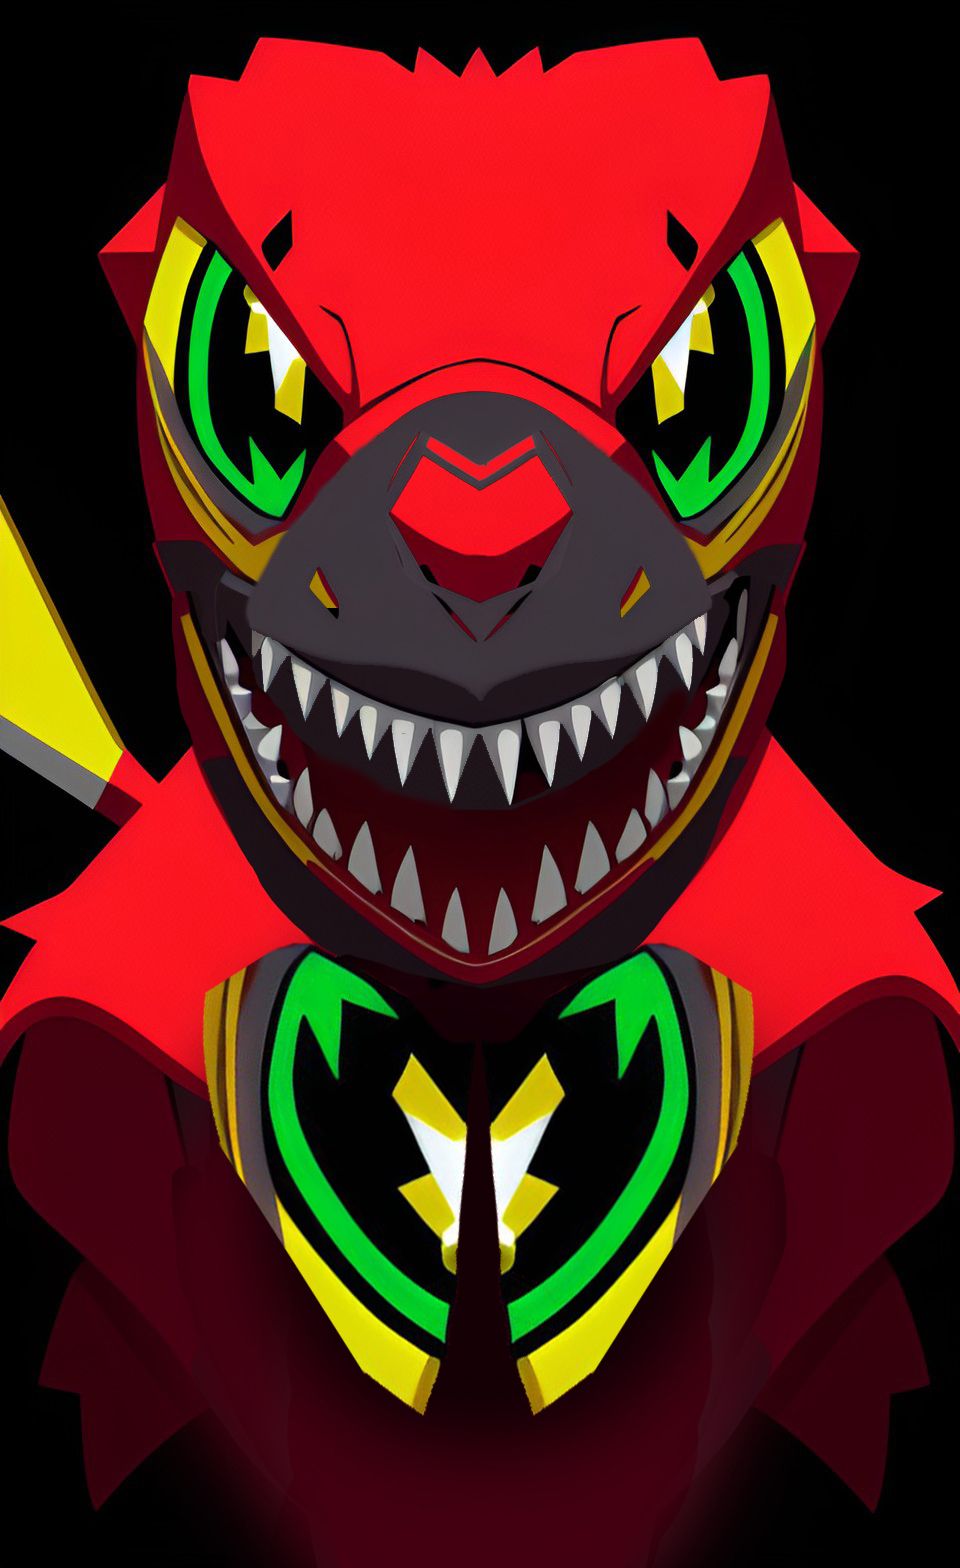
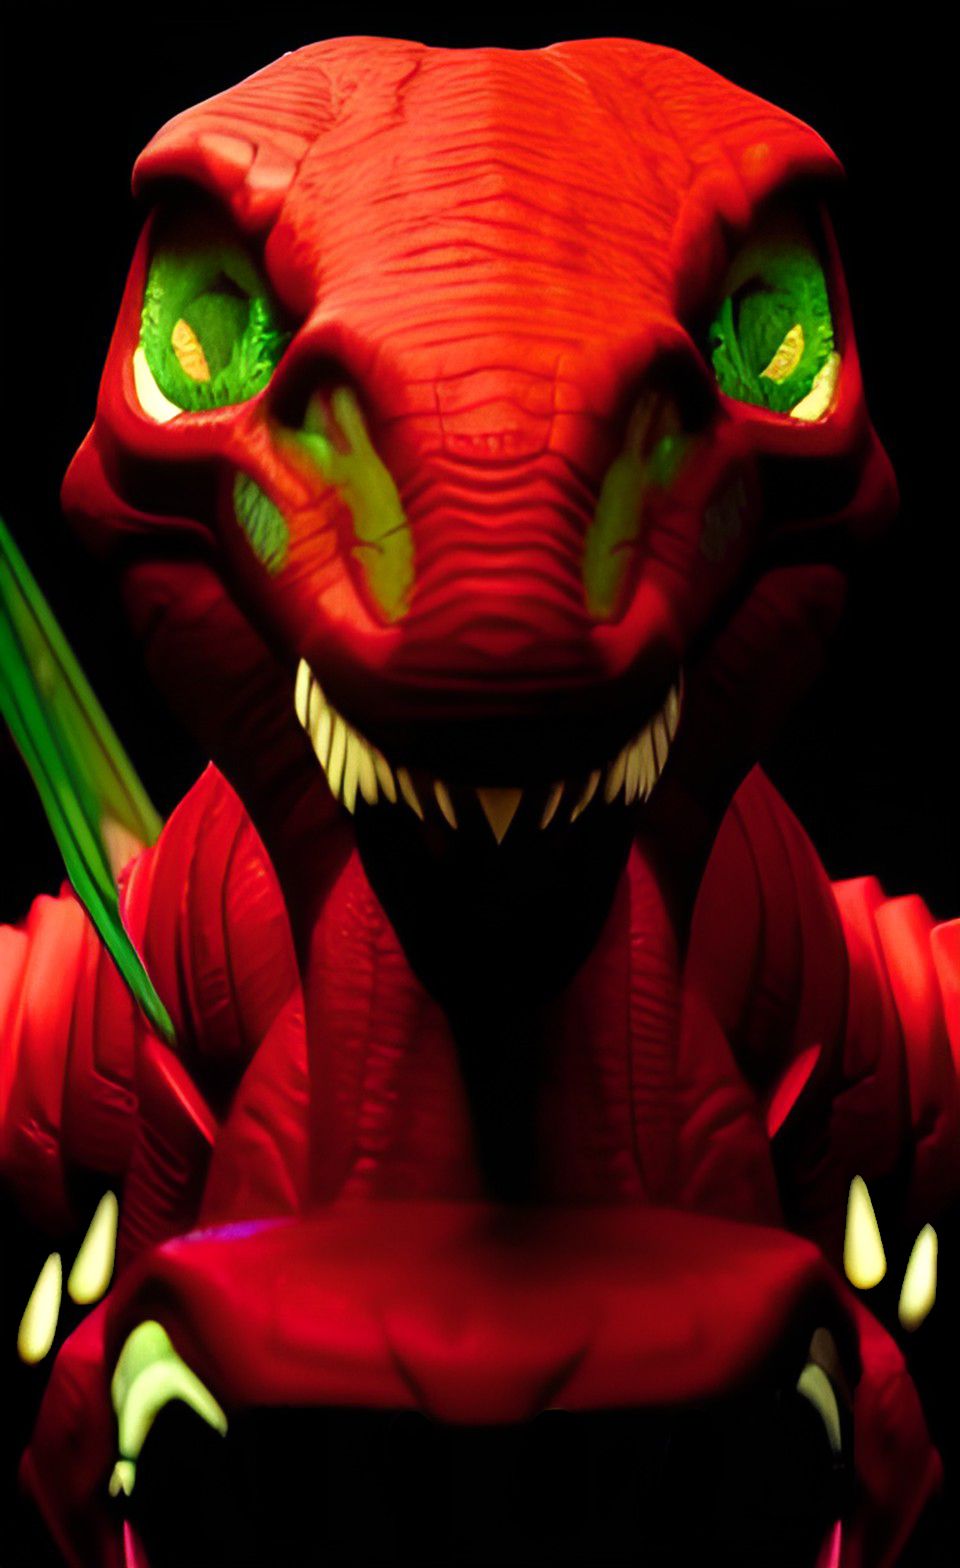
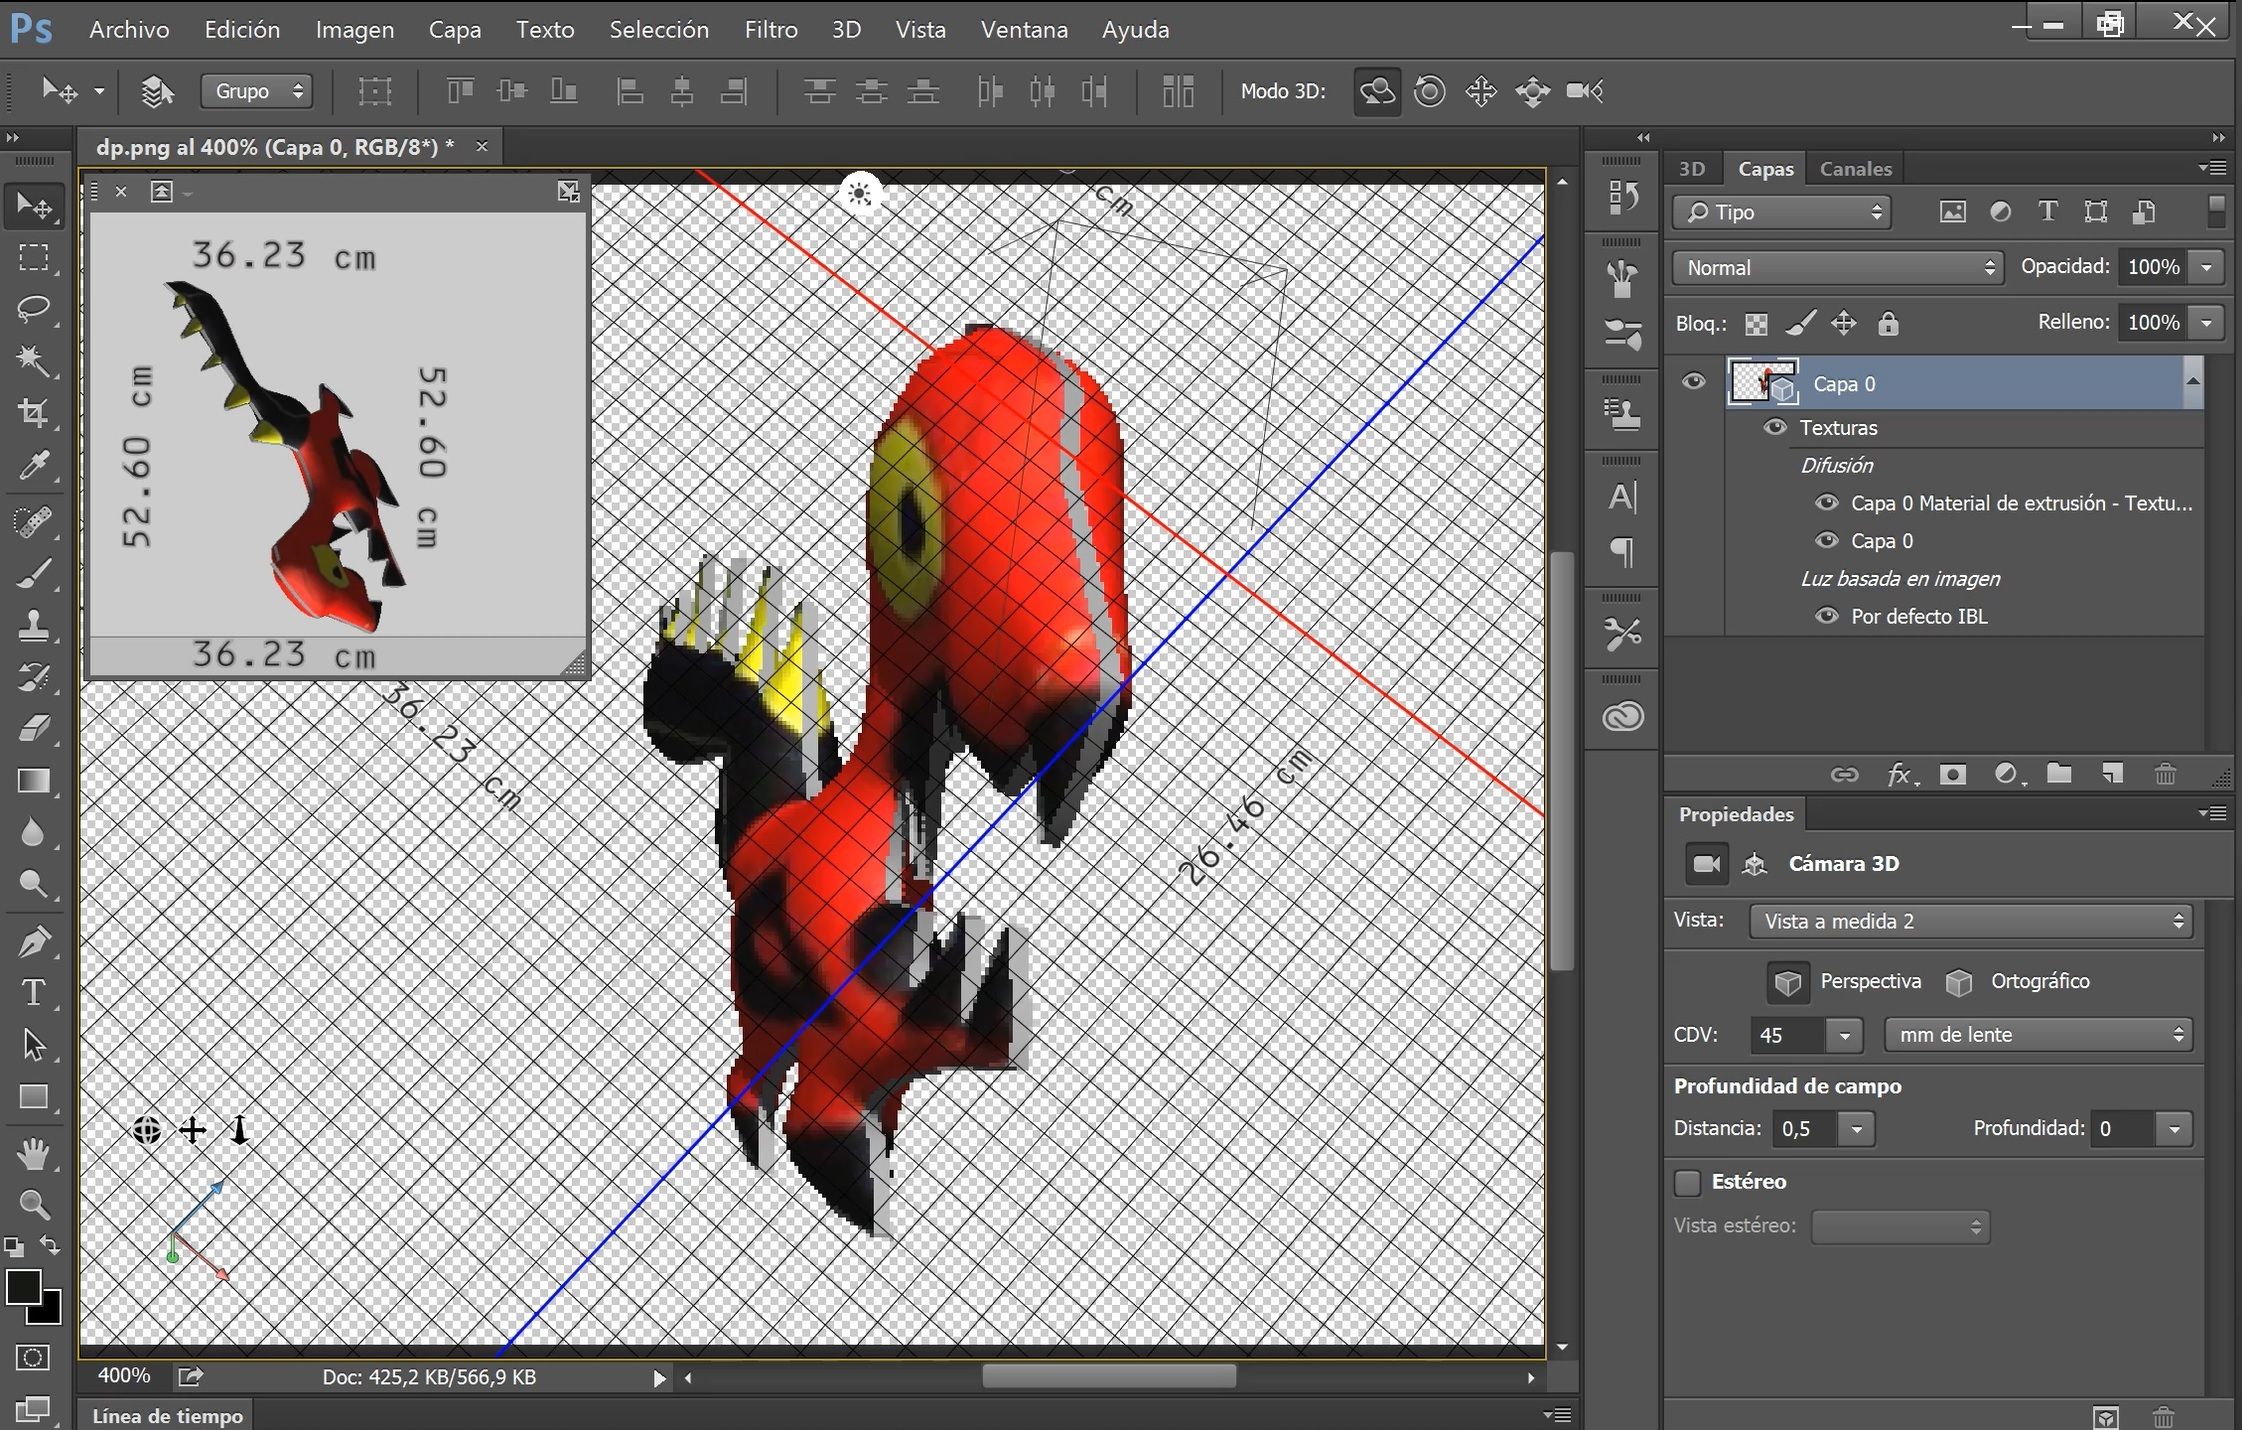
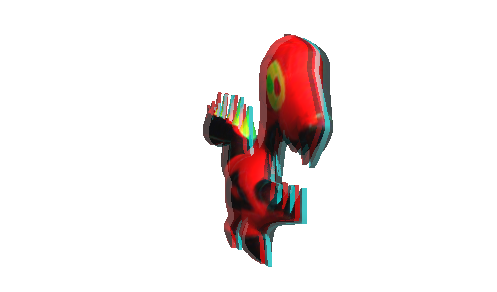
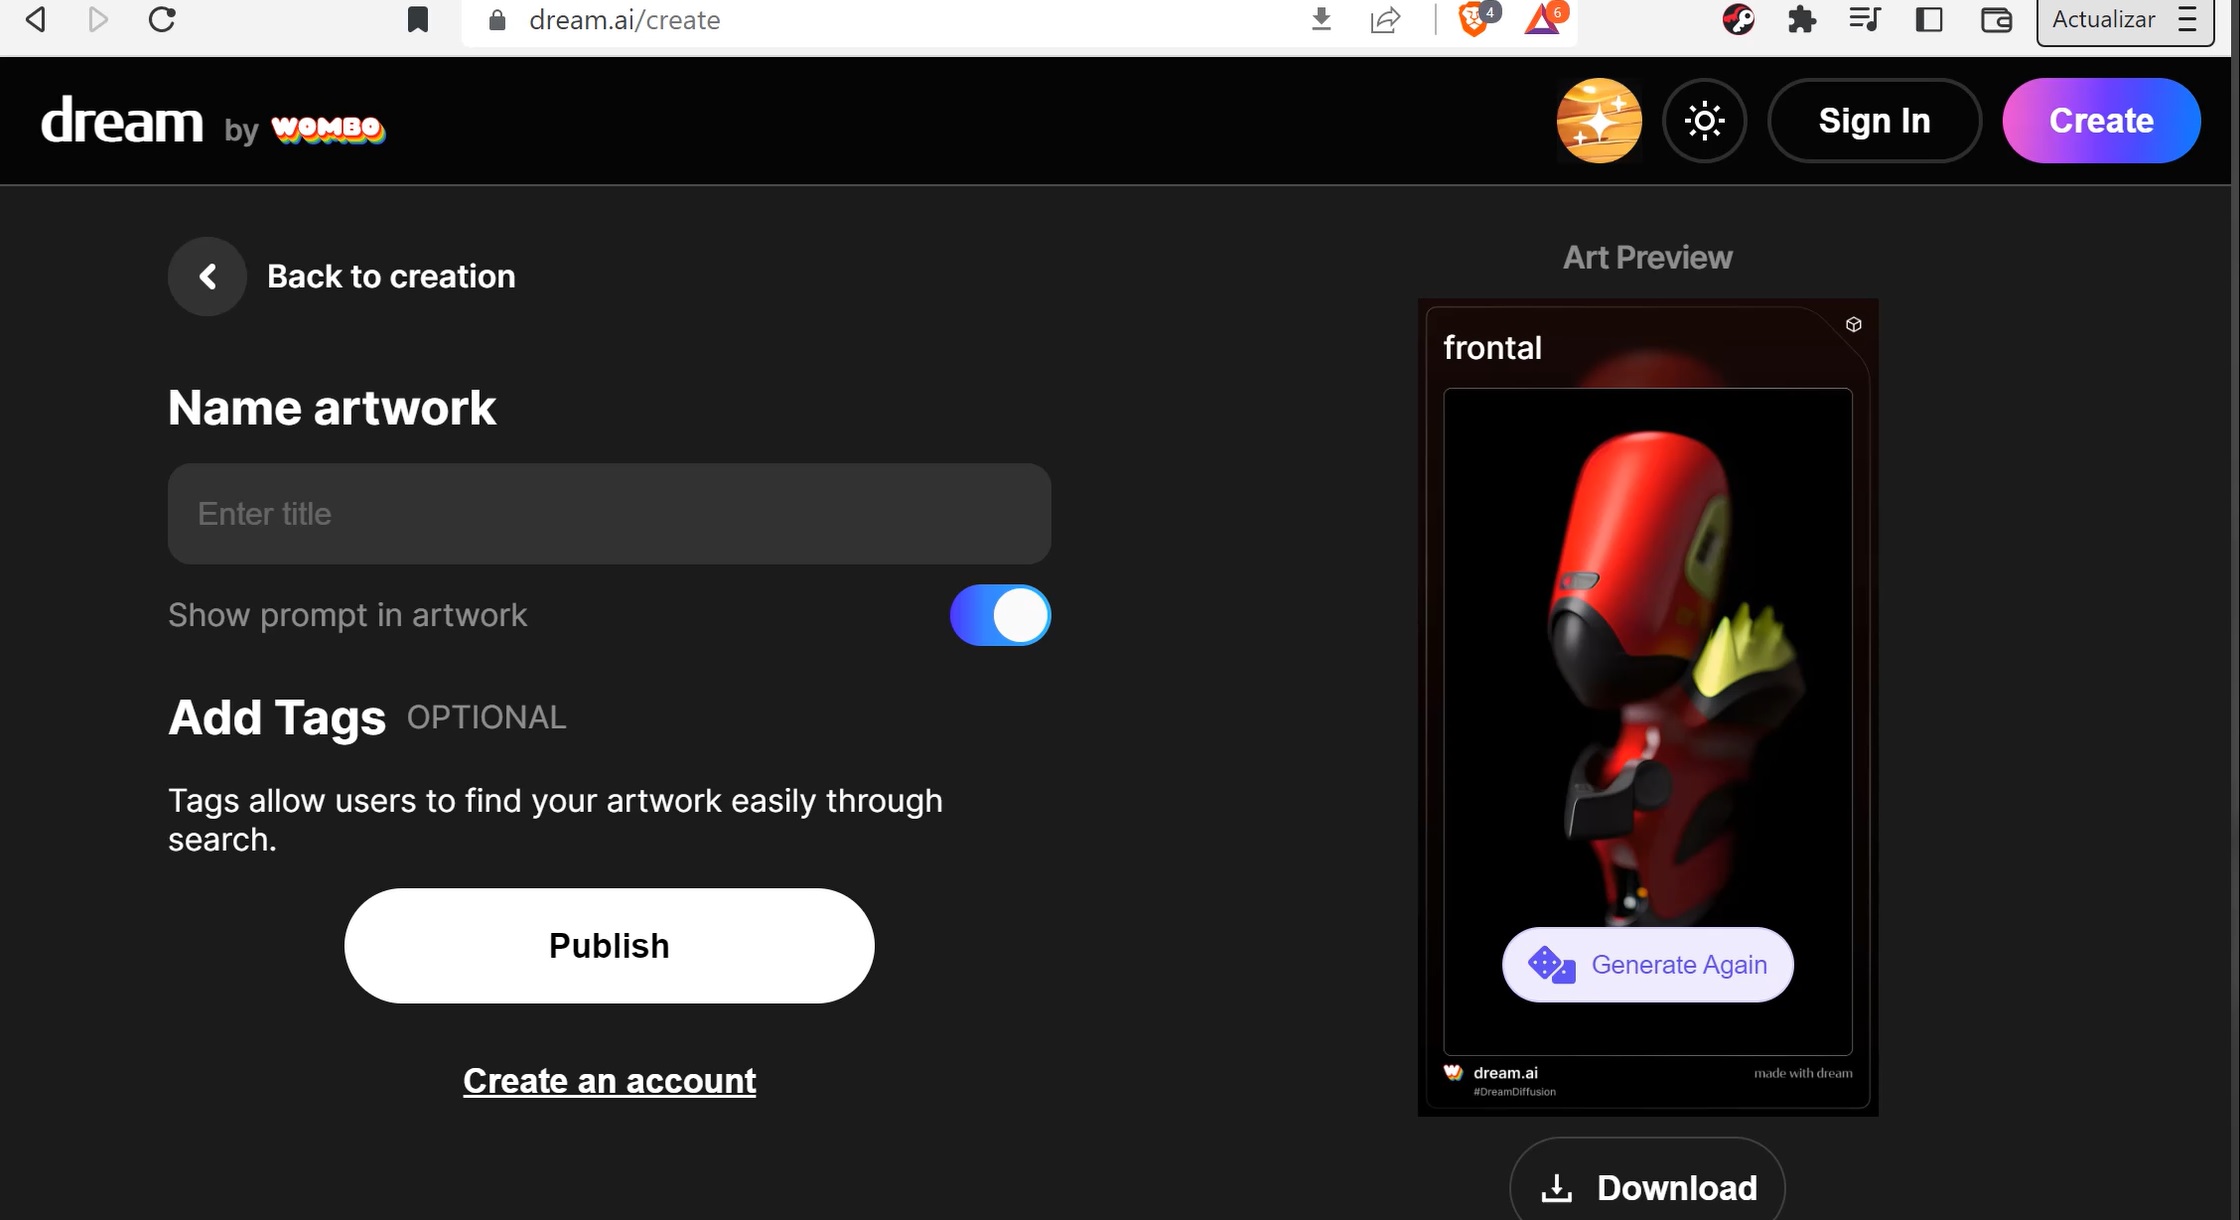
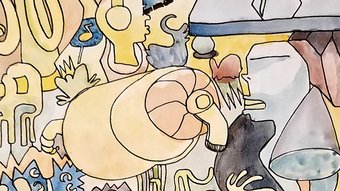
First step, take the image of the DinoPuku to Photoshop, 3D layer option to give volume between one side and the other, that is balanced and proportionate, the first thing is to move the extrusion depth to a value close to 1, and then I am placing in the caps the option: front and back, in order to have the same volume on both sides, then I proceeded to remove the stereo part so that the blue and red colors are not seen. Once ready, I proceeded to move the angles and remove the stripe on the forehead, and start coloring and looking for the different shades of red, yellow and black. Once the image is ready and exported, I proceed to upload it to the Artificial Intelligence page, in this case, I am using the Wombo from Dream.ai, using the realistic filter, called BulioJourney v2. In this case, I am using the Wombo Dream.ai, using the realistic filter, called BulioJourney v2, Comic and HDR, and the image uploaded in Strong mode, so that the generated image looks as accurate and similar as possible to the image I am uploading, and I did not put a keyword, I only put the word "frontal", and then they are created and begin to download the large number of designs, about 40 in total, which were created.
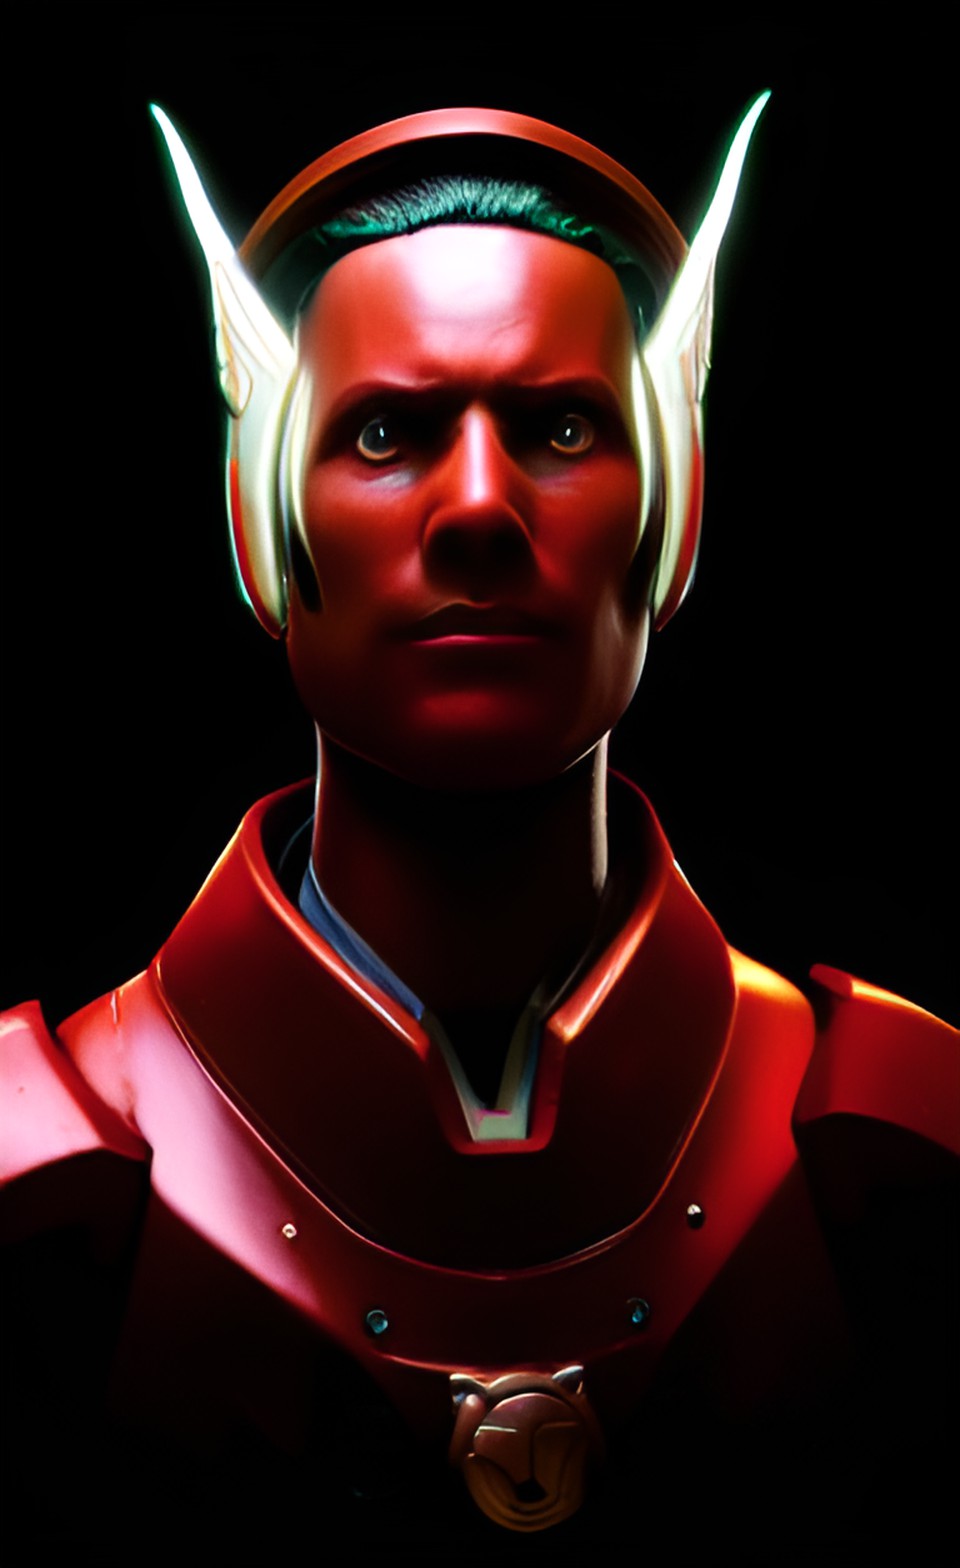
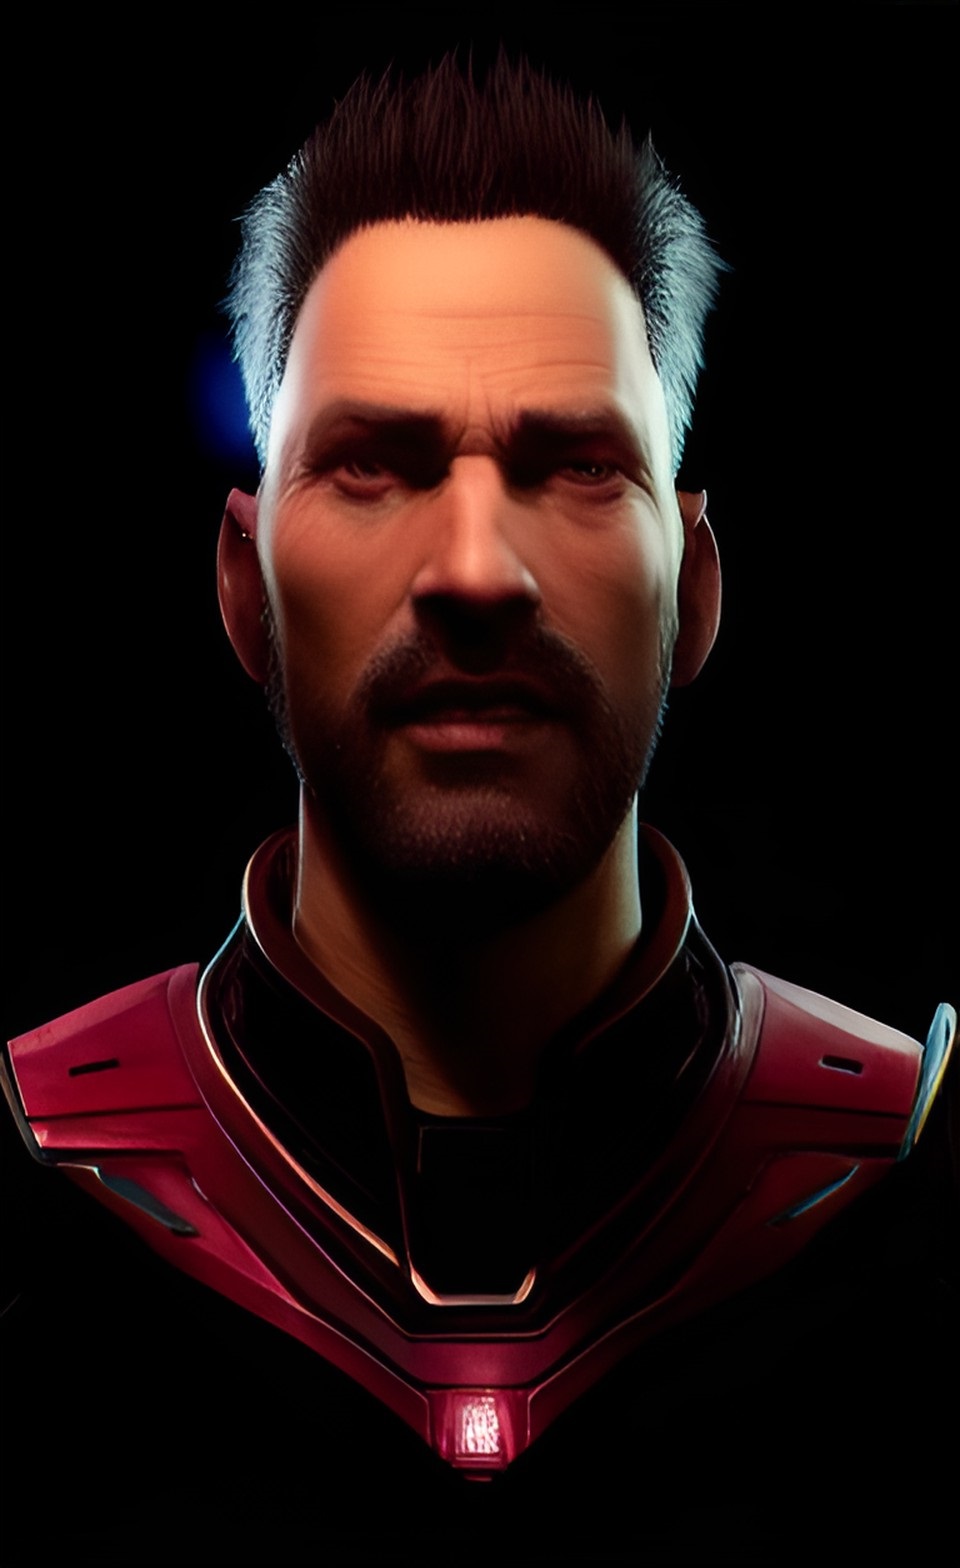
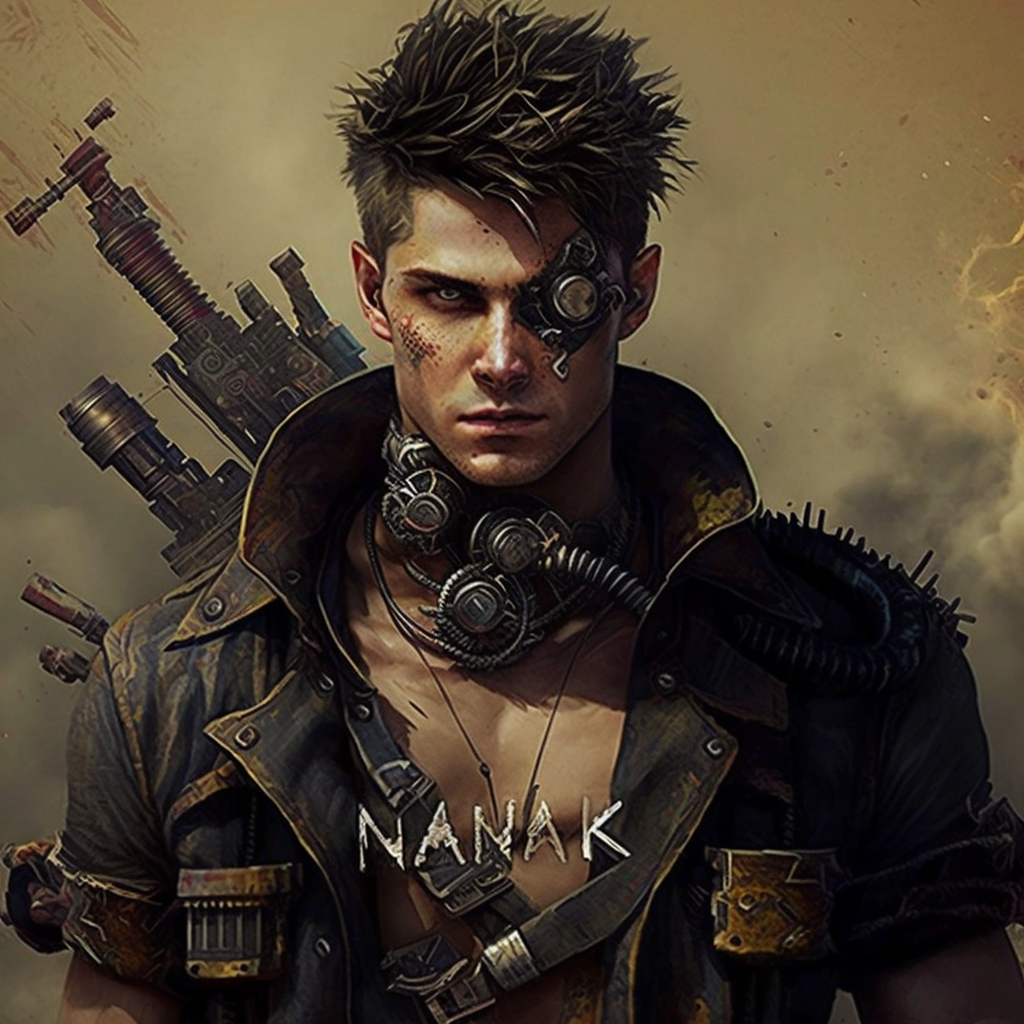
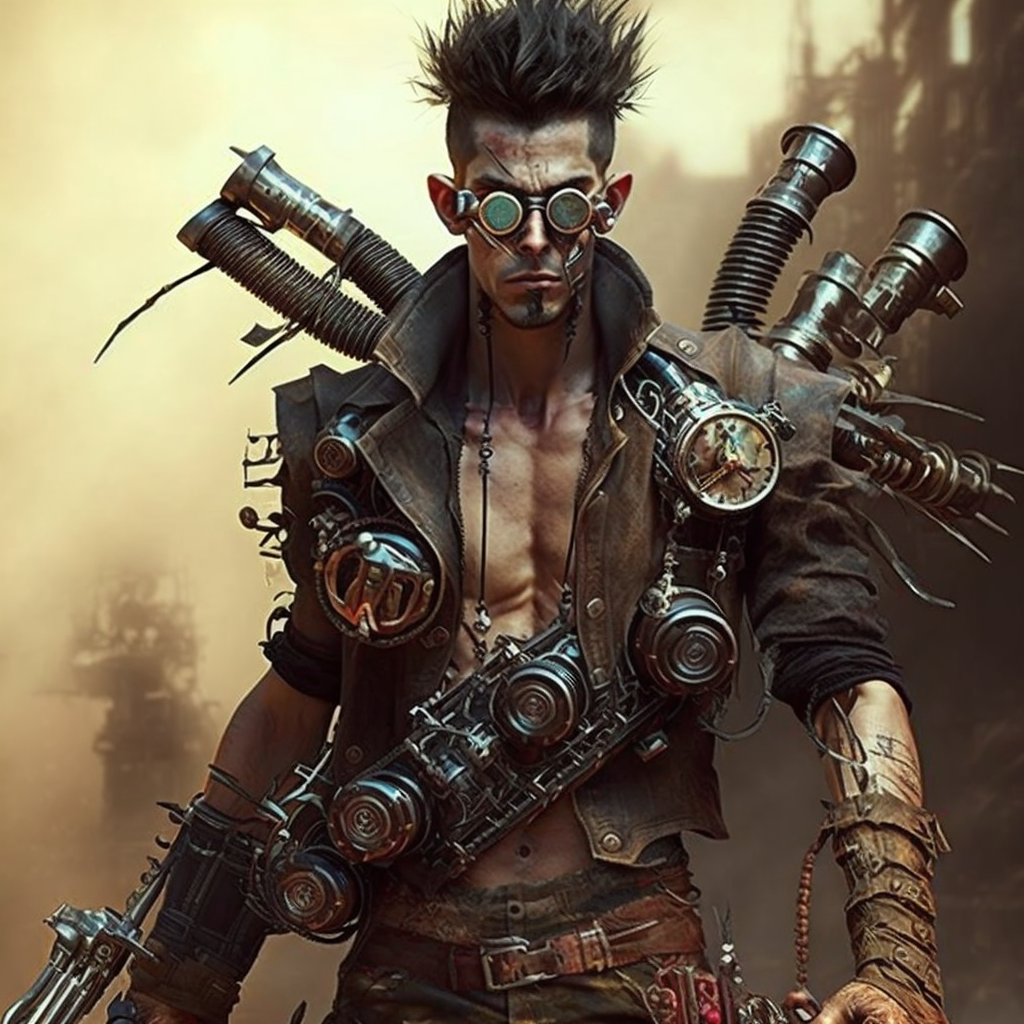
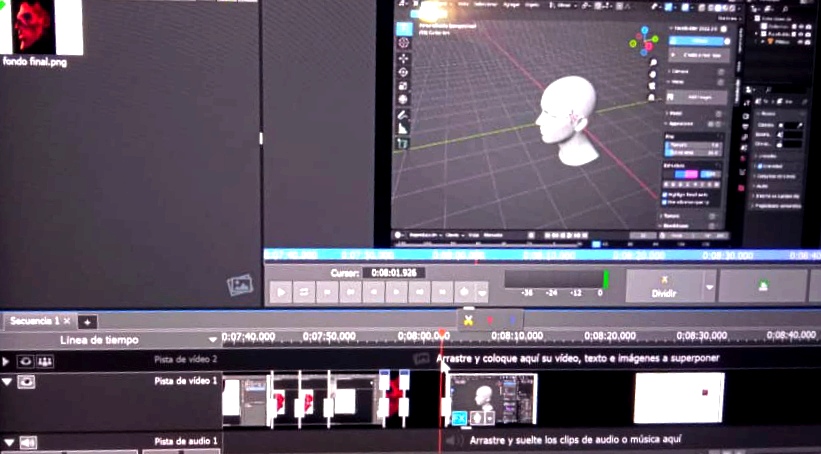
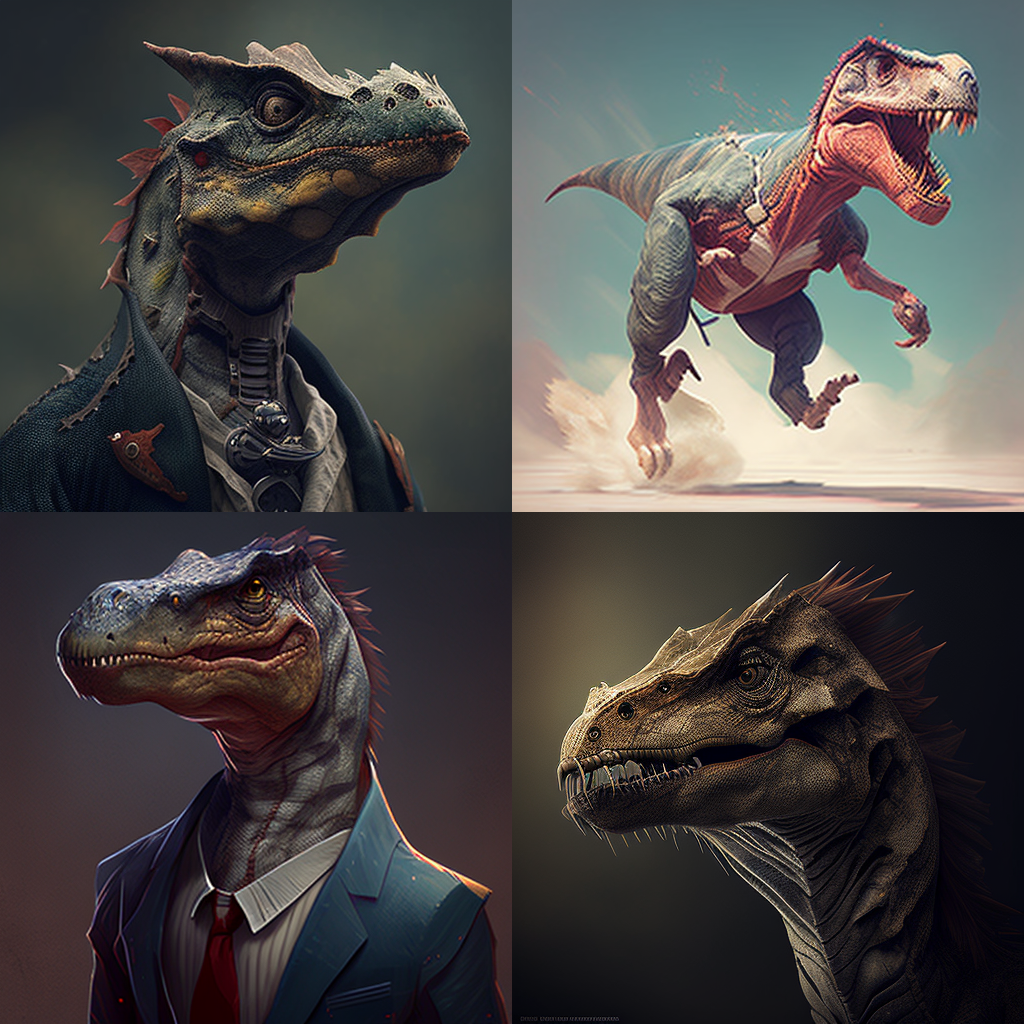
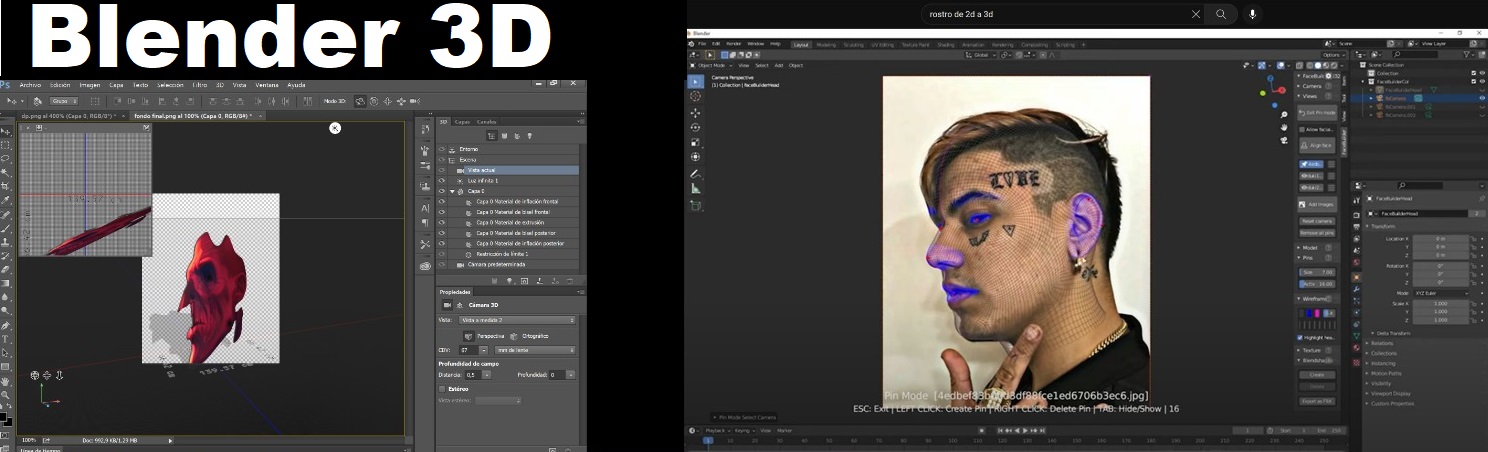
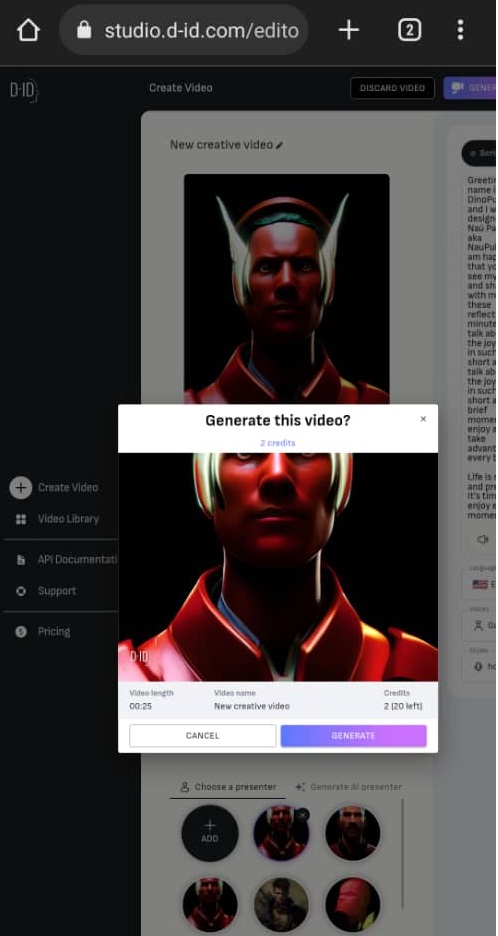
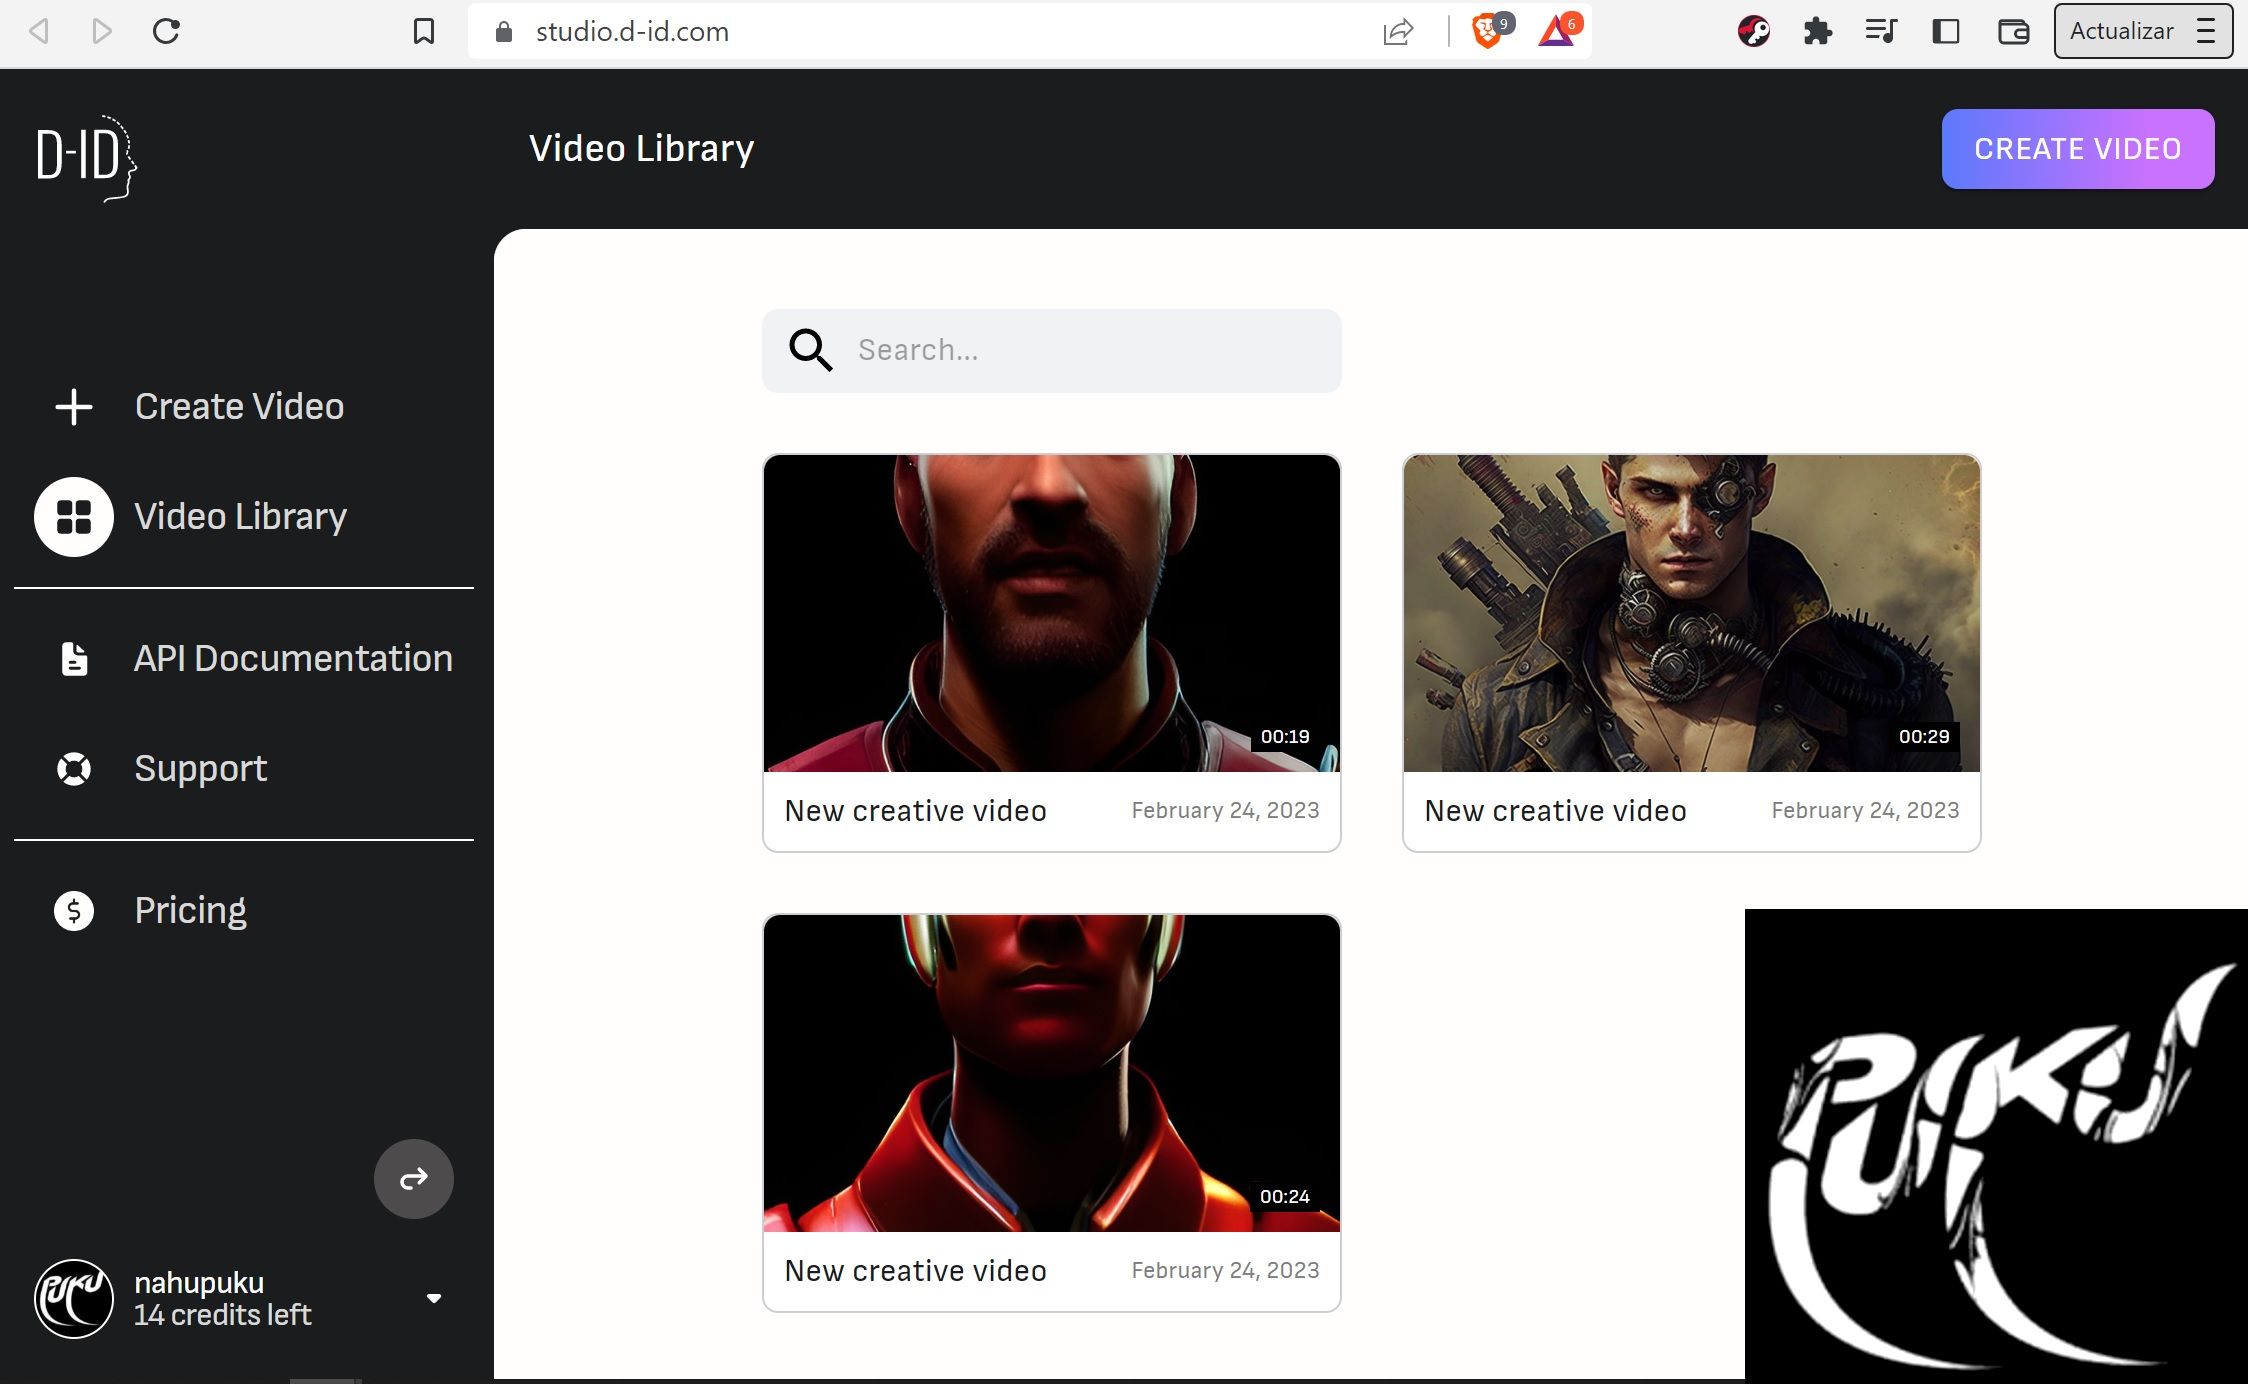
To create the StudioID Avatar, I had to, first write a Speech or speech, translate it in Deepl, then look for the option to speak as Venezuelan Spanish, with a male voice, as I did not recognize any type of DinoPuku design, because it only recognizes human features, I had to learn at the time to use the Blender program, I downloaded it, and I saw a tutorial, to create a 3D head model based on my DinoPuku design, with the Facebuilder option, at the third attempt I got the design I wanted, I simply went to Photoshop and I modified some asymmetric details, and I could introduce it again in Dream. ai to create different humanized versions of the character. Also to test another vision, I learned to use Midjourney, to create the PukuGuerrero character, I gave him several keywords: Caracas, city, gothic, madmax, etc. and I used him for the StudioID as a first Avatar test which he accepted. Later I continued working with more designs, simultaneously, and many more DinoPukus were created, until I got to the finished human DinoPuku.
I had to fix many details and wait a few hours but I really liked the final result, and well here I brought you the video and the summary of the process, I hope you like it.
Para ver en Youtube:
Spanish:
PukuSaludos para todos y todas pukuamigos, les envío bendiciones. Les presento este nuevo vídeo grabado en el PukuEstudio, titulado: Behind the process - Detrás de cámara A.I. Versión - Serie Human DinoPuku - 2023. Este es mi nuevo vídeo para Hive. numero 237 de 3speak.
En este video, vamos a ver un detrás de cámara de cómo grabé los videos de Inteligencia artificial, consta de muchas partes porque de verdad fue bastante complicado realizarlo, el proceso tardó unas cinco horas aproximadamente, porque primero fue construir de cero un modelo en tres dimensiones del DinoPuku, luego pasarlo a las inteligencias artificiales, luego convertir el rostro o la forma de la cabeza desde Photoshop a Blender con el Facebuilder, para poder renderizarlo en 3D y poder hacer los moldes para crear el perfil, y luego, pues crear todos los vídeos, eso se llevó bastantes horas, una idea que quería hacer desde el mes de octubre del año pasado, ya desde hace muchísimos meses atrás, estaba trabajando con Inteligencias artificiales, y sobre todo con el DinoPuku, y bueno, aquí van a ver un poco, cómo fue el proceso de edición en la computadora. Para realizar este video, estoy estrenando microfono y audífonos nuevos, que adquiri gracias a Hive.
Primer paso, llevar la imagen del DinoPuku al Photoshop, opción de capa de 3D para darle volumen entre un lado y el otro, que sea equilibrado y proporcionado, lo primero es mover la profundidad de extrusión a un valor cercano a 1, y luego estoy colocando en las tapas la opción: frente y atrás, para poder tener el mismo volumen de los dos lados, luego procedí a quitarle la parte de stéreo para que no se vean los colores azul y rojo. Una vez listo, procedí a mover los ángulos y remover la raya en la frente, y empezar a colorear y a buscar las diferentes tonalidades de rojos, amarillo y negro. Una vez la imagen esta lista y exportada, se procede a subir a la pagina de la Inteligencia artificial, en este caso, estoy utilizando el Wombo de Dream.ai, utilizando el filtro realista, llama BulioJourney v2., Comic y HDR, y la imagen subida en modo Strong, para que, la imagen generada se vea lo más exacto y parecido posible a la imagen que estoy subiendo, y no le puse una palabra clave, solamente le puse la palabra "frontal", y posteriormente se van creando y empiezo a descargar la gran cantidad de diseños, unos 40 en total, que se fueron creando.
Para crear el Avatar de StudioID, tuve que, primero redactar un Speech o discurso, traducirlo en Deepl, luego buscar la opción que hable como español de Venezuela, con voz masculina, como no reconocía ningún tipo de diseño del DinoPuku, porque solamente reconoce rasgos humanos, tuve que aprender en el momento a usar el programa Blender, me lo descargue, y vi un tutorial, para crear un modelo de cabeza en 3D basado en mi diseño del DinoPuku, con la opción de Facebuilder, al tercer intento me funciono el diseño que quería, simplemente me fui a Photoshop y le modifique algunos detalles asimétricos, y poderlo introducir nuevamente en Dream.ai para crear diferentes versiones humanizadas del personaje. También para probar otra visión, aprendí a usar Midjourney, para crear el personaje del PukuGuerrero, le di varias palabras claves: Caracas, ciudad, gótica, Madmax, etc. y lo utilicé para el StudioID como una primera prueba de Avatar la cual acepto. Posteriormente seguí trabajando con más diseños, en simultáneo, y se crearon muchísimos más Dinos Pukus, hasta que llegue al DinoPuku humano terminado.
Tuve que arreglar muchos detalles y esperar algunas horas pero el resultado final me gusto mucho, y bueno aquí les traje el video y el resumen del proceso, espero que sea de su agrado.
THE AI VIDEO:
Para ver en Youtube:
Post:
https://peakd.com/hive-142415/@nahupuku/vkaselxw
How I made this video - Como hice este video:
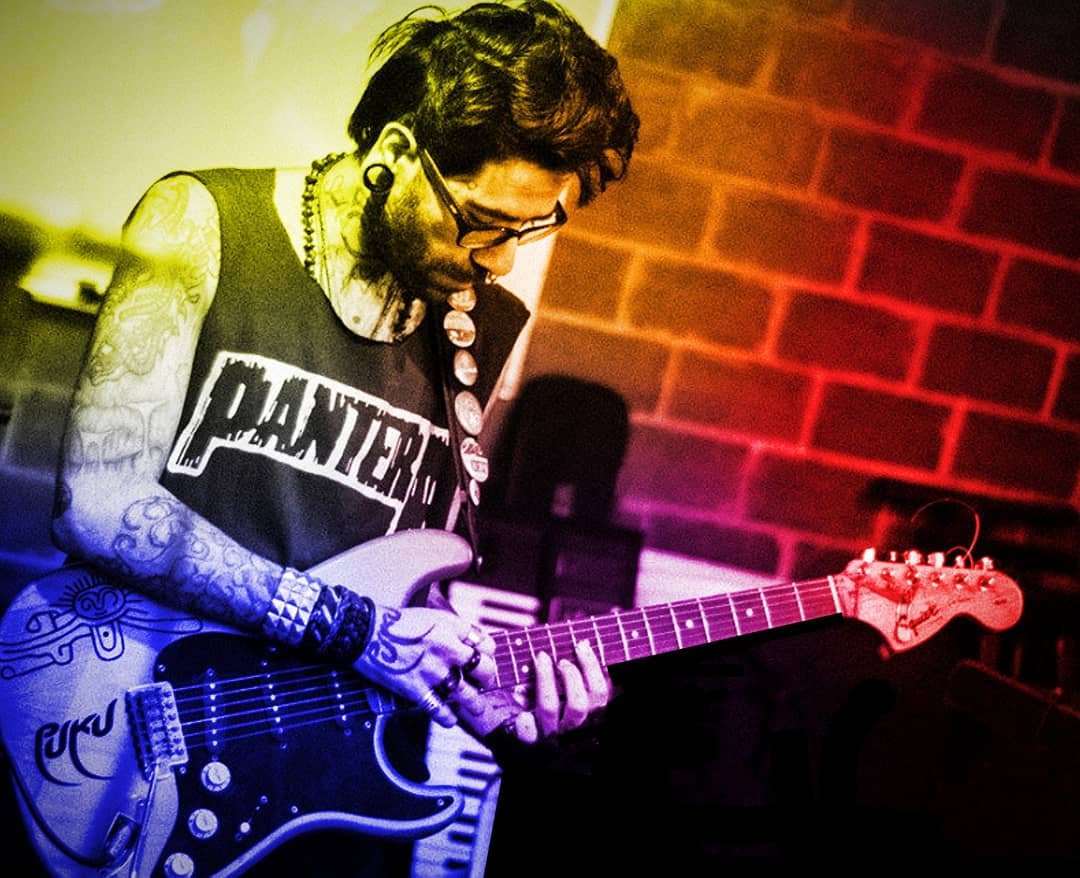
Desde el centro de Mando, la PukuCentral de Edición:

Y mi nueva adquisición, los PukuAudífonos:
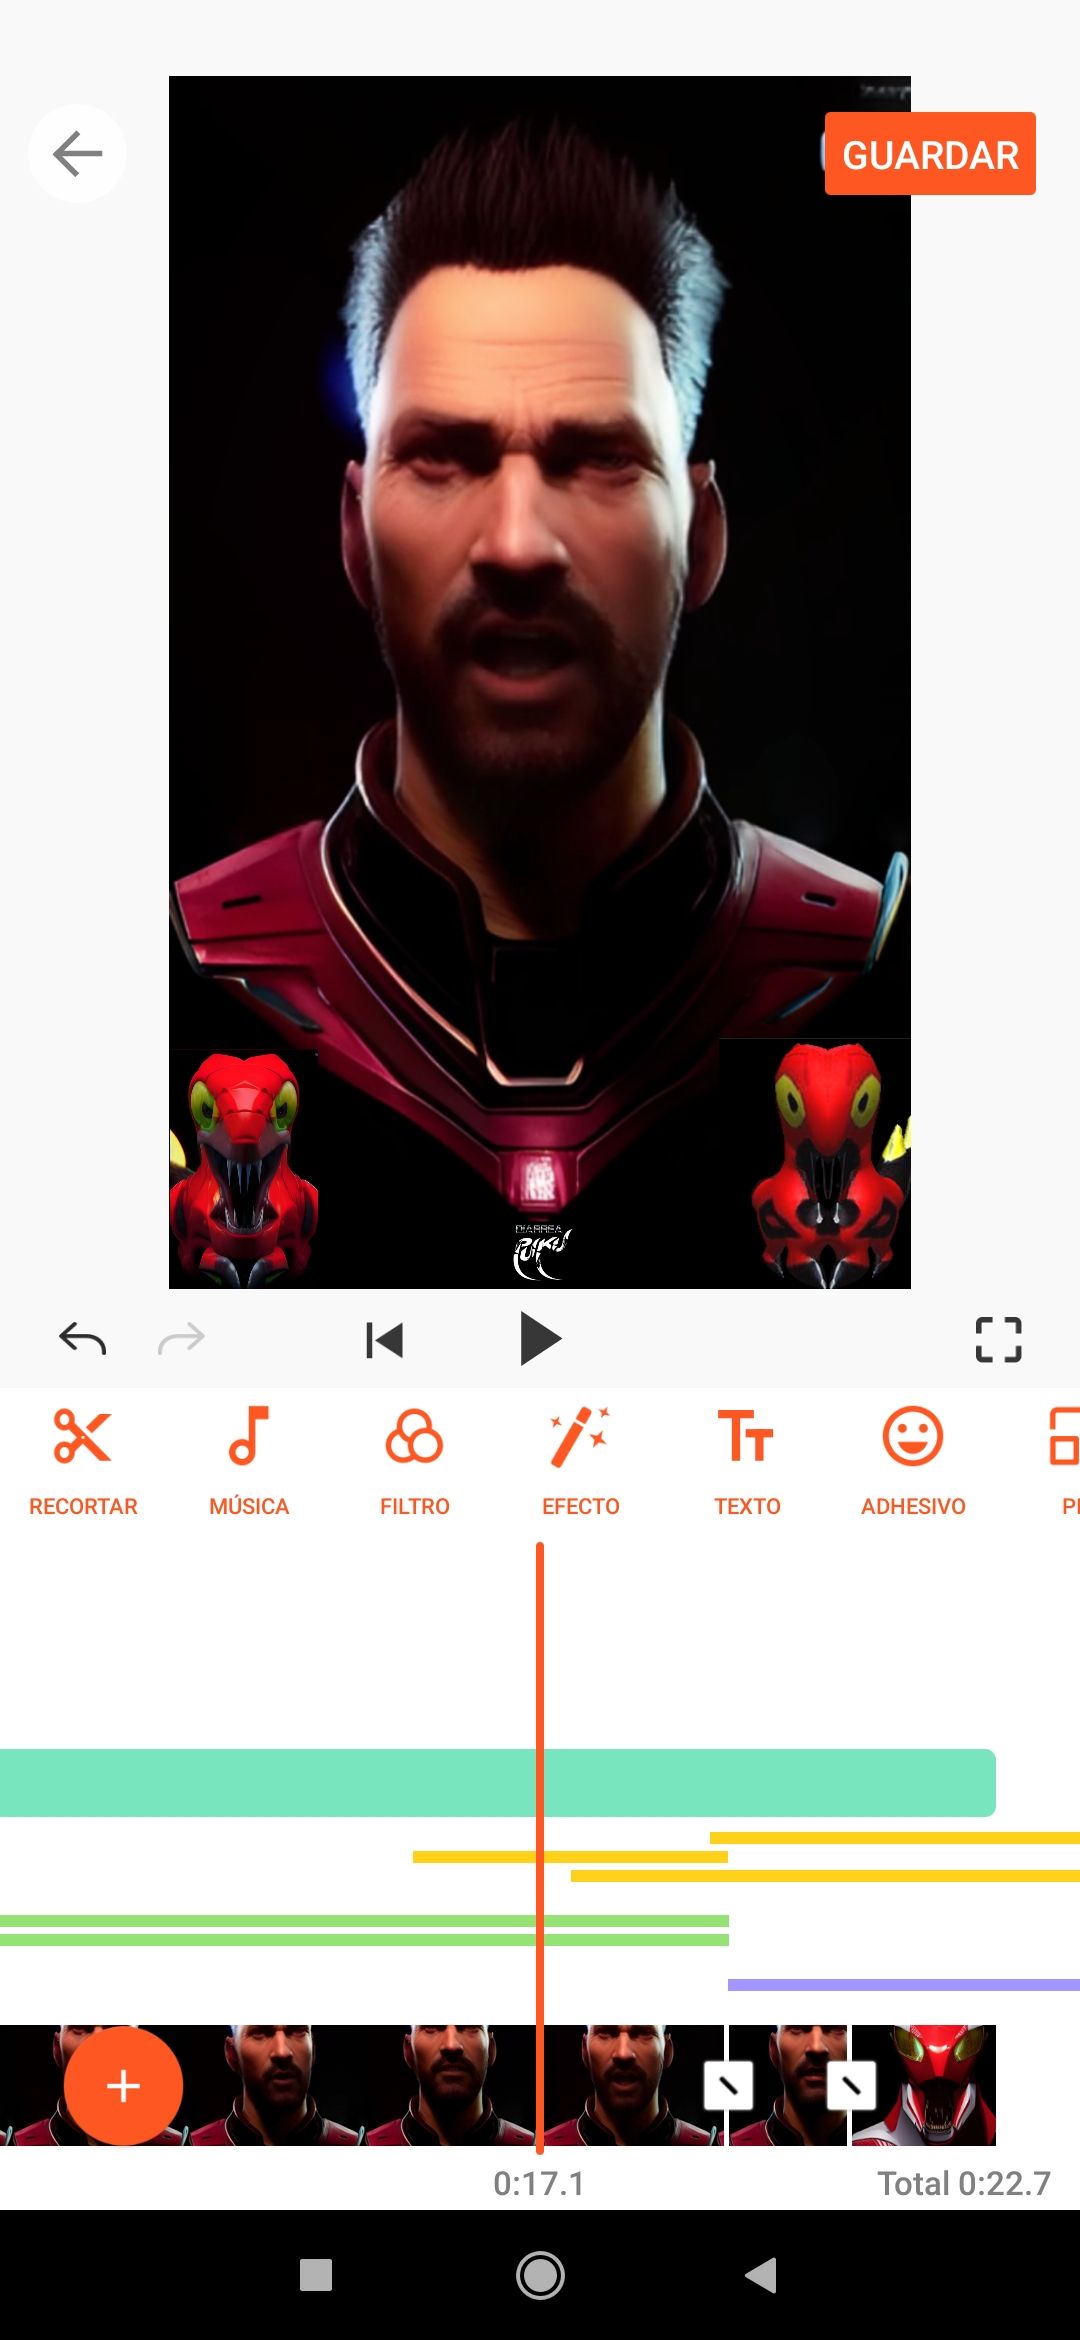
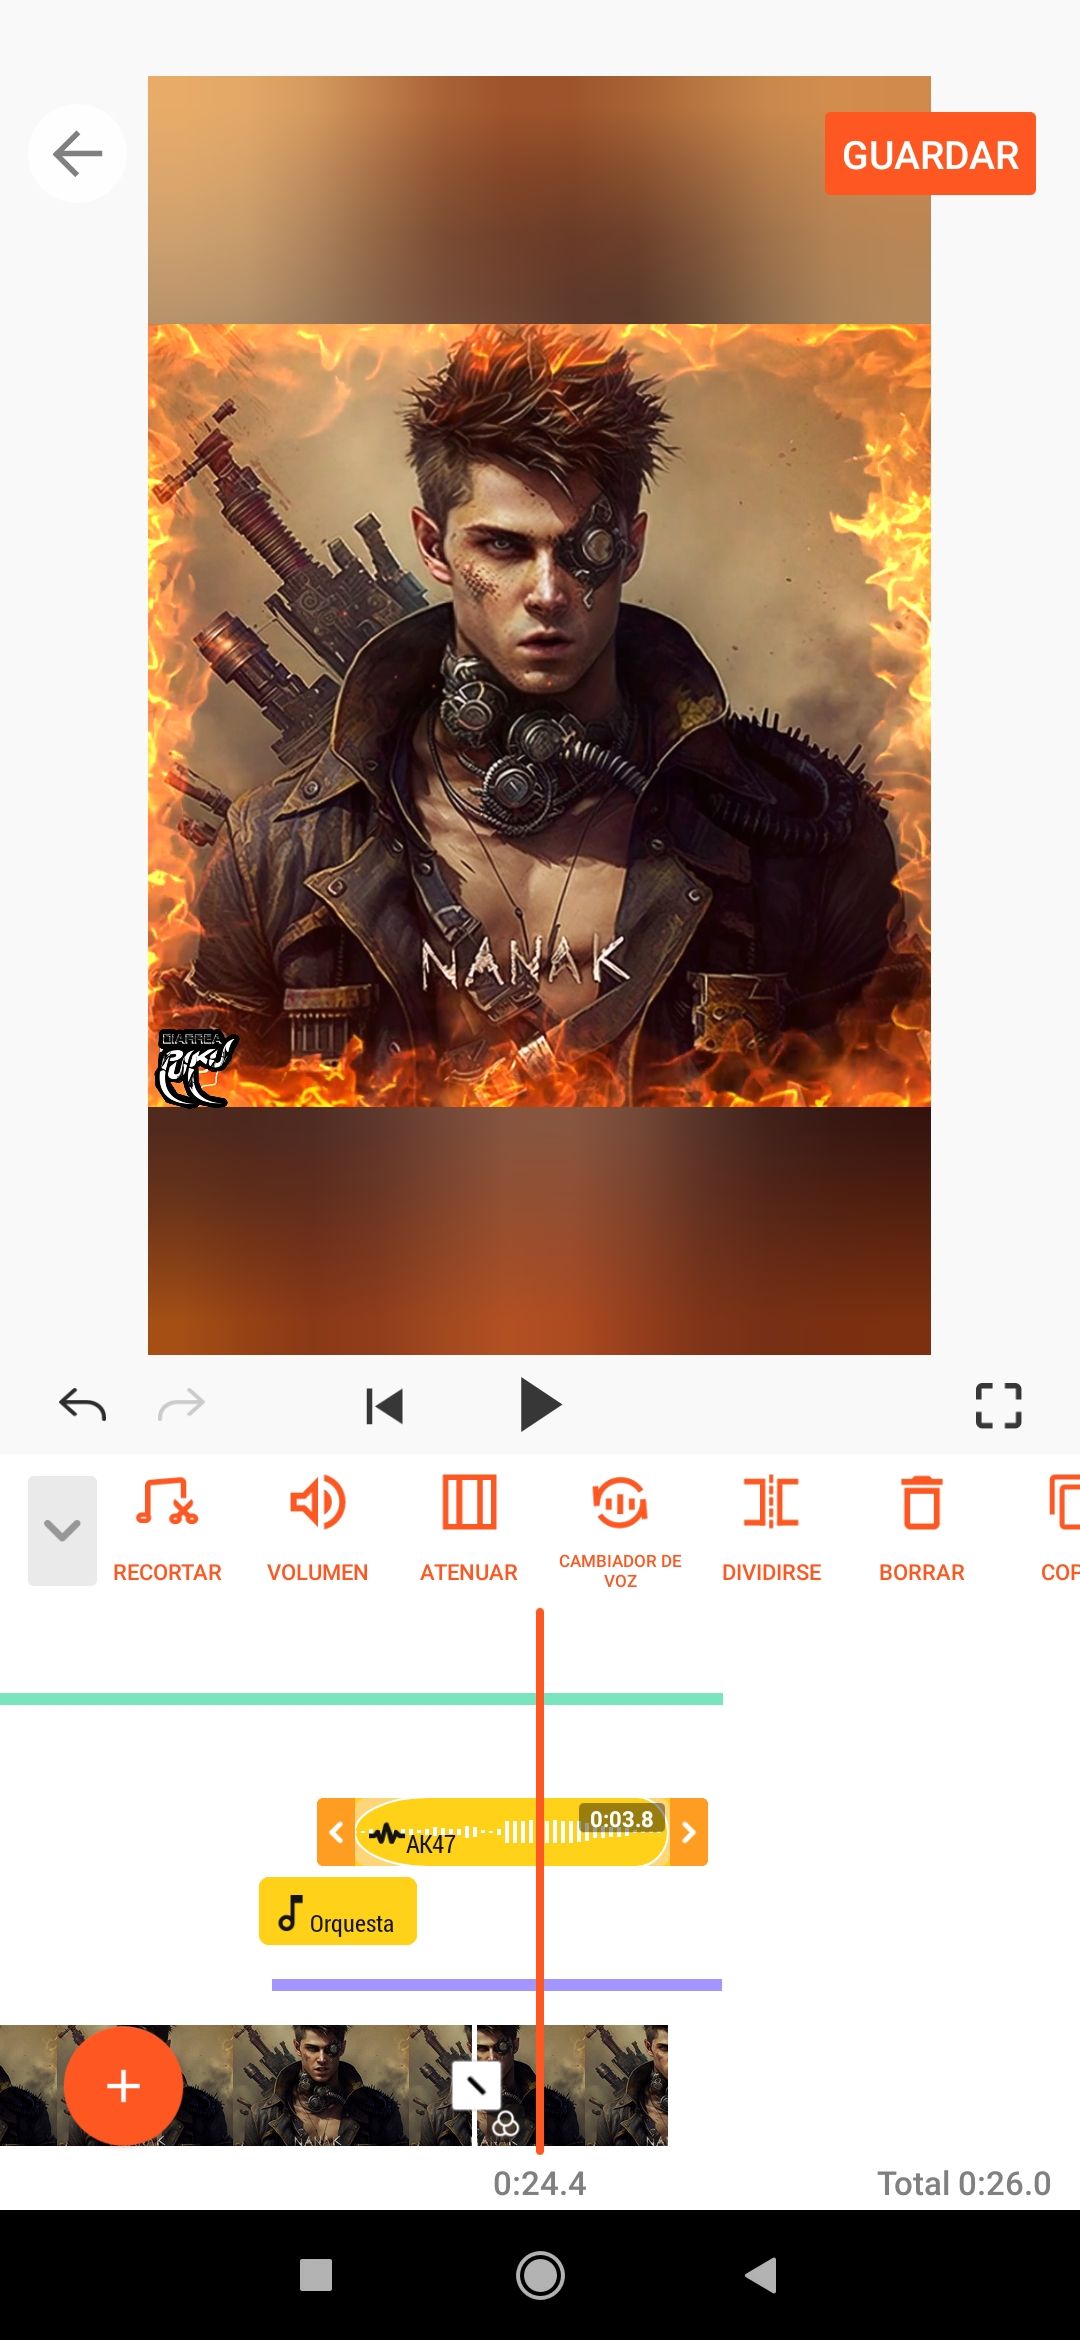
Parte del ensamblaje del Video, primero editar los screen recording:
Editar el audio:

Traducir el video linea por linea 17 minutos:
Develop of My investigation:
Links importantes de las AI para la creación de este vídeo y programas utilizados:
http://www.facebook.com/dinopuku
https://www.wombo.art/create
https://www.dream.ai/create
https://studio.d-id.com/
https://midjourney.com/
https://www.blender.org/
https://keentools.io/download/facebuilder-for-blender
Programas: Blender, VideoPad, YouCut, Photoshop CC 2015, Windows Paint.
Musica de Fondo - Background music, without copyright:
Song/cancion: It Starts Here
Doy crédito a FiftySounds.
Obra: Todo Empieza Aquí
Música de https://www.fiftysounds.com/es/
Link:
https://www.fiftysounds.com/es/musica-libre-de-derechos/todo-empieza-aqui.html
Galería de imágenes creadas:
Photoshop CC 2015 - 3D mode (Frontal DinoPuku)
Right and Left Sides:

Blender Facebuilder + Photoshop CC 2015 for Simetry:
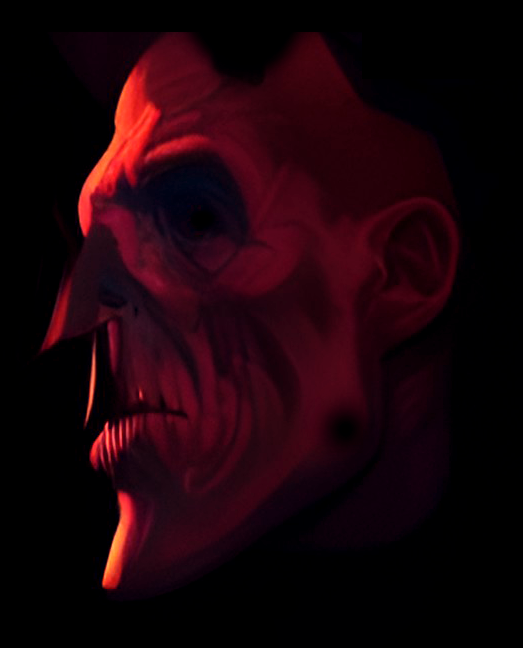
Dream.ai Wombo Art:
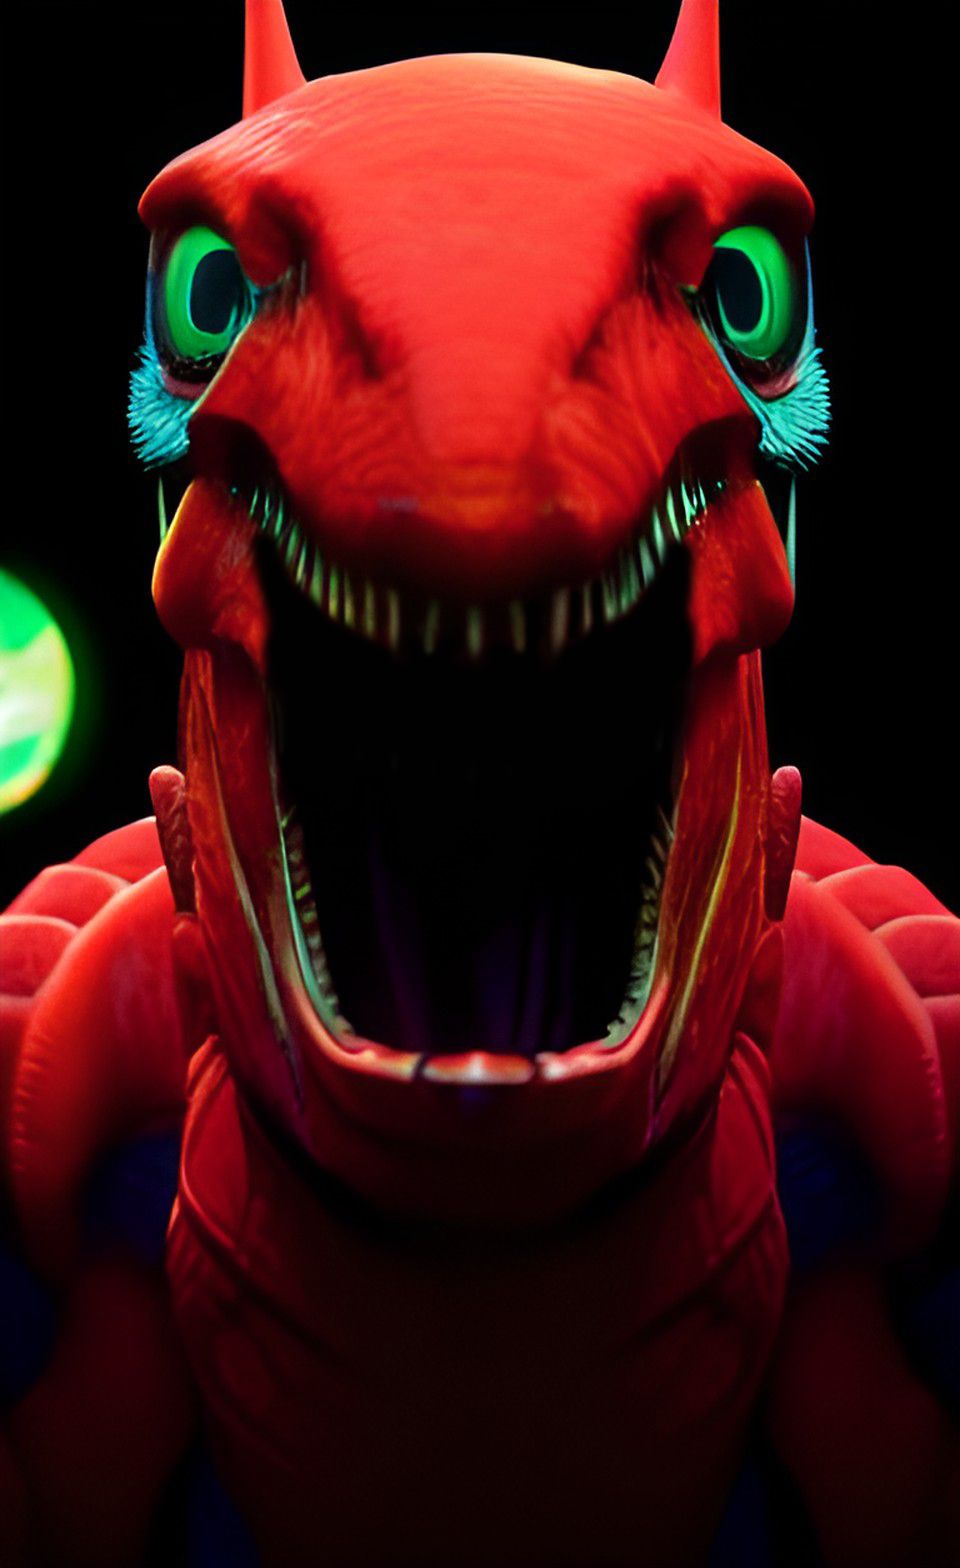
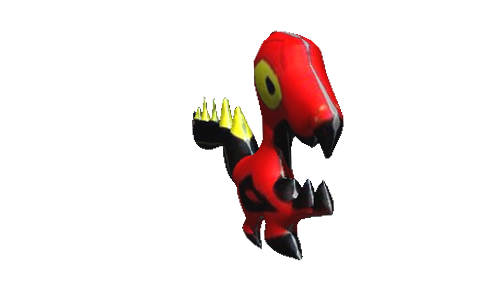
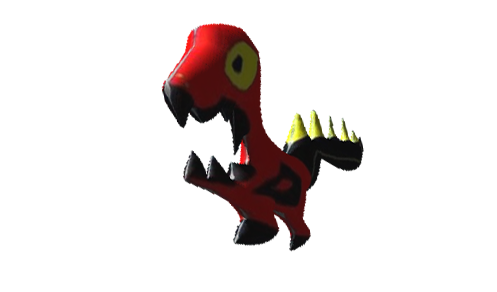
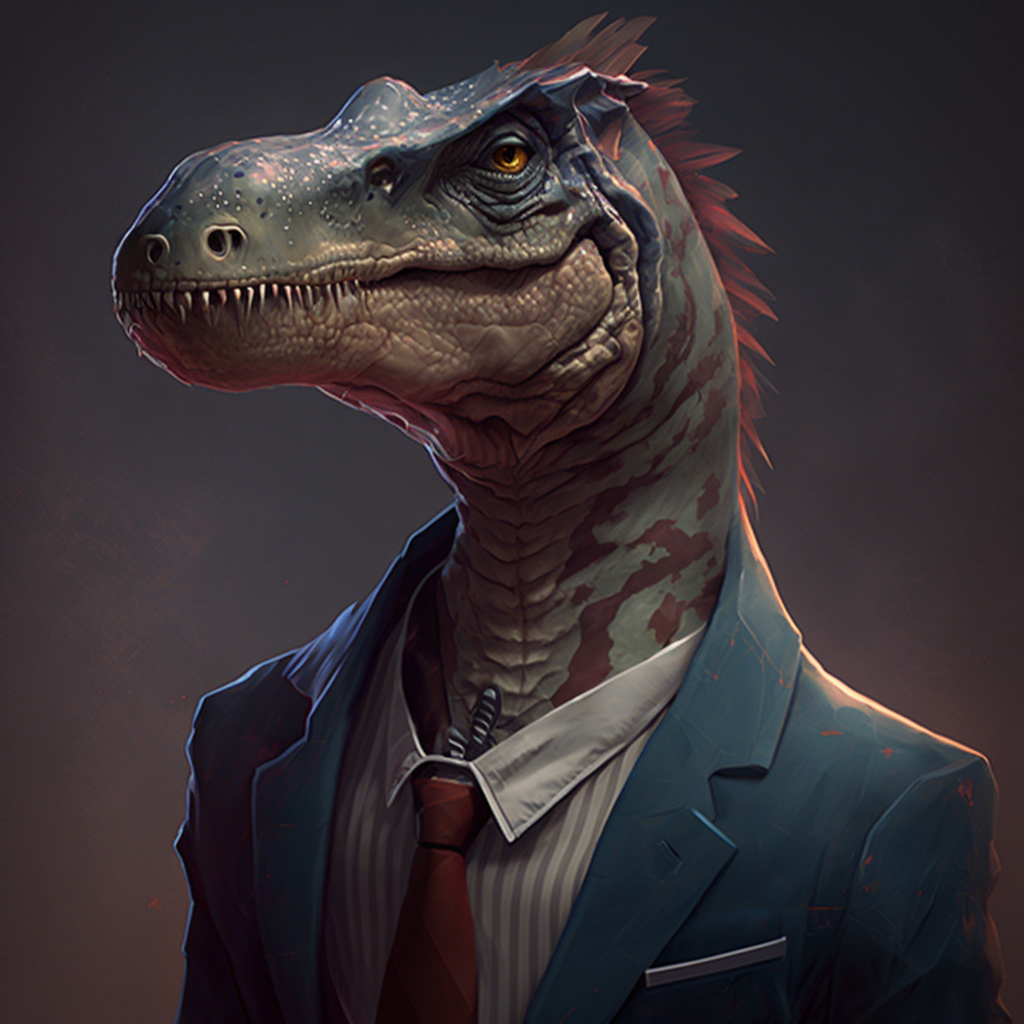
Artes finales del DinoPuku:


Midjourney DINO:
Otros posts del DinoPuku:
AI Chat with My DinoPuku:
https://peakd.com/hive-142415/@nahupuku/ehkngvvm
AI Art:
https://peakd.com/hive-142415/@nahupuku/dinopuku-algunos-artes-ai
https://peakd.com/hive-142415/@nahupuku/dinopuku-otros-artes-ai-parte-2

PukuEdición by me, 2023 - NNR
PukuNetworks:
Bendiciones y gracias por ver mi post
Blessings and thanks for watching my post
Show more
Tags :
Woo!
This creator can upvote comments using 3speak's stake today because they are a top performing creator!
Leave a quality comment relating to their content and you could receive an upvote
worth at least a dollar.
Their limit for today is $22!
Their limit for today is $22!
4 views
3 years ago
$
14 views
2 years ago
$

37 views
a year ago
$
CBRS Philanthropy + PKM - Agustin Aveledo School VID 7- Internet Project Caracas,Vzla 2024 @nahupuku
12 views
3 days ago
$
22 views
10 months ago
$
More Videos
0 views
4 years ago
$
3 views
2 months ago
$
3 views
5 months ago
$
8 views
a year ago
$
7 views
4 years ago
$

9 views
2 years ago
$
1 views
3 years ago
$
23 views
8 months ago
$
7 views
a year ago
$

3 views
2 years ago
$
14 views
a year ago
$
18 views
a year ago
$
6 views
a year ago
$
1 views
2 months ago
$

1 views
8 months ago
$
2 views
3 days ago
$
6 views
6 months ago
$
5 views
a year ago
$

1 views
2 years ago
$

24 views
a year ago
$
47 views
a year ago
$

1 views
a year ago
$

9 views
2 years ago
$
1 views
3 years ago
$
Comments:
Reply:
To comment on this video please connect a HIVE account to your profile: Connect HIVE Account