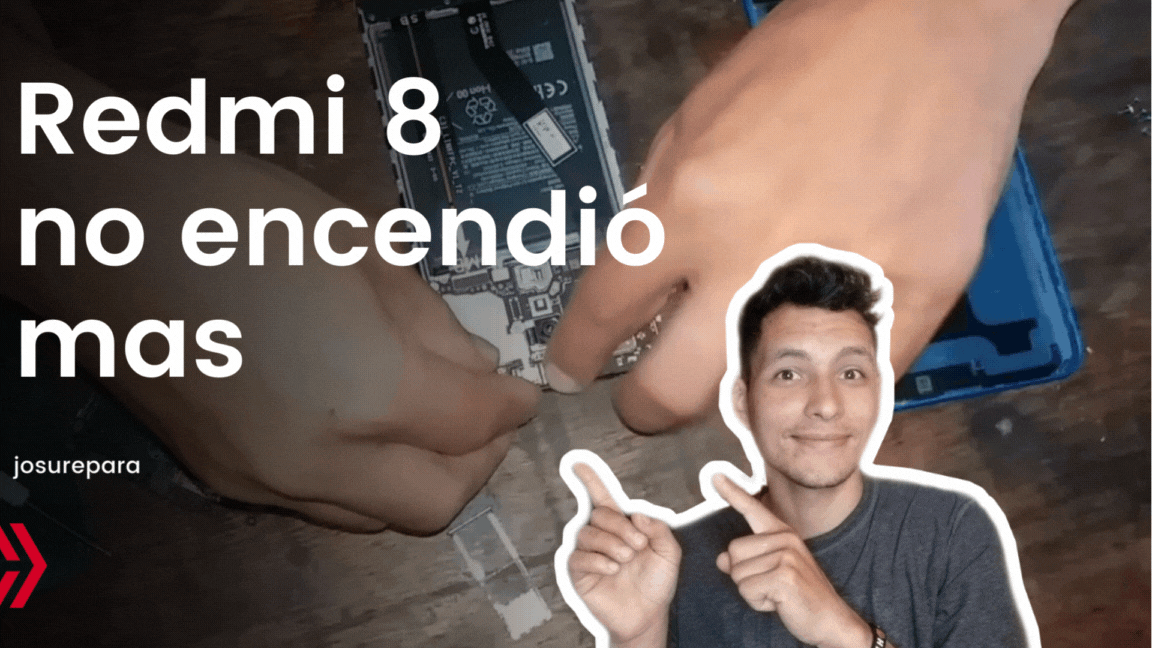
Redmi 8 no encendía solución [ESP/ENG]
1
About :
Hola hermosa comunidad de Geek zone! Me llamo Daniel y estoy encantado de compartir contigo mis conocimientos sobre cómo desmontar un teléfono móvil. Todos sabemos lo frustrante que puede ser cuando tu teléfono móvil se estropea, pero no te preocupes porque con mi guía podrás arreglar tu dispositivo sin necesidad de acudir a un profesional. En este blog te enseñaré paso a paso cómo desmontar tu móvil y hacer reparaciones sencillas. No te preocupes si no tienes experiencia en reparar aparatos electrónicos. Con mi guía podrás hacer reparaciones sin problemas 😎💻.
Hello beautiful Geek zone community! My name is Daniel and I am happy to share with you my knowledge on how to disassemble a cell phone. We all know how frustrating it can be when your cell phone breaks down, but don't worry because with my guide you will be able to fix your device without going to a professional. In this blog I will show you step by step how to disassemble your cell phone and make simple repairs. Don't worry if you don't have experience in repairing electronic devices. With my guide you will be able to make repairs without any problems 😎💻.

Te has preguntado alguna vez cómo desmontar un teléfono móvil? En este blog te enseñaré paso a paso cómo hacerlo para que puedas hacer una reparación sencilla de tu dispositivo. En el siguiente paso te explicaré cómo desmontarlo de nuevo y volver a montar el dispositivo, ¡así que no te lo pierdas! 🛠️🔧👨💻
Have you ever wondered how to disassemble a cell phone? In this blog I will show you step by step how to do it so you can make a simple repair of your device. In the next step I will explain you how to disassemble it again and reassemble the device, so don't miss it! 🛠️🔧👨💻
Paso a Paso
Step by Step
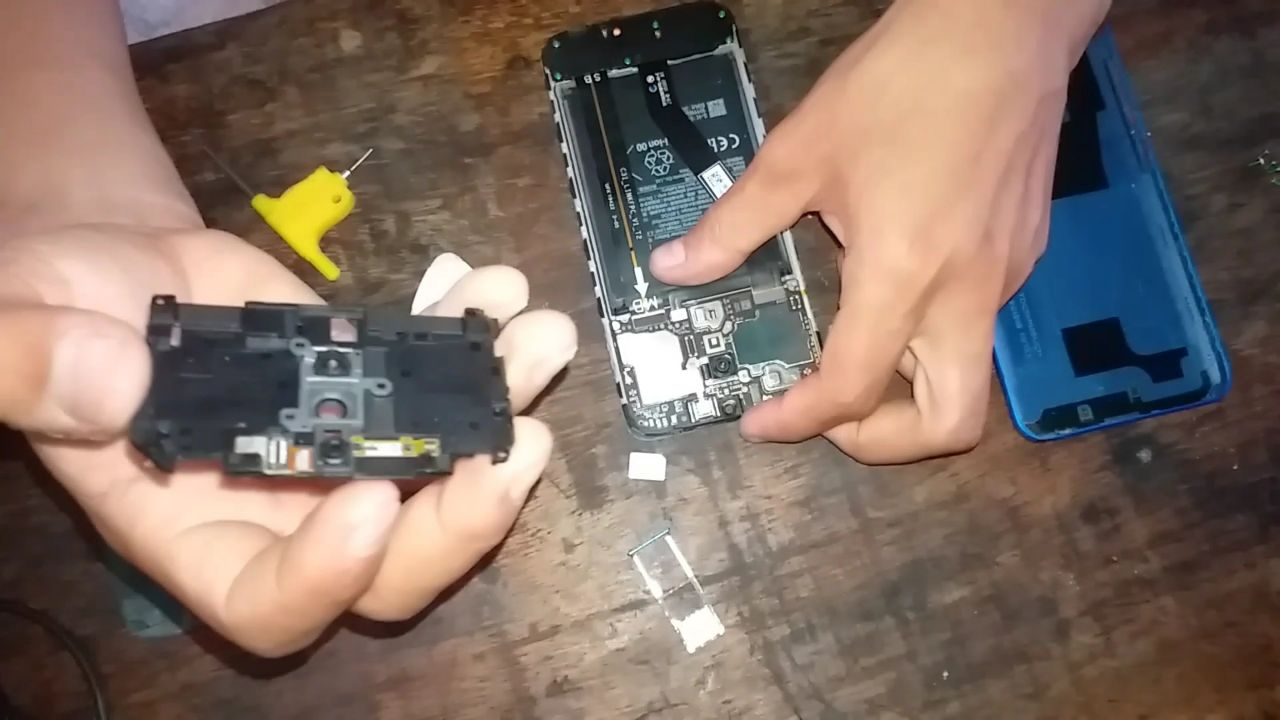
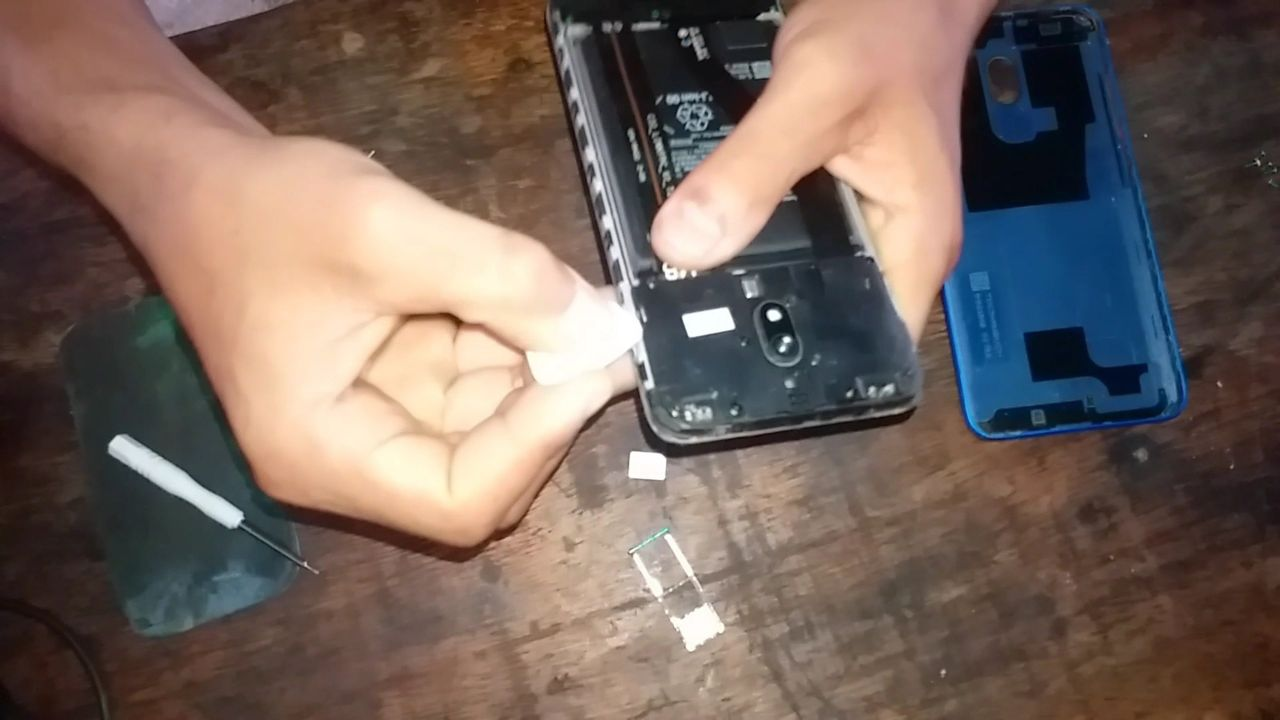
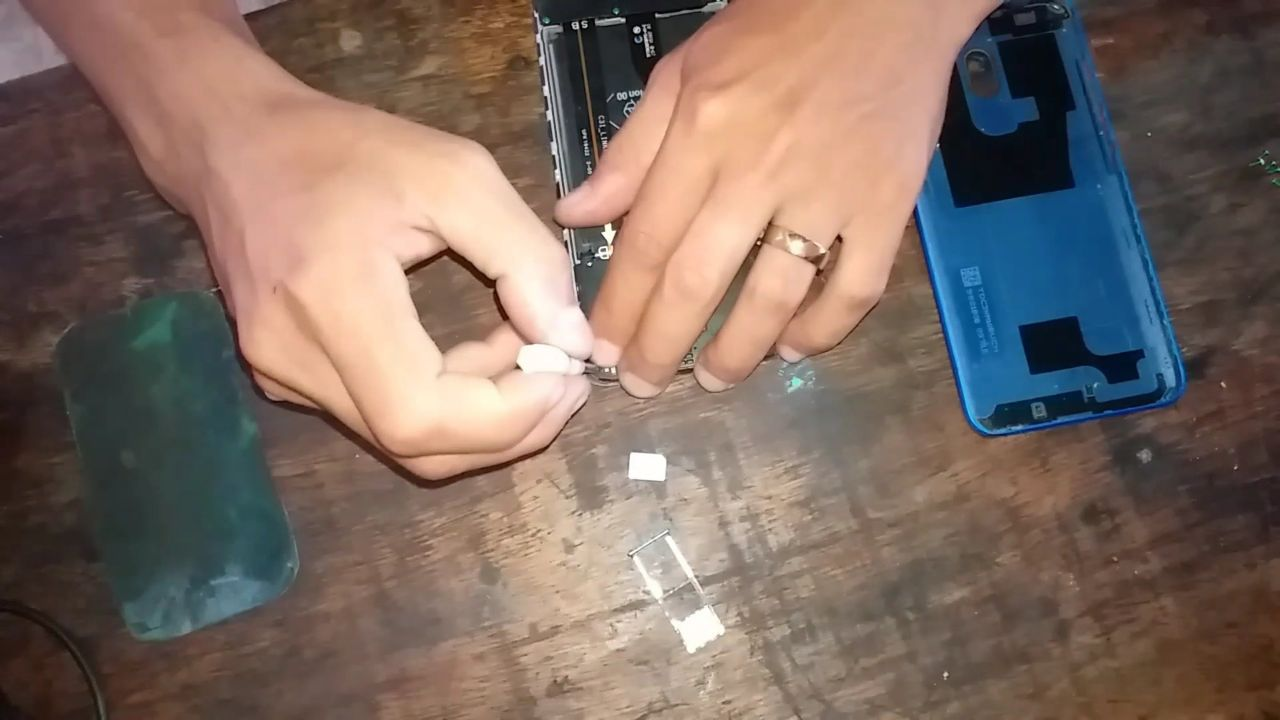
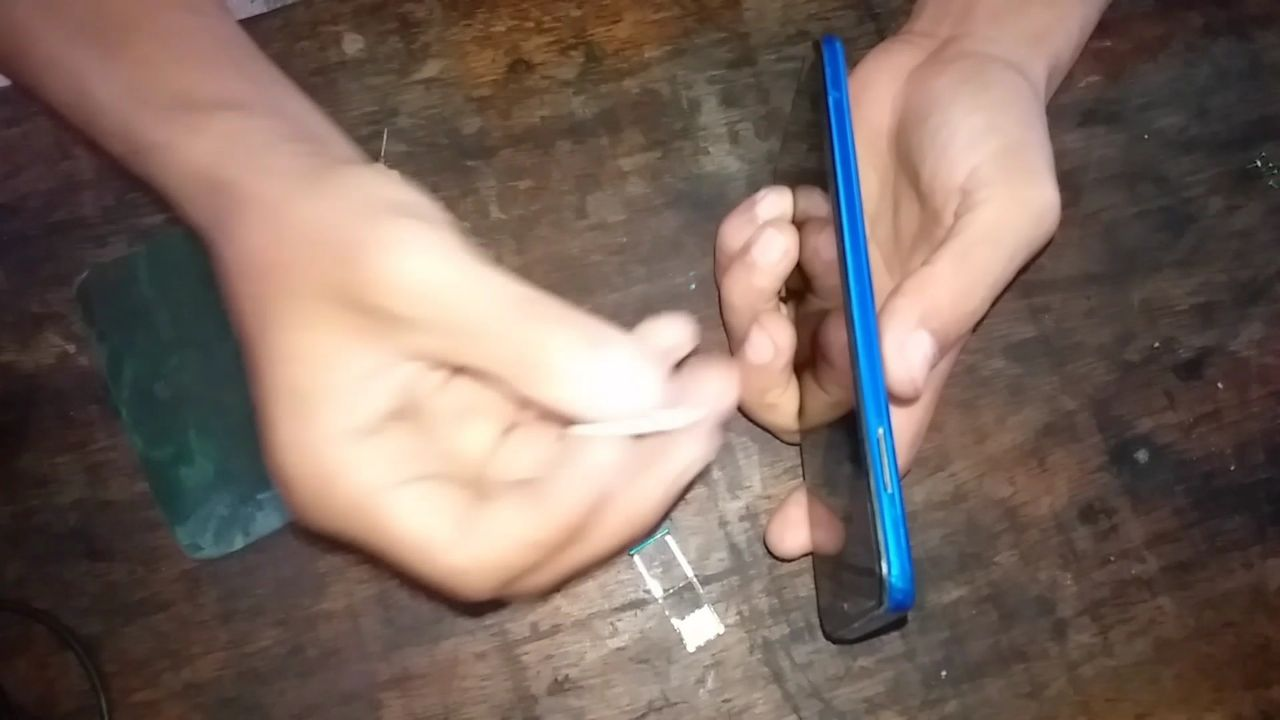
- Retire las tarjetas SIM de entrada: El primer paso al desmontar el teléfono es retirar todas las tarjetas insertadas en el dispositivo. Esto incluye la tarjeta SIM y las tarjetas de memoria que pueda haber. Retirar estas tarjetas garantiza que los datos almacenados en ellas no resulten dañados durante la reparación.
- Remove incoming SIM cards: The first step in disassembling the phone is to remove all cards inserted in the device. This includes the SIM card and any memory cards that may be present. Removing these cards ensures that the data stored on them will not be damaged during repair.
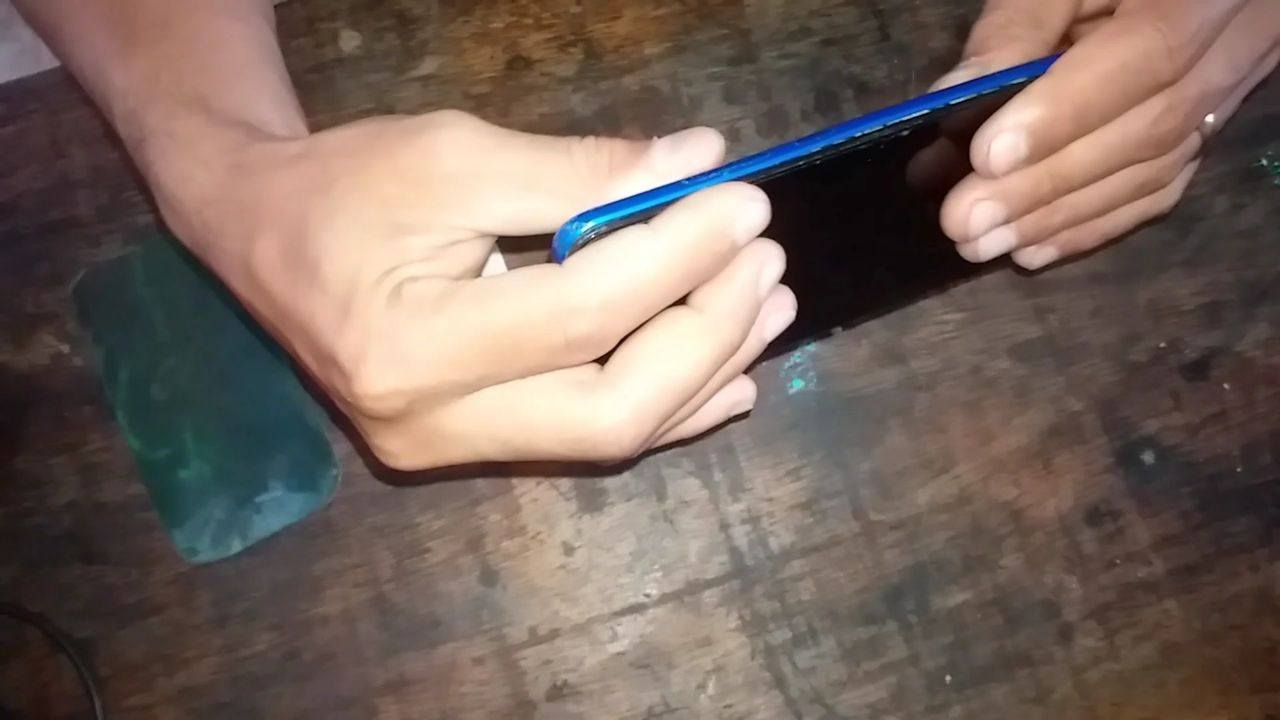
- Levante la tapa trasera: Una vez que hayas retirado todas las tarjetas, es hora de levantar la tapa trasera del teléfono. Puedes hacerlo utilizando una herramienta de apertura de plástico o simplemente deslizándola con la uña. Ten cuidado de no dañar los componentes internos del dispositivo.
- Lift the back cover: Once you have removed all the cards, it is time to lift the back cover of the phone. You can do this by using a plastic opening tool or by simply sliding it off with your fingernail. Be careful not to damage the internal components of the device.
Retire todos los tornillos: Una vez retirada la tapa trasera, el siguiente paso es retirar todos los tornillos que sujetan la placa base. Estos tornillos suelen estar situados en las esquinas y otras zonas estratégicas del dispositivo. Al retirar estos tornillos, accederás a los componentes internos de la unidad.
Remove all screws: Once the back cover has been removed, the next step is to remove all screws holding the motherboard. These screws are usually located in the corners and other strategic areas of the device. By removing these screws, you will gain access to the internal components of the unit.
Desconecte cada cable flex de la parte superior de la placa base: Una vez que hayas retirado todos los tornillos, es el momento de desconectar cada cable flex de la parte superior de la placa base. Estos cables flexibles son los cables que conectan los distintos componentes internos del dispositivo, como la pantalla y la cámara. Al retirar estos cables se accede a los componentes internos del equipo.
Disconnect each flex cable from the top of the motherboard: Once you have removed all the screws, it is time to disconnect each flex cable from the top of the motherboard. These flex cables are the cables that connect the various internal components of the device, such as the display and camera. Removing these cables provides access to the internal components of the device.
Levante el cable flexible de la batería: Después de retirar el cable flex de la parte superior de la placa base, es el momento de levantar el cable flex de la batería. Este cable se encuentra normalmente en la parte inferior del dispositivo y se conecta directamente a la batería y a la placa base. Retirar este cable permite acceder a la batería y a otros componentes internos del dispositivo.
Lift the battery flex cable: After removing the flex cable from the top of the motherboard, it is time to lift the battery flex cable. This cable is normally located on the bottom of the device and connects directly to the battery and the motherboard. Removing this cable allows access to the battery and other internal components of the device.
Vuelva a conectar los cables flexibles: Después de completar las reparaciones necesarias, debe volver a conectar los Cables Flexibles que haya desconectado. Tenga cuidado de no dañar los componentes internos de la unidad. Una vez conectados estos cables, la unidad debería volver a funcionar con normalidad.
Reconnect the Flex Cables: After completing the necessary repairs, you must reconnect any Flex Cables that you have disconnected. Be careful not to damage the internal components of the unit. Once these cables are connected, the unit should resume normal operation.
Vuelva a encender el Acer: Después de volver a conectar todos los cables flexibles, vuelva a encender la unidad para asegurarse de que todo funciona correctamente. Si la unidad no se enciende, puede haber un problema con la batería u otros componentes internos. Es importante asegurarse de que la unidad funciona correctamente antes de continuar con el montaje.
Turn the Acer back on: After reconnecting all the flex cables, turn the unit back on to make sure everything is working properly. If the unit does not turn on, there may be a problem with the battery or other internal components. It is important to make sure the unit is working properly before continuing with assembly.
Termine el montaje: Por último, una vez comprobado que todo funciona correctamente, es el momento de finalizar el montaje. Para ello, debes colocar los tornillos y fijar la tapa trasera del teléfono. Al volver a montar el dispositivo, ten cuidado de no dañar las piezas internas y asegúrate de que el dispositivo funciona correctamente.
Finish the assembly: Finally, once you have checked that everything is working properly, it is time to finish the assembly. To do this, you must place the screws and attach the back cover of the phone. When reassembling the device, be careful not to damage the internal parts and make sure that the device is working properly. Espero les allá gustado mi contenido > I hope you liked my content
gift: Soundcloud free
Guias
Como usar hive kaychain
Como regitrarse en hive youtube
Link de registro
Ganar tokens por buscar en google.
Show more
Tags :
Woo!
This creator can upvote comments using 3speak's stake today because they are a top performing creator!
Leave a quality comment relating to their content and you could receive an upvote
worth at least a dollar.
Their limit for today is $0!
Their limit for today is $0!

14 views
a year ago
$

9 views
10 months ago
$

20 views
a year ago
$

5 views
a year ago
$

13 views
2 years ago
$
More Videos

12 views
a year ago
$

3 views
4 weeks ago
$

3 views
2 years ago
$

11 views
2 years ago
$

7 views
a year ago
$

7 views
a year ago
$

25 views
2 years ago
$

29 views
a year ago
$

6 views
2 years ago
$

29 views
2 years ago
$

14 views
a year ago
$

15 views
2 years ago
$

9 views
8 months ago
$

22 views
6 months ago
$

2 views
3 years ago
$

13 views
a year ago
$

2 views
5 months ago
$

62 views
a year ago
$

19 views
a year ago
$

10 views
7 months ago
$

Comments:
Reply:
To comment on this video please connect a HIVE account to your profile: Connect HIVE Account