Aprende a eliminar detalles usando Photoshop (sin que se note) [ESP | ENG]
35
About :

Hola hive! 👋 😀

Fuentes: Logo de Photoshop
y Foto de la modelo
En el tutorial de hoy voy a enseñarte cómo eliminar detalles, imperfecciones, o incluso elementos, que queramos remover en nuestra piel.
Con ello, vamos a conseguir que nuestra piel se vea mucho mejor.
➡️ Este tutorial se ha realizado con fines educativos
Nota importante ⚠️
La intención de este tutorial es enseñarte a utilizar la herramienta para realizar correcciones, no es para discutir sobre si la belleza es objetiva o subjetiva, es una herramienta que como fotógrafo utilizo, y adapto el uso a lo que el cliente requiera.
Está herramienta también se podría utilizar en otro tipo de situaciones, no necesariamente sirve para corregir exclusivamente el rostro, pero el día de hoy solo lo vamos a enfocar a nivel de la piel.
Recuerda utilizar está herramienta bajo tu propia responsabilidad, y el hecho de modificar una imagen, no te da el derecho exclusivo de utilizarla, para efectos de este vídeo, yo he utilizado una fotografía de un banco de imágenes, lo ideal es que puedas utilizar esta herramienta en fotografías hechas por ti.
Para usar Photoshop debes adquirir una licencia válida en la página oficial
Ahora sí vamos a comenzar, vamos a necesitar tener las siguientes cosas:
- Tener el programa Adobe Photoshop instalado ➡️ Página del programa
- Tener una fotografía a la cual quieras eliminarle algo que no deseas.
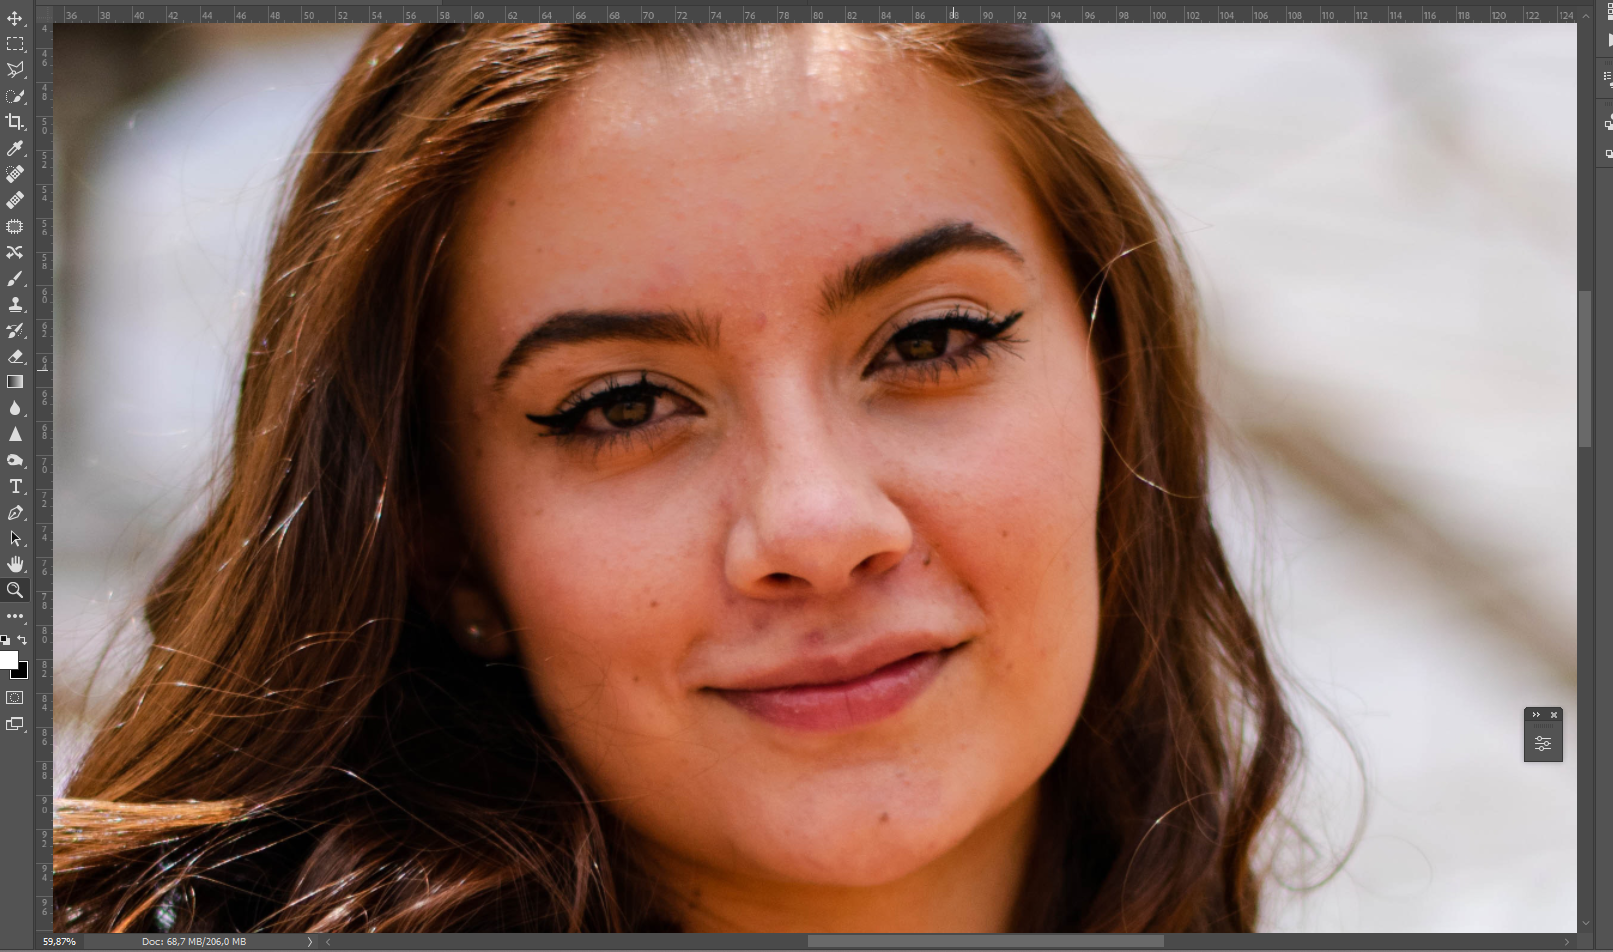
Captura de pantalla tomada por mi Enlace a la foto original
Lo primero que debes hacer es colocar la fotografía suficientemente grande, es decir hazle un acercamiento, para que puedas tener una mayor precisión cuando uses la herramienta.
Luego dirígete a la herramienta que está en el panel lateral, se llama "herramienta pincel corrector puntual".
Si no la consigues, no te preocupes puedes presionar la letra "J" en tu teclado y se debería de seleccionar de forma totalmente automática.
Si te fijas en la animación hay una letra J, casi todas las herramientas poseen un acceso directo.
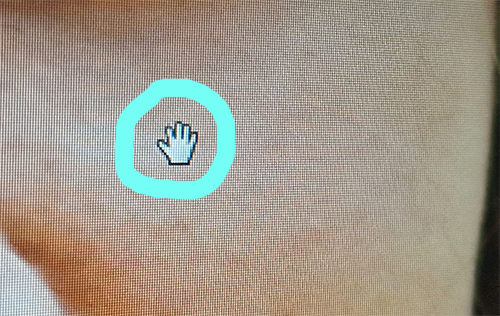
Si deseas desplazarte hacia los lados o hacia arriba y hacia abajo, pues hacerlo manteniendo pulsada la tecla barra espaciadora, en este momento deberías ver que el cursor del ratón se ha convertido ahora en una mano, si es así haz clic sostenido y muévelo hacia la dirección que desee.
Una vez que hayas terminado de llegar al punto que te interesa, suelta la tecla barra espaciadora para que puedas seguir utilizando la herramienta del pincel corrector.
Recuerda que puedes ajustar el tamaño del pincel, suele funcionar mejor cuando el tamaño es pequeño, obtener resultados más finos. De todas maneras, cada caso es único, no hay una fórmula matemática exacta, debes ir probando y ver qué resultado obtienes.
Mientras más tiempo puedas dedicarle, podrás conseguir mejores resultados, también a través de la práctica podrás conseguir un acabado mejor y quizás en menos tiempo, como dice el dicho la práctica hace al maestro.
En el vídeo no explicado, ver el proceso para guardarla es muy sencillo, ir al menú superior y seleccionar la opción guardar, o exportar y elegir la opción que necesites. Lo más habitual es el formato jpg y png, para utilizar en nuestra plataforma Hive.
Muchas gracias por haber visto este tutorial, recuerda que puedes dejar tus comentarios en la parte de abajo ✍️
Fuente de la música de fondo:
Nombre de la pista: Eclipse
Autor: Jim Yosef
Enlace

Hello hive! 👋 😀
Sources: Photoshop Logo
y Model photo
In today's tutorial I am going to show you how to remove details, imperfections, or even elements that we want to remove from our skin.
With this, we are going to make our skin look much better.
➡️ This tutorial has been made for educational purposes
Important note ⚠️
The intention of this tutorial is to teach you how to use the tool to make corrections, it is not to discuss whether beauty is objective or subjective, it is a tool that I use as a photographer, and I adapt its use to what the client requires.
This tool could also be used in other types of situations, it is not necessarily used to exclusively correct the face, but today we are only going to focus on it at the skin level.
Remember to use this tool at your own risk, and the fact of modifying an image does not give you the exclusive right to use it, for the purposes of this video, I have used a photograph from an image bank, ideally you can use this tool on photographs taken by you.
To use Photoshop you must acquire a valid license on the official page
Now we are going to start, we are going to need to have the following things:
- Have Adobe Photoshop installed ➡️ Program page
- Having a photograph from which you want to remove something you do not want.
Screenshot taken by me Link to the original photo
The first thing you should do is place the photograph large enough, that is, zoom in, so that you can have greater precision when you use the tool.

Then go to the tool that is in the side panel, it is called "spot healing brush tool".
If you don't get it, don't worry, you can press the letter "J" on your keyboard and it should be selected automatically.
If you look at the animation there is a letter J, almost all the tools have a shortcut.
If you want to scroll sideways or up and down then do it by holding down the spacebar key, at this point you should see that your mouse cursor has now turned into a hand, if so hold click and move it to the left direction you want.
Once you're done getting to the point you're interested in, release the spacebar key so you can continue using the Healing Brush Tool.
Remember that you can adjust the size of the brush, it usually works better when the size is small, to obtain finer results. In any case, each case is unique, there is no exact mathematical formula, you have to keep trying and see what result you get.
The more time you can dedicate to it, the better results you will be able to achieve, also through practice you will be able to achieve a better finish and perhaps in less time, as the saying goes, practice makes perfect.
In the unexplained video, see the process to save it is very simple, go to the top menu and select the save option, or export and choose the option you need. The most common is the jpg and png format, to be used in our Hive platform.
Thank you very much for having seen this tutorial, remember that you can leave your comments at the bottom ✍️
Background music source:
Track Name: Eclipse
Author: Jim Yosef
Link
Vídeos más vistos de mi canal 🔝🔥
Most watched videos of my channel 🔝🔥


▫️ ▫️ ▫️ ▫️ 🔺 ▫️ ▫️ ▫️ ▫️
Show more
Tags :
Woo!
This creator can upvote comments using 3speak's stake today because they are a top performing creator!
Leave a quality comment relating to their content and you could receive an upvote
worth at least a dollar.
Their limit for today is $0!
Their limit for today is $0!

58 views
a year ago
$
12 views
a year ago
$

46 views
a year ago
$
17 views
a year ago
$

49 views
a year ago
$
More Videos

17 views
2 years ago
$

6 views
2 years ago
$

13 views
a year ago
$

2 views
a month ago
$

16 views
3 years ago
$

2 views
a year ago
$

4 views
a year ago
$

7 views
4 years ago
$
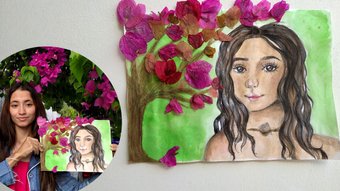
[Esp-Eng] Hand painted caricature with natural flow | Caricatura pintada a mano con Flores naturales
19 views
a year ago
$

2 views
4 years ago
$

4 views
2 years ago
$

36 views
2 years ago
$

2 views
7 months ago
$

7 views
2 years ago
$
6 views
2 years ago
$
21 views
7 months ago
$

3 views
a month ago
$
5 views
2 years ago
$

4 views
4 years ago
$

1 views
10 months ago
$

35 views
a year ago
$

9 views
10 months ago
$
Comments:
Reply:
To comment on this video please connect a HIVE account to your profile: Connect HIVE Account