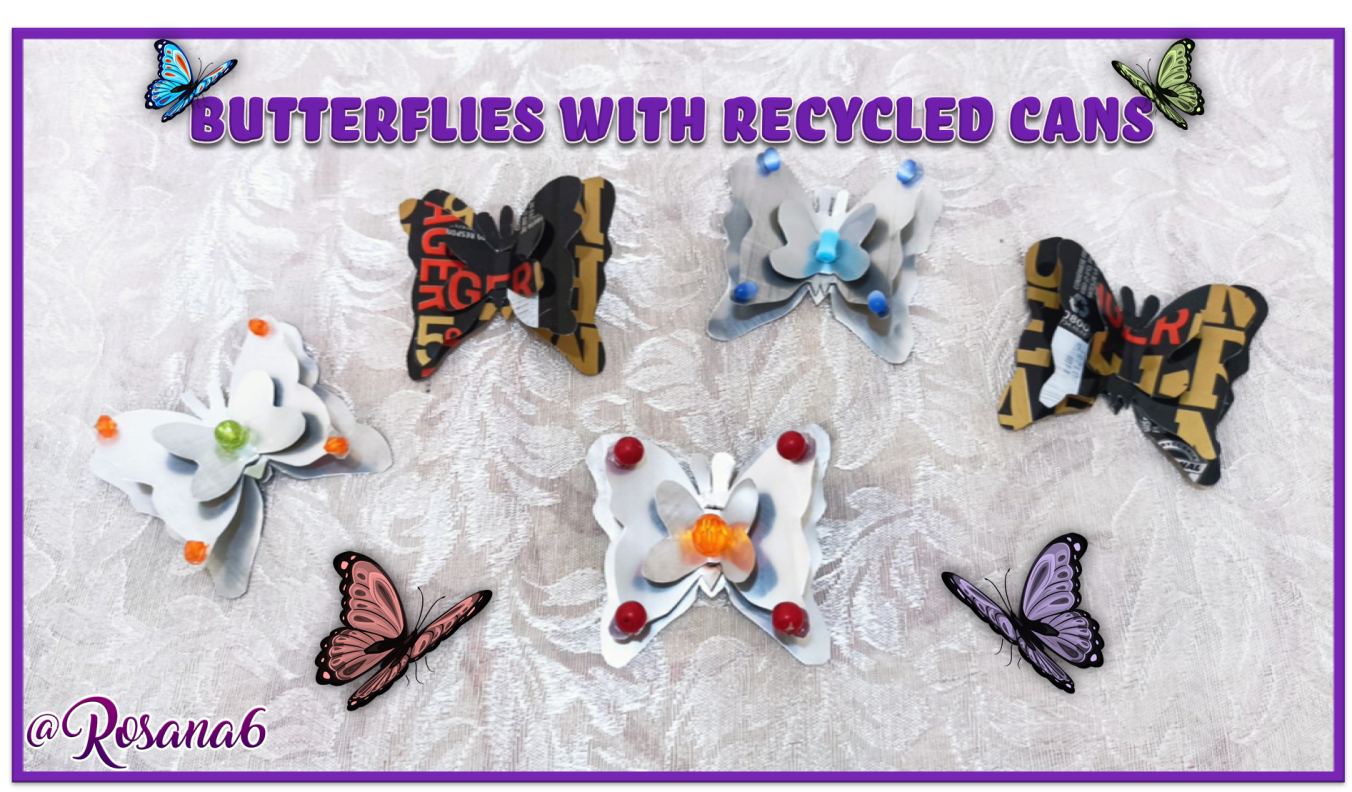
Butterflies with Recycled Cans ǀ Mariposas con Latas Recicladas
14
About :
Hello, Hive DIY friends! I am pleased to be once again with all of you to show you a craft tutorial with recycled materials. This time I want to present you some beautiful butterflies made from beverage cans. Join me to see the process.
¡Hola, amigos de Hive DIY! Me complace estar una vez más con todos ustedes para mostrarles un tutorial de manualidades con materiales reciclados. En esta oportunidad les quiero presentar unas hermosas mariposas hechas a partir de latas de bebidas. Acompáñenme a ver el proceso.
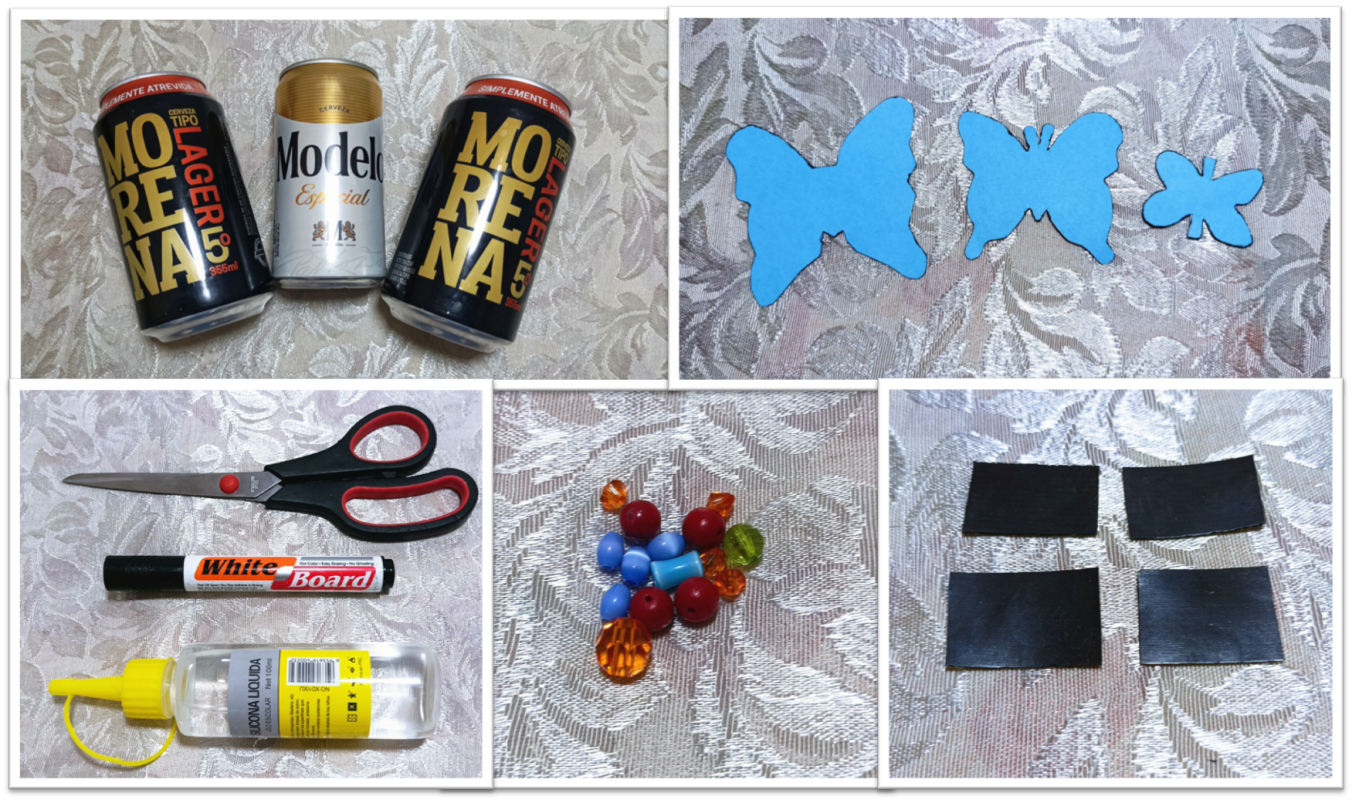
We will need beverage cans, cardboard templates with butterfly shapes of different sizes, scissors, marker and liquid silicone, colored beads, magnetic strips or small magnets.
Vamos a necesitar latas de bebidas, plantillas de cartulina con formas de mariposas de diferentes tamaños, tijera, marcador y silicón líquido, cuentas de colores, bandas magnéticas o pequeños imanes.

We start by making 2 slits in the can and proceed to cut with the scissors the upper and lower part in the following way until we get a sheet to work on.
Iniciamos haciendo 2 hendiduras en la lata y procedemos a recortar con la tijera la parte superior e inferior de la siguiente manera hasta conseguir una lámina donde trabajar.

Once we have the flattened sheet we start drawing, outlining with a marker the butterfly shapes with the help of the cardboard templates. Then we repeat the procedure with the medium butterfly and finally the small one.
Una vez que tengamos la lámina aplanada pasamos a dibujar, delineando con un marcador las formas de mariposas con la ayuda de las plantillas de cartulina. Luego repetimos el procedimiento con la mariposa mediana y finalmente la pequeña.
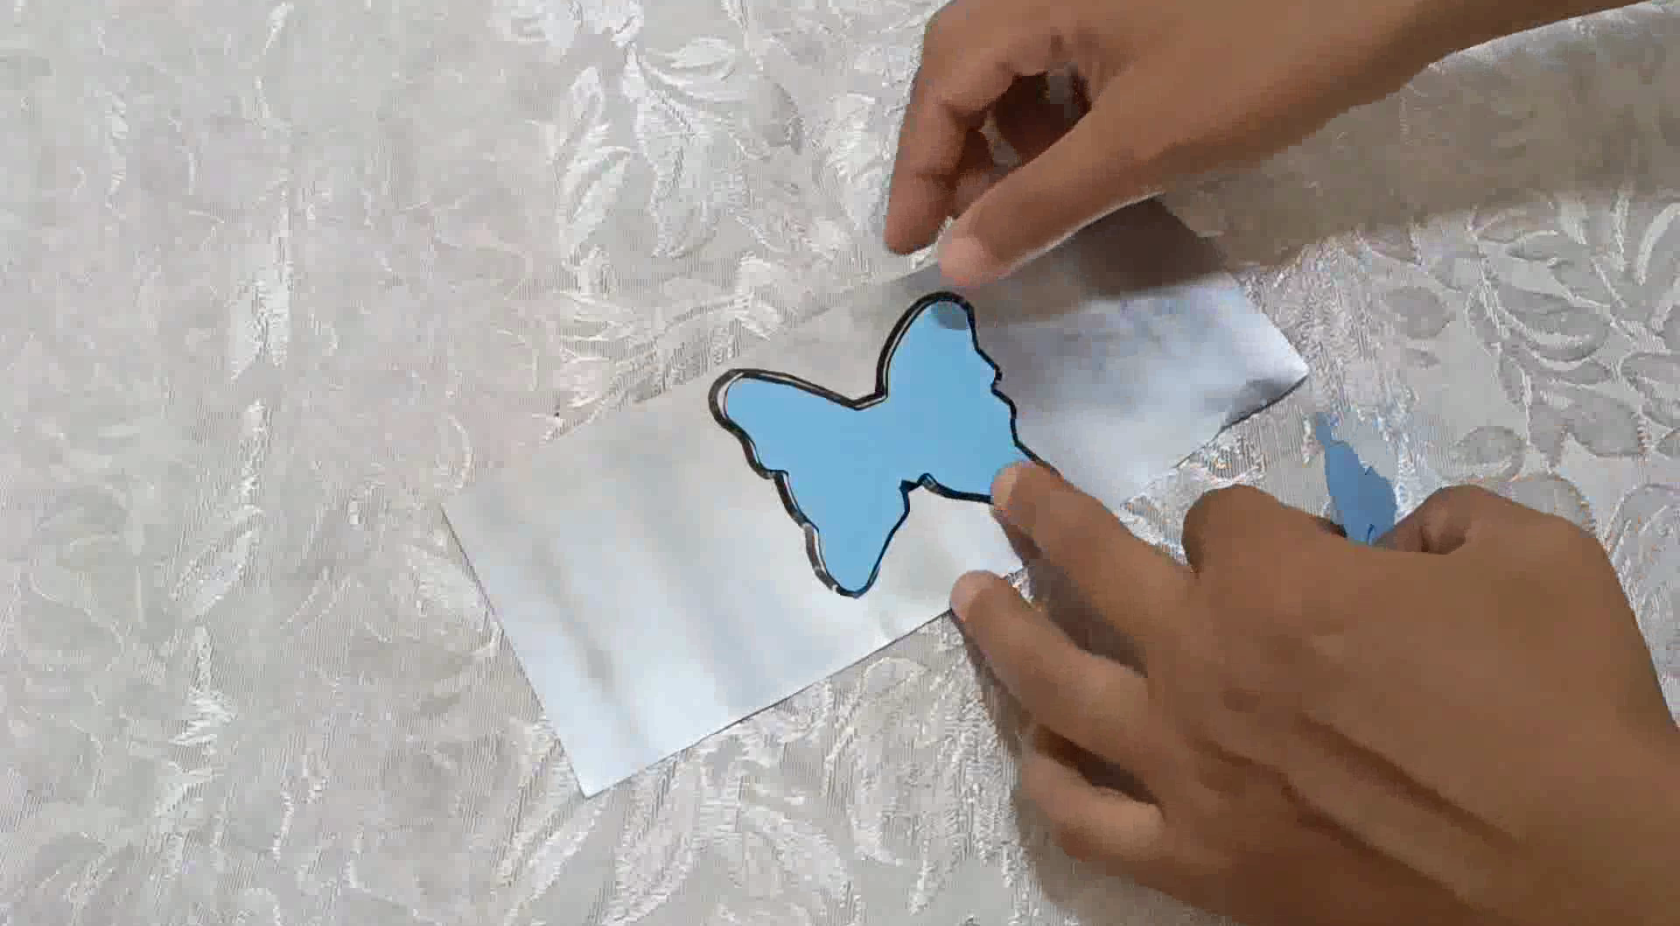
We are going to cut out with a scissors very carefully until we get our butterflies. Here we can see the butterflies of different sizes already cut out.
Vamos a recortar con una tijera con mucho cuidado hasta que obtengamos nuestras mariposas. Aquí podemos ver ya recortadas las mariposas de diferentes tamaños.

With the help of a cutter we make two slits at a distance of 1.5 cm in the center of the large and medium butterfly, so that we can fit the smaller butterfly to which we have left two tabs that we will fold inward.
Con la ayuda de un cúter hacemos dos hendiduras a una distancia de 1,5 cm en el centro de la mariposa grande y la mediana, para que podamos encajar la mariposa más pequeña a la cual le hemos dejamos dos pestañas que vamos a doblar hacia adentro.

Then we embed the small butterfly in the medium one and finally in the larger one, pressing the tabs at the back so that they are well joined.
Luego pasamos a incrustar la mariposa pequeña en la mediana y finalmente en la más grande, presionando las pestañas en la parte posterior para que queden bien unidas.

Now we are going to shape them, for this we fold the big butterfly backwards, the medium one forwards and the small one even more forwards.
Ahora vamos a darles forma, para esto doblamos la mariposa grande hacia atrás, la mediana hacia adelante y la pequeña aún más hacia adelante.

We can decorate our silver butterflies with colored beads, gluing them with liquid silicone.
Podemos adornar nuestras mariposas plateadas con cuentas de colores, pegándolas con silicón líquido.

We can place magnetic tape if our intention is to place the butterflies on metallic surfaces.
Pasamos a colocarles cinta magnética si nuestra intención es colocar las mariposas sobre superficies metálicas.

And this is how our tin butterflies look like. We can also make them with the outer part of the can, taking advantage of the colors already included in the can.
Y así quedan nuestras mariposas de lata. También podemos hacerlas con la parte exterior de la lata, aprovechando así los colores que ya trae la misma.
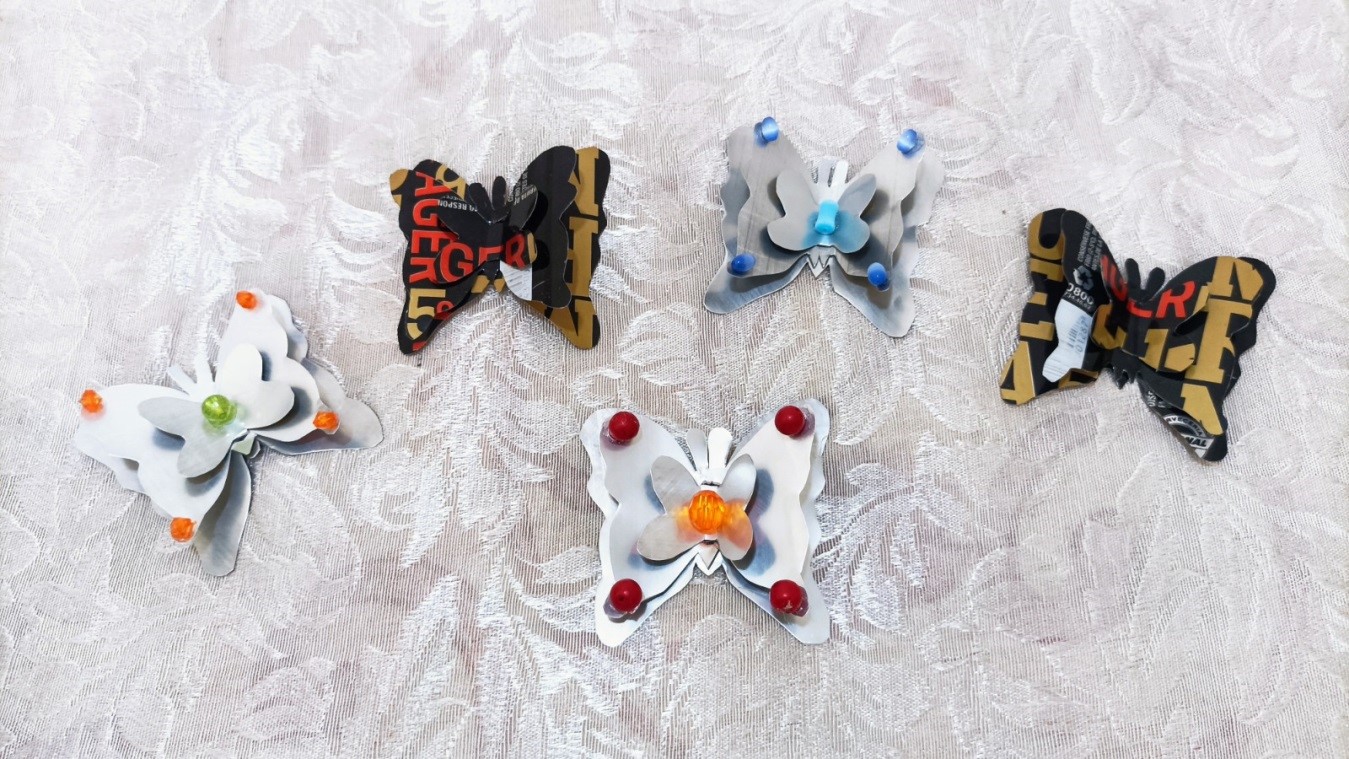
Here you can see the butterflies decorating the refrigerator door. They can be placed on the surface of your choice.
Aquí se ven las mariposas adornando la puerta de la nevera. Se pueden colocar sobre la superficie de su preferencia.

I hope you liked this idea and enjoyed this tutorial with recycled materials. See you next time!
Espero que esta idea les haya gustado y hayan disfrutado de este tutorial con materiales reciclados. ¡Nos vemos en una próxima ocasión!


Show more
Tags :
Woo!
This creator can upvote comments using 3speak's stake today because they are a top performing creator!
Leave a quality comment relating to their content and you could receive an upvote
worth at least a dollar.
Their limit for today is $0!
Their limit for today is $0!

10 views
3 years ago
$

37 views
2 years ago
$

38 views
3 months ago
$

20 views
2 years ago
$
16 views
a year ago
$
More Videos

21 views
2 years ago
$

10 views
a year ago
$

17 views
2 years ago
$

7 views
a month ago
$

23 views
10 months ago
$

2 views
a year ago
$

7 views
a year ago
$

0 views
a year ago
$

6 views
9 months ago
$
3 views
8 months ago
$

19 views
2 years ago
$

4 views
2 years ago
$

28 views
a year ago
$
4 views
a week ago
$
18 views
4 years ago
$

10 views
2 years ago
$

13 views
3 years ago
$

10 views
2 years ago
$

9 views
2 years ago
$

18 views
2 years ago
$

1 views
2 years ago
$

3 views
9 months ago
$

7 views
6 months ago
$

10 views
a year ago
$
Comments:
Reply:
To comment on this video please connect a HIVE account to your profile: Connect HIVE Account