Fallout 3 Walkthrough (Modded) Part 156
3
About :
The third episode of the Anchorage DLC. We'll pave our way to victory.
The full playlist is now available on Youtube and Odysee.
Here are the timestamps:
- 00:31 - Talking to Lieutenant Morgan.
- 02:54 - Talking about the Strike Team.
- 04:06 - Accessing the Requisition Terminal. I chose the Fire Team Package and received the Requisition Holo.
- 05:23 - Accessing the Patterson's Terminal to select my Strike Team. Each unit requires Recruitment Markers.
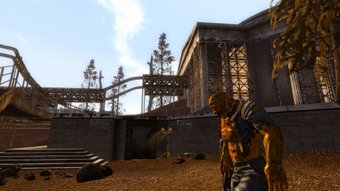
- 06:31 - A psycho on the table.
- 07:16 - Discovering the U.S. Army Field Headquarters.
- 07:31 - That's my Strike Team. I talk to Sargeant Montgomery.
- 07:45 - High Intelligence dialogue option that I didn't choose.
- 08:35 - High Science dialogue option that I ignored.
- 09:19 - I order Montgomery to wait outside the Mining Town.
- 09:36 - Yes, the power armor is shining more than it should. It's a mod conflict with other DX mod that I couldn't fix at the time. Here is the fix:
First, install the T-51b DX, then the Winterized DX mod. Install the Winterized DX "NEEDED MESHES" last. Now you use the WinterizedT51bDX.esp from the compatibility download. It's the only .esp you need, even though you use both. - 09:49 - Ammo, grenades, and health inside the tent.
- 10:25 - Meeting Doctor Adami.
- 11:36 - Checking the map.
- 12:56 - I almost forgot to talk to the Quartermaster about my gear.
- 13:06 - Speech check to get a Gauss Rifle.
- 14:34 - Heading east to the Mining Town.
- 14:53 - Someone lost his head. I then talk to Montgomery and order the attack.
- 15:56 - Snipers and missile launchers are fired against us.
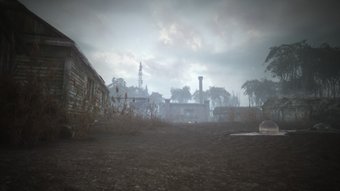
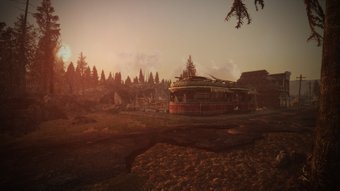
- 16:31 - Discovering Anchorage Mining Town.
- 16:50 - Damn Chinese Launchers.
- 17:09 - The Intel suitcase 05 is on the destroyed building, on top of a wood create. Ammo and health are nearby.
- 18:42 - Attacking the next enemy position.
- 19:22 - Rescuing an American soldier. More Chinese soldiers attack.
- 20:46 - Heading northeast through the rocks. More sniper ahead.
- 21:56 - Montgomery says the town is secured. I request another sniper soldier before ordering the team to the Listening Post.
- 23:03 - Sniping the enemies ahead. Then discovering the Listening Post.
- 23:53 - Enemies attack from the same path we came from.
- 24:29 - Door to the Listening Post. I sneak and kill the first enemy inside.
- 25:06 - That Technician didn't react very well to my shots.
- 25:52 - I almost didn't see you. There are more enemies in the next room.
- 26:48 - The Intel suitcase 06 is on a shelf under the stairs.
- 27:45 - Ambush in the room ahead. There are Ammo and Health dispensers in there.
- 29:45 - Another room with enemies.
- 30:39 - Door to the outside.
- 30:55 - Nice try. That was the last one. We return to the headquarters.
- 32:30 - Accessing the Requisition Terminal.
- 32:53 - The origin of the heroic pose from Anchorage Memorial.
- 33:52 - Getting the Strike Team ready for the next mission. The team will wait outside the Chinese Ice Camp.
- 35:36 - Heading northwest.
- 37:13 - Discovering the Chinese Forward Camp Delta.
- 37:33 - Oh, come on! How come they didn't die?!
- 38:03 - Man, how did you survive that grenade?!
- 38:50 - I left the team behind.
- 39:30 - Accessing the Chinese Terminal.
- 40:28 - More enemies ahead.
- 41:23 - The Intel suitcase 07 is on a table in the farthest tent from the camp.
- 42:53 - Killing the Chinese soldier and rescuing two Americans. Don't forget the ammo and grenades nearby.
- 44:09 - Spider-Drones on the snowy path.
- 45:34 - Sniping the soldiers protecting the gate.
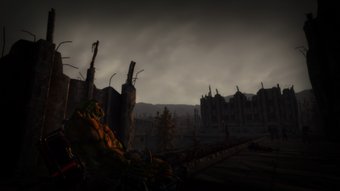
- 46:08 - Discovering the Chimera Armor Depot.
- 47:06 - The Intel suitcase 08 is in a steel hut, on the table with the ham radio.
- 48:33 - Planting the explosive charges in Tank A.
- 49:51 - Thanks for putting your face through the wall so I could shoot it.
- 50:15 - Montgomery says the camp is secured.
- 50:33 - A tank was destroyed with a single grenade.
- 50:50 - It's safe to snipe everyone.
- 51:18 - Planting the explosive charges in Tank B. Back to the headquarters.
- 52:25 - Now, the only thing left is the refinery.
In the next episode, we complete the simulation.
Show more
Tags :
Woo!
This creator can upvote comments using 3speak's stake today because they are a top performing creator!
Leave a quality comment relating to their content and you could receive an upvote
worth at least a dollar.
Their limit for today is $0!
Their limit for today is $0!
1 views
a year ago
$

1 views
2 years ago
$

3 views
10 months ago
$
2 views
9 months ago
$

1 views
a year ago
$
More Videos

14 views
2 years ago
$

4 views
2 years ago
$
1 views
a year ago
$

19 views
2 years ago
$

1 views
2 years ago
$
0 views
a year ago
$

14 views
a year ago
$

5 views
a year ago
$

17 views
a year ago
$

14 views
2 years ago
$

15 views
a year ago
$

29 views
a year ago
$

13 views
a year ago
$

7 views
2 years ago
$

10 views
3 years ago
$

10 views
a year ago
$

2 views
2 years ago
$

83 views
a year ago
$

1 views
2 years ago
$

5 views
2 years ago
$

1 views
2 years ago
$

6 views
a year ago
$

14 views
a year ago
$

1 views
3 weeks ago
$
4 views
9 months ago
$
Comments:
Reply:
To comment on this video please connect a HIVE account to your profile: Connect HIVE Account