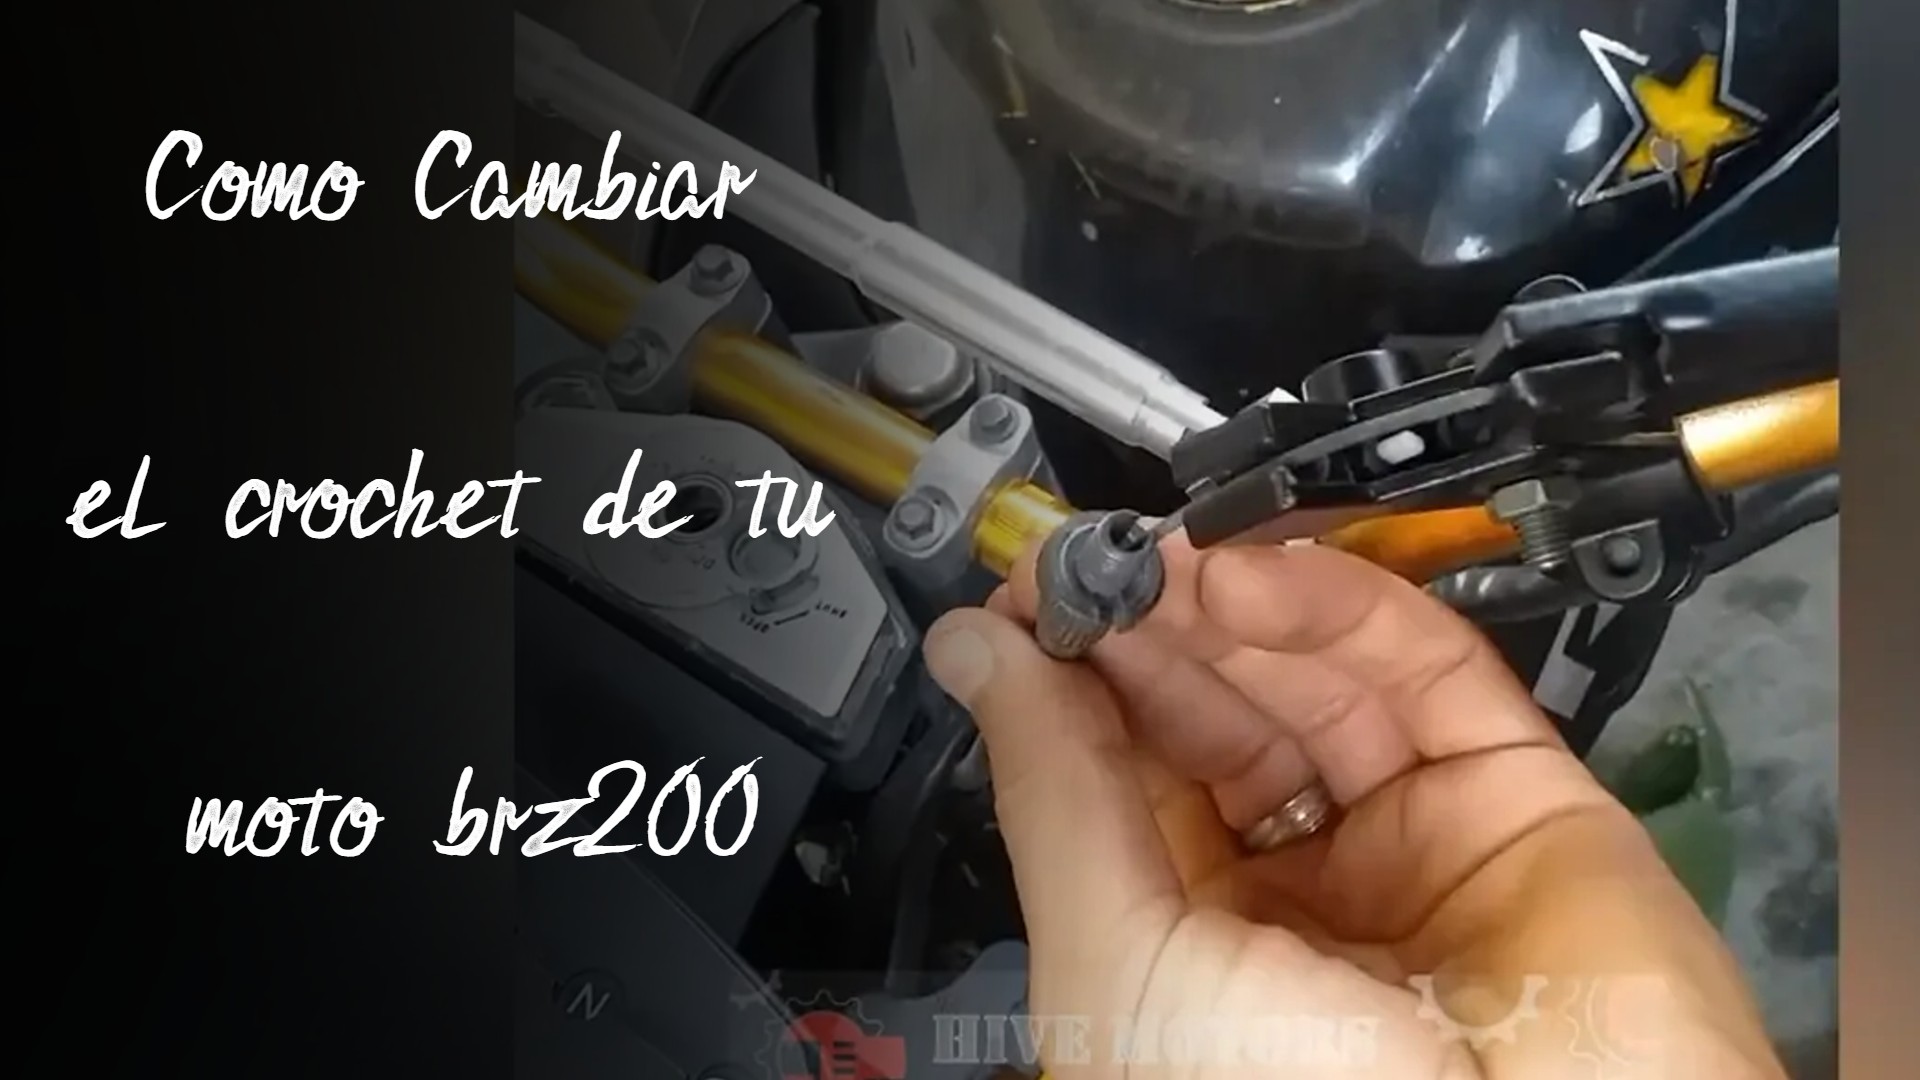
Como Cambiar el crochet de tu moto brz200 [Eng/Esp]
10
About :

Hola, ¿qué tal querida familia de motores, espero todos estén bien, todos estén preparando sus cosas al máximo y disfrutando también de esta época decembrina, qué dónde más hay felicidad.
Hello, how are you dear family of engines, I hope everyone is well, everyone is preparing their things to the fullest and also enjoying this Christmas season, where else there is happiness.
Hace nada compartir un poco donde mostraba una caída que tuve y un accidente en cuál rompió muchas cosas de mi moto y además me había hecho daño a mí. Ahora Quiero enseñarles el video donde arregló el croché de mi moto, el embrague, esto es porque el embrague fue una de las cosas que partió y gracias a Dios no aparto el retrovisor, pero sí la rosca dónde lo agarra Así que tuve que cambiar todo el embrague, lo compré nuevo y ya lo verán a continuación en el video
Not long ago I shared a little where I showed a fall I had and an accident in which broke many things of my bike and also hurt me. Now I want to show you the video where he fixed the crochet of my bike, the clutch, this is because the clutch was one of the things that broke and thank God it didn't break the mirror, but the thread where it holds it, so I had to change the whole clutch, I bought it new and you will see it below in the video.

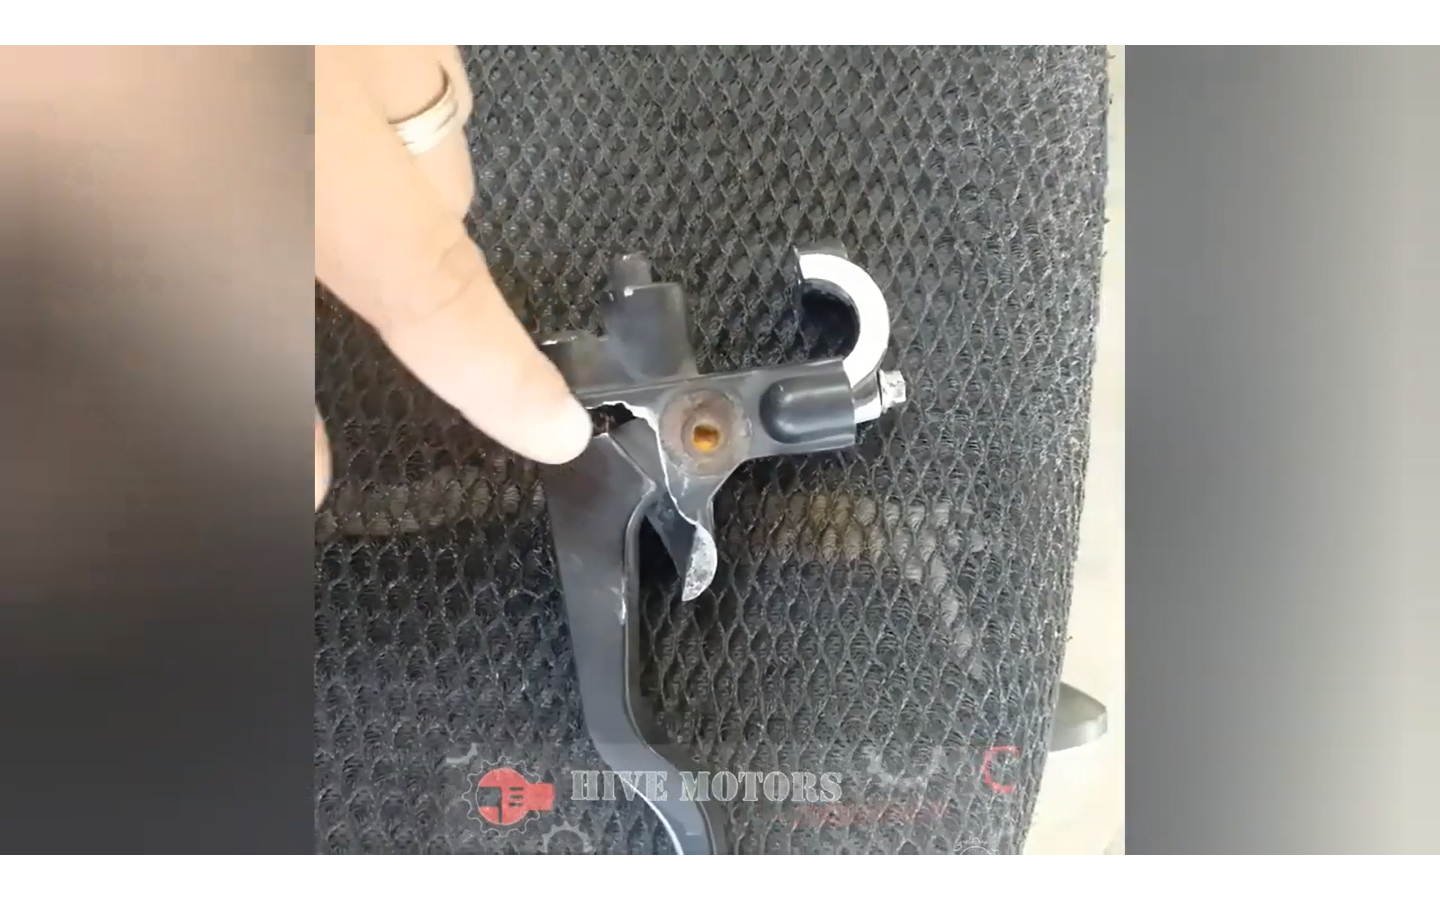
Bueno amigo, aquí vemos como en el embrague está partido, es la aparte que ven allí que descubre la pata de la palanca del embrague, es la parte que lleva la base Dónde va enroscando el retrovisor Este es el izquierdo y Cómo ven está partido Hay que comprar otro.
Well friend, here we see how the clutch is broken, is the part that you see there that uncovers the clutch lever leg, is the part that carries the base where the rearview mirror is screwed This is the left one and how you see is broken You have to buy another one.
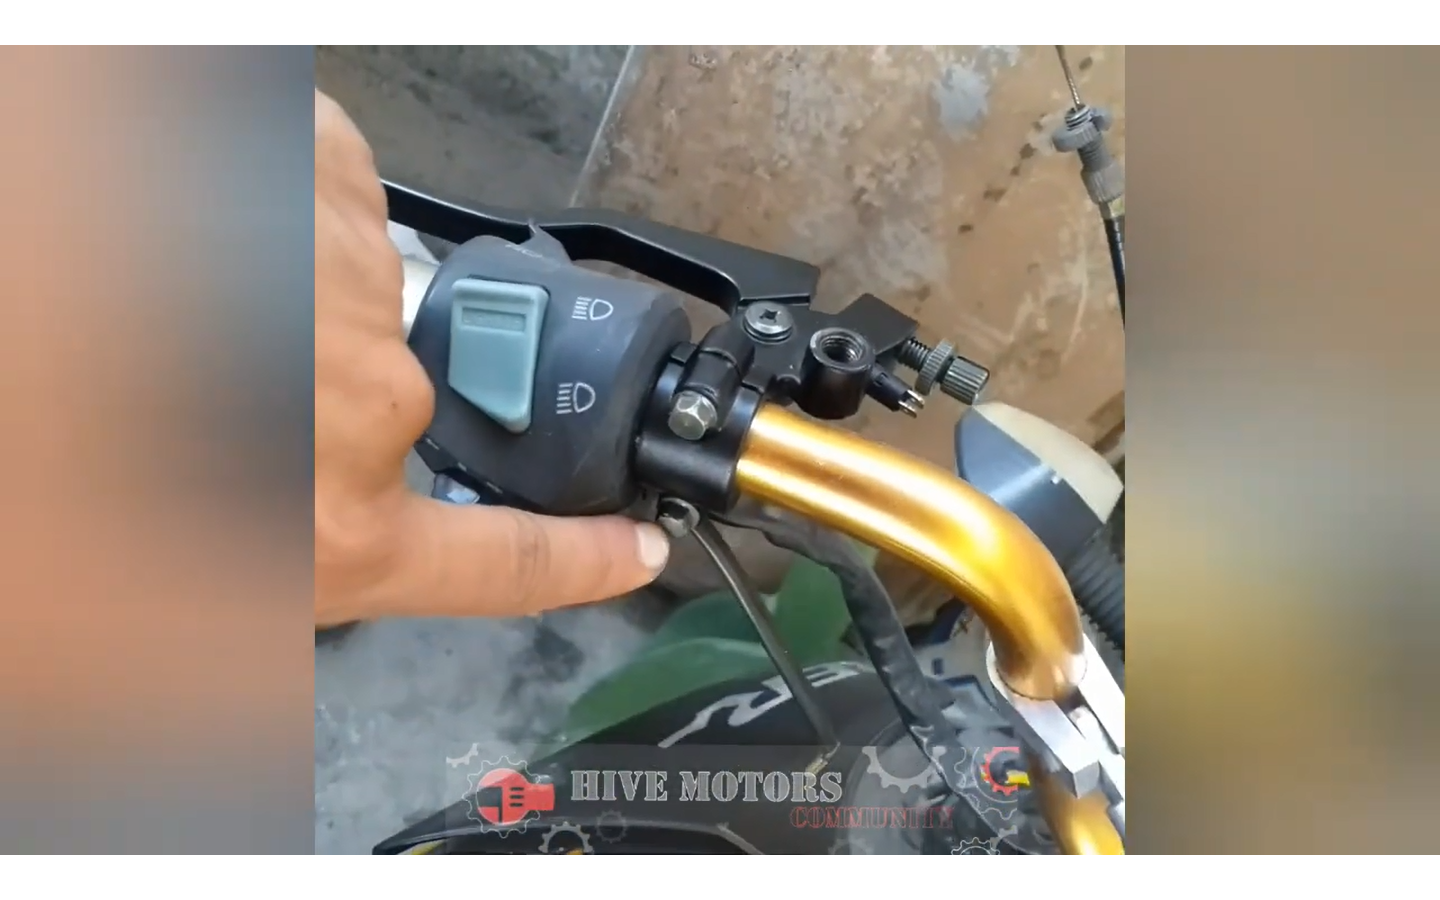
Para poder colocar el embrague bien puesto simplemente tenemos que quitar los dos tornillos que lleva la abrazadera, luego colocar la abrazadera en su lugar fijada bien cerca de cada tubo Y colocar sus tornillos para qué apreté bastante hasta que el embrague no se mueva y la palanca que aprieta y afloja la Guaya quedaría inmovible.
To be able to place the clutch well placed we simply have to remove the two screws that carries the clamp, then place the clamp in its place fixed well near each tube AND place its screws so that it tightens enough until the clutch does not move and the lever that tightens and loosens the Guaya would be immovable.

Allí Cómo ven Sencillamente va el orificio dónde va enroscando todo el retrovisor izquierdo. Como está sin ningún problema siendo enroscado, en algunos casos tiene que estar muy pendiente de que crochet compran Por qué existe la manera de que no sea la misma rosca. Gracias a Dios está roja está buena y era la misma del retrovisor Así que no hubo mucho problema, simplemente coloque cada cosa en su sitio los enrosque correctamente quedaron perfectos.
There How do you see Simply goes the hole where it goes threading all the left rear-view mirror. As it is without any problem being threaded, in some cases you have to be very aware of which crochet you buy because there is a way that it is not the same thread. Thank God this red one is good and it was the same as the mirror. So there was not much problem, just put everything in its place and screwed them correctly and they were perfect.
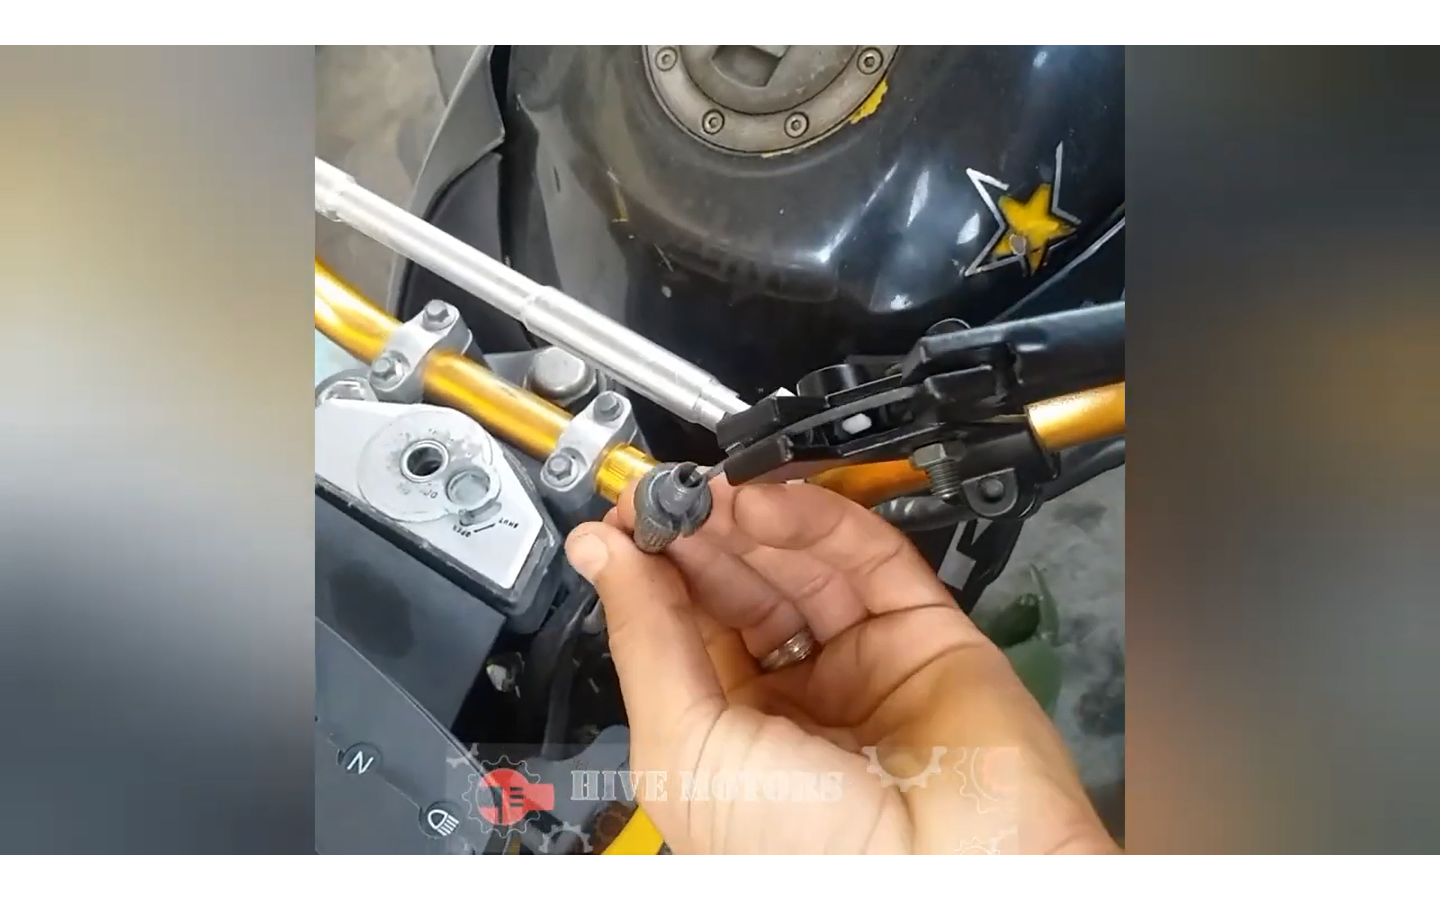
Para continuar debes meter la guaya y la cabeza de la guaya justo en el orificio de la palanca del crochet como estoy mostrando en la imagen y como también mencionó en el video, luego dirigí toda la huella por su conducto y la tuerca de graduación del croché debe estar justo en su lugar así como muestra en la imagen y también muestra el video, esto hará que todos los implementos queden totalmente ajustados, muy bien sin que nada se mueva y dañe o haga algún movimiento mientras estás corriendo en la moto todo quedará muy perfecto.
To continue you must put the guaya and the head of the guaya just in the hole of the crochet lever as I am showing in the image and as also mentioned in the video, then I directed all the print by its conduit and the crochet graduation nut must be just in place as well as it shows in the image and also shows the video, this will make all the implements are fully adjusted, very well without anything to move and damage or make any movement while you are running on the bike everything will be very perfect.

Aquí ven claramente como la Guaya queda justo en el embrague, la parte del manubrio en la parte de arriba y además el otro cabezal queda en el embrague, la parte de abajo justo en la palanca que jala el motor para que ejecute la función del embrague luego de esto es muy fácil simplemente con la tuerca qué va en la mano izquierda vas graduando todo el croché para qué el motor arranque justo dónde debe arrancar es algo Bastante fácil.
Here you can clearly see how the Guaya is right on the clutch, the part of the handlebar at the top and also the other head is on the clutch, the bottom just on the lever that pulls the engine to run the clutch function after this is very easy simply with the nut that goes on the left hand you go graduating all the crochet so that the engine starts just where it should start is something quite easy.

Cómo te debes dar cuenta para hacer este proceso es demasiado fácil Además esta palanca no es tan costosa, aquí en Barquisimeto en Venezuela cuesta un aproximado de $3 y es algo muy fácil de cambiar, si te das cuenta tienes que pagar aproximadamente $5 más a un mecánico para que te hagas este trabajo. Pero muy simple, lo único que necesitas tener para realizar este trabajo es sentido común
How you should realize to do this process is too easy. Besides this lever is not so expensive, here in Barquisimeto in Venezuela it costs about $3 and it is something very easy to change, if you realize you have to pay about $5 more to a mechanic to do this job. But very simple, the only thing you need to have to do this job is common sense.
fuentes del contenido
Traducción deepl
gift:
Logo facebook
logo instagram
Logo hive
Musica soundcloud.com
Guia para registro en hive
Como usar hive kaychain
Como regitrarse en hive youtube
Link de registro
Ganar algunos pequeños tokens por buscar en google. Registrare aqui
 Instagram
 Facebook
.png)

Show more
Tags :
Woo!
This creator can upvote comments using 3speak's stake today because they are a top performing creator!
Leave a quality comment relating to their content and you could receive an upvote
worth at least a dollar.
Their limit for today is $0!
Their limit for today is $0!

4 views
2 years ago
$
2 views
3 years ago
$
4 views
3 years ago
$

8 views
2 years ago
$

3 views
2 years ago
$
More Videos

20 views
a year ago
$
9 views
3 years ago
$

22 views
2 years ago
$

4 views
3 years ago
$

15 views
2 years ago
$

5 views
a year ago
$

42 views
a year ago
$
4 views
3 years ago
$

6 views
a year ago
$

3 views
2 months ago
$
6 views
2 years ago
$

2 views
5 years ago
$

15 views
2 years ago
$

5 views
3 years ago
$

6 views
3 years ago
$

3 views
a year ago
$

17 views
9 months ago
$

3 views
4 years ago
$

19 views
3 years ago
$

5 views
4 years ago
$

150 views
a year ago
$

15 views
2 years ago
$

15 views
a year ago
$
@ocdb: 3.6912
@threespeak: 1.7142
@hivecc003: 0.3634
@minnowsupport: 0.2440
@ocd: 0.1642
@newsflash: 0.1449
@jschindler: 0.1360
@quochuy: 0.0773
@meritocracy: 0.0700
@threespeak: 1.7142
@hivecc003: 0.3634
@minnowsupport: 0.2440
@ocd: 0.1642
@newsflash: 0.1449
@jschindler: 0.1360
@quochuy: 0.0773
@meritocracy: 0.0700
@xthreespeak: -0.0000
Comments:
Reply:
To comment on this video please connect a HIVE account to your profile: Connect HIVE Account