#HOWTO Make a tripod easel for Art and Photography with PVC pipes. [ENG-ESP]
40
About :
 |  |
|---|
Hello friends, I hope you are well, this is my the first video I have made in my entire life literally and especially to share on Hive, it took a long time because I don't really know much about video editing but so I did some intensive research to learn the basics. Here in this small short I show you how to build a tripod that can be used for photography or art, it is made entirely with recycled PVC tubes and screws, I explain how to assemble it by having the pieces ready and prepared, however I will leave the list here of materials and a brief step by step. It is a great job, it takes time to do it but with these materials you save a lot of money, for example, I was asking prices for art easels and they did not go below $100, so I decided to make one and share with you the results. I hope you like it.
High pressure pipes, or hot water:
- 3 1/2 inch tubes
- 3 3/4 inch tubes
- 3 1 inch tubes
All 40 cm - 1 tube 3/4 east 60 cm
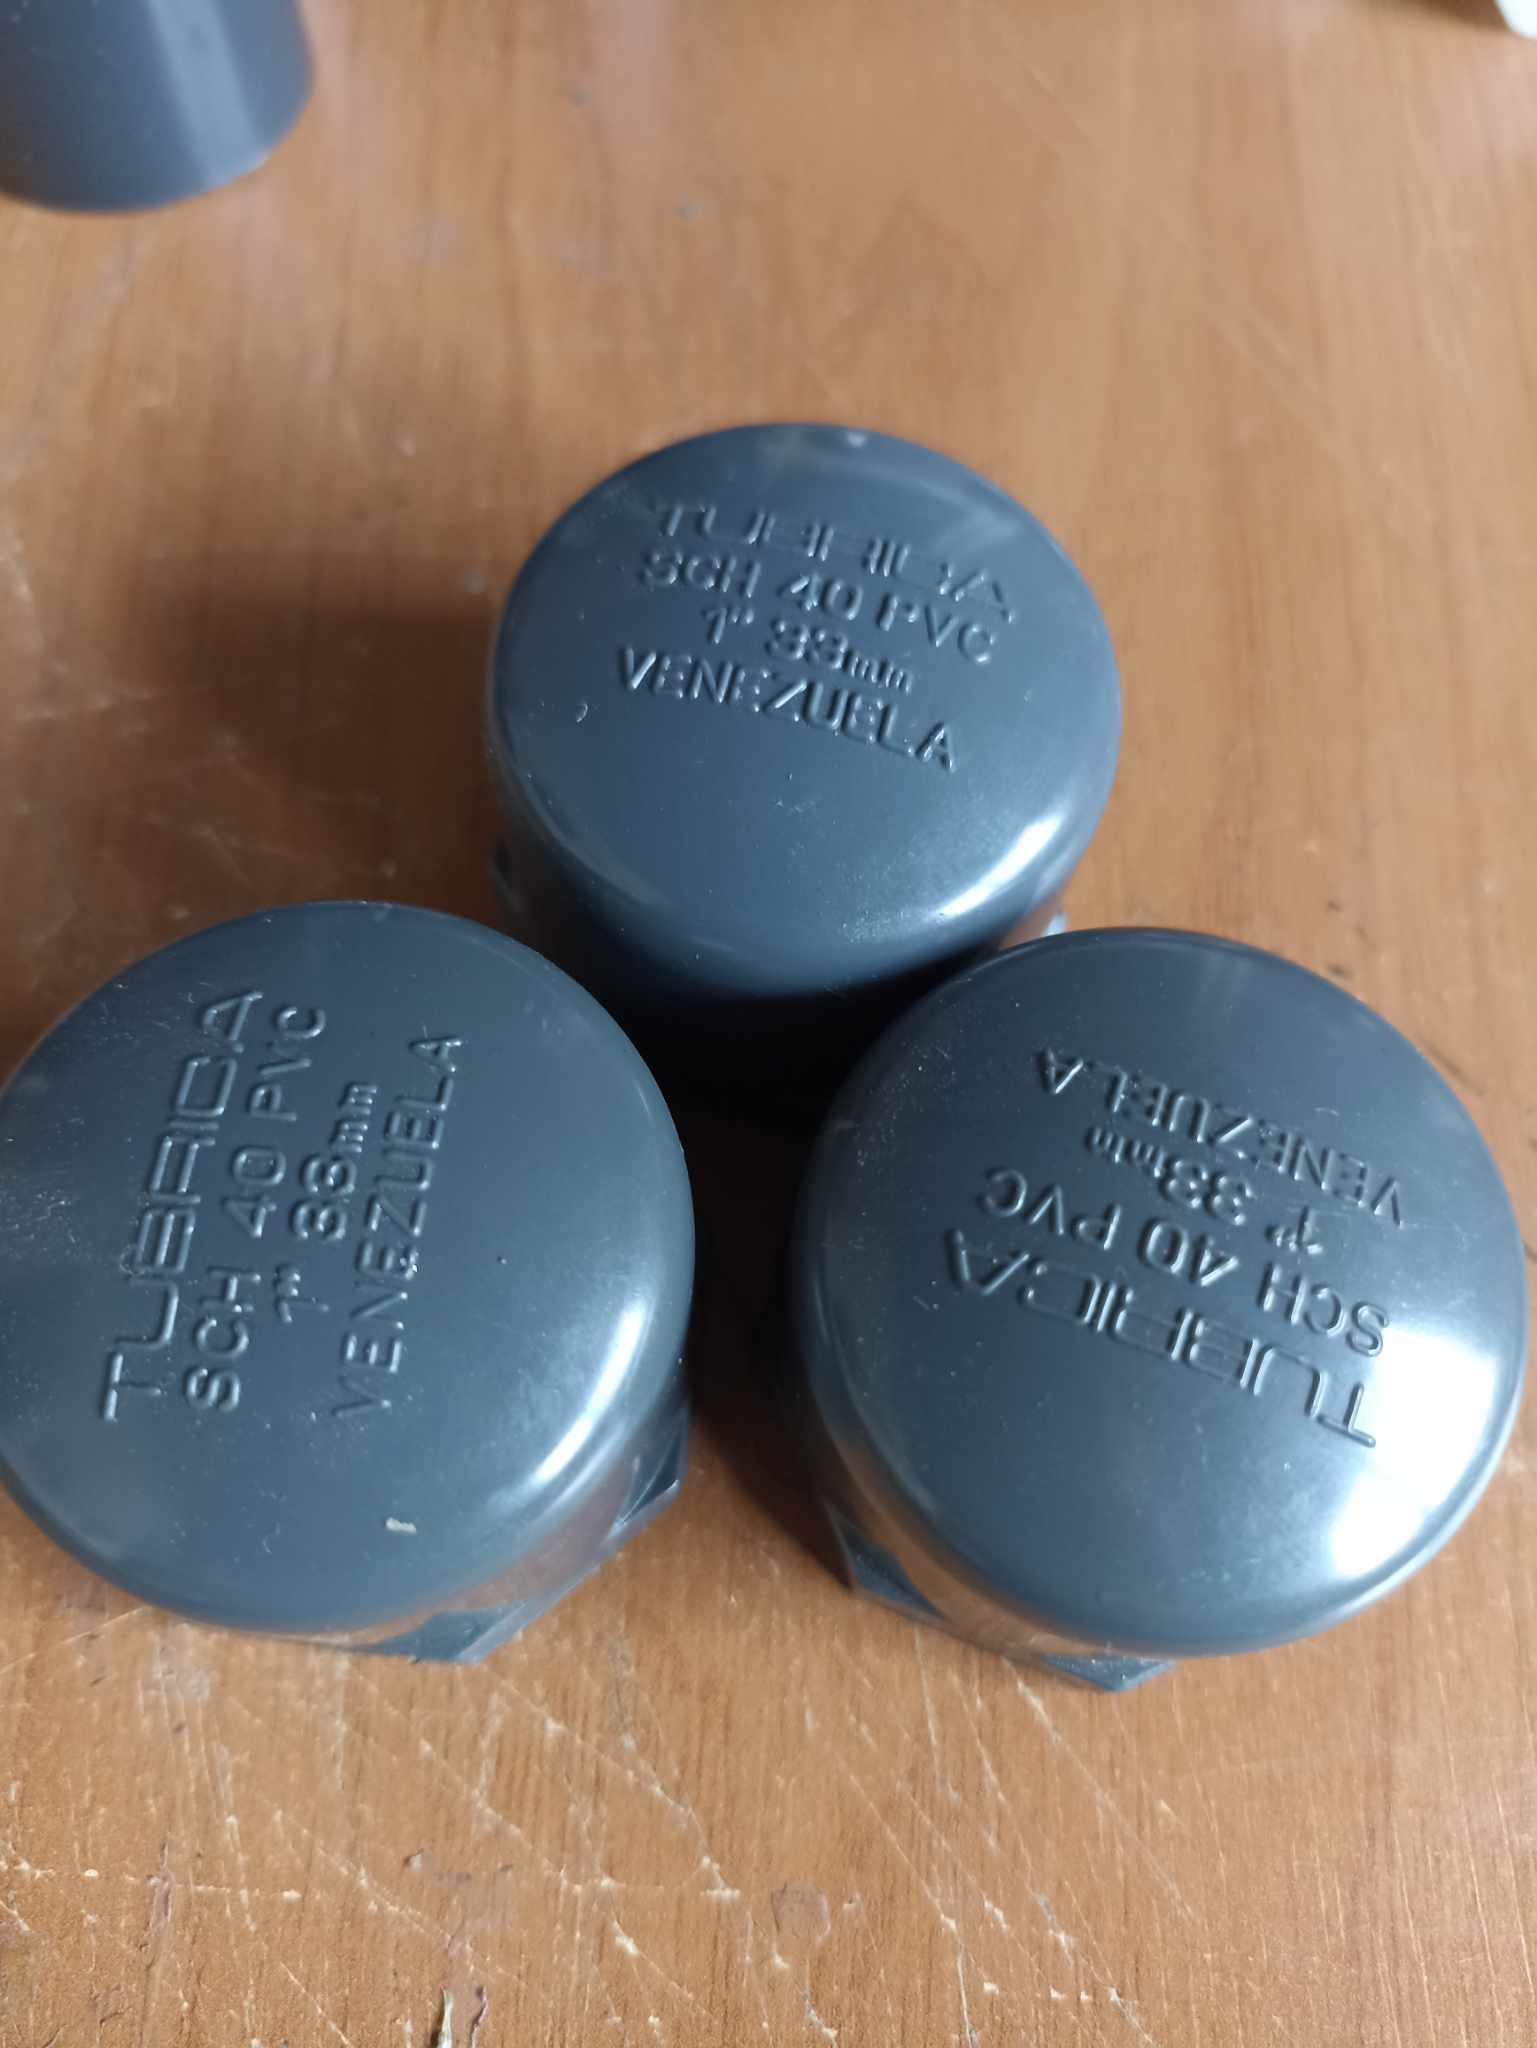
- 3 1-inch plugs
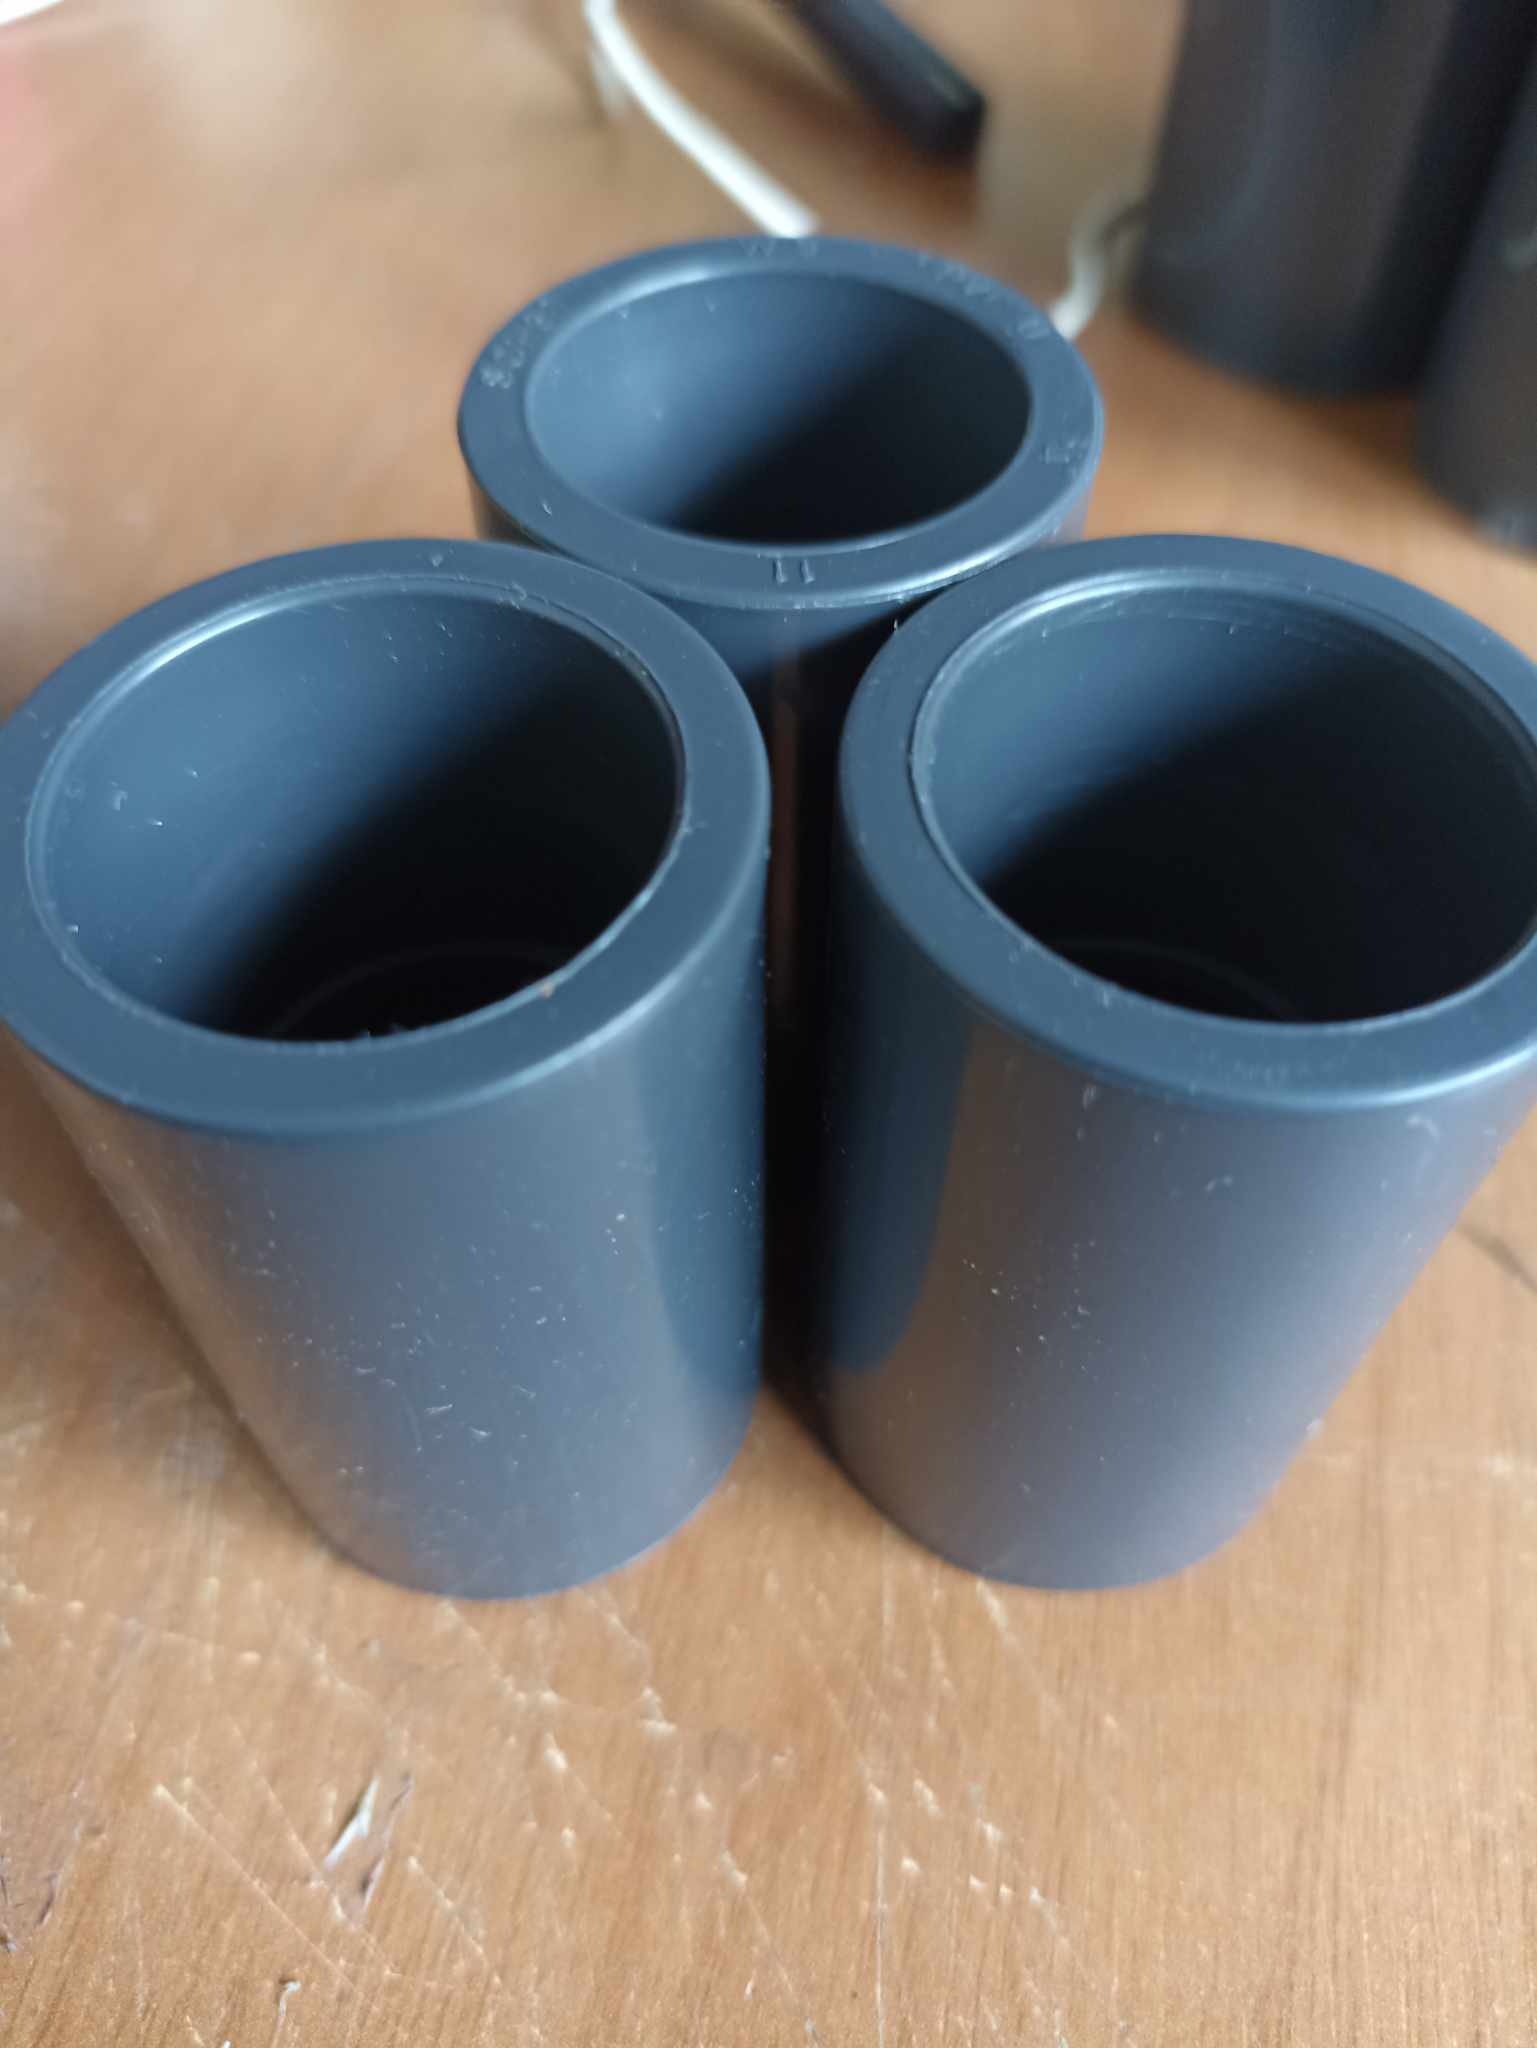
- 2 unions (couplings) of 1 inch
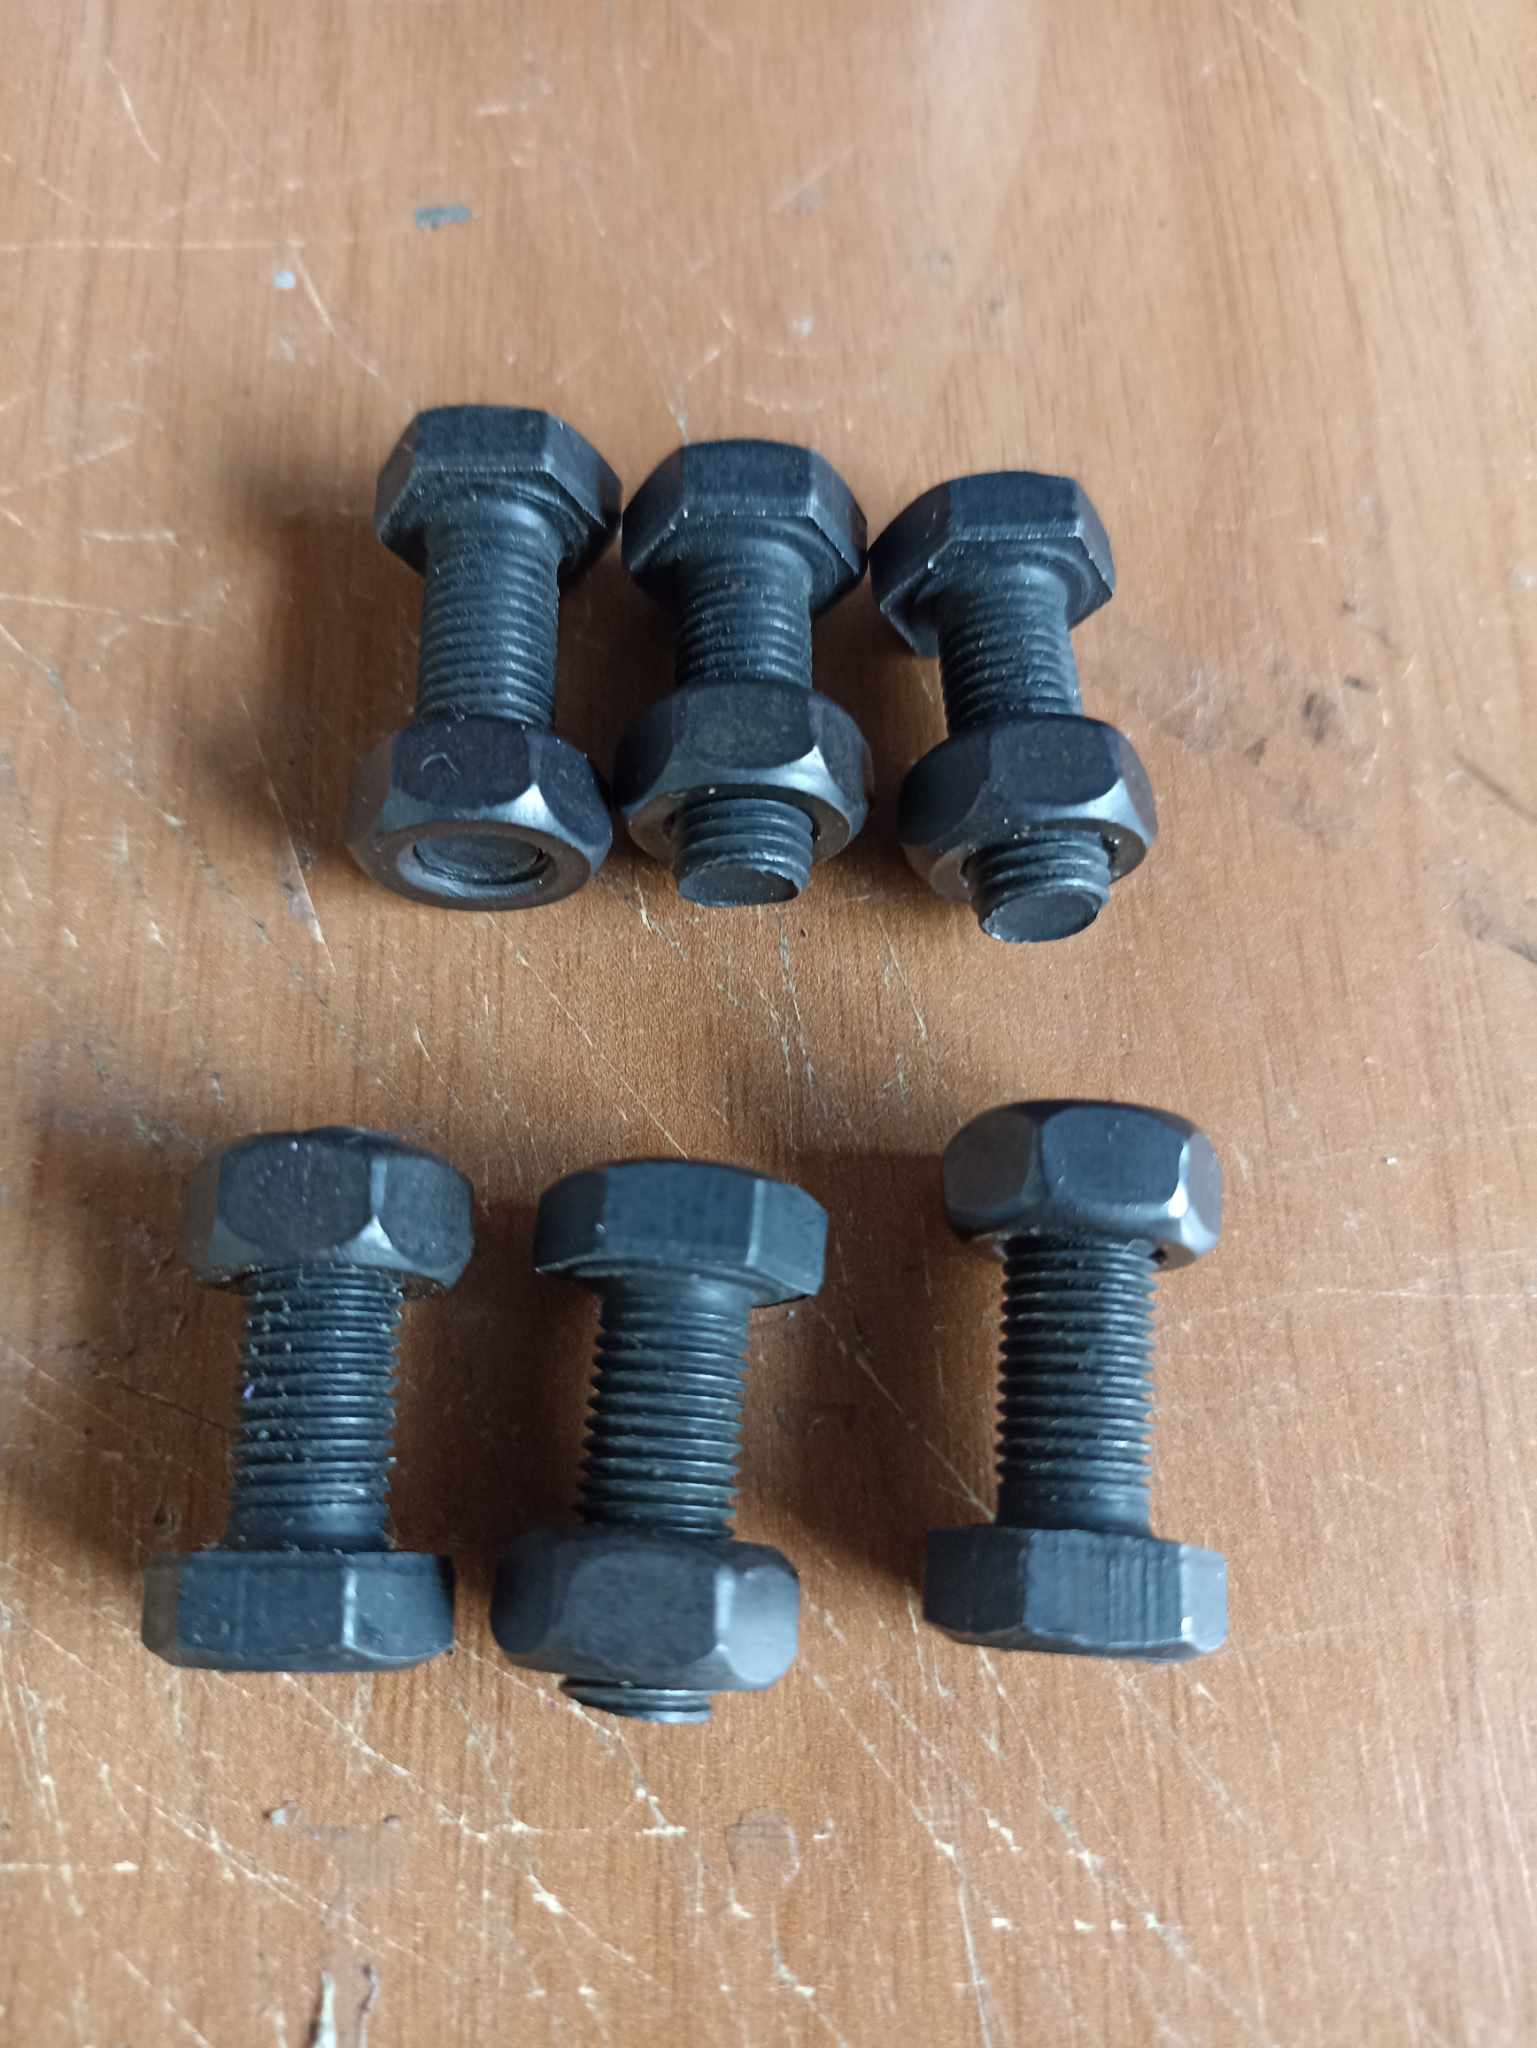
- 3 two-and-a-half-inch by quarter-inch screws (2 1/2 x 1/4)
- 3 one-quarter-inch screws for the wooden knobs (1x1/4)
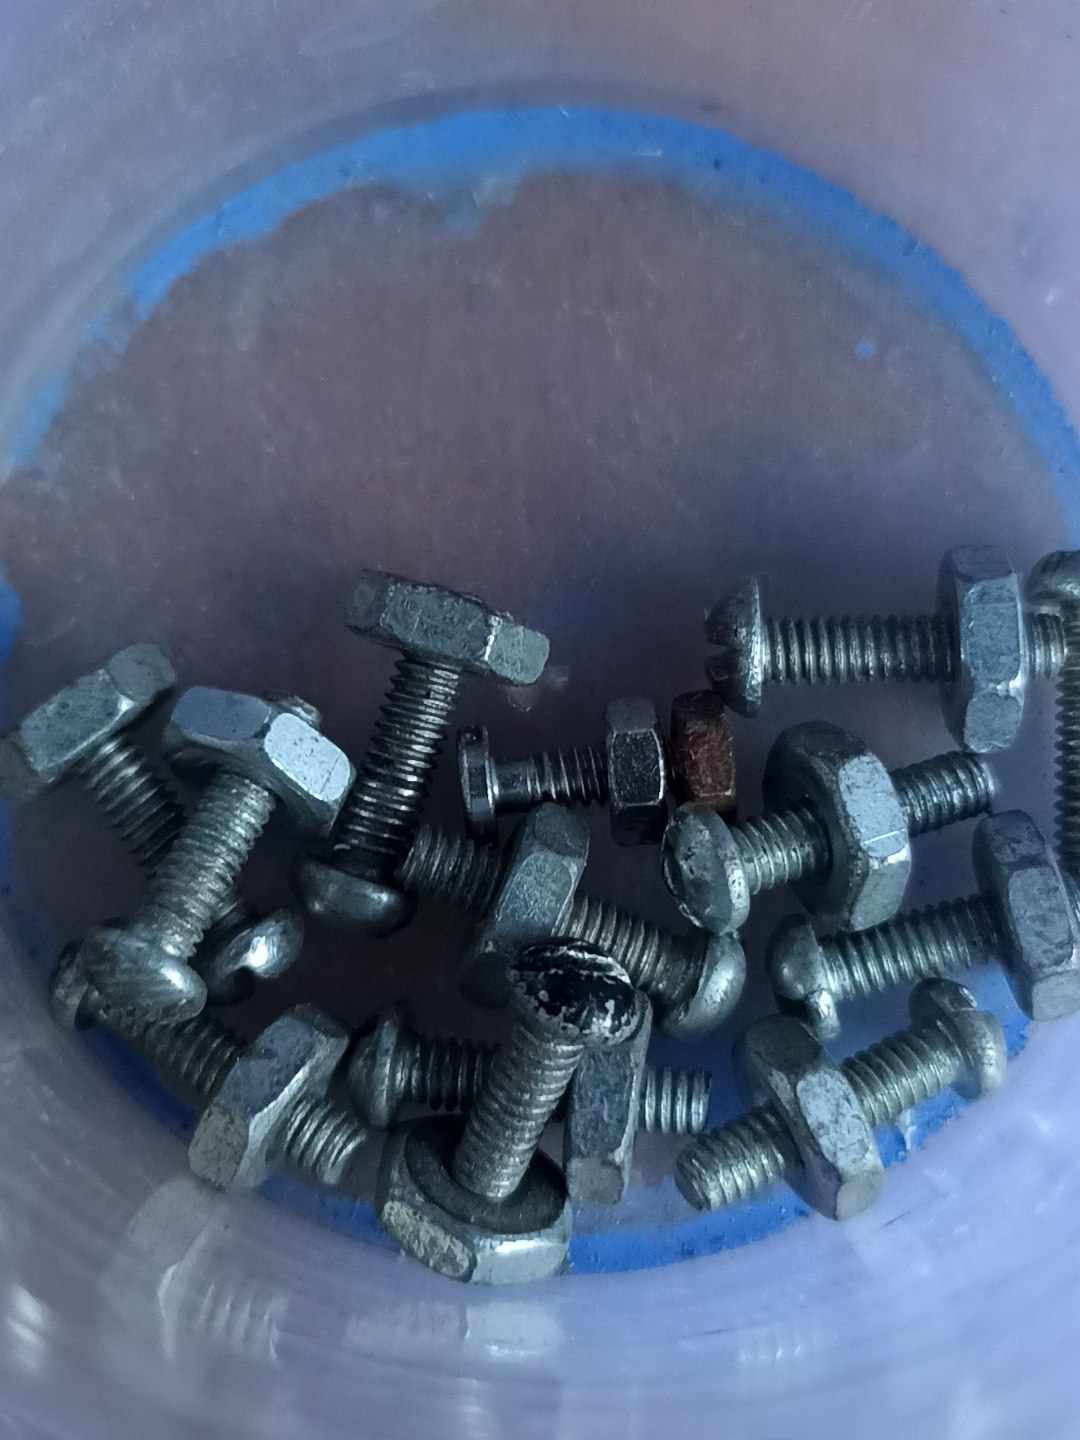
- 6 small screws with nuts for the central shaft
- 6 small screws with nuts for the opening rods
 |  |  |
|---|---|---|
 |  |  |
Assembly process
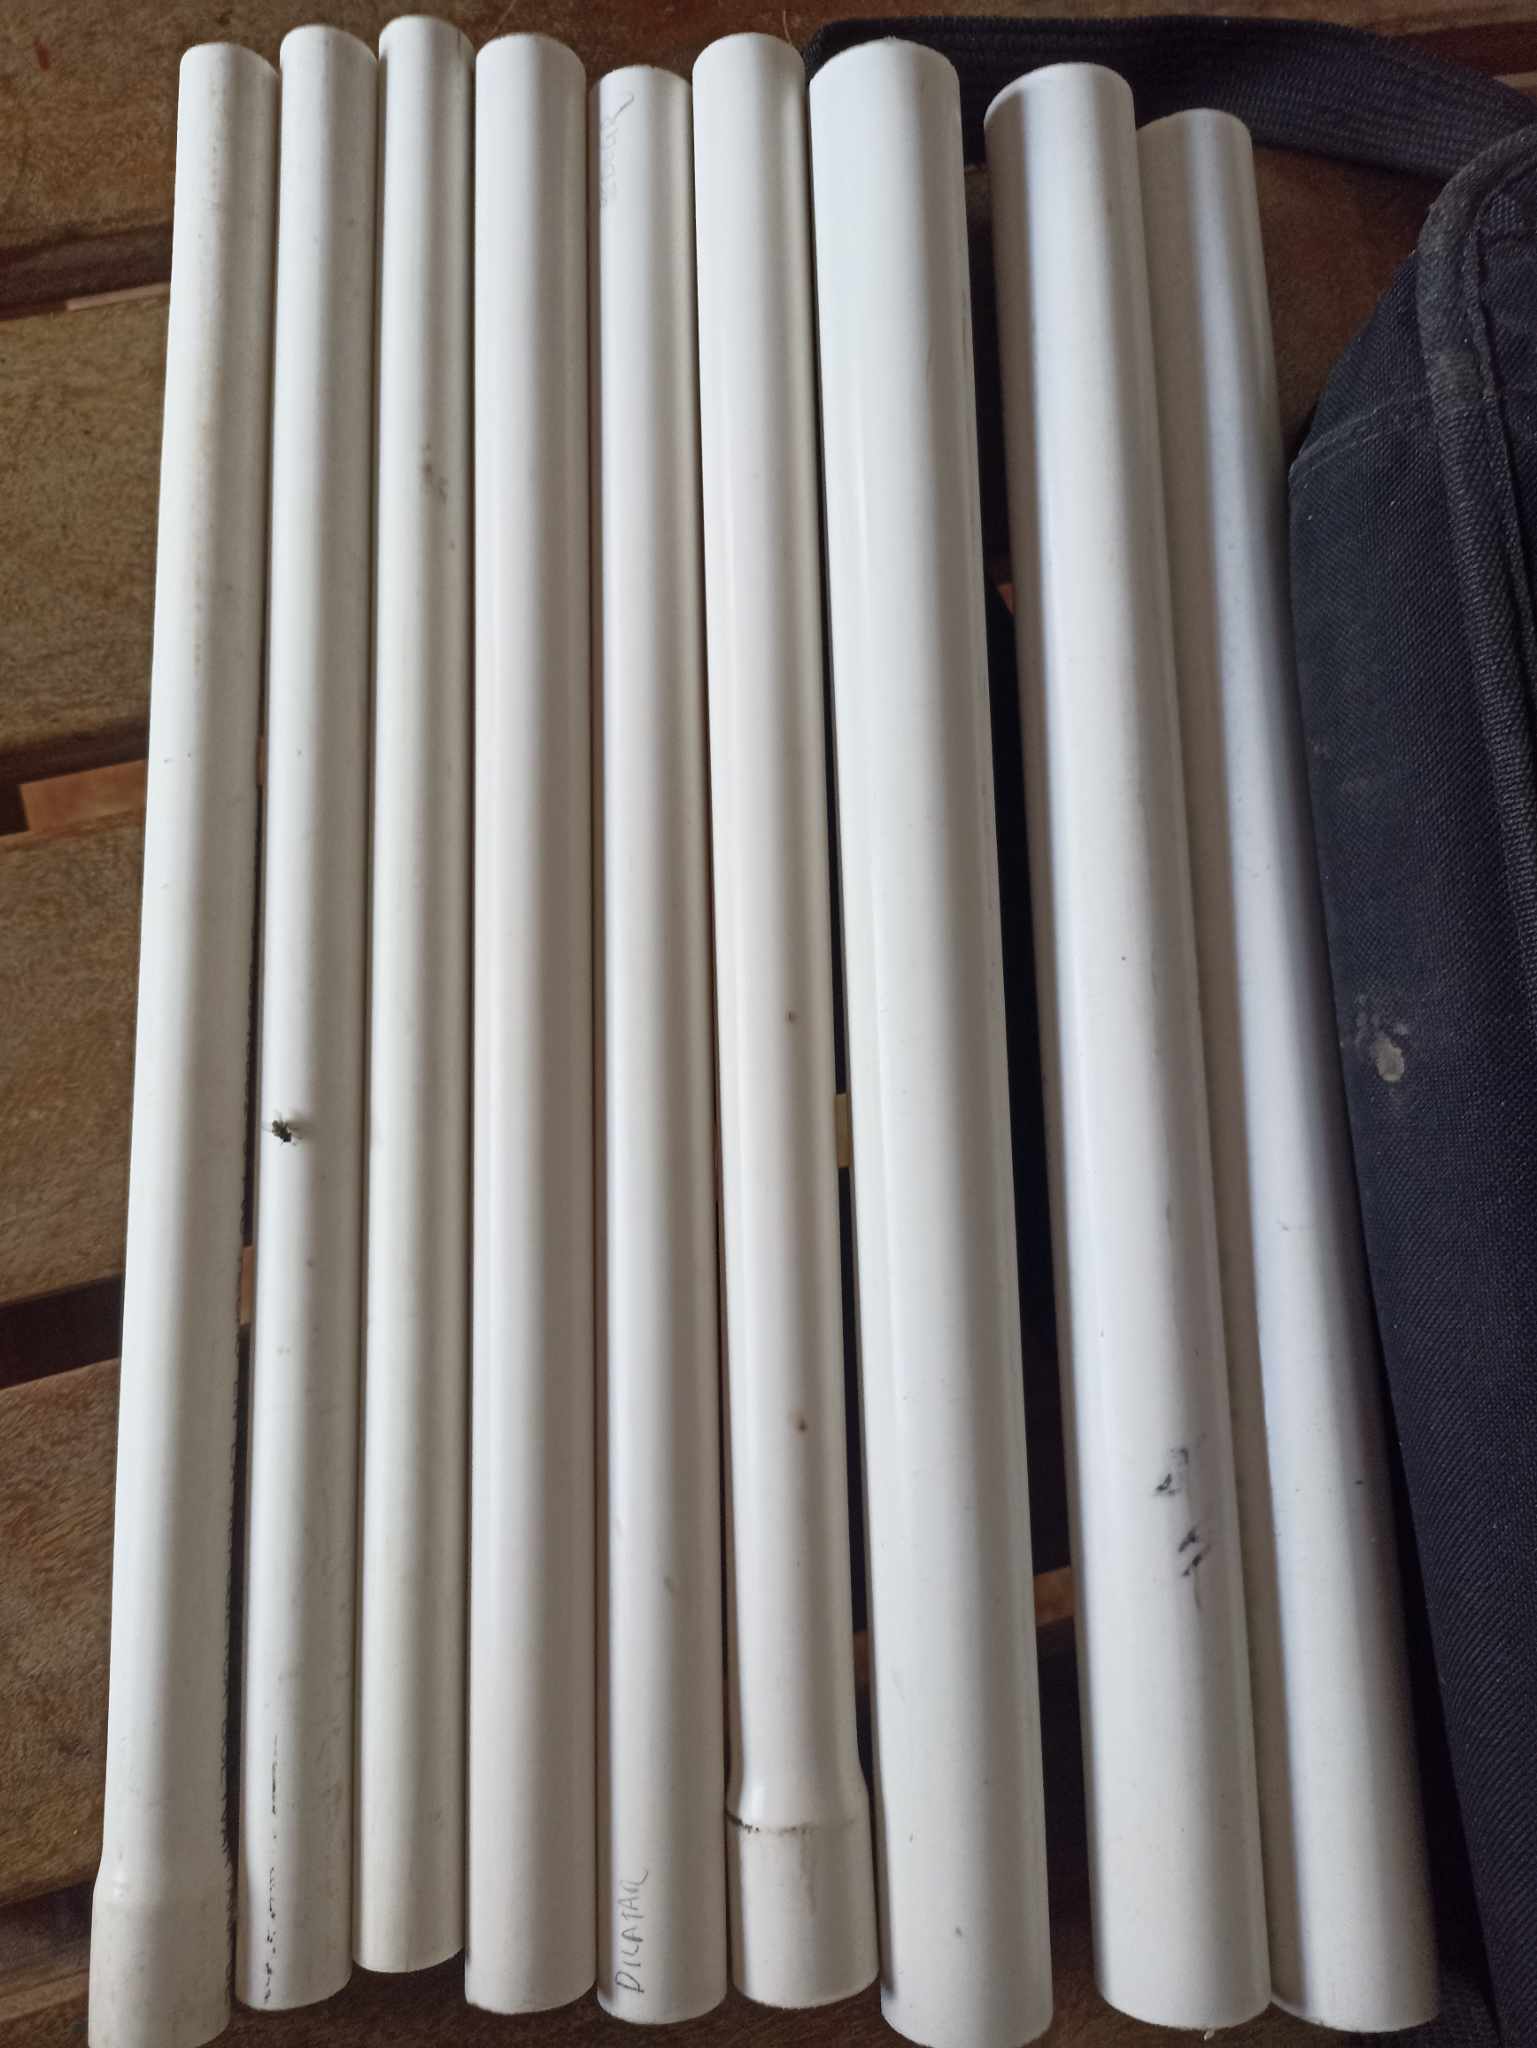
We must make the feet by taking the 1-inch, ¾-inch and ½-inch tubes and putting one inside the other in the shape of a telescope that can expand, thus using 9 tubes we will make the 3 feet.
To ensure that each tube does not come out, we also place PVC clamps adjusted to the size. We make small holes that go through the tubes and there we will place knobs with screws that serve to put a stop.
Then on each tube in the thickest part that would be the upper part, we place the plugs in which we will open holes on both sides where we will insert the screws. These screws will be the opening system of the tripod with the central axis.
The central axis is made with a 1-inch clamp, in which I put 6 screws with the thread facing out. Then I use 3 PVC sheets molded with fire, they will be threaded into the screws, at the end of each sheet I make two holes since the screws of each foot will pass through there.
After assembling each foot with the central axis, we place a tube in the middle, also 40 centimeters and 1 inch in diameter, at one end it will have a 1-inch stop and in turn a ring that slides, this ring will serve as a link with the feet to operate the limit of opening and closing the tripod.
Next we place 3 PVC rods, also cut from the tubes and molded with fire so that it remains flat, we open holes at each end and thus they are screwed into the central tube and also into the feet, which also have PVC rings with a screw .
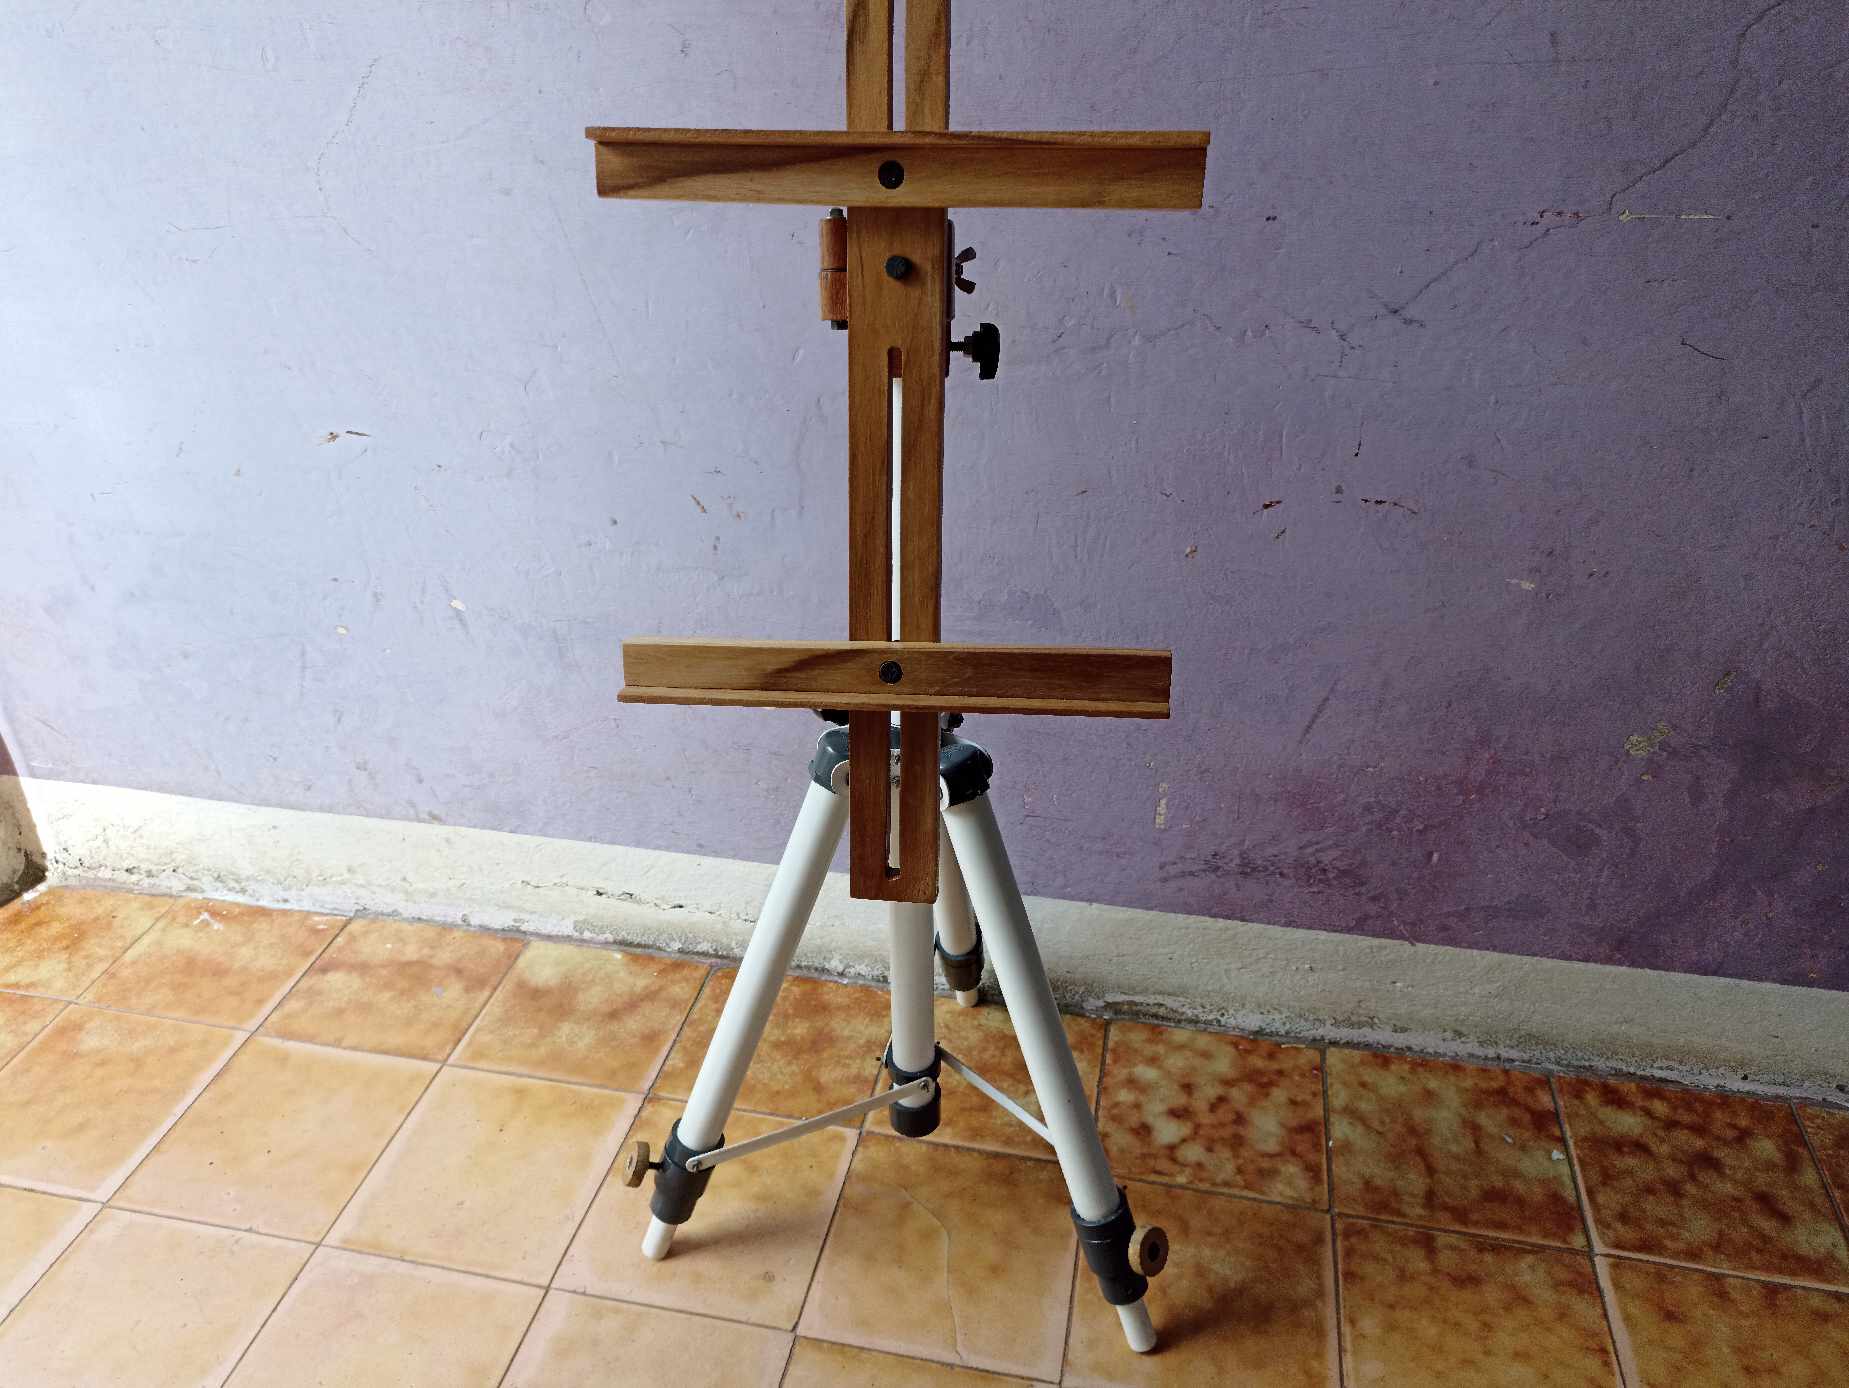
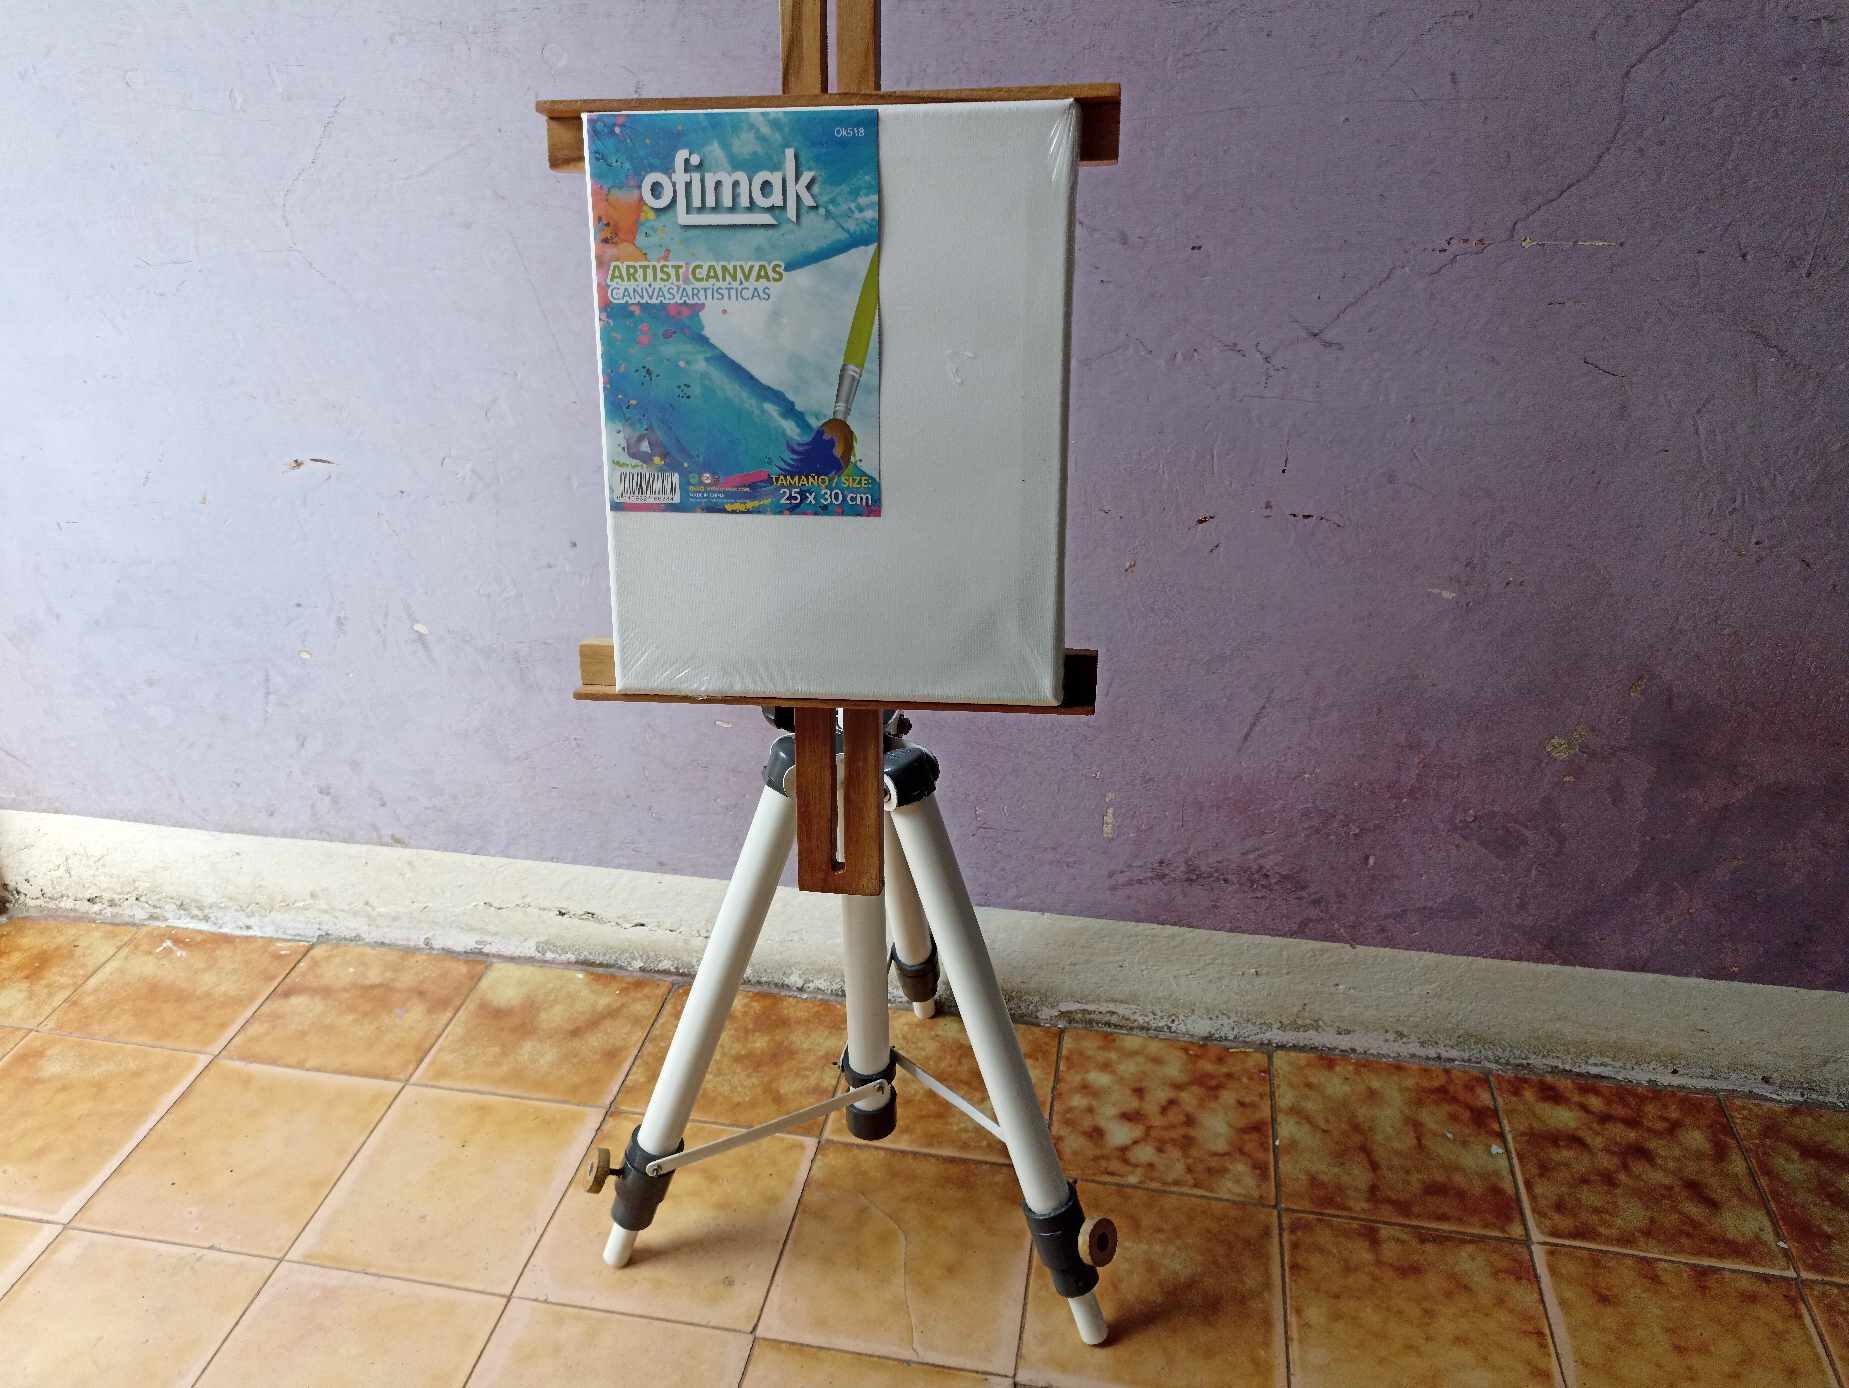
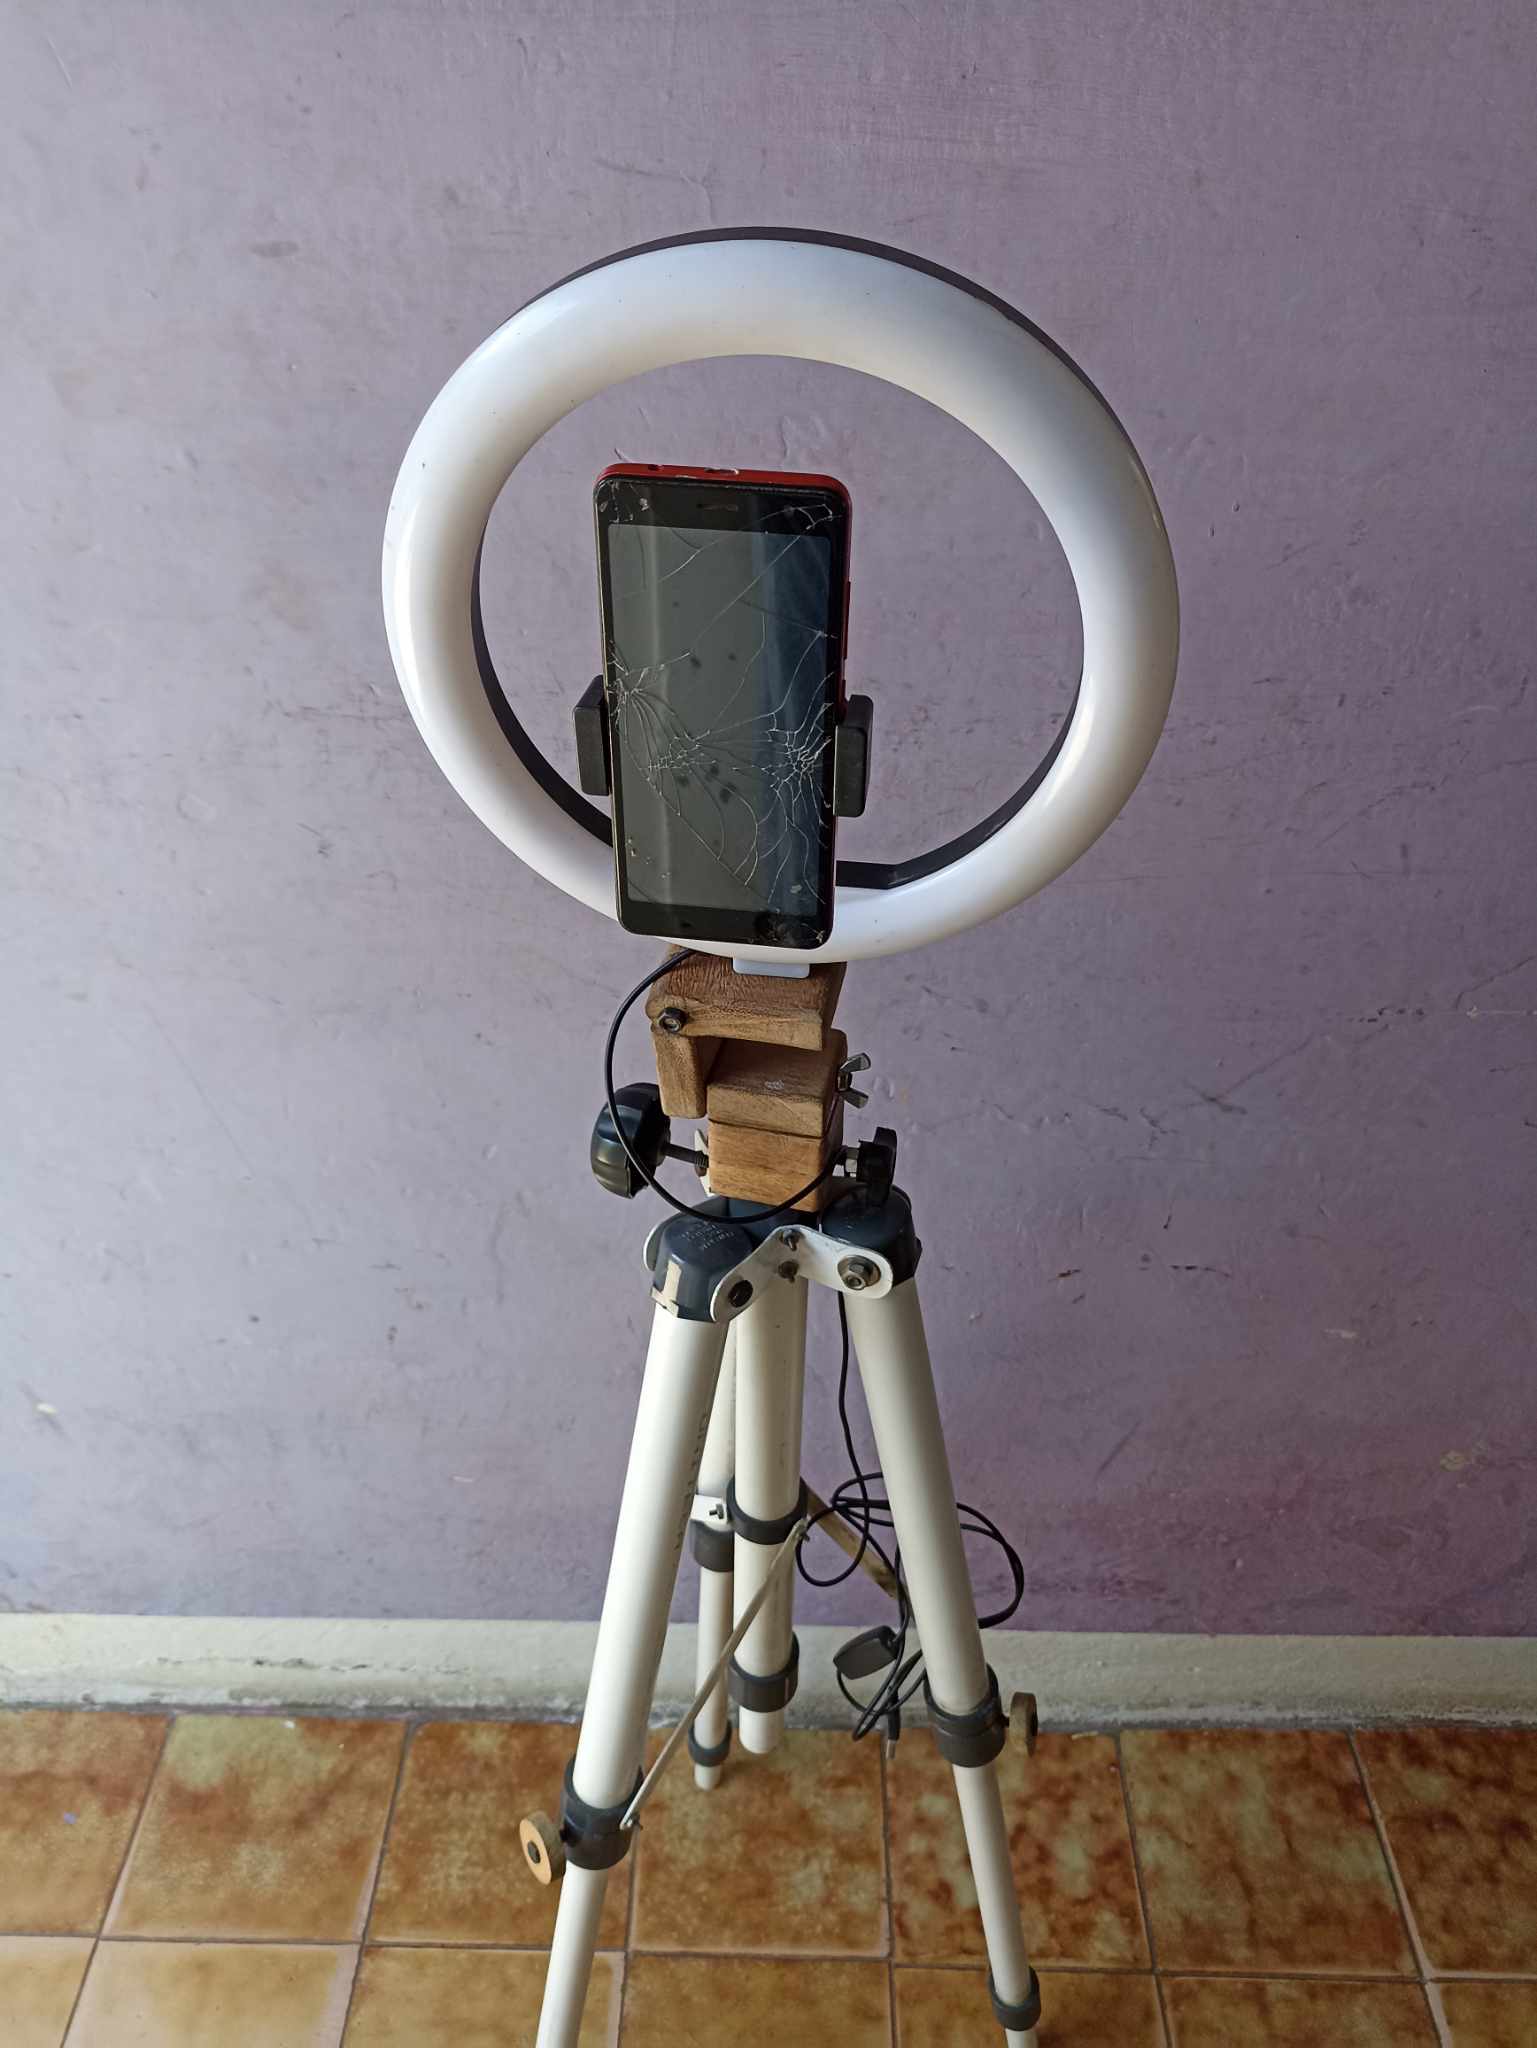
To finish, we place a 60 centimeter tube inside the central tube, so we can give height to the tripod, we also secure it with an adjustment knob. This way the tripod will be finished, on which we can place a head for cameras or also an easel for painting pictures.
I hope you enjoy it and are encouraged to make one since I only spent $8 on everything you see, so it's worth it, plus the PVC material is easy to work with and supports a lot of weight.
Editing and video tools:
- My Xiaomi Redmi Note 6
- InShot App
Music without copyright
Music

| |
|---|
Hola amigos, espero que se encuentren bien, este es mi el primer video que realizo en toda mi vida literalmente y especialmente para compartir en Hive, tarde mucho tiempo porque en realidad no sé mucho de edición de video, pero así que hice una investigación intensiva para aprender lo básico. Aquí en este pequeño corto les muestro como construir un trípode que puede usarse para fotografía o para arte, está hecho con su totalidad con tubos de PVC reciclado y tornillos, explico cómo armarlo al tener las piezas listas y preparadas, sin embargo, dejaré aquí la lista de materiales y un breve paso a paso. Es un trabajo genial, lleva su tiempo realizarlo, pero con estos materiales es mucho el dinero que se ahorra, por ejemplo, yo estuve preguntando precios para caballetes de arte y no bajaban de 100$ por eso tomé la determinación de hacerme uno y compartir con ustedes los resultados. Espero les guste.
Lista de materiales:
Tubos de alta presión, o agua caliente.
- 3 tubos de 1/2 pulgada
- 3 tubos de 3/4 pulgada
- 3 tubos de 1 pulgada
- Todos de 40 cm
- 1 tubo de 3/4 este de 60 cm
- 3 tapones de 1 pulgada
- 2 uniones (acoples) de 1 pulgada
- 3 tornillos de dos pulgadas y media por un cuarto (2 1/2 x 1/4)
- 3 tornillos de una pulgada por un cuarto para las perillas de madera ( 1x1/4)
- 6 tornillos pequeños con tuercas para el eje central
- 6 tornillos pequeños con tuercas para las varillas de apertura
| | |
|---|---|---|
| | |
Proceso de armado
Debemos hacer los pies tomando los tubos de 1 pulgada, el ¾ de pulgada y el de ½ y meter uno dentro del otro en forma de telescopio que pueda expandirse, así utilizando 9 tubos haremos los 3 pies.
Para asegurar que cada tubo no se salga colocamos abrazaderas también de PVC ajustadas al tamaño. Realizamos unos pequeños agujeros que atraviesen los tubos y ahí colocaremos perillas con tornillos que sirvan para poner un tope.
Luego a cada tubo en la parte más gruesa que sería la superior, colocamos los tapones en los cuales abriremos agujeros en ambos lados por donde meteremos los tornillos. Estos tornillos serán el sistema de apertura del trípode con el eje central.
El eje central está realizado con una abrazadera de 1 pulgada, en la cual puse 6 tornillos con la rosca hacia afuera. Luego utilizo 3 chapas de PVC moldeadas con fuego irán enroscada en los tornillos, en el extremo de cada chapa realizo dos agujeros ya que por ahí pasaran los tornillos de cada pie.
Luego de armar cada pie con el eje central, colocamos un tubo en medio, también de 40 centímetros y de 1 pulgada de diámetro, en un extremo tendrá un tope de 1 pulgada y a su vez un anillo que desliza, este anillo servirá de enlace con los pies para que funcione el límite de abrir y cerrar el trípode.
Seguidamente colocamos 3 varillas de PVC, también cortadas de los tubos y moldeadas con fuego para que quede plana, abrimos hoyos en cada extremo y así se atornilla en el tubo central y también en los pies, los cuales también llevan anillos de PVC con un tornillo.
Para finalizar colocamos un tubo de 60 centímetros dentro del tubo central, así podremos darle altura al trípode, lo aseguramos también con una perilla de ajuste. Así habrá quedado finalizado el trípode, el cual podremos colocar un cabezal para cámaras fotográficas o también un caballete para pintar cuadros.
Espero que lo disfruten y se animen a hacer uno ya que en todo lo que ven solo gasté $8, así que vale la pena, además que el material de PVC es fácil de trabajar y soporta mucho peso.
Herramientas de edición y video:
- Mi Xiaomi Redmi Note 6
- InShot App
Música sin derecho de autor
Music
Show more
Tags :
Woo!
This creator can upvote comments using 3speak's stake today because they are a top performing creator!
Leave a quality comment relating to their content and you could receive an upvote
worth at least a dollar.
Their limit for today is $0!
Their limit for today is $0!

7 views
6 months ago
$

6 views
3 months ago
$

1 views
3 months ago
$
10 views
5 months ago
$

8 views
a month ago
$
More Videos

3 views
a year ago
$

10 views
3 months ago
$

30 views
11 months ago
$

8 views
3 years ago
$

9 views
2 years ago
$

9 views
2 months ago
$

24 views
a year ago
$

9 views
11 months ago
$

36 views
11 months ago
$

6 views
4 years ago
$

10 views
a year ago
$

5 views
a year ago
$

10 views
7 months ago
$

9 views
2 years ago
$

3 views
2 years ago
$

2 views
a year ago
$

5 views
2 years ago
$

10 views
a year ago
$

9 views
2 years ago
$

9 views
9 months ago
$

7 views
2 years ago
$

4 views
a year ago
$

2 views
3 years ago
$

18 views
4 months ago
$
Comments:
Reply:
To comment on this video please connect a HIVE account to your profile: Connect HIVE Account