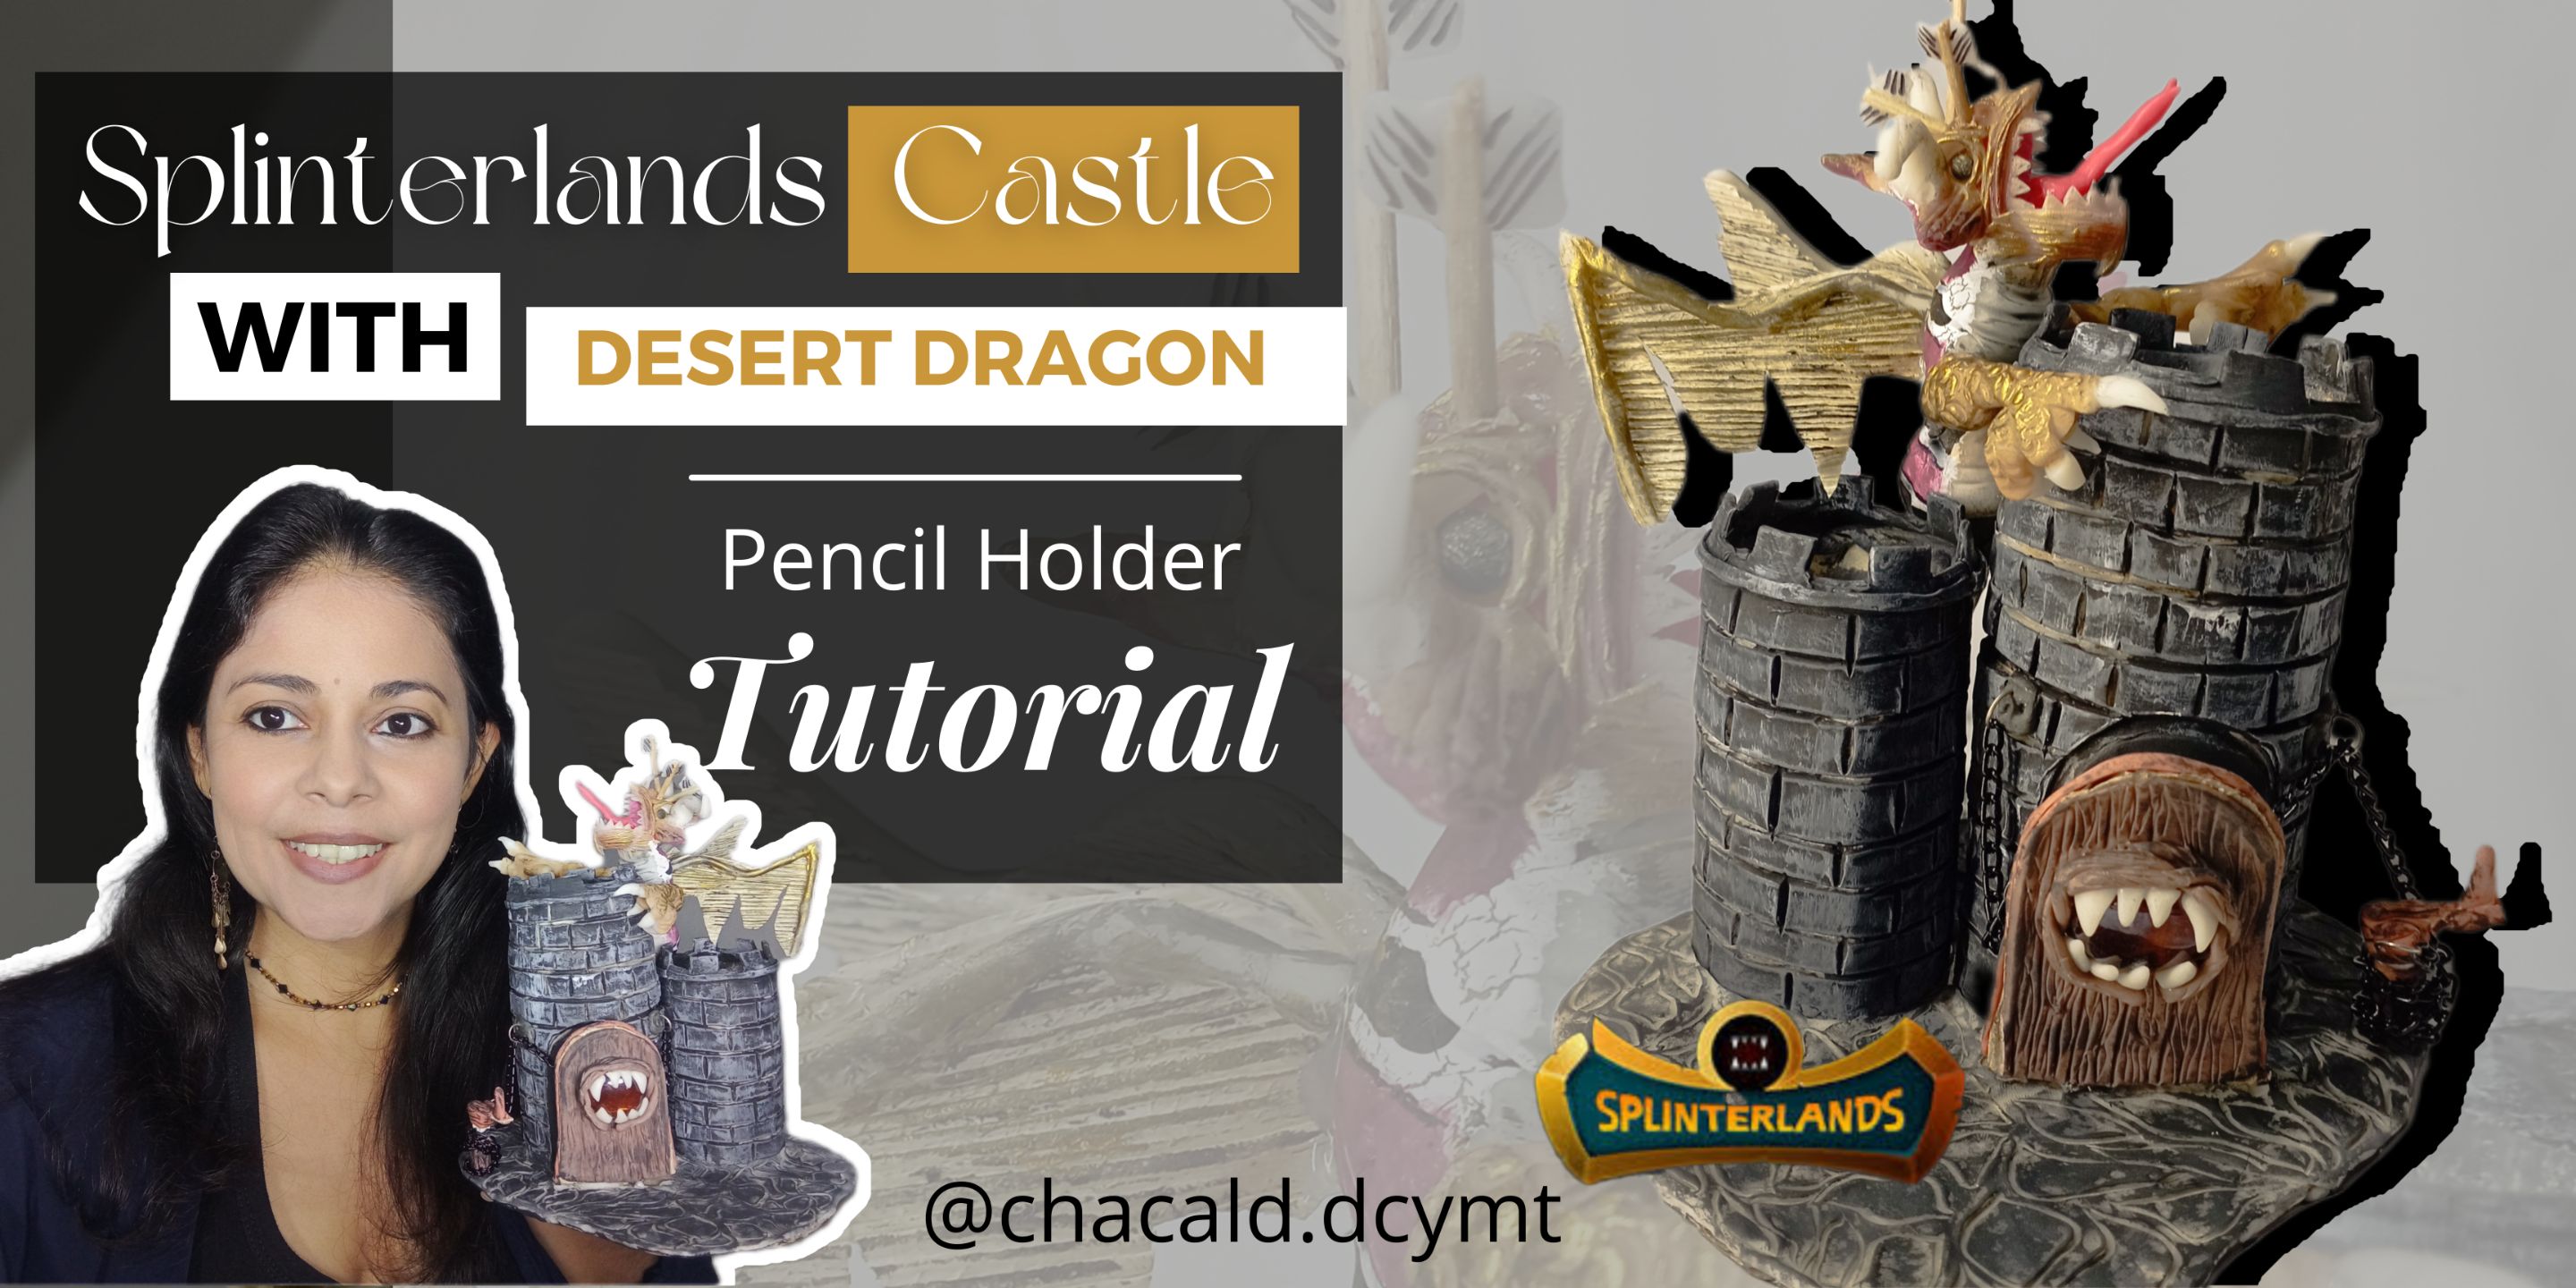
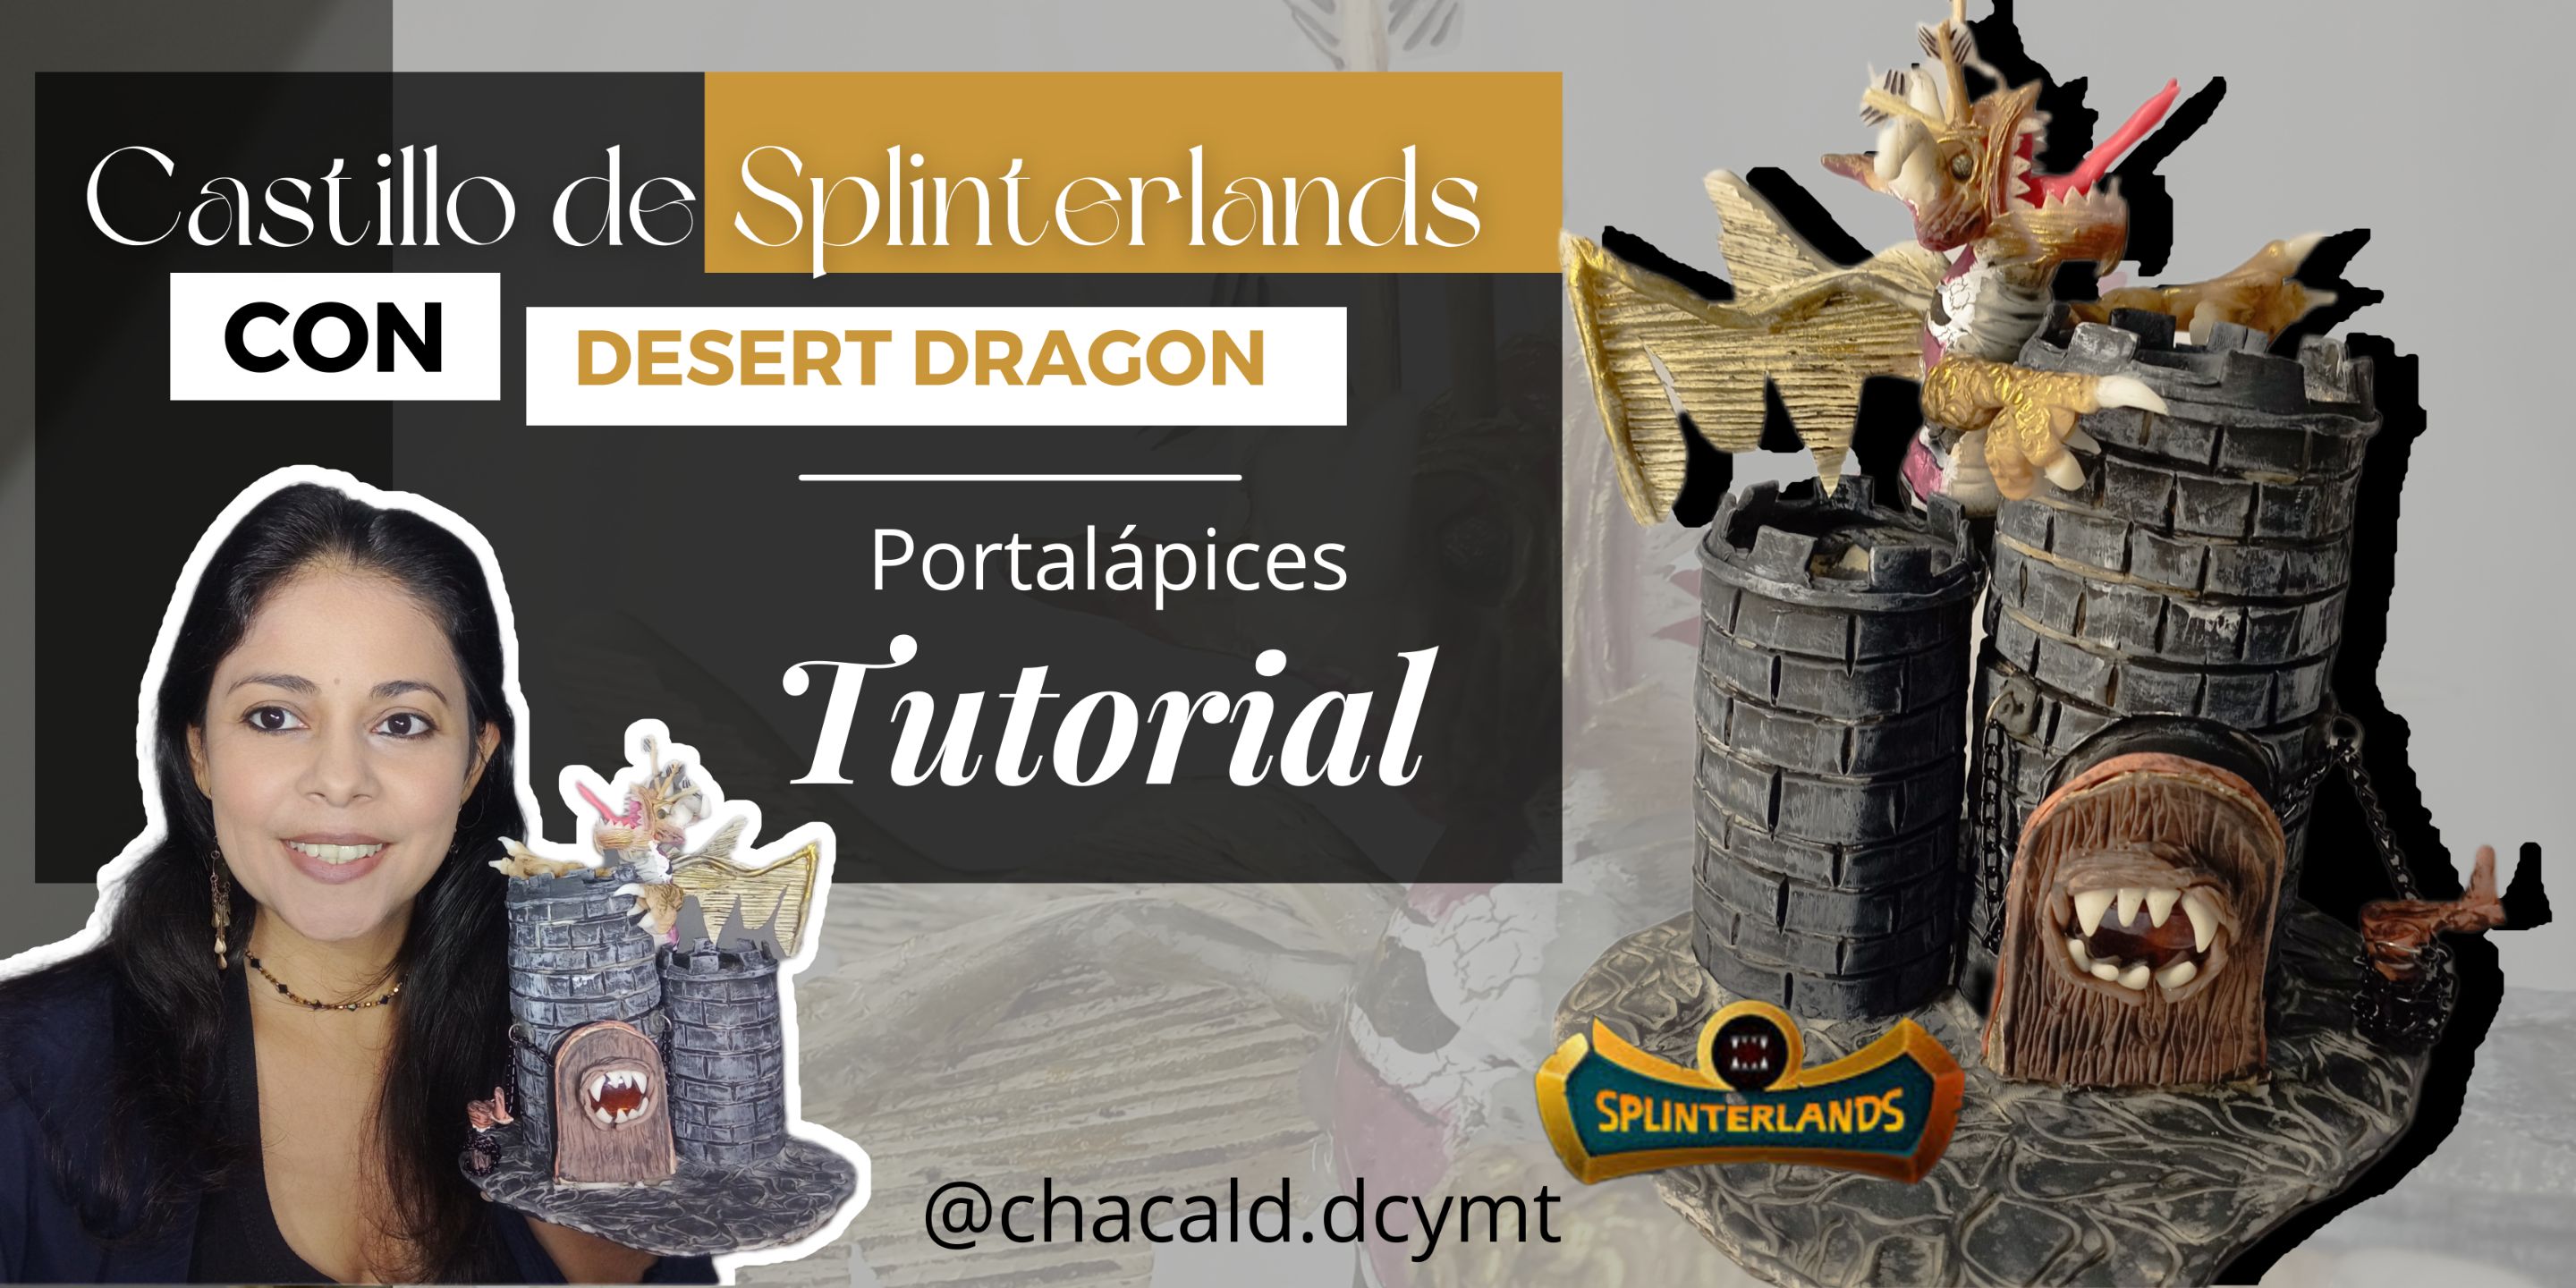
Splinterlands castle with Desert Dragon, Pencil Holder |Tutorial [Eng-Esp]
29
About :
Greetings friends who love handmade crafts! I welcome you to my workshop Crafting DC in this opportunity I would like to share with you the creative process of making a Splinterlands castle pencil holder inspired by the card DESERT DRAGON. I invite you to watch the creative process.
Materials
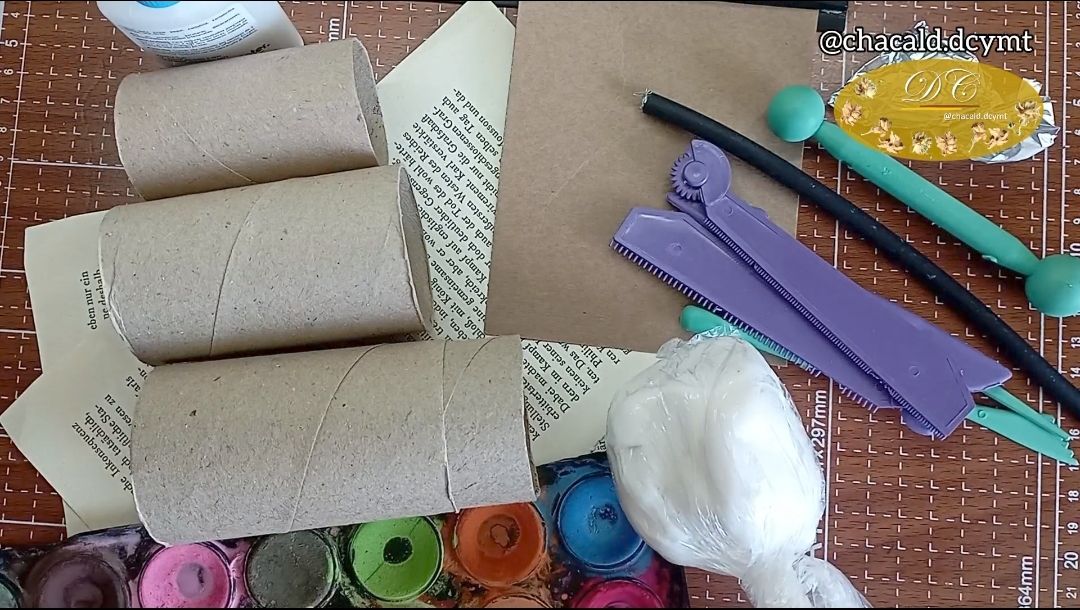
For this project I used:
3 cardboard tubes (from toilet paper).
100 grams of cold porcelain dough
Watercolors
Brushes
School glue
Copper wire
Aluminum foil
Newspaper sheets or recycled printed paper
A piece of cardboard
30 centimeters of chain
4 costume jewelry rings
1 thin wooden stick
2 corn cob leaves
Gold acrylic paint
Roller and molding stecas
Amber colored crystalline stone
I really enjoyed seeing how such a simple material, a roll of cardboard, can be transformed into a castle tower guarded by the Dragon of the desert.
Creative process
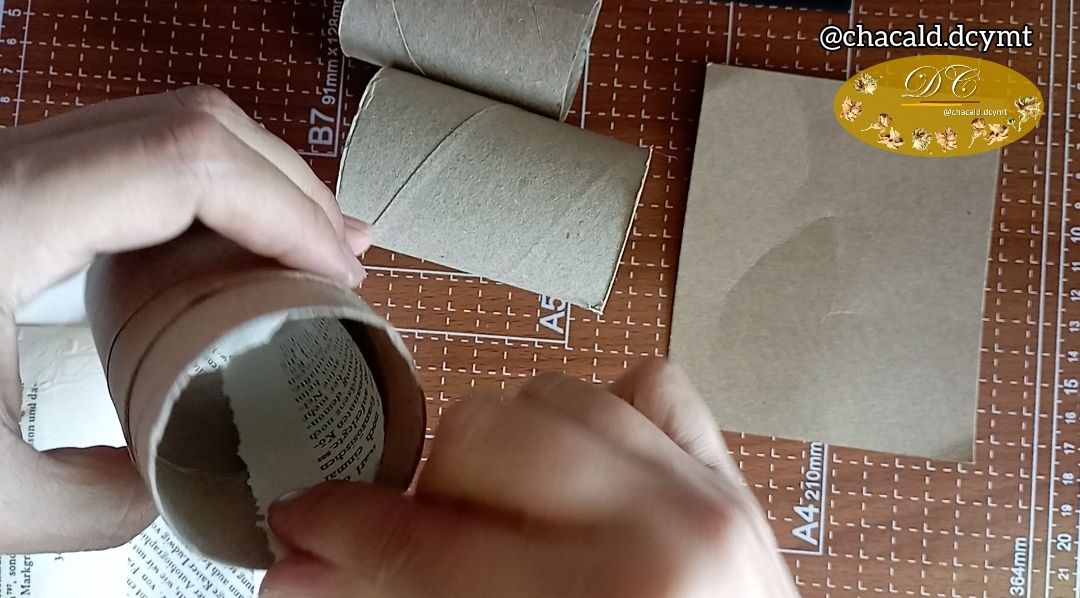
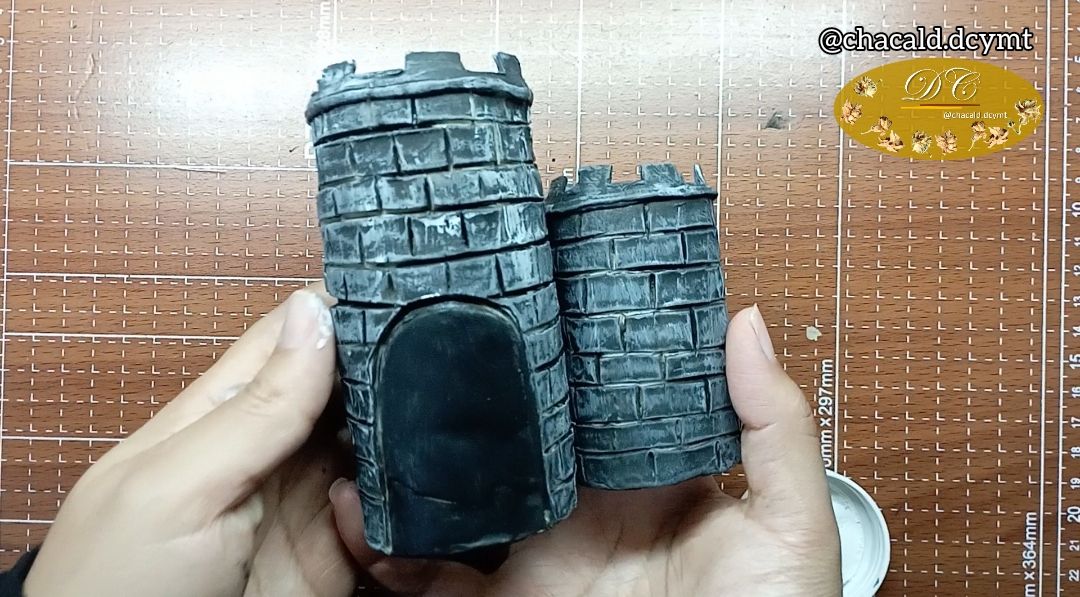
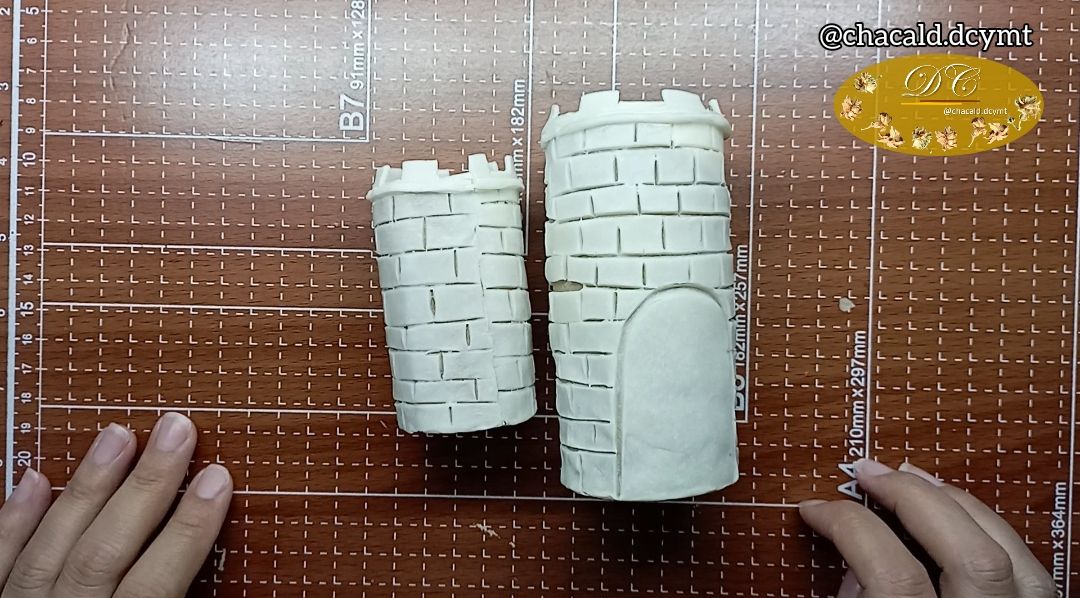
I took the cardboard rolls and joined a piece together to increase the size of one to make one castle tower taller than the other.
With the newspaper, I applied glue and lined it on the inside. This gave strength to the cardboard roll and gives it an aesthetic touch, because we must take care of every detail of our work.
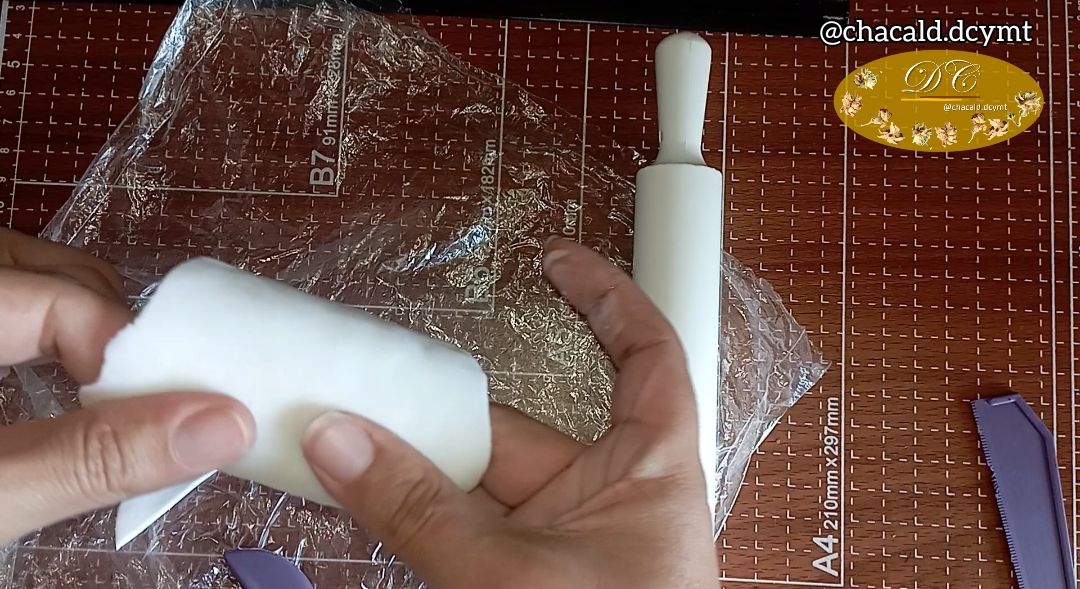
We roll out the dough, in white, and apply glue on the outside of each roll to cover them with the cold porcelain dough.
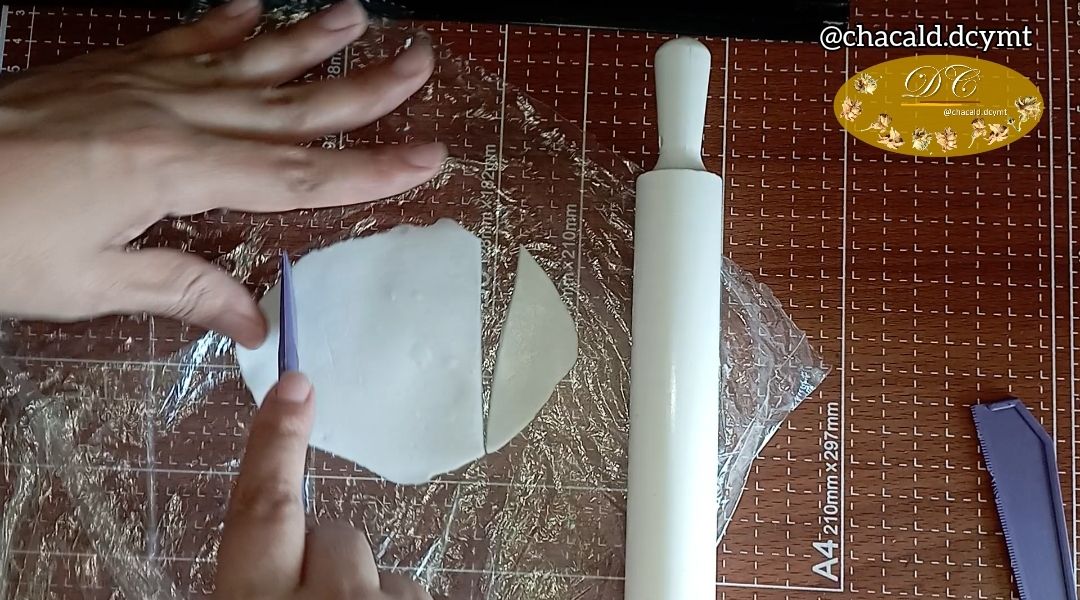
With a cutter, we mark the bricks and the door.

I painted the towers black and then aged them with white.
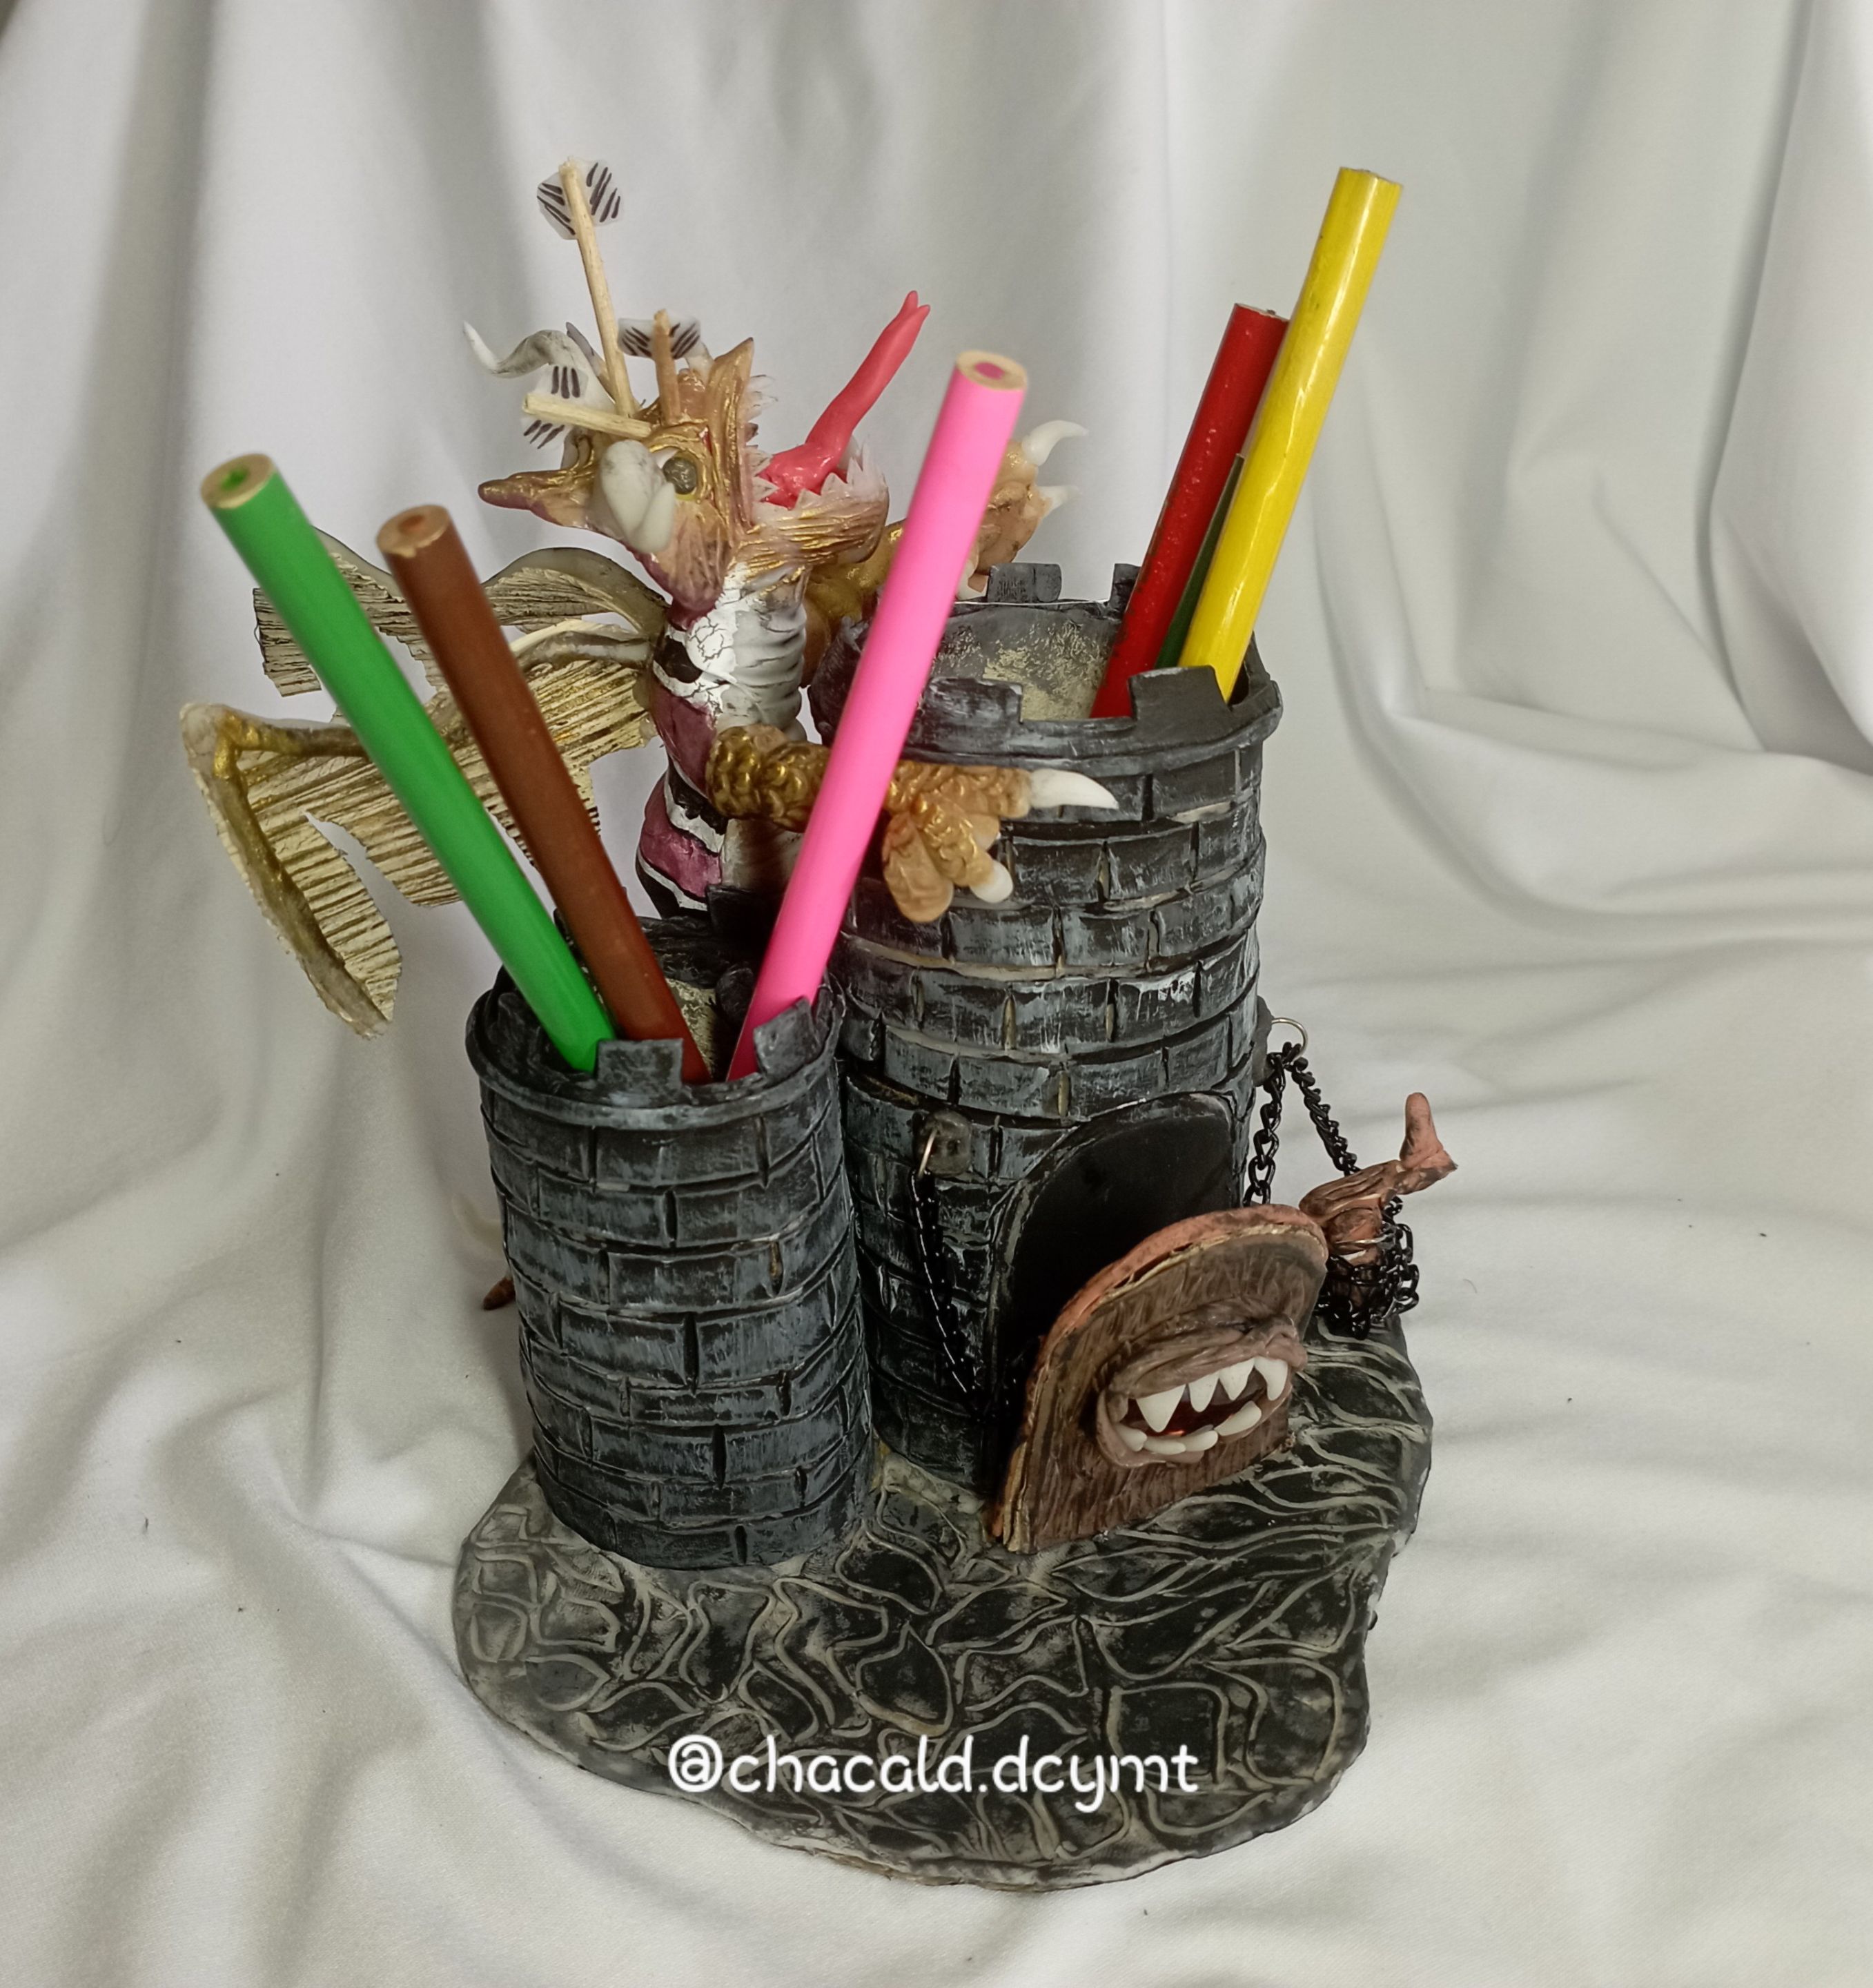
Then I made the door. With the amber crystalline stone I made the Splinterlands logo and put it on the front. Then I covered the cardboard base with white porcelain dough and marked stones.
Then I aged the base and attached the chain to the door.
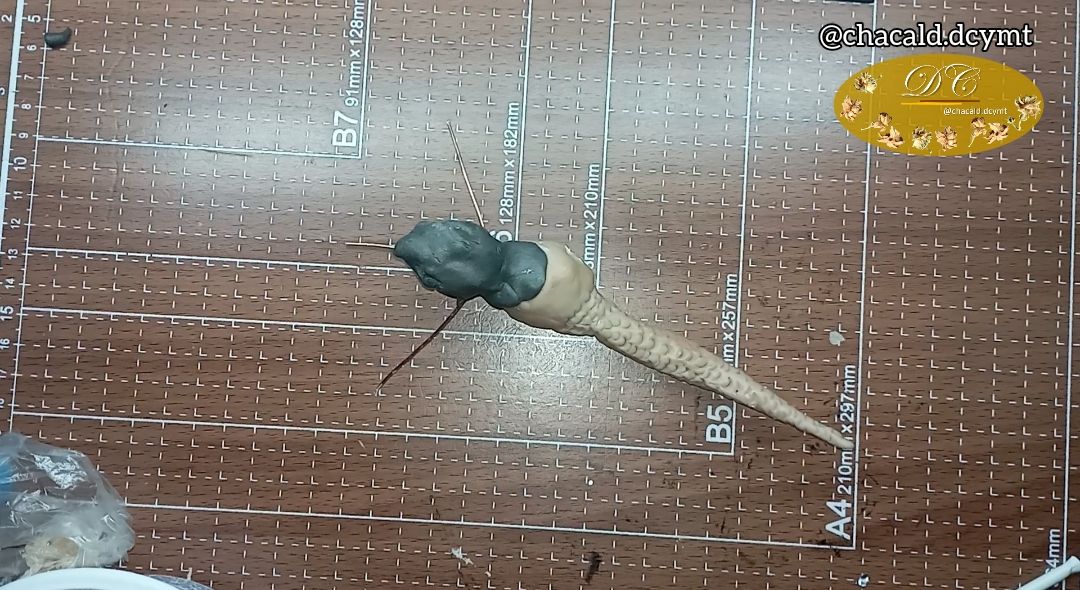
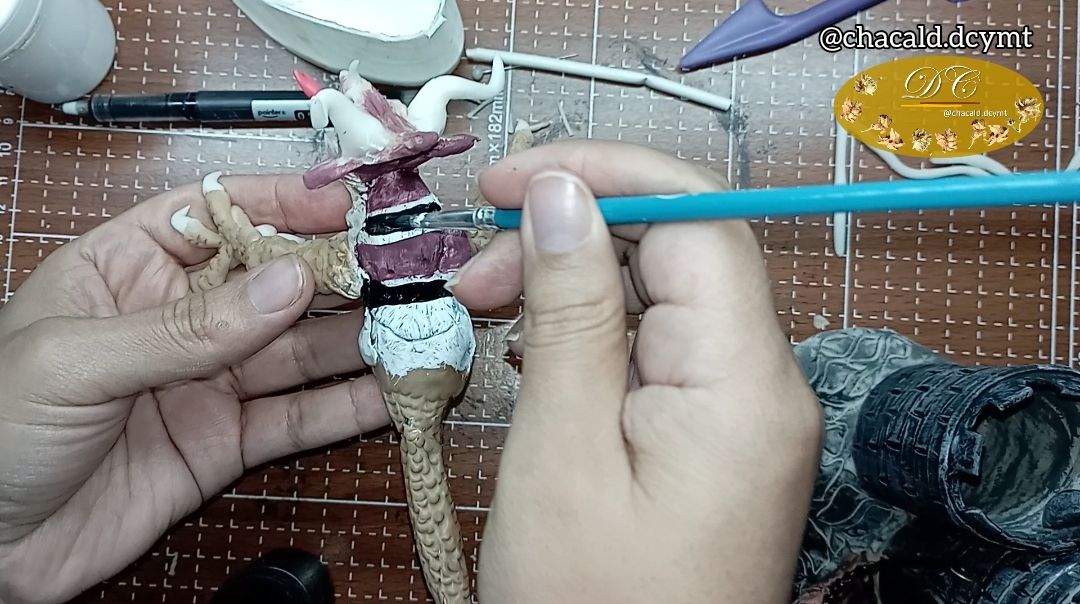
I started to mold the dragon. I made the body with wire and aluminum foil.
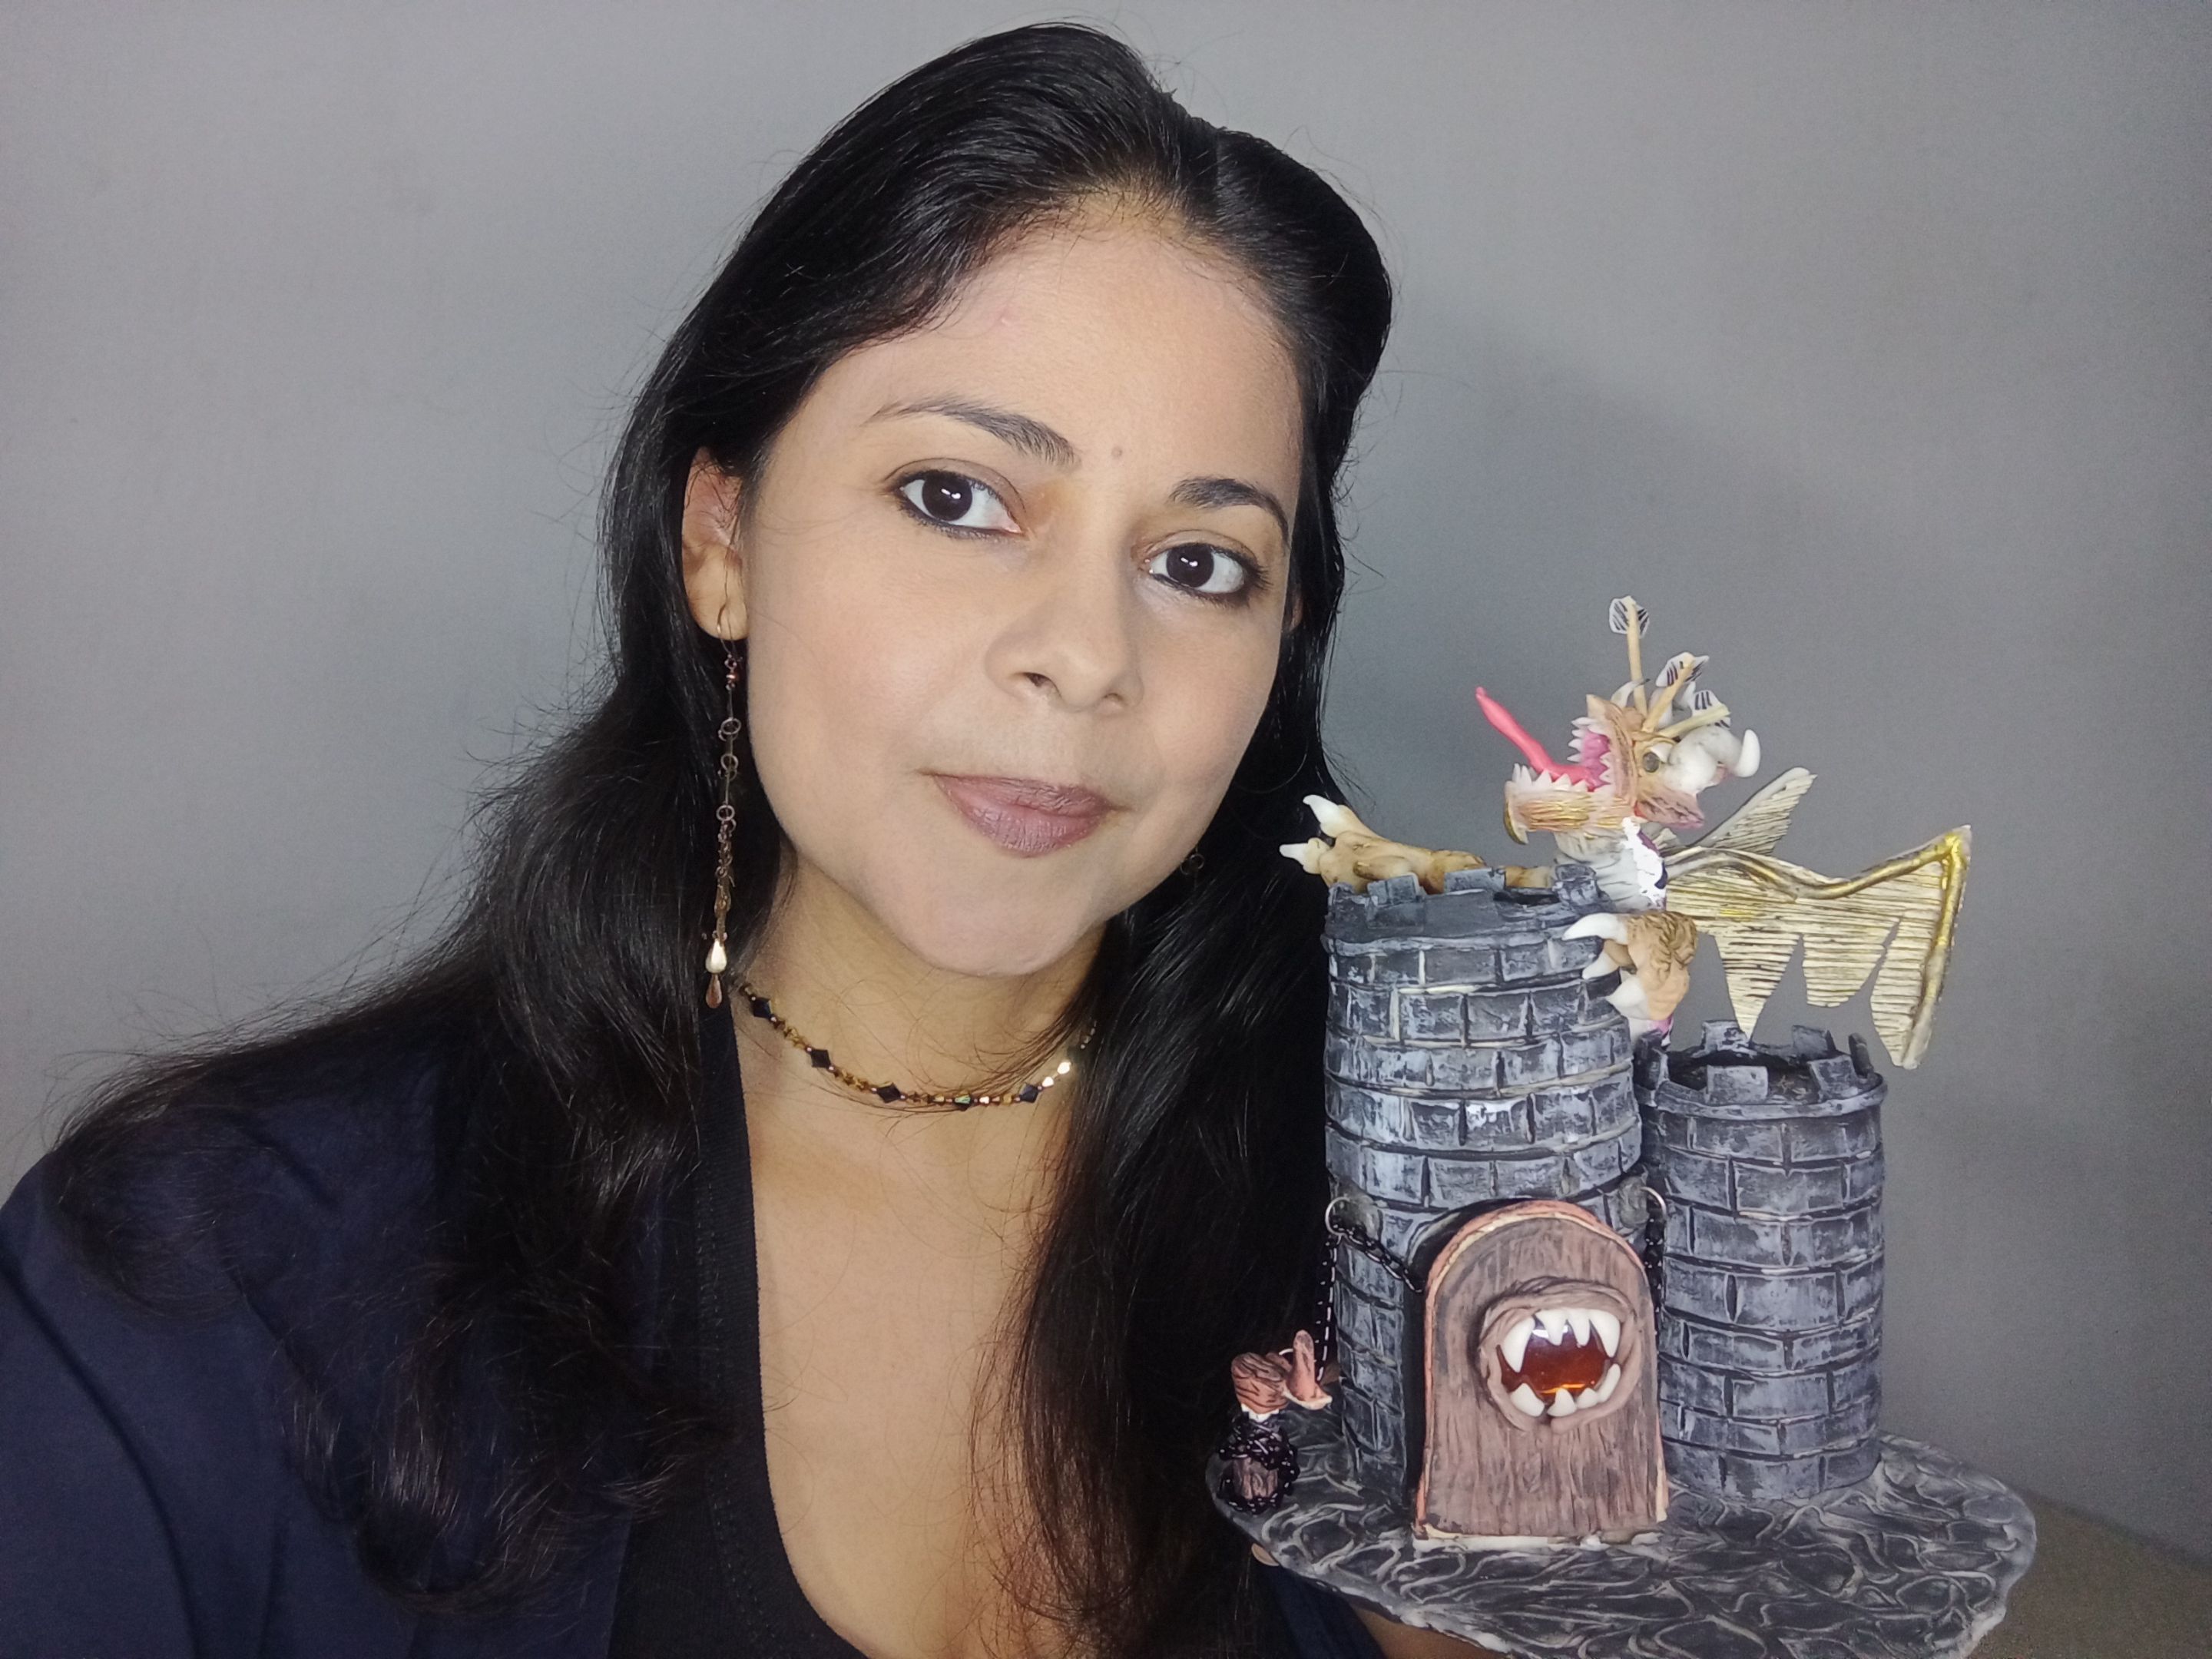
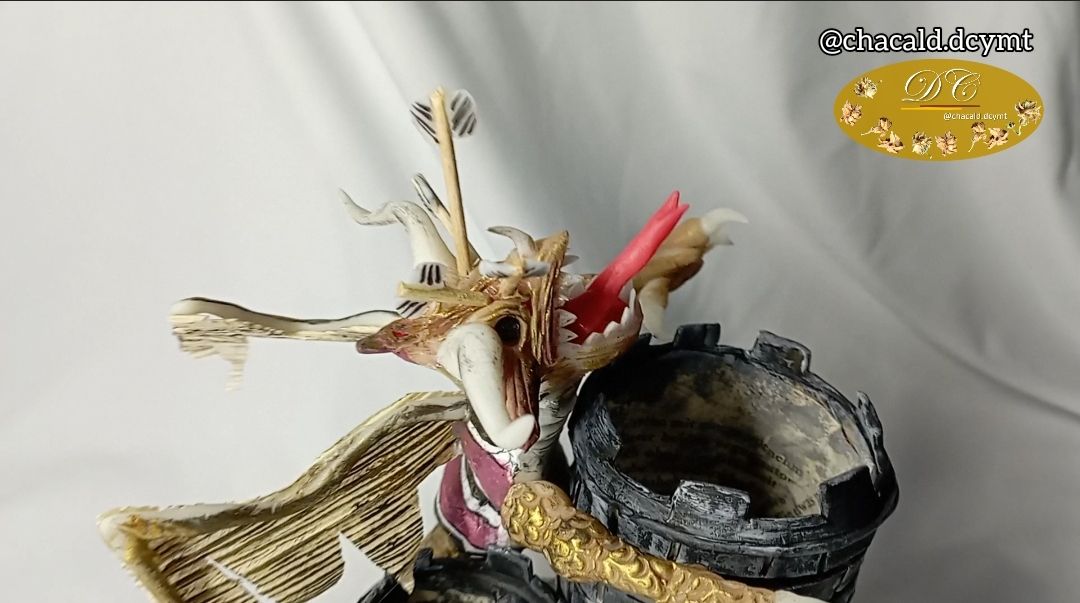
I loved working on this project. The end result seemed to match the letter and the towers will serve to organize my wooden pencils and colors. I am happy to share this work with you.
I invite you to watch the video and not lose detail of the step by step. I hope you like it and see you next time. Bye!
Castillo de Splinterlands con el Dragón del Desierto, Portalápices
Tutorial
¡Saludos amigos amantes de las artes manuales! Les doy la bienvenida a mi taller Bricolaje DC en esta oportunidad me gustaría compartir con ustedes el proceso creativo de la elaboración de un porta lápices del castillo de Splinterlands inspirado en la carta DESERT DRAGON. Les invito a ver el proceso creativo.
Materiales
Para este proyecto utilicé:
3 tubos de cartón (de papel higiénico)
100 gramos de masa de porcelana fría
Acuarelas
Pinceles
Pegamento escolar
Alambre de cobre
Papel de alumnio
Hojas de periódico o papel impreso reciclado
Un trozo de cartón
30 centímetros de cadena
4 argollas de bisutería
1 palito de madera fino
2 hojas de mazorca de maíz
Pintura acrílica dorada
Rodillo y estecas de moldear
Piedra cristalina color ambar
Disfruté mucho viendo como un material tan sencillo con un rollo de cartón, se puede transformar en una torre de un castillo custodiado por el Dragón del desierto.
Proceso creativo
Tomé los rollos de cartón y uní un trozo para aumentar el tamaño de uno y así poder hacer una torre del castillo más alta que otra.
Con el papel periódico, apliqué pegamento y lo forre por dentro. Esto le dio fortaleza al rollo de cartón y le da un toque estético, porque debemos cuidar cada detalle de nuestros trabajos.
Estiré la masa, en color blanco, y apliqué pegamento sobre la parte de afuera de cada rollo para cubrirlos con la masa de porcelana fría.
Con un cutter, marqué los ladrillos y la puerta.
Pinté las torres de color negro y luego le di un envejecido con color blanco.

Luego hice la puerta. Con la piedra cristalina ambar hice el logo de Splinterlands y lo puse en el frente. Luego cubrí el carton de base con masa de porcelana de color blanco y marqué piedras.
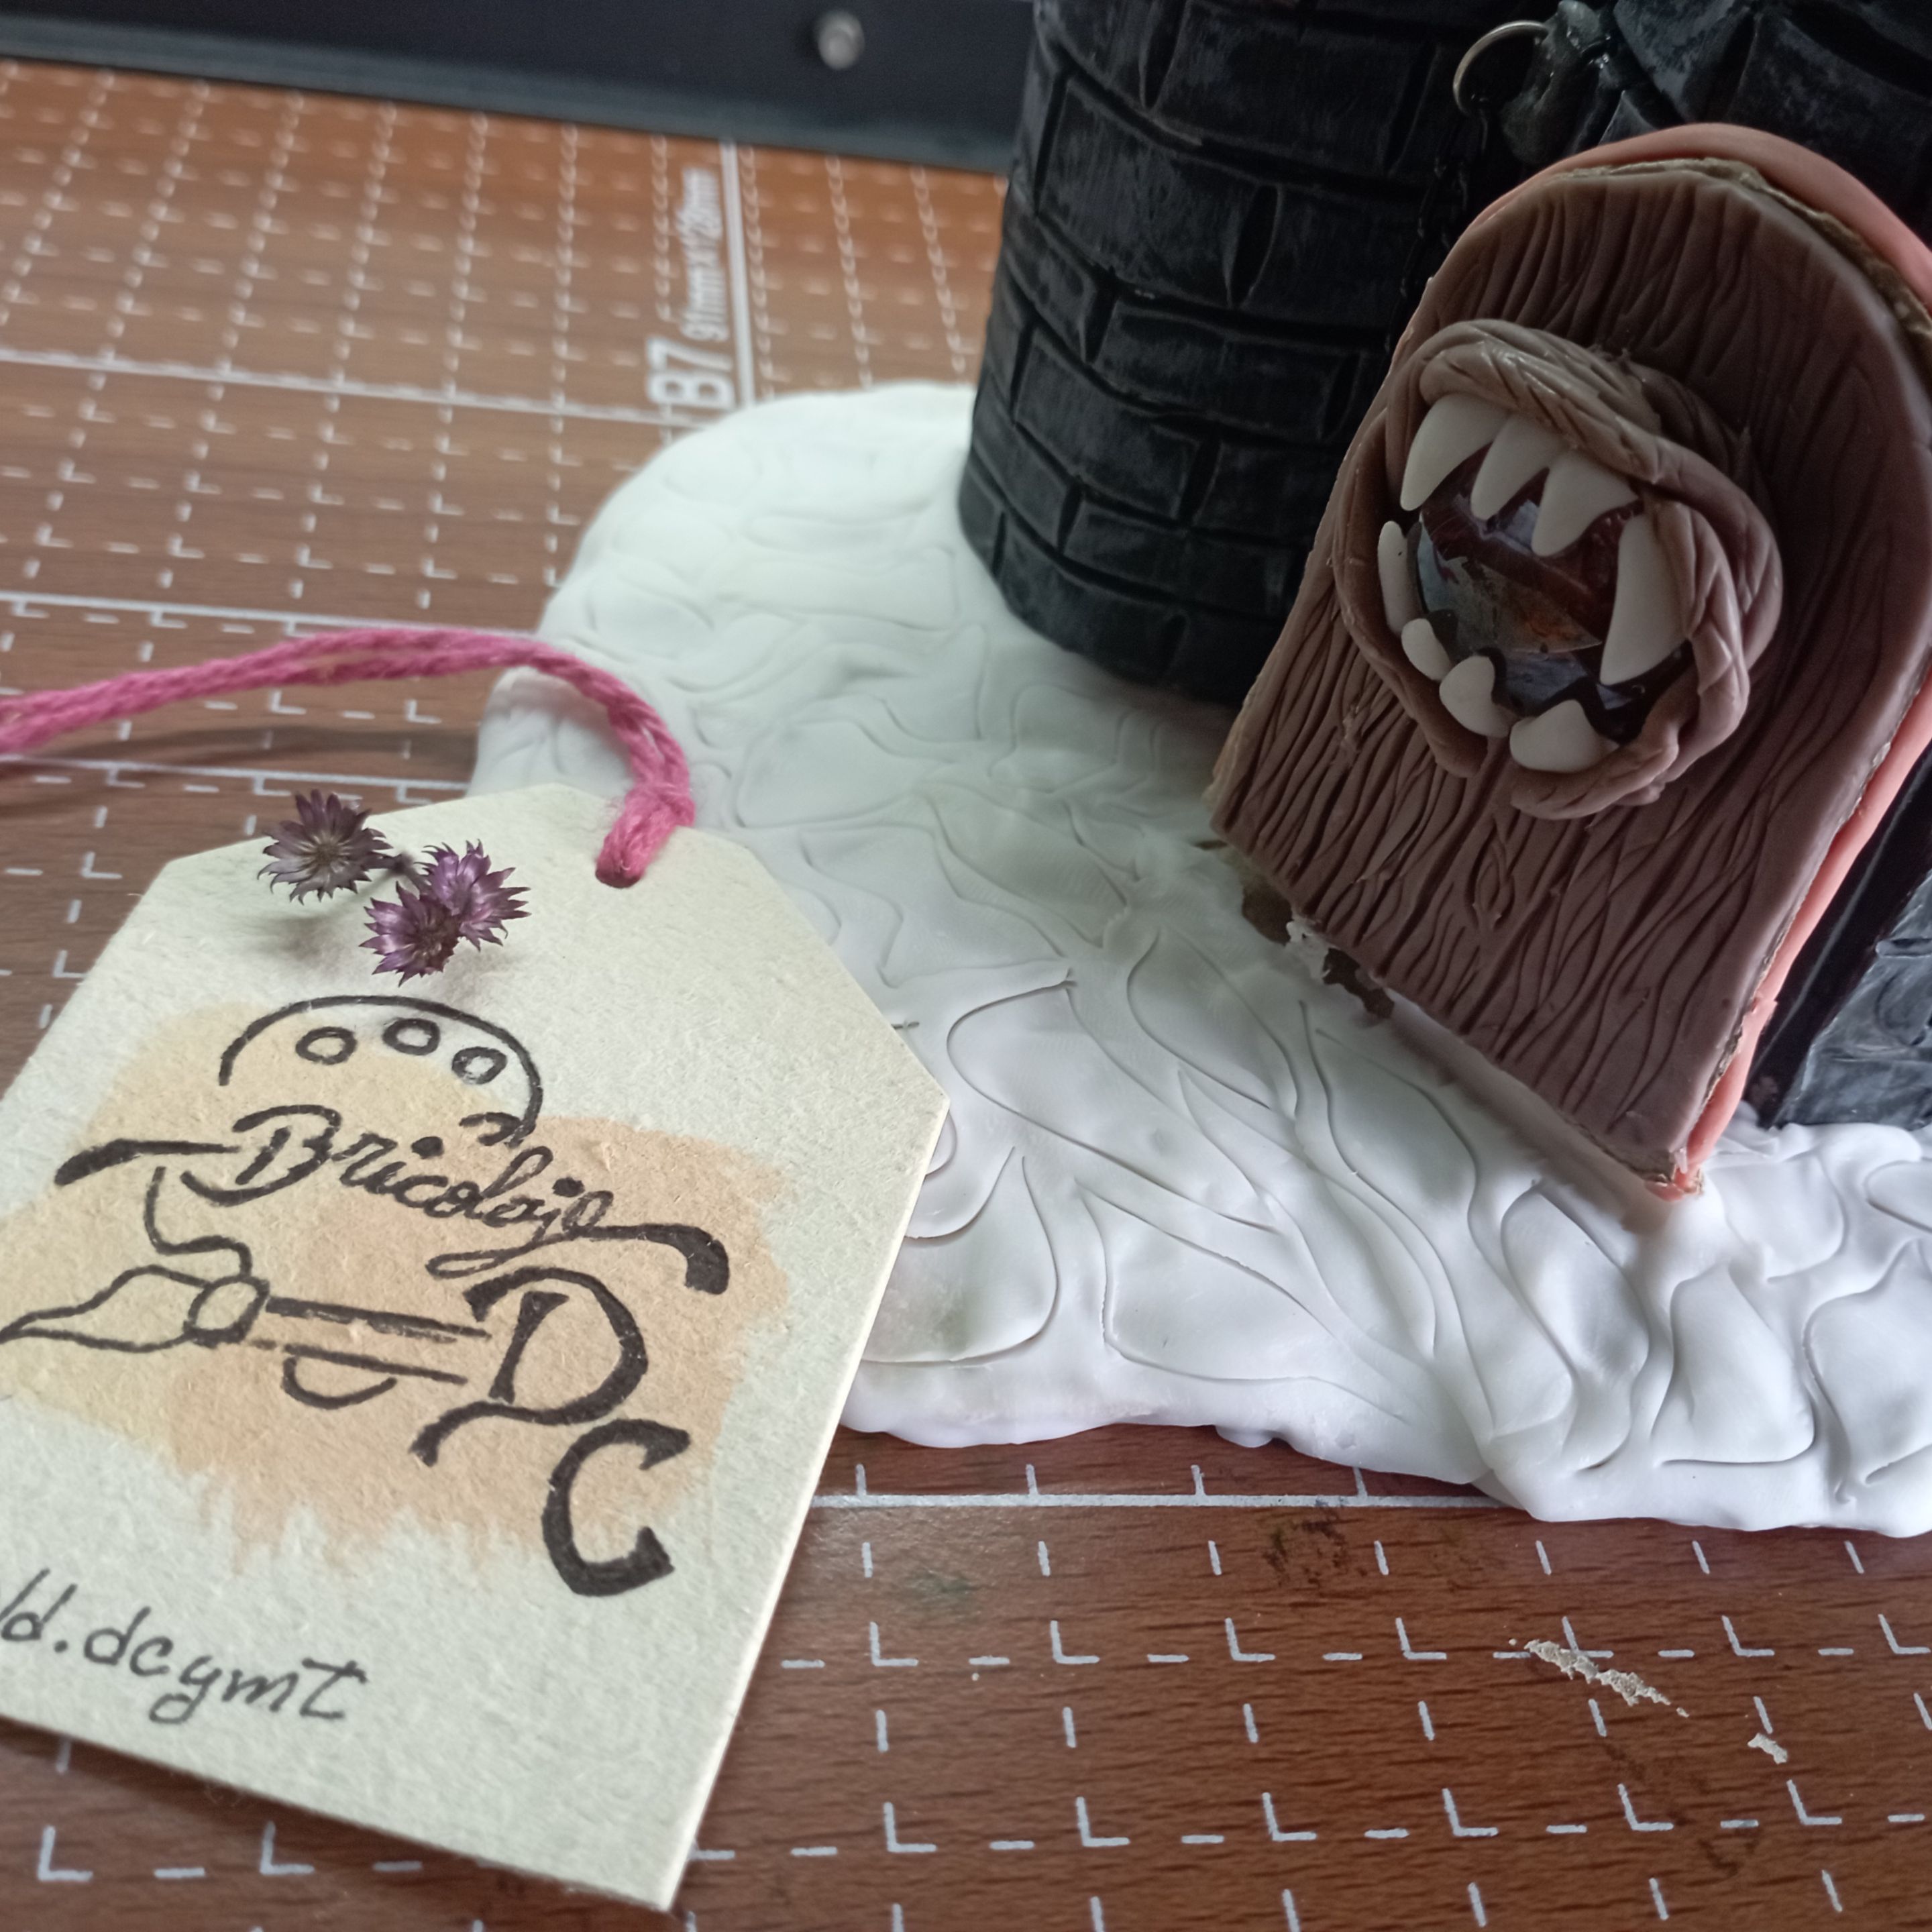
Luego envejecí la base y puse la cadena a la puerta.
Comencé a moldear el Dragón. Hice el cuerpo con alambre y papel de aluminio.
Luego lo cubrí con masa de porcelana fría, pinté y acomodé algunos detalles como las flechas que tiene incrustadas en la cabeza, las alas las hice con las hojas de maíz y finalmente lo pegué el las torres.
Me encantó trabajar en este proyecto. El resultado final me pareció que concuerda con la carta y las torres servirán para organizar mis lápices y colores de madera. Me siento feliz por compartir este trabajo con ustedes.
Les invito a ver el video y no perder detalle del paso a paso. Espero les guste y nos vemos en una próxima oportunidad. Chao!

Original content by the author.
Resources: App: Canva / Giphy / InshotThe music of this video is original from Splinterlands, I took it from their official website.
📷 Redmi 10 Smartphone
Translation done with Deepl.com
✿ All Rights Reserved || © @chacald.dcymt 2023 ✿
💌 Discord: chacald.dcymt#3549
X: @chacald1
_
Contenido original del autor.
Recursos: App: Canva / Giphy / Inshot
La música de este video es original de Splinterlands, la tomé de su página oficial
📷 Redmi 10 Smartphone
Traducido con Deepl.com
✿ Todos los Derechos Reservados || © @chacald.dcymt 2023 ✿
💌 Discord: chacald.dcymt#3549
X: @chacald1
Show more
Tags :
Woo!
This creator can upvote comments using 3speak's stake today because they are a top performing creator!
Leave a quality comment relating to their content and you could receive an upvote
worth at least a dollar.
Their limit for today is $0!
Their limit for today is $0!
44 views
a year ago
$

7 views
a year ago
$

51 views
a year ago
$
37 views
11 months ago
$

35 views
a year ago
$
More Videos

24 views
a year ago
$

10 views
2 years ago
$

32 views
2 years ago
$
0 views
2 years ago
$

9 views
a month ago
$
13 views
a year ago
$

3 views
2 years ago
$

1 views
4 years ago
$

3 views
2 years ago
$

14 views
a year ago
$

8 views
6 months ago
$

26 views
a year ago
$

22 views
2 years ago
$

36 views
9 months ago
$

1 views
8 months ago
$

2 views
2 years ago
$

2 views
8 months ago
$

6 views
a year ago
$

0 views
7 months ago
$
7 views
3 years ago
$

5 views
a year ago
$

8 views
a year ago
$

13 views
a year ago
$

0 views
6 months ago
$

5 views
4 months ago
$
Comments:
Reply:
To comment on this video please connect a HIVE account to your profile: Connect HIVE Account