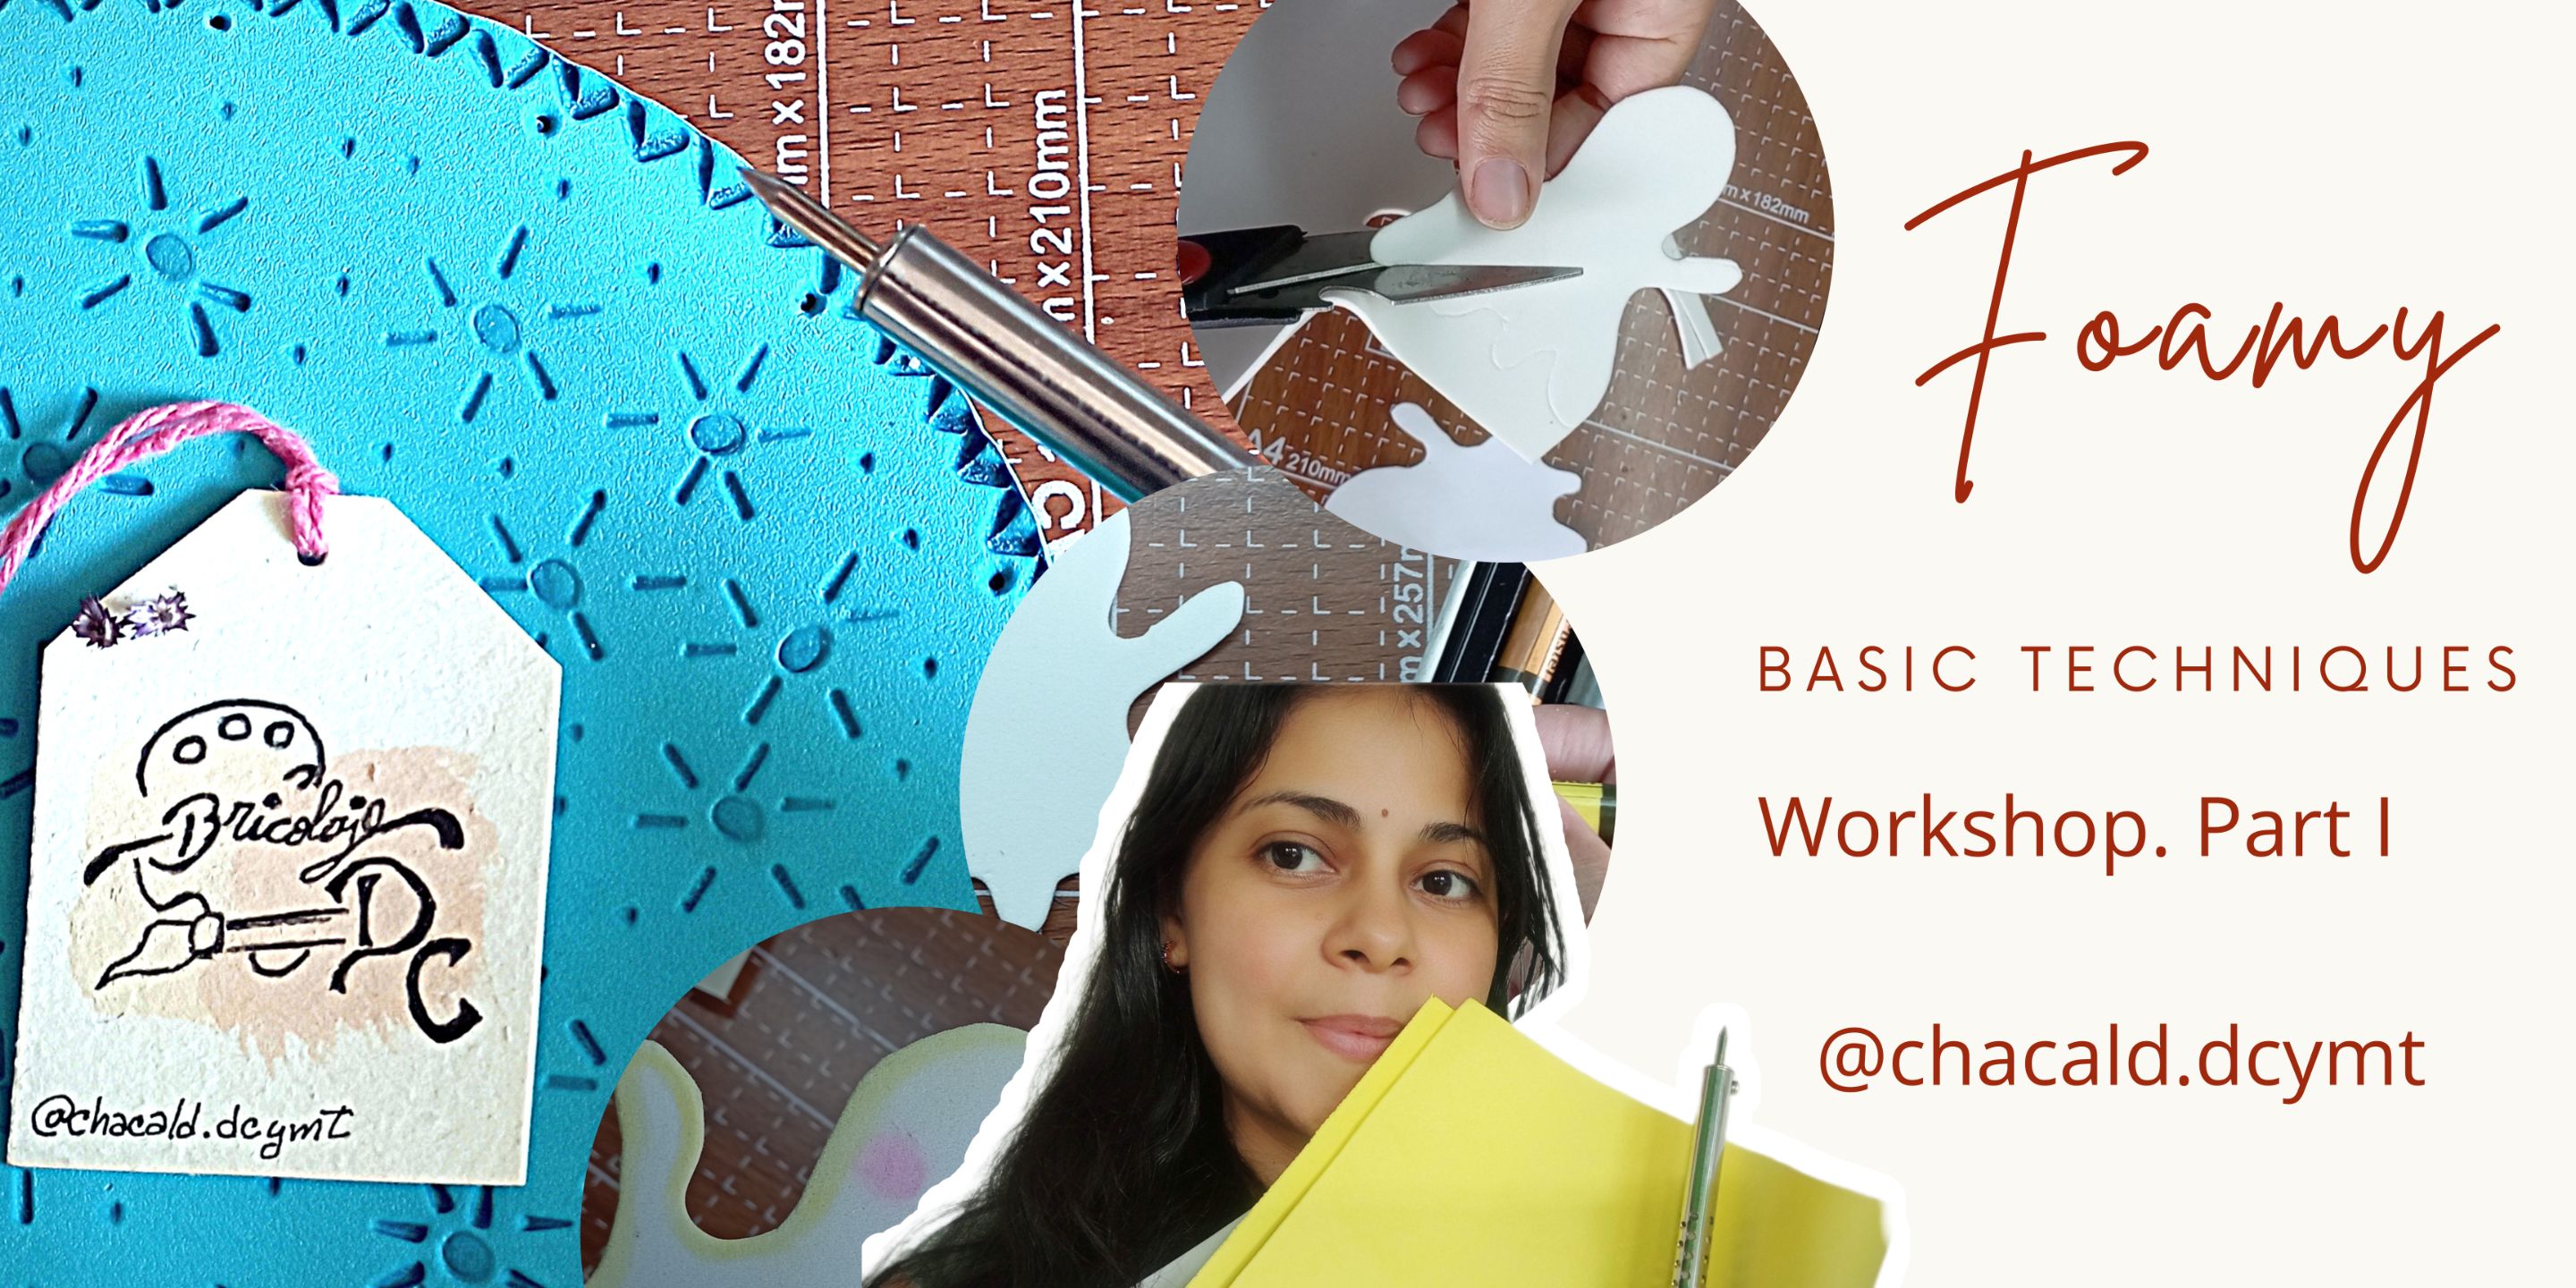
Foamy: Técnicas basicas | Video tutorial subtitulado [Esp-Eng]
45
About :
¡Saludos amigos amantes de las artes manuales! Sean bienvenidos una vez más a mi taller Bricolaje DC. Hoy me gustaría compartir una guía rapida para acabado en foamy. Acompáñenme y les enseño estos tips que seguramente les van a servir a la hora de trabajar con este material.
Transferencia de moldes
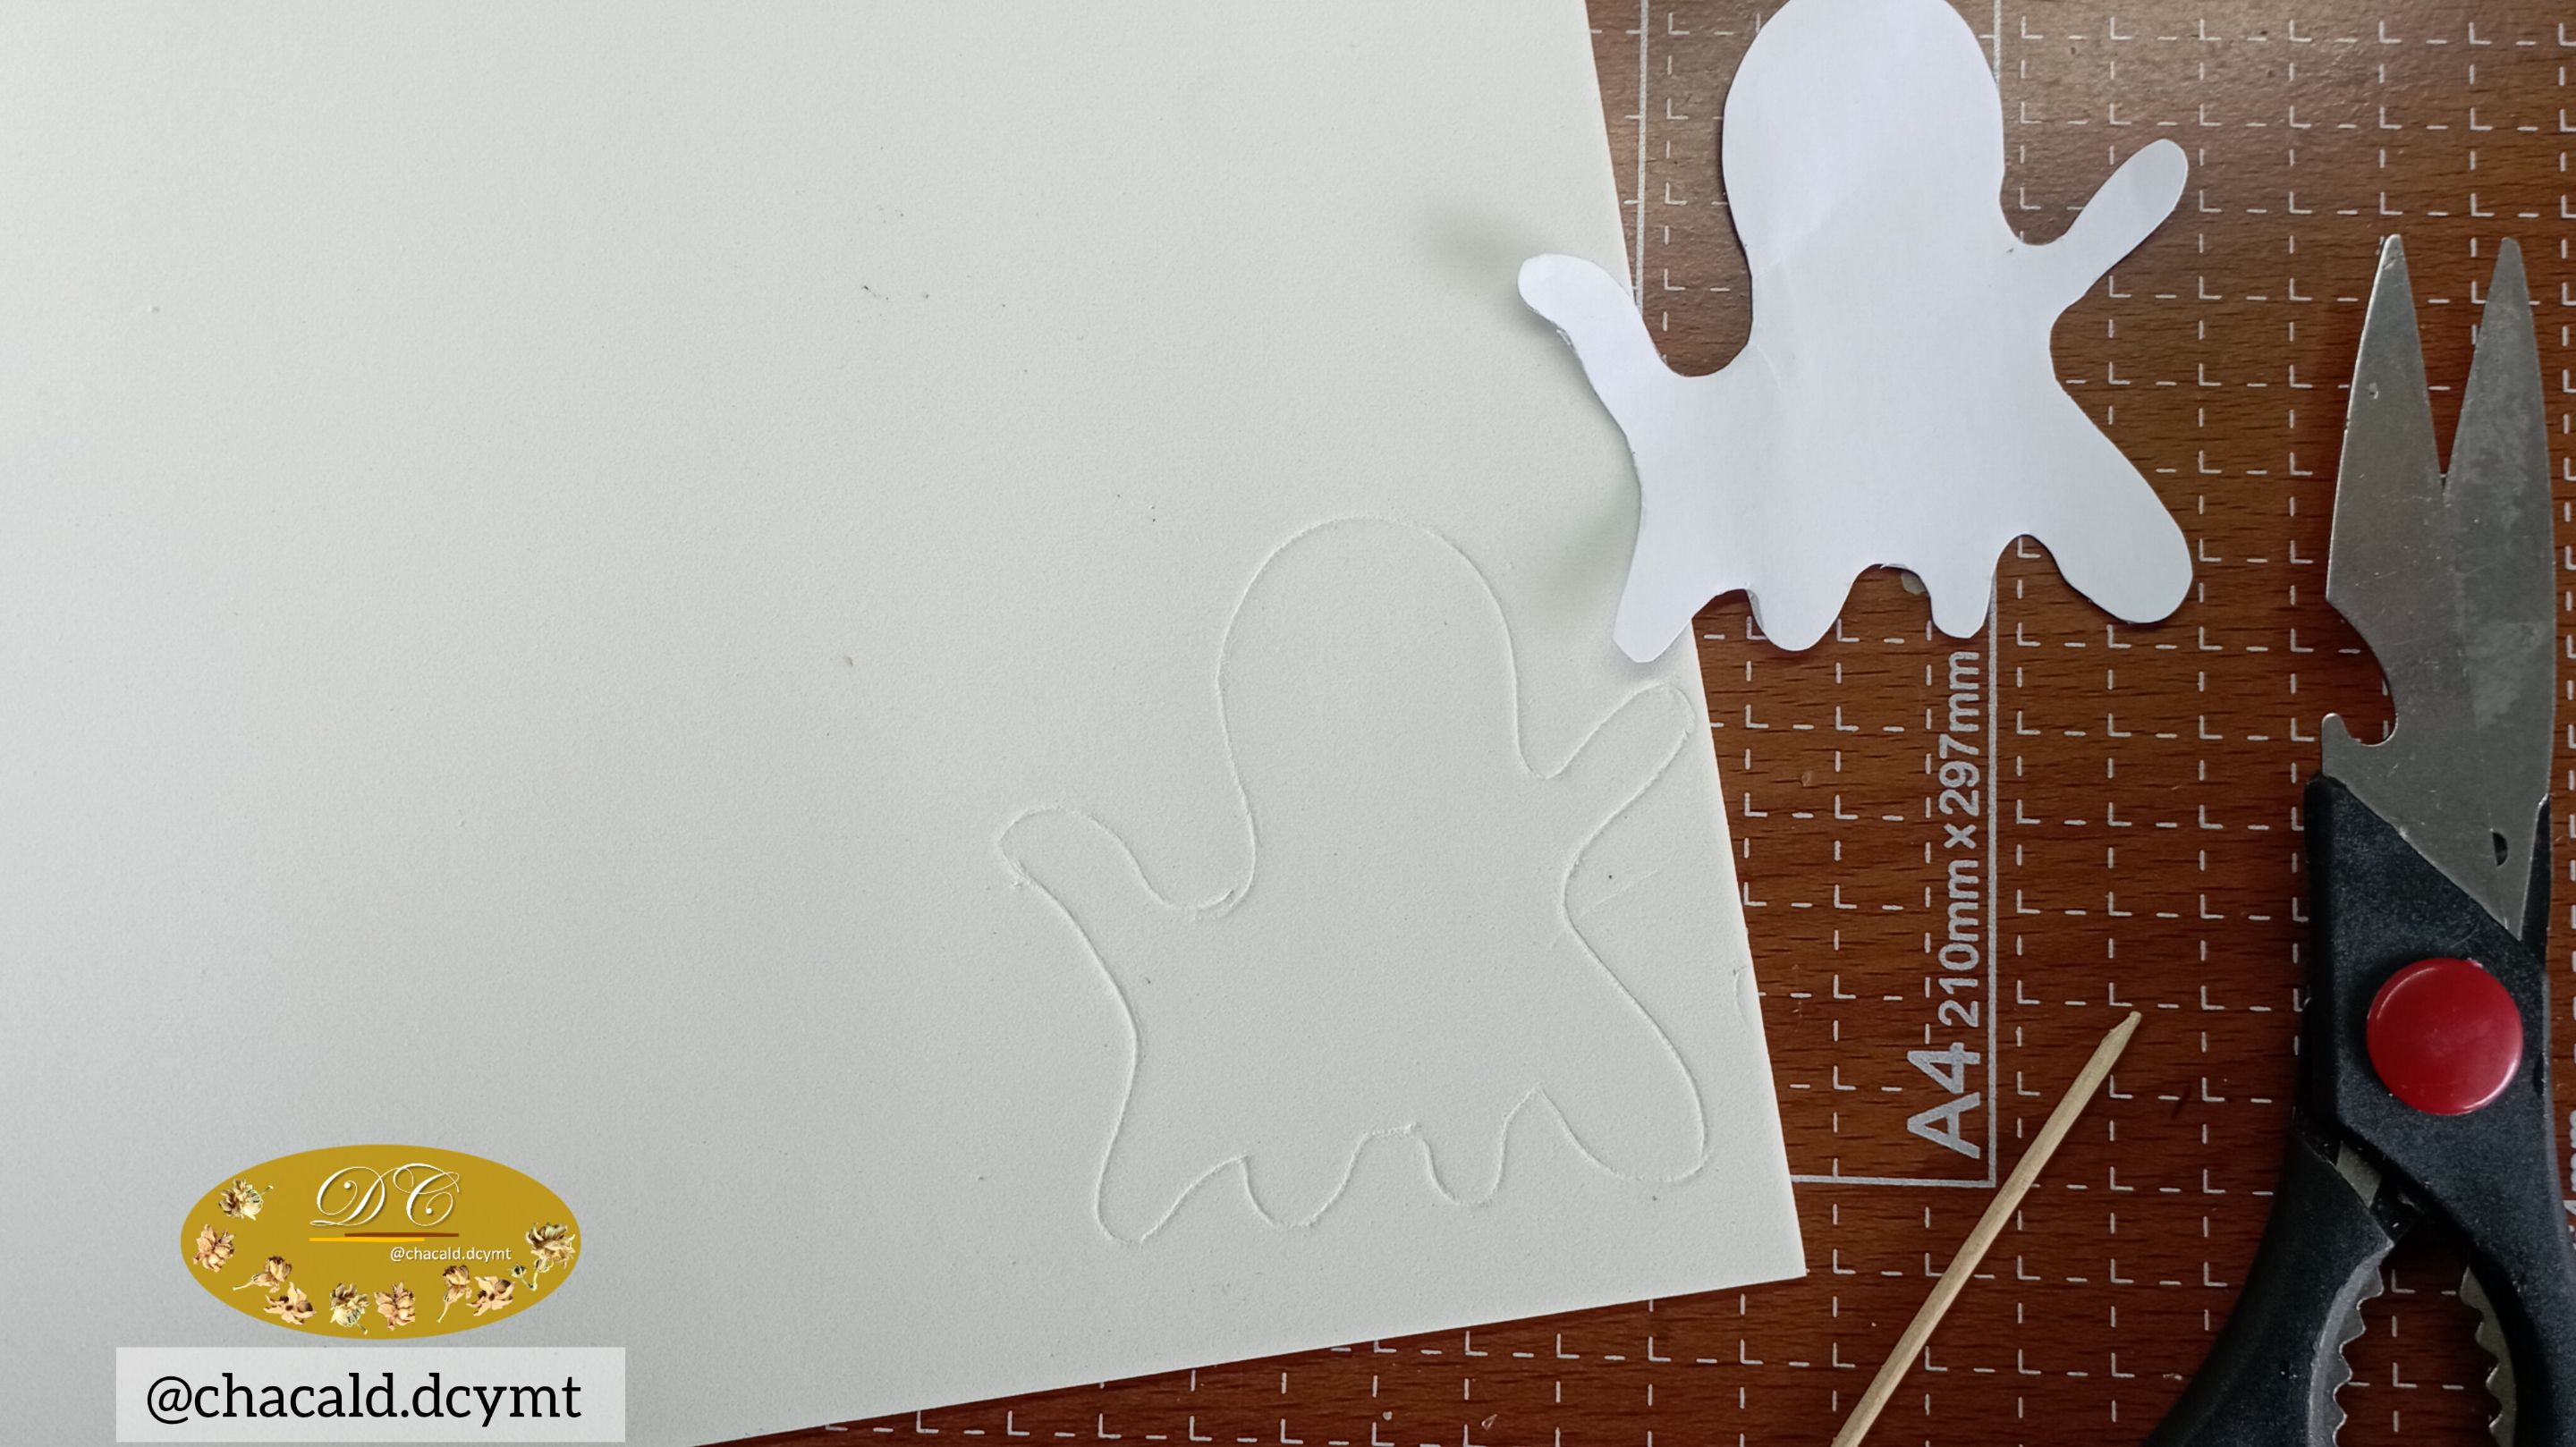
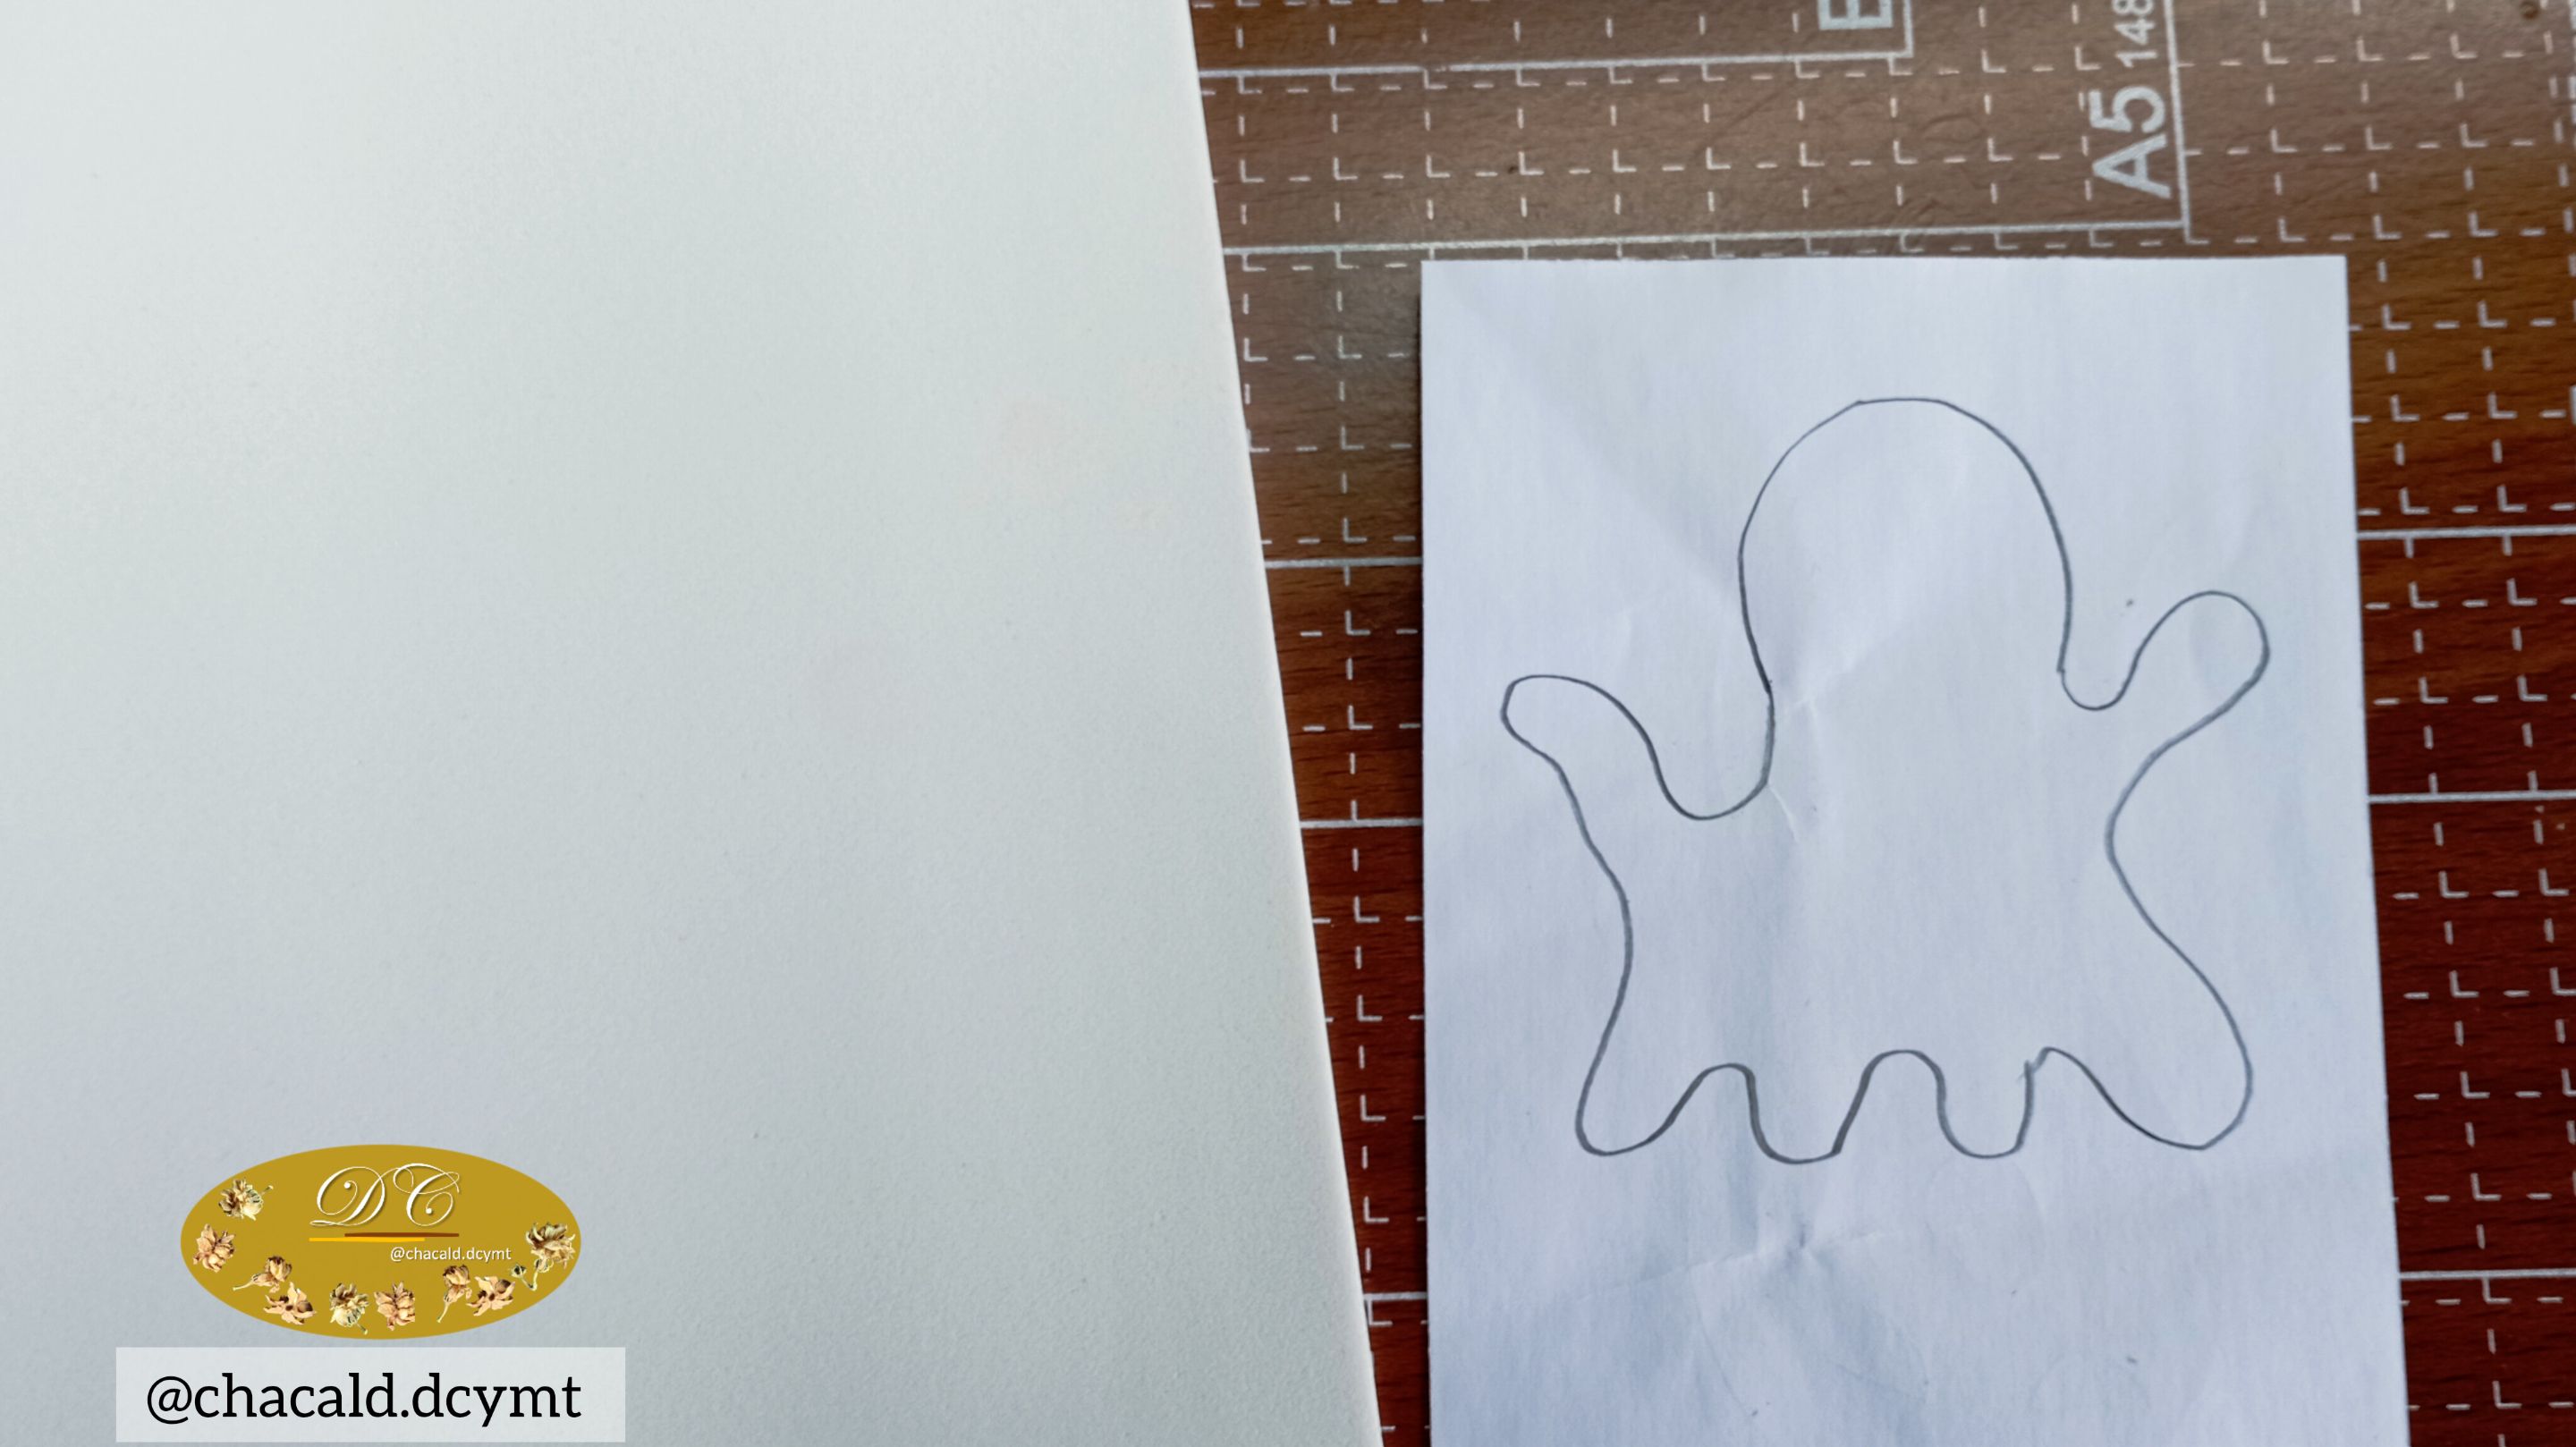
Al momento de trabajar con foamy es importante hacer nuestros moldes para evitar desperdiciar el material.
Cuando queremos transferirlo al foamy vamos a tomar un palito con una punta fina y por todo el contorno del molde en el foamy haciendo presión, de esta manera se marcará pero sin tinta.
Esto le dará un mejor acabado a nuestro trabajo ya que no tendremos ese exceso de tinta del lápiz o del bolígrafo.
Yo tomé un palito de brocheta de madera,
le saqué punta con un sacapuntas y luego quemé el filo con un encendedor.
Limpié el exceso de ceniza y listo quedó mi herramienta para marcar el foamy.
Proceso de corte
Al momento de cortar el foami vamos a dejar que la tijera se deslice por el material evitando dar cortes bruscos que nos queden las esquinas puntiagudas.
Me gusta tratar de sacar toda la figura en un solo cort, así evito desperdiciar el material y también consigo tener un corte mejor.
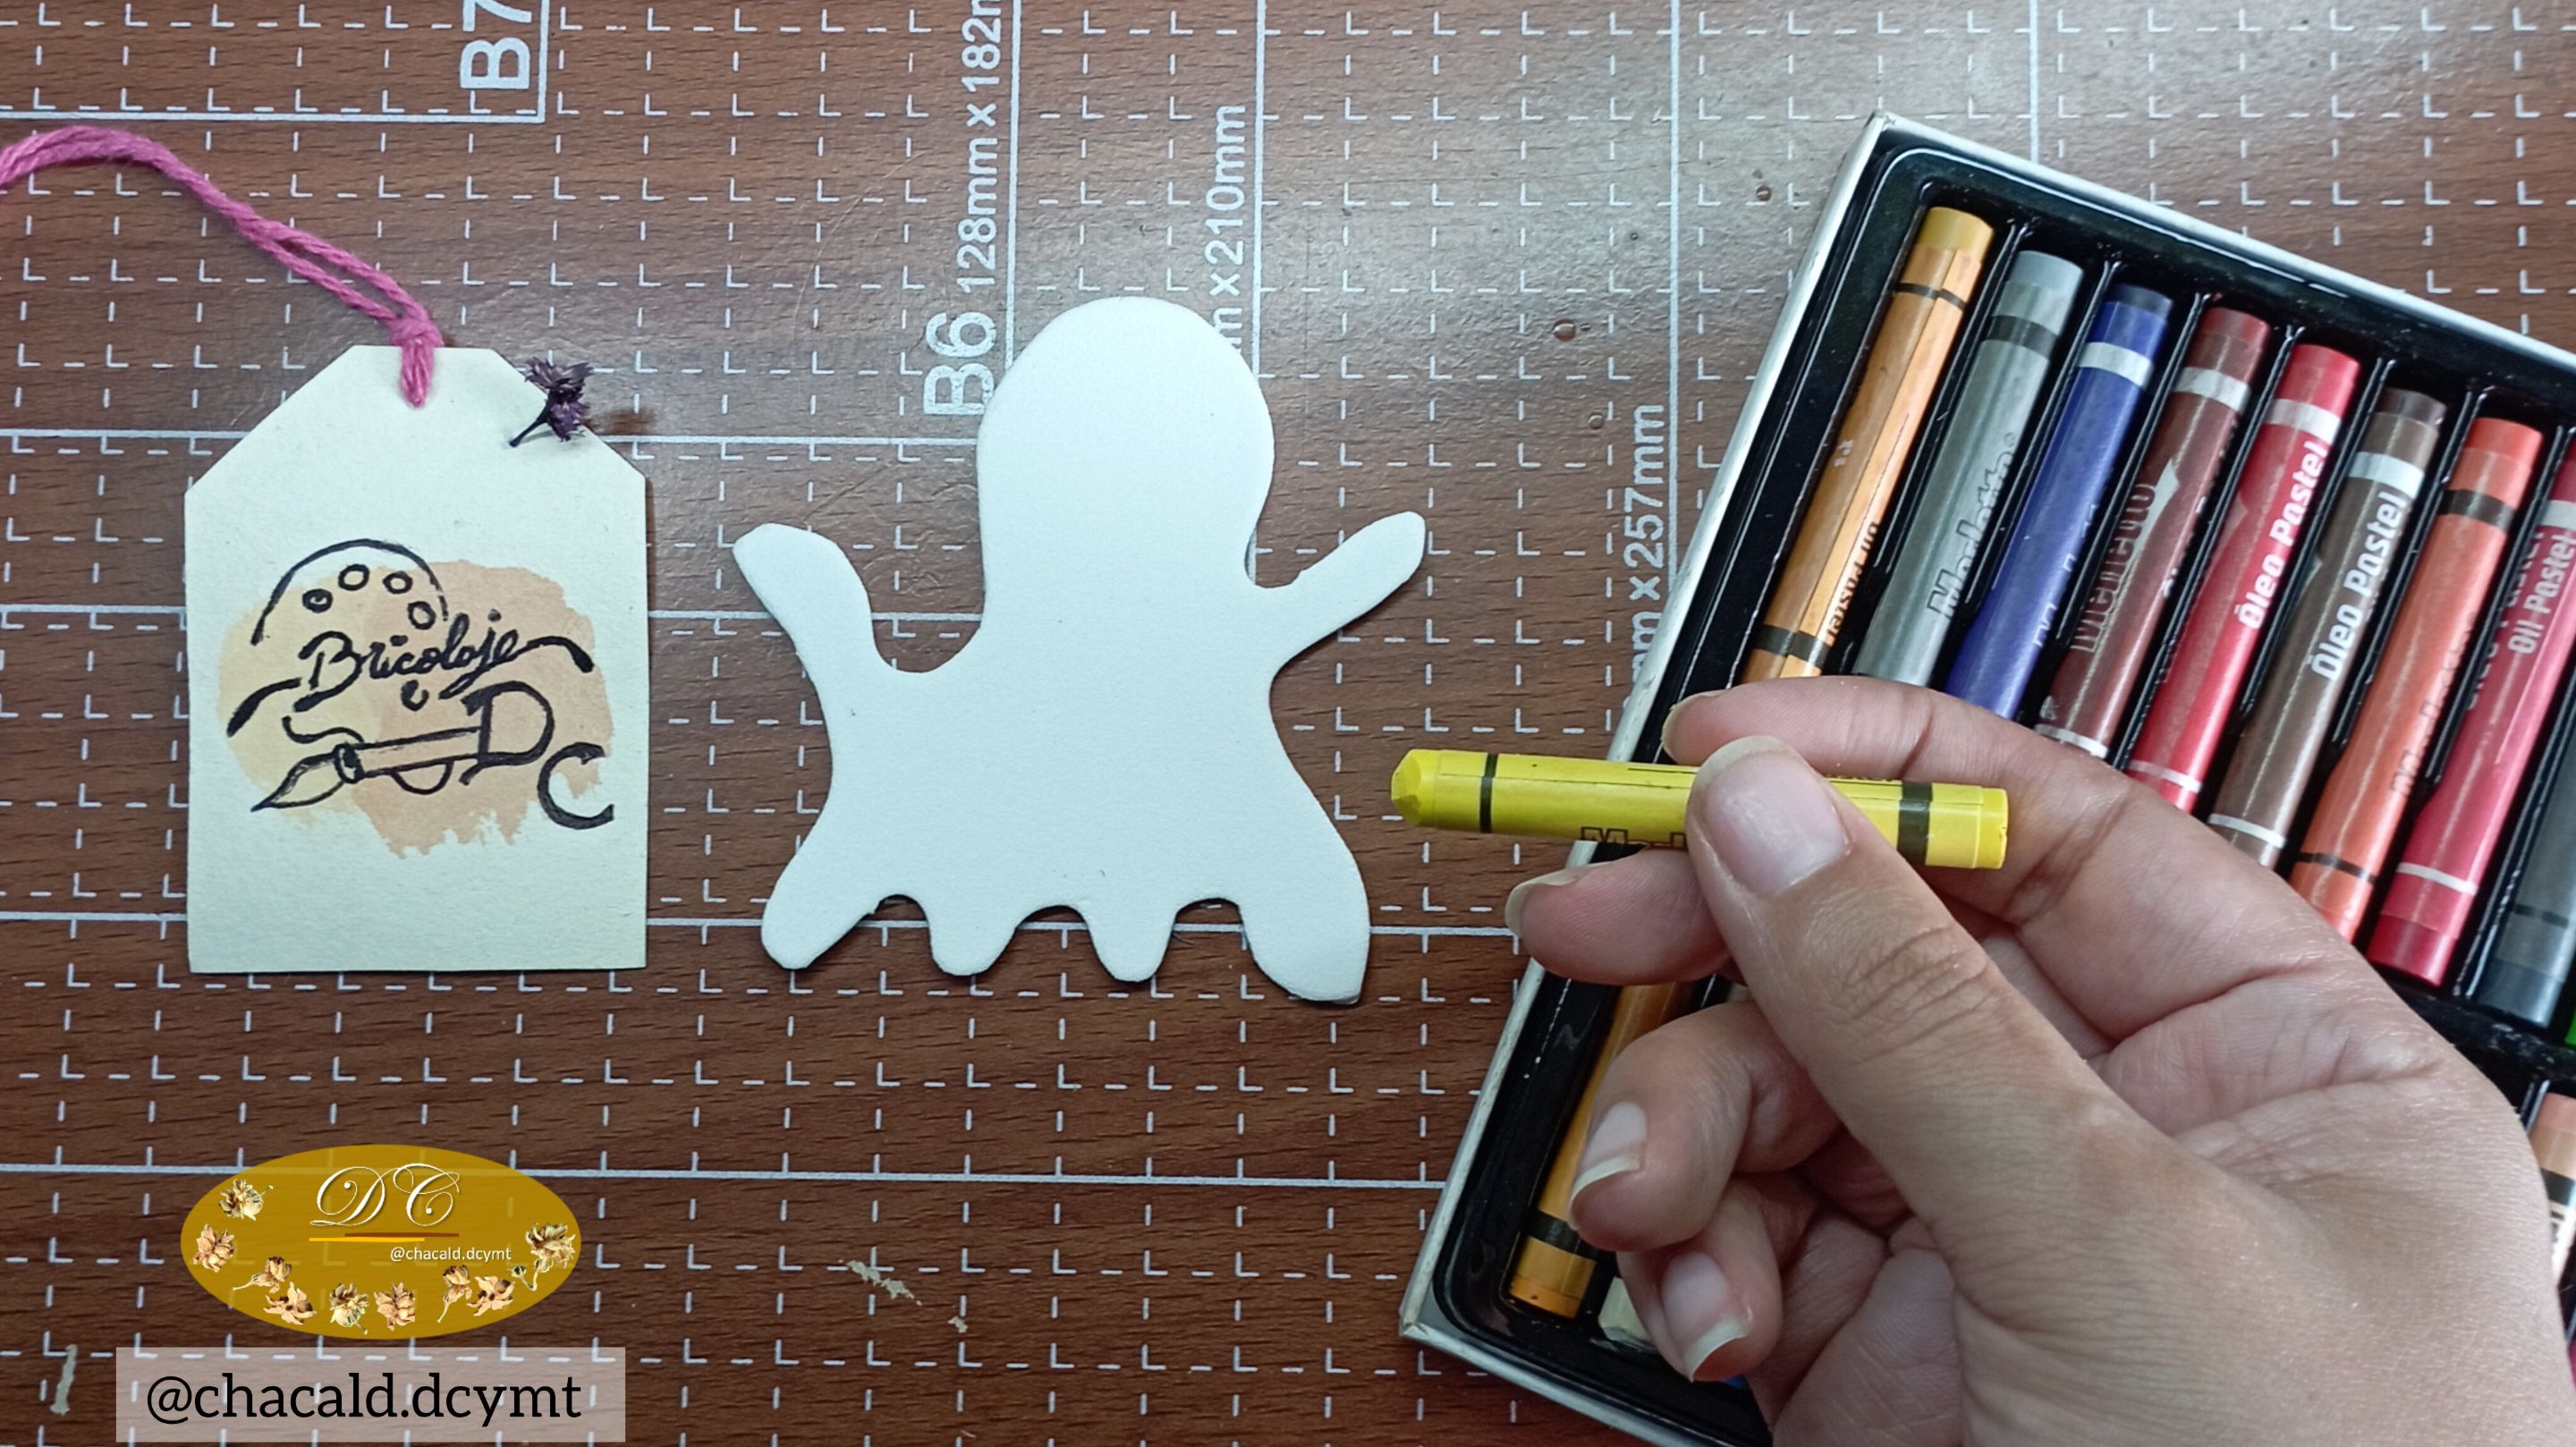
Acabado los bordes
Una vez que tenemos la figura cortada, vamos a proceder darle un acabado a los bordes. Seleccionamos un color que haga contraste con el fondo del foamy,
entonces tomamos un marcador o tiza pastel, un crayón o pintjra acrílica para delinear los bordes de nuestra figura.
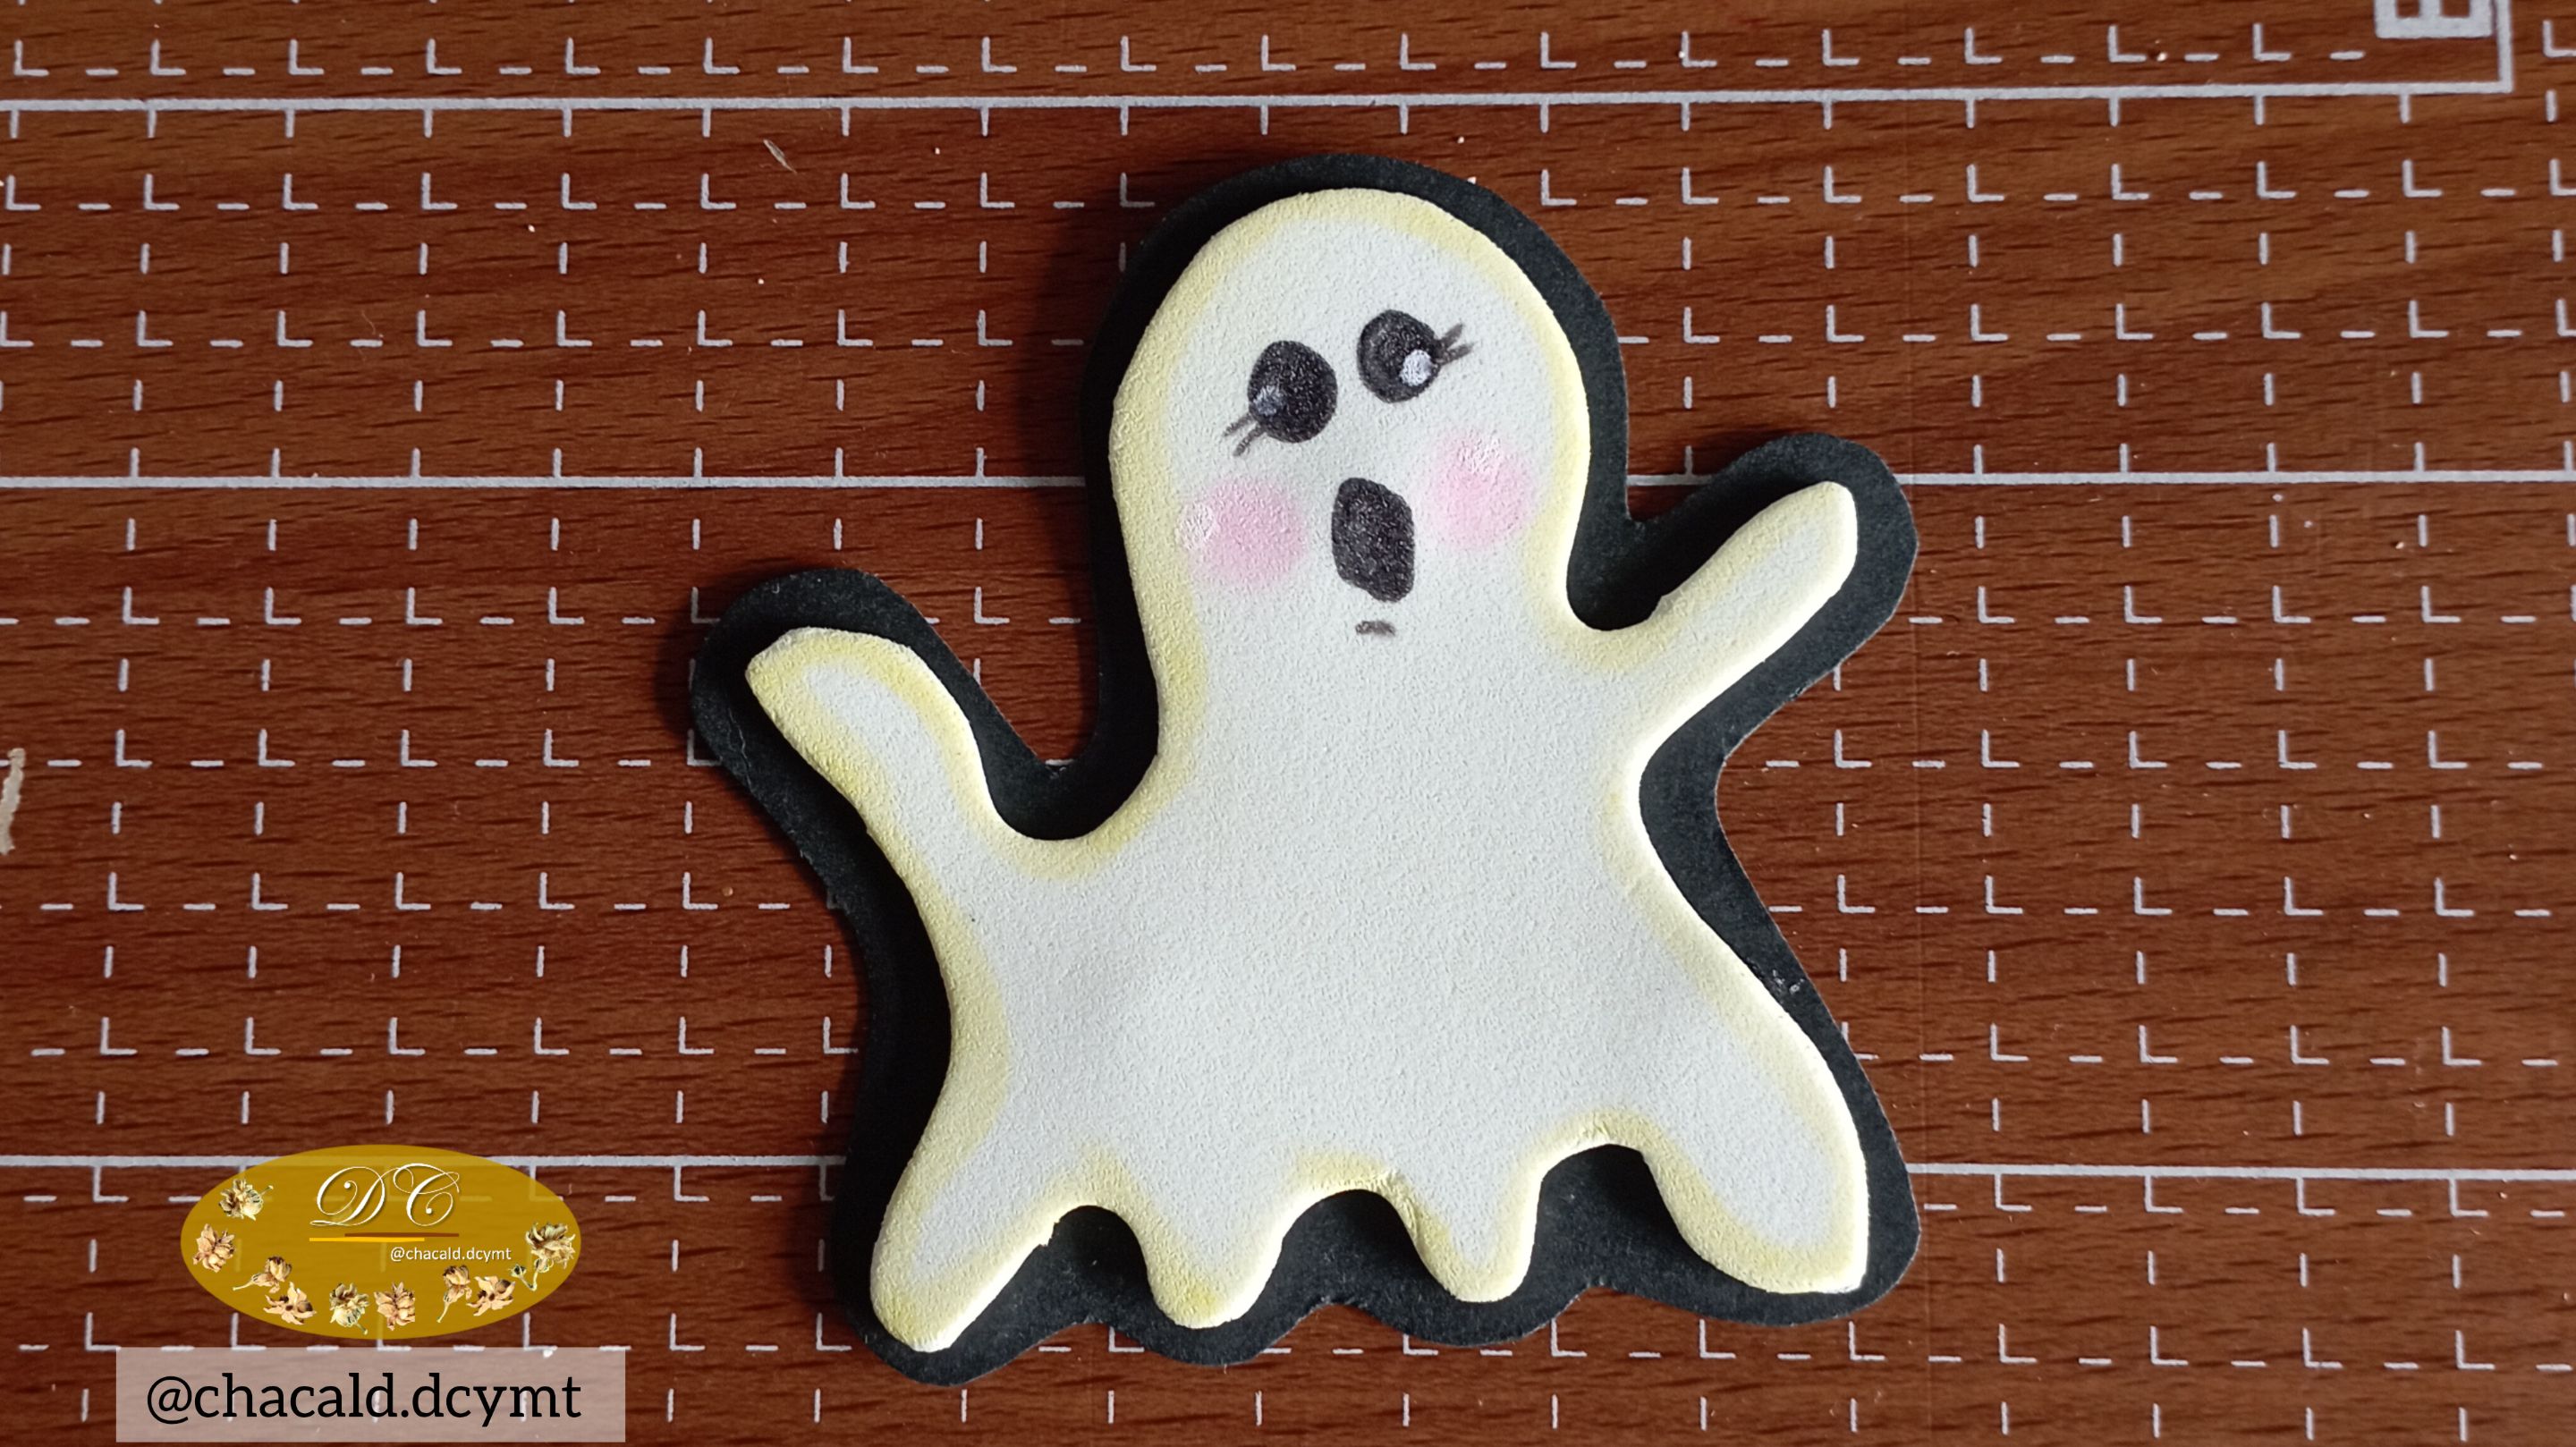
Cuidado de los detalles
Una vez que tenemos terminada la figura en foamy vamos a cuidar de que cada detalle esté bien De marcado por ejemplo los ojos, la nariz, la boca. Y podemos Resaltar las luces y las sombras con ayuda de pintura acrílica. Me gusta Resaltar las mejillas con algunas sombras para ojos o también se puede hacer con tiza pastel.
Y para finalizar algo que resalta mucho las figuras en foamy es un fondo de color negro.
Para esto simplemente tomamos un foamy de color negro, colocamos la figura encima y vamos a dejar un milímetro de grosor para que quede un fondo.
Estas son cuatro de las técnicas básicas para trabajar el foamy. Recomiendo tomar un trozo de foamy y practicar cada una de ellas para que al momento de aplicarlas estemos más seguros de lo que vamos a hacer. Estoy segura que aplicando estos sencillos pasos vamos a lograr darle un mejor acabado a nuestras piezas en foamy.
Espero que les sirva, que lo pongan en práctica y nos vemos en una próxima oportunidad. Chao!
! [Click here to read in english]
Greetings friends who love handicrafts! Welcome once again to my workshop Bricolage DC. Today I would like to share a quick guide to foamy finishing. Join me as I show you these tips that will surely help you when working with this material.
Mould transfer
When working with foamy it is important to make our moulds to avoid wasting the material.
When we want to transfer it to the foamy we are going to take a stick with a fine tip and all around the contour of the mould on the foamy making pressure, in this way it will be marked but without ink.
This will give a better finish to our work as we won't have that excess ink from the pencil or pen.
I took a wooden skewer stick,
sharpened it with a pencil sharpener and then burnt the edge with a lighter.
I wiped off the excess ash and I had my foamy marking tool.Cutting process
When cutting the foami we are going to let the scissors slide through the material avoiding sharp cuts and sharp corners.
I like to try to get the whole figure out in one cut, this way I avoid wasting the material and I also get a better cut.
Finishing the edges
Once we have the figure cut, let's proceed to finish the edges. Select a colour that contrasts with the foamy background, then we take a marker or pastel chalk, a crayon or acrylic paint to outline the edges of our figure.
Care of the details
Once we have finished the foamy figure we will take care that every detail is well marked, for example the eyes, the nose, the mouth. And we can highlight the lights and shadows with the help of acrylic paint. I like to highlight the cheeks with some eye shadows or you can also do it with pastel chalk.
And finally, something that really enhances the foamy figures is a black background.
For this we simply take a black foamy, place the figure on top and leave a millimetre of thickness for a background.
These are four of the basic techniques for working with foamy. I recommend taking a piece of foamy and practising each one of them so that when we apply them we are more sure of what we are going to do. I am sure that by applying these simple steps we will be able to give a better finish to our foamy pieces.
I hope you find it useful, that you put it into practice and I'll see you next time. Bye!
Original content by the author.
Resources: App: Canva / Giphy / Inshot
The music in this video is free to use
available on Inshot
Music: Walk
Musician: @iksonmusic
📷 Redmi 10 Smartphone
Translation done with Deepl.com
✿ All Rights Reserved || © @chacald.dcymt 2023 ✿
💌 Discord: chacald.dcymt#3549
Twitter X: @chacald1
_
Contenido original del autor.
Recursos: App: Canva / Giphy / Inshot
La música de este video es de libre uso
disponible en Inshot
Música: Walk
Músico: @iksonmusic
📷 Redmi 10 Smartphone
Traducido con Deepl.com
✿ Todos los Derechos Reservados || © @chacald.dcymt 2023 ✿
💌 Discord: chacald.dcymt#3549
Twitter X: @chacald1
Show more
Tags :
Woo!
This creator can upvote comments using 3speak's stake today because they are a top performing creator!
Leave a quality comment relating to their content and you could receive an upvote
worth at least a dollar.
Their limit for today is $0!
Their limit for today is $0!

14 views
a year ago
$
28 views
6 months ago
$
47 views
a year ago
$

11 views
a year ago
$
43 views
10 months ago
$
More Videos

2 views
8 months ago
$

20 views
6 months ago
$

13 views
3 years ago
$
4 views
a year ago
$

7 views
a year ago
$
14 views
8 months ago
$

2 views
2 years ago
$

27 views
6 months ago
$

7 views
9 months ago
$
2 views
6 months ago
$
1 views
3 years ago
$

57 views
a year ago
$

1 views
2 years ago
$

22 views
3 months ago
$

8 views
11 months ago
$
3 views
a year ago
$

31 views
a year ago
$

My Cleaning Activity On November 17, 2023 (days51) | Cleaning Up Trash In Front Of My Friend's House
2 views
5 months ago
$

Catching Up To First 30 On The Leader Board Of 3Speak Is Tough-I am Dangling Between #37 & #40 Rank!
4 views
4 years ago
$

5 views
2 years ago
$
3 views
a year ago
$

1 views
7 months ago
$

16 views
2 years ago
$

2 views
2 years ago
$

12 views
2 years ago
$
Comments:
Reply:
To comment on this video please connect a HIVE account to your profile: Connect HIVE Account