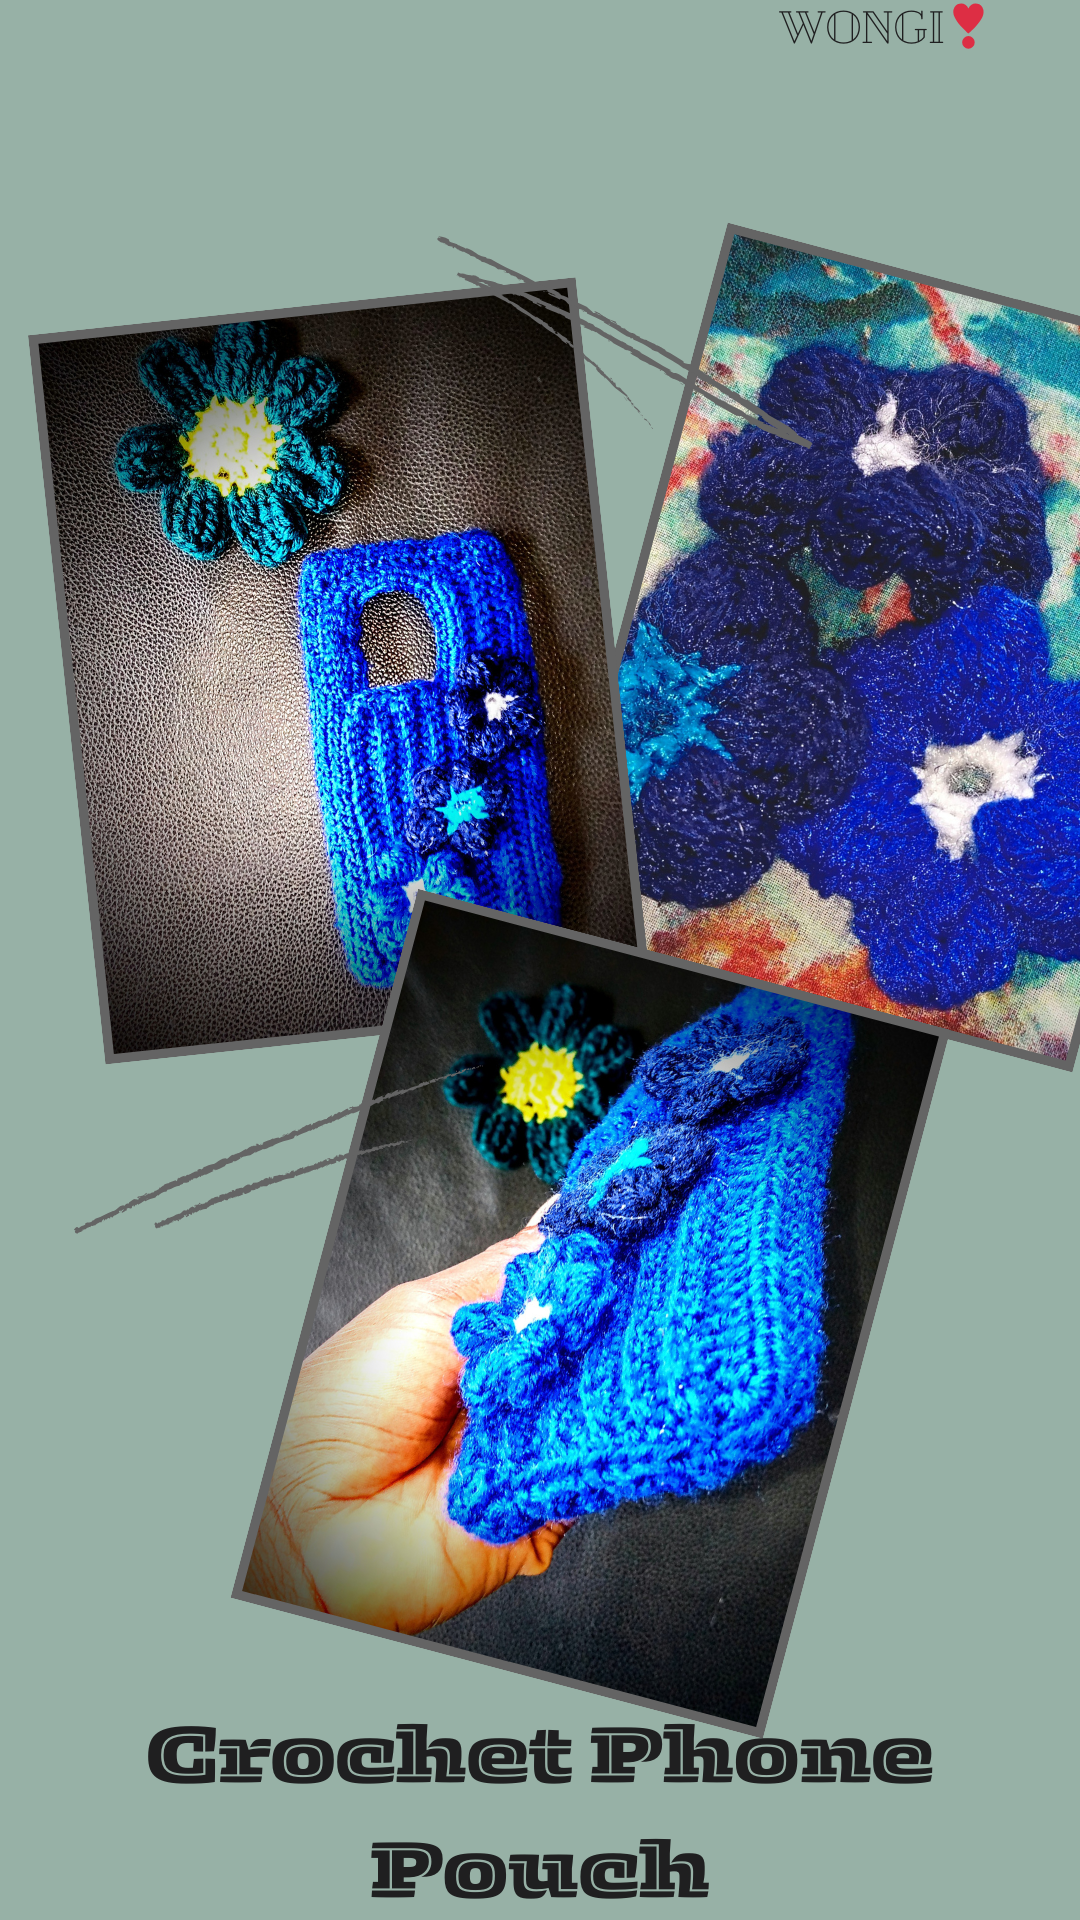
A Crochet Phone Pouch
6
About :
Hello Diy Community ✨
One of the worst things that come with phones are the transparent pouches. At first, they look so bright and beautiful and a few weeks later, they turn brown. I'm not a fan of transparent phone pouches as they put me at risk. Imagine walking on the road and everyone can see what brand of phone you're holding. Where I'm from, that is a very risky move. This alone can prompt strangers to borrow your phone(temporarily or permanently).
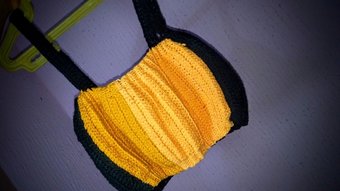
Because of this, I bought my phone a coloured pouch immediately after I got the phone. The army green pouch looks really beautiful but I felt like I should get an upgrade–a pouch with a different design. I searched far and wide but all I could see was the same pouch in different colours. I'm sure you must have guessed the next thing that came to mind. "Why not make yourself a pouch?" I said to myself".

I know nothing about making pouches with yarns but I could always try. With that in mind, I set out to customise a pouch for my phone. With yarn, yay!

Materials Used
- Yarns
- 3.5mm hook
- Yarn needle
- A pair of scissors
- A measuring tape
- Paper and pen
- Glue
Procedure.
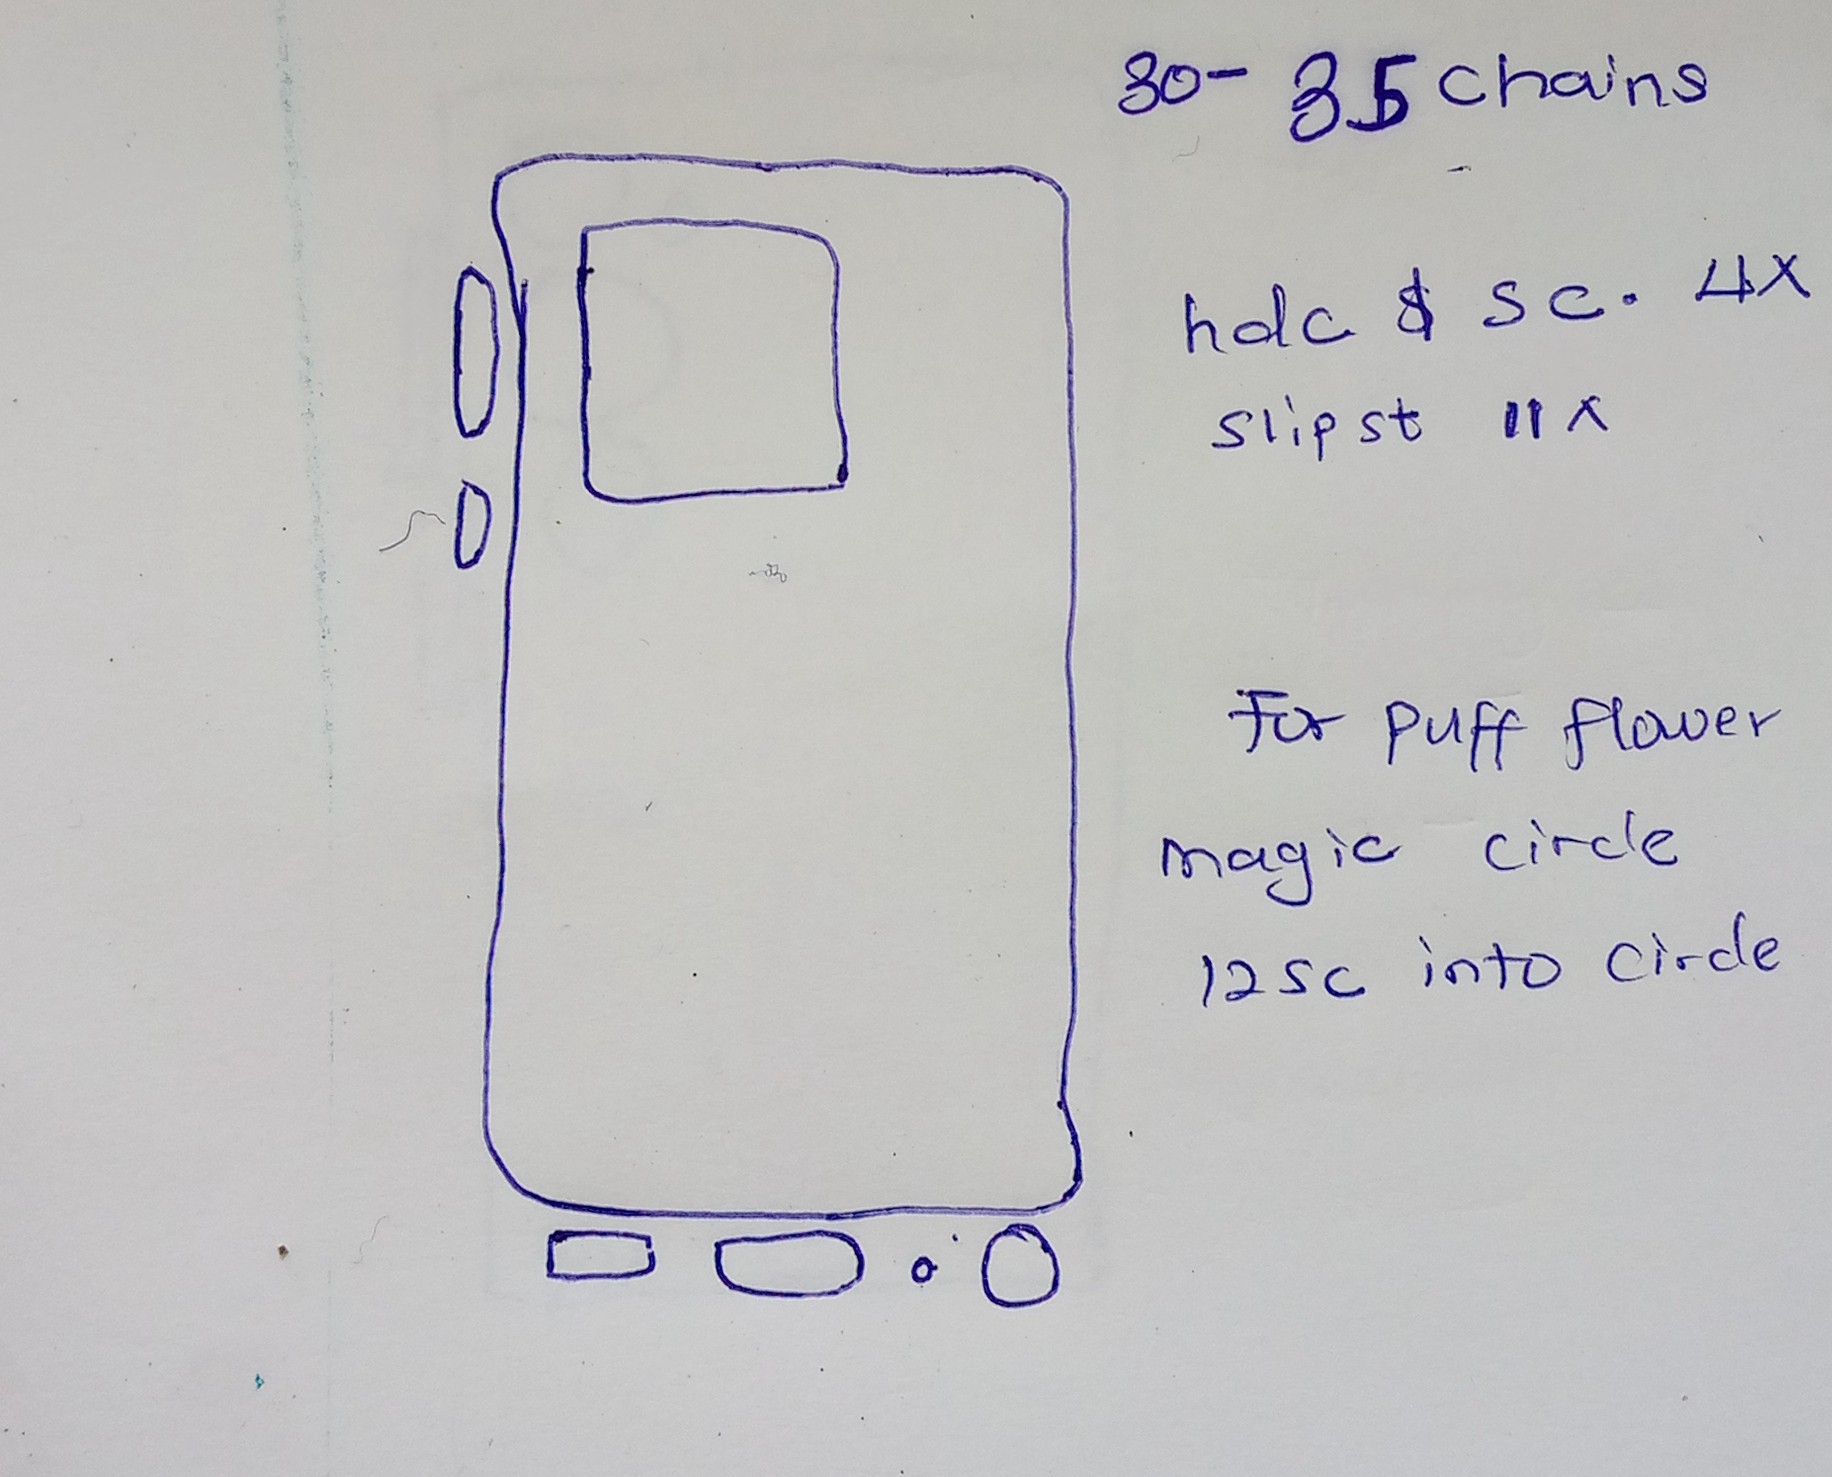
I started by sketching out a picture of what the pouch was supposed to look like. My sketches are not perfect but hey, there can't be crocheting without sketching and measurement.
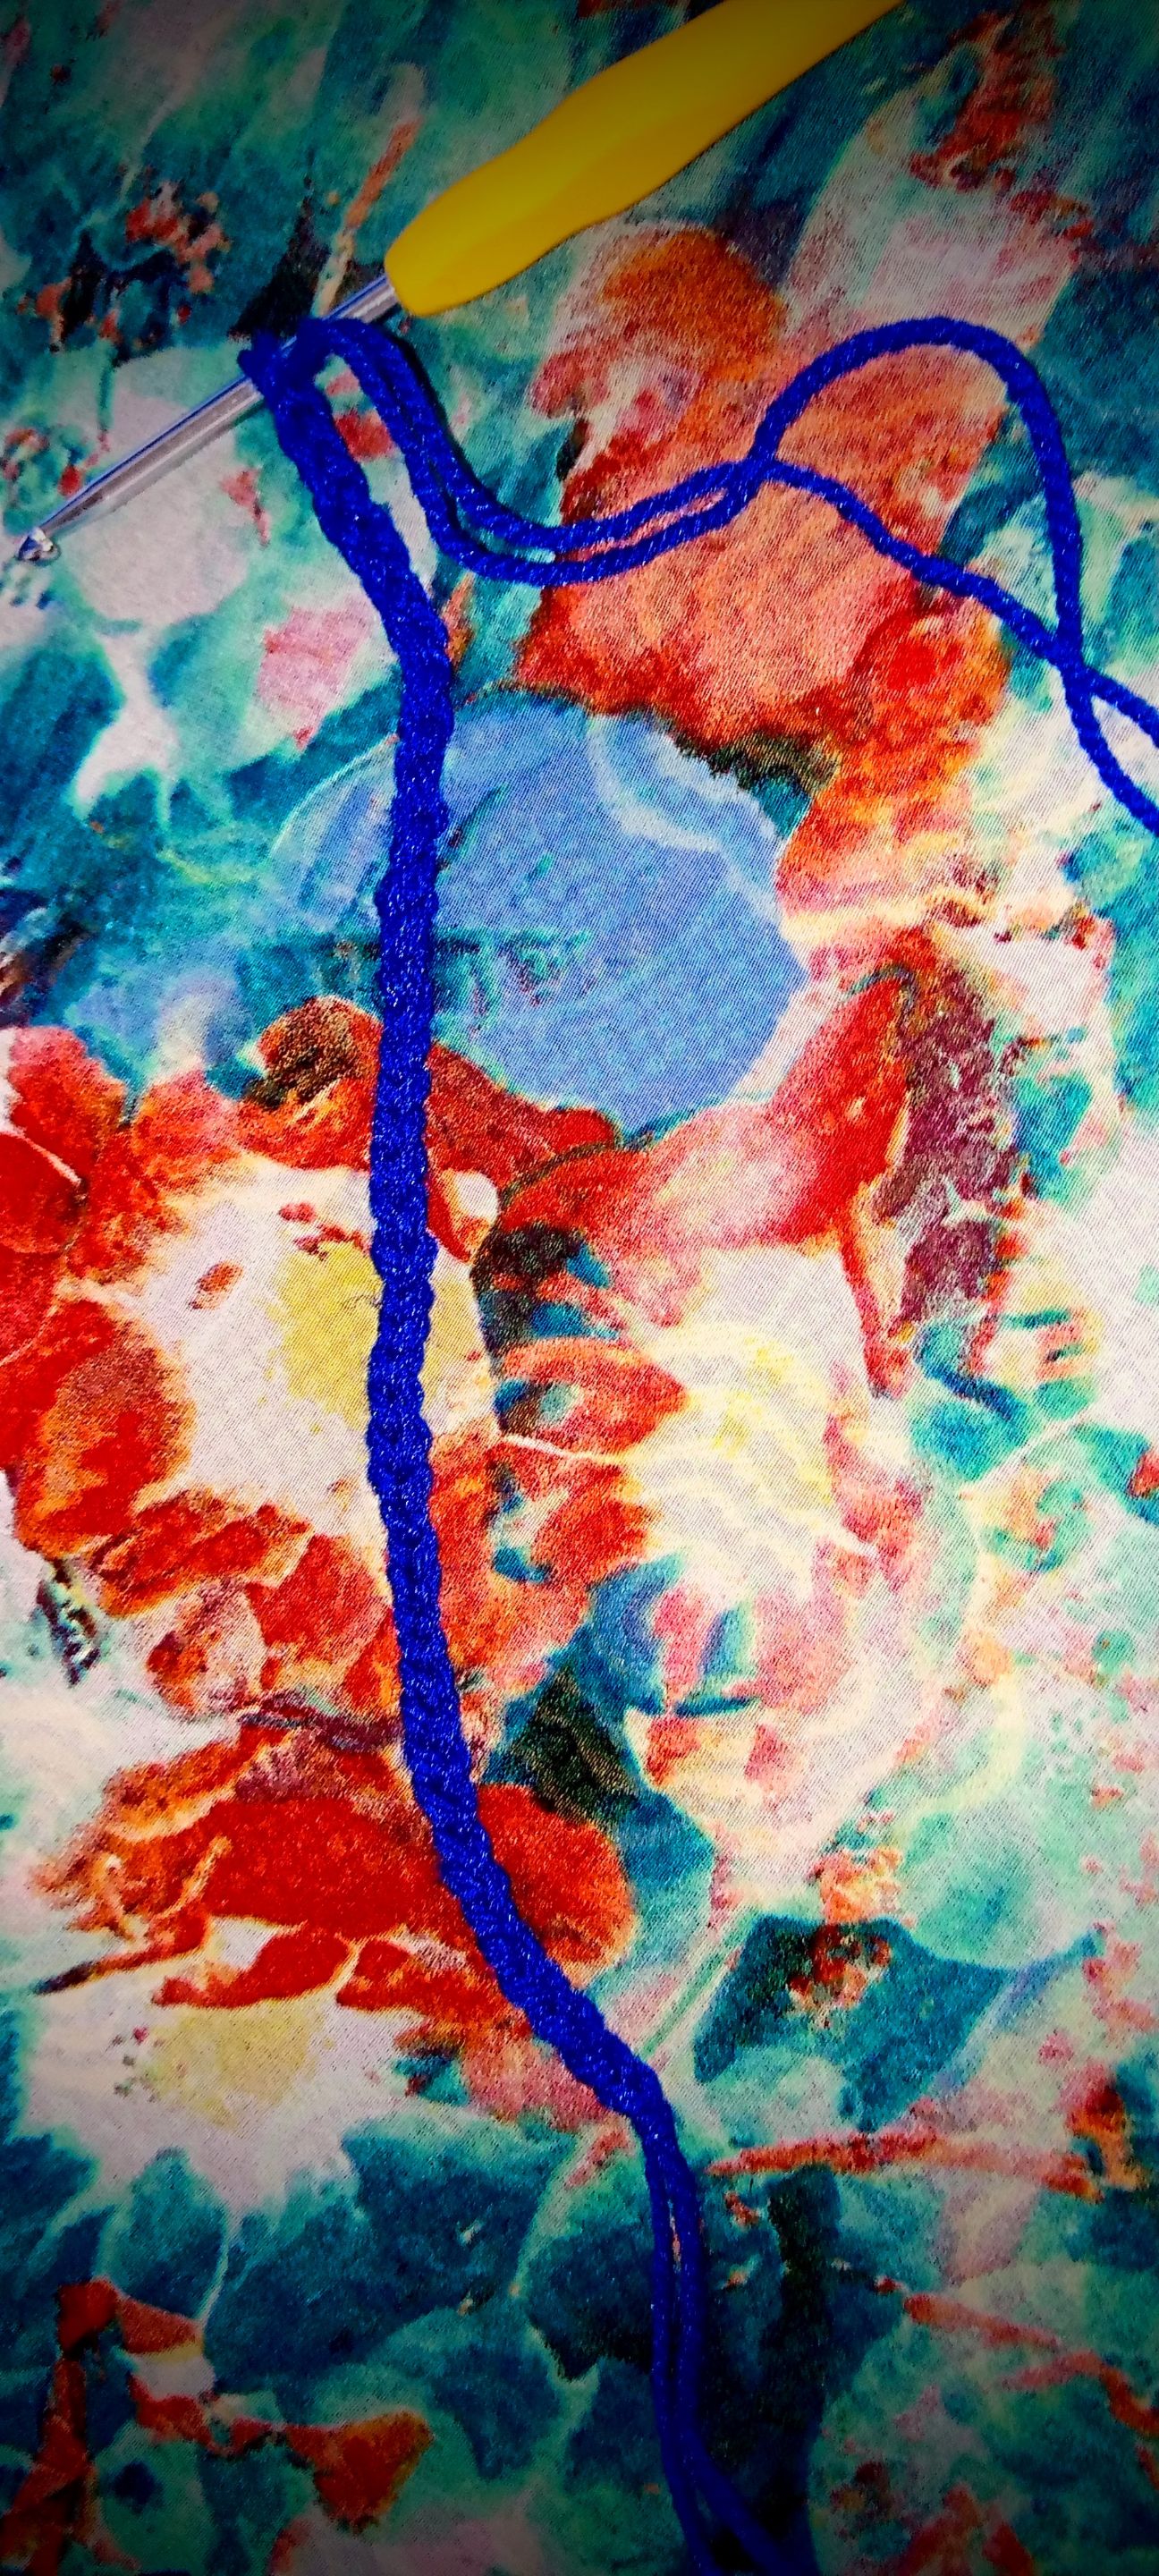
After sketching I measured the length of my phone and with the measurement I made 35 chains. The 35 chains are the size of the phone lengthwise.
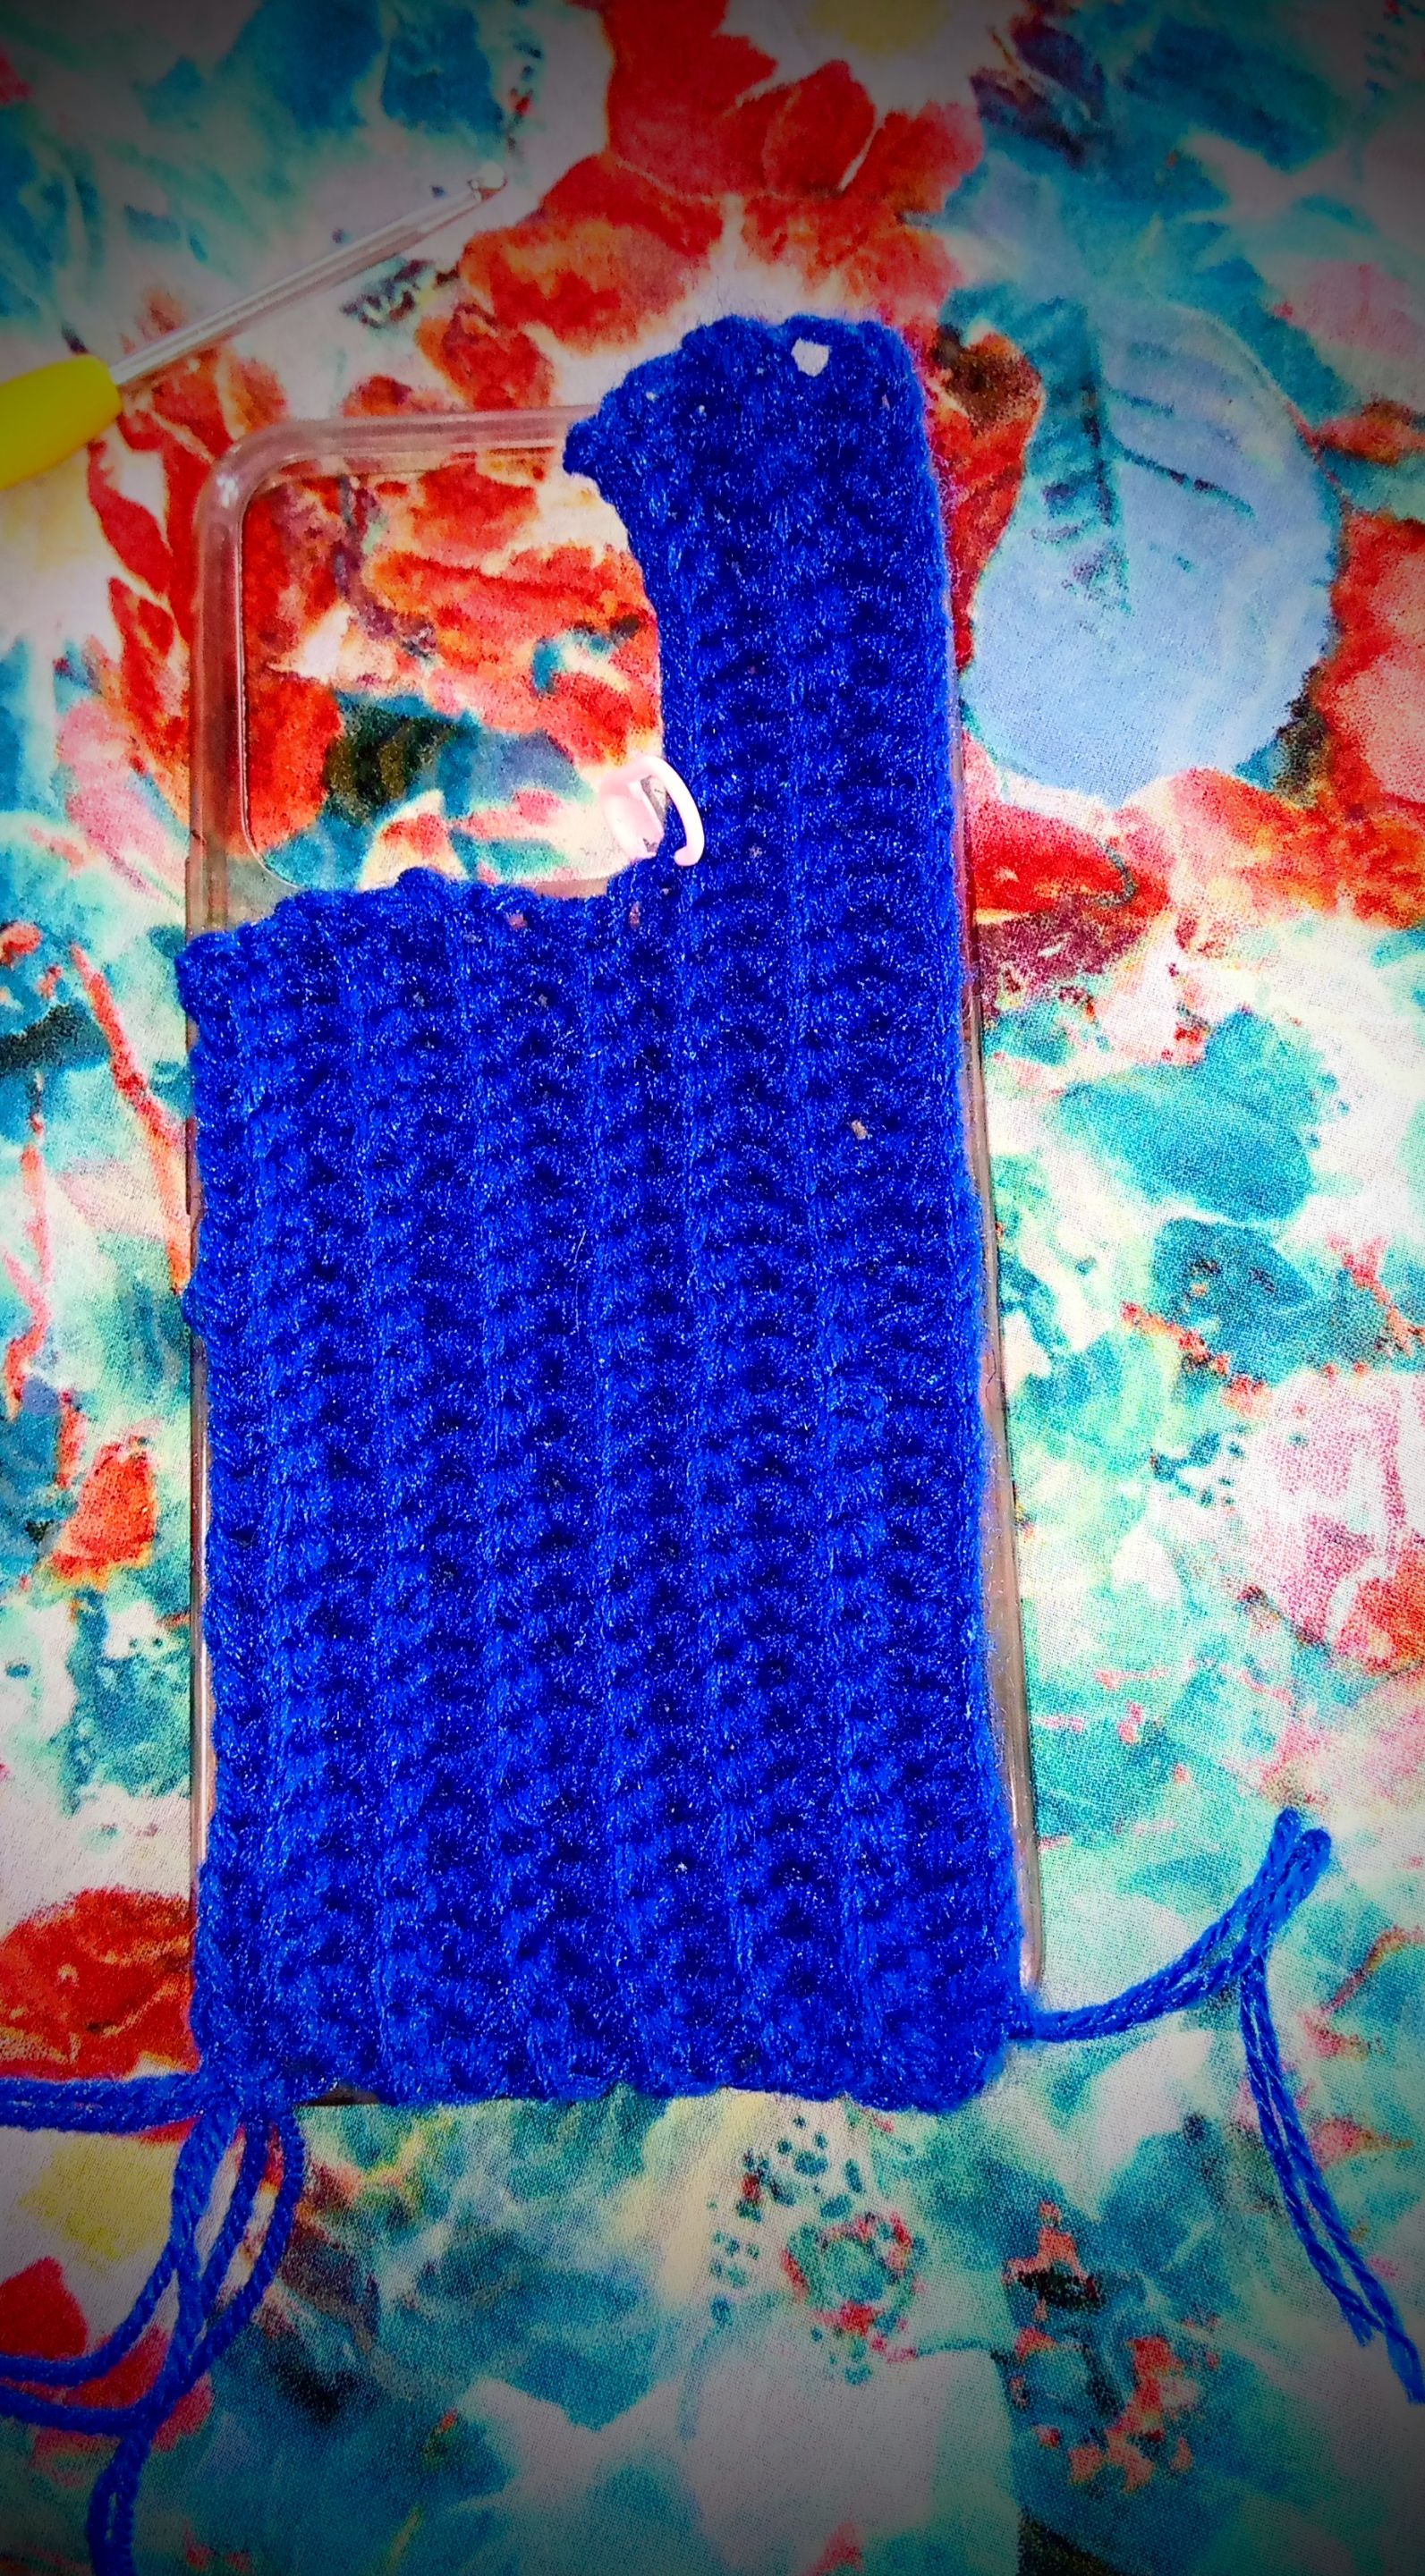
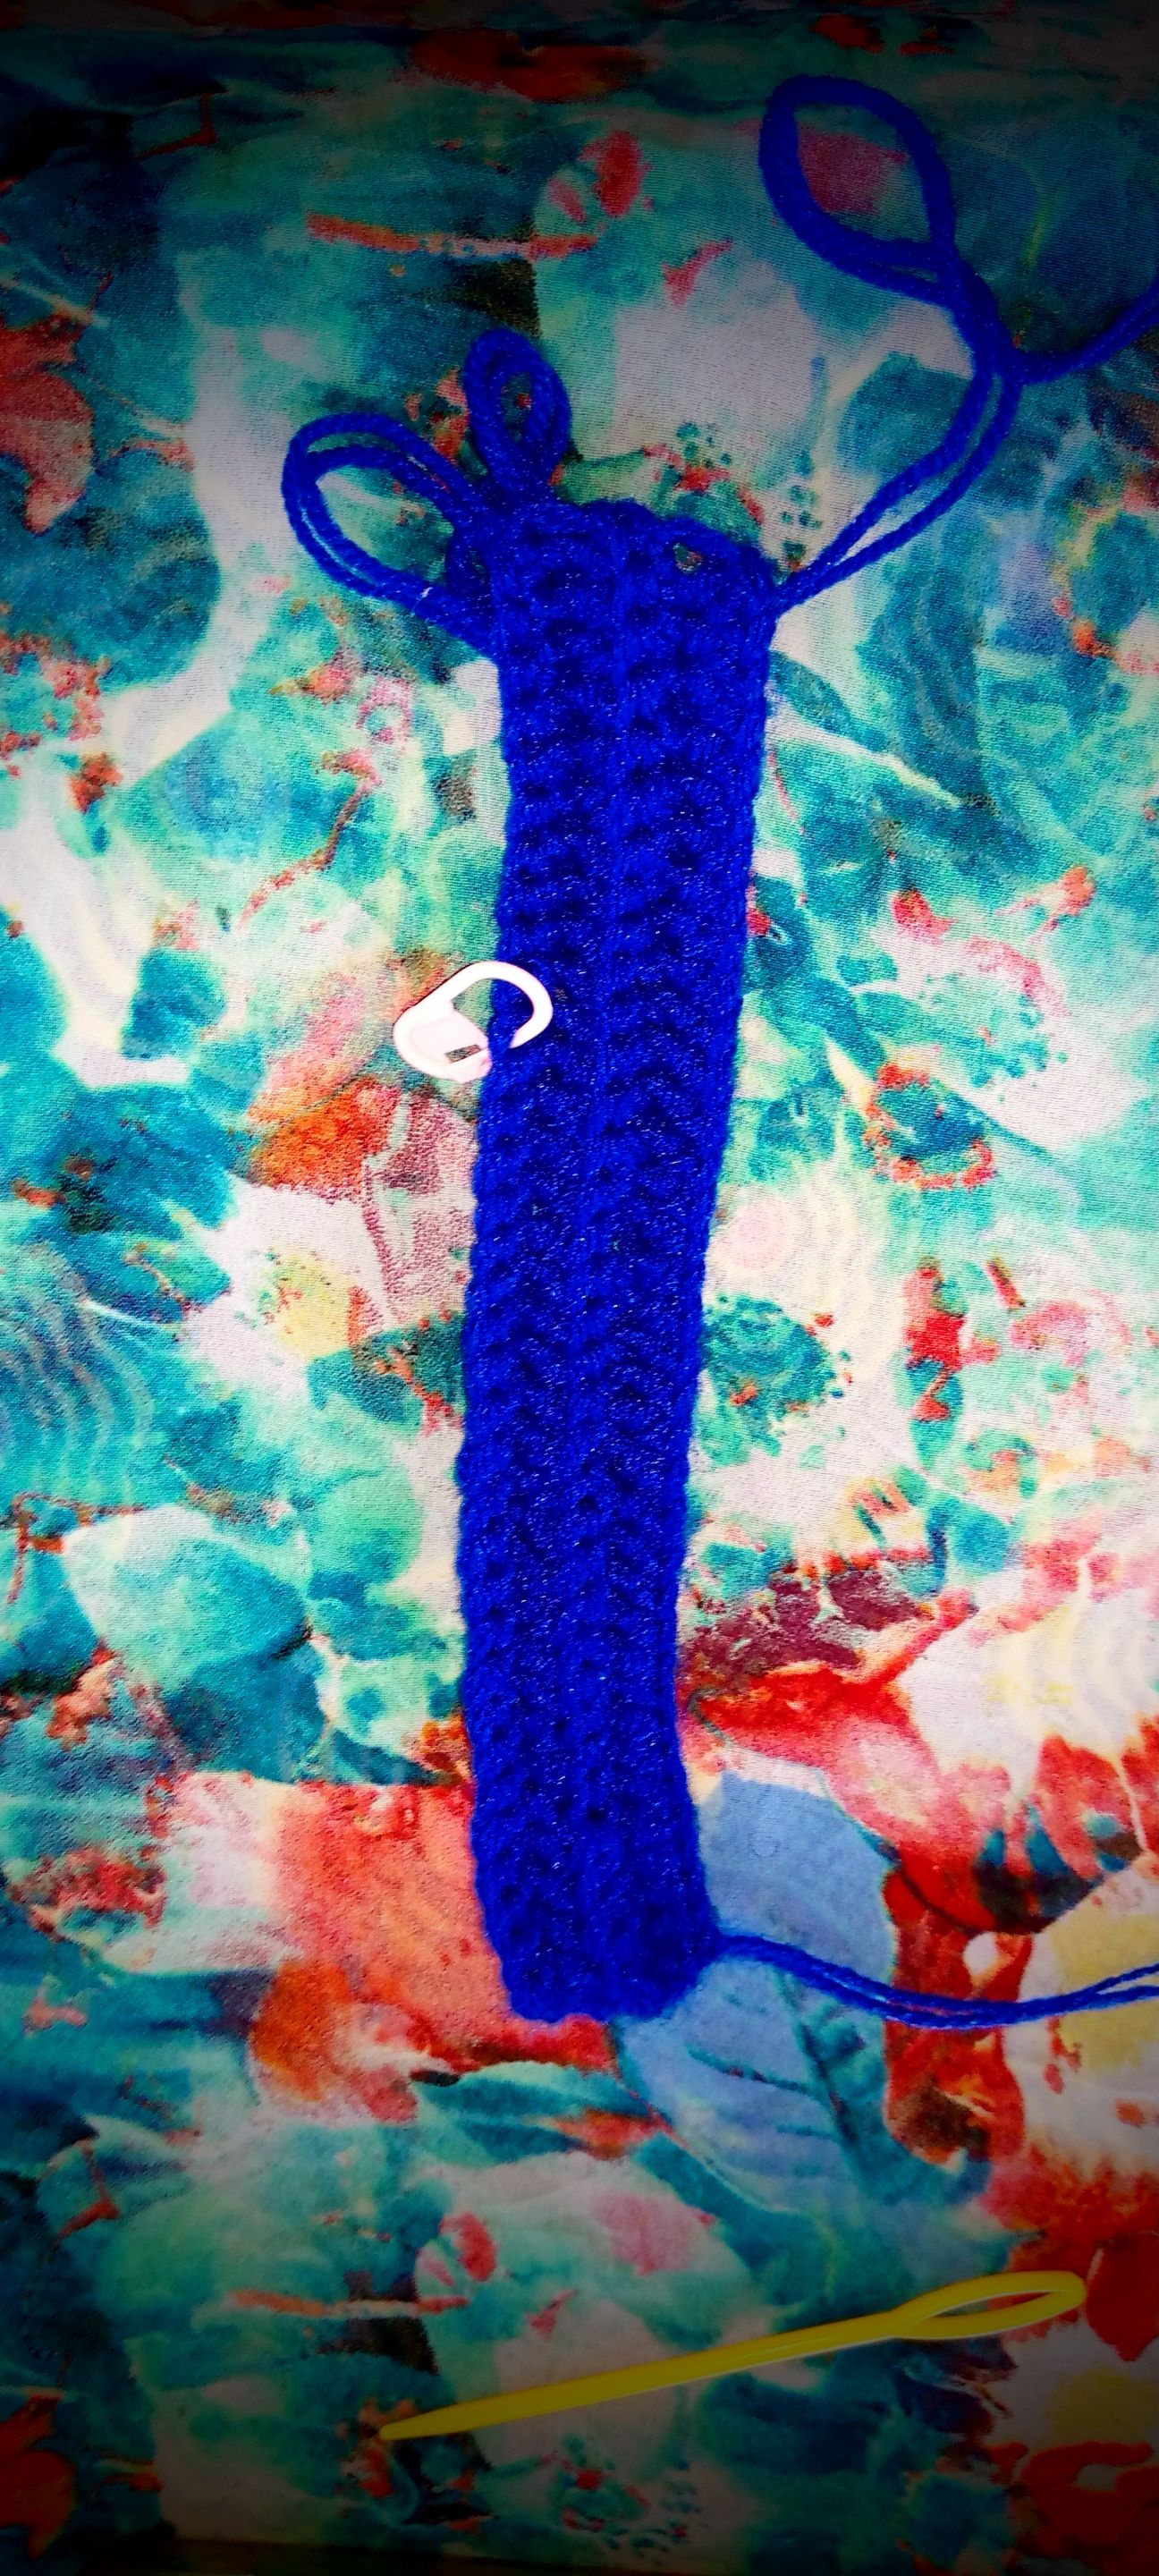
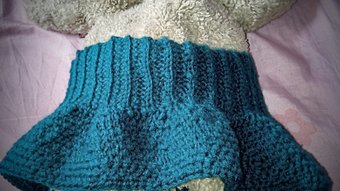
After making the base chains, I continued crocheting using the half double crochet stitches and single crochet stitches alternatively. Row after row I kept alternating till I made enough rows to cover the back of my phone.

After that, it was time to make the extension and join both sides of the pouch. I made eleven chains on the side and seven chains at the top. After that, I joined the two ends using a slip stitch.
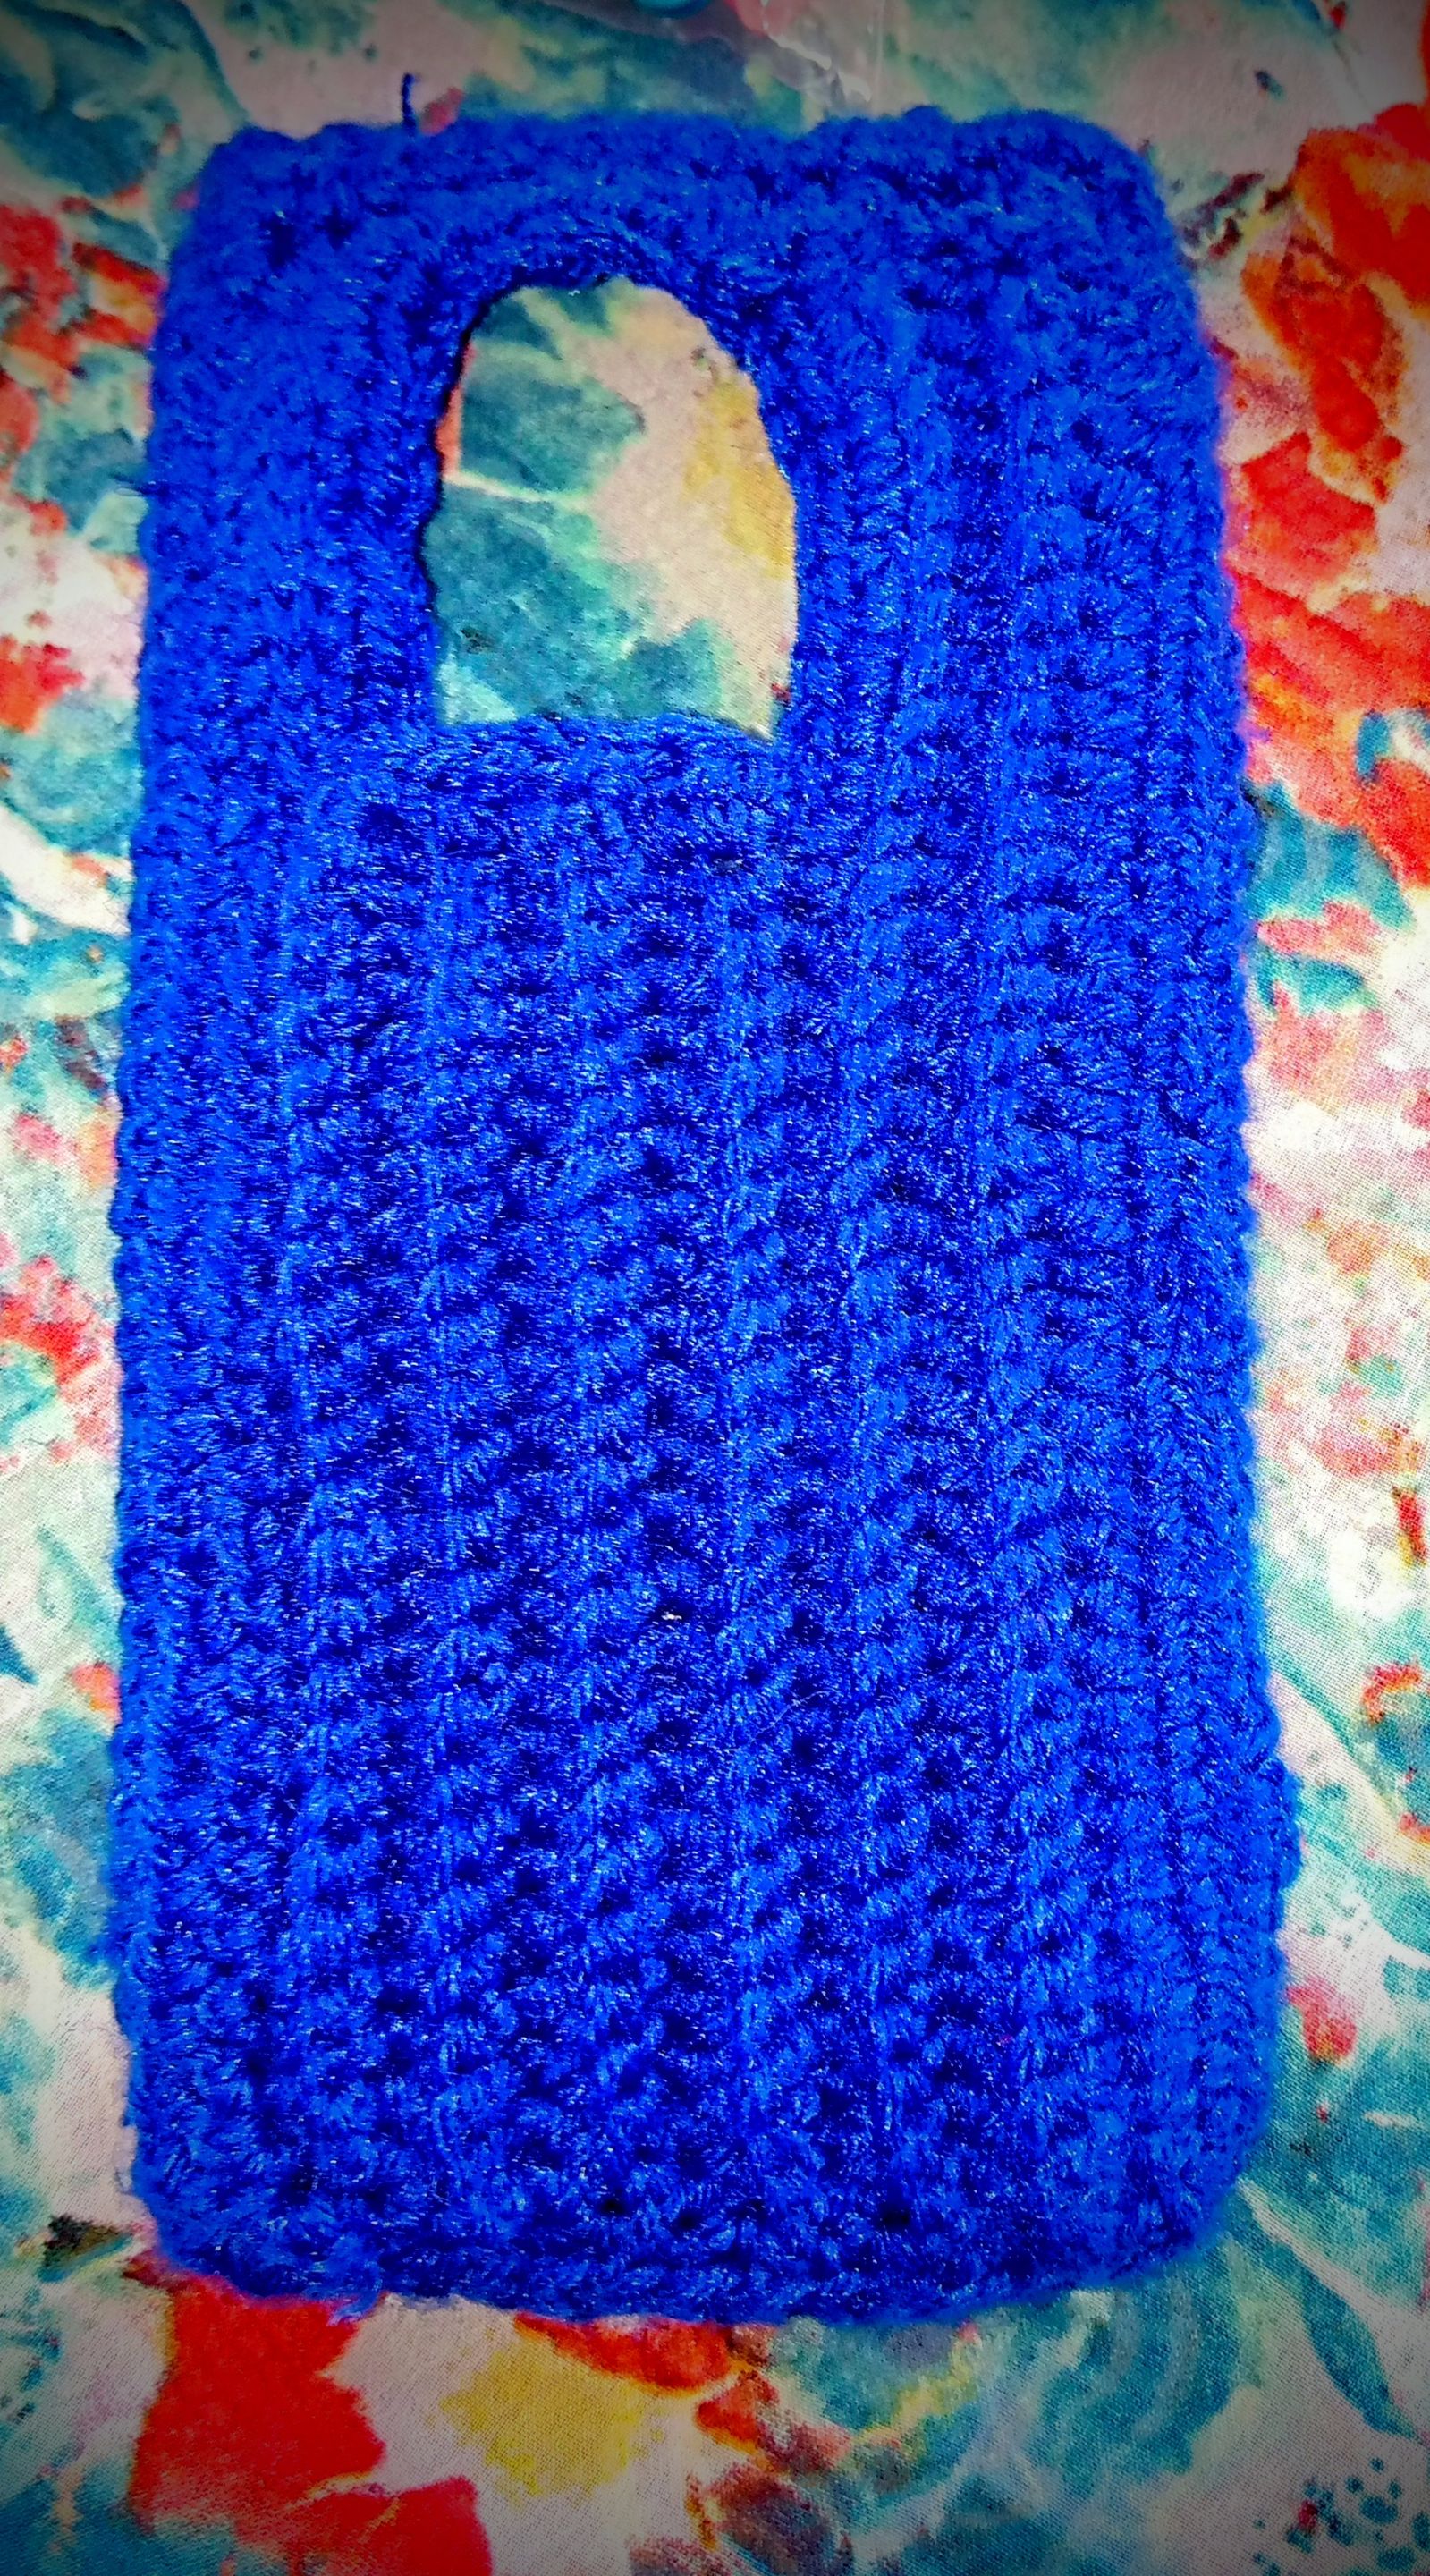
After the slip stitch, one phase of the phone pouch was done. The next phase was the sides and the edges. I used half double crochet stitches to make the side. At each corner, I made an increase by working two stitches into one hole. After making an increase, I skipped the succeeding stitch and continued making the half double crochet stitches into the following rows. This helps to give the curves to the edges.
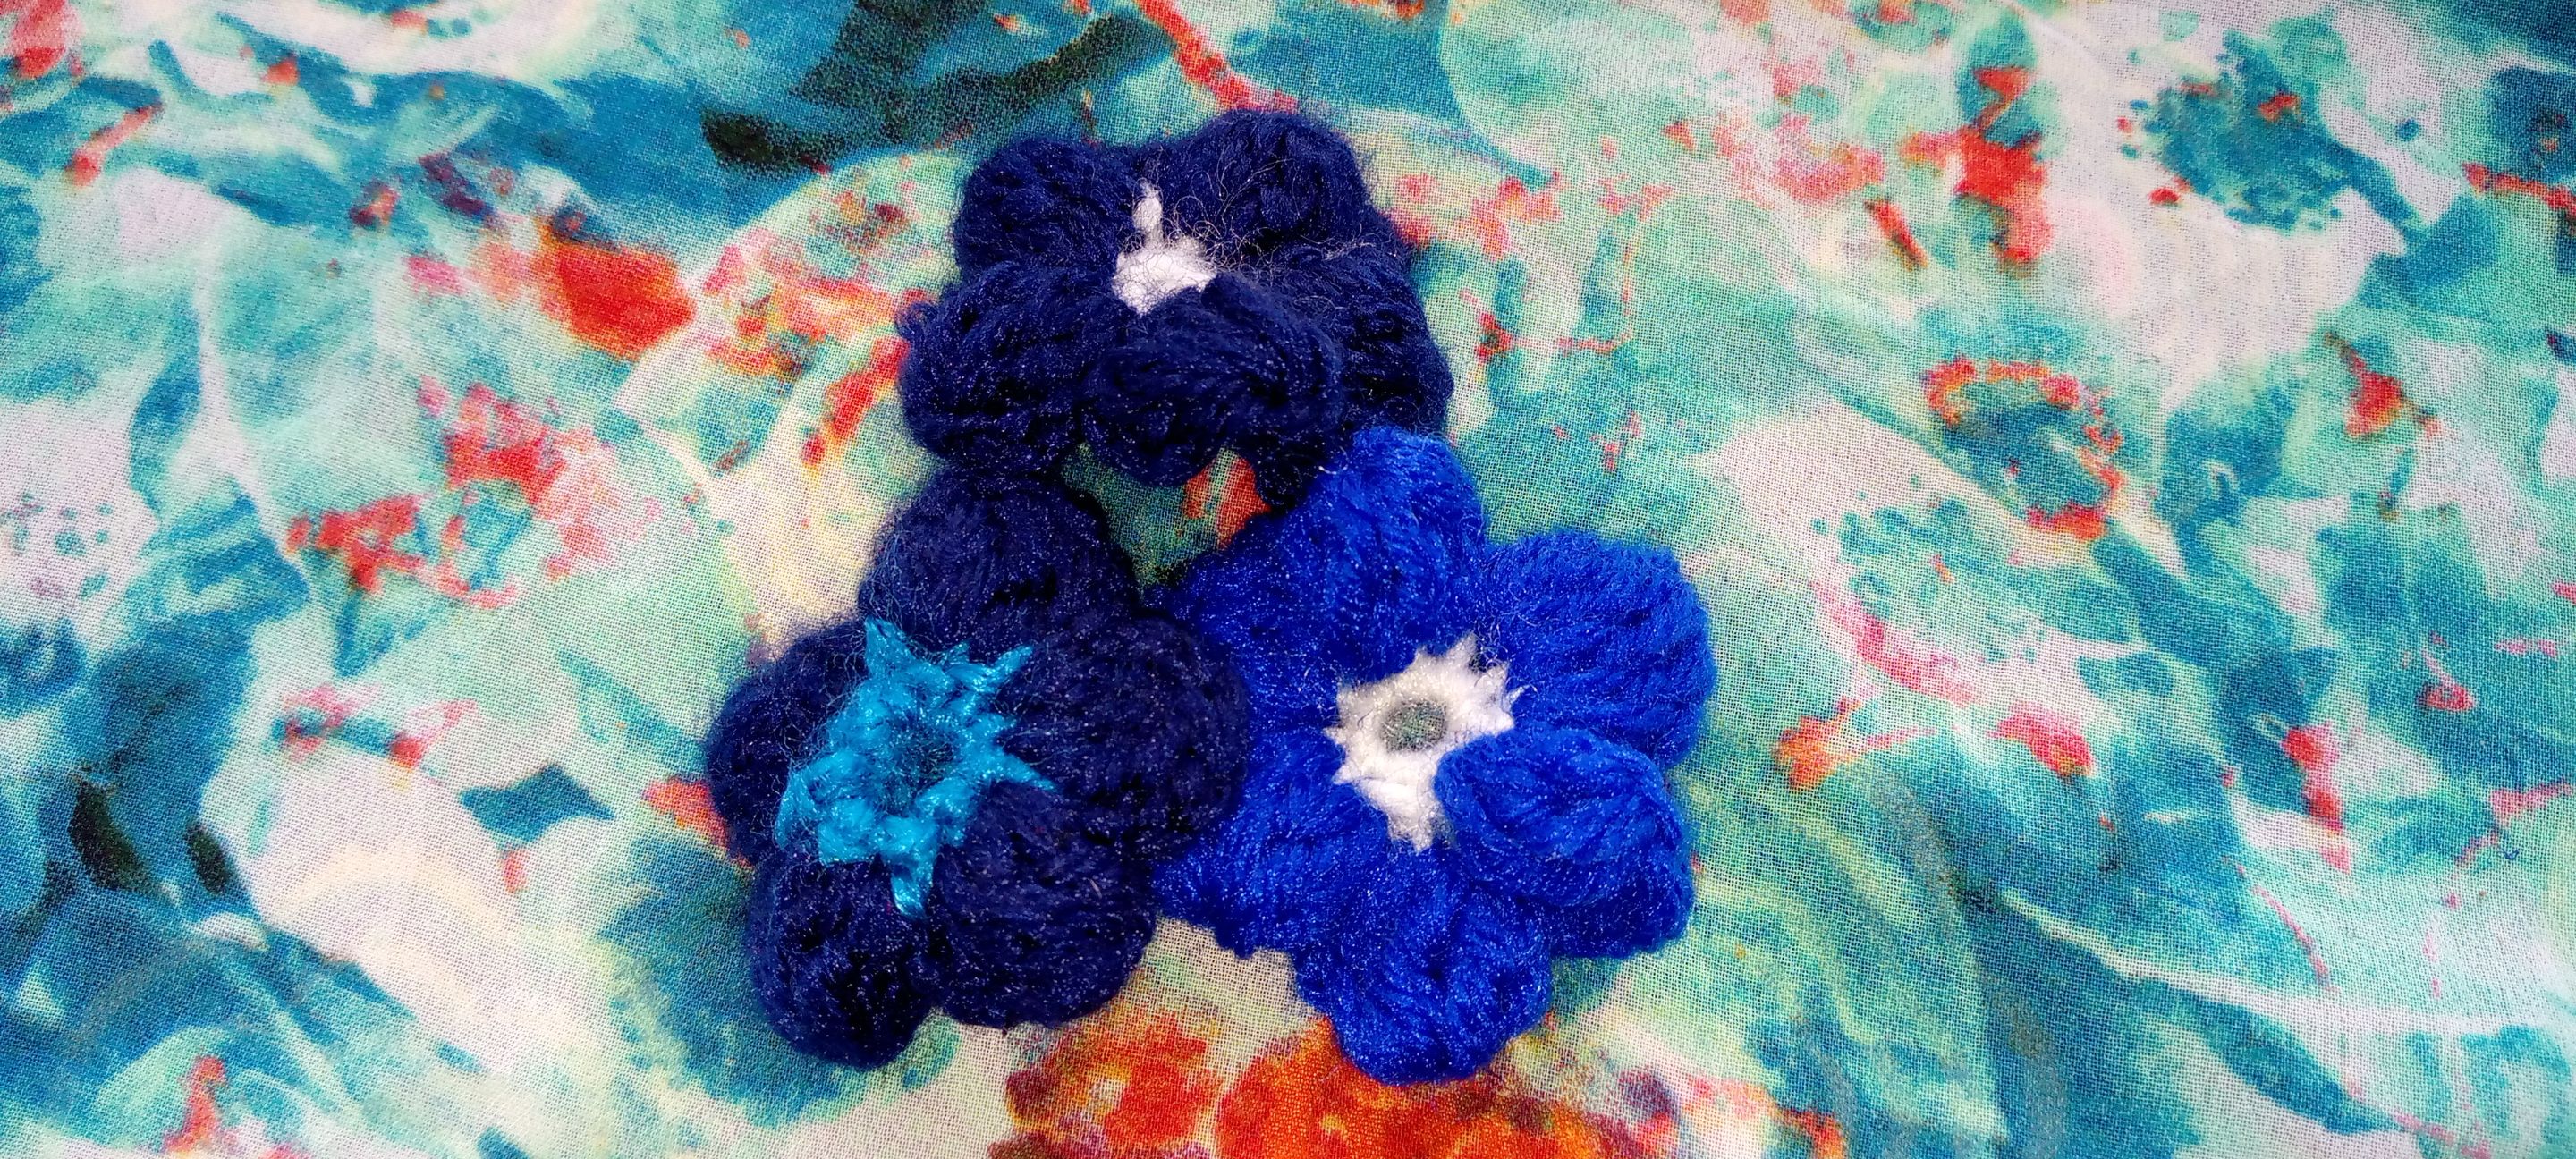
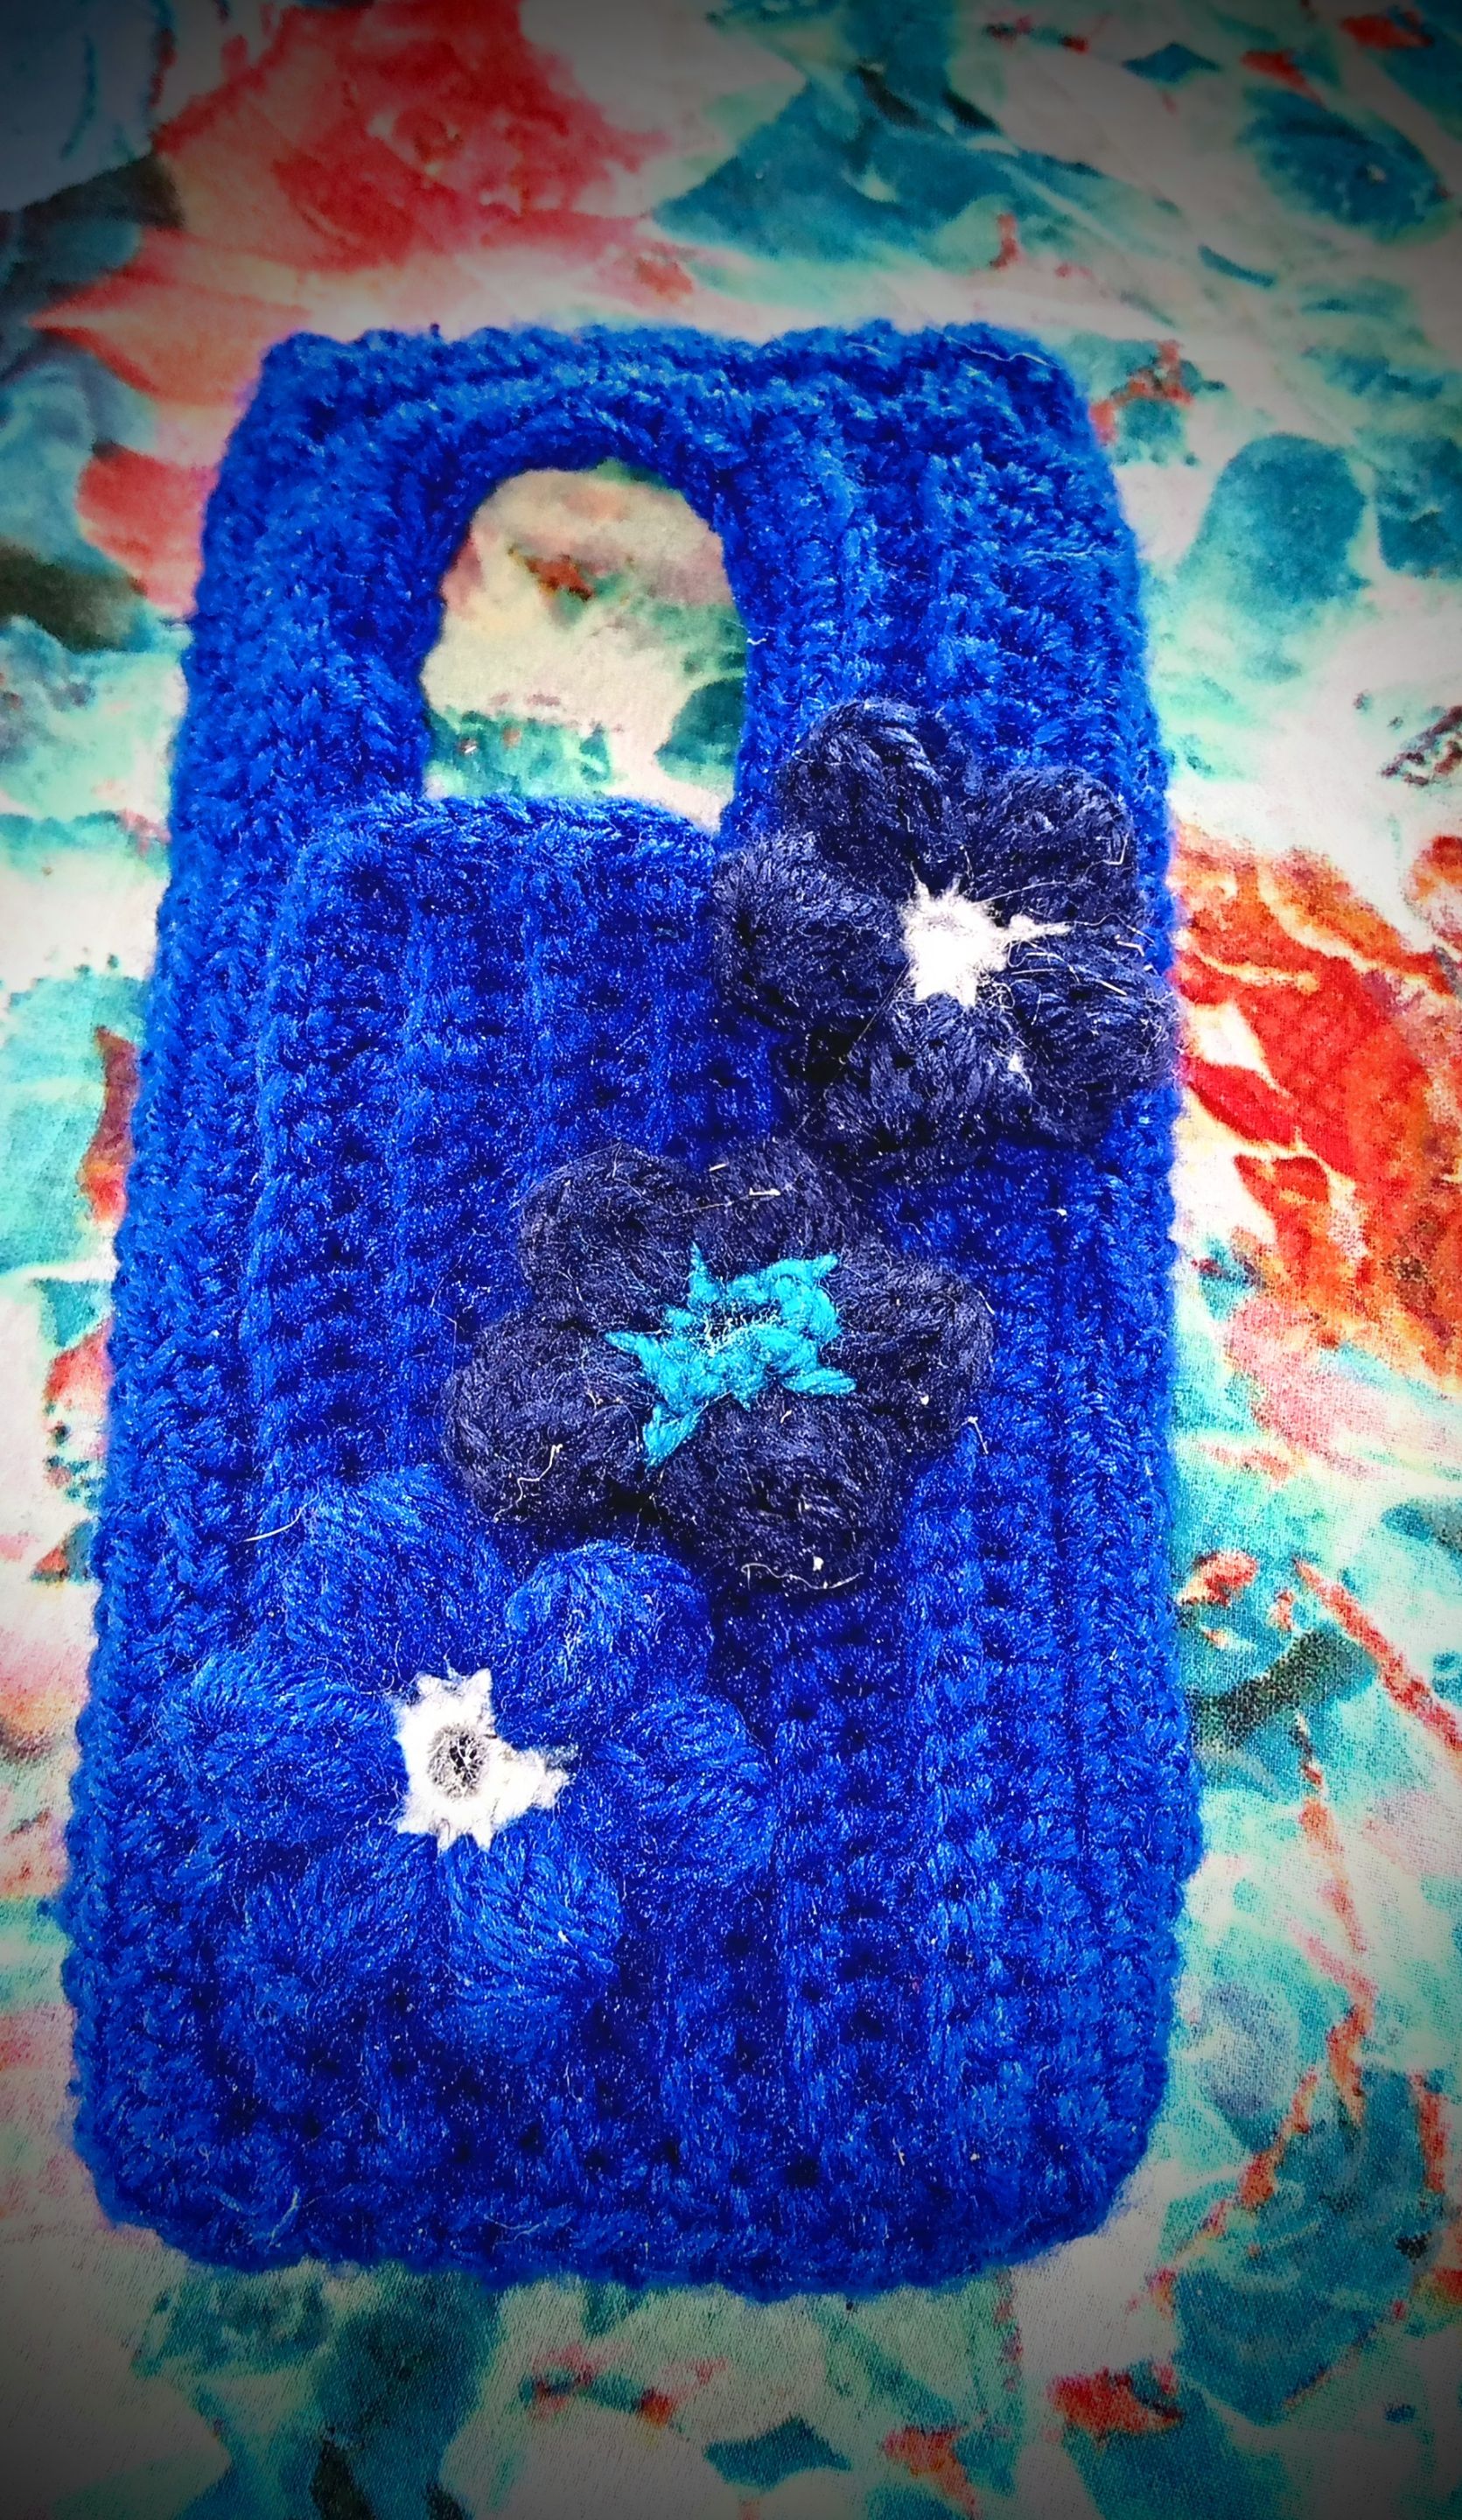
After making the side, the pouch was pretty much ready. The last thing I did was to add flowers to the pouch. To make the flowers, I started by making a magic circle. After that, I worked twelve single crochet stitches into the magic circle, fastened off the first colour and added another colour. With the new colour, I made popcorn stitches using half double crochets.

The last thing I did was to attach the flowers to the pouch using glue. The glue would ensure that the flowers do not go anywhere.
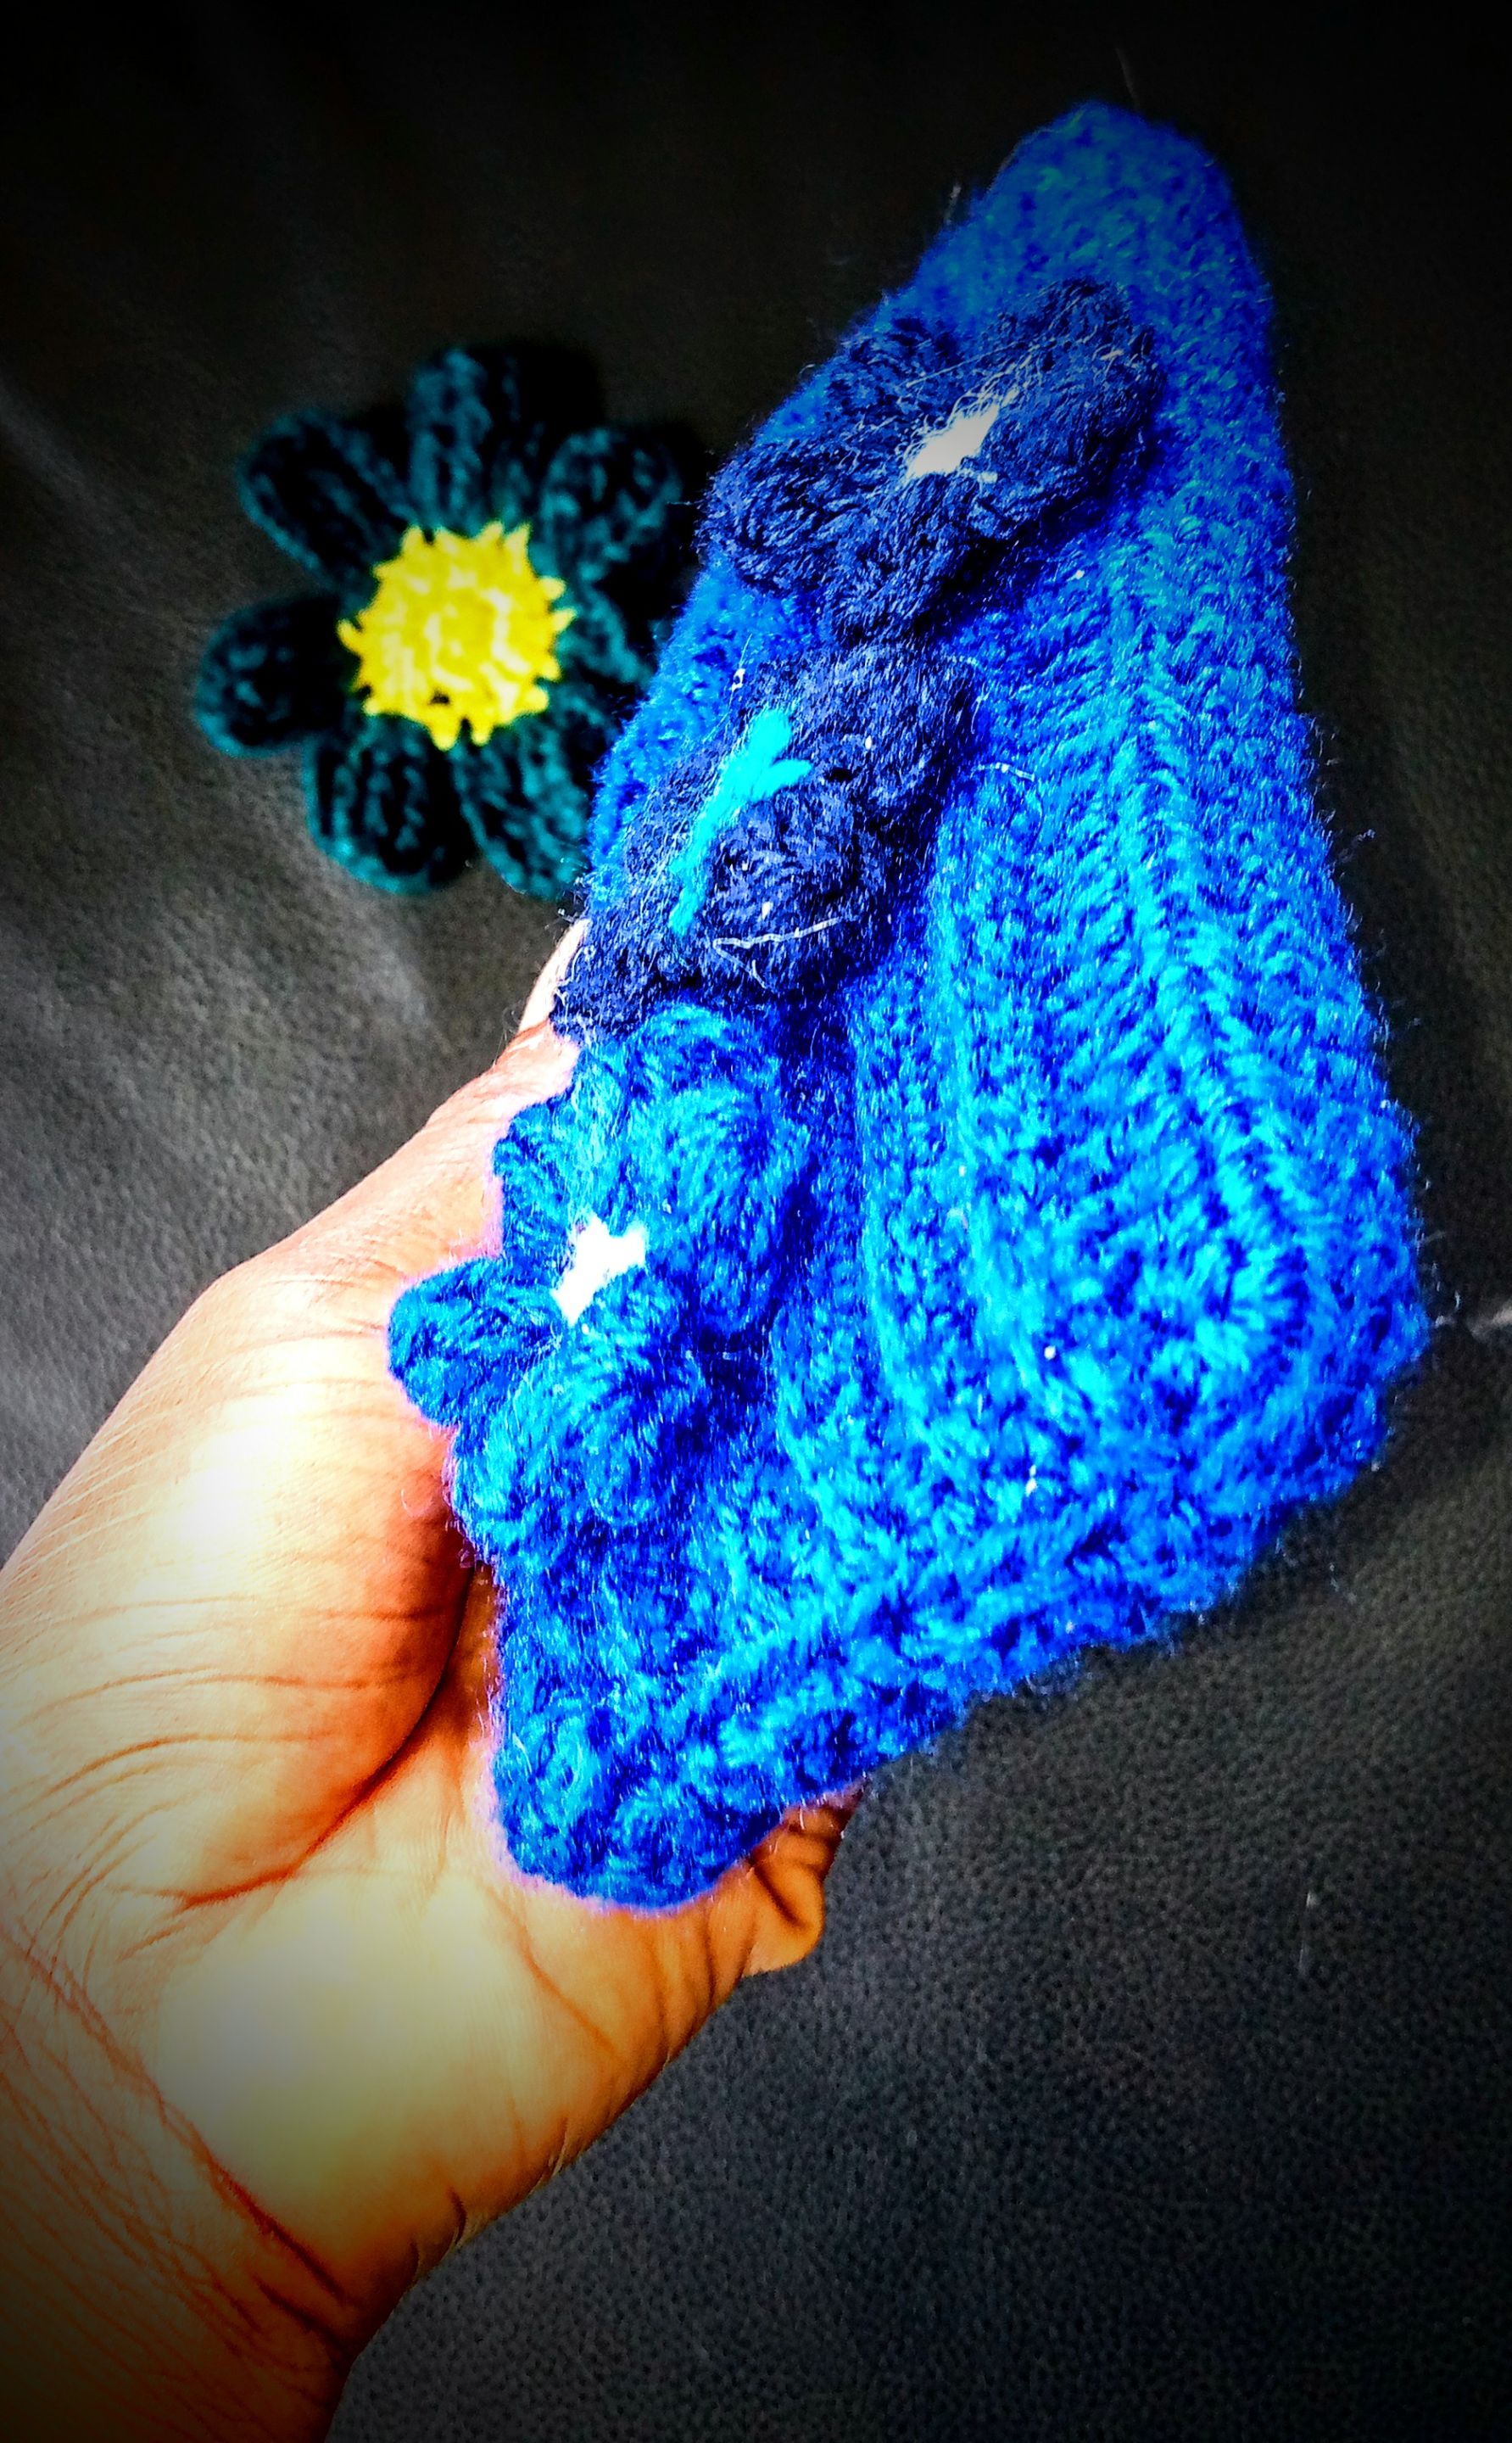
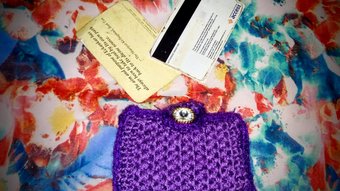
With that, I was done with the pouch. It is really really bright and alluring. I plan on making the pouch in darker colours and possibly in different patterns too.
So, what do you think of the pouch? Is it something you would readily carry outside? What about the colours? I would absolutely love to hear your views.
All images used belong to me and were taken with my mobile device except stated otherwise
Love, Wongi ✨
Show more
Tags :
Woo!
This creator can upvote comments using 3speak's stake today because they are a top performing creator!
Leave a quality comment relating to their content and you could receive an upvote
worth at least a dollar.
Their limit for today is $0!
Their limit for today is $0!

8 views
6 months ago
$

4 views
a year ago
$
1 views
6 months ago
$
8 views
a year ago
$
2 views
7 months ago
$
More Videos

0 views
a year ago
$

10 views
3 years ago
$

39 views
a month ago
$

27 views
2 years ago
$

0 views
2 years ago
$

23 views
2 years ago
$

4 views
2 years ago
$

16 views
3 years ago
$

0 views
10 months ago
$

16 views
2 years ago
$

7 views
11 months ago
$

1 views
a year ago
$

7 views
9 months ago
$

1 views
2 years ago
$

2 views
2 years ago
$

5 views
2 years ago
$

0 views
2 years ago
$

8 views
a year ago
$

13 views
a year ago
$

13 views
a year ago
$

8 views
11 months ago
$

84 views
3 years ago
$

18 views
4 months ago
$

11 views
4 months ago
$
Comments:
Reply:
To comment on this video please connect a HIVE account to your profile: Connect HIVE Account