A Mini Mesh Crochet Bag
8
About :
Hello love you people ✨
Welcome to today's #needleworkMonday I hope we all had splendid weekends.it is always a pleasure showcasing my needlework and at the same time seeing how extremely talented other needleworkers are.
The needlework I will be sharing with you is an enantiomer of the original thing I will be making soon; depending on your response. Bags come in very handy but what if your bag was different and outstanding? Hence, my project for today.
The inspiration to make this bag came after an encounter with someone who knows I crochet. The person said that I do great with clothes but she would prefer accessories even better. When I asked what exactly she meant by "accessories", she mentioned bags first.
To be honest, the thought of making crochet bags didn't cross my mind before now. I thought to myself, "why not do a mini test run and see the outcome? If fellow needleworks and everyone in general like it, then you could think of making a larger size.
Making this mini bag was a really exciting experience. It was my second attempt using the mesh pattern with my first attempt being a disaster. As I was in the process of making the bag, I kept reassuring myself that mesh patterns are easy(like my crocheter friend always says) and that I can complete the project without making any mistakes.
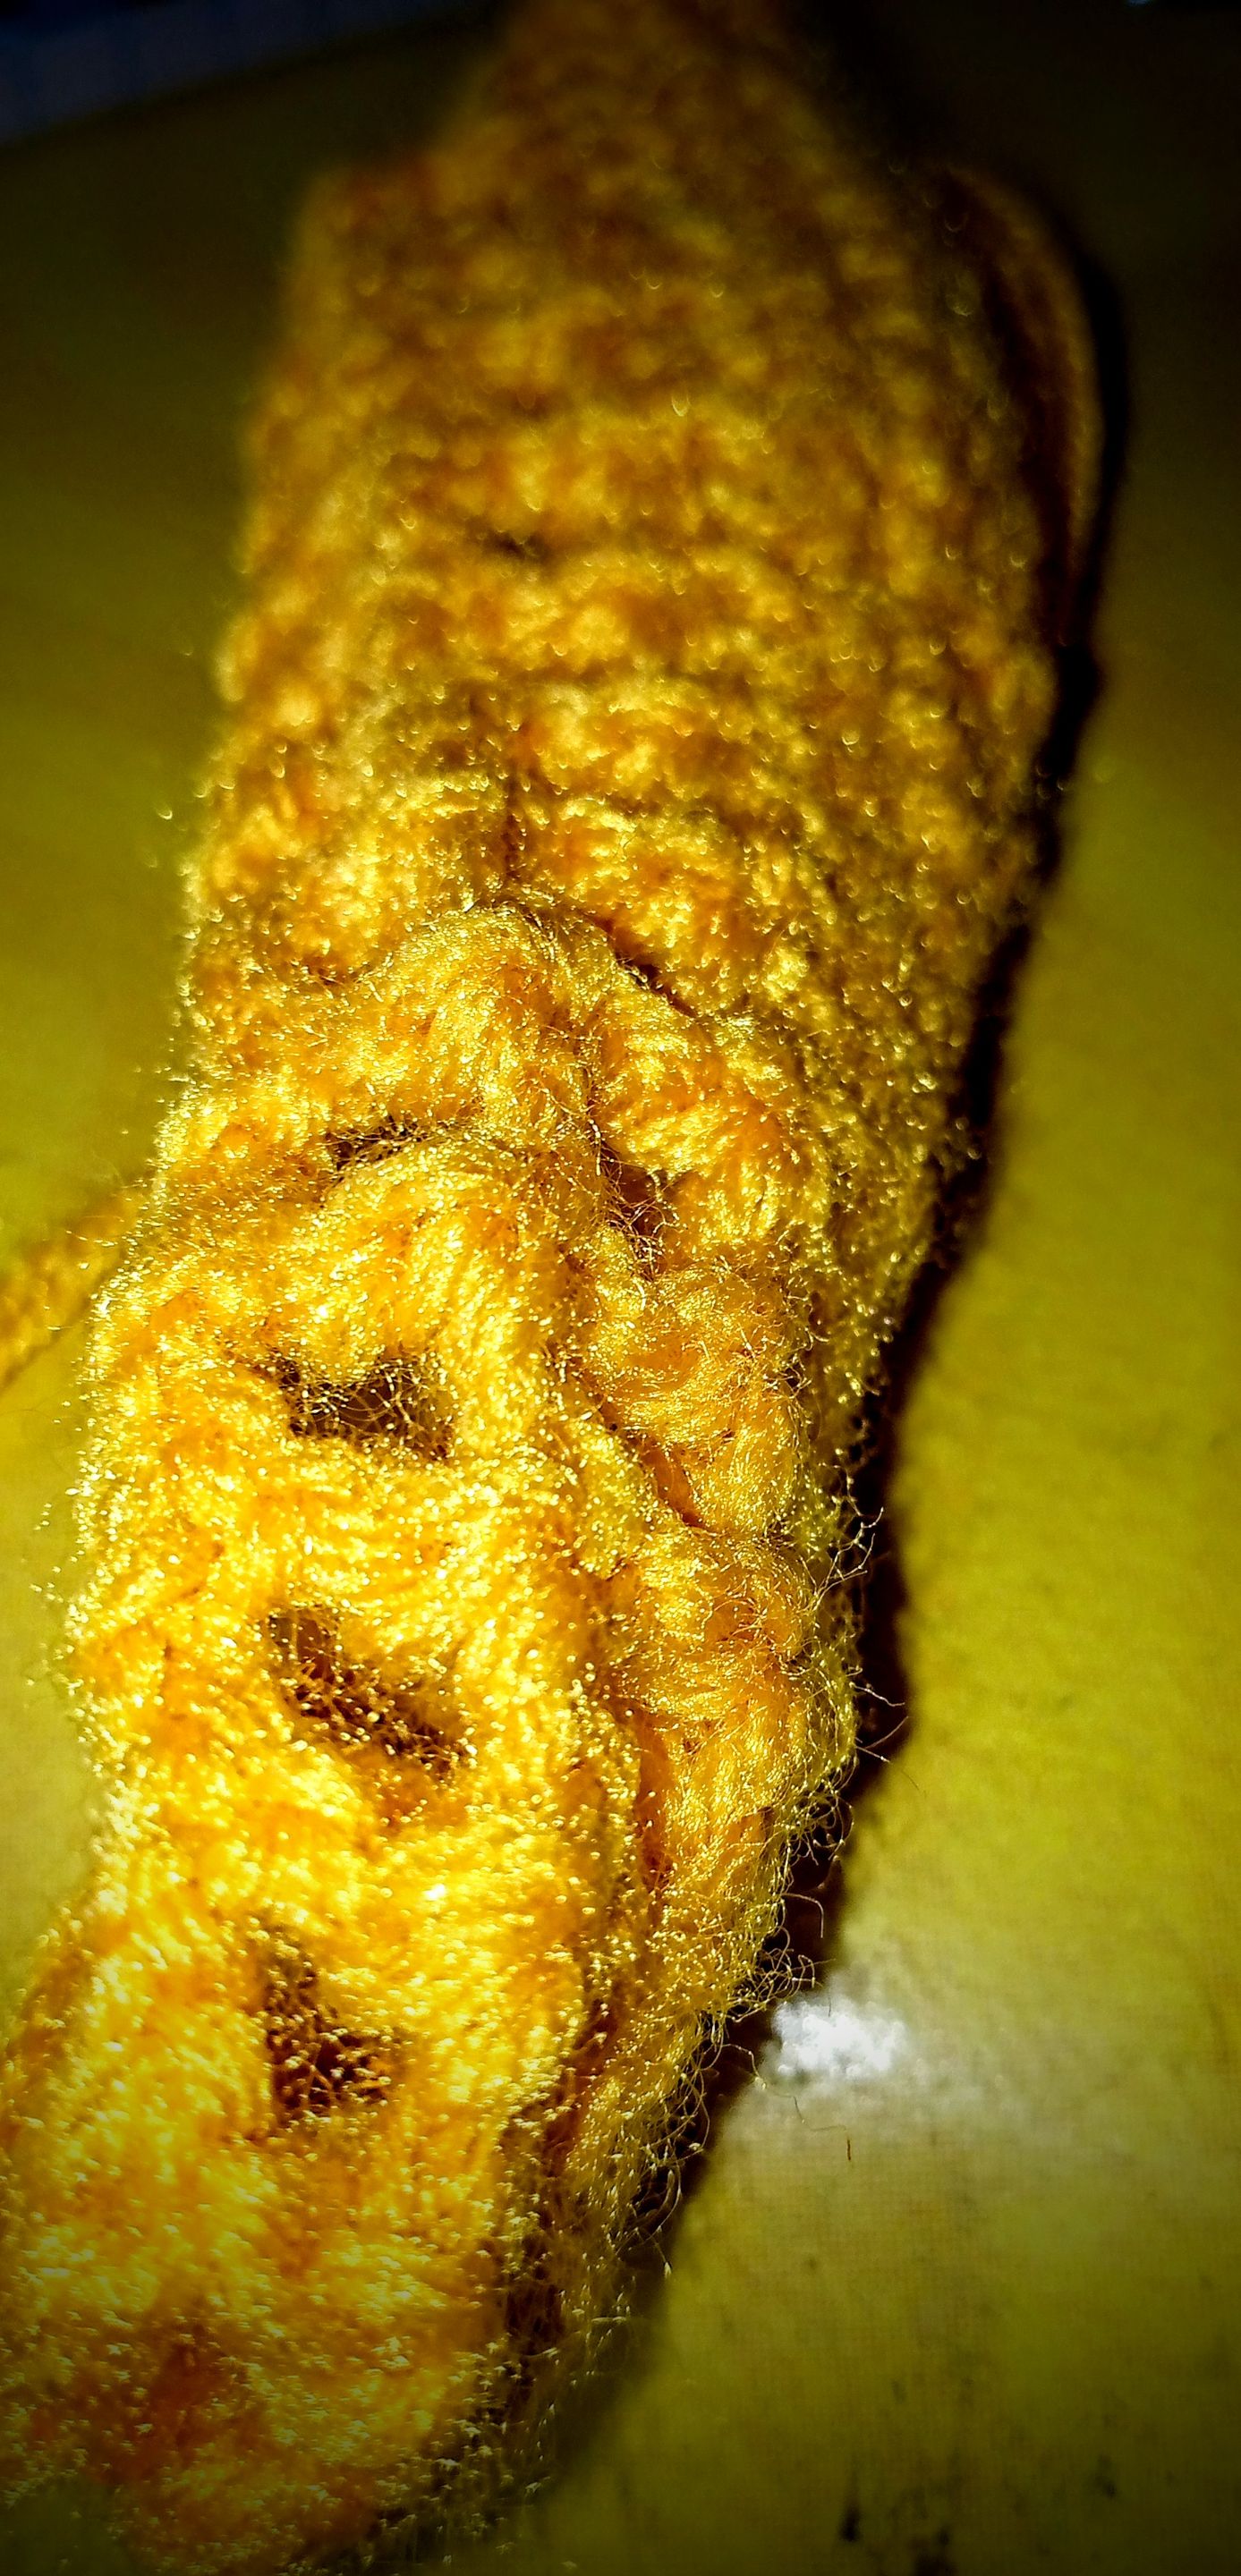
To make the bag, I used a 3mm hook. First, I started with the base of the bag. I made a chain of twenty-eight. For row two, I skipped two stitches and worked an increase of three into the third stitch. After the increase, I made double crochet stitches into every other stitch till I reached the last stitch.
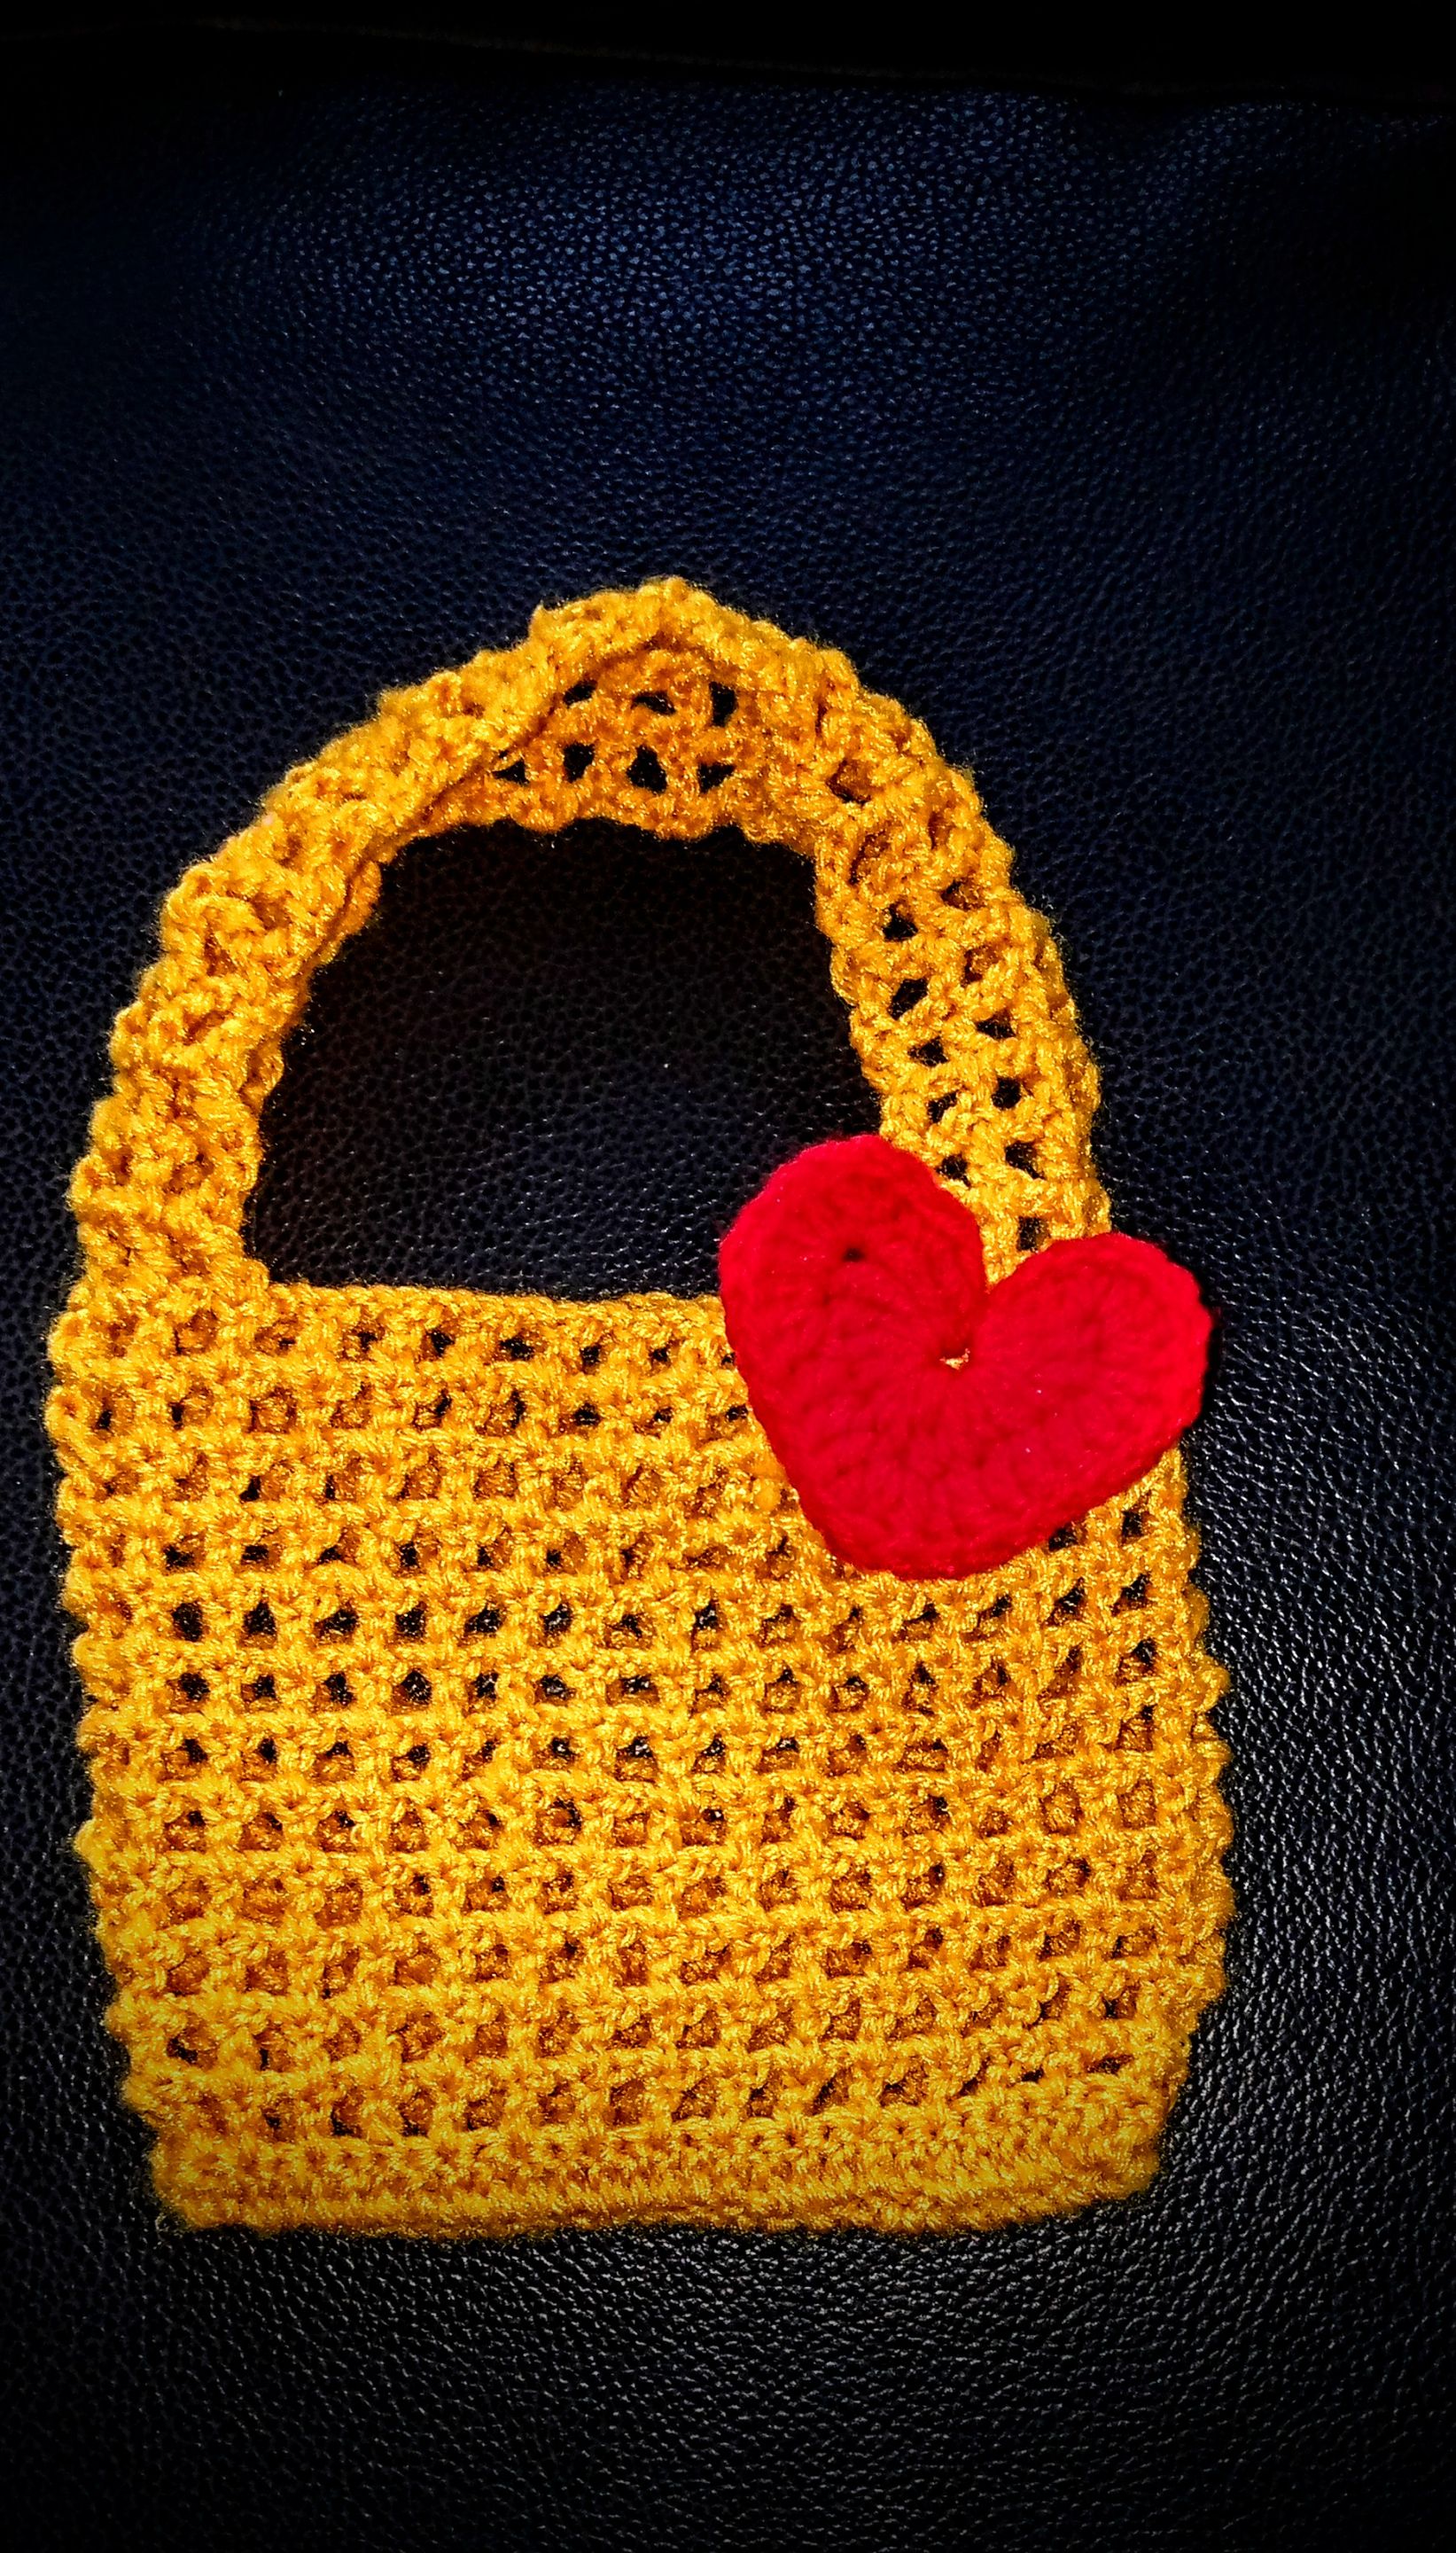
To make a curve, I worked six double crochet stitches into the last stitch. I continued from there with double crochet stitches into every stitch till the end. If you remember, initially , I started with a triple increase. So, I would also end with a triple increase and a slip knot. With this, my base was ready.
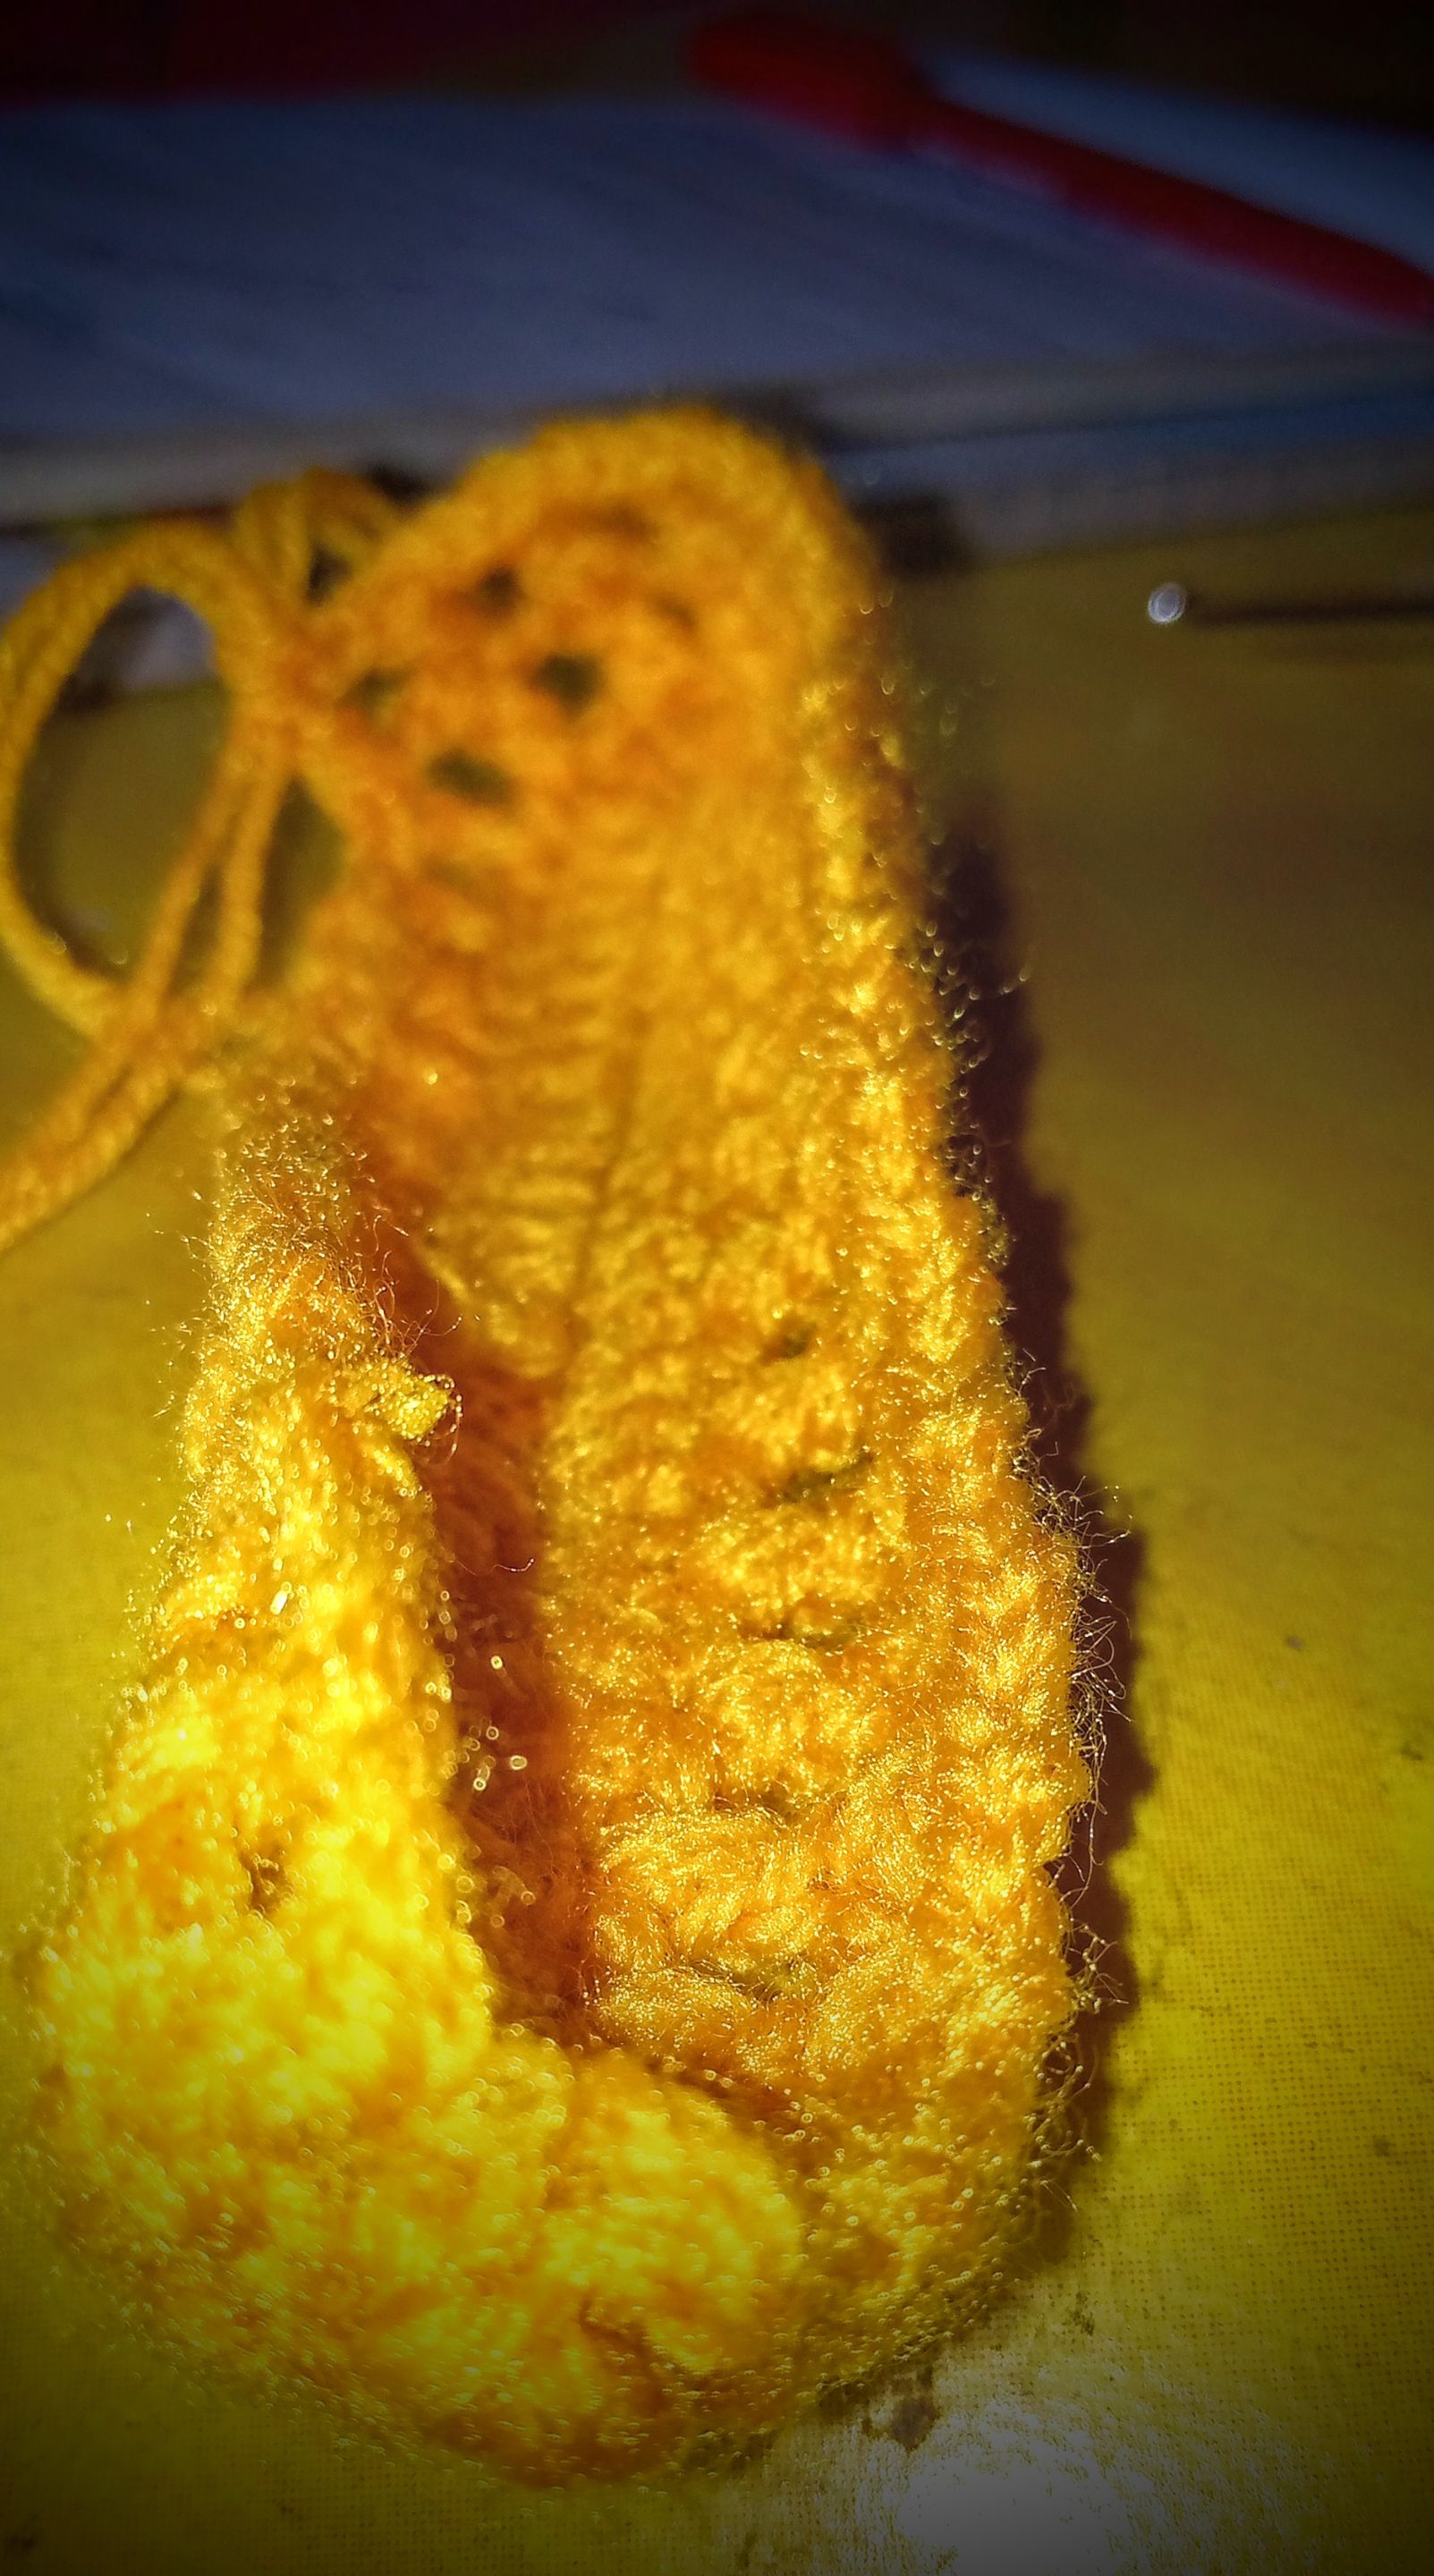
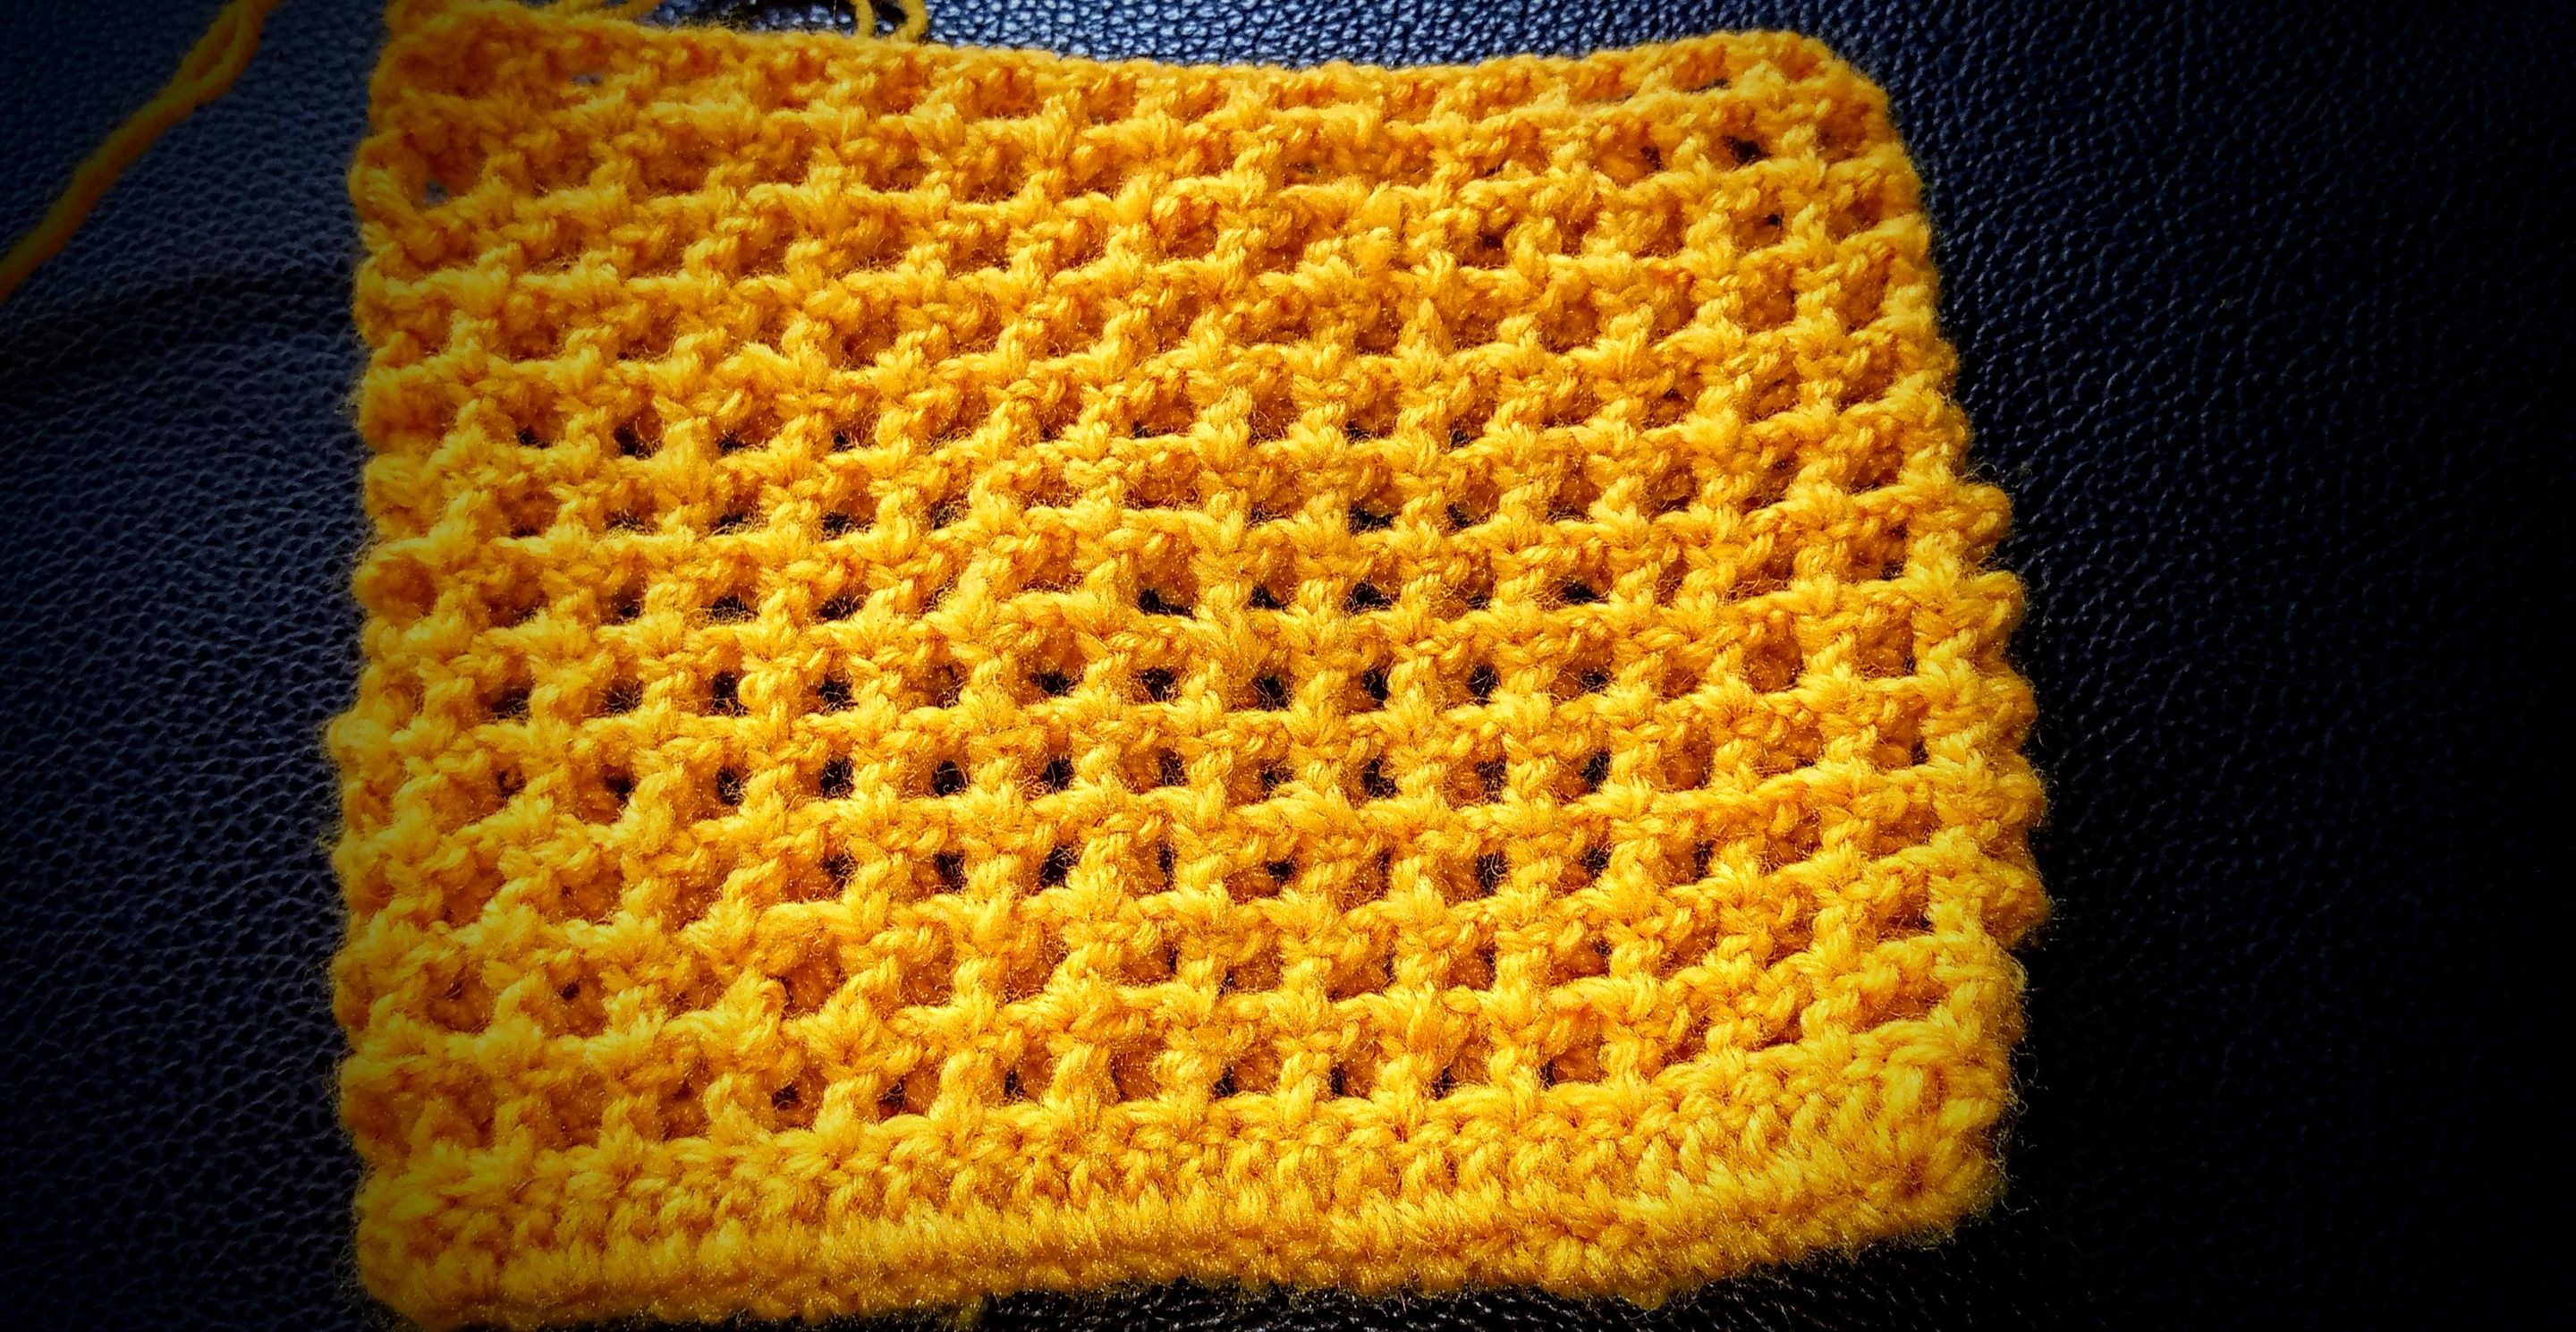
After the base, it was time to start making the mesh patterns. I chained two, skipped one stitch and inserted my hook into the stitch. I continued this pattern till I got to the end. From there, the pattern was pretty much a repetition.
I repeated this till I got to the twelfth row. At the twelfth row, It was time to make my bag handle. I inserted my hook at the ideal position for a handle and started making the mesh bag handle.
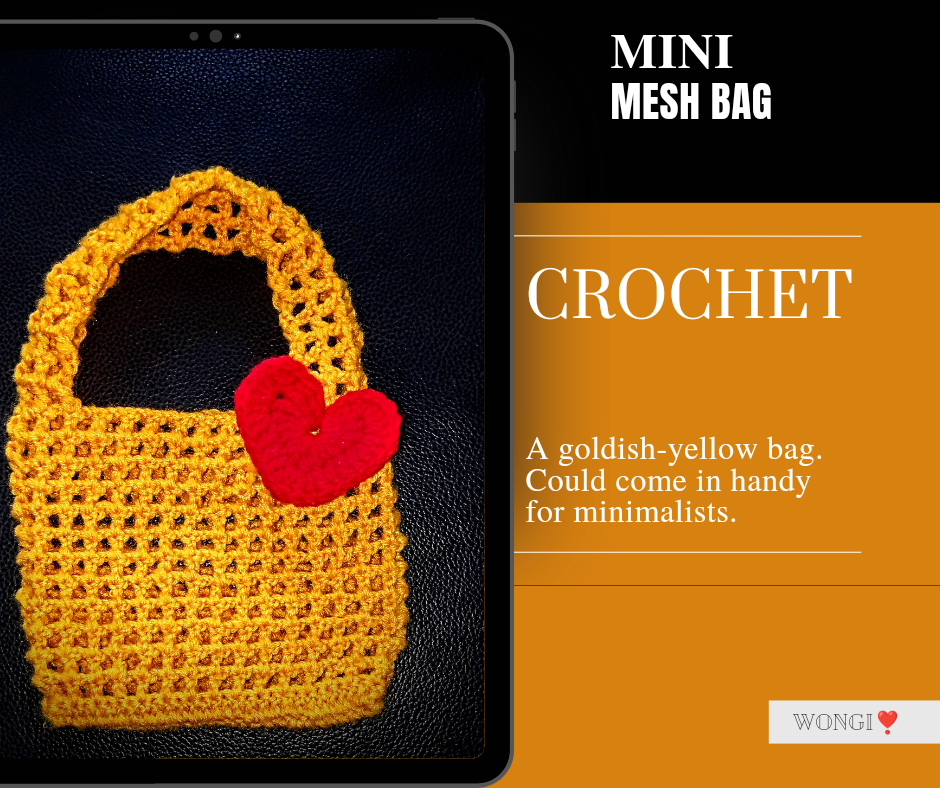
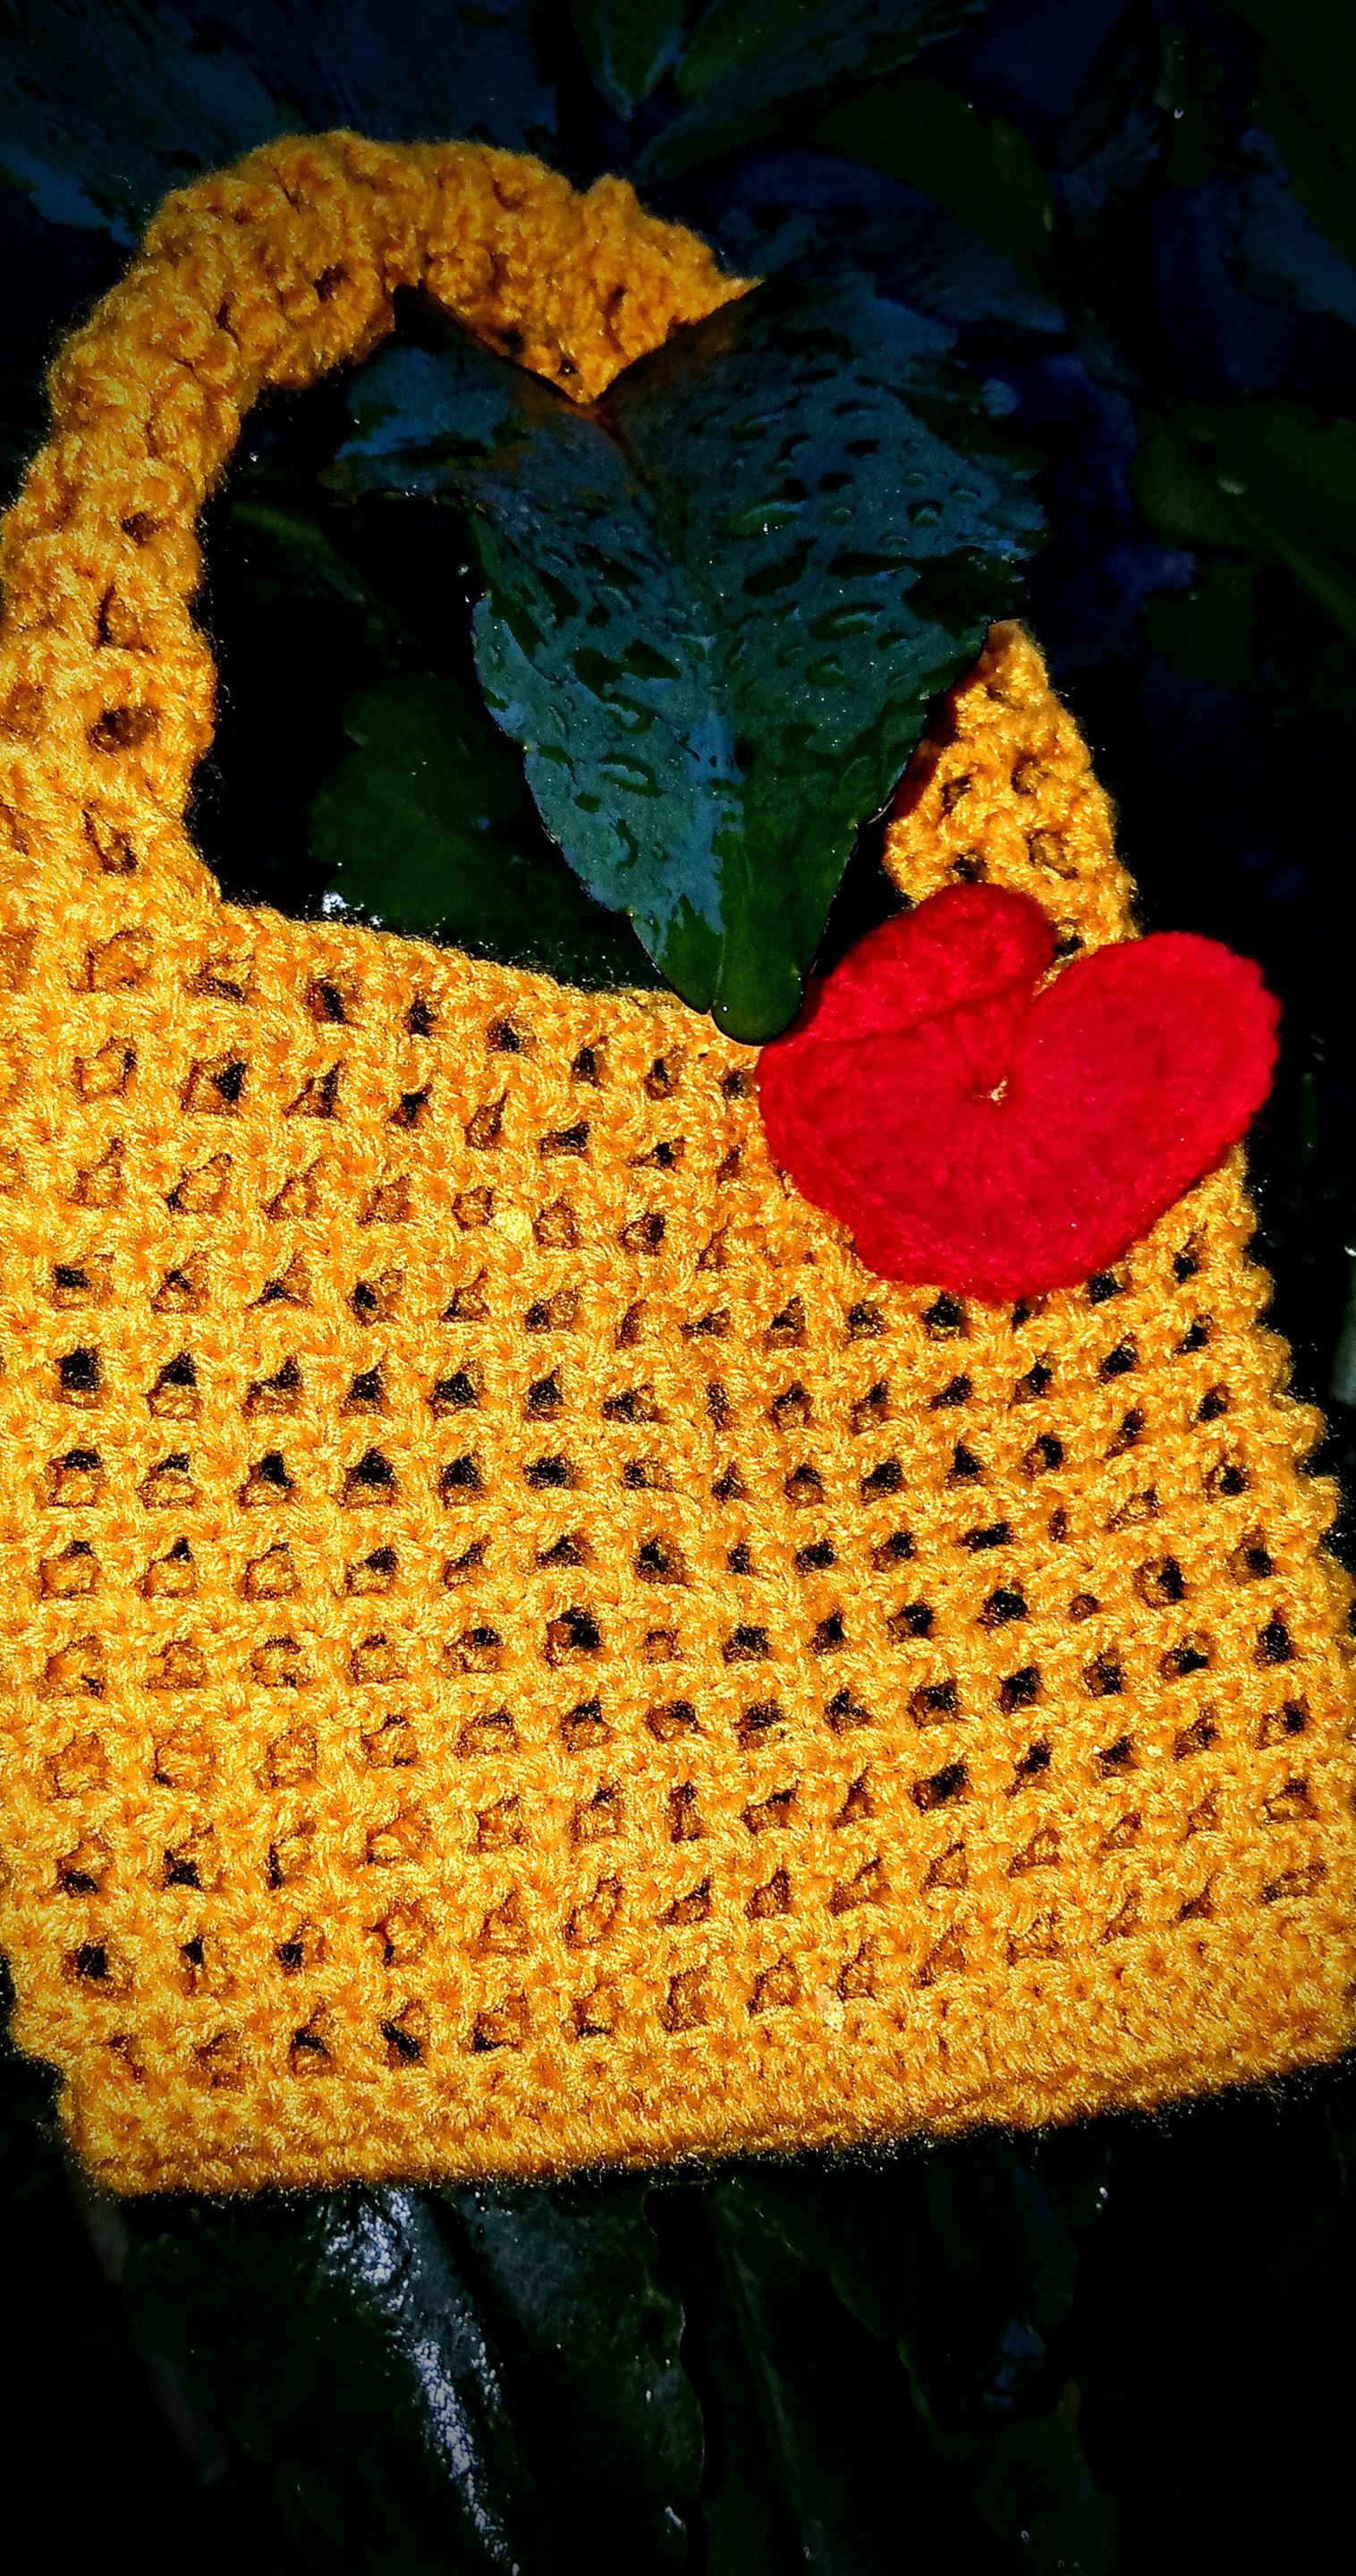
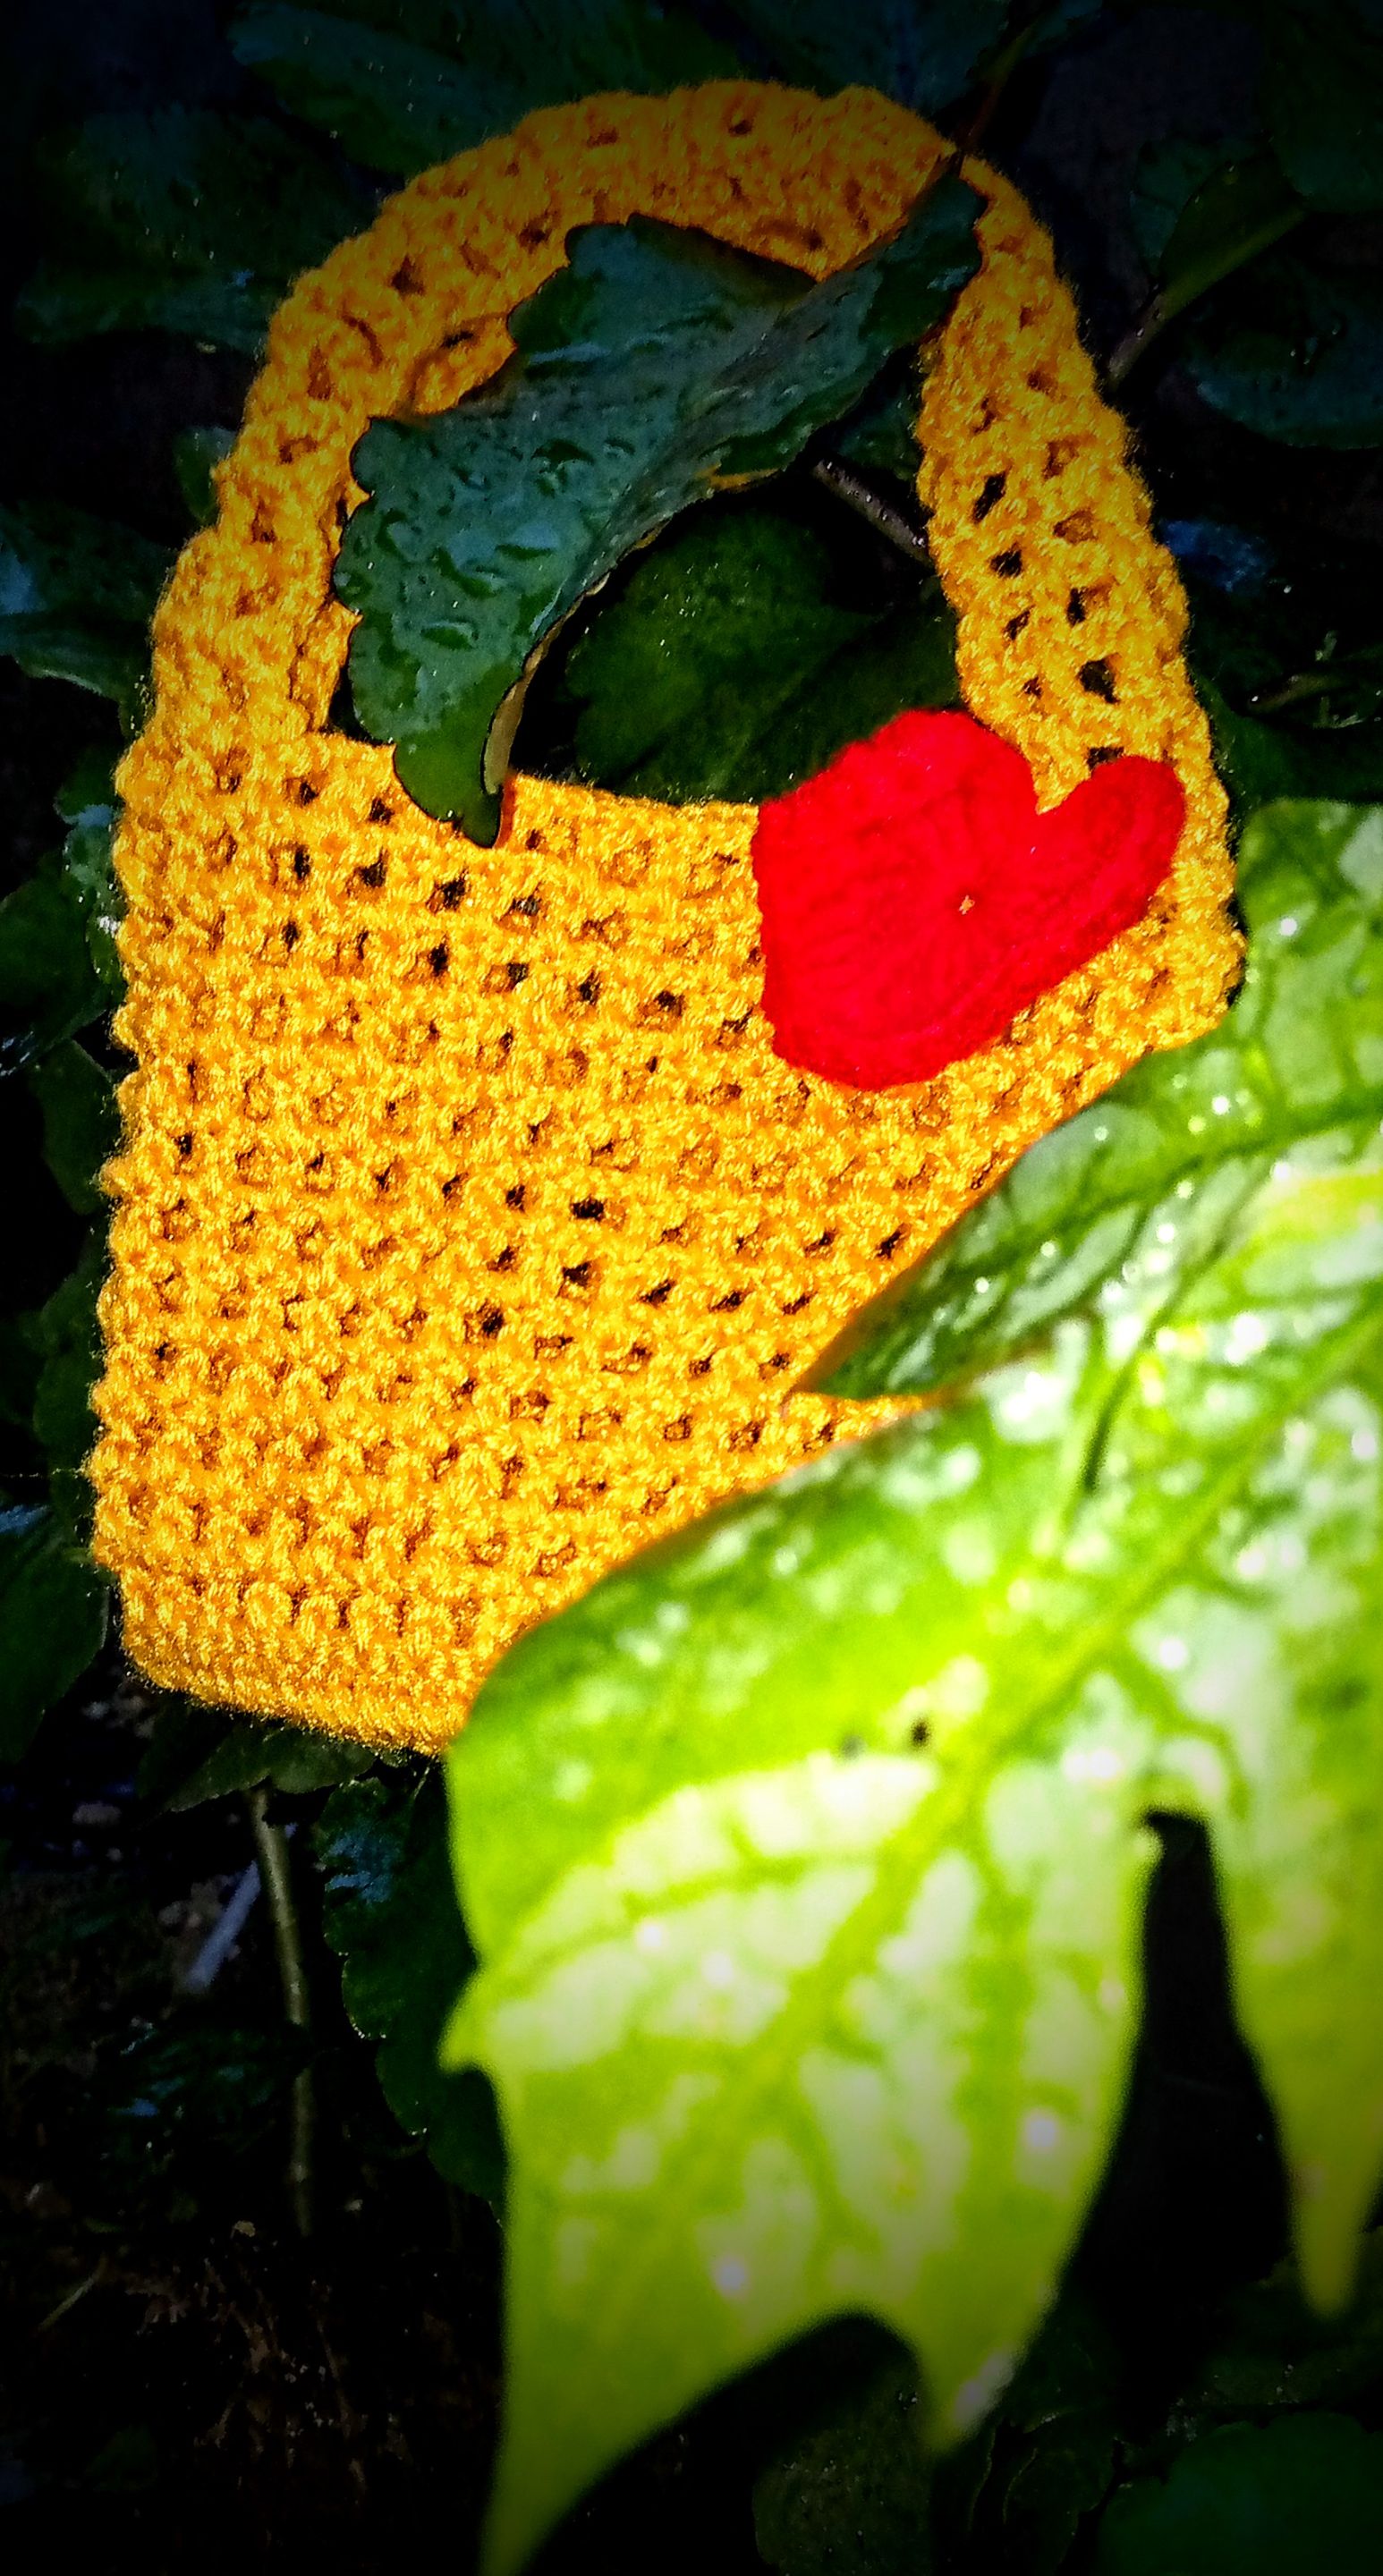
After that, I joined the otter end of the handle to the other side of the bag and my mini bag was ready. I particularly liked this goldish-yellow colour. It's really distinctive and popping.
To add more to the aesthetics of the bag, I made a little heart to go. The red colour really compliments the yellow colour so I thought, why not?.
I was really pleased with the outcome but just to be sure my emotions weren't playing tricks on me, I sent a video to the friend who inspired me. She said she likes it very much and would be looking forward to a bigger size.
How about you? Would you be looking forward to a bigger size? Are there any adjustments you would like me to add on the bigger size? What about the colour; which would you prefer. I am going to be taking everyone's comment into consideration so thank you In advance.
Until next Monday, stay creative and have a lovely Monday 😇
All images used belong to me and were taken with my mobile device except stated otherwise
Show more
Tags :
Woo!
This creator can upvote comments using 3speak's stake today because they are a top performing creator!
Leave a quality comment relating to their content and you could receive an upvote
worth at least a dollar.
Their limit for today is $0!
Their limit for today is $0!

4 views
a year ago
$

10 views
6 months ago
$

11 views
5 months ago
$
17 views
7 months ago
$

8 views
a year ago
$
More Videos

11 views
a year ago
$

8 views
2 years ago
$

0 views
2 years ago
$

2 views
a year ago
$

26 views
3 years ago
$

3 views
2 years ago
$

4 views
10 months ago
$

6 views
3 years ago
$

14 views
2 years ago
$

8 views
2 years ago
$

1 views
4 months ago
$

43 views
a year ago
$

1 views
2 years ago
$

5 views
2 years ago
$

11 views
2 years ago
$

35 views
3 years ago
$

2 views
10 months ago
$

7 views
2 years ago
$

2 views
2 years ago
$

13 views
7 months ago
$

12 views
a year ago
$

6 views
a year ago
$

4 views
2 years ago
$
34 views
2 years ago
$

1 views
3 months ago
$
Comments:
Reply:
To comment on this video please connect a HIVE account to your profile: Connect HIVE Account