Let's crochet a bobble pouch
30
About :
Hello again to the people of this community.Hope you all are doing well and enjoying your summer vacations like me.I am considered quite a pro crocheter in my house. Cuz both my sisters started crochet recently and they compliment me alot and I don't miss a single chance to brag 🤪. Let's move on to the story of my pouch. Actually I've been planning to crochet a makeup pouch for me and I had inspiration of this pinterest bobble bag so I sat down and decided to make it for real.
Material required
1- crochet hook
2- yarn
3- Tapestry needle 🪡
4- a zipper
The process
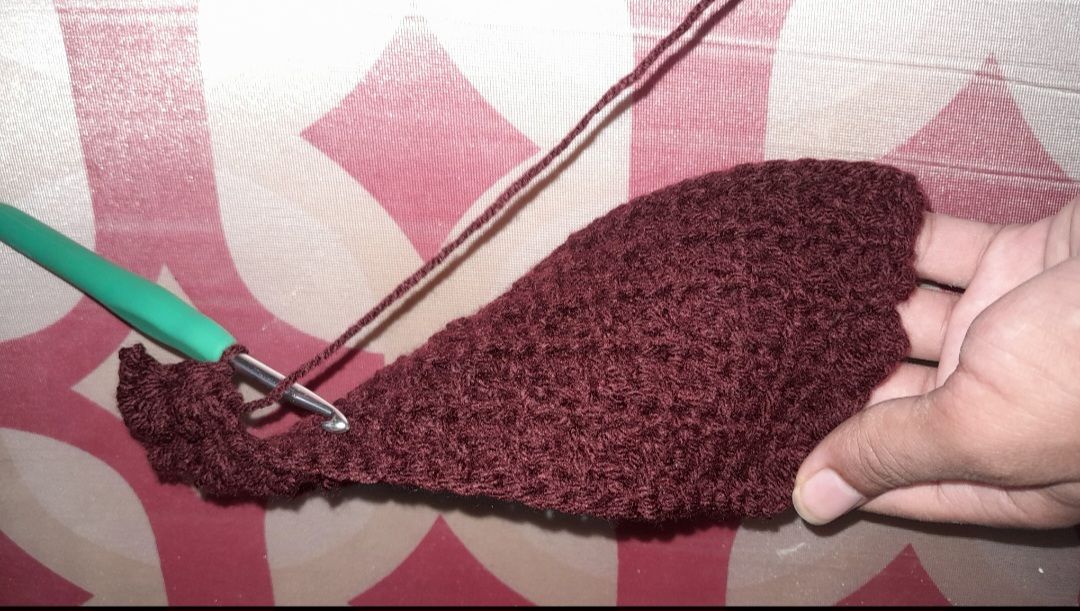
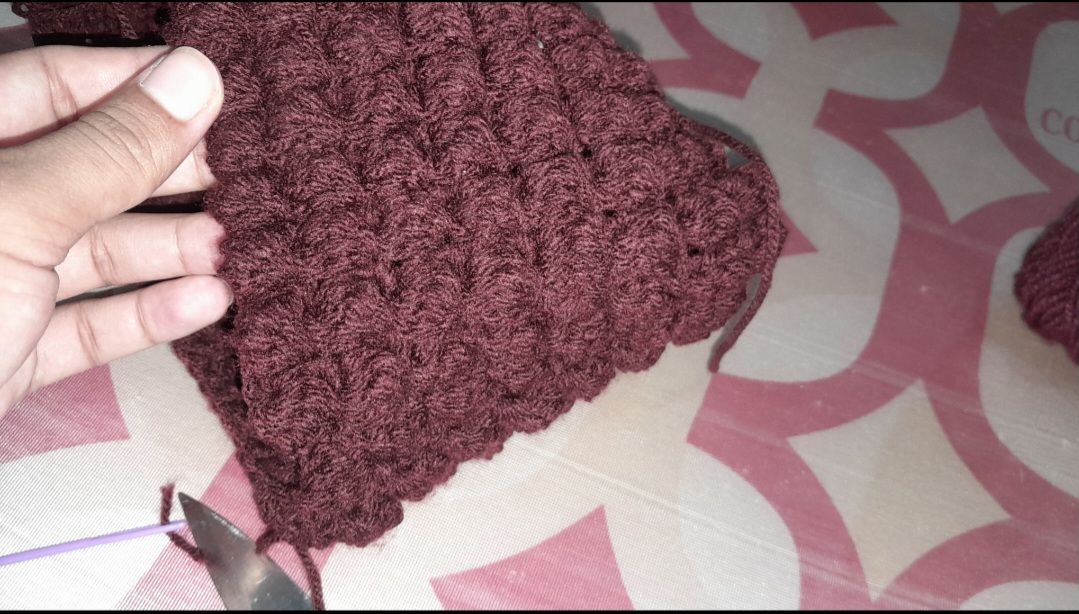
First of all I made 26 foundation chains.Then I sc in the back loop till the other end if chains.Then to make the bubble I made 3 chains and 4 dc.
But the loop remains on the hook.once I had 6 loops on the hook I pulled yarn through all these loops.
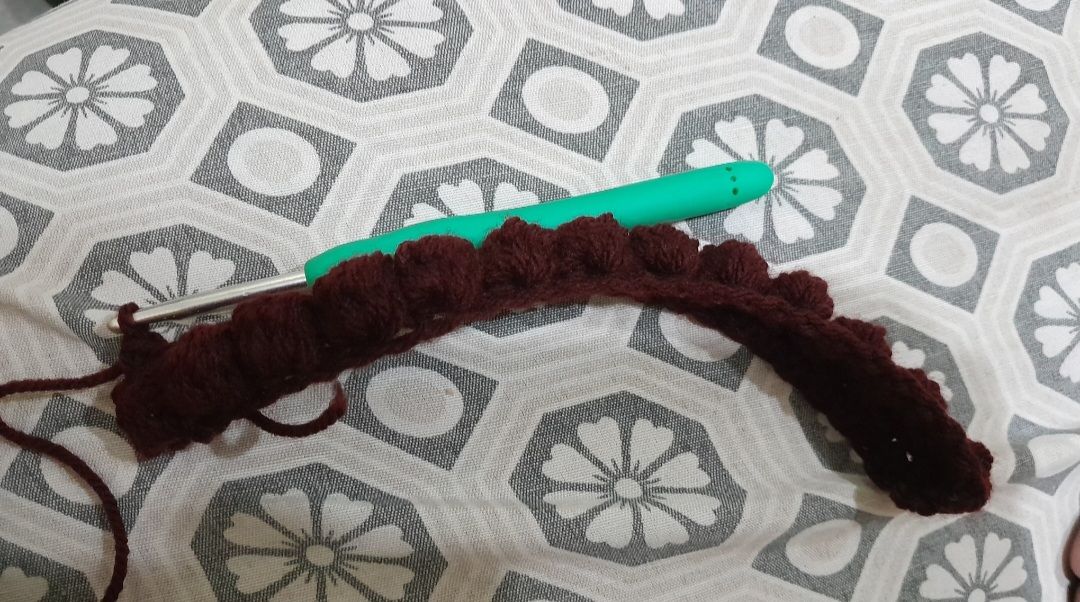
After making bubble I sc in the next st.so this was basically the pattern 1 bubble and one sc.So I had 13 bubbles and 13 sc in a single row.
For the 2nd row it was just sc in all sts.
So this pattern follows till the very end .1 row of bubble st alternate with the sc and the other row of just sc.
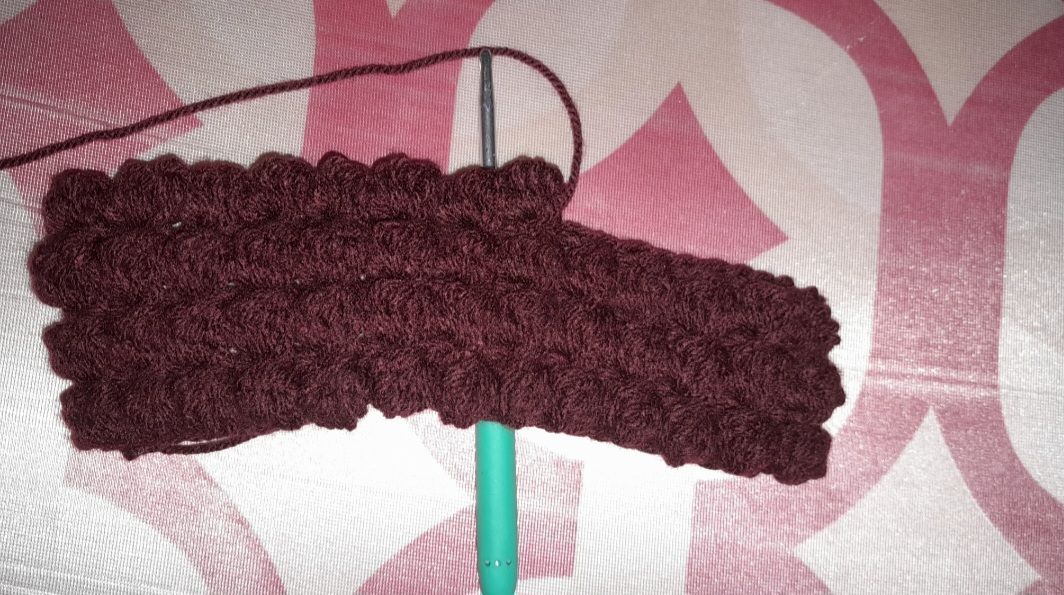
At first I thought I didn't make the appropriate size.But I trusted the process and carried on the way it was.And I got the exact size I wanted for my pouch.
This pouch took alot of yarn. 110g approximately.
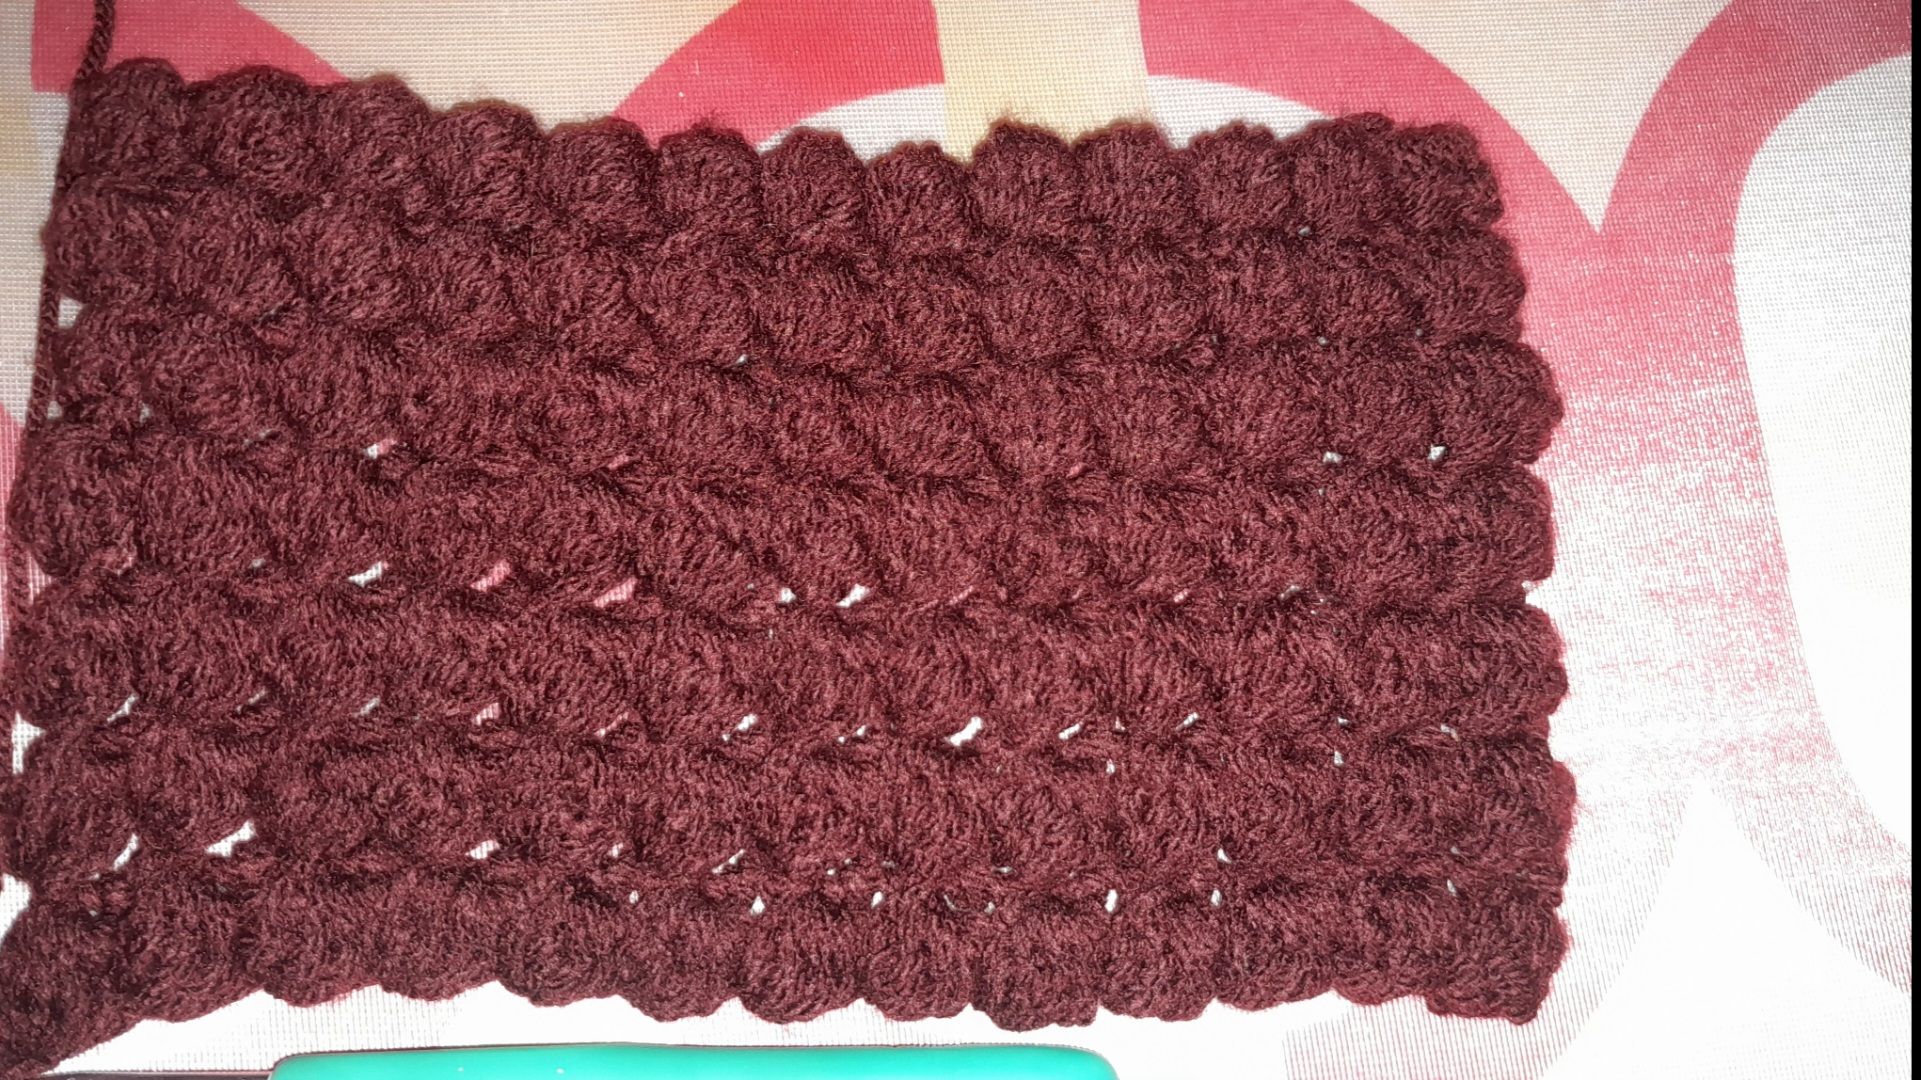
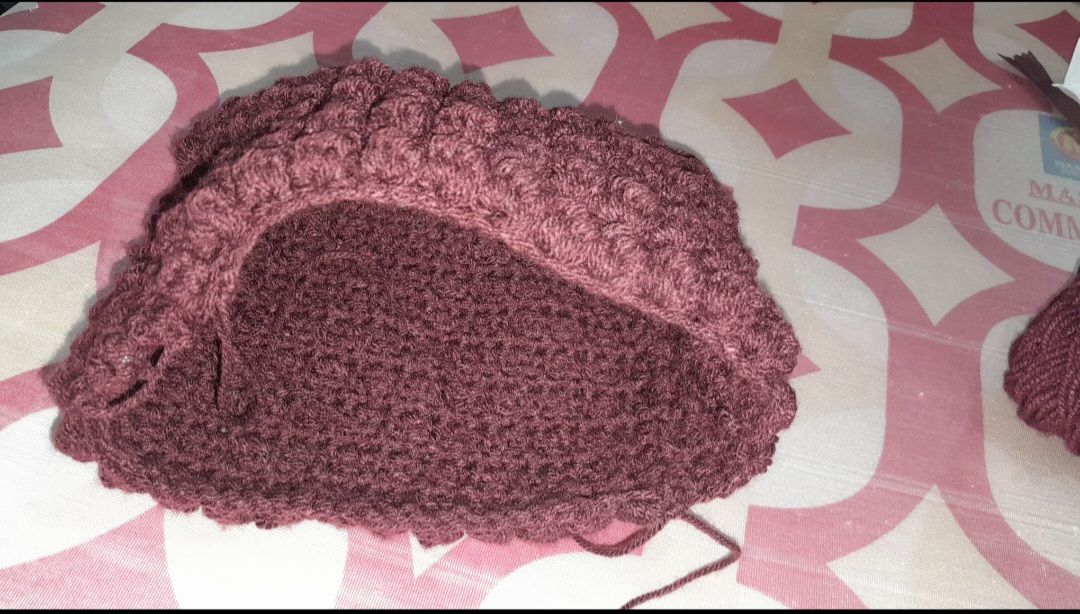
I made 8 rows of bubble sts so if we count the sc row it was 16 rows in total.i made two sides of pouch following the exact same pattern.
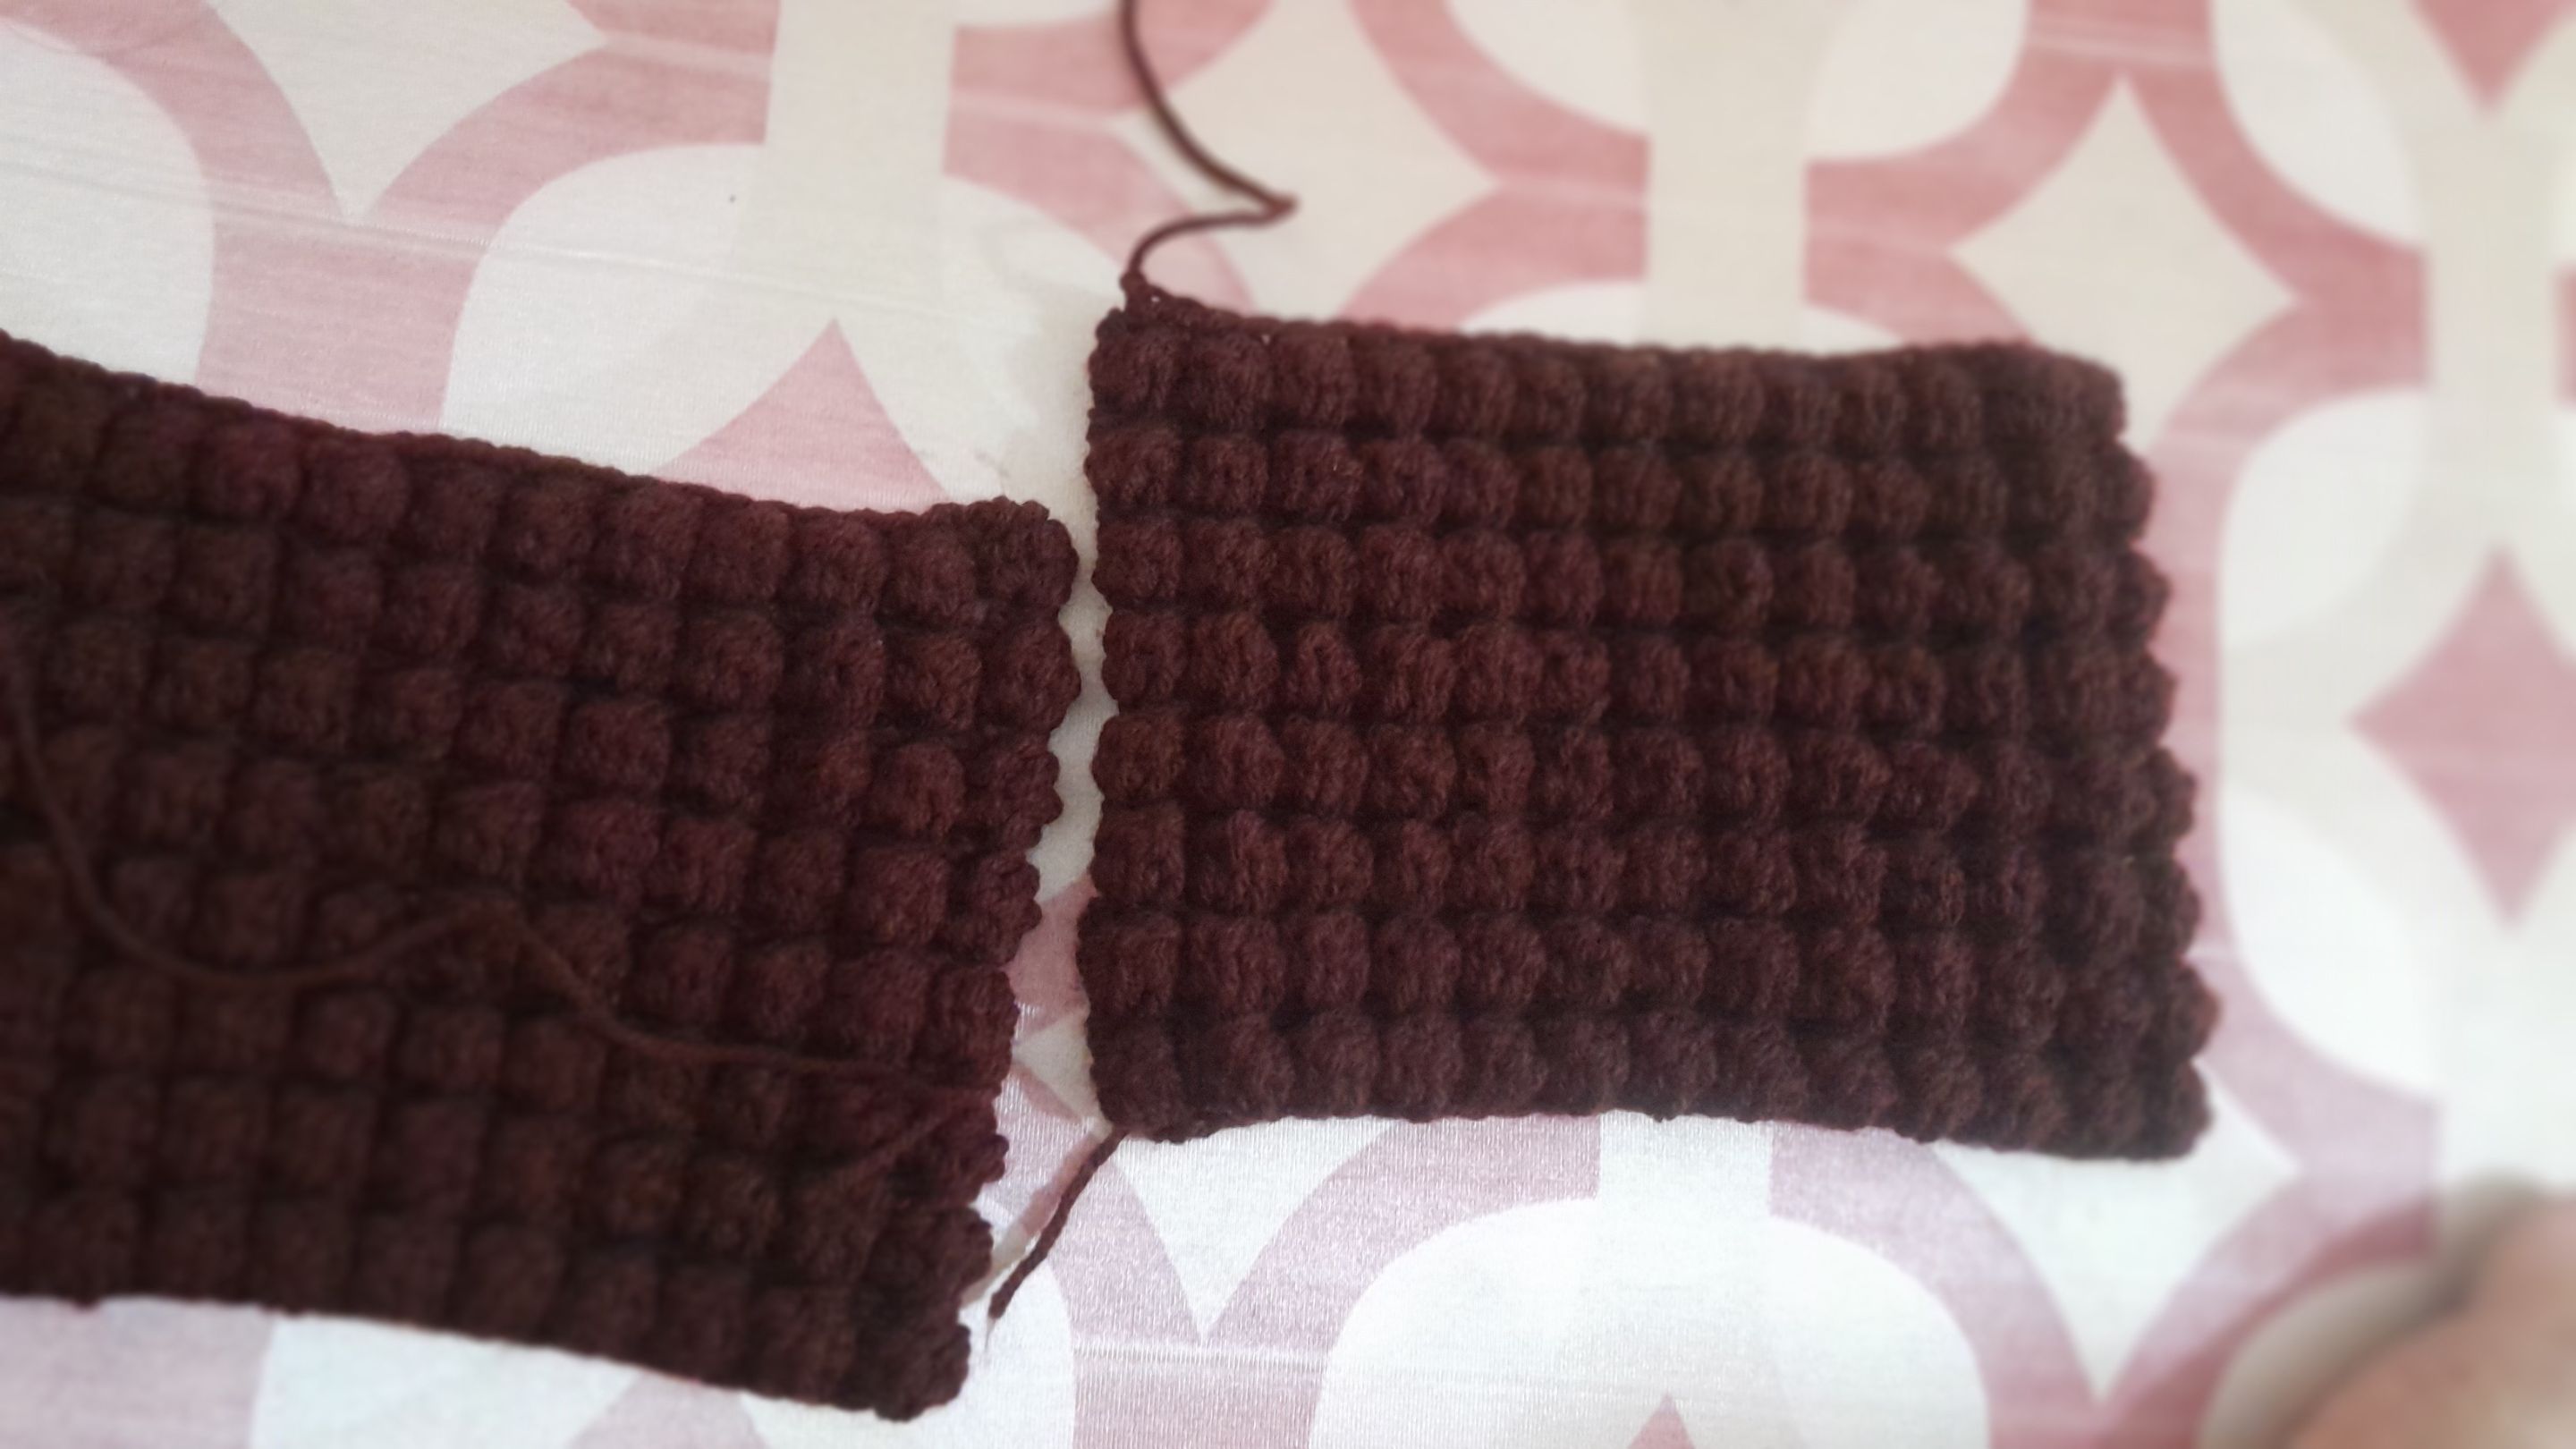
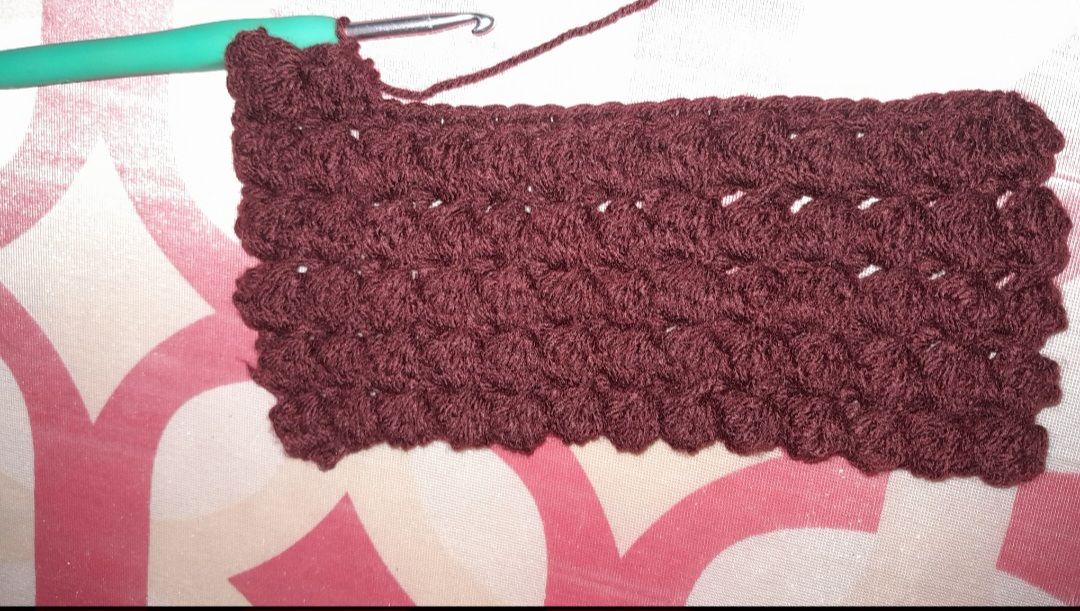
Then I made the middle row for joining two of the sides together.This is actually the part which decides how spacious pouch is gonna be.As for me I made only two bubble sts and followed the rest pattern as above.

After that I sewed the middle portion with one side.

Then I attached the second part with the help of needle 🪡.
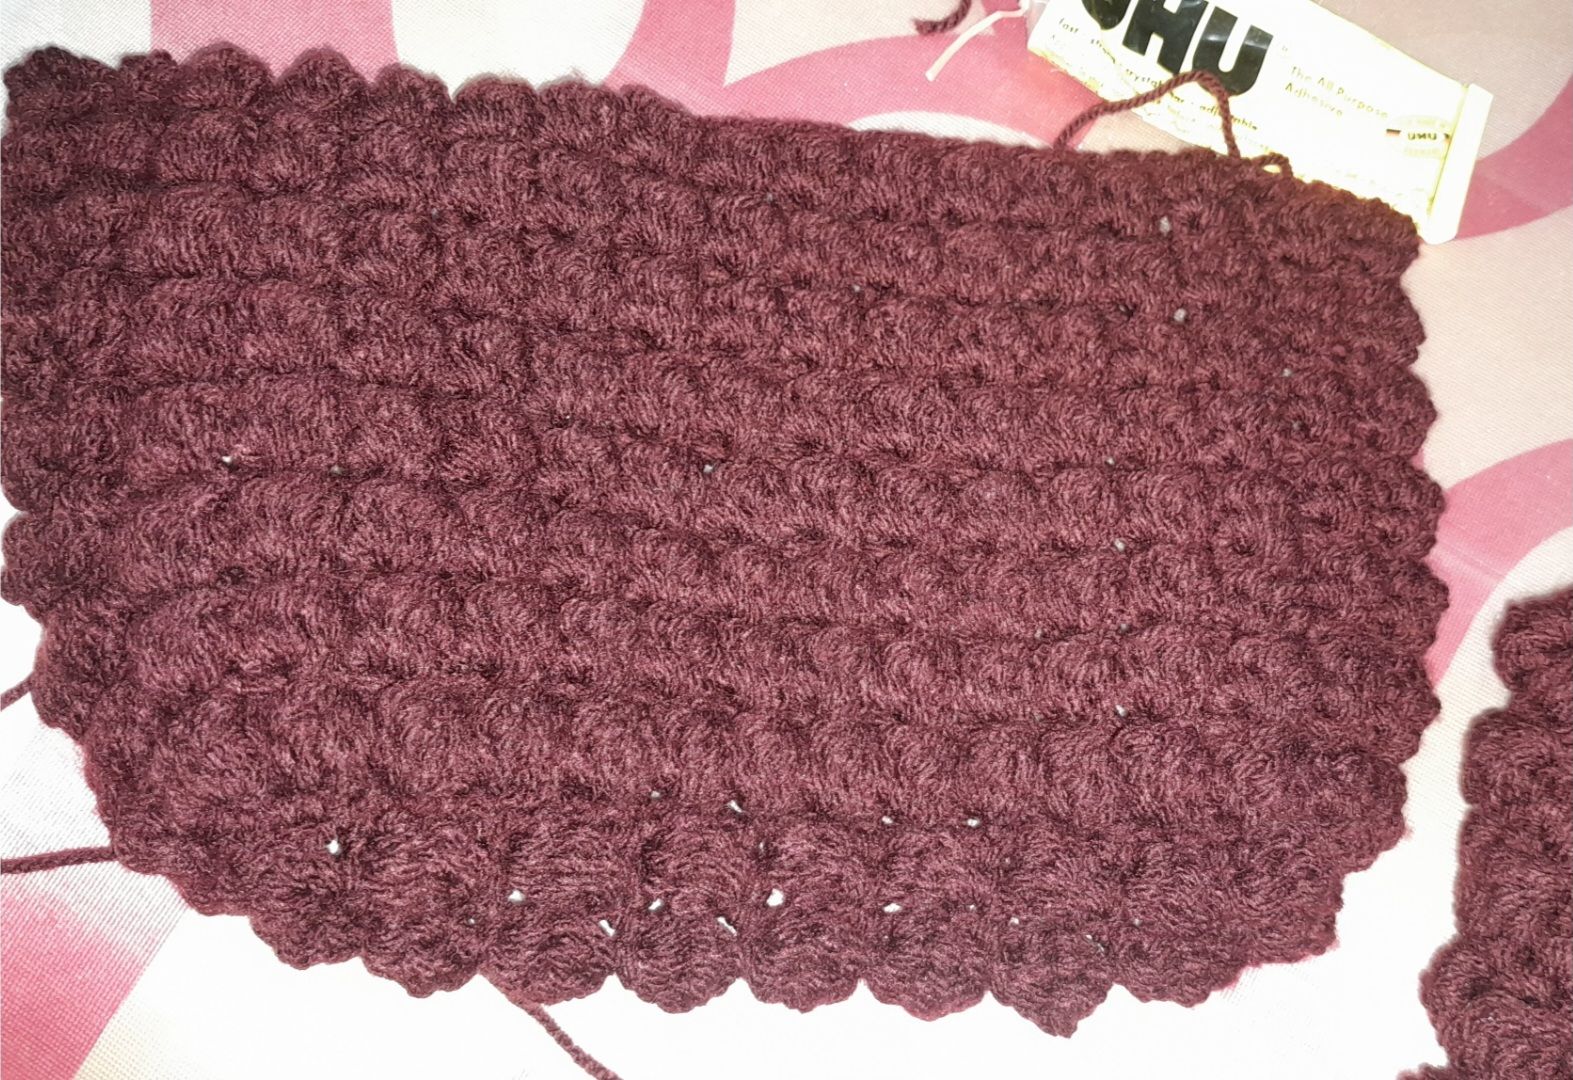
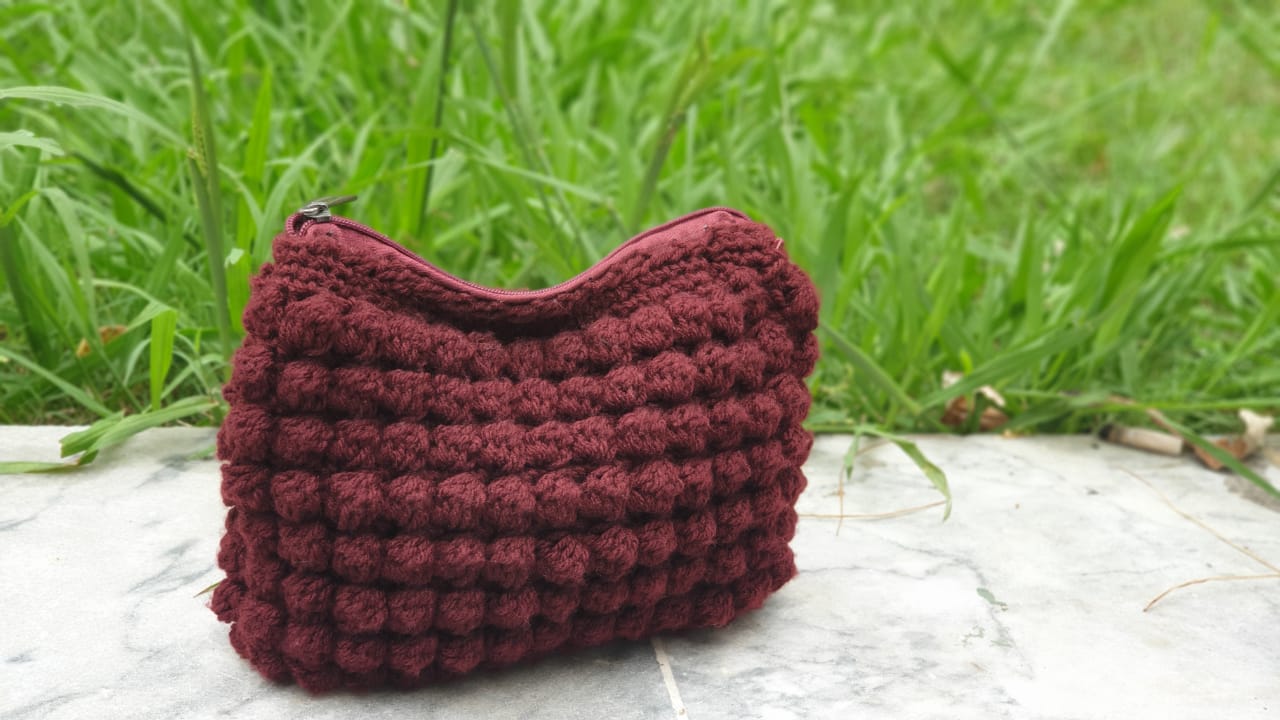
Then I made sc on the entire pouch I made 3 rows of sc.It is upto you how much you want.
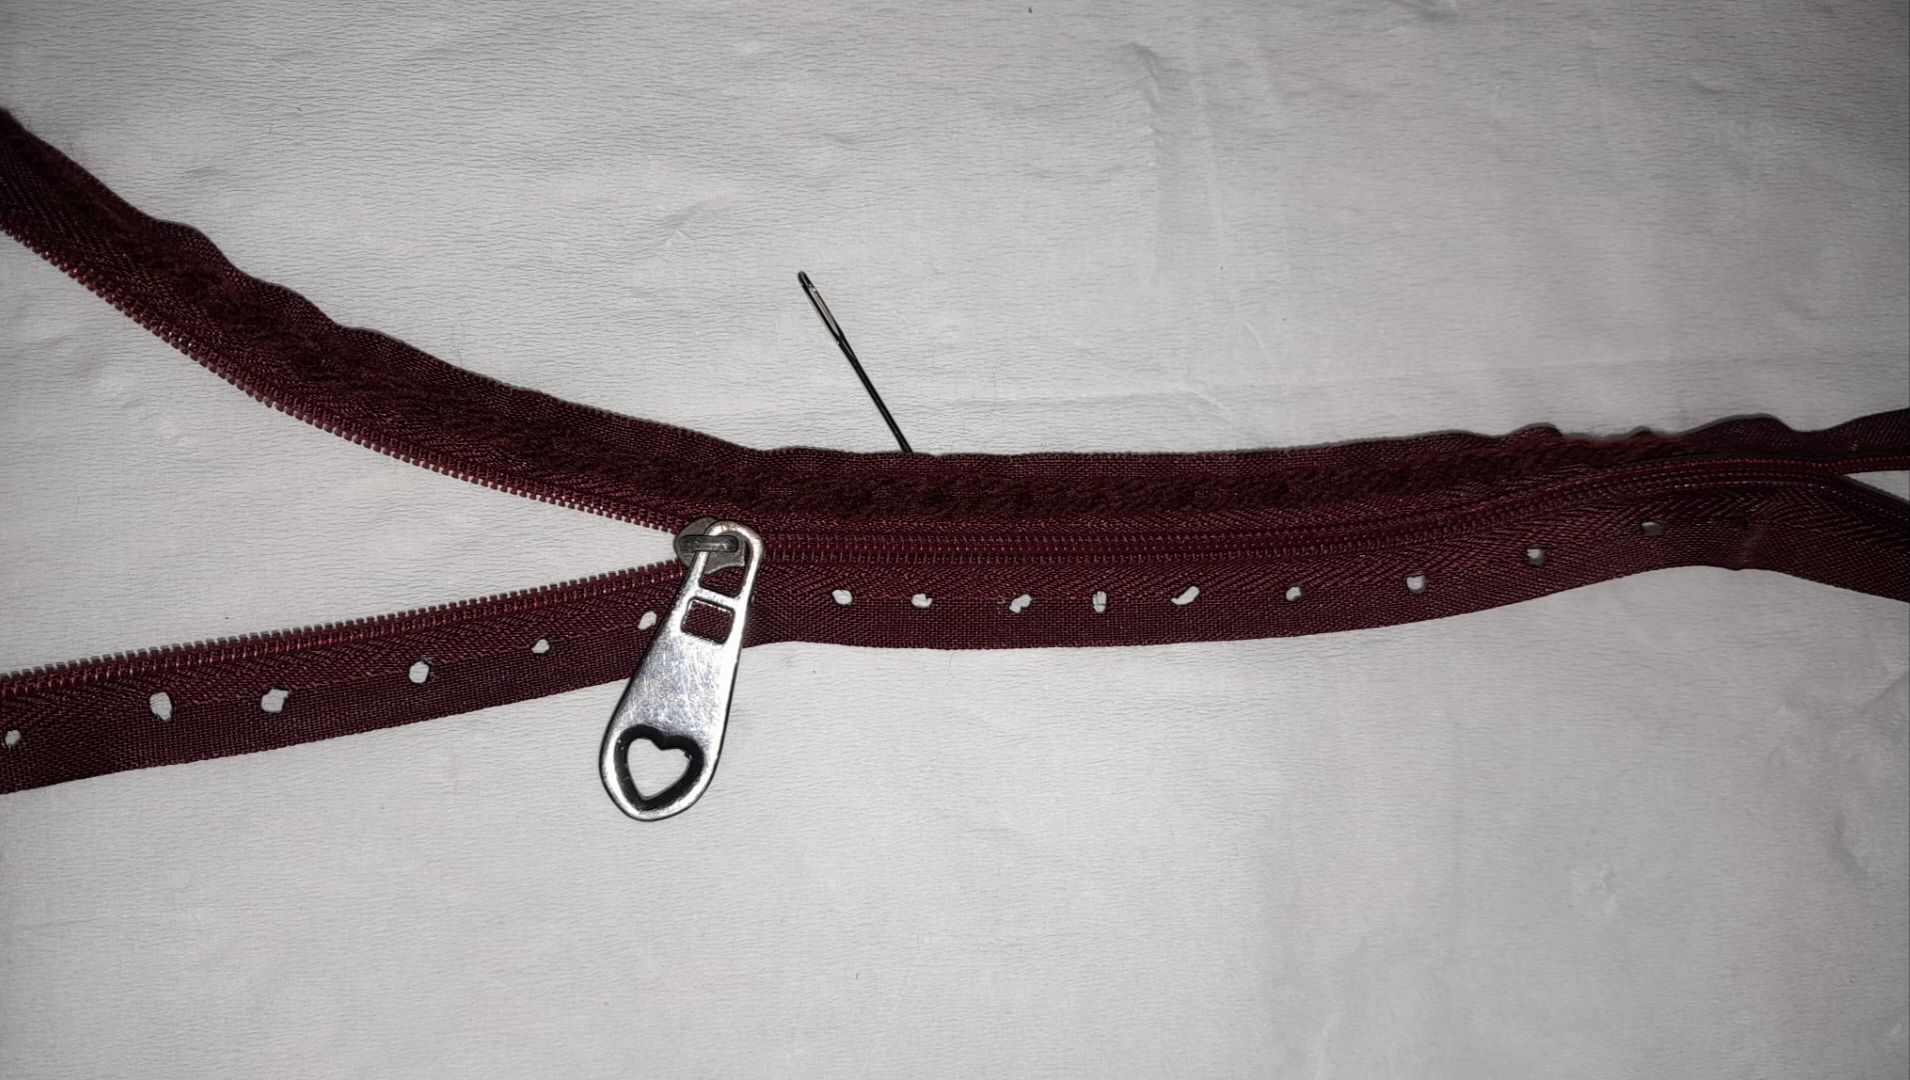
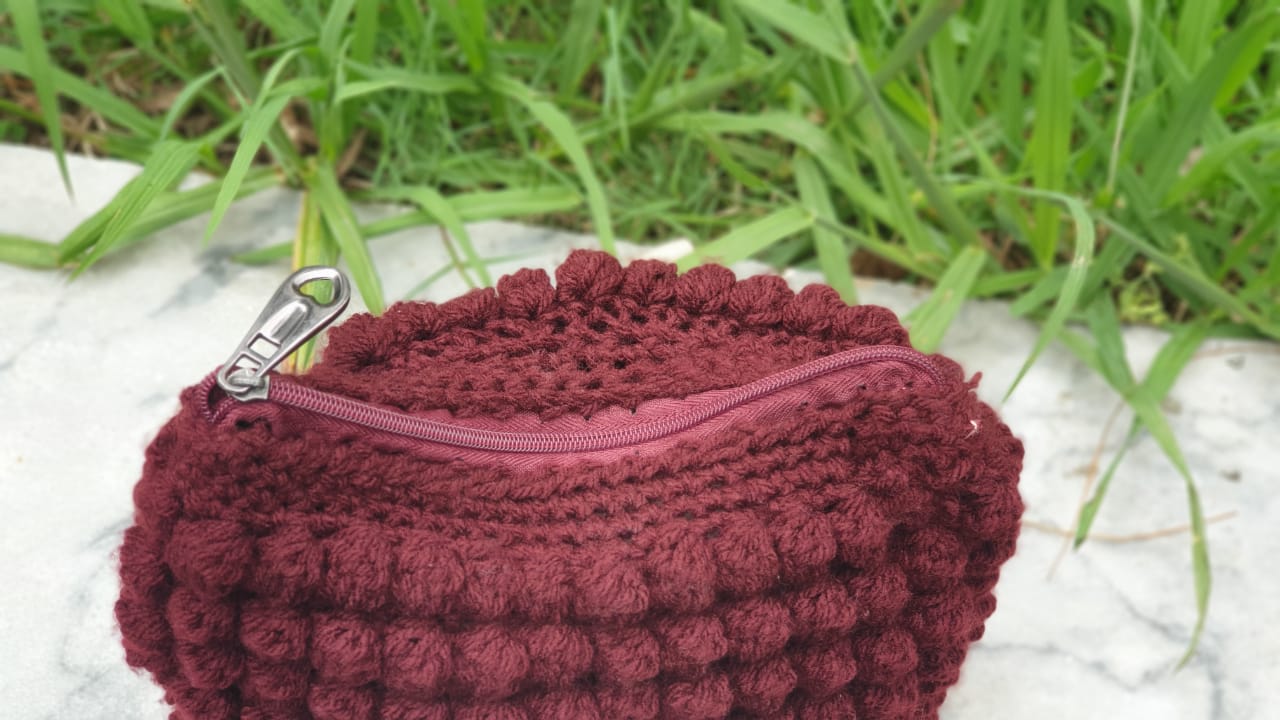
Then I sewed the zipper with the base.It was tricky. I first made holes in the zipper and passed the yarn through them.Then I just sewed it with the pouch.
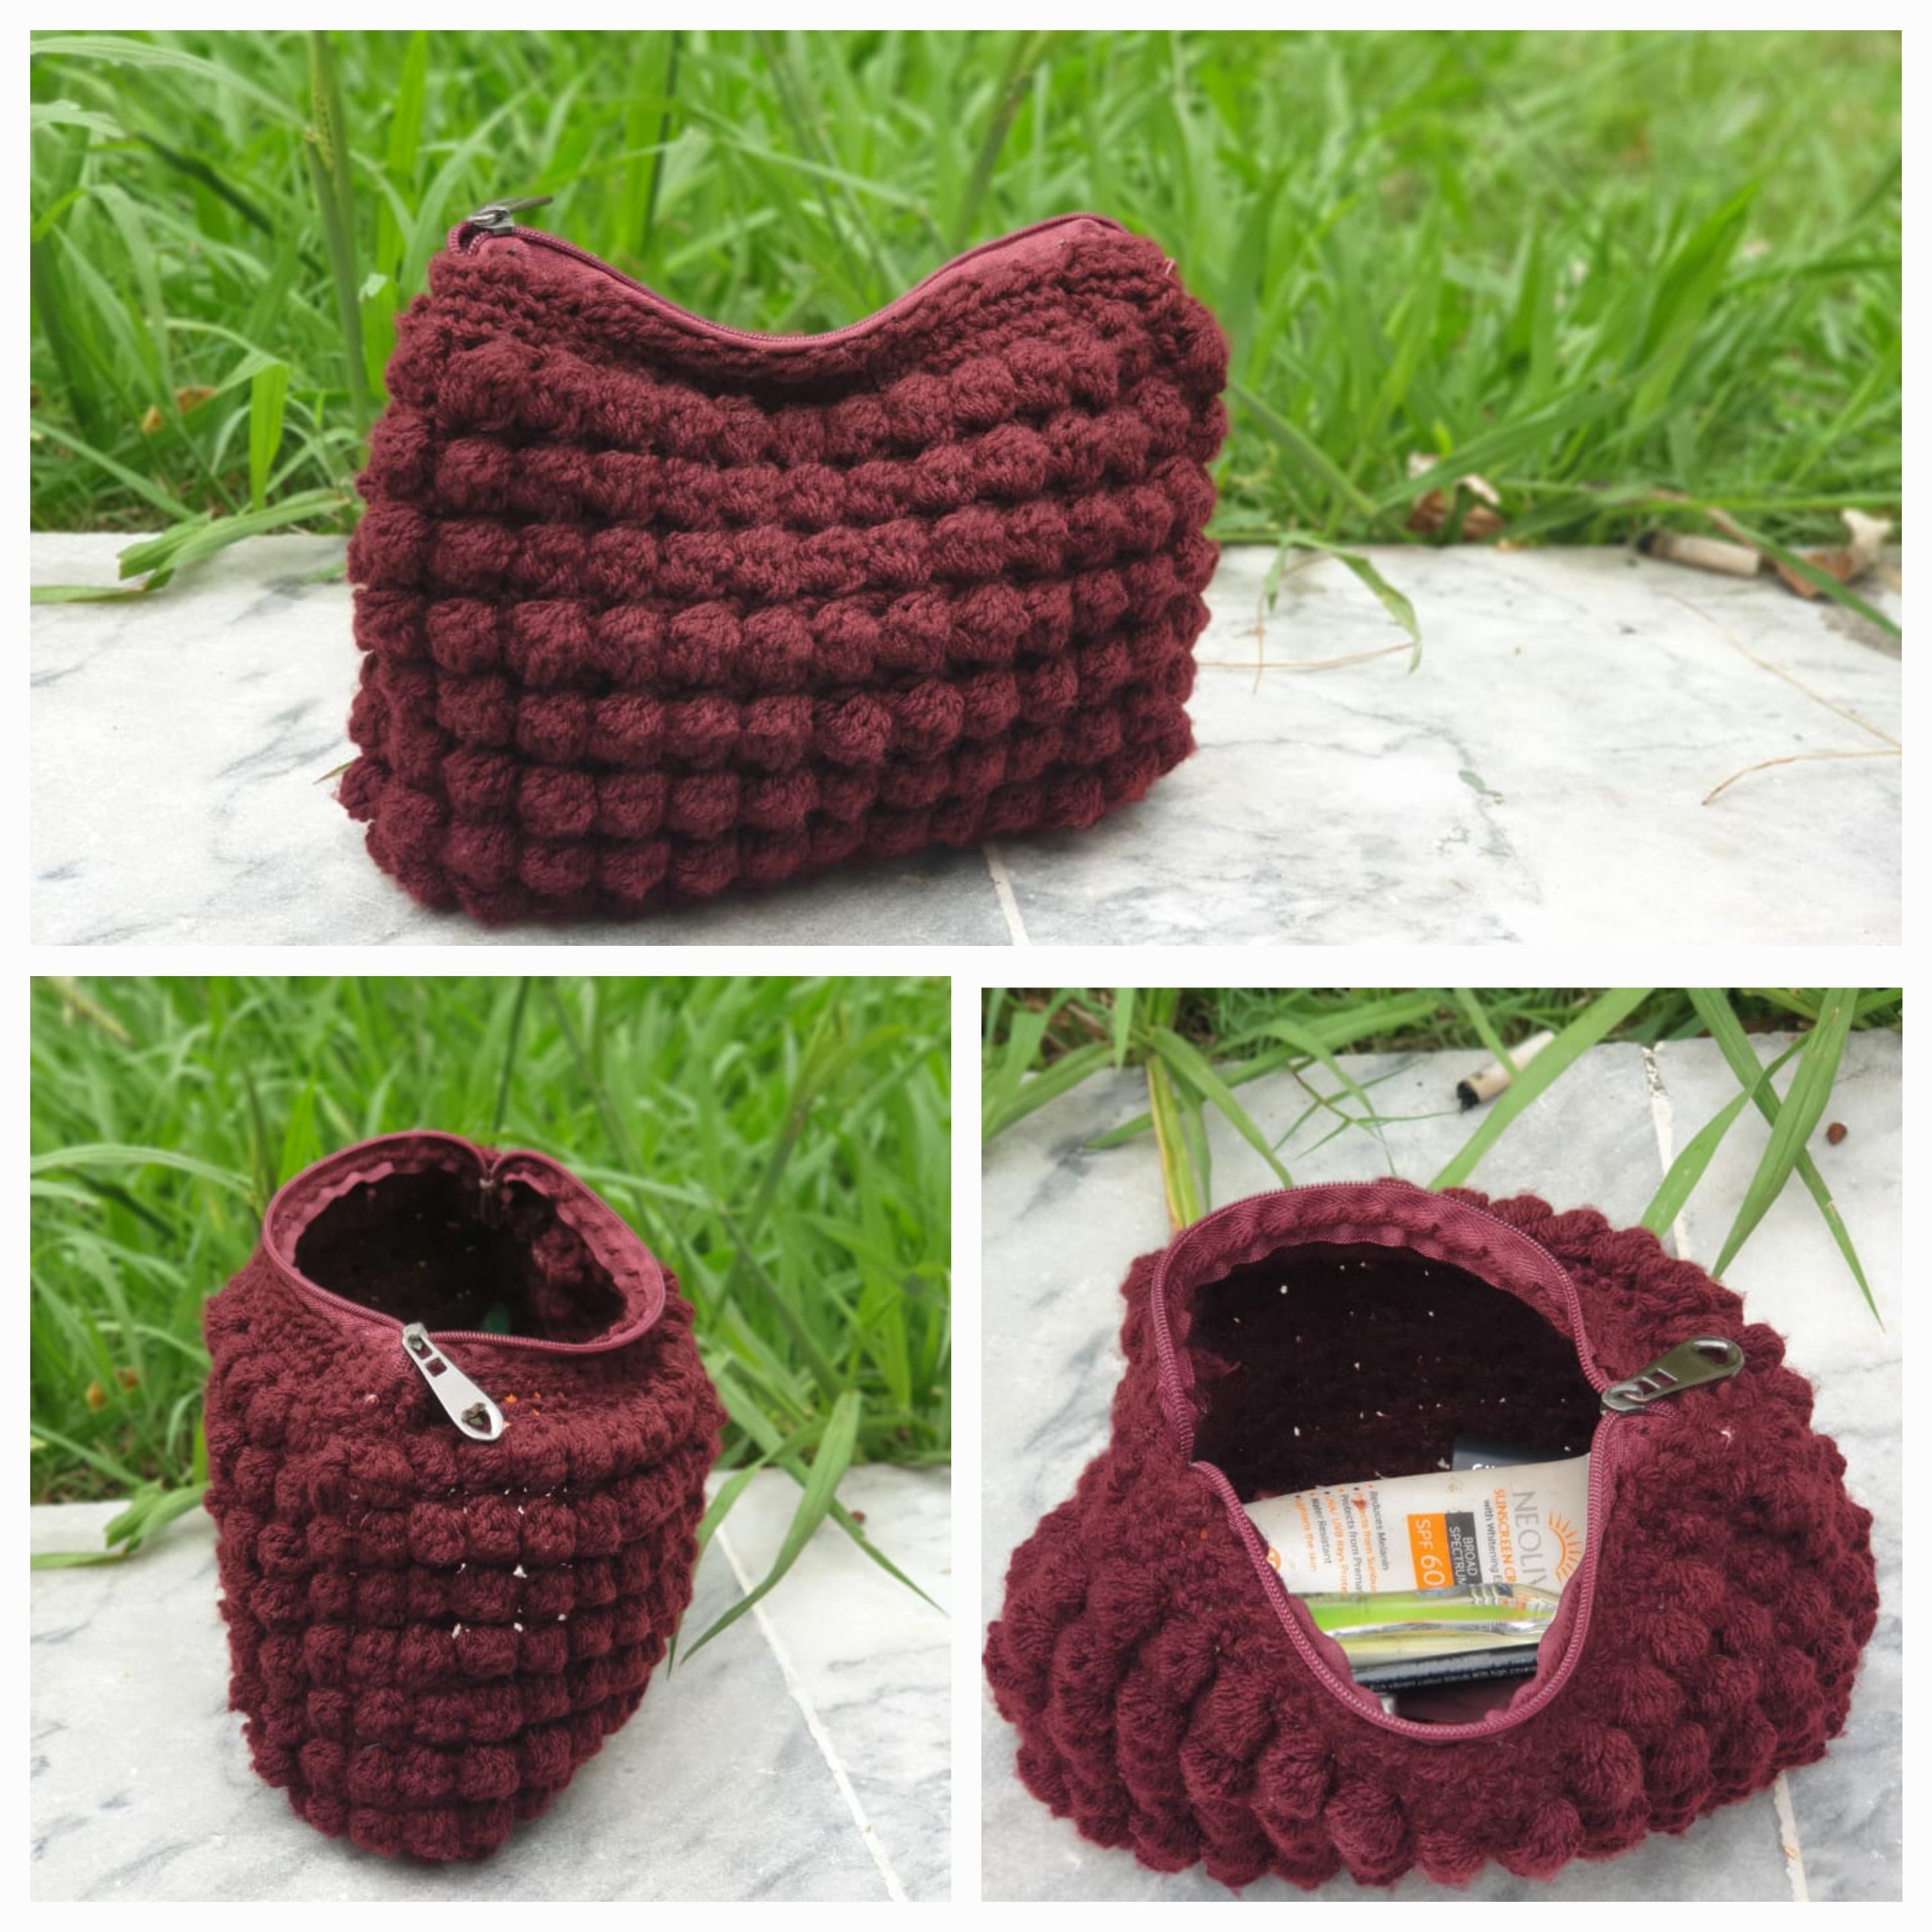
And the pouch is ready.
Here are some final pictures of the product.
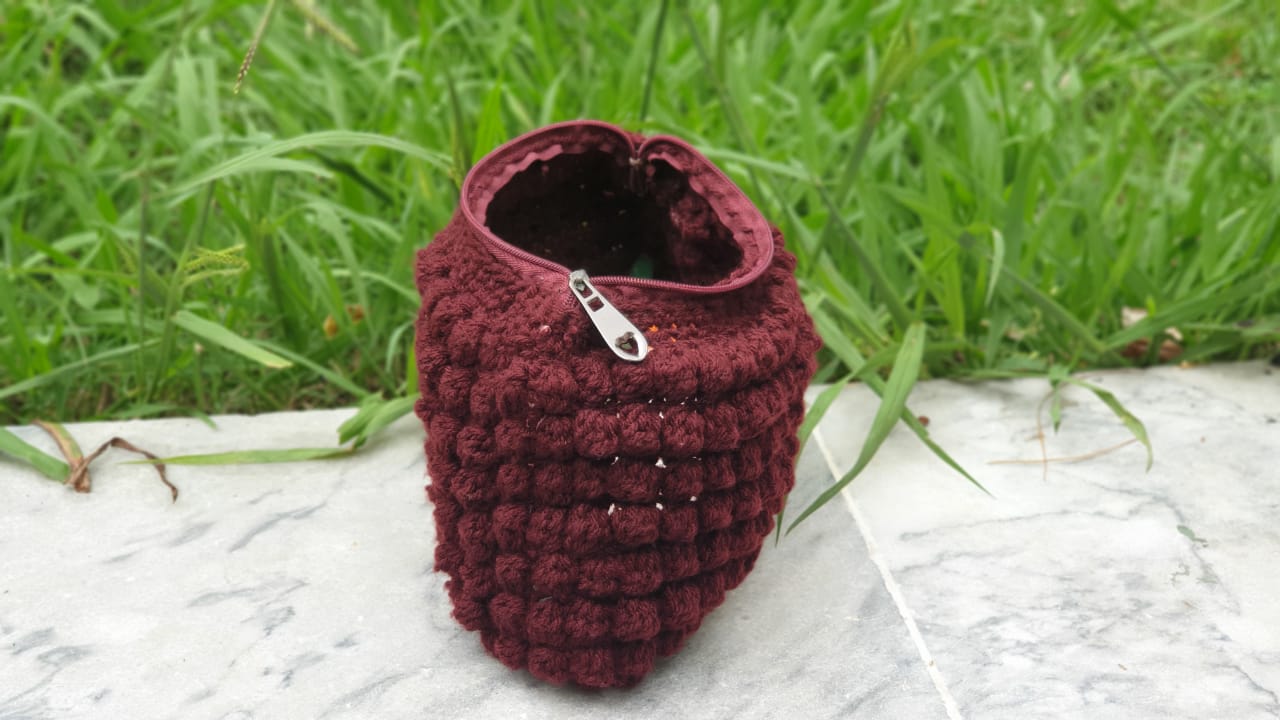
I hope you like it.
I am also planning yo sell these. Please share your opinions if i should sell these are not.
See you again. 💝🙂💕
Take care .💓💕
Bye bye.👋
Show more
Tags :
Woo!
This creator can upvote comments using 3speak's stake today because they are a top performing creator!
Leave a quality comment relating to their content and you could receive an upvote
worth at least a dollar.
Their limit for today is $0!
Their limit for today is $0!

32 views
9 months ago
$

33 views
a year ago
$
35 views
a year ago
$

32 views
10 months ago
$

35 views
10 months ago
$
More Videos

13 views
5 years ago
$

7 views
a year ago
$

0 views
3 years ago
$

20 views
5 years ago
$

283 views
2 years ago
$

2 views
4 years ago
$

3 views
4 years ago
$

7 views
3 years ago
$

11 views
9 months ago
$

26 views
a year ago
$

6 views
3 years ago
$

24 views
a year ago
$

6 views
4 years ago
$

0 views
2 years ago
$

"DOGECOIN WAS DESIGNED TO BE FUNNY! IT WILL DO WELL!" SO SAYS ASHA THE ASTROLOGER (monarchmoon.co.uk
0 views
a month ago
$

1 views
10 months ago
$
5 views
2 years ago
$

9 views
2 years ago
$
@threespeak: 1.6318
@diyhub: 0.3592
@ecency: 0.2299
@hivepakistan: 0.1396
@dlmmqb: 0.0433
@tibfox: 0.0210
@rima11: 0.0209
@needleworkmonday: 0.0156
@youyowi: 0.0127
@diyhub: 0.3592
@ecency: 0.2299
@hivepakistan: 0.1396
@dlmmqb: 0.0433
@tibfox: 0.0210
@rima11: 0.0209
@needleworkmonday: 0.0156
@youyowi: 0.0127
Comments:
Reply:
To comment on this video please connect a HIVE account to your profile: Connect HIVE Account