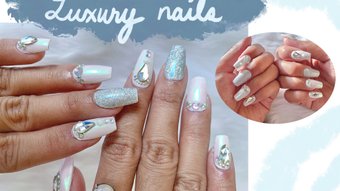
White luxury nails + process
9
About :
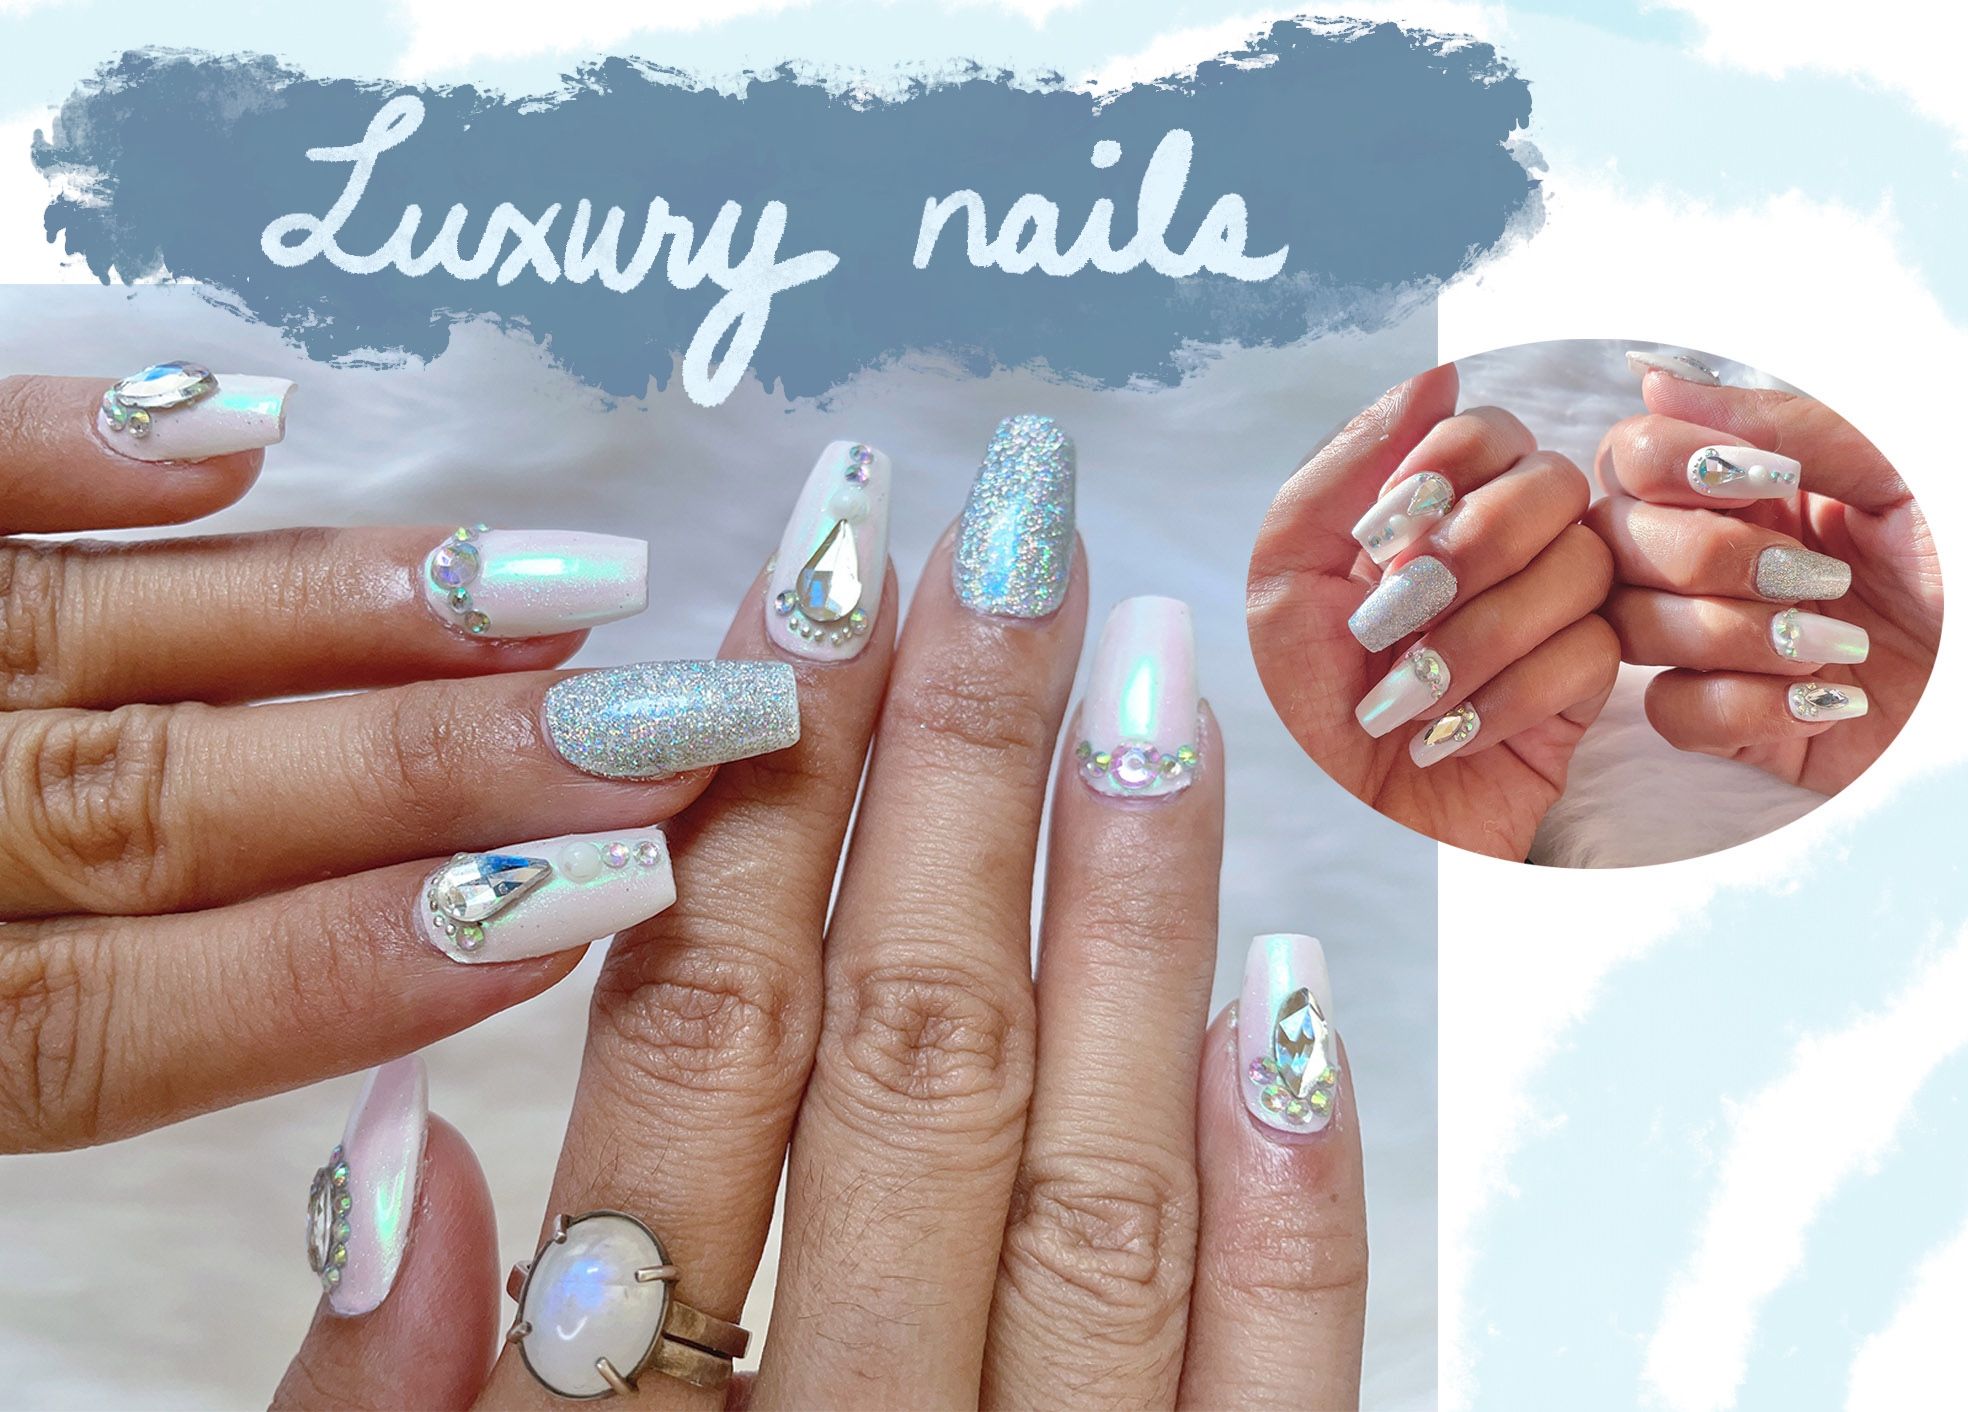
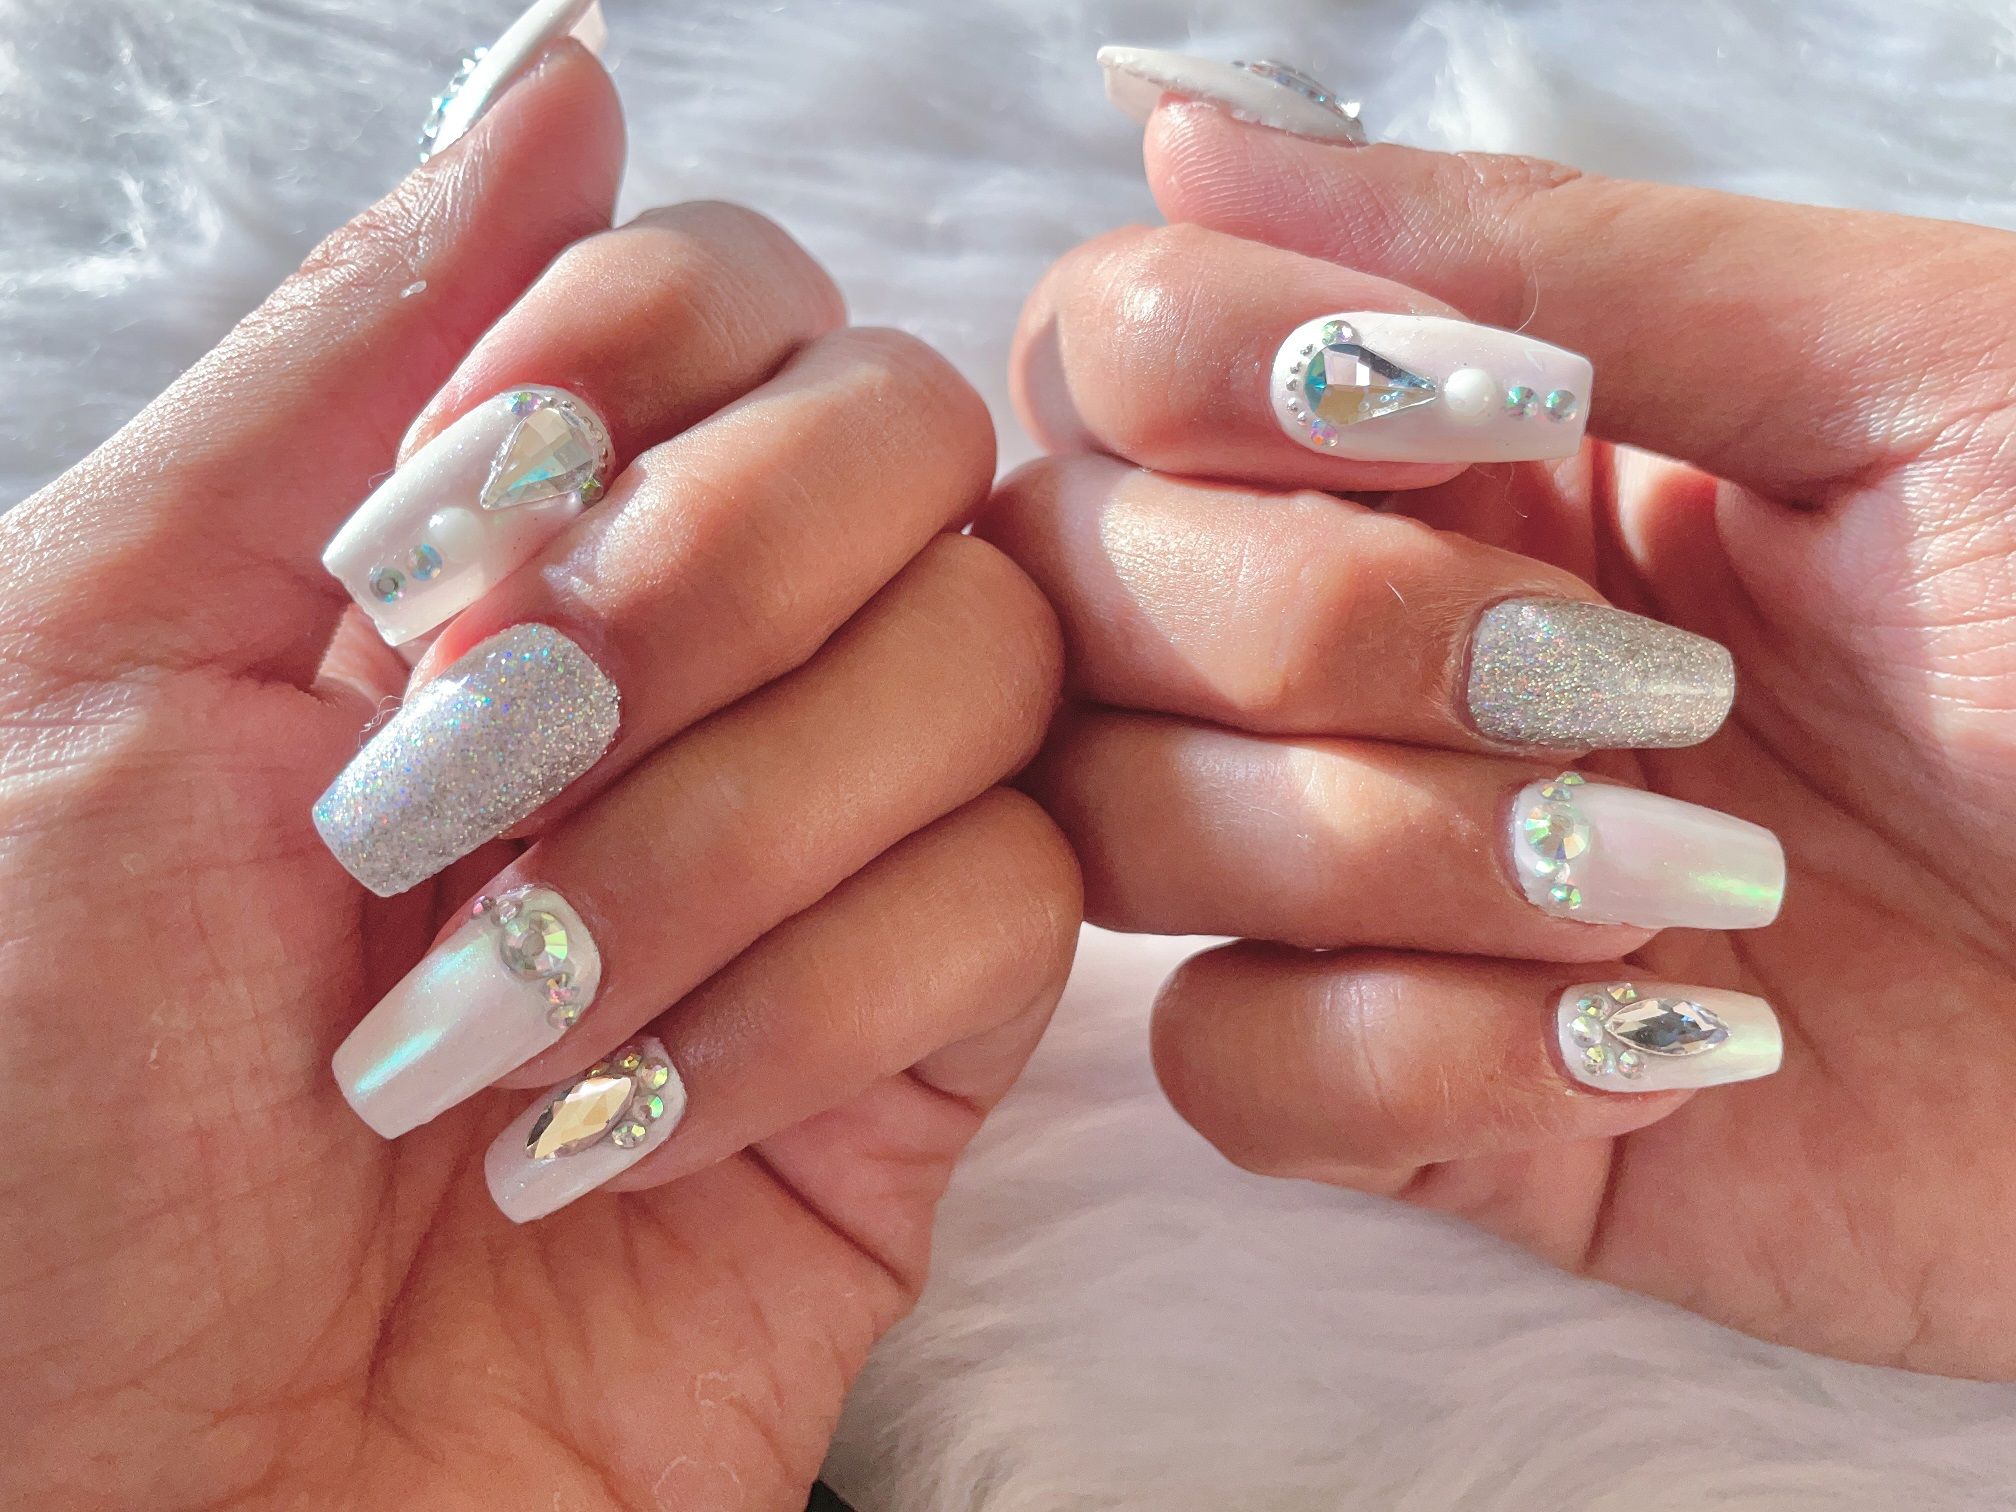
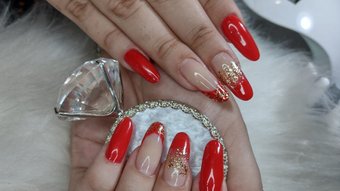
White nails are always my go-to when I want to feel luxurious. Even just some solid white nails make me feel pure. Haha. This time though, I used some glitters and the rhinestones that I have and the result was showing some goddess vibes!
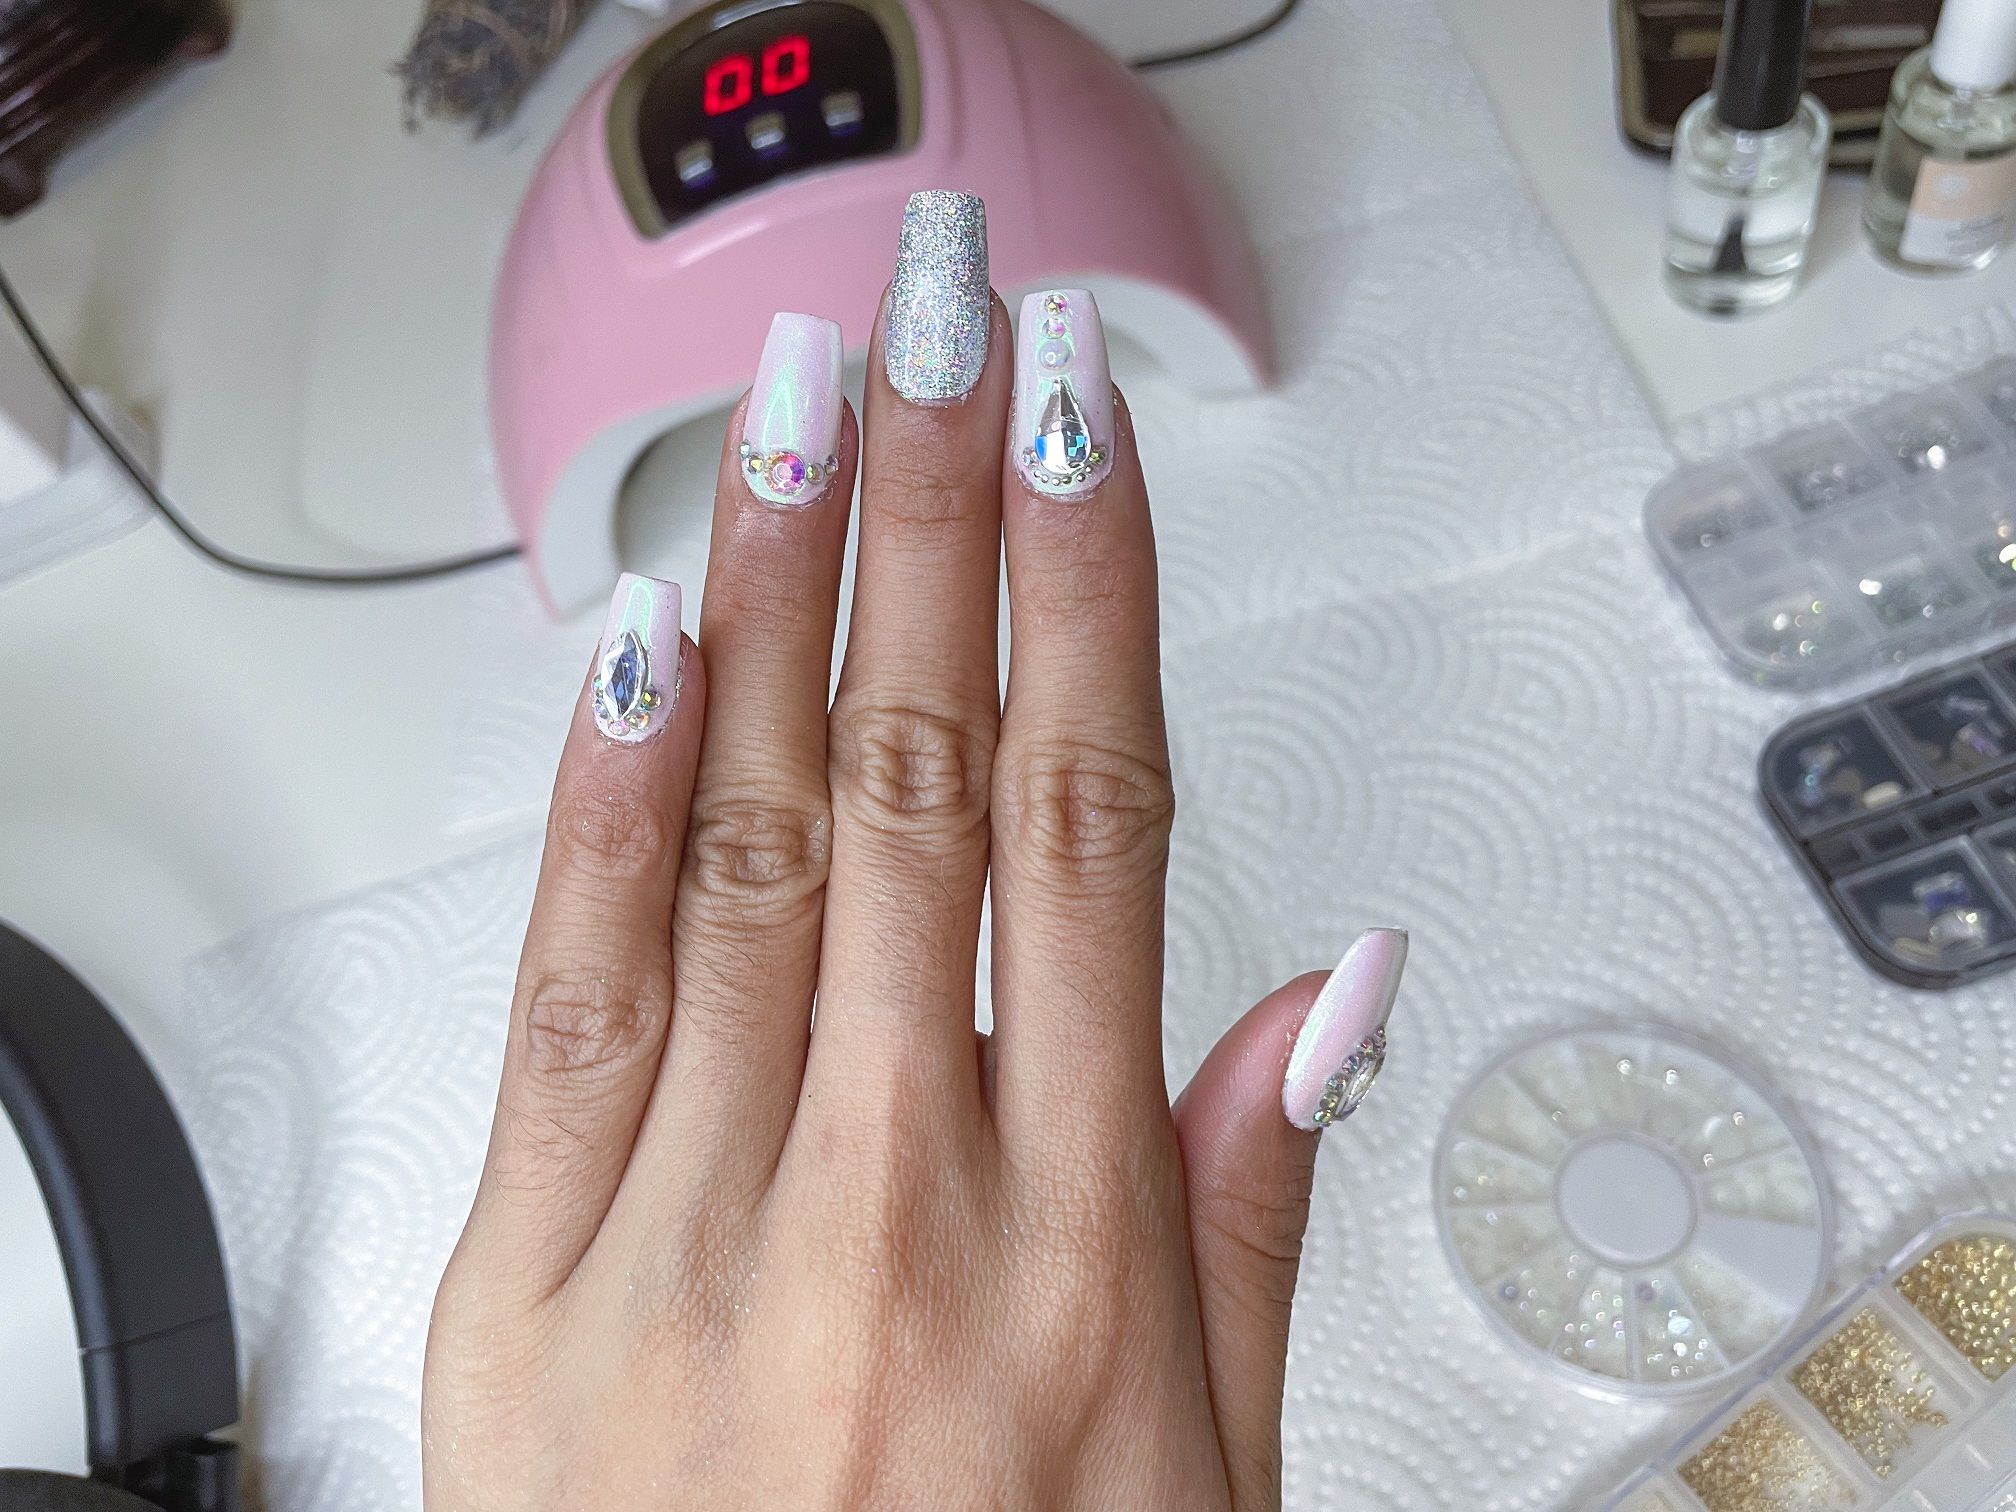
Process
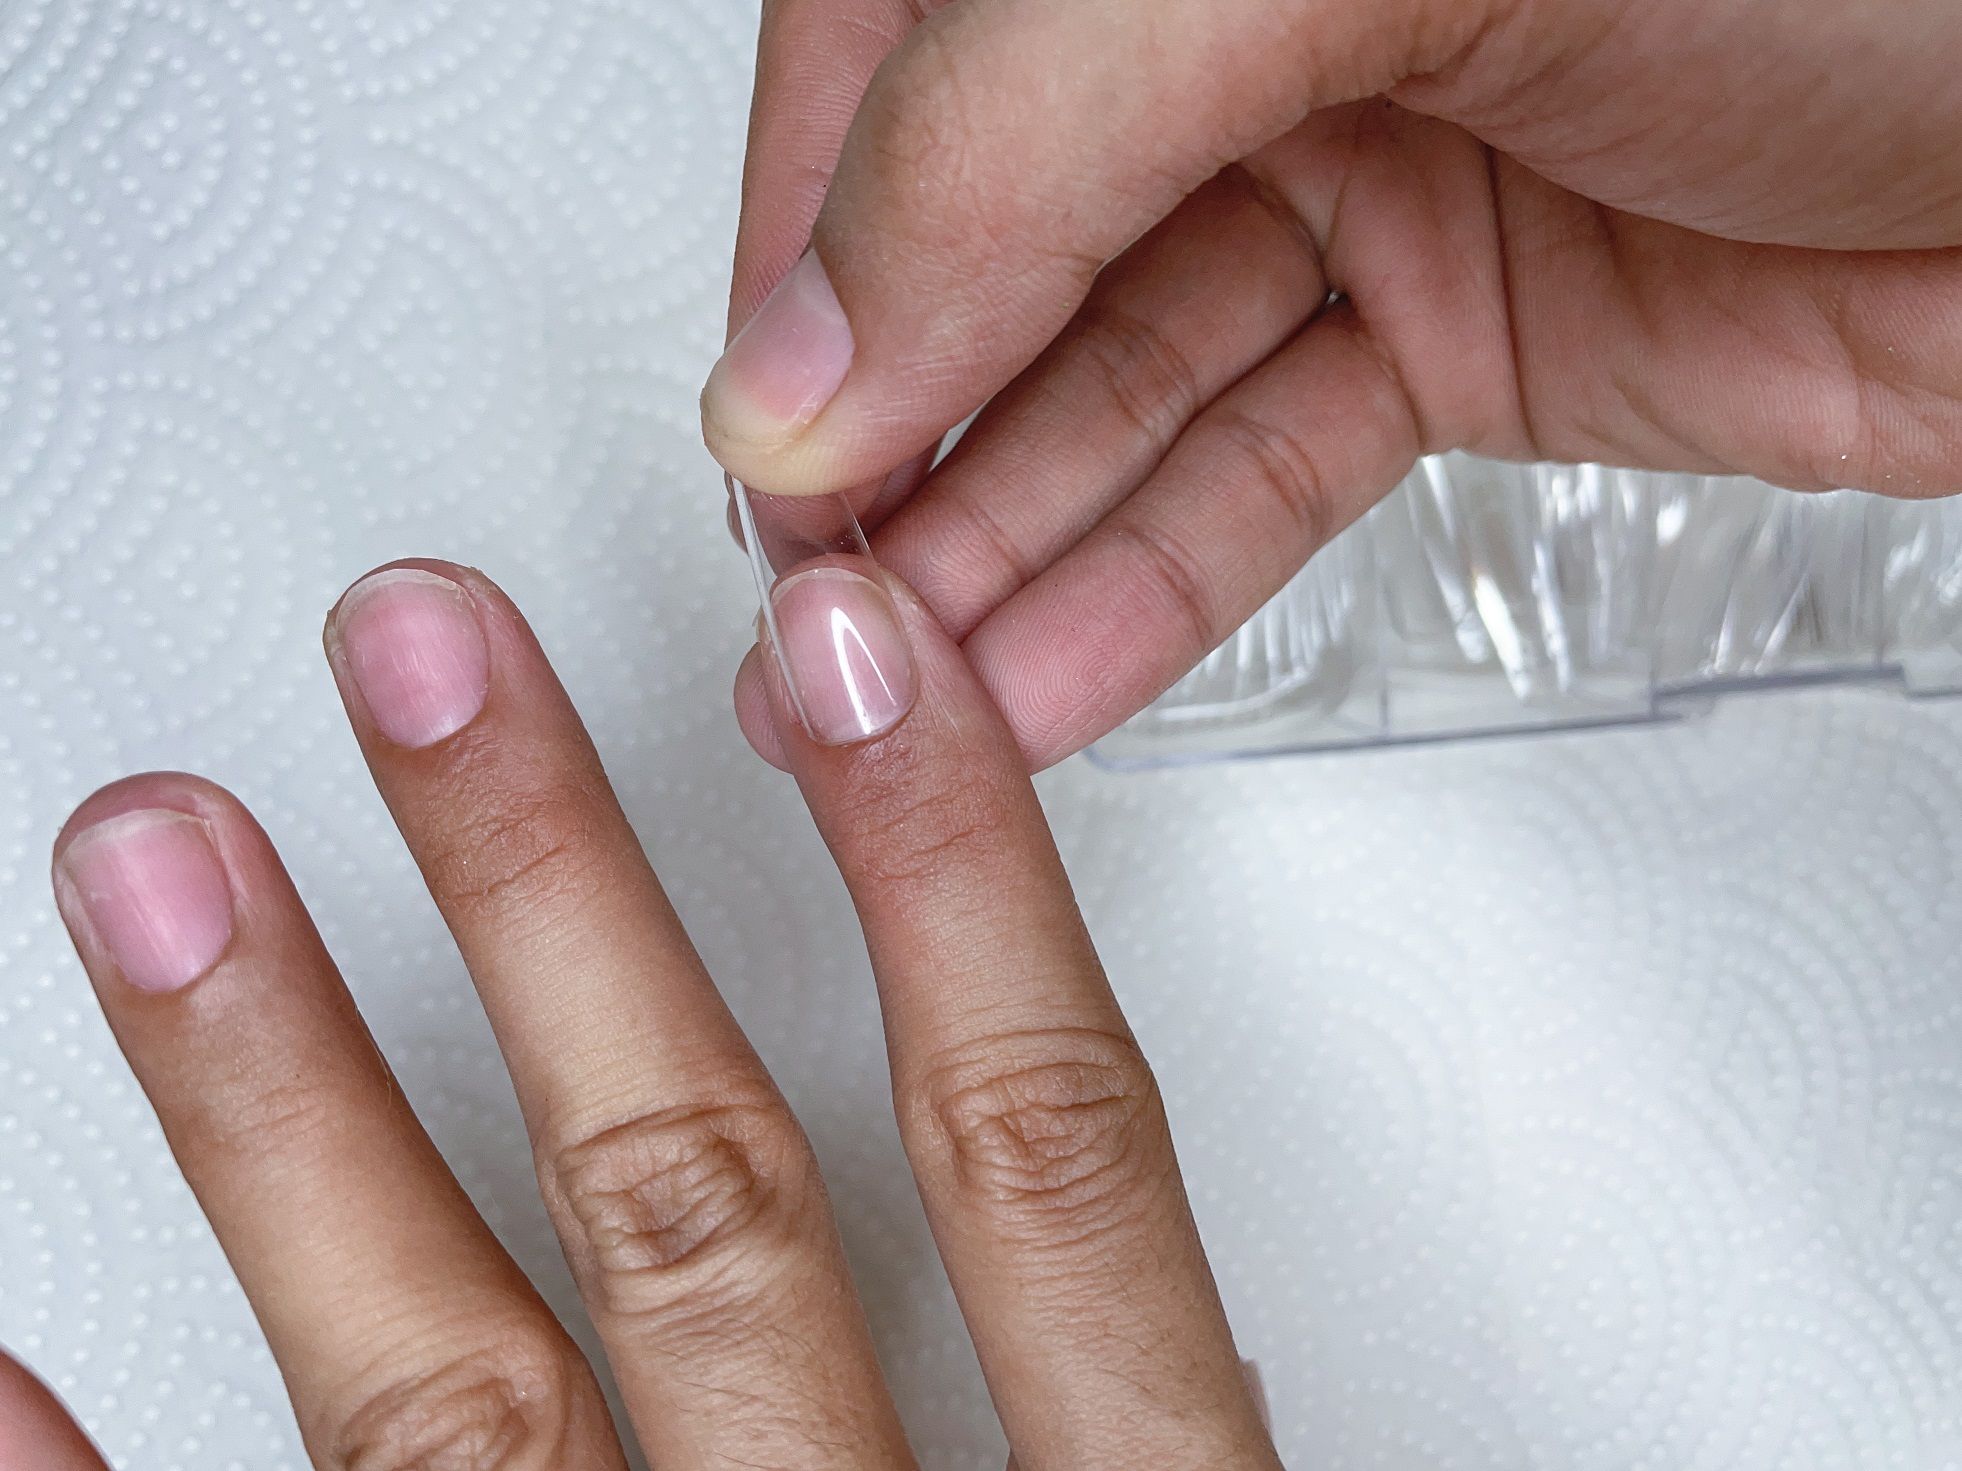
I still used the nail tips/extensions like the recent ones. I find it really easy although with my recent experiment, it peels off fast. :/ I'm okay with it tho! Any designs that I like to be on my nails can be easily removed when I want to replace it and if I want to make it last longer, I will just use polygels. :D
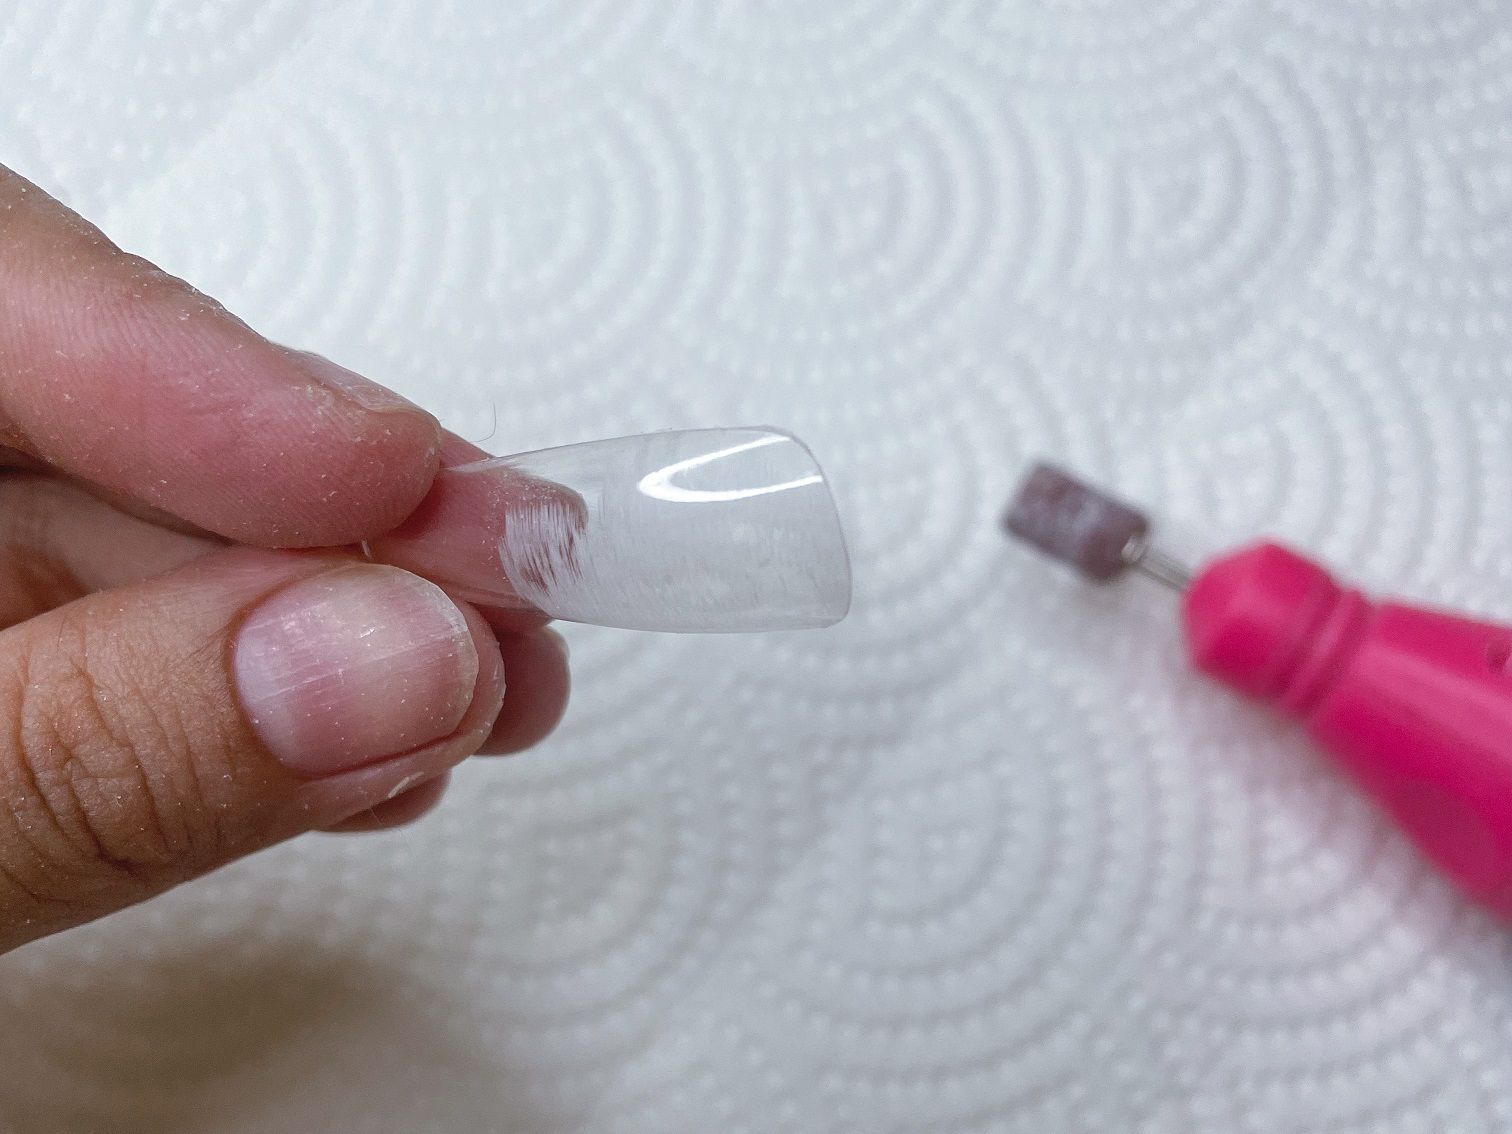
I used a nail file to make the surface of that plastic rough so the base gel can grip in it stronger. I find this a crucial process since I've noticed in my previous ones that the fake nails get peeled off from the base gel and not the base gel peeling off from my natural nail.
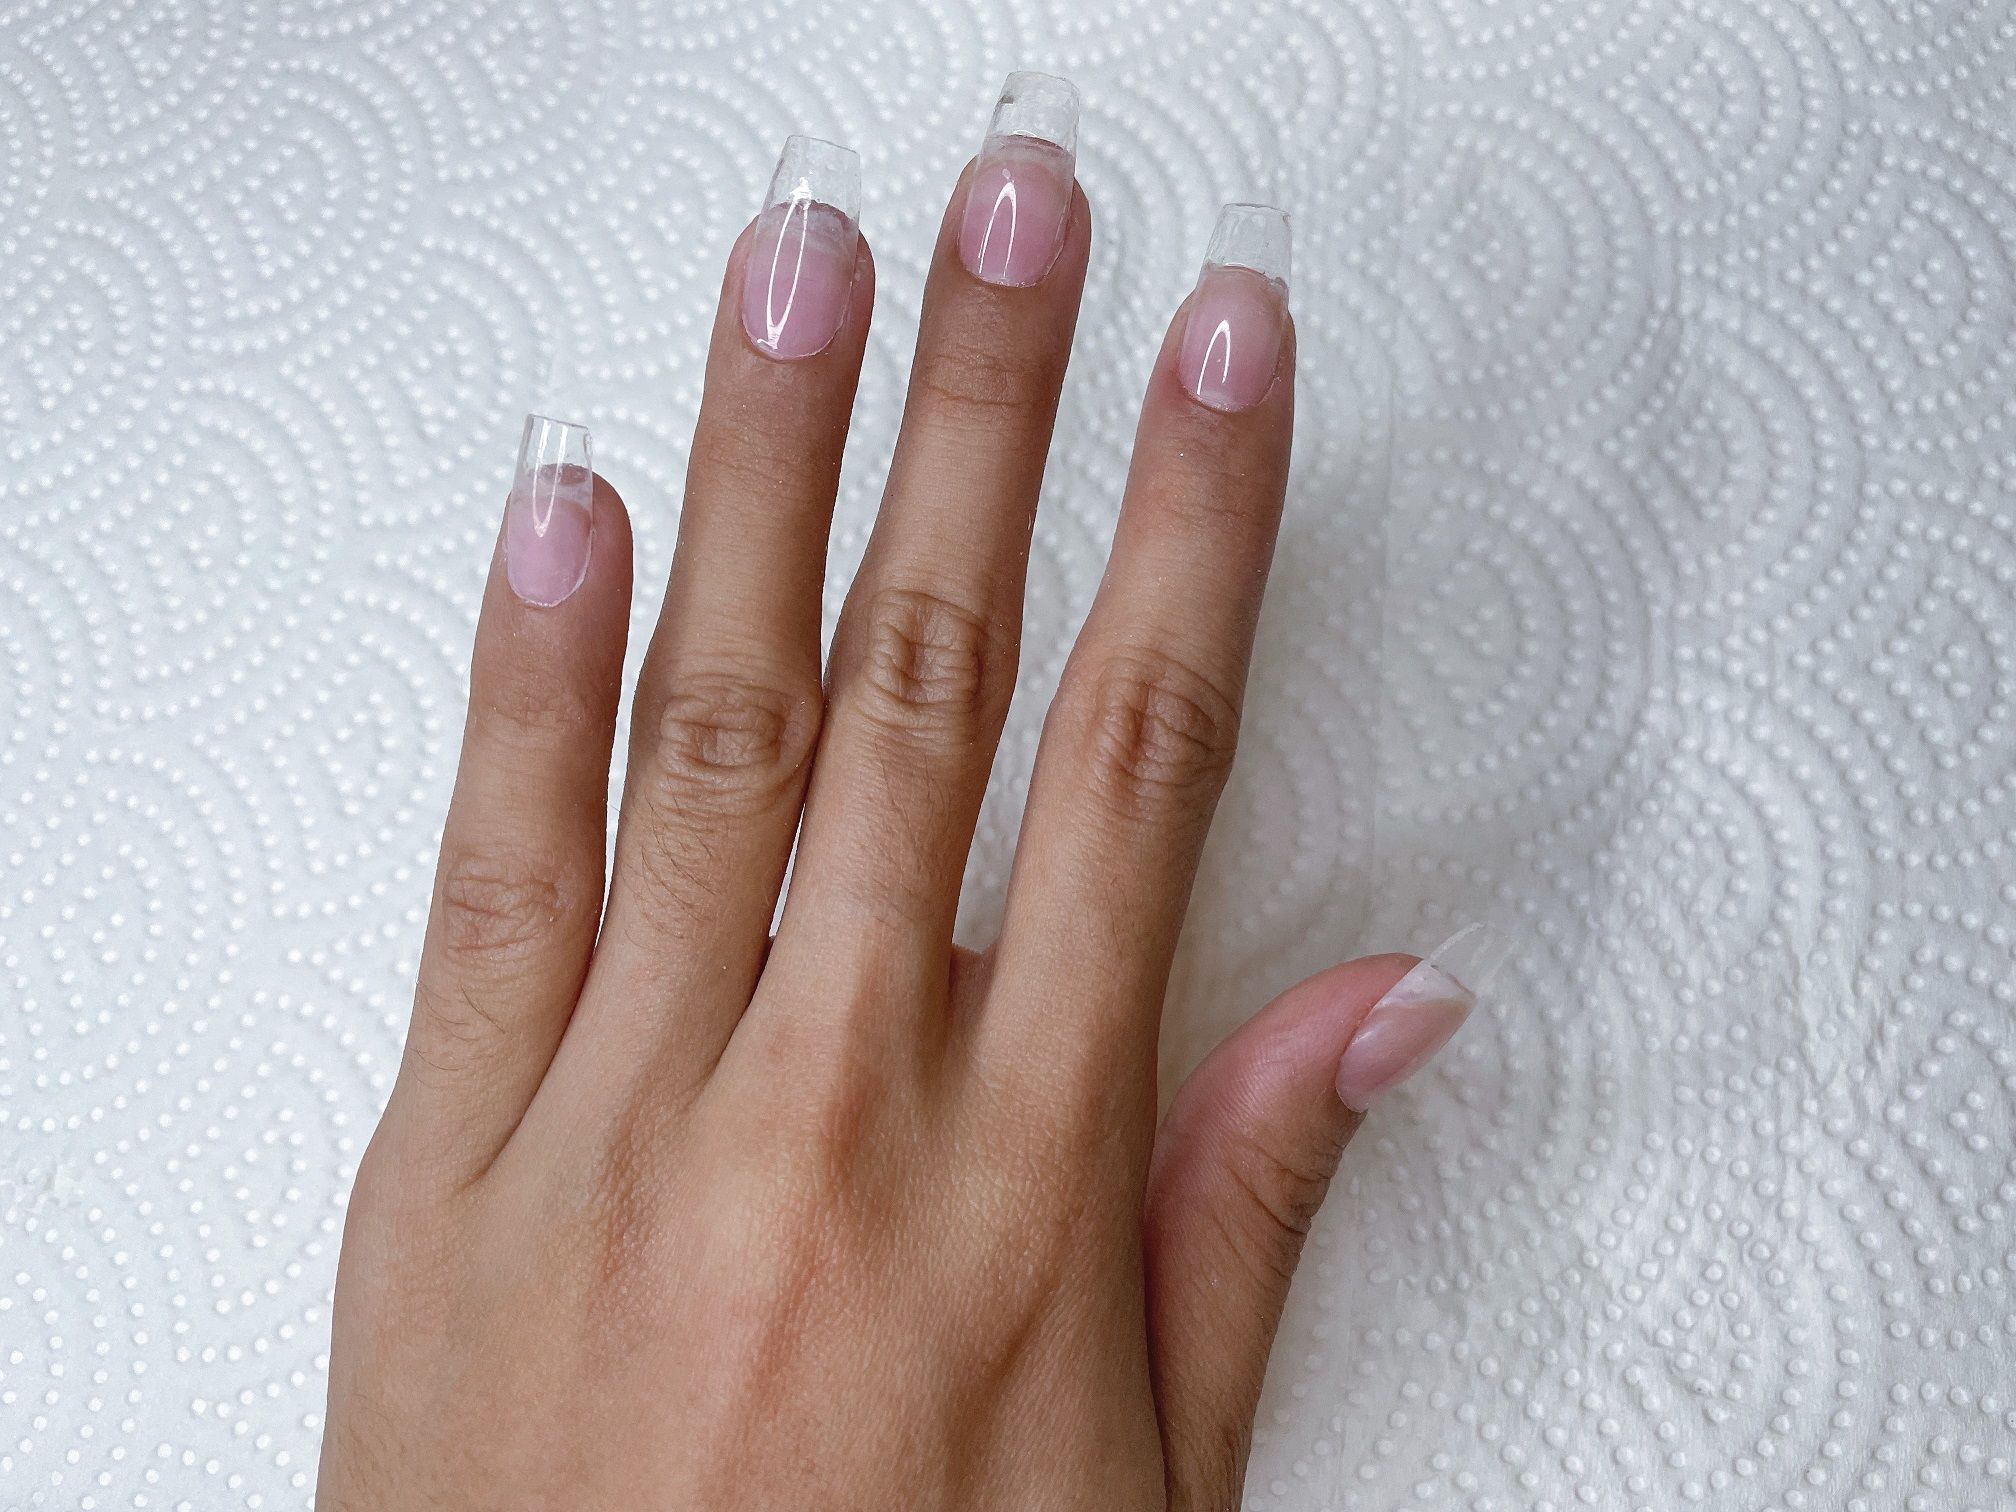
After using the base gel as the "glue", I cured it and shaped/cut the nails the way I like. I can't wear too long nails at the moment.
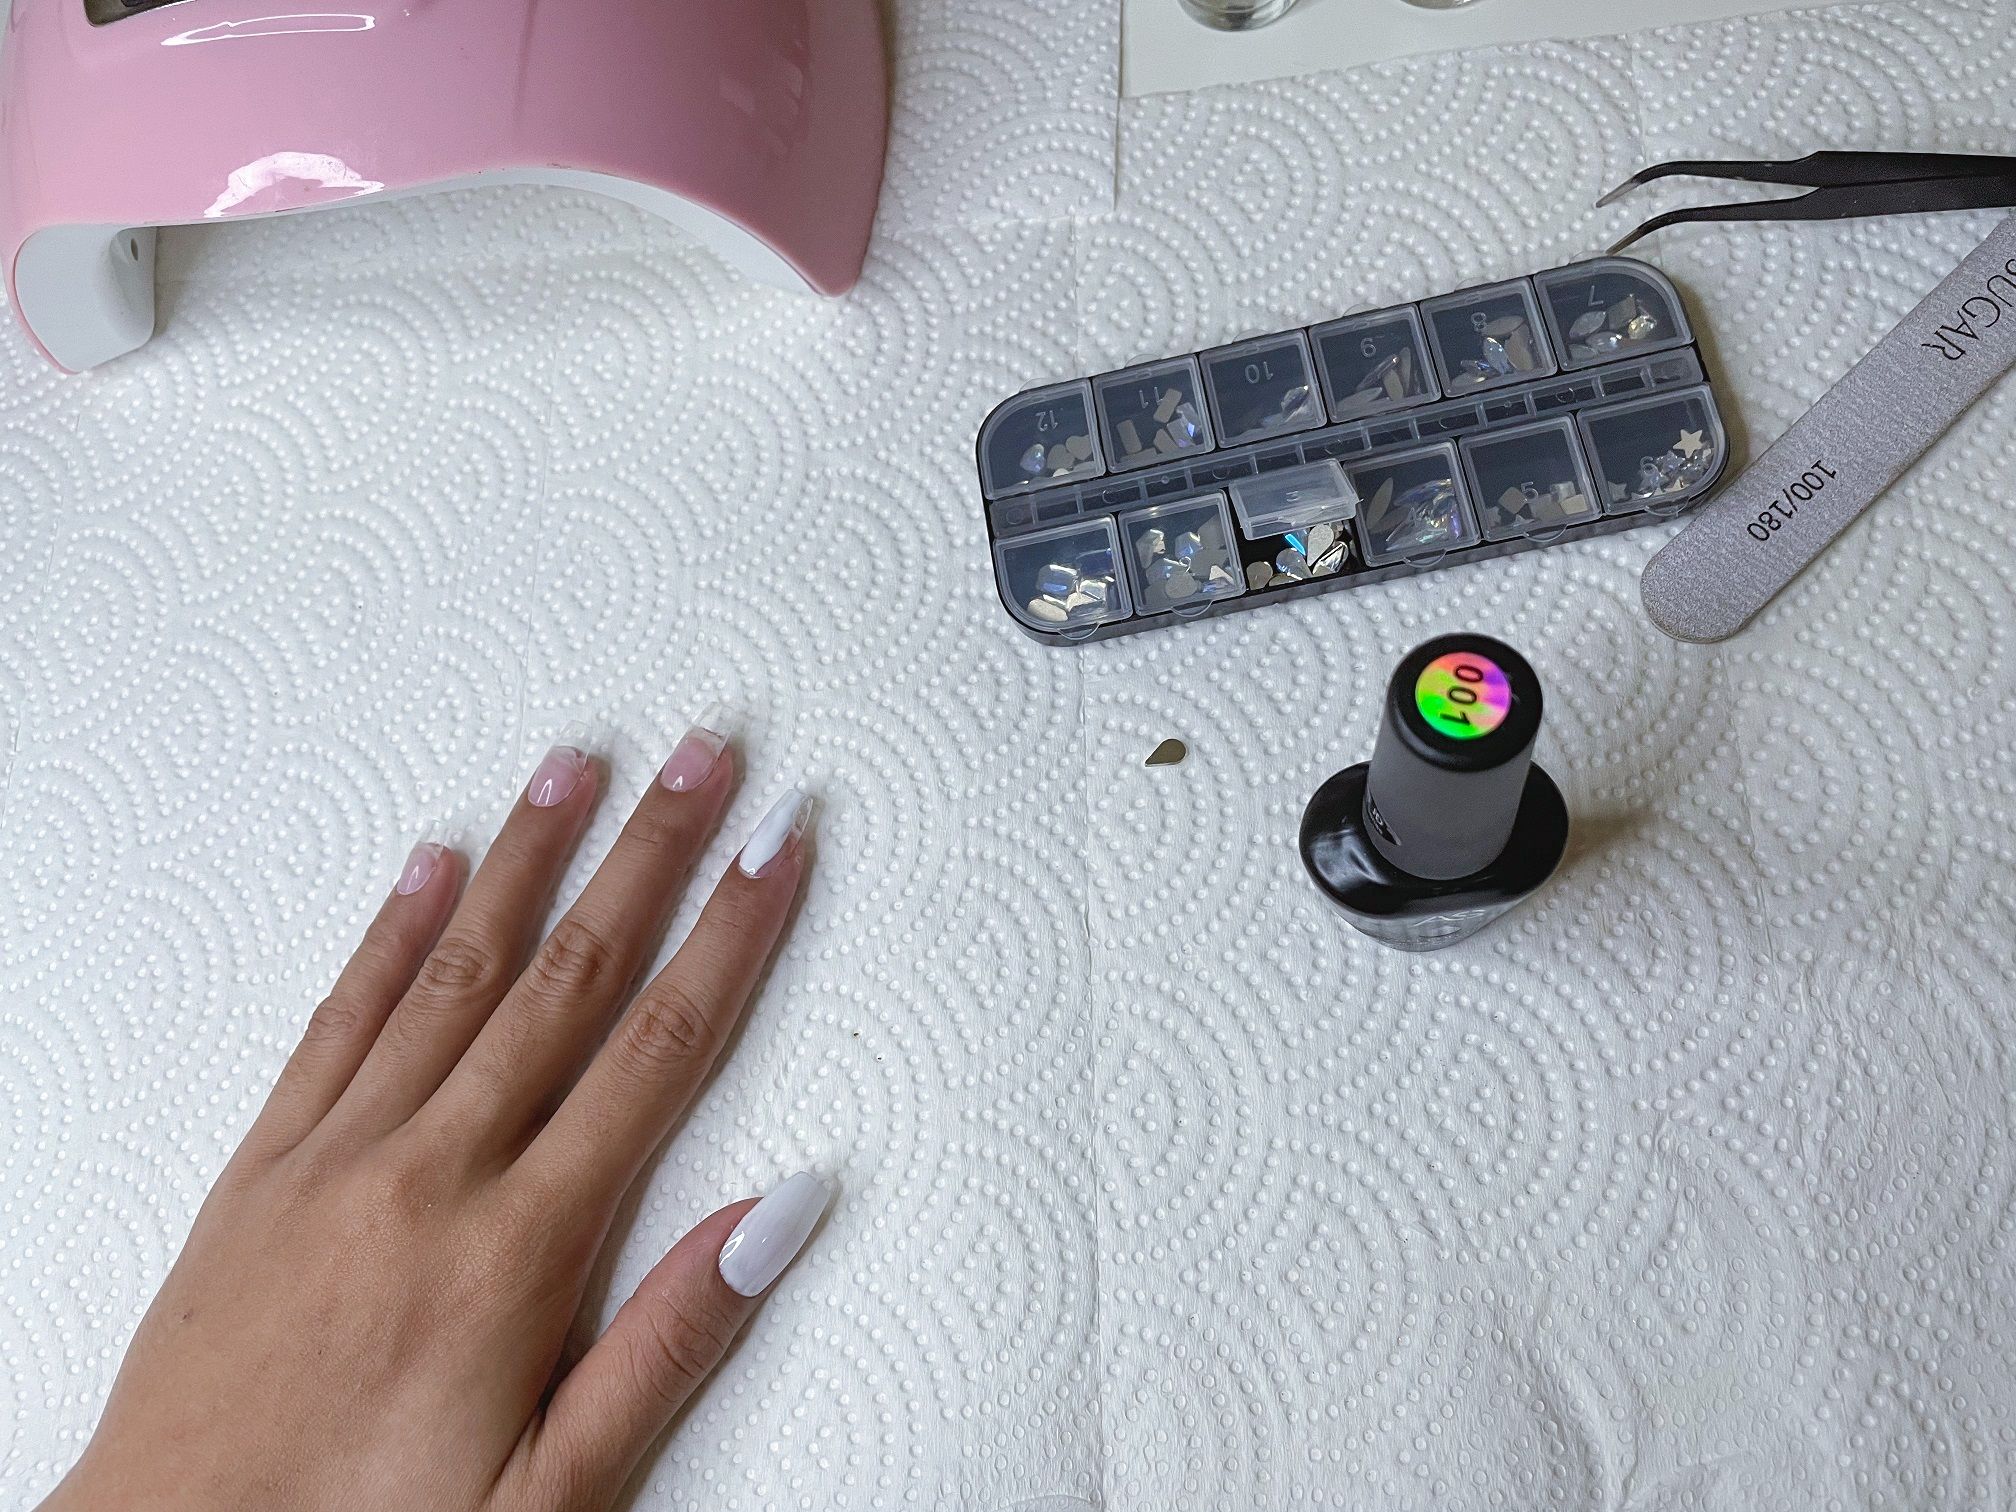
Then comes the painting of the nails.
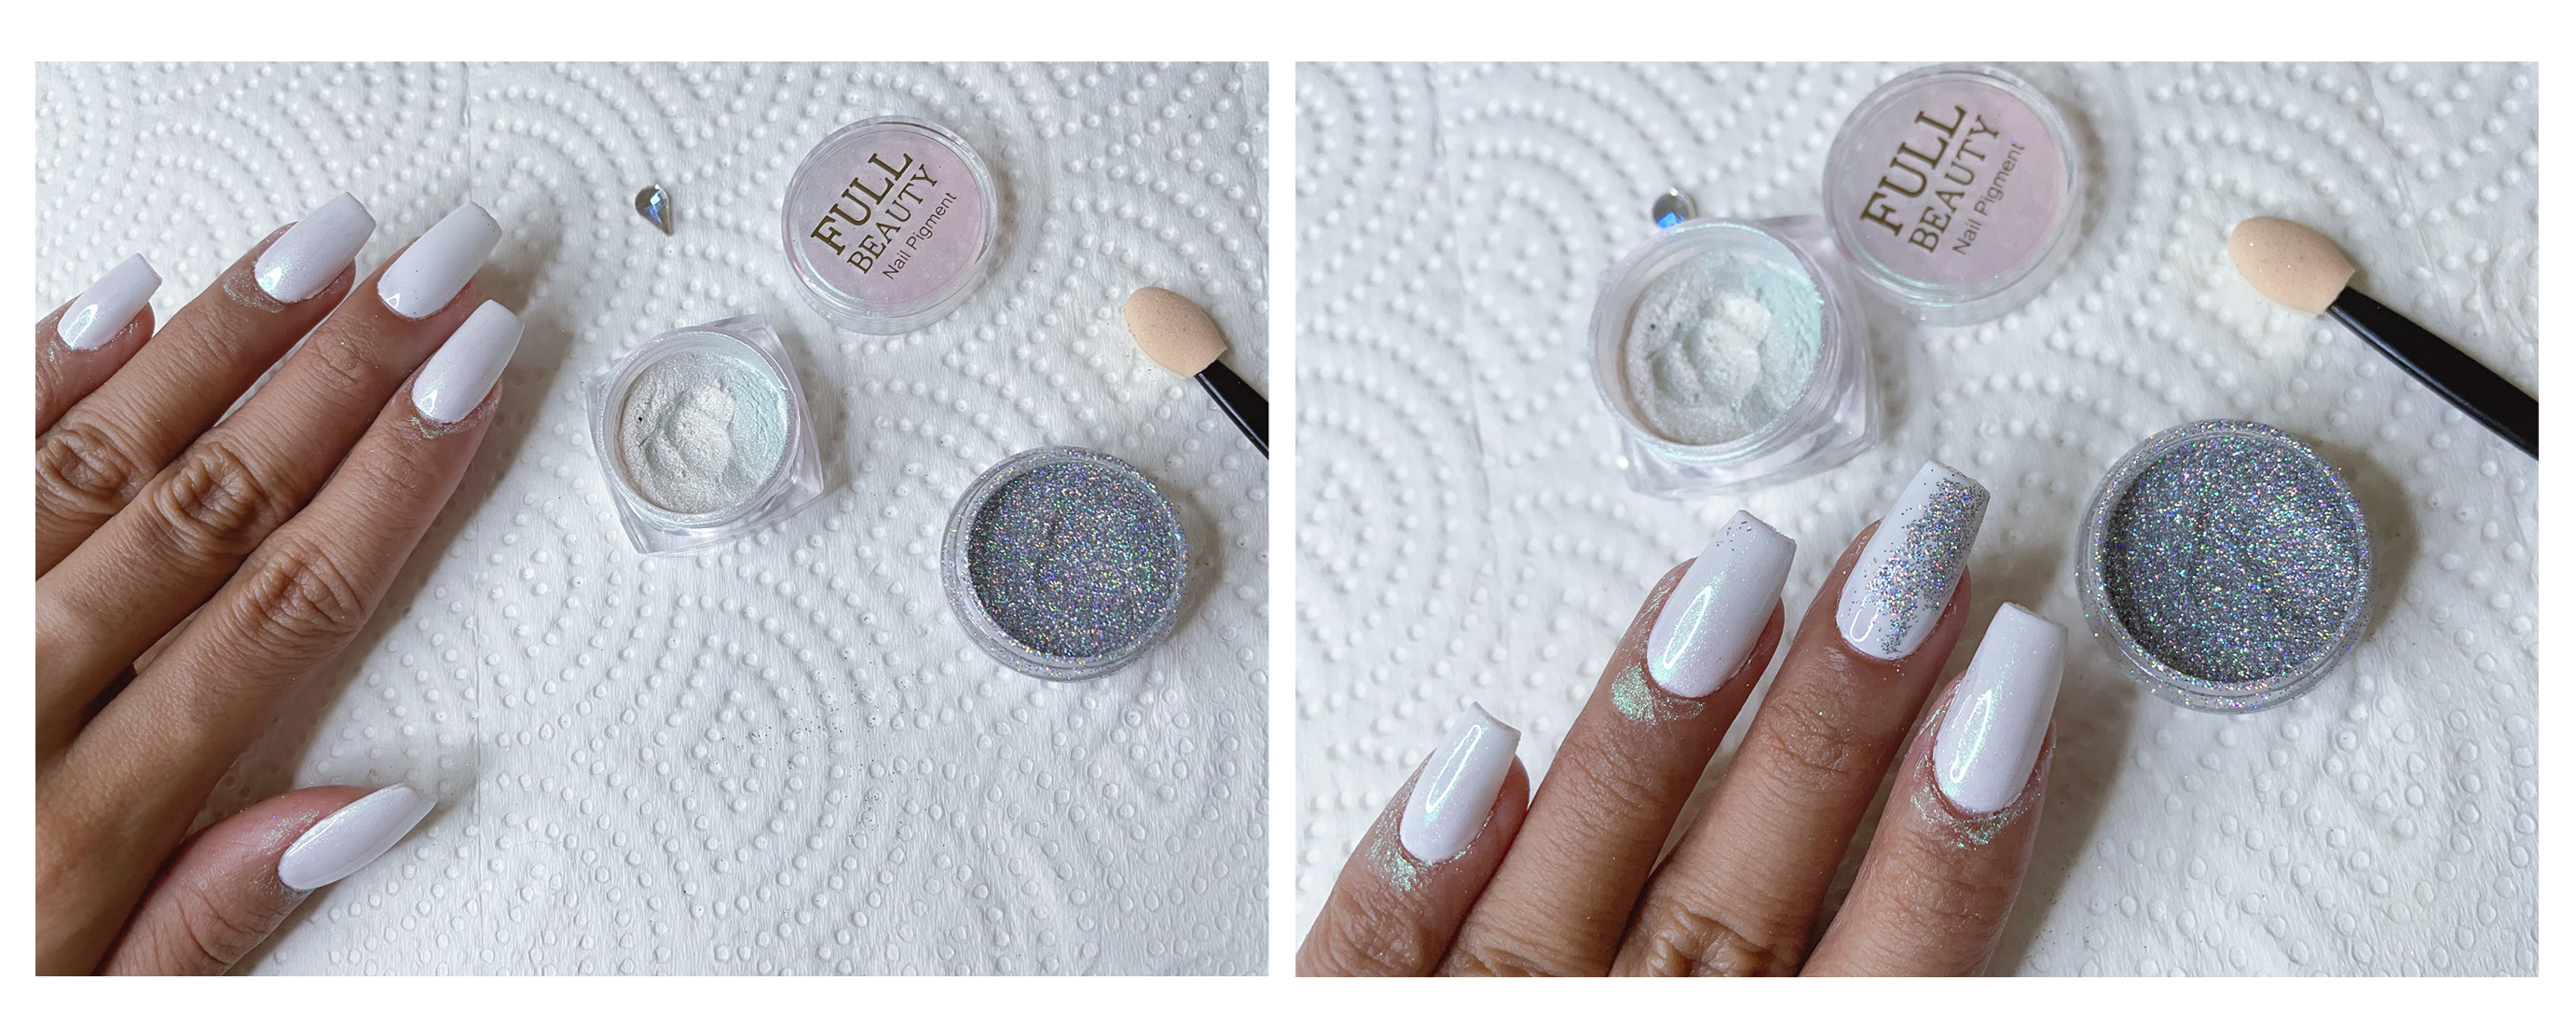
I used a holographic powder and smudged it on top of the white nail (left). It gave it another layer of some holographic shiny ''glitter''. On the right side, I then tapped some silver glitters on top of the middle nail finger. This silver is also holographic-ish so they look good together!

Here's a close up of the powder's effect on the white nail. It also has a different effect/look if you put it on top of a black nail but that's for another time.
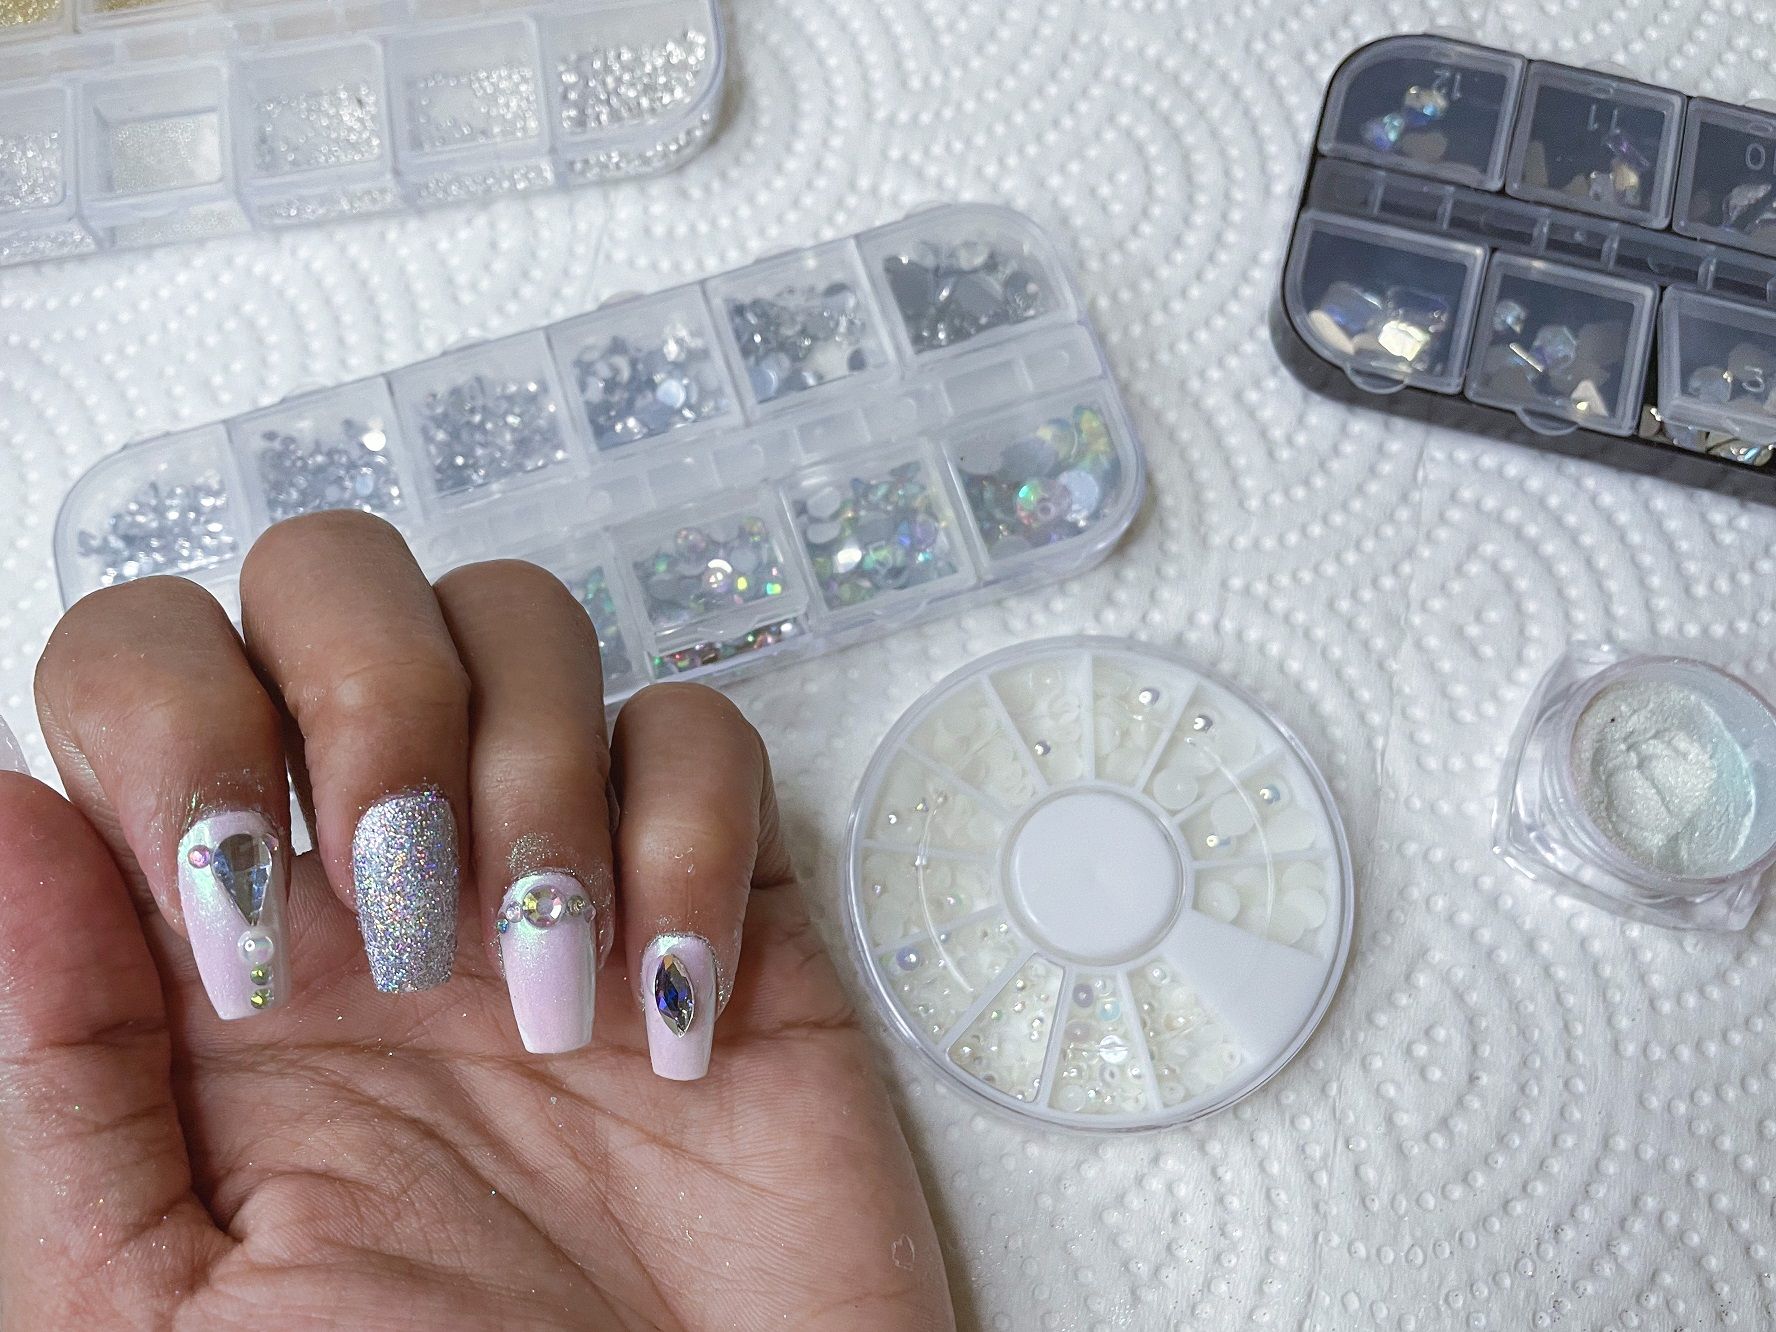
I glued the rhinestones using the transparent gel but I believe you can also use some nail glue or something. I just like using gels to place them there cos you can still do some adjustments or move them around and they will be fine until you cure it under the UV light. It's so fun to put these stones there cos it feels like you're decorating jewelry haha.
After finishing the design, I then put a top coat on top of it.
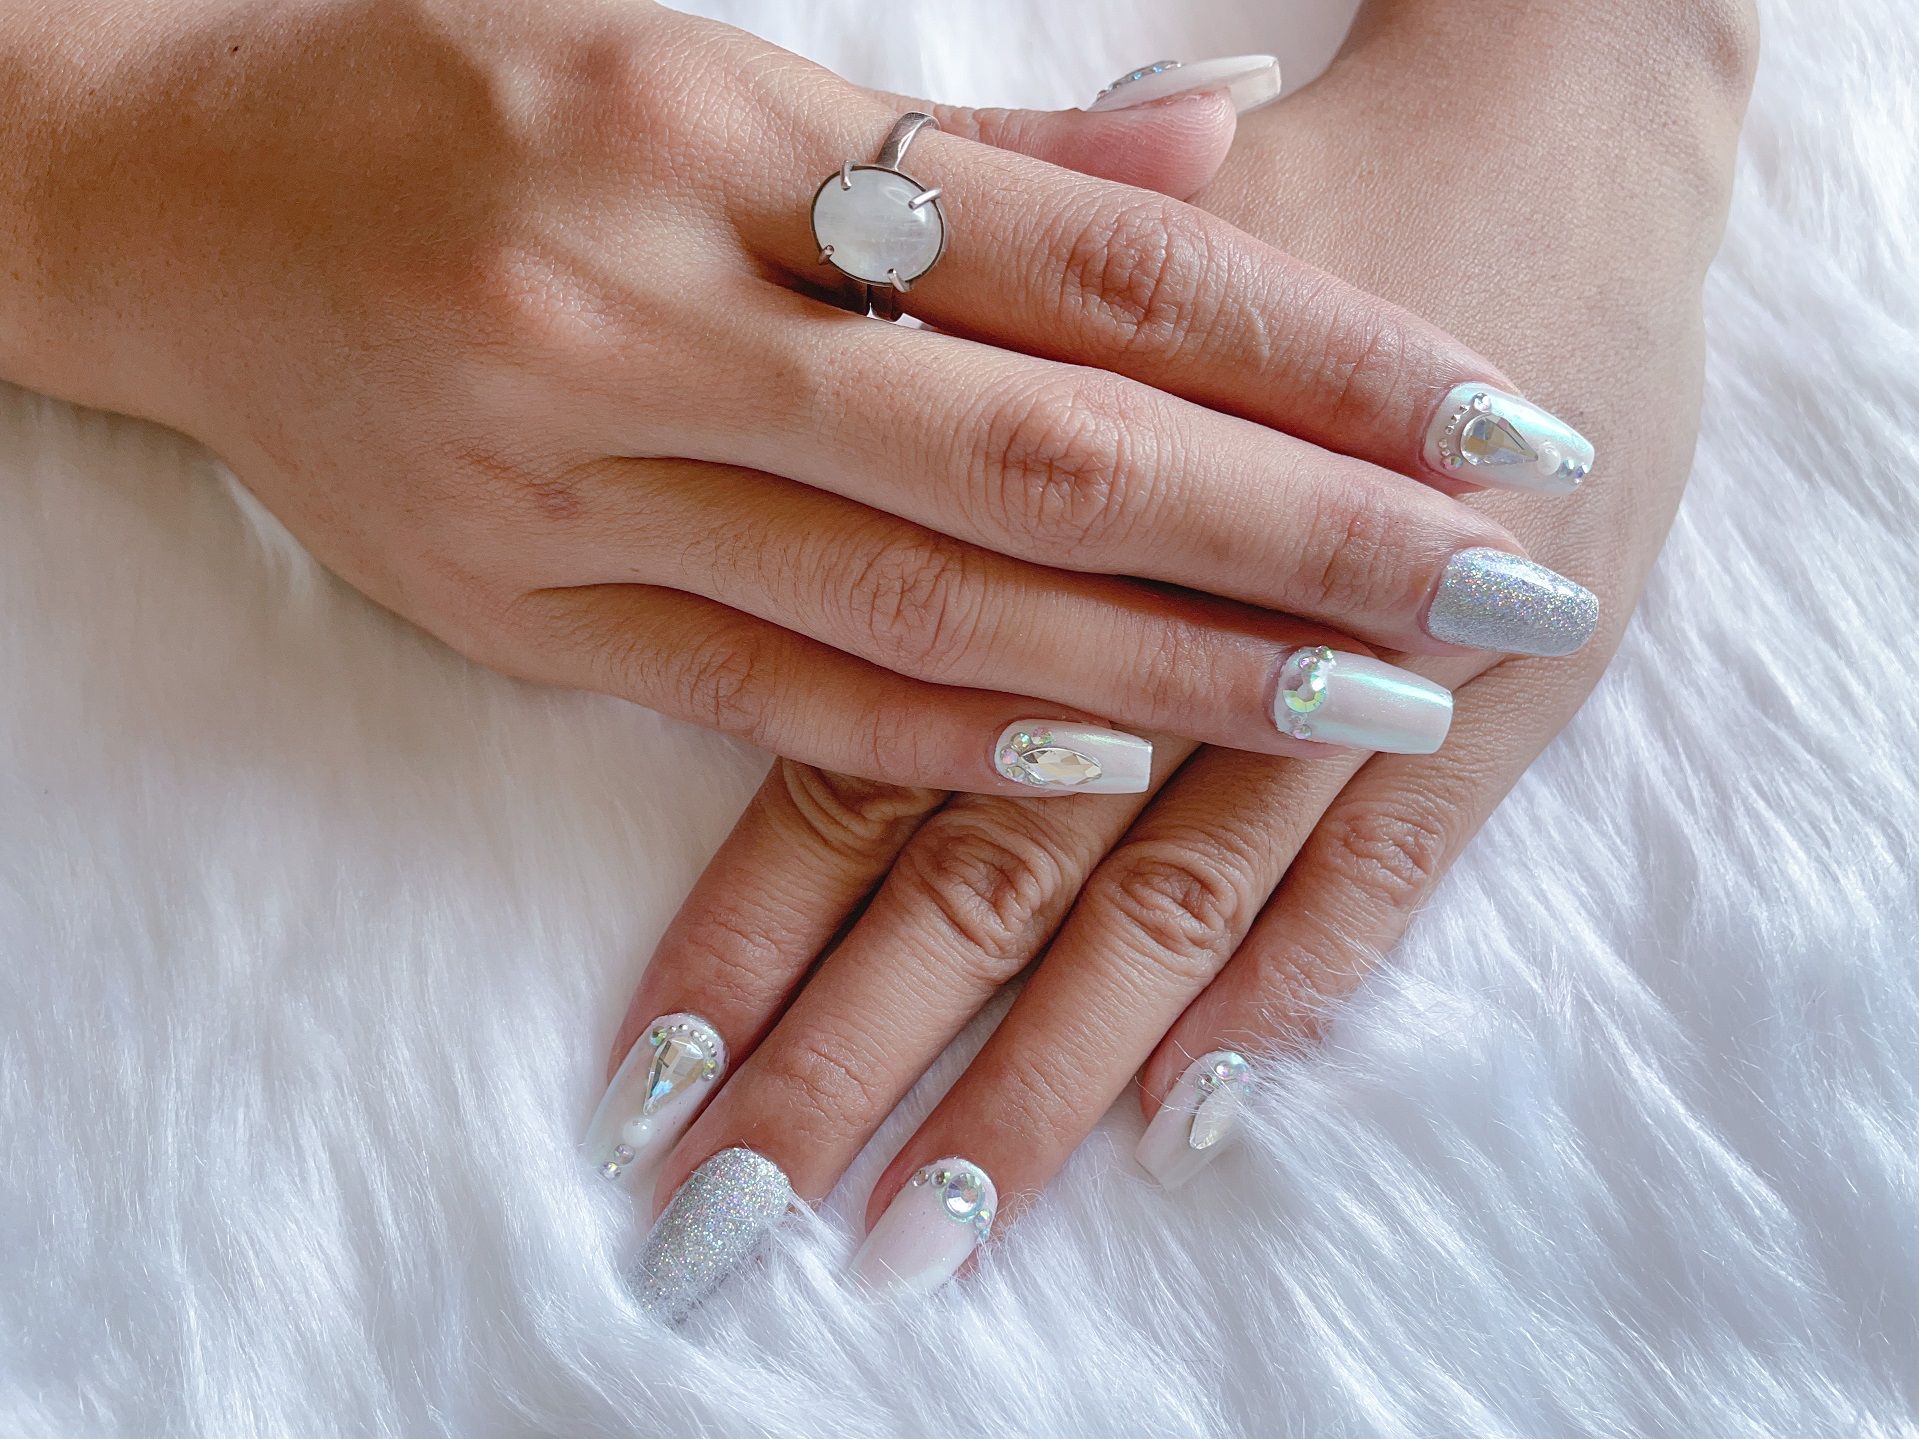
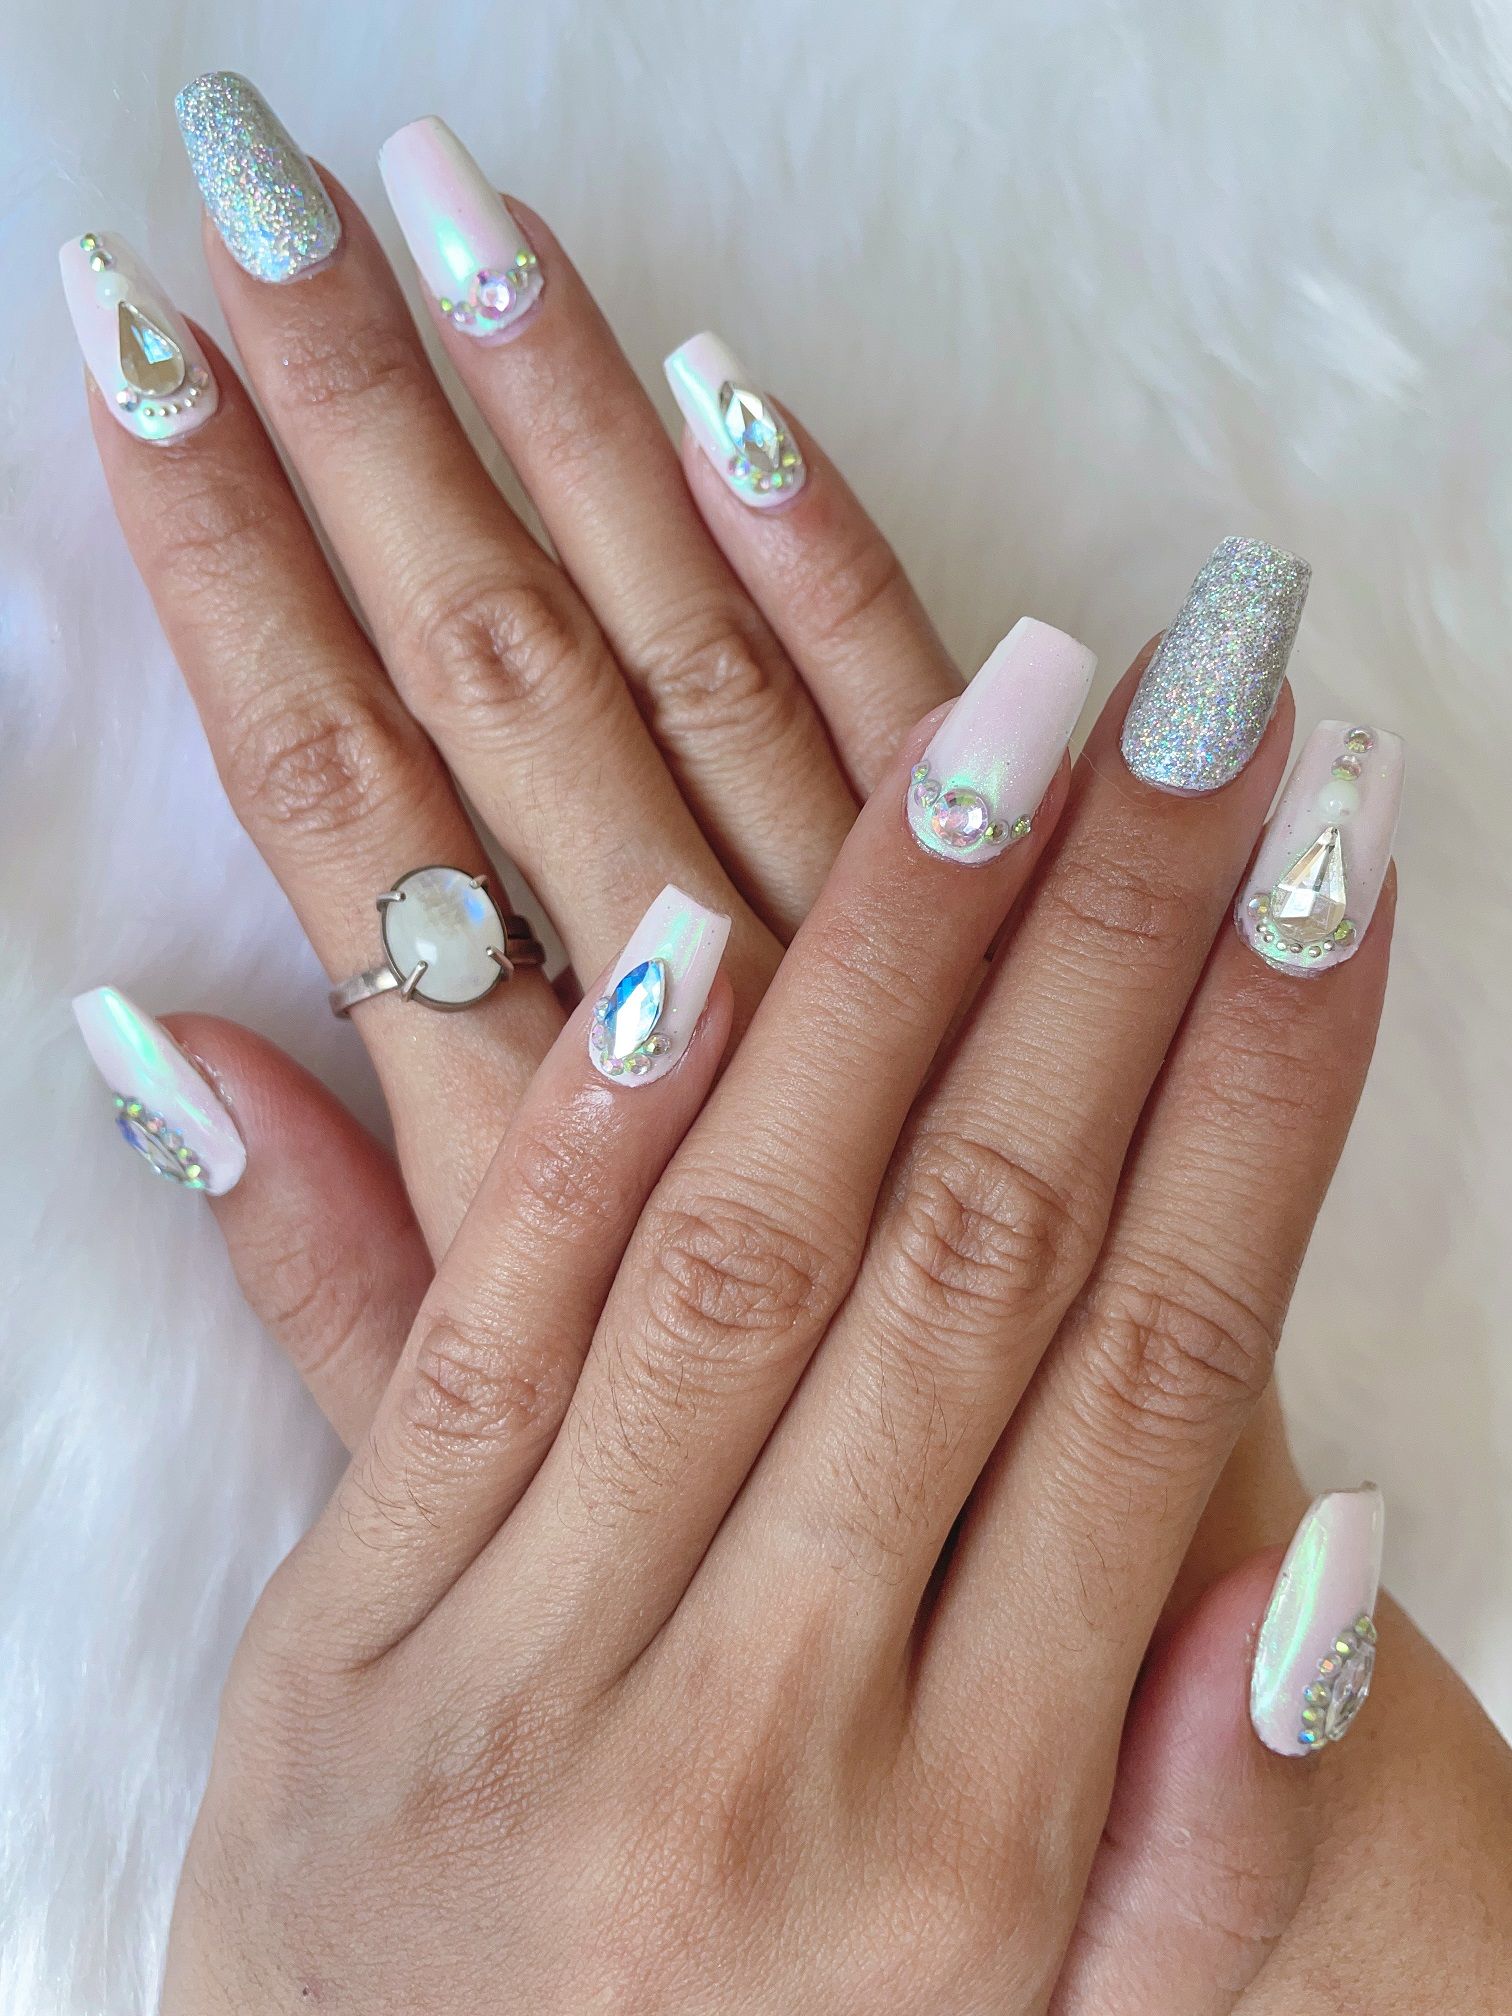
Final look
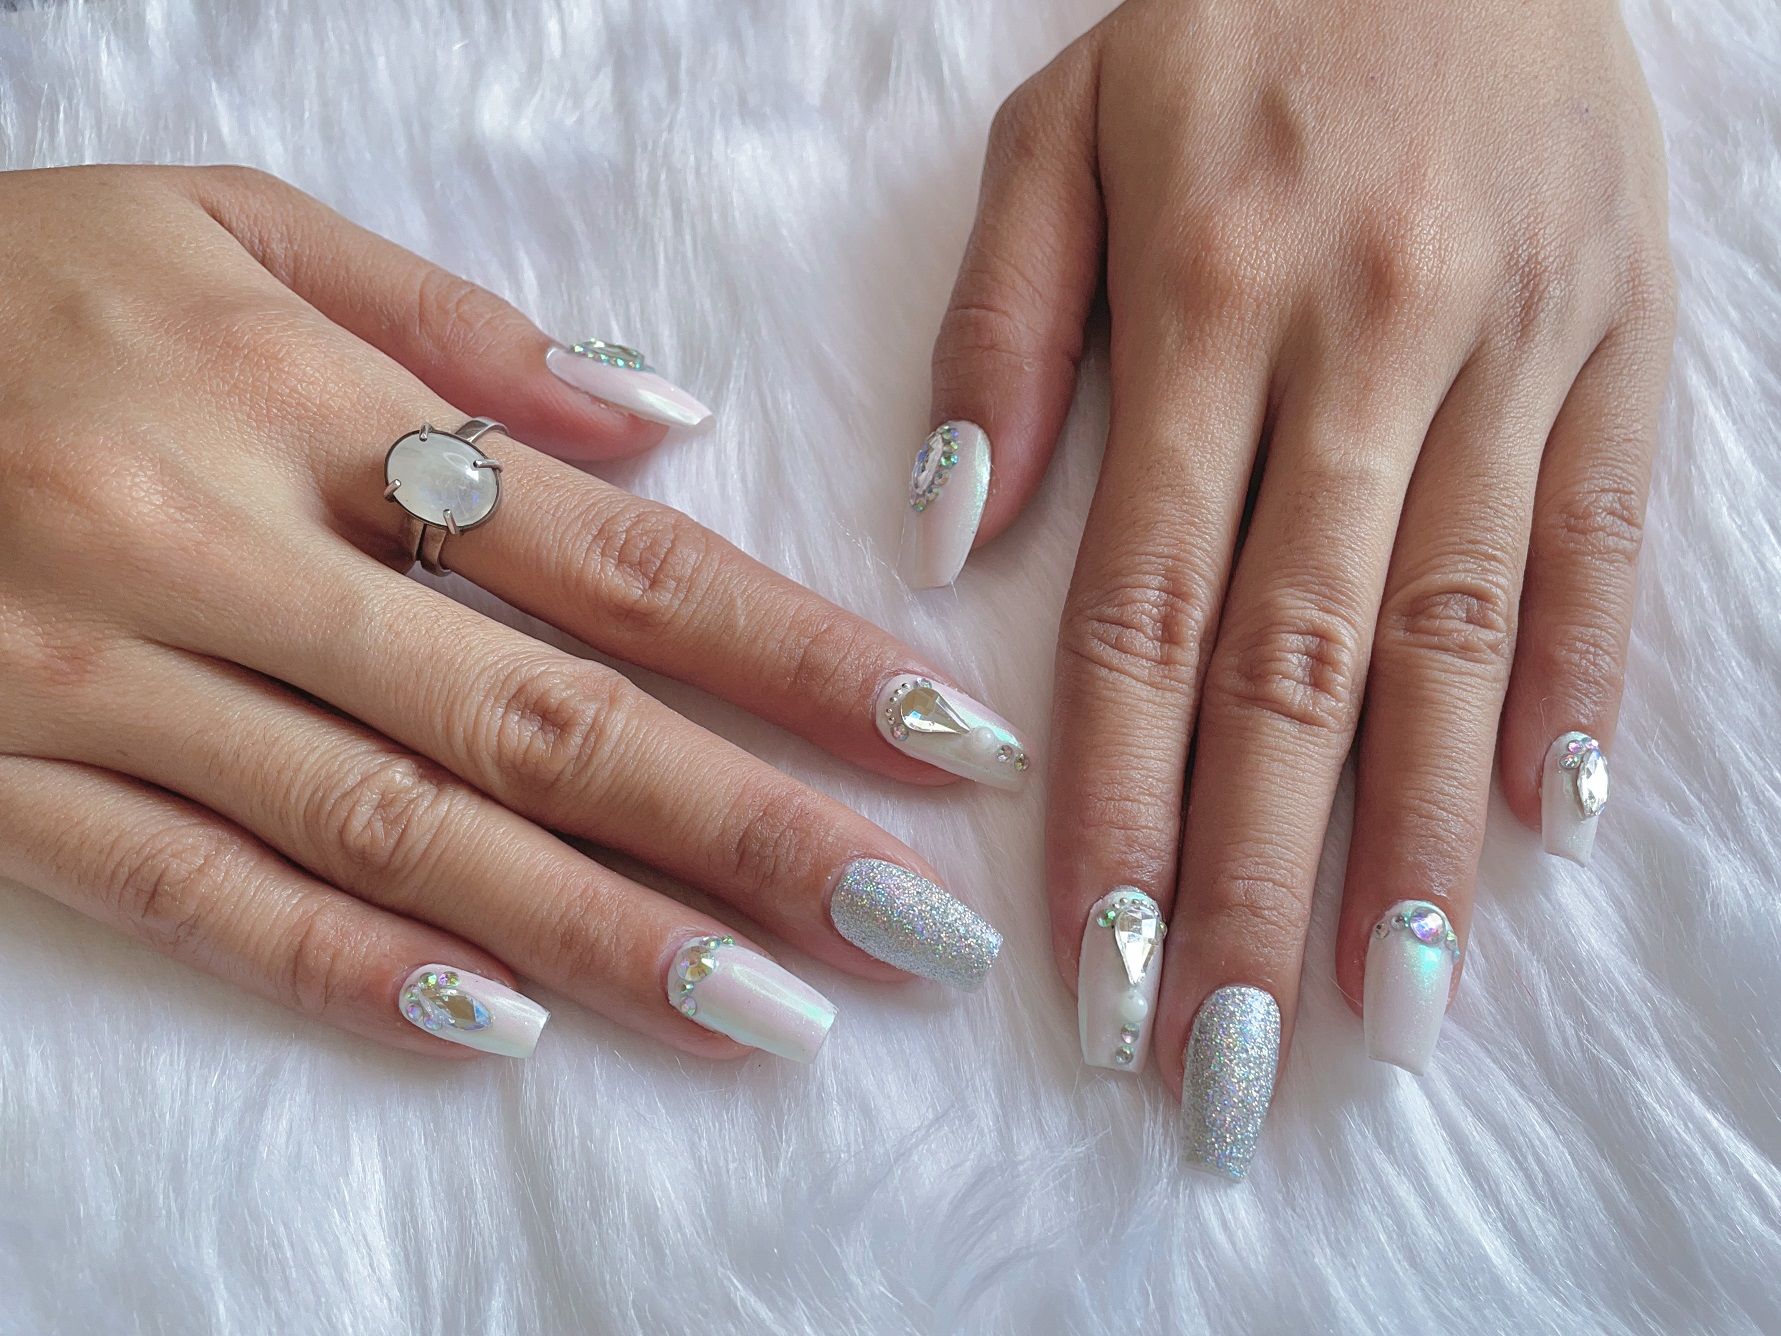
The nails just looks so good with my moonstone ring! 😍
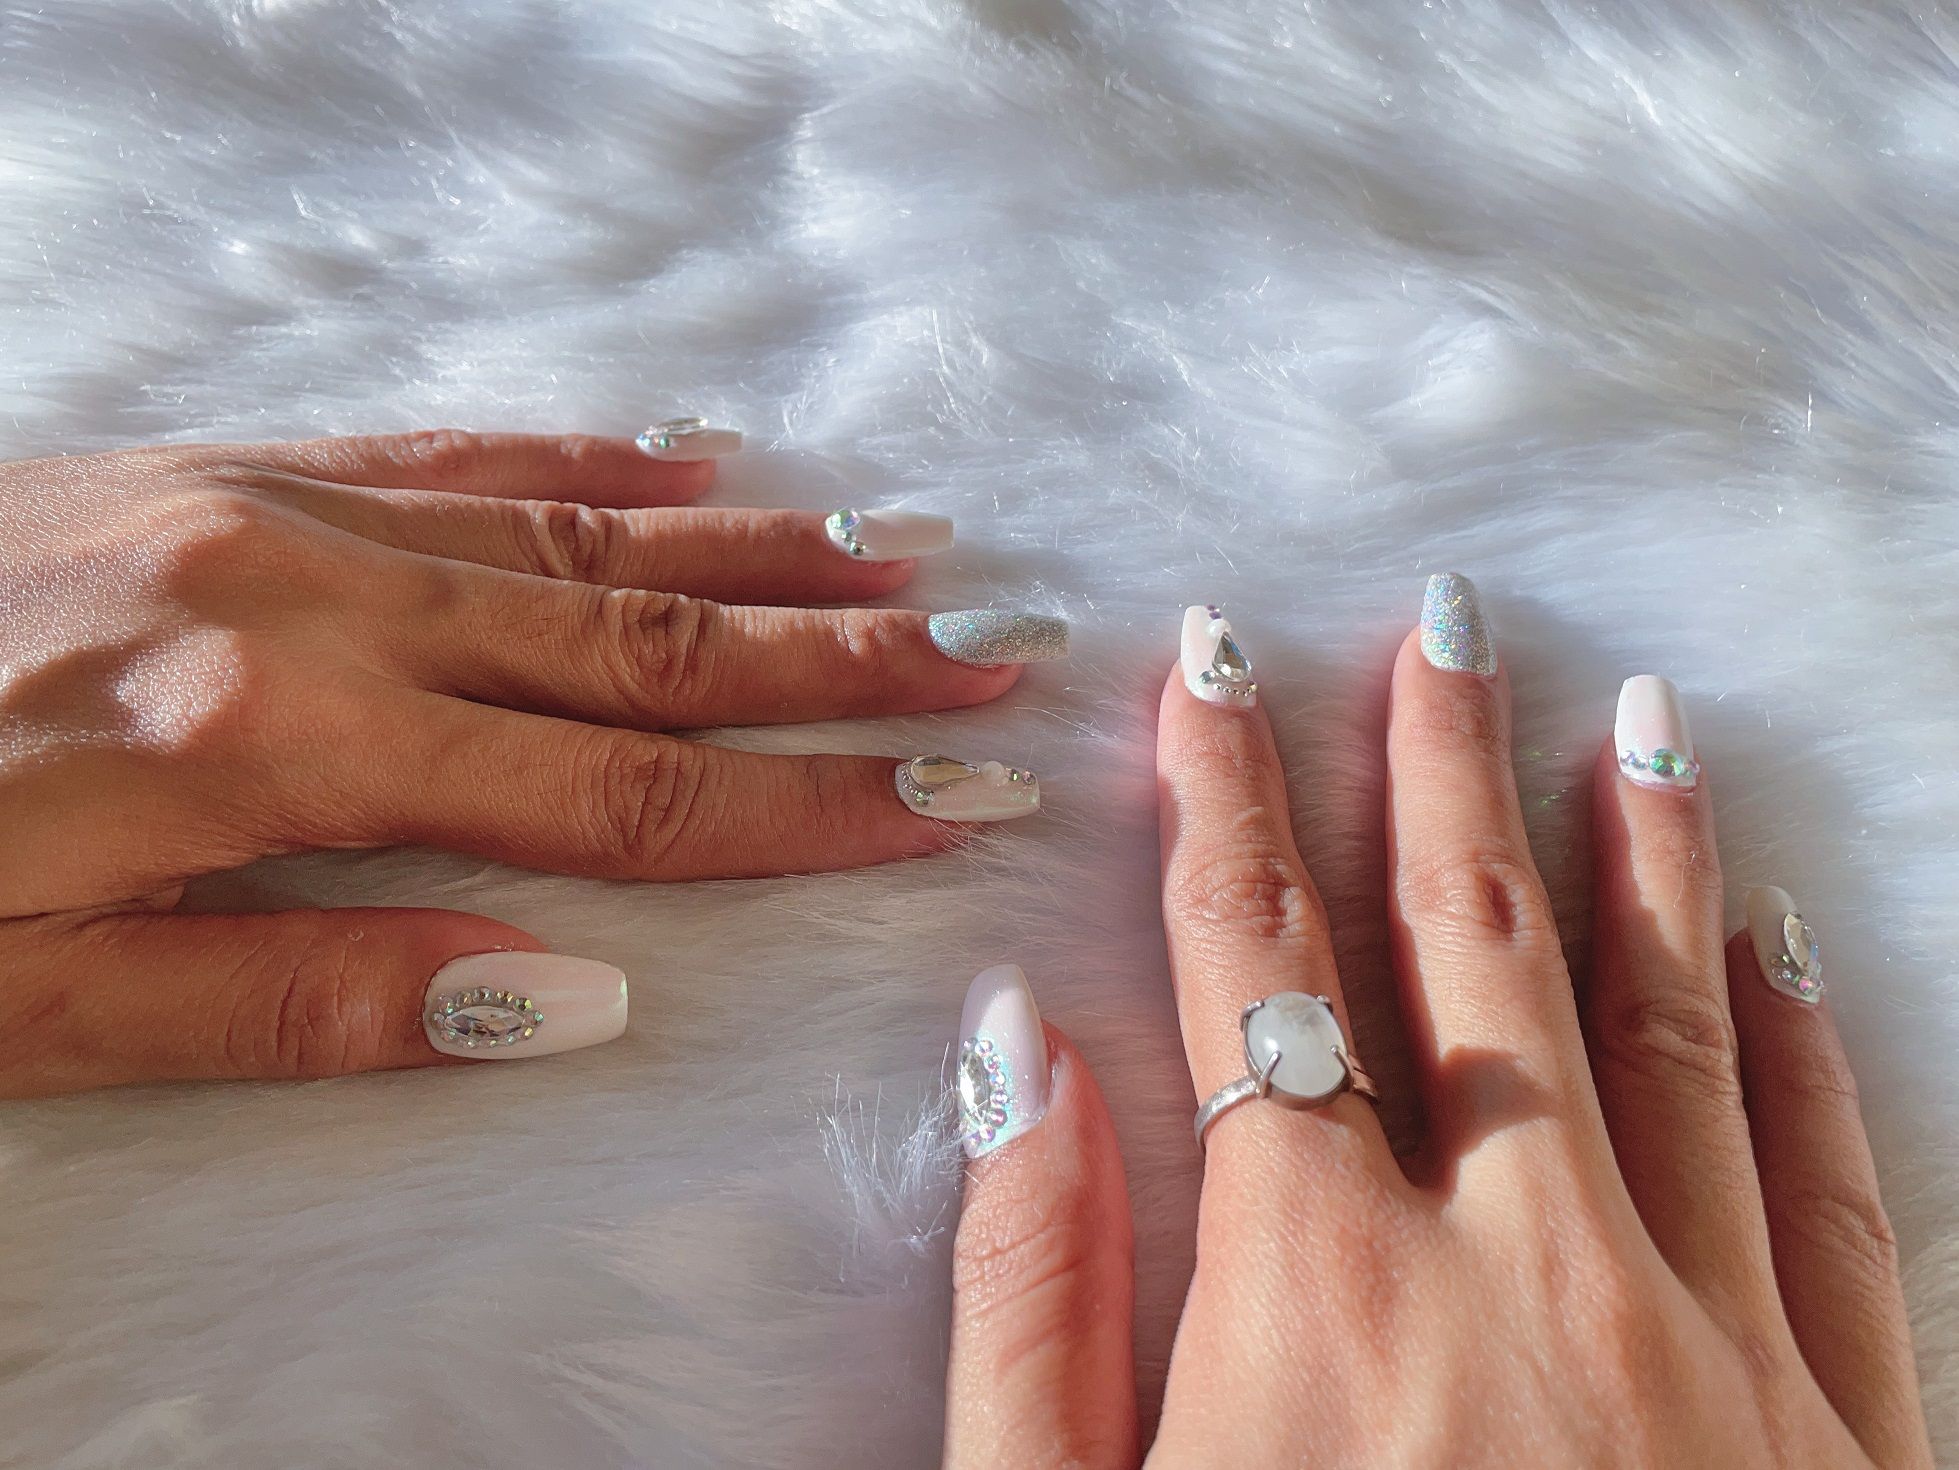
Do you like it?
Maybe I'll do a red-themed luxury nails next!
Show more
Tags :
Woo!
This creator can upvote comments using 3speak's stake today because they are a top performing creator!
Leave a quality comment relating to their content and you could receive an upvote
worth at least a dollar.
Their limit for today is $0!
Their limit for today is $0!
7 views
4 years ago
$
7 views
4 years ago
$

31 views
4 years ago
$
25 views
4 years ago
$

13 views
4 years ago
$
More Videos
6 views
2 years ago
$
15 views
3 years ago
$

5 views
2 years ago
$

9 views
a year ago
$

9 views
2 years ago
$

9 views
a year ago
$

10 views
a year ago
$

5 views
3 years ago
$

3 views
2 years ago
$

11 views
2 years ago
$

10 views
8 months ago
$

10 views
3 years ago
$

38 views
a year ago
$
5 views
a year ago
$

2 views
2 years ago
$
11 views
a year ago
$
9 views
2 years ago
$

5 views
a month ago
$

2 views
7 months ago
$

0 views
a month ago
$

7 views
11 months ago
$

7 views
a year ago
$
6 views
a year ago
$
Comments:
Reply:
To comment on this video please connect a HIVE account to your profile: Connect HIVE Account