Changing bearings in an OPTRA electric fan // Cambio de rodamientos en electroventilador de OPTRA
4
About :
IN ENGLISH:
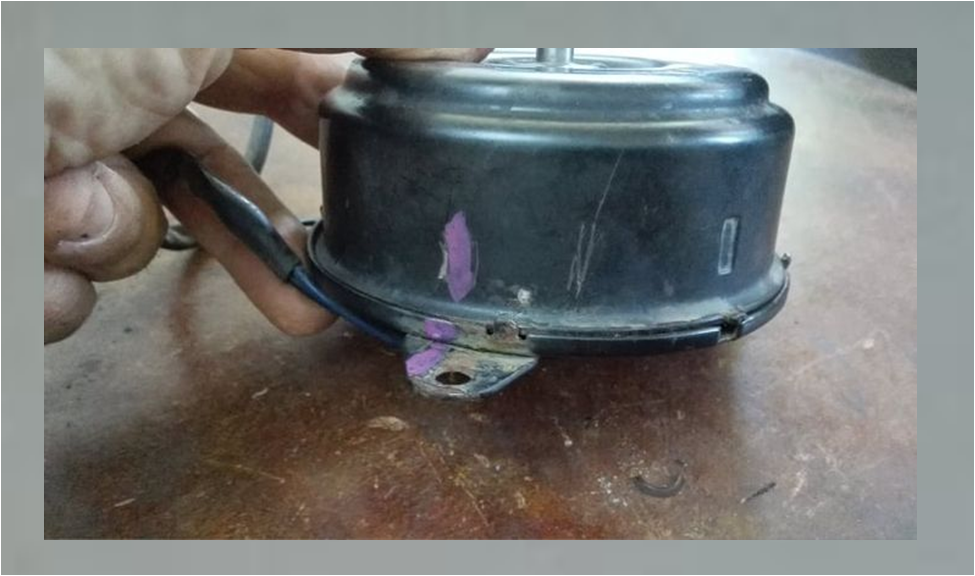
Hello friends, today I want to share with you OPTRA high speed electric fan motor repair. Generally this motor is activated when the air conditioning is turned on or when the system has reached the maximum temperature so that the ECU can activate it. .
Well friends, today I started to repair another OPTRA electric fan motor, which had damaged bearings, I had kept this motor for a year, BUT there is nothing we can do to save the damaged parts, the best thing is to repair them and keep them in good condition. conditions to use them when necessary. Please note that the electric fan motor on my son's car broke down a month ago. If this engine had been in good condition, what we would have done is replace the engine. The engine was damaged by this, so to prevent this from happening again, today I decided to try to repair it to have it in reserve.
EN ESPAÑOL:***
Hola amigos, hoy quiero compartir con ustedes la reparación del motor del electro-ventilador de alta del carro OPTRA, generalmente, este motor se activa cuando se enciende el aire acondicionado o cuando el sistema haya alcanzado la máxima temperatura para que la computadora proceda a activarlo.
Bueno amigos, hoy me puse a reparar otro motor de electro-ventilador de OPTRA, el cual se le habían dañado los rodamientos, este motor lo tenia guardado desde hace un año, PERO nada hacemos con guardar las piezas dañadas, lo mejor es repararlas y guardarlas en buenas condiciones para utilizarlas en el momento que se necesiten, fíjense que hace un mes se le daño precisamente el motor del electro-ventilador del carro de mi hijo, si hubiese tenido este motor en buenas condiciones, lo que hubiésemos hecho es sustituir el motor dañado por este, de manera que para que no vuelva a suceder esto, hoy decidí intentar repararlo para tenerlo de reserva.
Changing bearings in an OPTRA electric fan // Cambio de rodamientos en un electroventilador de OPTRA
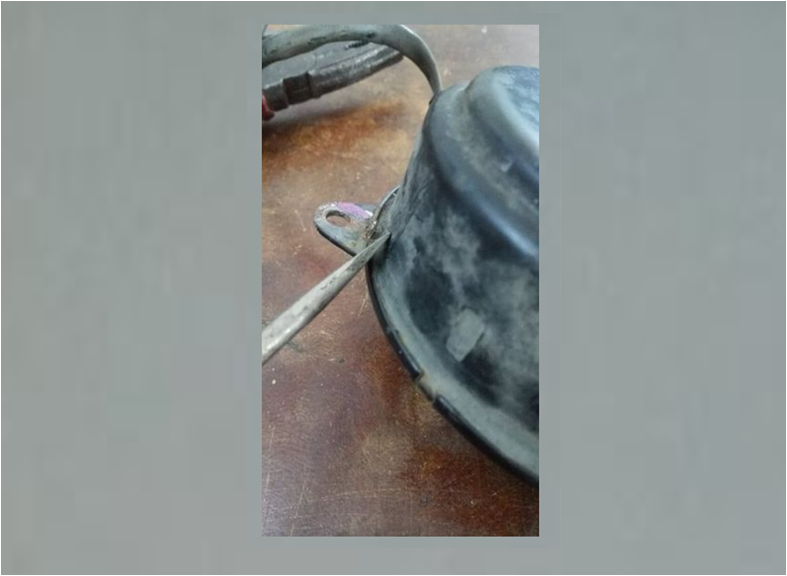
I tell you that my dad had a Chevrolet pick-up, and when he went on a trip he took a spare alternator and starter, that's called "Being cautious." That is to say, he took these parts with him in case any of them failed during the trip, since when one of them failed, I just had to replace them, well, sometimes we don't learn from our parents, so today I am going to remember my father and I am going to repair this electric fan motor so that my son I kept it in the car because HE is always traveling.
Les cuento que mi papá tenia una pick-up Chevrolet, y cuando salía de viaje se llevaba un alternador y un arranque de repuesto, eso se llama "Ser precavido" Es decir que se llevaba estas piezas por si a caso alguna de ellas fallaban durante el viaje, ya que al fallar alguna de ellas, solo tenía que sustituirlas, bueno, a veces no aprendemos de nuestros padres, de manera que hoy voy a recordar a mi padre y voy a reparar este motor de electro-ventilador para que mi hijo lo guarde en el carro porque ÉL siempre está viajando.
Process: / Proceso:
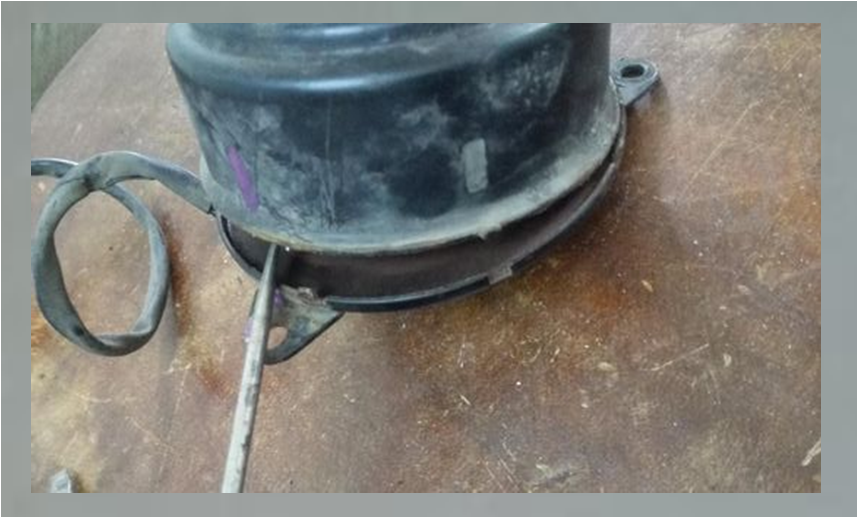
Separating the two covers of the Motor casing / Separando las dos tapas de la carcasa del Motor
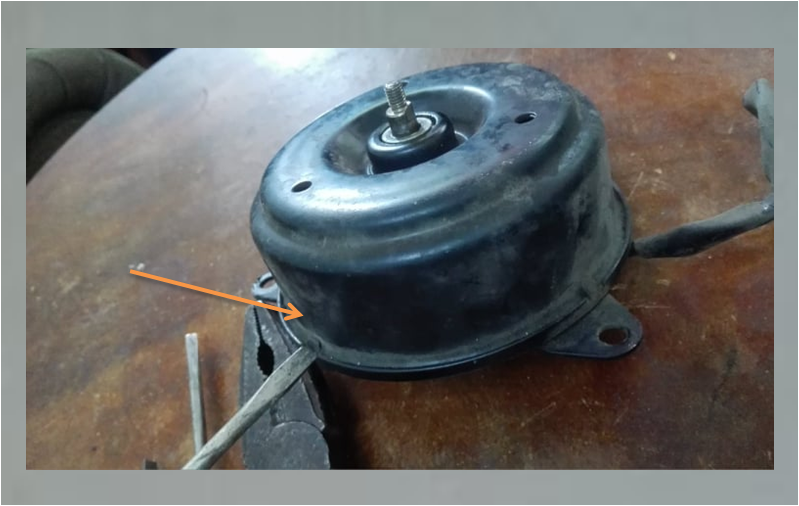
- The first thing I will do is mark the position of the two casing covers:
<- Lo primero que haré será marcar la posición de las dos tapas de la carcasa:
- Then I will open the motor by simply lifting the tabs on one of the covers with a flat screwdriver:
<- Luego abriré el motor simplemente levantando las pestañas de una de las tapas con un destornillador plano:
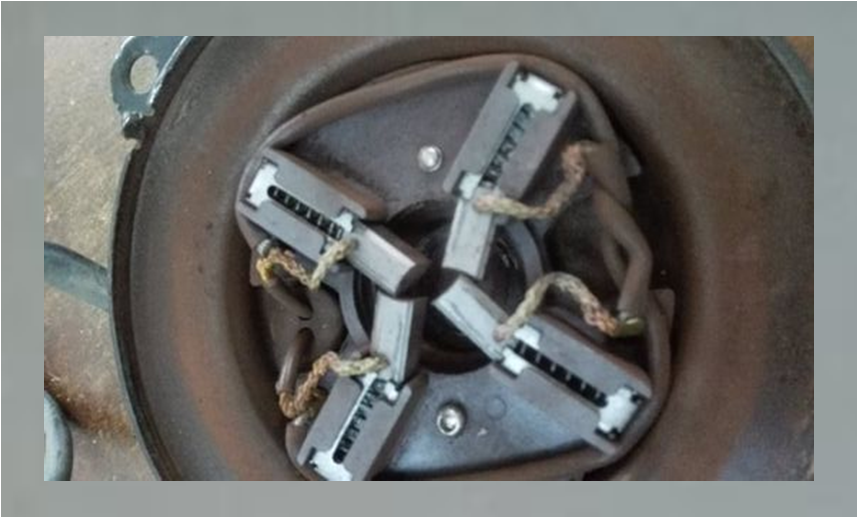
After opening the engine, look how dirty it is, the bearings look rusty: // Después de abrir el motor, miren lo sucio que se encuentra, los rodamientos se ven oxidados:
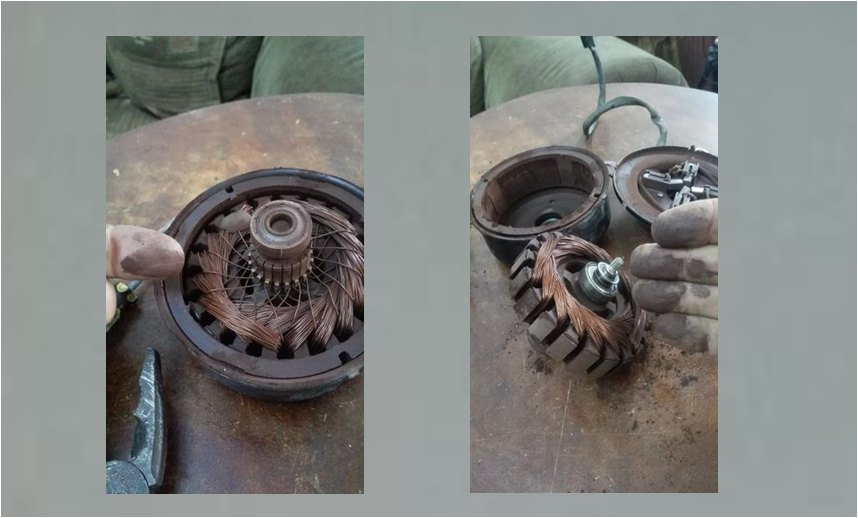
At least the engine carbons don't have much wear: / Por lo menos los carbones no tienen mucho desgaste:
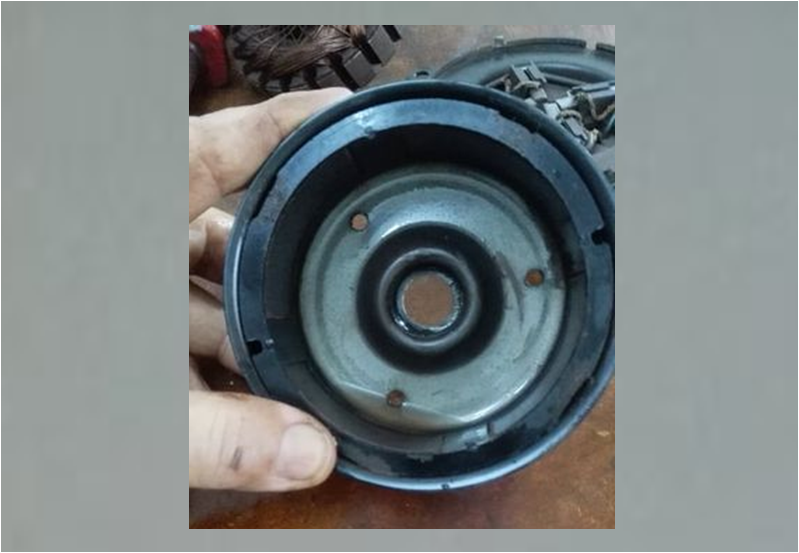
- Before starting to change the bearings I am going to clean the internal part of the motor because it is really very dirty, I am going to wash the cover that has the magnetic field with water and detergent, as for the rotor or armature I am going to clean it with a brush:
<- Antes de comenzar a cambiar los rodamientos, voy a limpiar la parte interna del motor porque de verdad esta muy sucia, la tapa que posee el campo magnético la voy a lavar con agua y detergente, en cuanto al rotor o inducido lo voy a limpiar con una brocha:
Changing the bearings: / Cambiando los rodamientos:
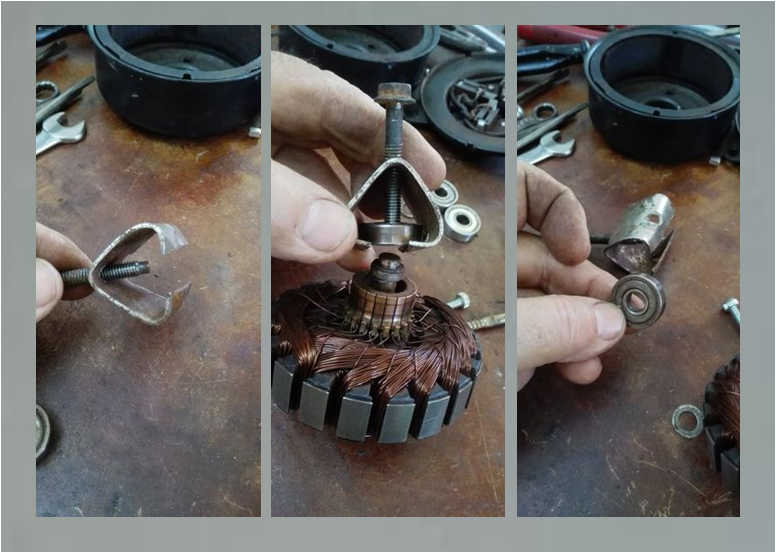
- The first thing I will do is remove the damaged bearings, for this I had to improvise an extractor which I made by bending a piece of plate, to which I made some hooks and a hole for the screw, below I show you this idea, because I think that can be useful for any emergency:
<- Lo primero que haré será retirar los rodamientos dañados, para esto tuve que improvisar un extractor el cual lo hice doblando un pedazo de pletina, al cual le hice unos ganchos y un orificio para el tornillo, a continuación les muestro esta idea, porque pienso que les puede servir para alguna emergencia:
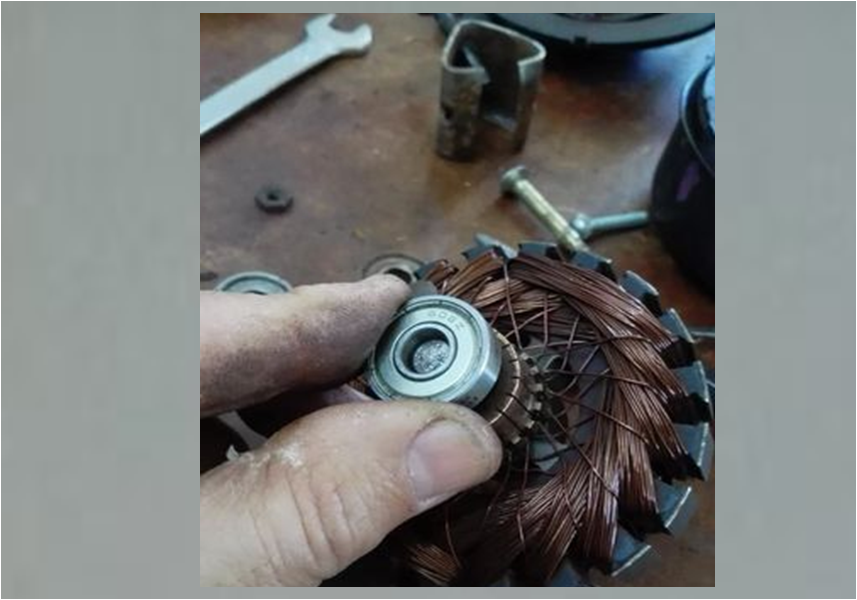
- Now I am going to place the new bearings on the armature shaft:
<- Ahora voy a colocar los nuevos rodamientos en el eje del inducido:
Placing the two casing covers. / Colocando nuevamente las dos tapas de la carcasa.
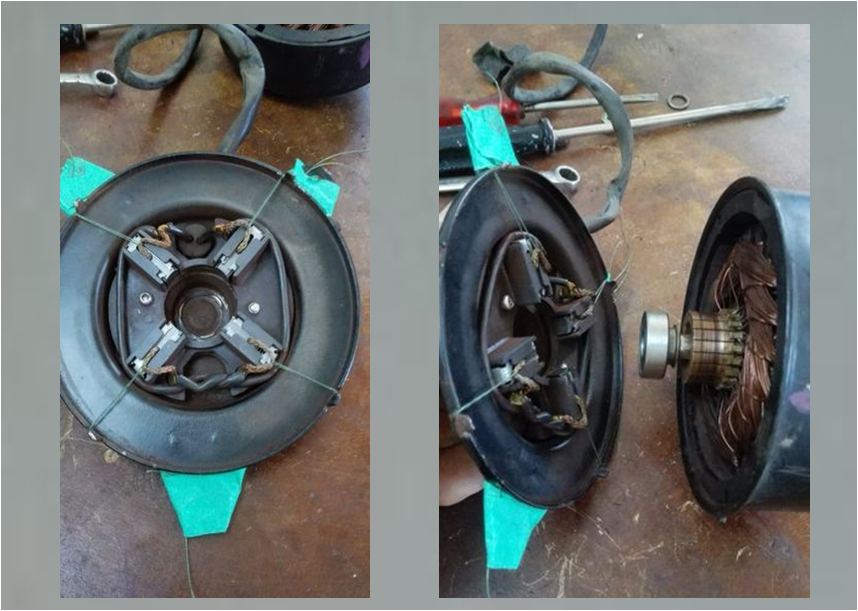
Well friends, once the bearings have been placed, now I have to join the two covers that form the motor casing, as you have seen in the images, one of these pieces has the magnetic field and the other the carbons or brushes, in truth, it The most uncomfortable thing is to put the thinner collector inside the lid that has the carbons. I say that it is uncomfortable because it is necessary to sink the 4 carbons. I do it in a simple way, I do it by simply holding the carbons with a thread, the idea is that the carbons remain inside their base, after inserting the armature collector, simply pull the thread and that's it:
<Bueno amigos, una vez colocadas los rodamientos ahora tengo que unir las dos tapas que forman la carcasa del motor, como han podido ver en las imágenes, una de estas piezas posee el campo magnético y la otra los carbones o escobillas, en verdad, lo más incomodo es meter el colector de las delgas dentro de la tapa posee los carbones, digo que es incomodo porque es necesario hundir lo 4 carbones, yo lo hago de una manera sencilla, lo hago simplemente sosteniendo los carbones con un hilo, la idea es que los carbones se mantengan dentro de su base, luego de meter el colector del inducido simplemente se hala el hilo y listo:
Join the two motor bodies.
Now I am going to join the two bodies of the engine, I will do this taking into account the mark we made at the beginning, after attaching the two covers we proceed to bend the metal tabs of one of the covers and that's it:
Unir los dos cuerpos del motor.
Ahora voy a unir los dos cuerpos del motor, esto lo haré tomando en cuenta la marca que hicimos al comienzo, luegos de acoplar las dos tapas procedemos a doblar las pestañas metálicas de una de las tapas y listo:
Checking the operation of the motor with the use of a 12 volt transformer: // Comprobando el funcionamiento del motor con el uso de un transformador de 12 voltios:
Well friends, the engine turned out very well so I will give this engine to my son so that he has it as a reserve in case of an emergency. As I said at the beginning, there is no point in storing spare parts in poor condition, it is best to check them immediately to know if they are repairable or not.
<Bueno amigos, el motor quedó muy bien, así que este motor se lo daré a mi hijo para que lo tenga de reserva para cualquier emergencia. Como lo decía al comienzo, no hacemos nada con guardar repuestos en mal estado, lo mejor es revisarlos de inmediato para saber si son reparables o no.
Show more
Tags :
Woo!
This creator can upvote comments using 3speak's stake today because they are a top performing creator!
Leave a quality comment relating to their content and you could receive an upvote
worth at least a dollar.
Their limit for today is $0!
Their limit for today is $0!

6 views
2 years ago
$
3 views
3 years ago
$
10 views
3 years ago
$

9 views
2 years ago
$

Hive Open Mic - Semana:151 -Canción originsal: "Dios es mi esperanza" / Song: "Dios es mi esperanza"
6 views
a year ago
$
More Videos

13 views
a year ago
$

4 views
4 years ago
$

7 views
2 years ago
$

0 views
a year ago
$

43 views
3 years ago
$

2 views
3 years ago
$

2 views
10 months ago
$

7 views
8 months ago
$

13 views
a year ago
$

16 views
2 years ago
$

2 views
3 years ago
$

1 views
a year ago
$

14 views
2 years ago
$

66 views
2 years ago
$

11 views
4 months ago
$

16 views
3 years ago
$

11 views
10 months ago
$

8 views
a year ago
$

5 views
4 years ago
$

55 views
3 years ago
$

118 views
4 years ago
$

64 views
4 months ago
$

16 views
3 years ago
$

5 views
9 months ago
$
Comments:
Reply:
To comment on this video please connect a HIVE account to your profile: Connect HIVE Account