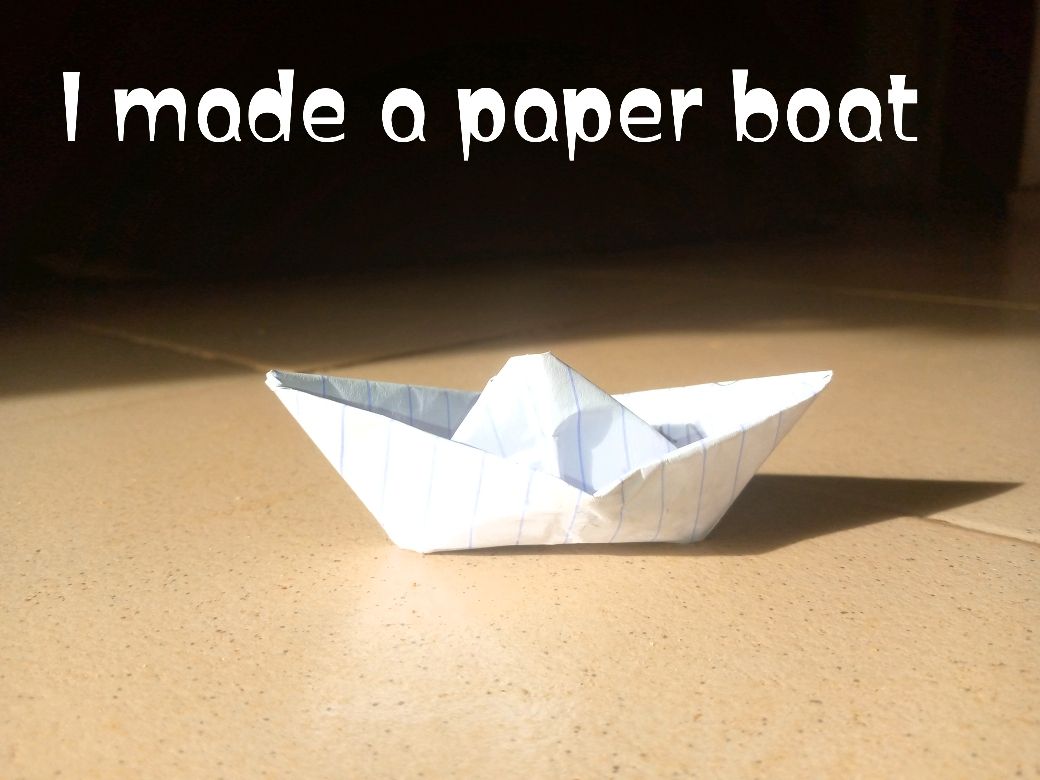
Creative Sunday | I made a paper boat, taking my kids back to my childhood memory
3
About :
It's another lovely weekend, and I hope we all having fun activities to feel refreshed for the new week.
It's another creative-Sunday edition, and I'm always happy whenever I have the chance to make an entry, of course, it has to be fun for me to term it creative.
So this afternoon, I was trying to get a quick nap but my energetic children had other plans for me and wouldn't stop disturbing me to come play with them, all effort to make them see that mummy was trying to sleep a little after having an early morning to prepare for church, I was back and thought they should be as exhausted as I was after having lunch, but no, they had other plans.
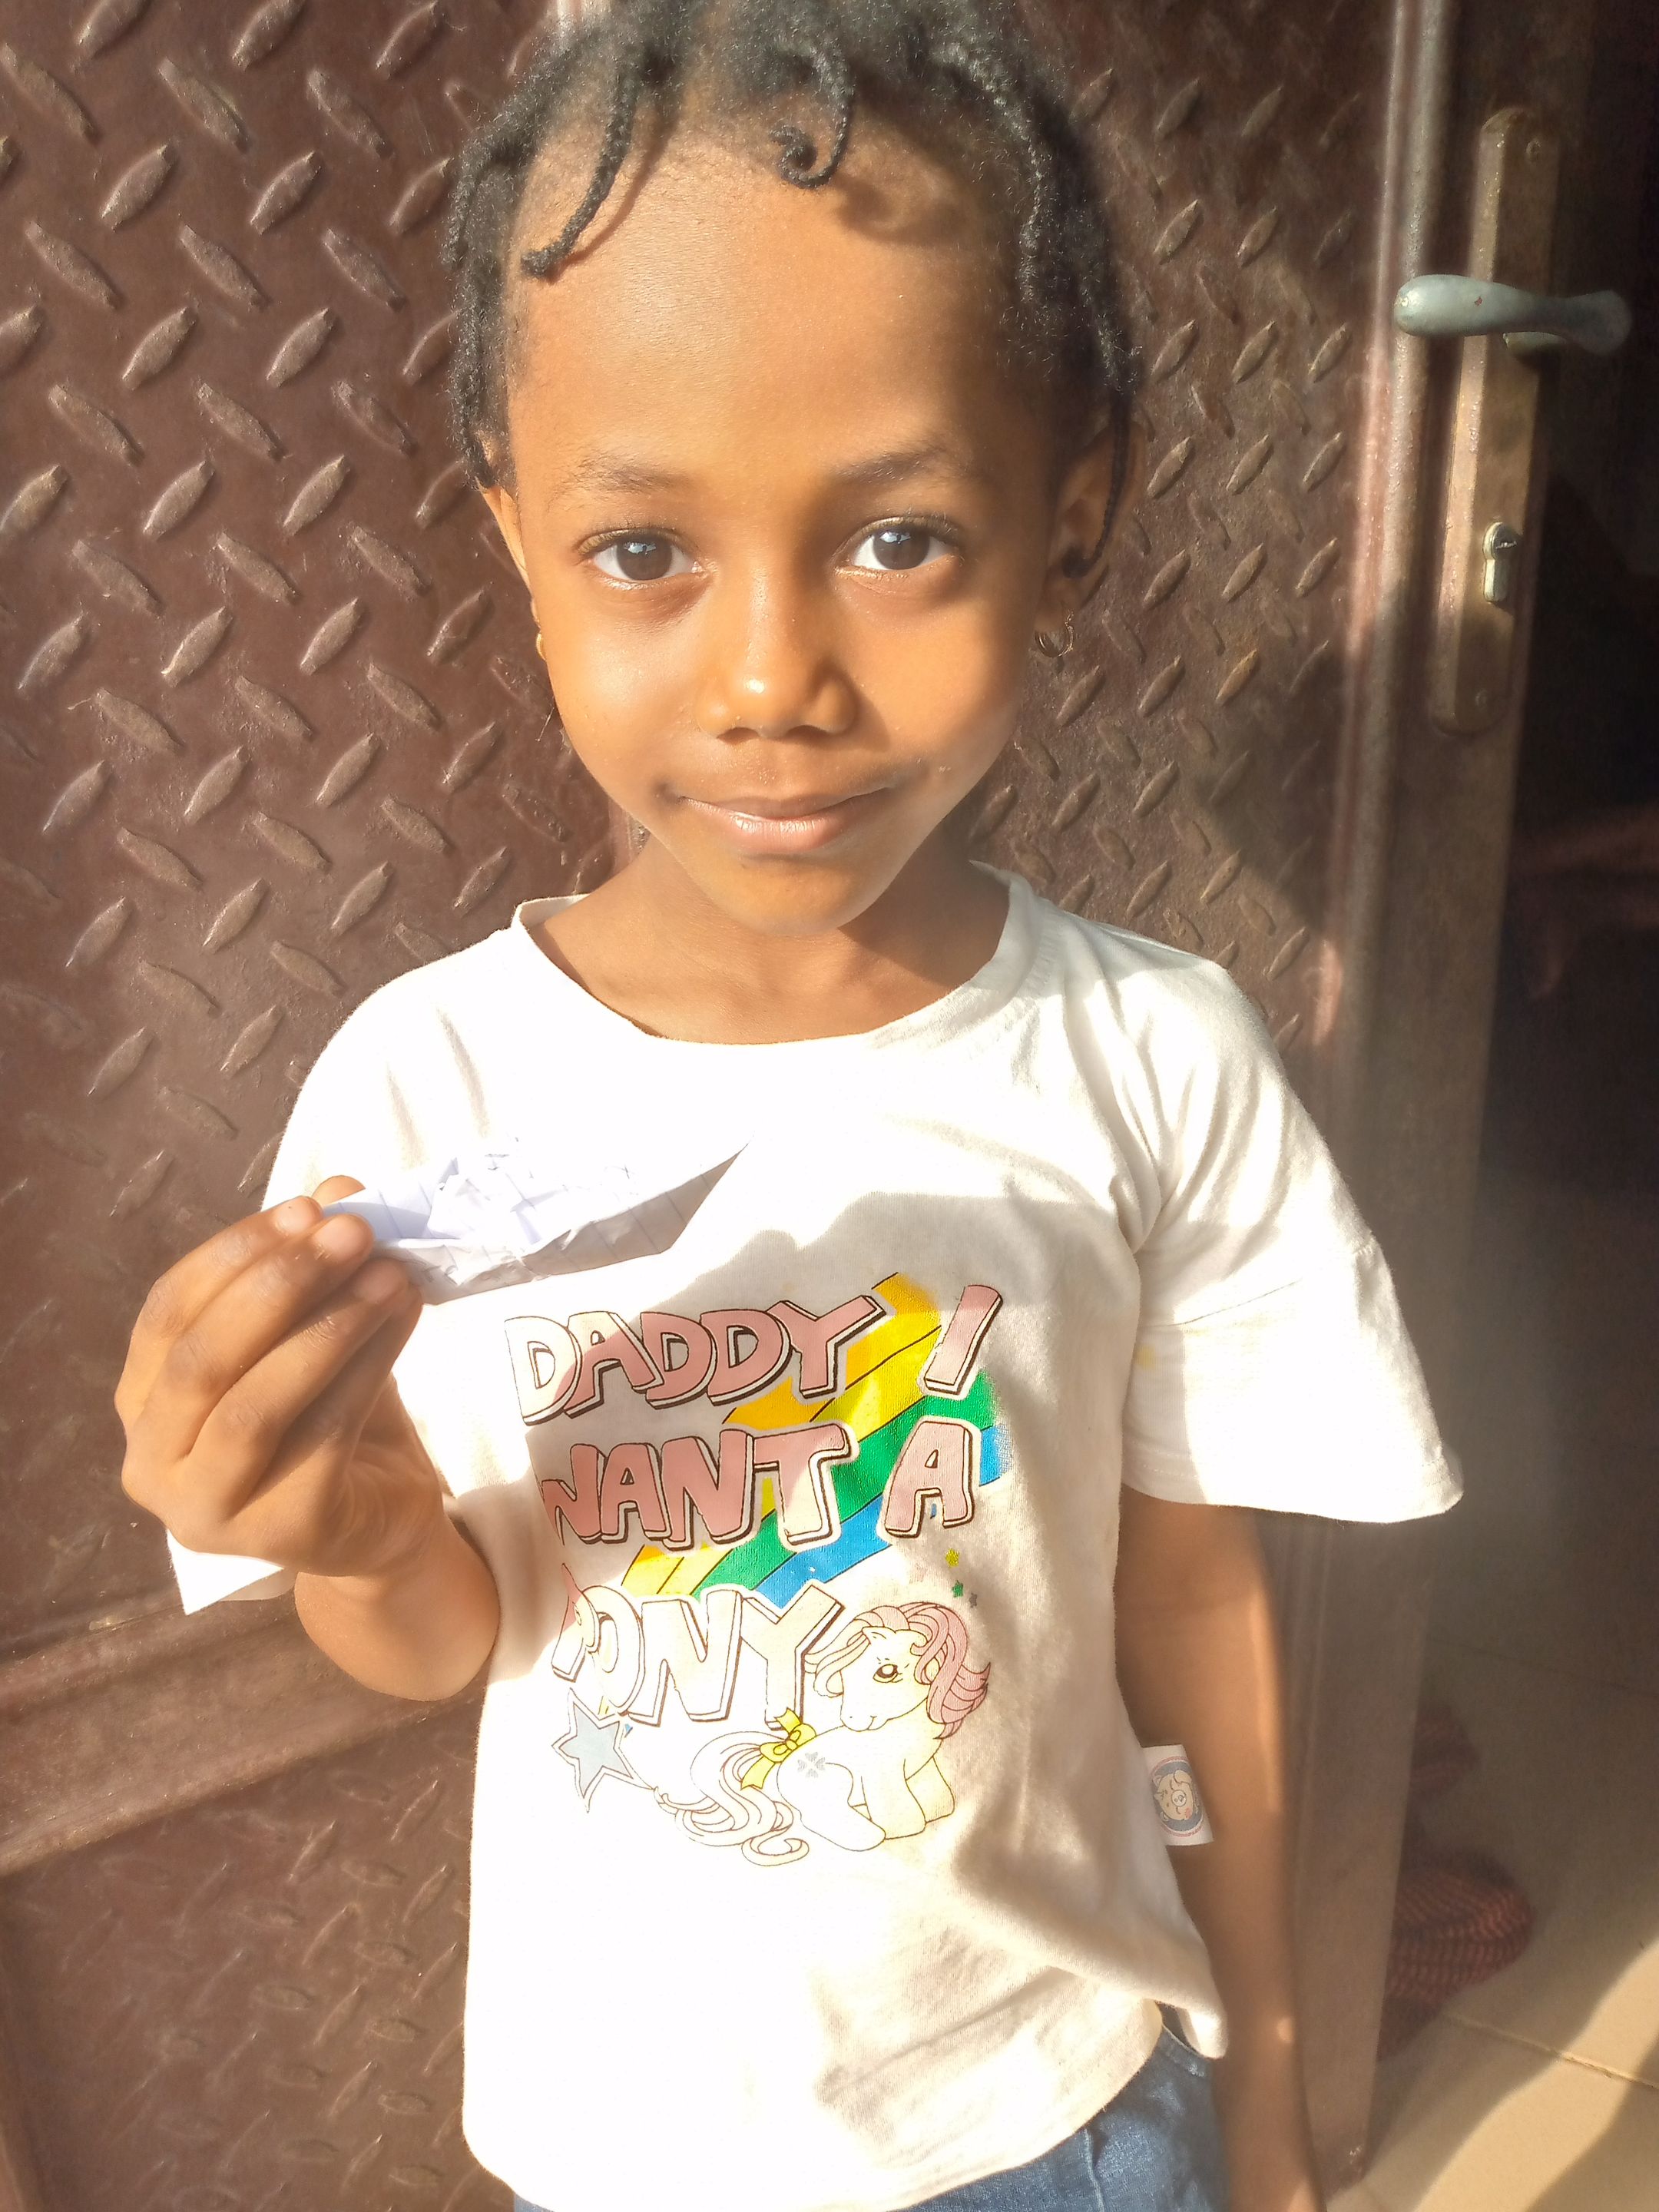
Since I couldn't get them to join me in taking a nap, I had no choice them to join them, so I thought of a creative way to keep them busy, and making a paper boat or canoe-like some like to call it, came to mind, I'm sure most of us here must have also made this paper boat as a child, as it is one of the simplest to make Origami art, then I thought, why not pass the knowledge to my adorable daughters, at least it will make them reduce the noise since they have to focus on making theirs and getting it properly, and viola, the trick that worked for me to have a bit of rest, now, `my house is filled with several paper boats, who knows where I can sell them please, lol
Without further ado, I will be sharing with us the step-by-step process of how a paper boat is made, for better understanding in case you are coming across this information for the first time, I also uploaded a video tutorial
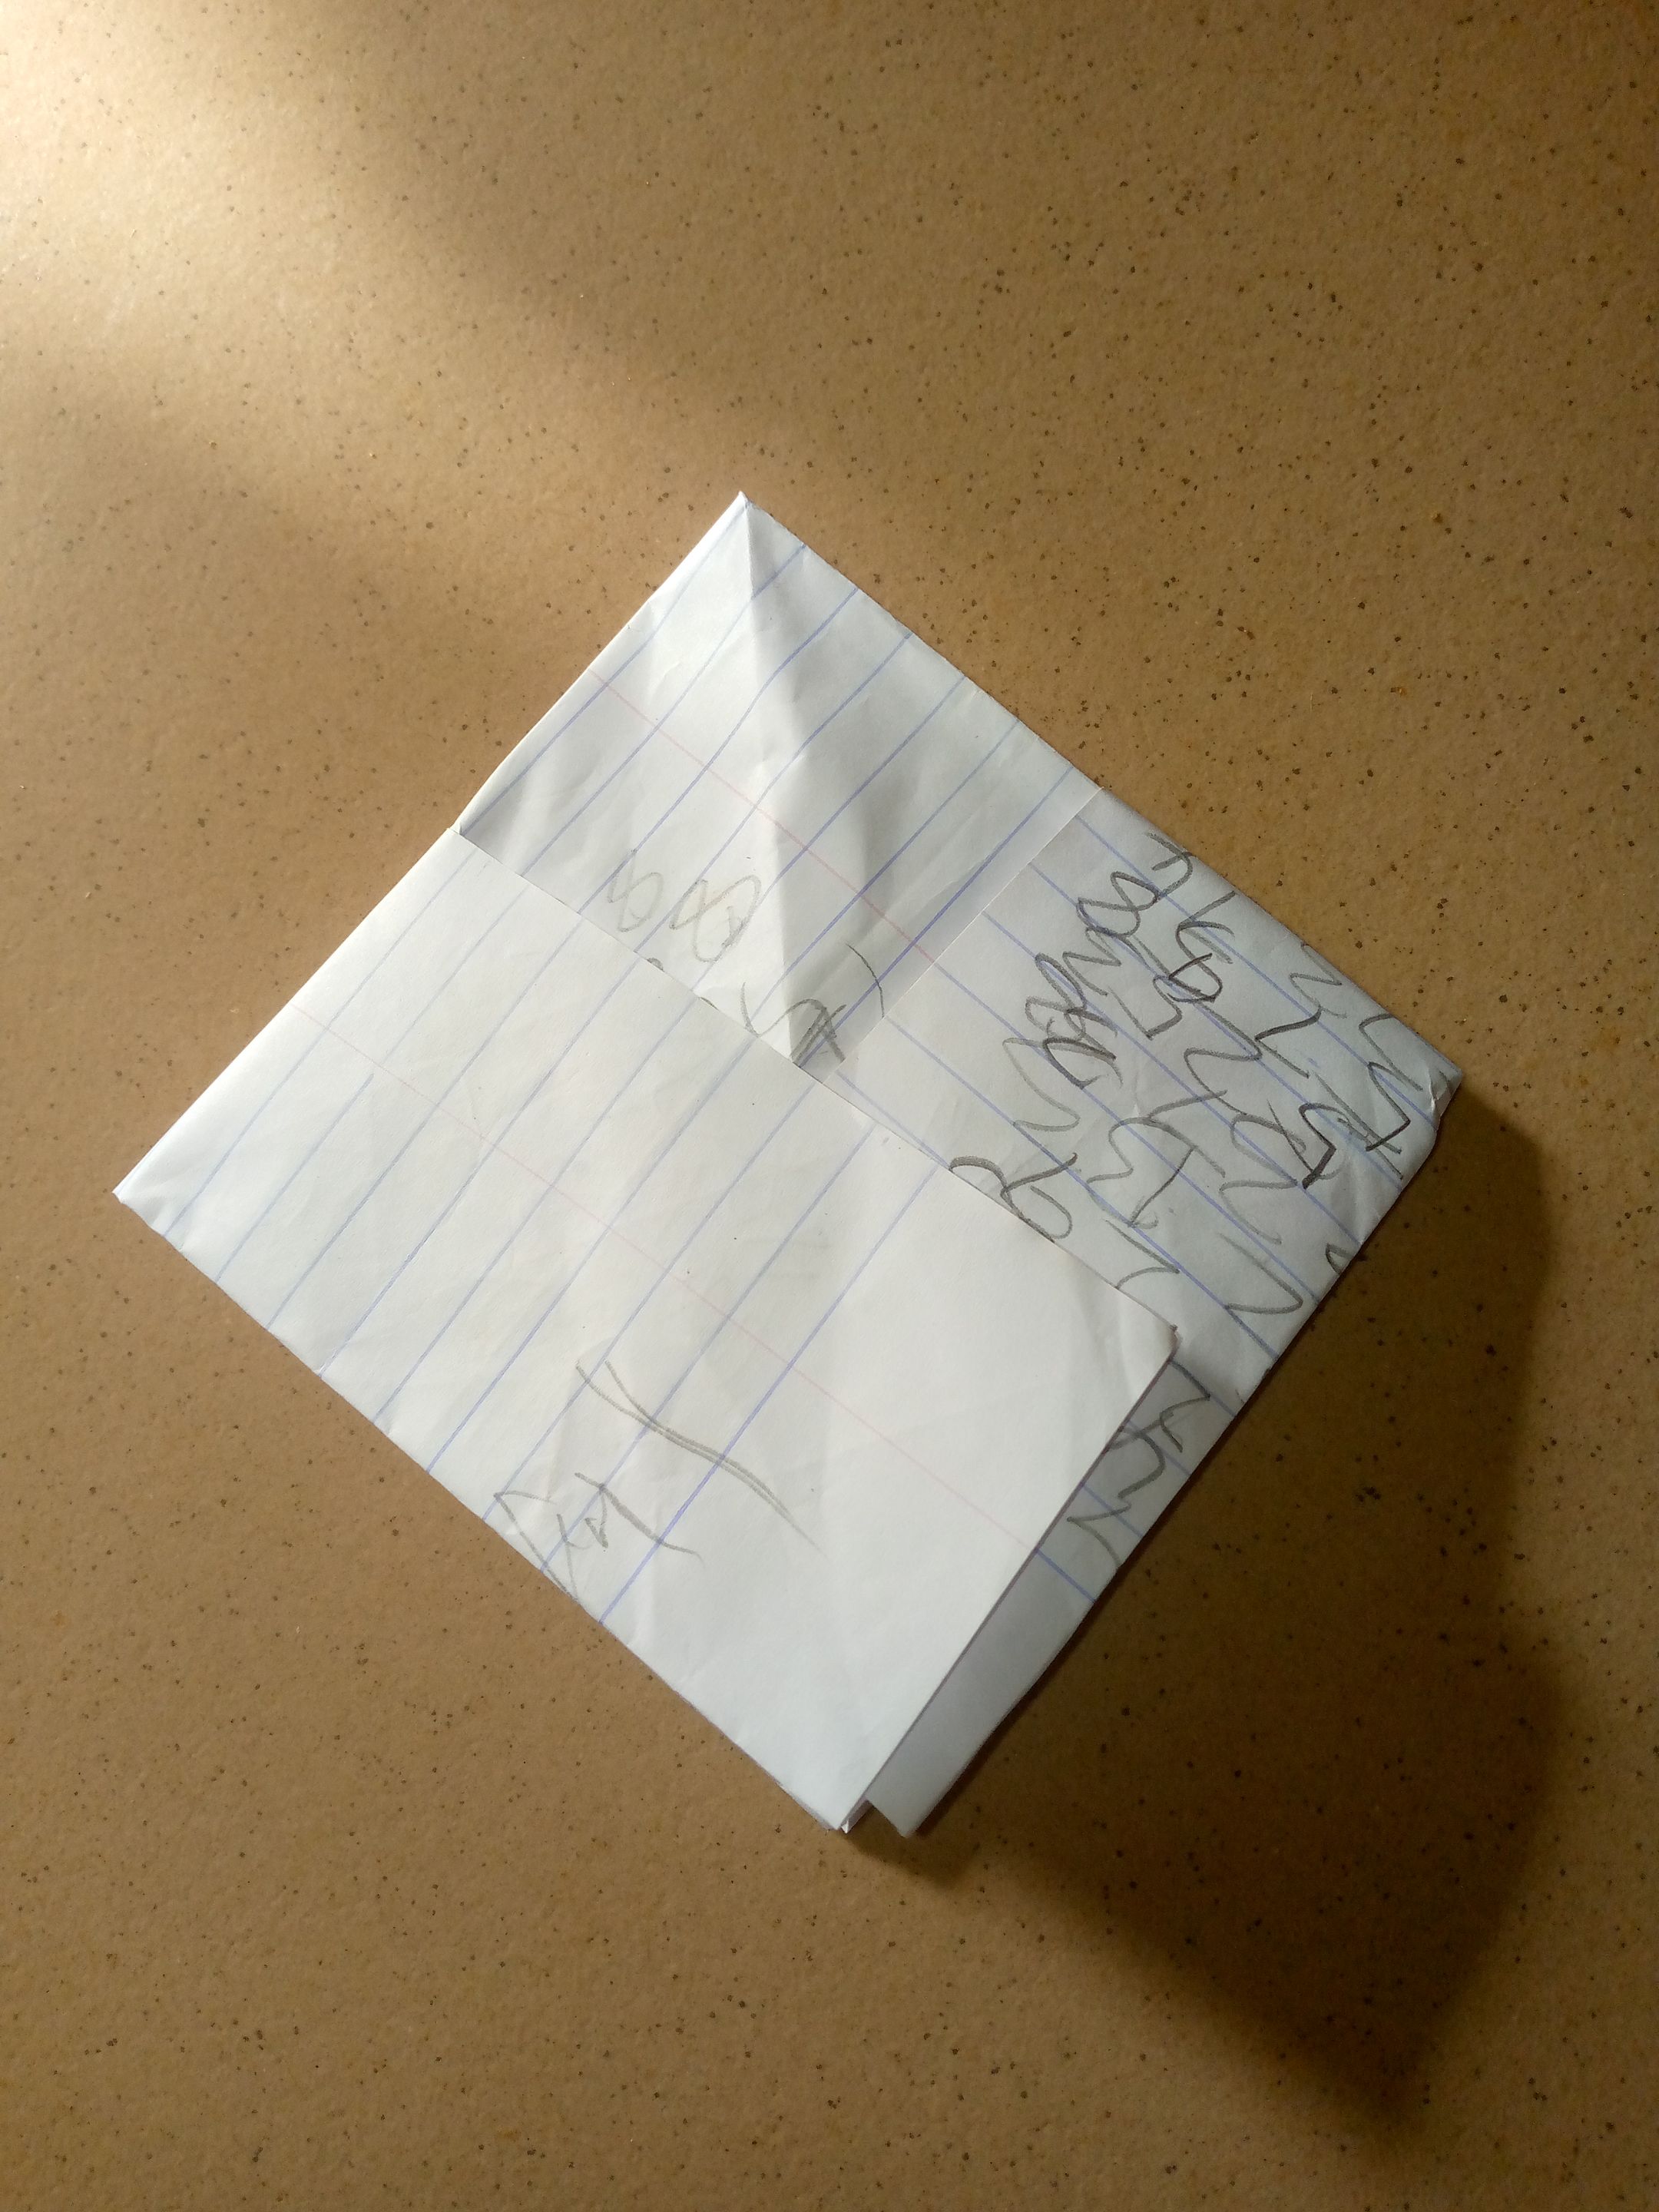
Materials needed is your paper in a rectangular shape, the bigger your rectangle, the bigger your boat.
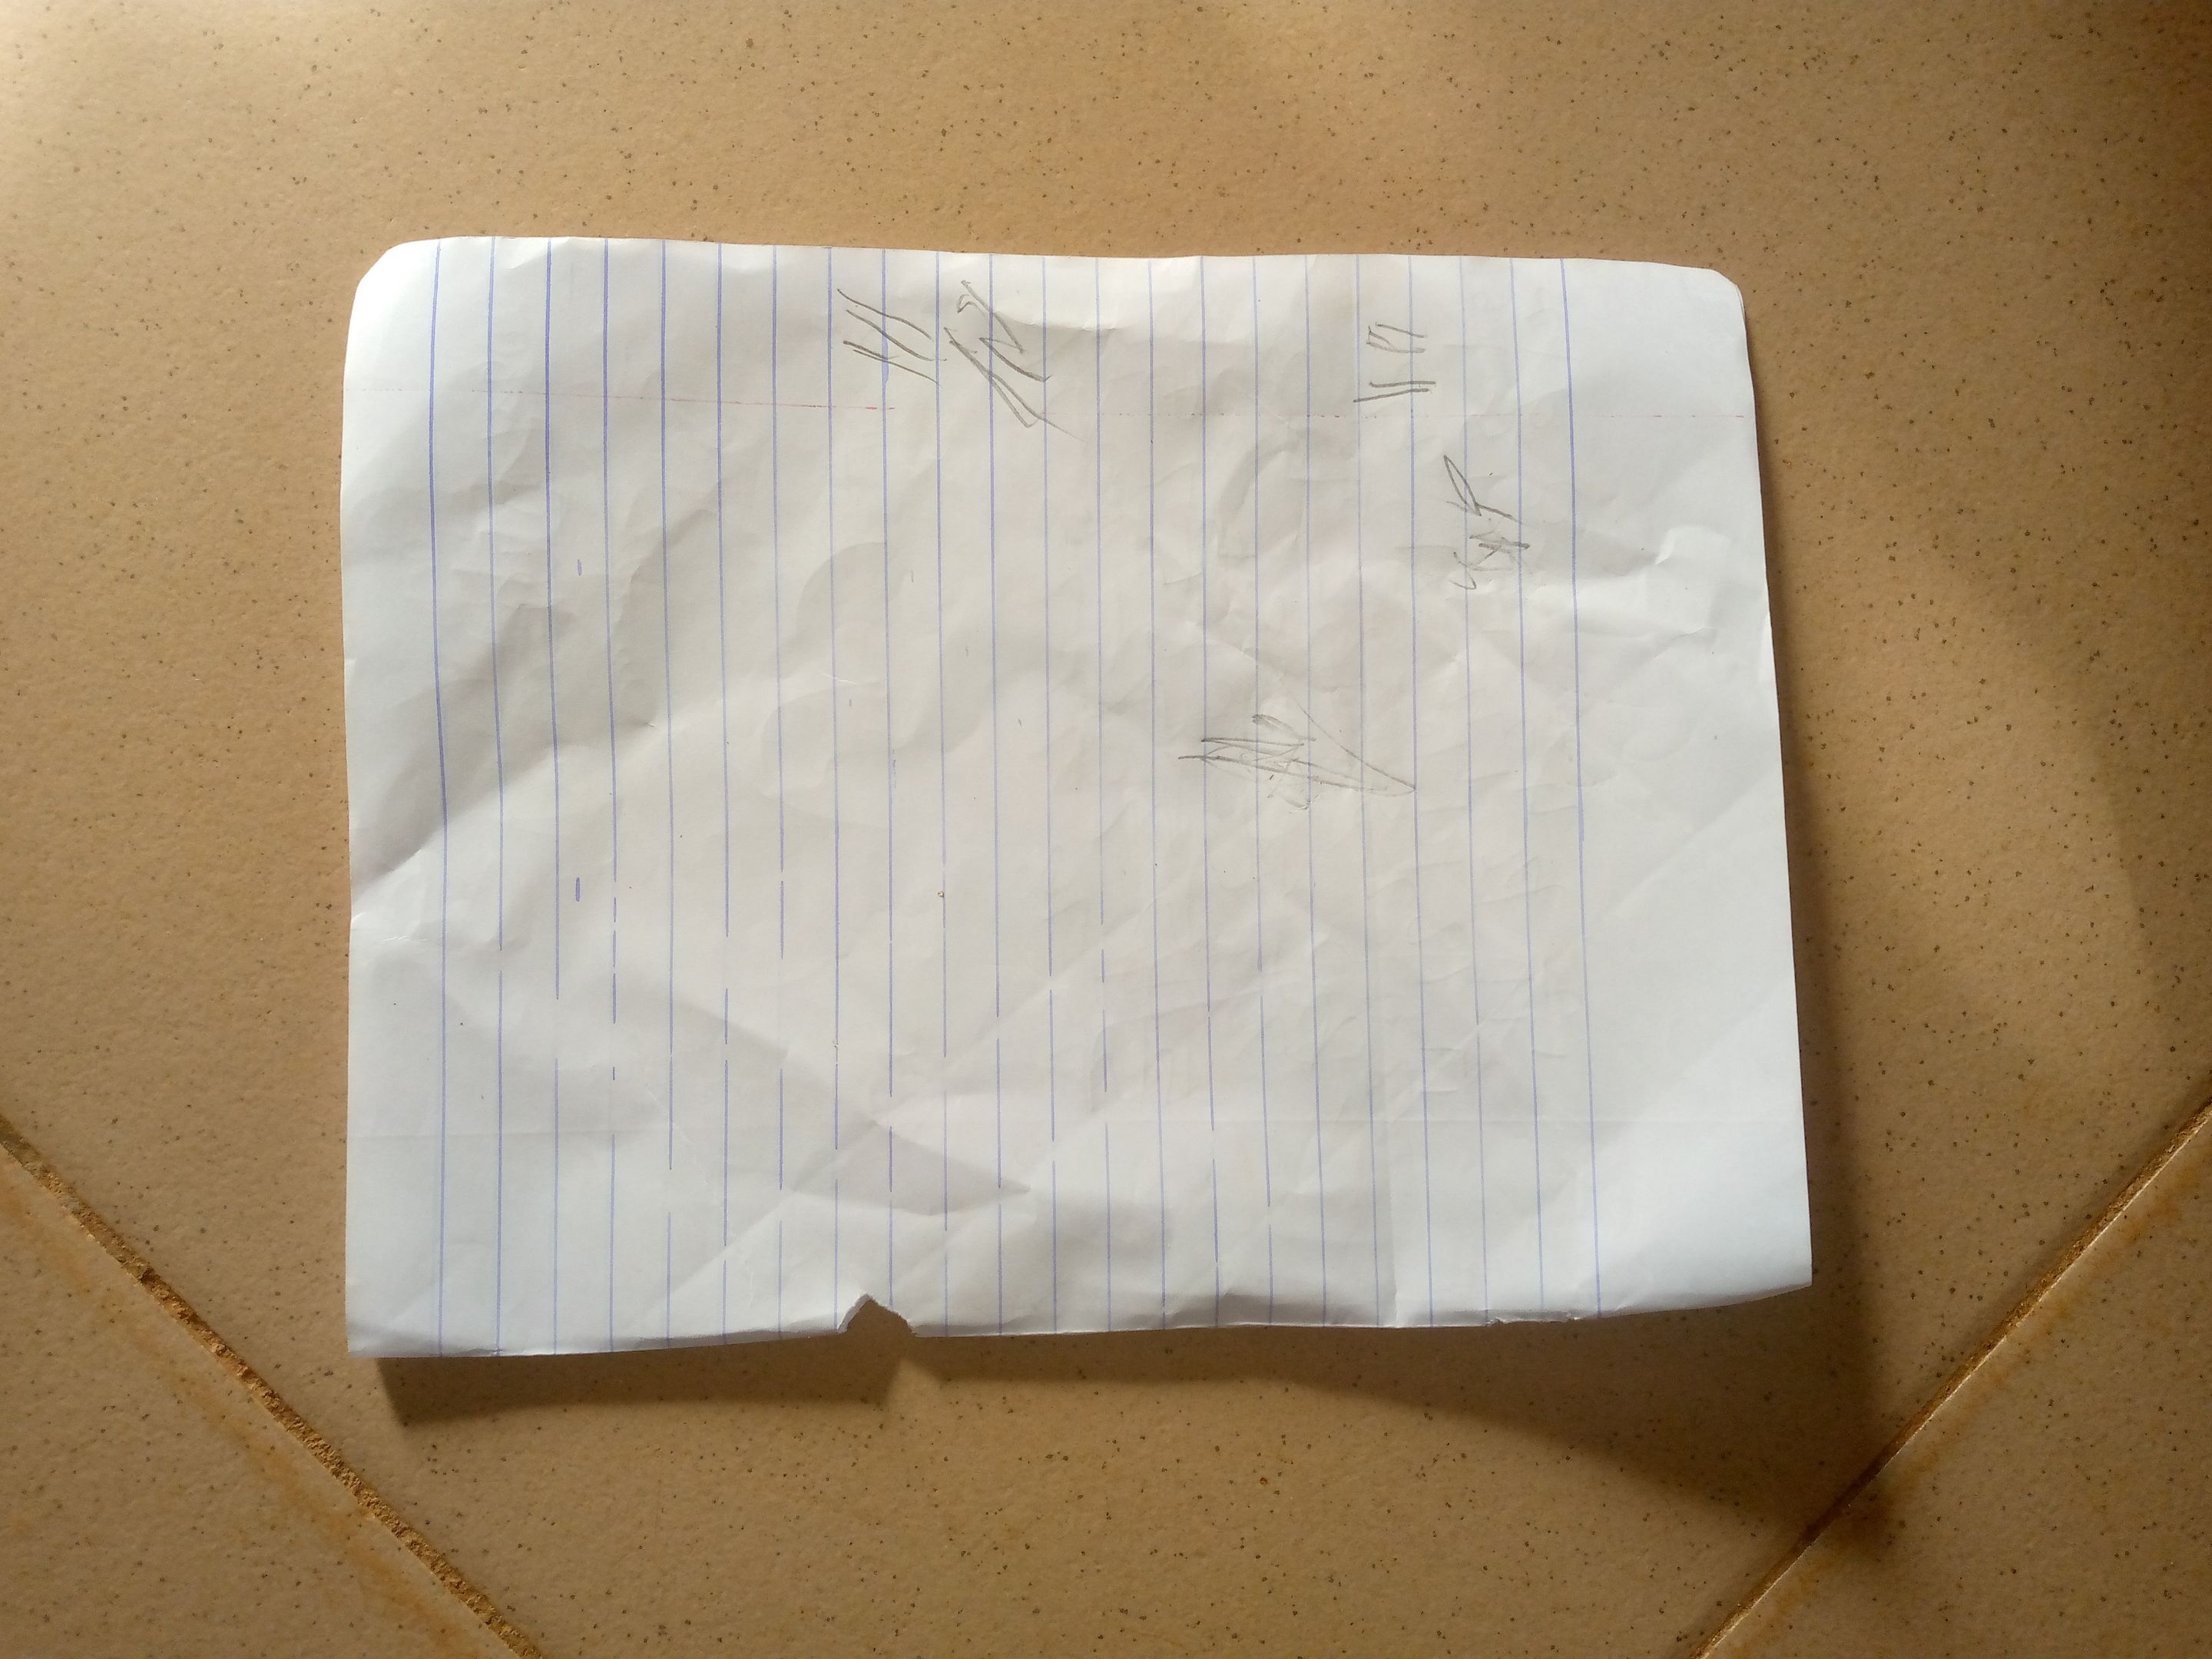
Starting, I tore the middle of an exercise book and closed it
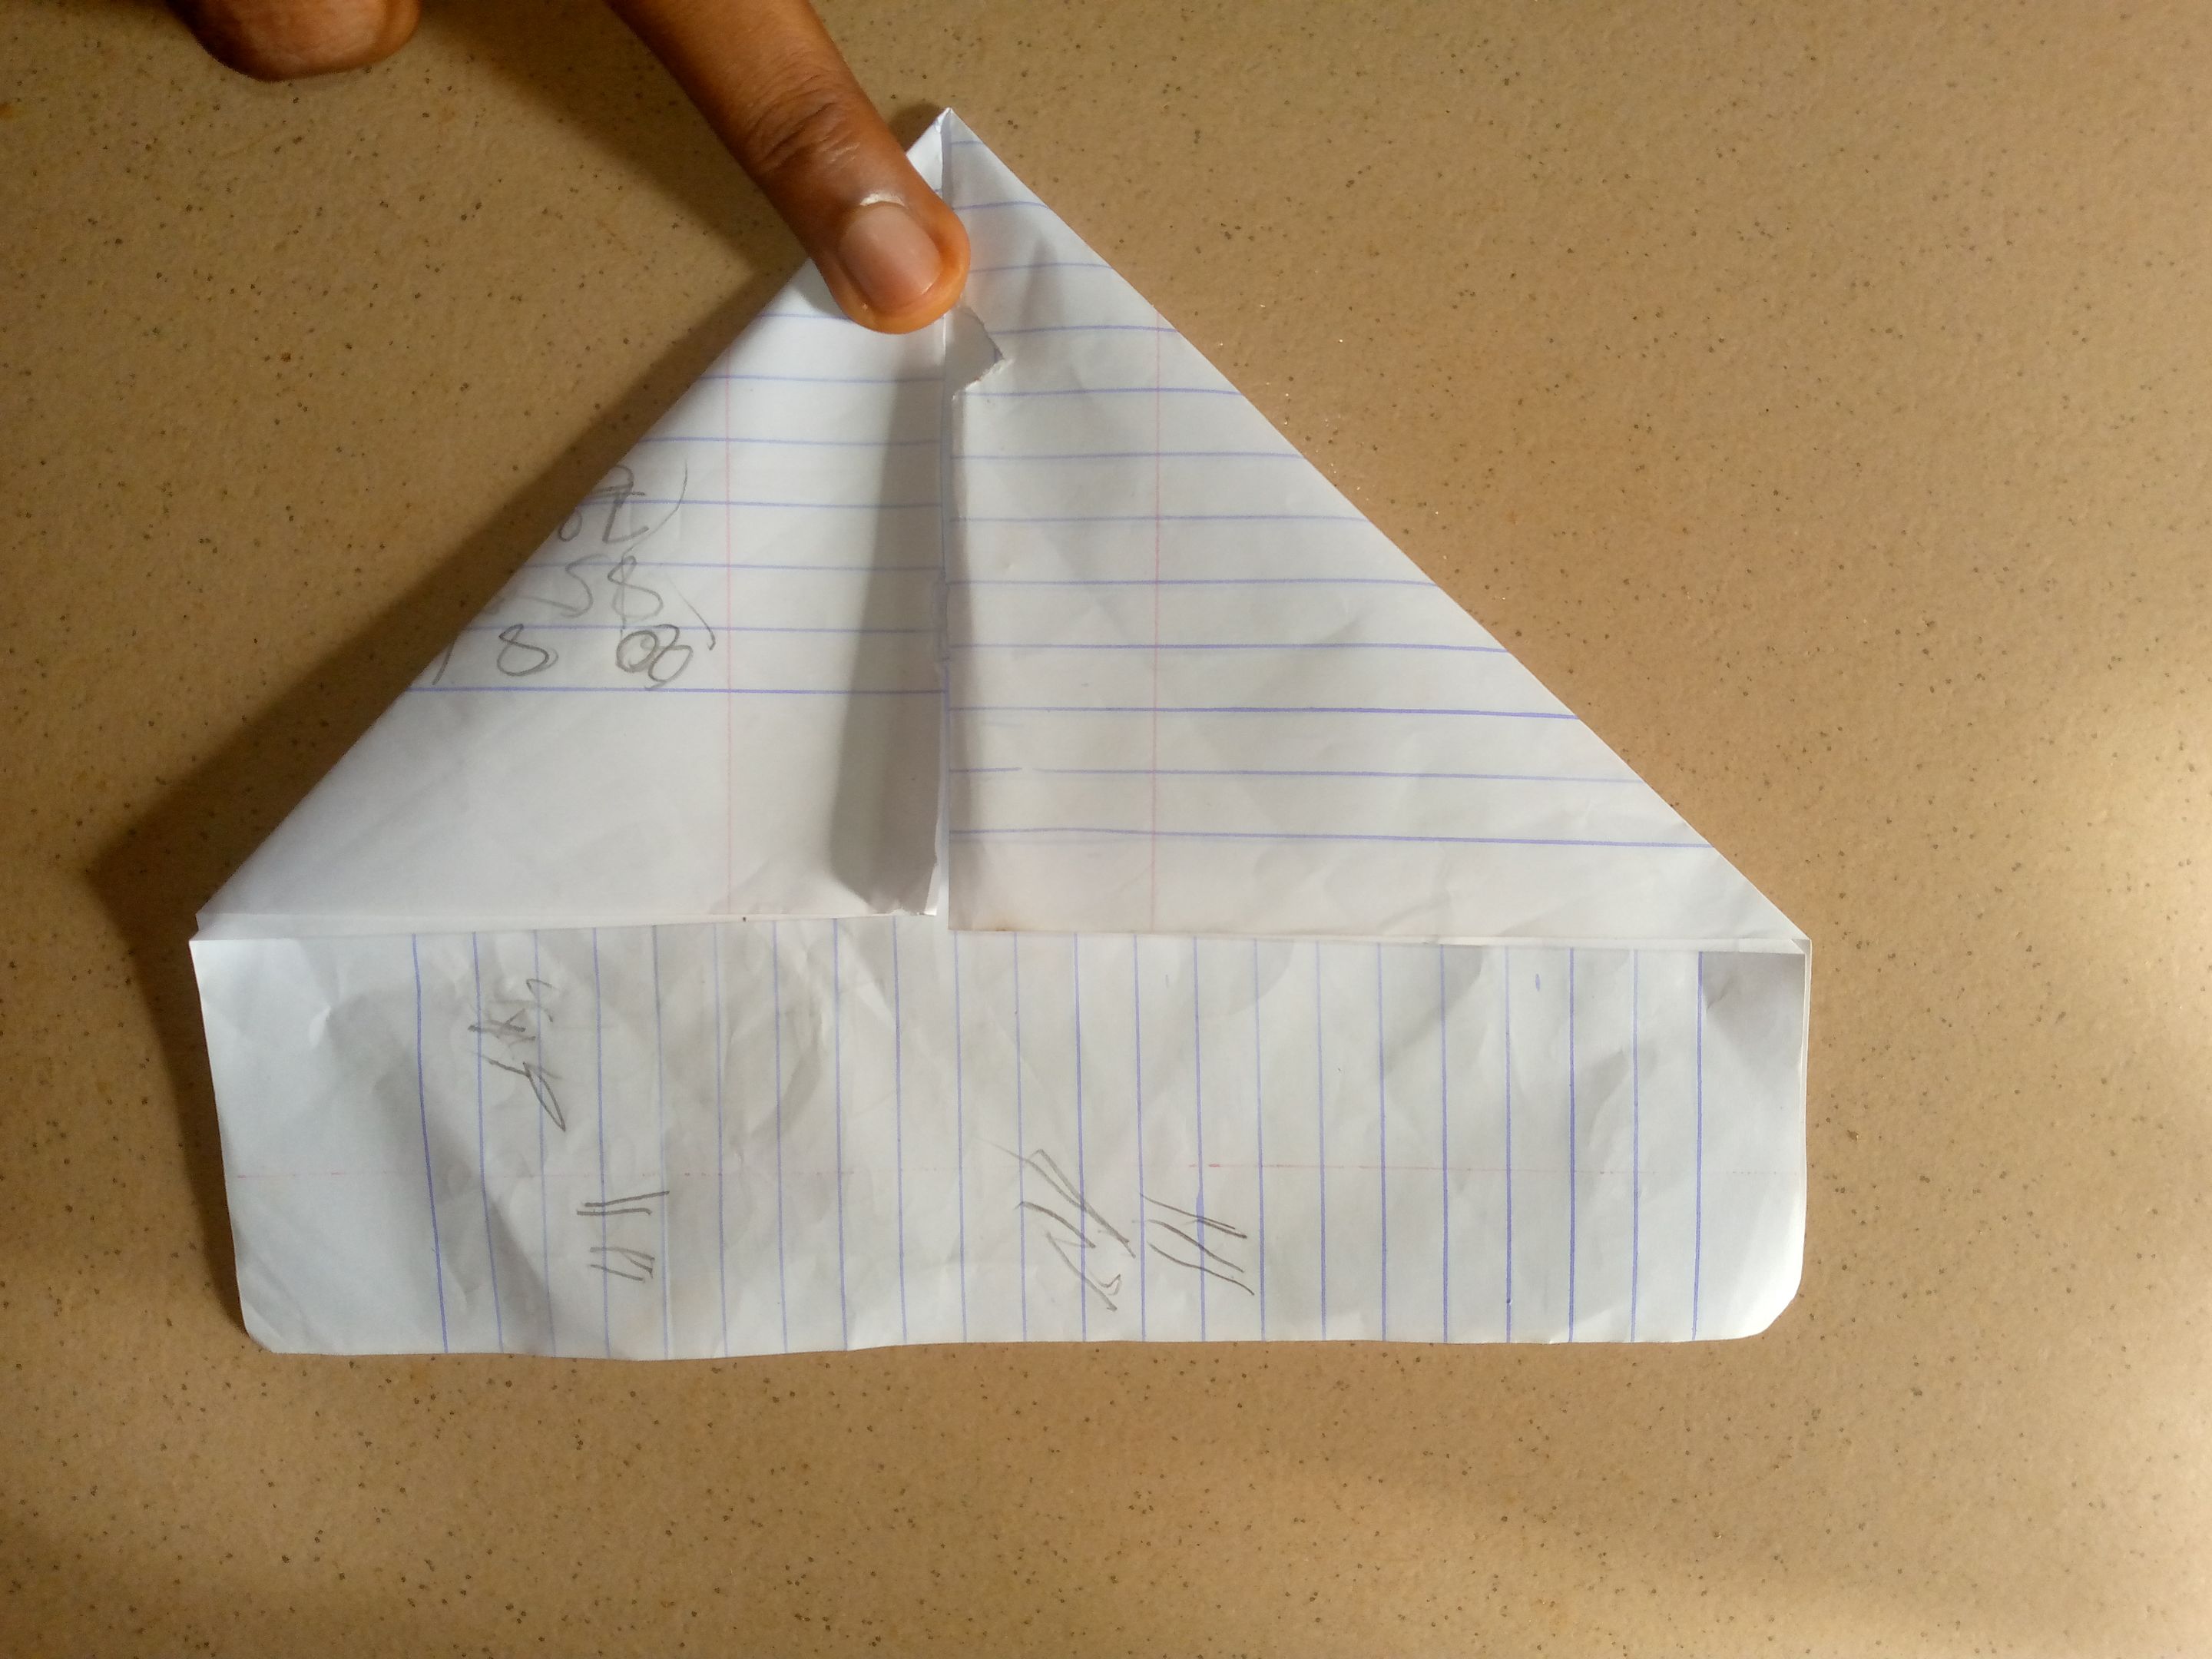
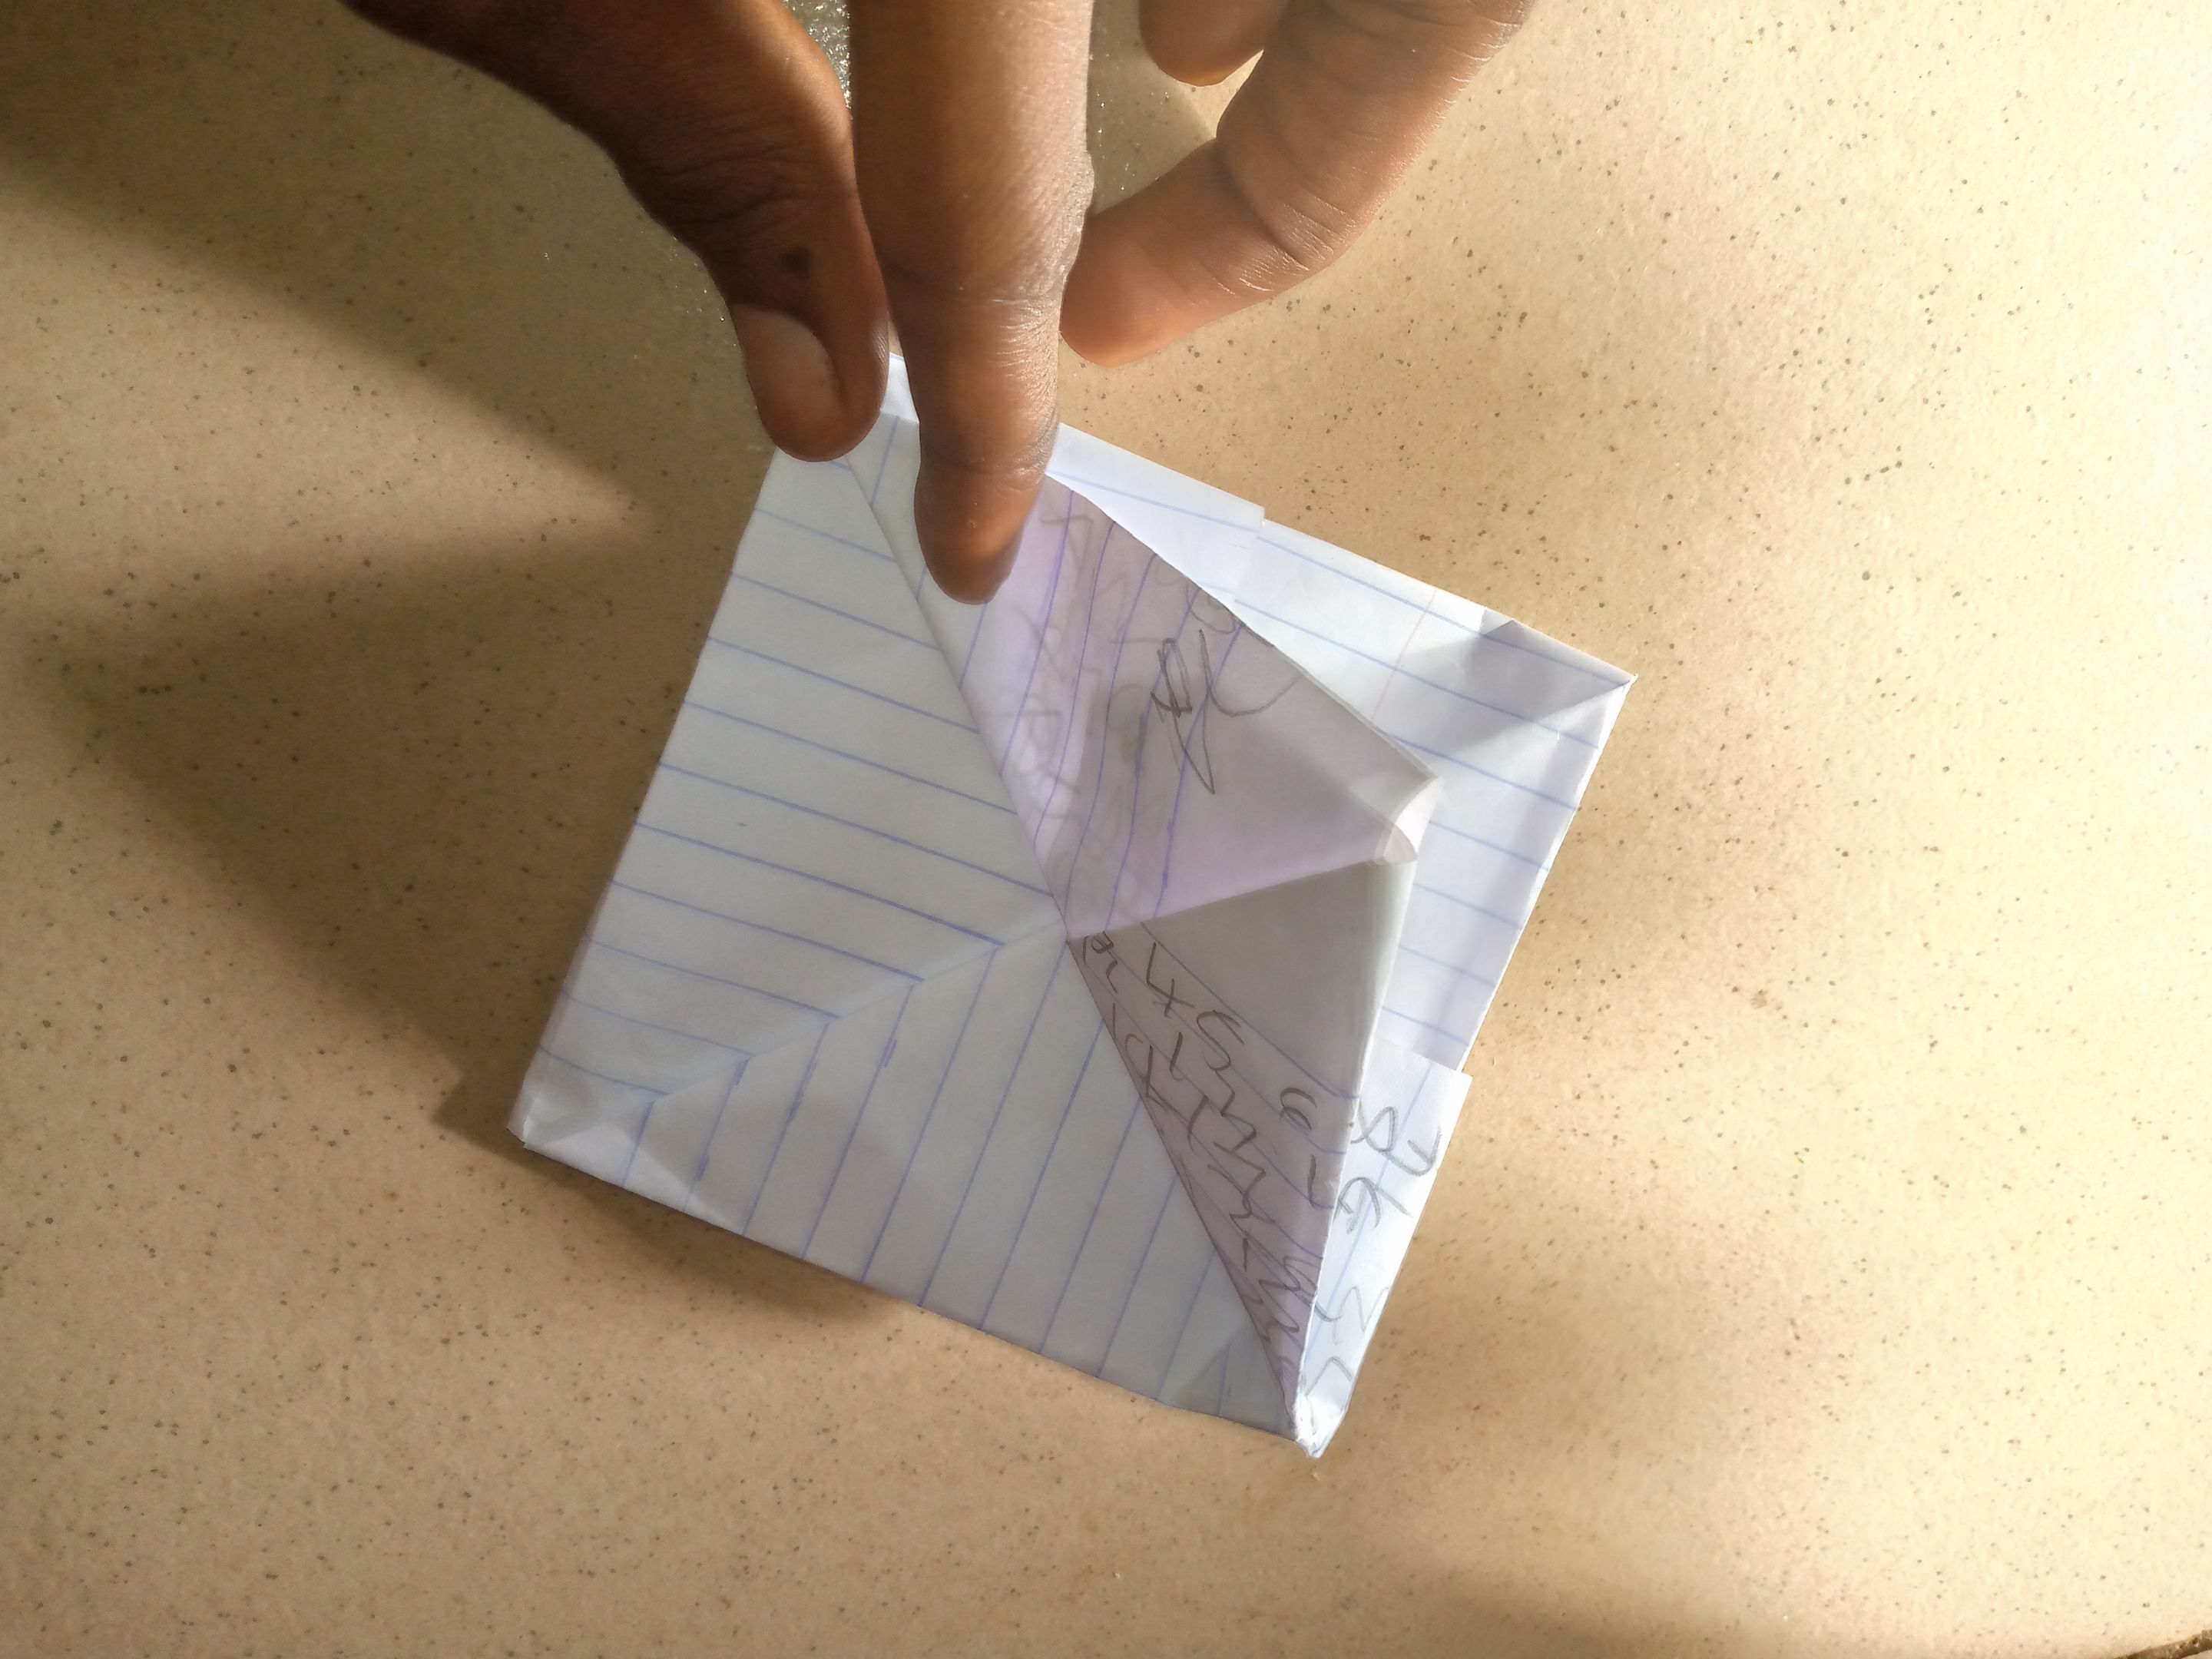
- Next, I curved two triangles on both sides

- Continuing, I folded the top edge and opened the cone shape.
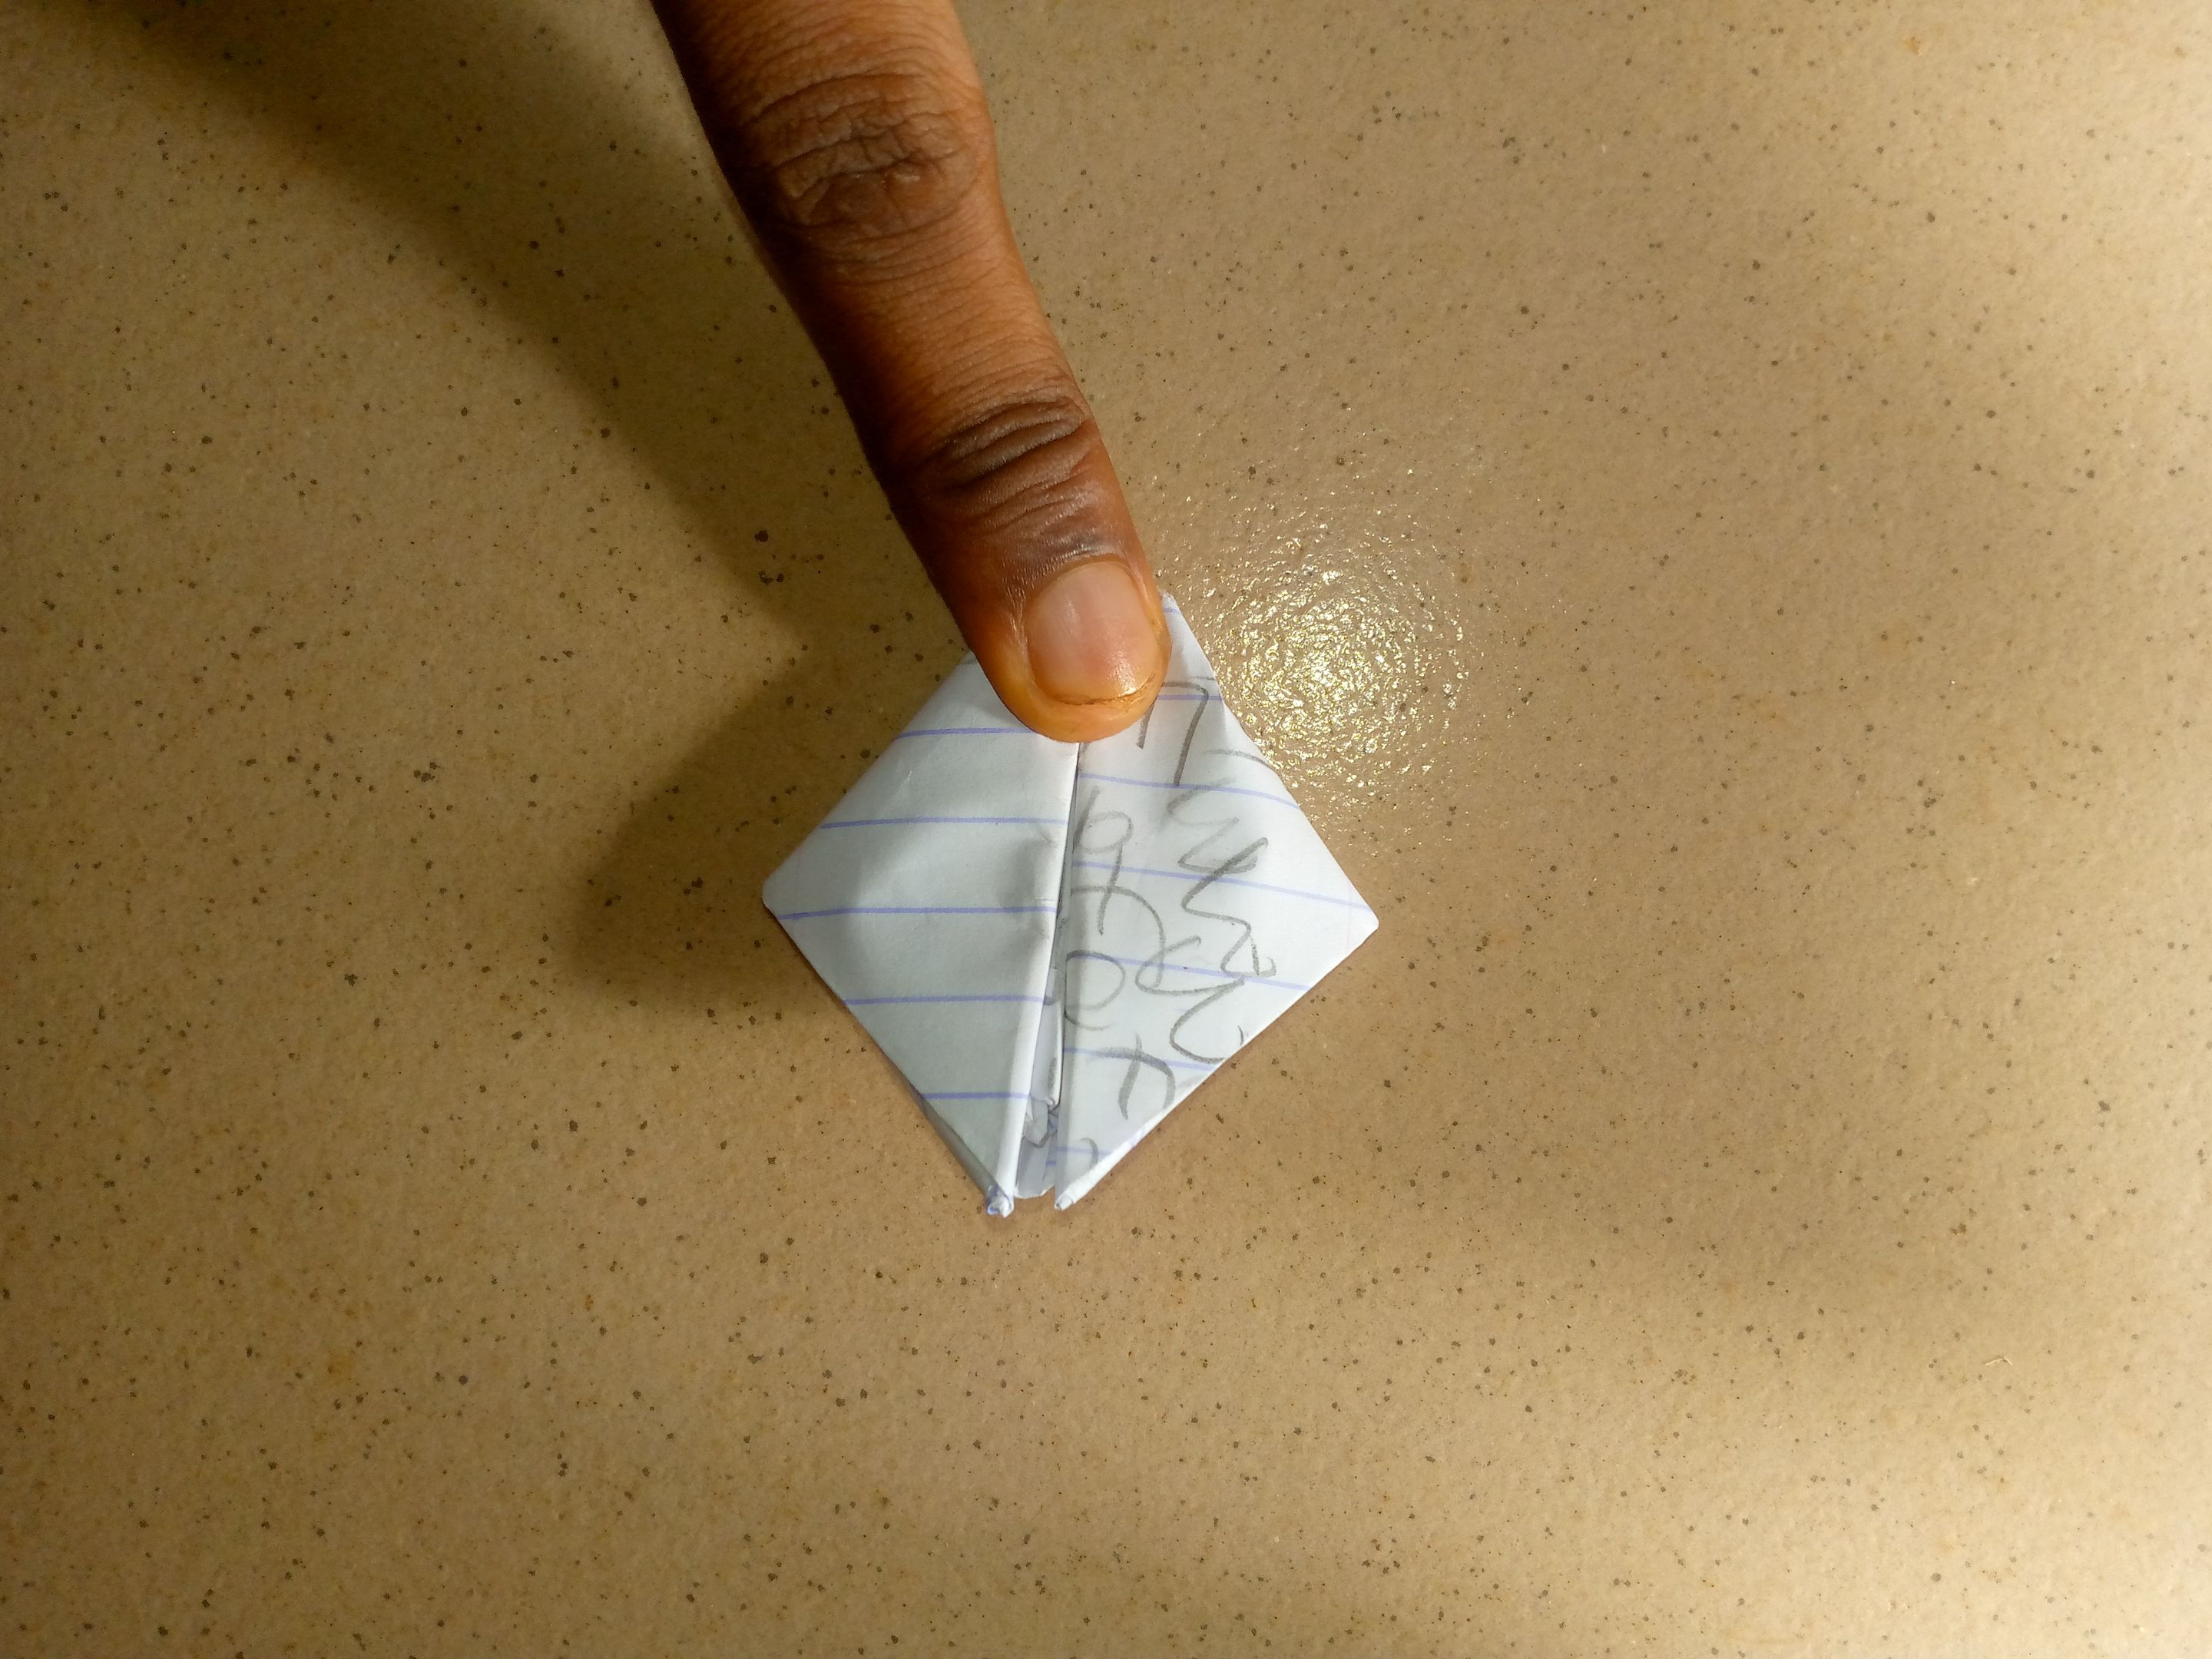
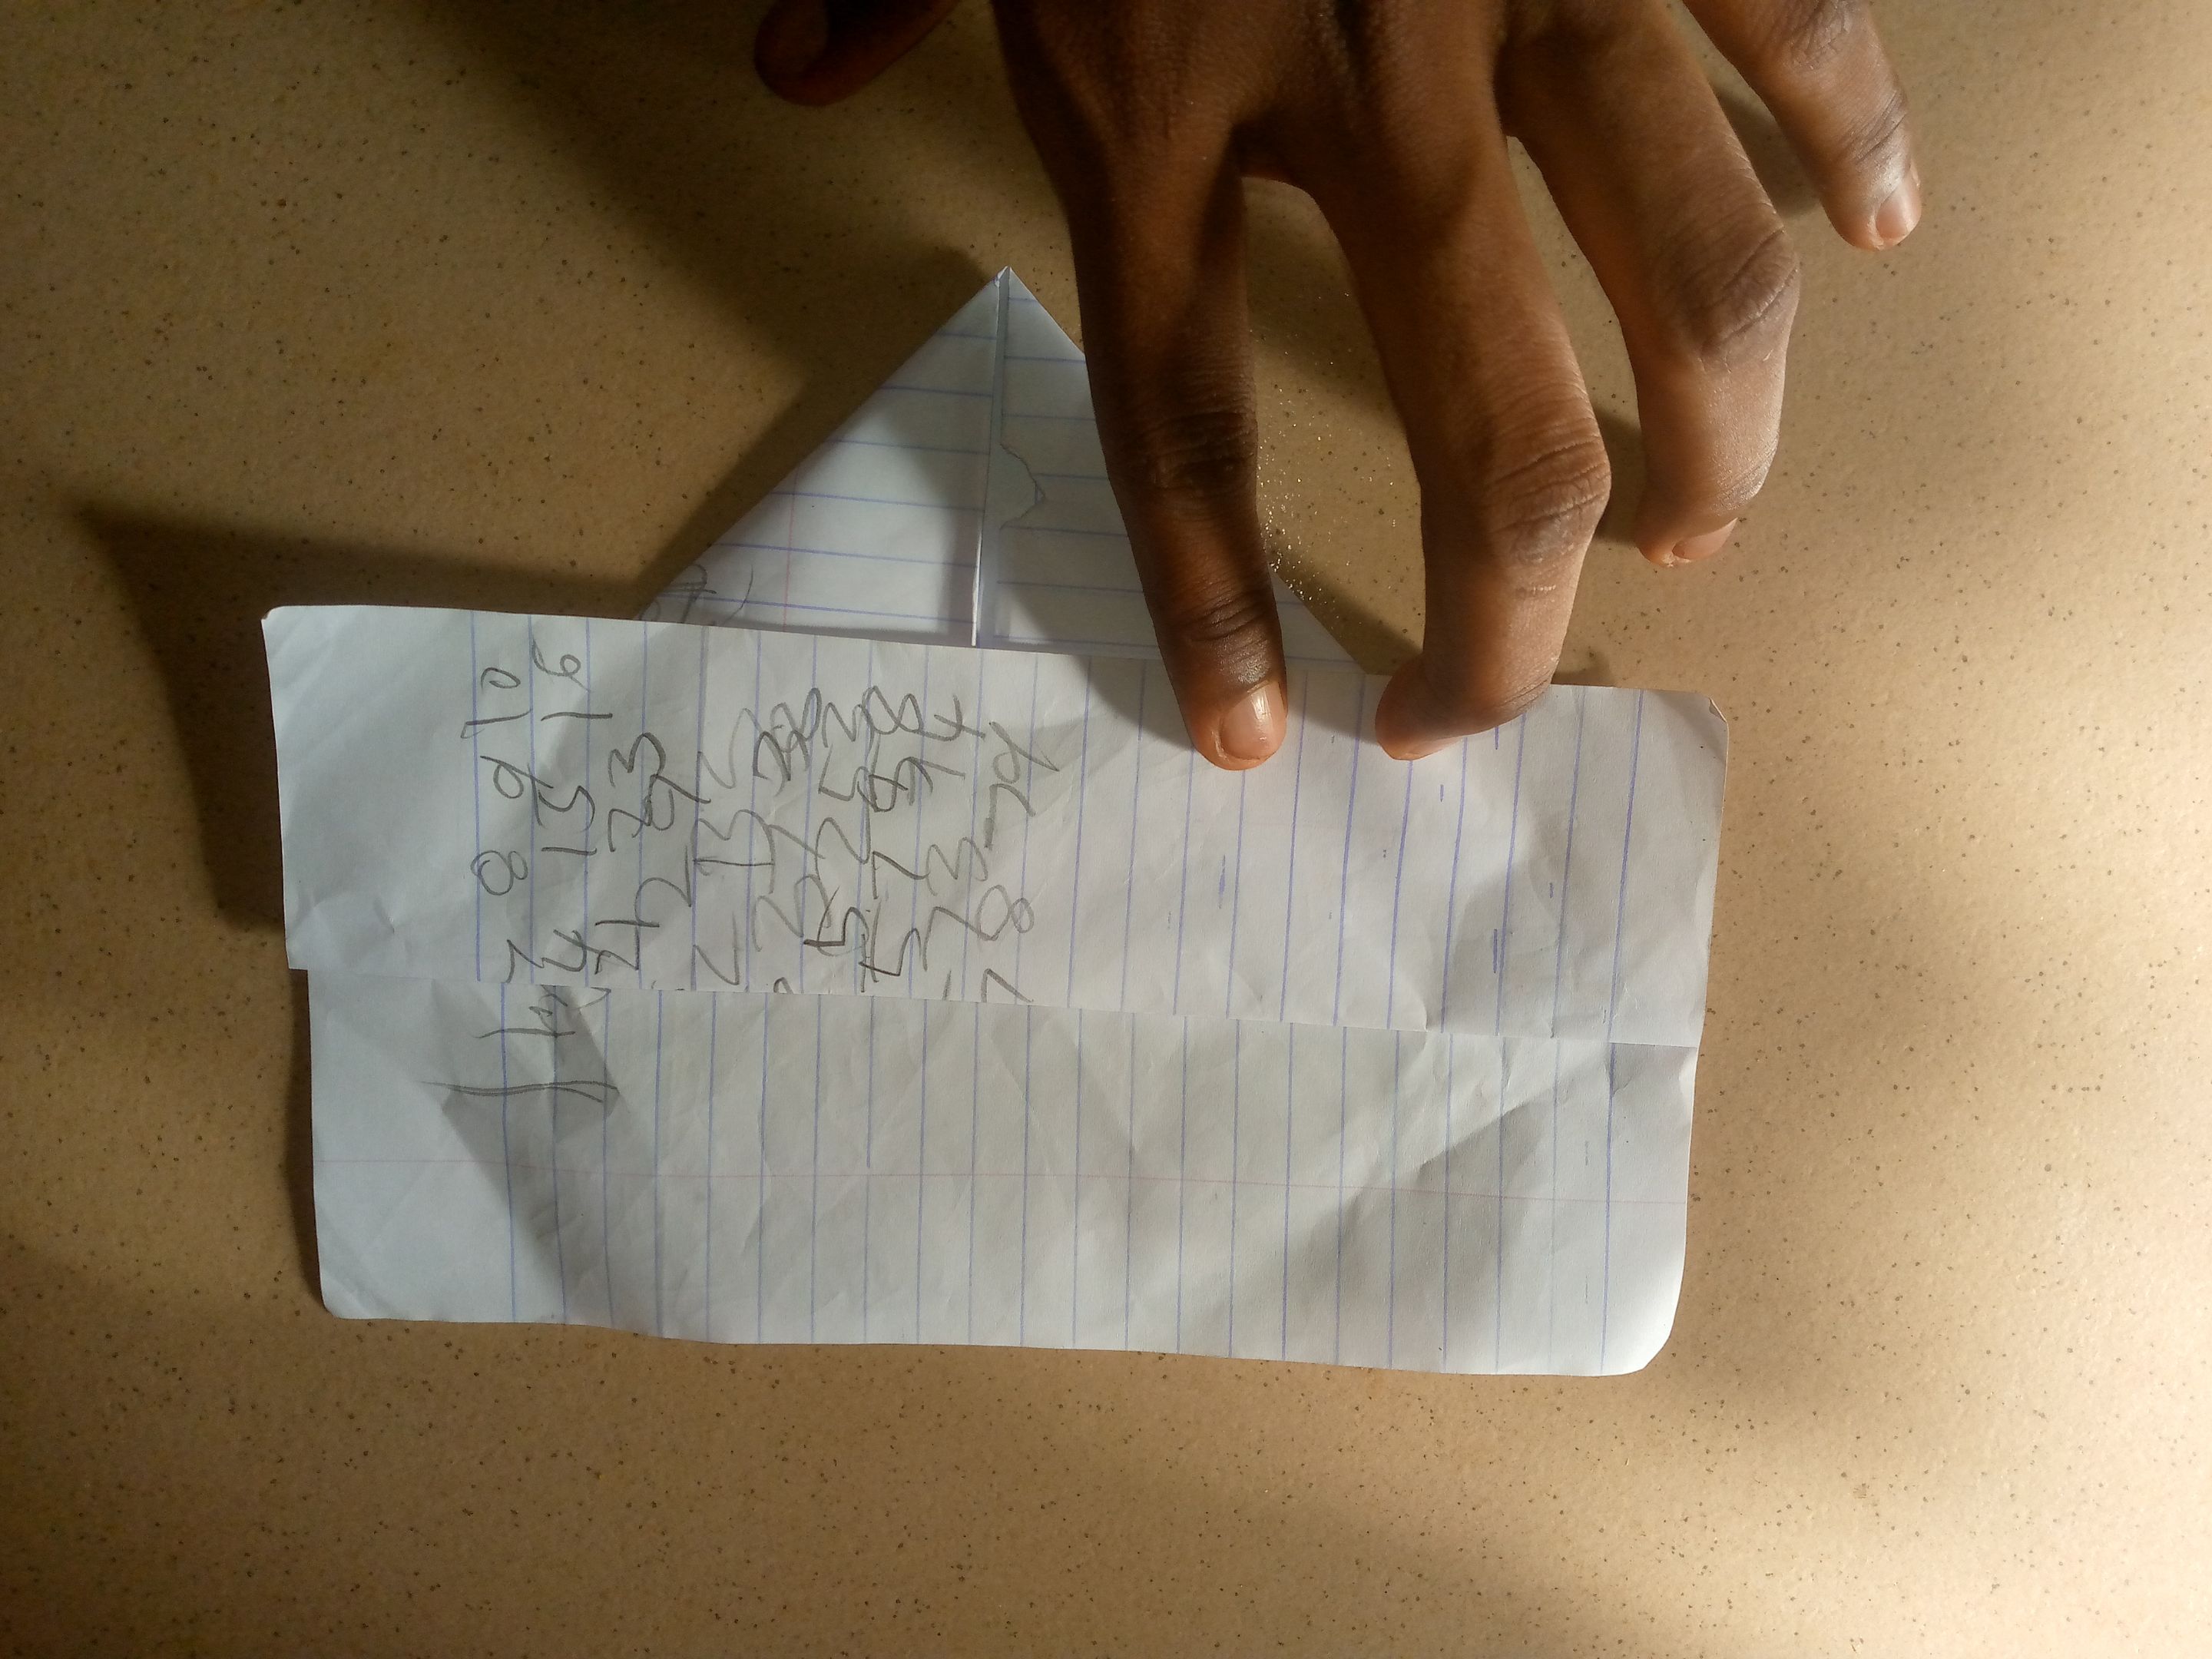
- The idea is to make the triangle smaller, so I followed the same process of folding the paper till I couldn't
anymore
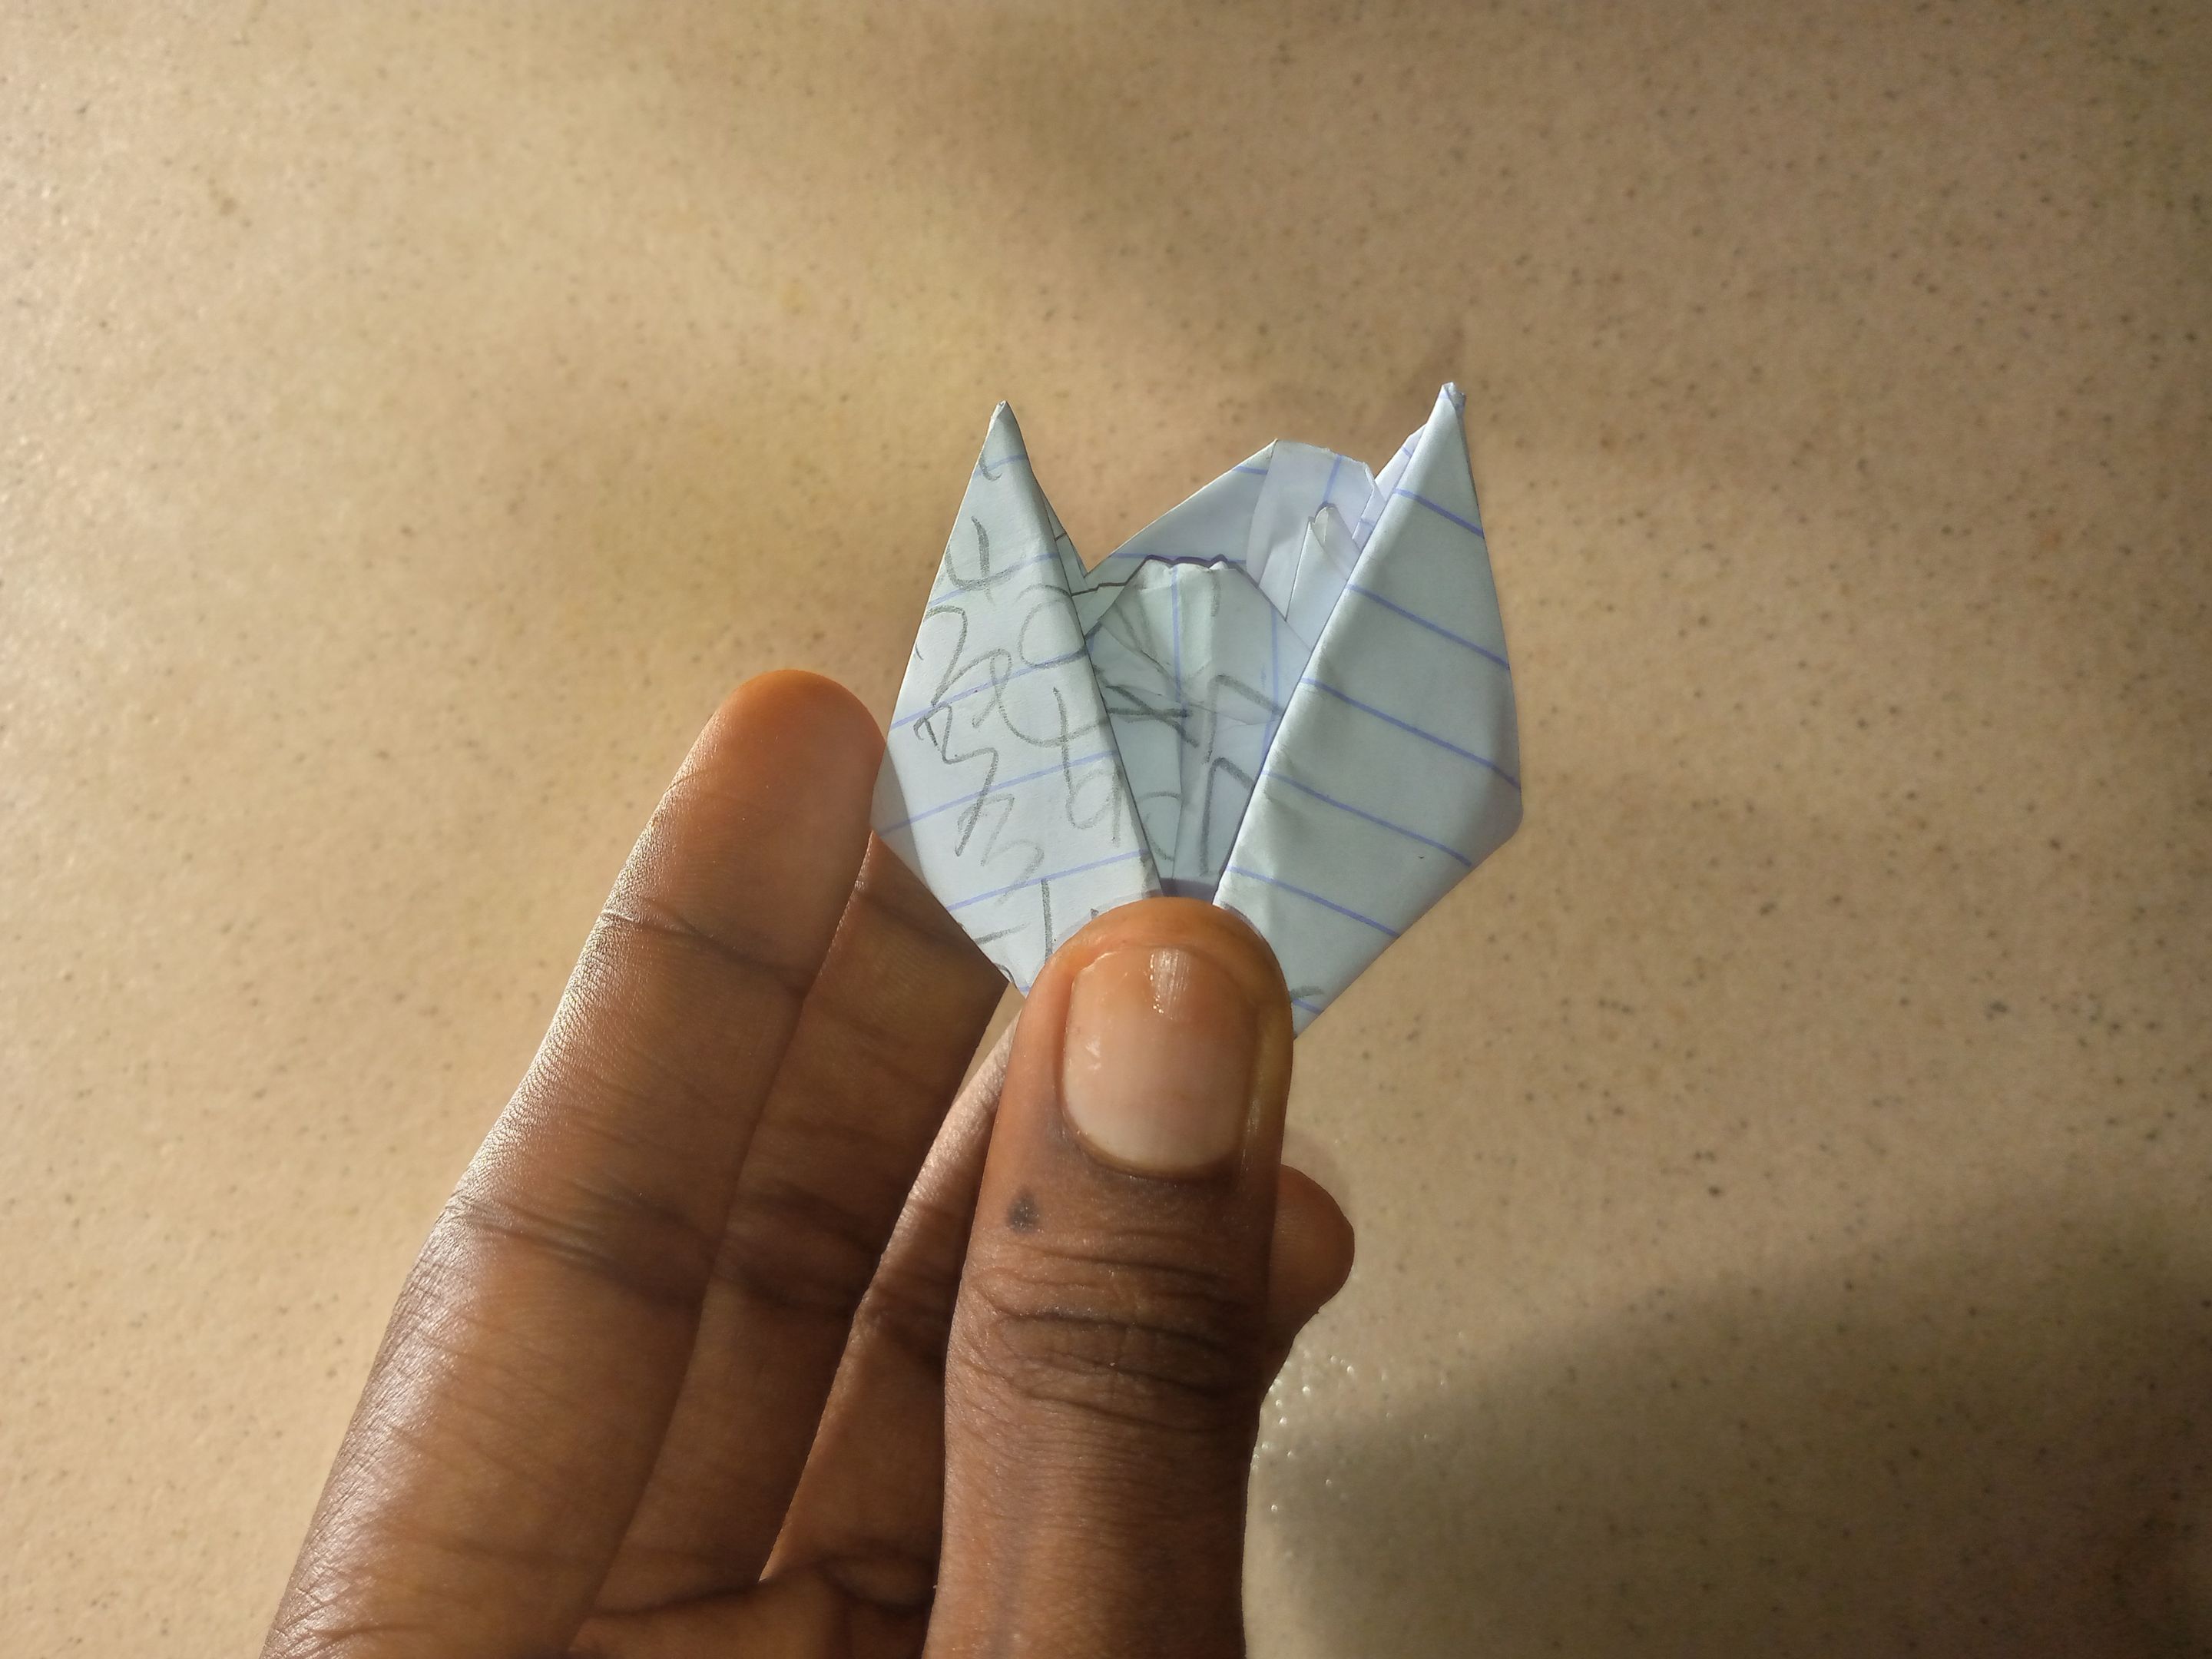

- Finally, I brought out the two sides of the triangle, and here my paper boat is formed.
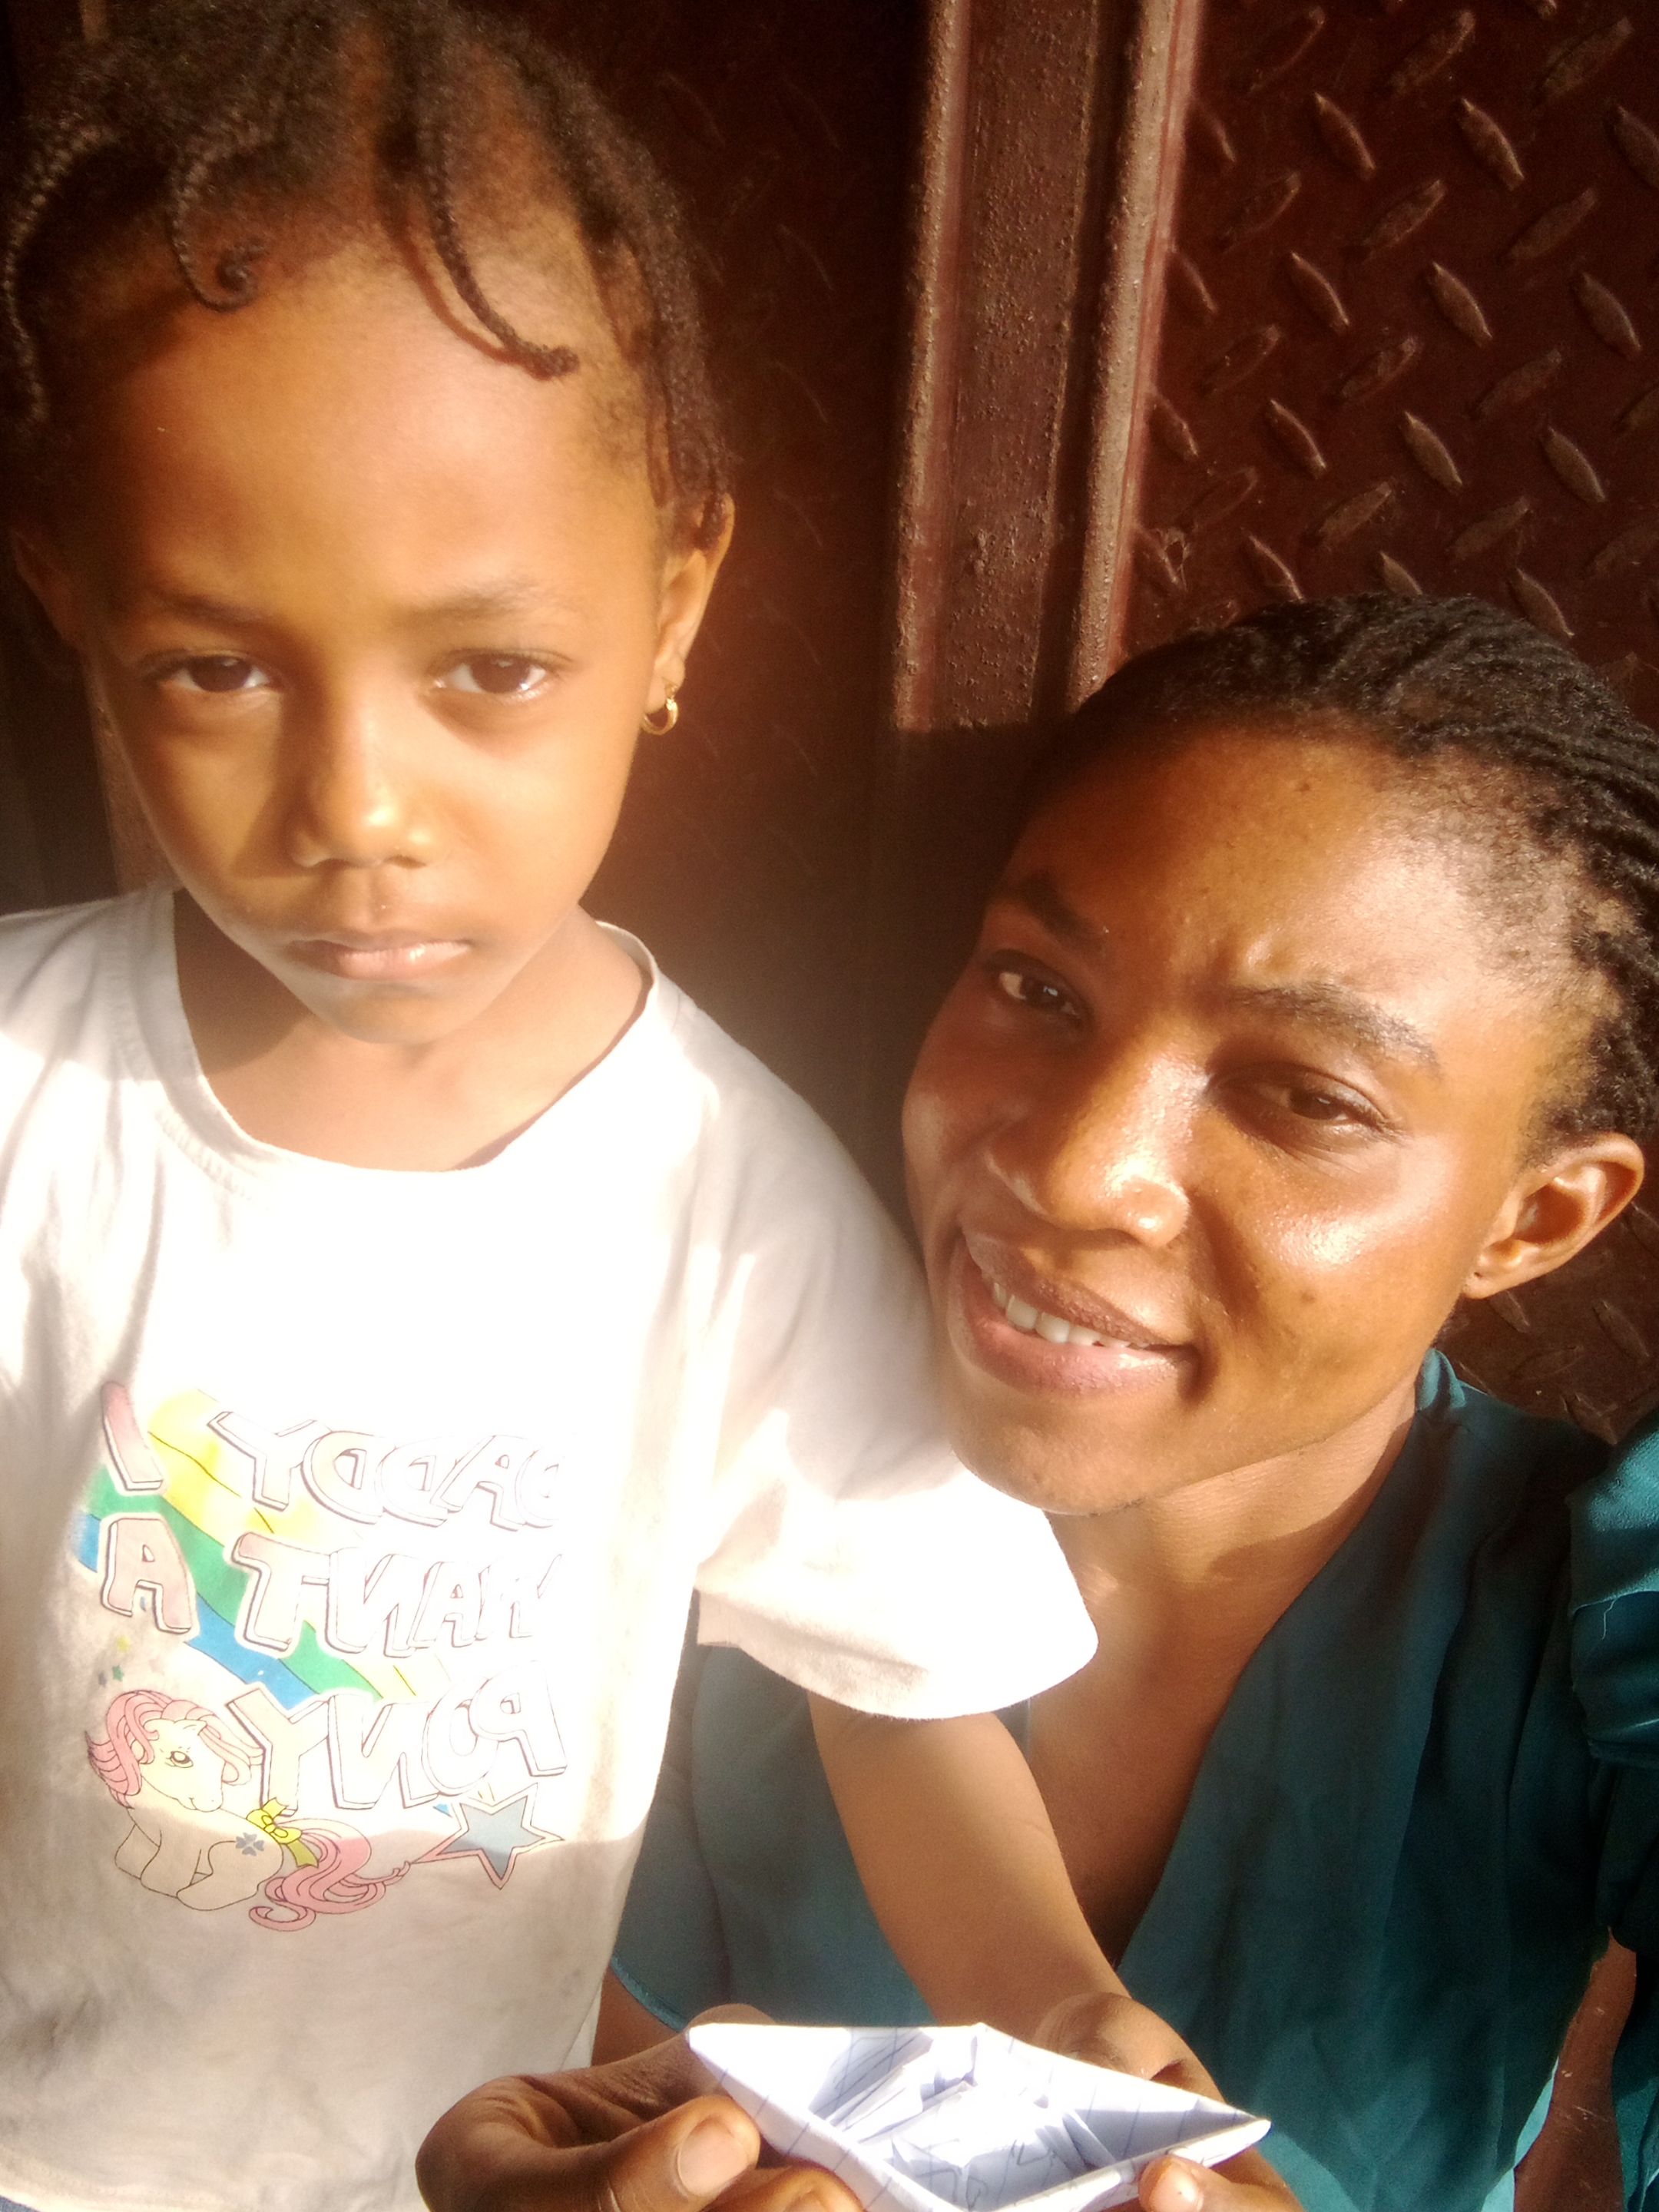
It was a creative way to spend quality time with the children, even though I didn't get that nap, at least, they found a new creative way to keep themselves busy.
All images used in this post are mine
Thank you for reading.❤❤
Show more
Tags :
Woo!
This creator can upvote comments using 3speak's stake today because they are a top performing creator!
Leave a quality comment relating to their content and you could receive an upvote
worth at least a dollar.
Their limit for today is $0!
Their limit for today is $0!

12 views
7 months ago
$
17 views
6 months ago
$
7 views
4 months ago
$
6 views
a month ago
$

7 views
4 months ago
$
More Videos

15 views
4 years ago
$

3 views
3 months ago
$
7 views
11 months ago
$

5 views
a year ago
$
8 views
a year ago
$

5 views
2 years ago
$

14 views
2 years ago
$

16 views
5 months ago
$

42 views
a year ago
$
2 views
2 years ago
$
2 views
a year ago
$
14 views
3 months ago
$

7 views
3 years ago
$
3 views
a year ago
$

15 views
7 months ago
$

15 views
2 years ago
$
2 views
3 years ago
$

5 views
2 years ago
$

2 views
2 years ago
$
14 views
a year ago
$

3 views
2 years ago
$

10 views
7 months ago
$
7 views
11 months ago
$
Comments:
Reply:
To comment on this video please connect a HIVE account to your profile: Connect HIVE Account