ARTE TERAPIA // FINGERS TO WORK
4
About :
Just think in one thing, one thing and no more, it's good... And is the best way to be calm our souls. Sometimes... The art is a good tool.
A veces la mente necesita un motivo para dejarse llevar por el arte y pensar sólo en pintar.

When I read about the possibility of participating for the first time in a #HiveArt contest... I was excited!
Being @holos-lotus part of this proposal, everything was a challenge. I said to myself... art therapy? Well, everything is possible in art. At first I thought of making a mural in my room, raving on my wall while listening to relaxing music. It would be interesting to record that video!
But an unforeseen event occurred where the health of a relative was put at risk, because Accidents don't ask for permission or are announced in advance.
I had this art ready in time for the initiative but when ran to the hospital couldn't publish it on time, I still wanted to share with you what had done because otherwise I would have worked in vain.
Even this time, I'm not translating this post into English by myself because I am going to the hospital again. Will using google traslate.
Al leer la posibilidad de participar por primera vez en una iniciativa de #HiveArt me sentí emocionada.
Al ser @holos-lotus parte de esta propuesta pues todo fue un reto. Me dije ¿Terapia con arte? Pues en el arte todo es posible. Al principio pensé en hacer un mural en mi cuarto, desvariando en mi pared mientras escuchaba música relajante. ¡Sería interesante grabar ese video!
Pero sucedió un imprevisto donde la salud de un familiar se puso en riesgo, porque los Accidentes no piden permiso ni se anuncian con antelación.
Tuve este arte listo a tiempo para la iniciativa pero al correr al hospital no pude publicarlo en el plazo, igual queria compartir con ustedes lo realizado porque sino habría trabajado en vano.
Incluso, en esta ocasión, no traduciré este post a inglés por mi misma porque estoy a ir de nuevo al hospital. Usaré google traslate.

SKETCH
///
BOCETO
SKETCH
///
BOCETO
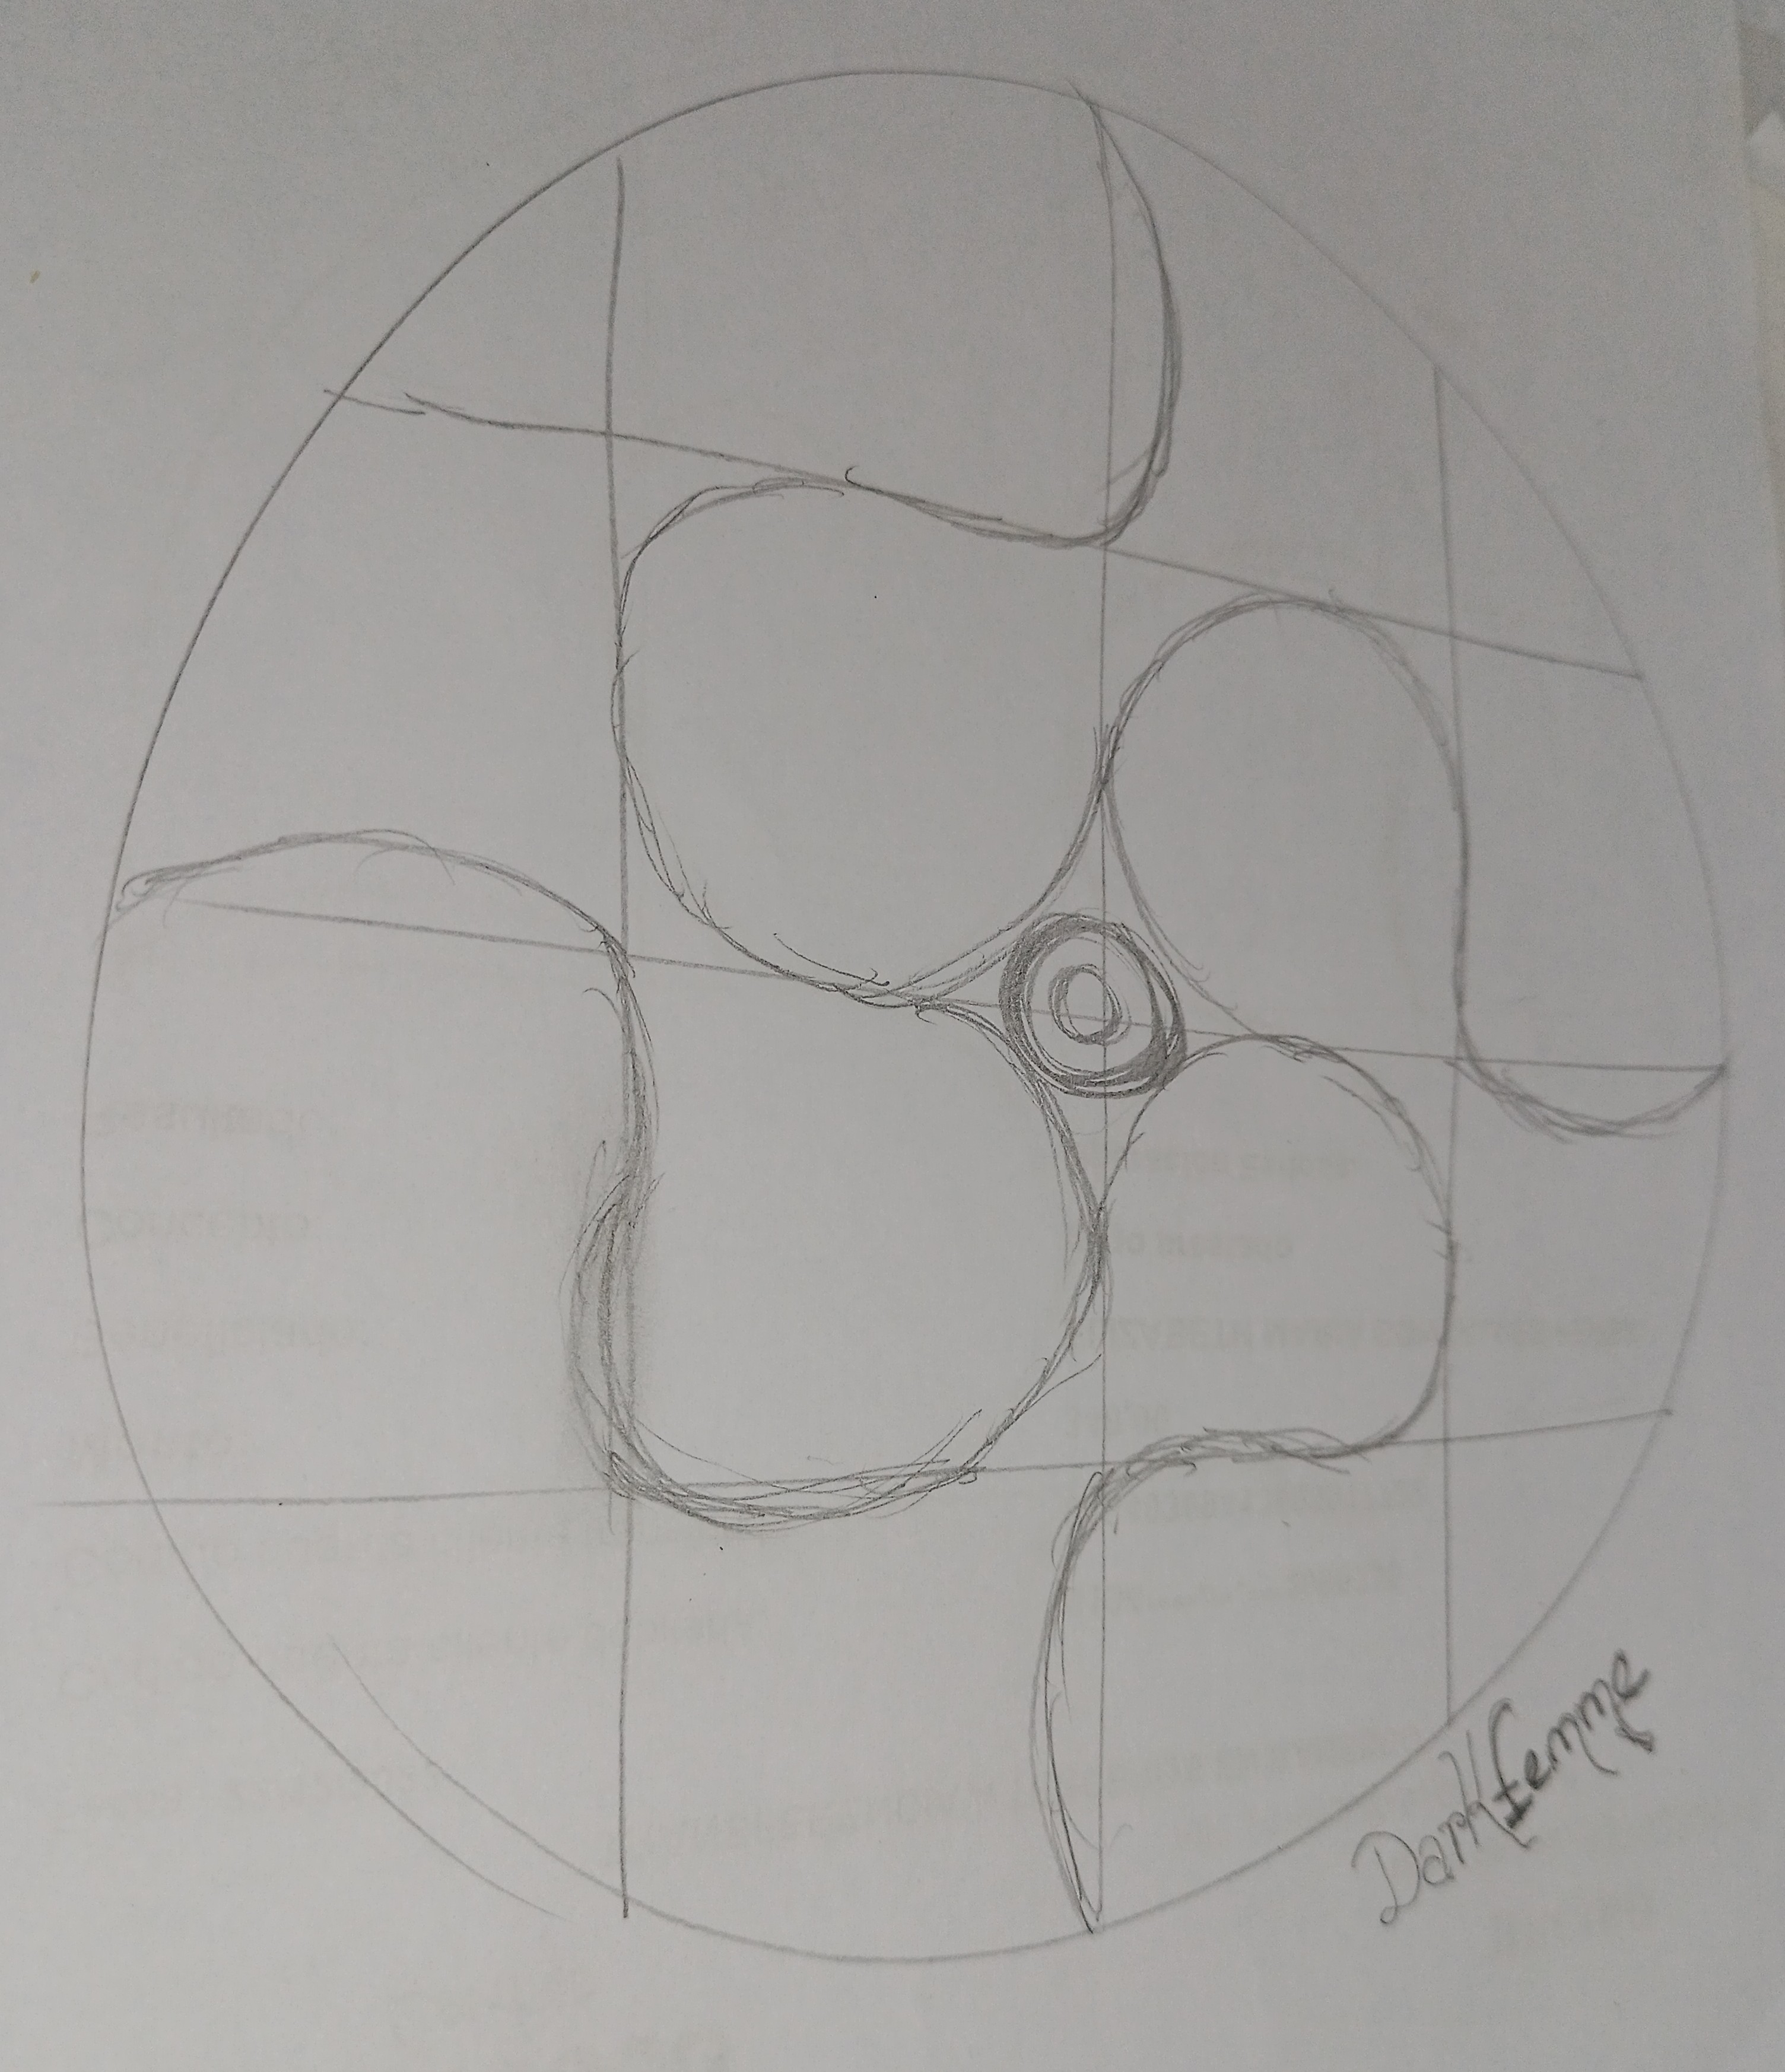
With my 2b graphite pencil I made a circle and traced a vertical and a horizontal diameter, forming the four right angles in each portion, then drew parallel lines half the distance that was left to reach each part of the circumference -I hope I'm explaining it clearly! hihihi
With these base lines already drawn, to repeat the same strokes on each main line, that is, if I made a curve on one side, would repeat it on the other.
Thus I obtained a reflection image on each of the sides to resemble the style of the mandalas. First I did all this on a piece of Bond paper and then repeated it on a piece of cardboard.
Con mi lápiz grafito 2b realicé un círculo y tracé una diámetro vertical y uno horizontal, haciendo que se formaran los cuatro ángulos rectos en cada porción, luego tracé unas líneas paralelas a la mitad de la distancia que faltaba para llegar a cada parte de la circunferencia -espero estarlo explicando con claridad jijiji.
Con estas líneas bases ya trazadas tuve que hacer la repetición en cada línea principal de los mismos trazos, es decir si en uno de los lados hacía una curva en la otra lo repetía. Así obtuve una imagen reflejo en cada uno de los lados para asemejar el estilo de los mandalas.
Primero hice todo esto en una hoja de papel Bond y luego lo repetí en un cartón.
BACKGROUND
///
FONDO
BACKGROUND
///
FONDO
I folded a sheet in half to make a square, folded it in half again and drew a curved line at the tip to form the circumference.
This was my guide to be able to do something more circular.
By drawing the circumference on the cardboard I was able to take my scissors and cut it out. I traced all the lines had made on my sketch paper and continued.
This was my guide to be able to do something more circular.
By drawing the circumference on the cardboard I was able to take my scissors and cut it out. I traced all the lines had made on my sketch paper and continued.
Doblé una hoja a la mitad para formar un cuadrado volví a doblarla a la mitad y tracé una línea curva en la punta para que se formara la circunferencia. Esta fue mi guía para poder hacer algo más circular.
Al trazar la circunferencia en el cartón ya pude tomar mi tijera y recortarlo.
Tracé todas las líneas que había hecho en mi papel del boceto y continué.
Al trazar la circunferencia en el cartón ya pude tomar mi tijera y recortarlo.
Tracé todas las líneas que había hecho en mi papel del boceto y continué.

FILLED & DETAILS
///
¡A COLOREAR!
FILLED & DETAILS
///
¡A COLOREAR!
I took a few cold paintings, selecting two tones for each sector, always trying to have a light and a dark one.
My main painting tool was my fingers, applying with the brush an amount of paint to the right side with the light color and an amount of paint to the left side with the dark color.
So when I made the strokes they were already with the shadows included. It was quite a relaxing process that allowed me to distract my mind a bit and not let it think so much.
Then I took a brush to use a contrast tone and outline the design a bit... First with a flat number 2 brush and then with a liner. And I applied with a golden metallic tone and the back of the brush some touches of paint that simulated dots. Adding shine to the design.
Tomé unas cuantas pinturas al frío, seleccionando para cada sector dos tonos, intentando siempre tener un claro y un oscuro.
Mi herramienta principal para pintar fueron mis dedos, aplicando con el pincel una cantidad de pintura al lado derecho con el color claro y una cantidad de pintura al lado izquierdo con el color oscuro. Así cuando realice los trazos ya quedaban con las sombras incluidas.
Fue un proceso bastante relajante que me permitió abstraer un poco mi mente y no dejarla pensar tanto.
Luego tomé un pincel para utilizar un contratono y delinear un poco el diseño... Primero con un pincel numero 2 plano y luego con un liner.
Y apliqué con un tono metalizado dorado y la parte de atrás del pincel unos toques de pintura que simulaban puntos. Aportándole de brillo al diseño.
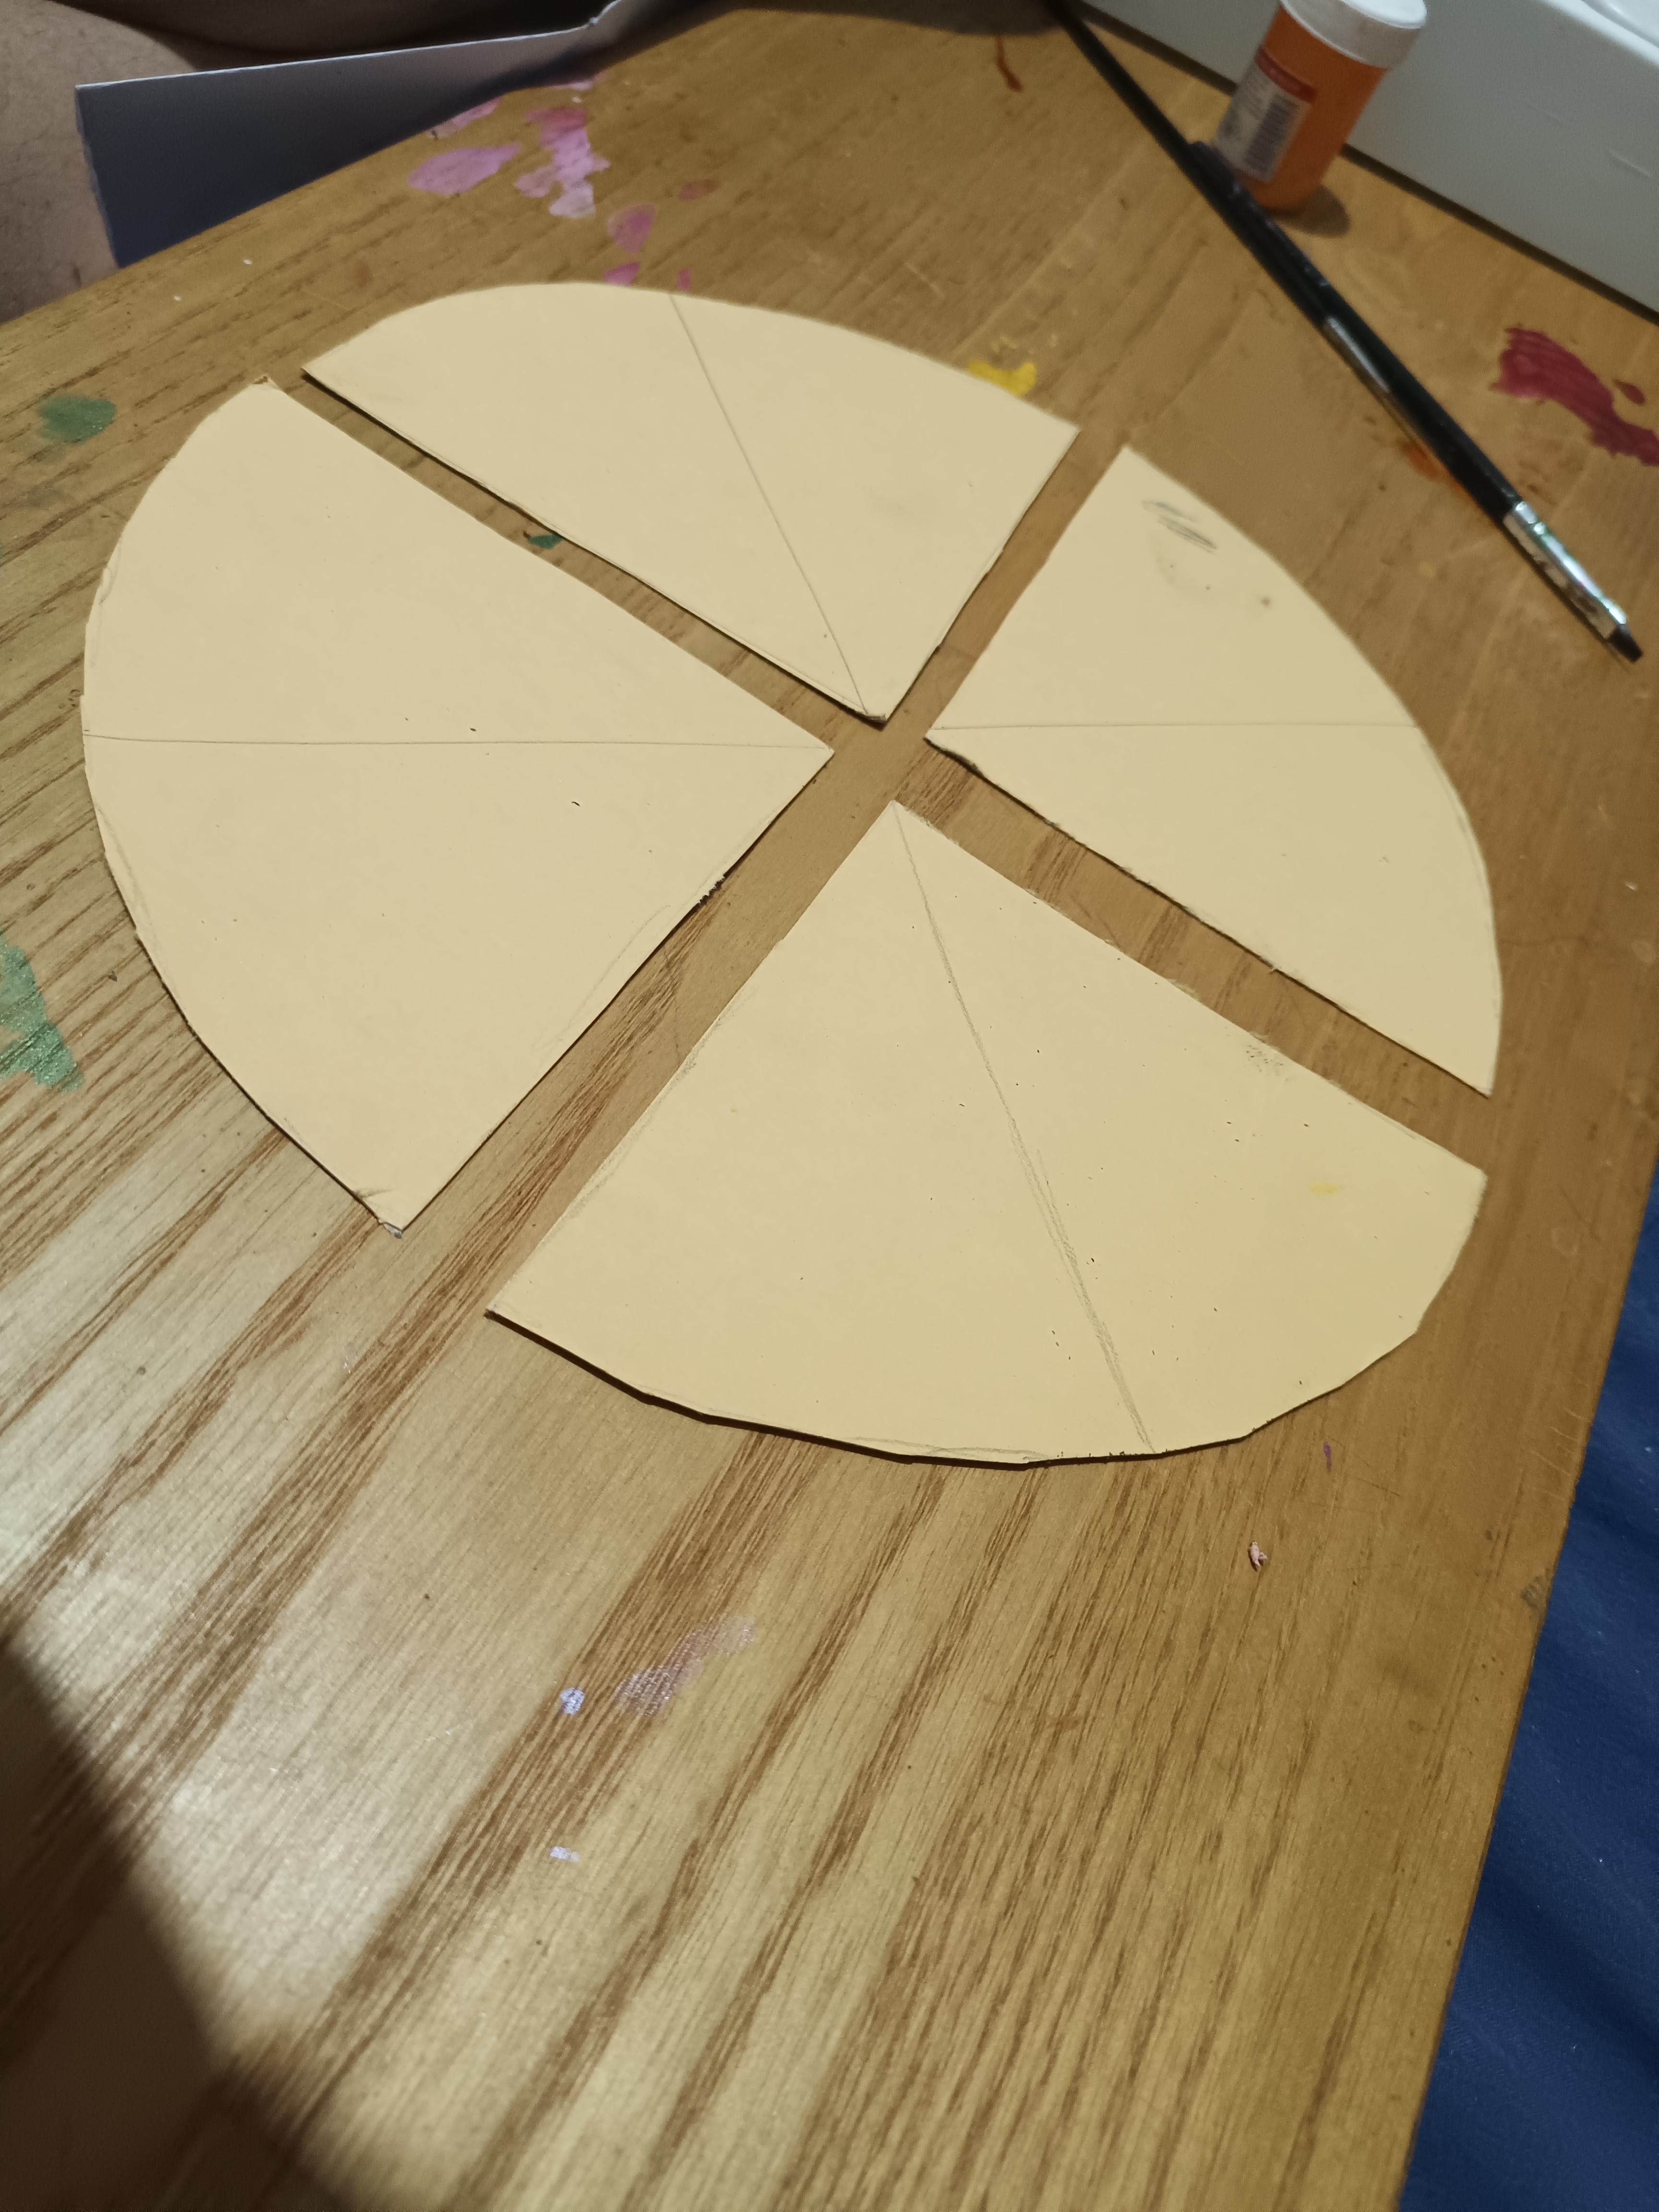
But I felt that needed a touch more and cut around the outline to obtain another cardboard circle, the same size as the previous one.
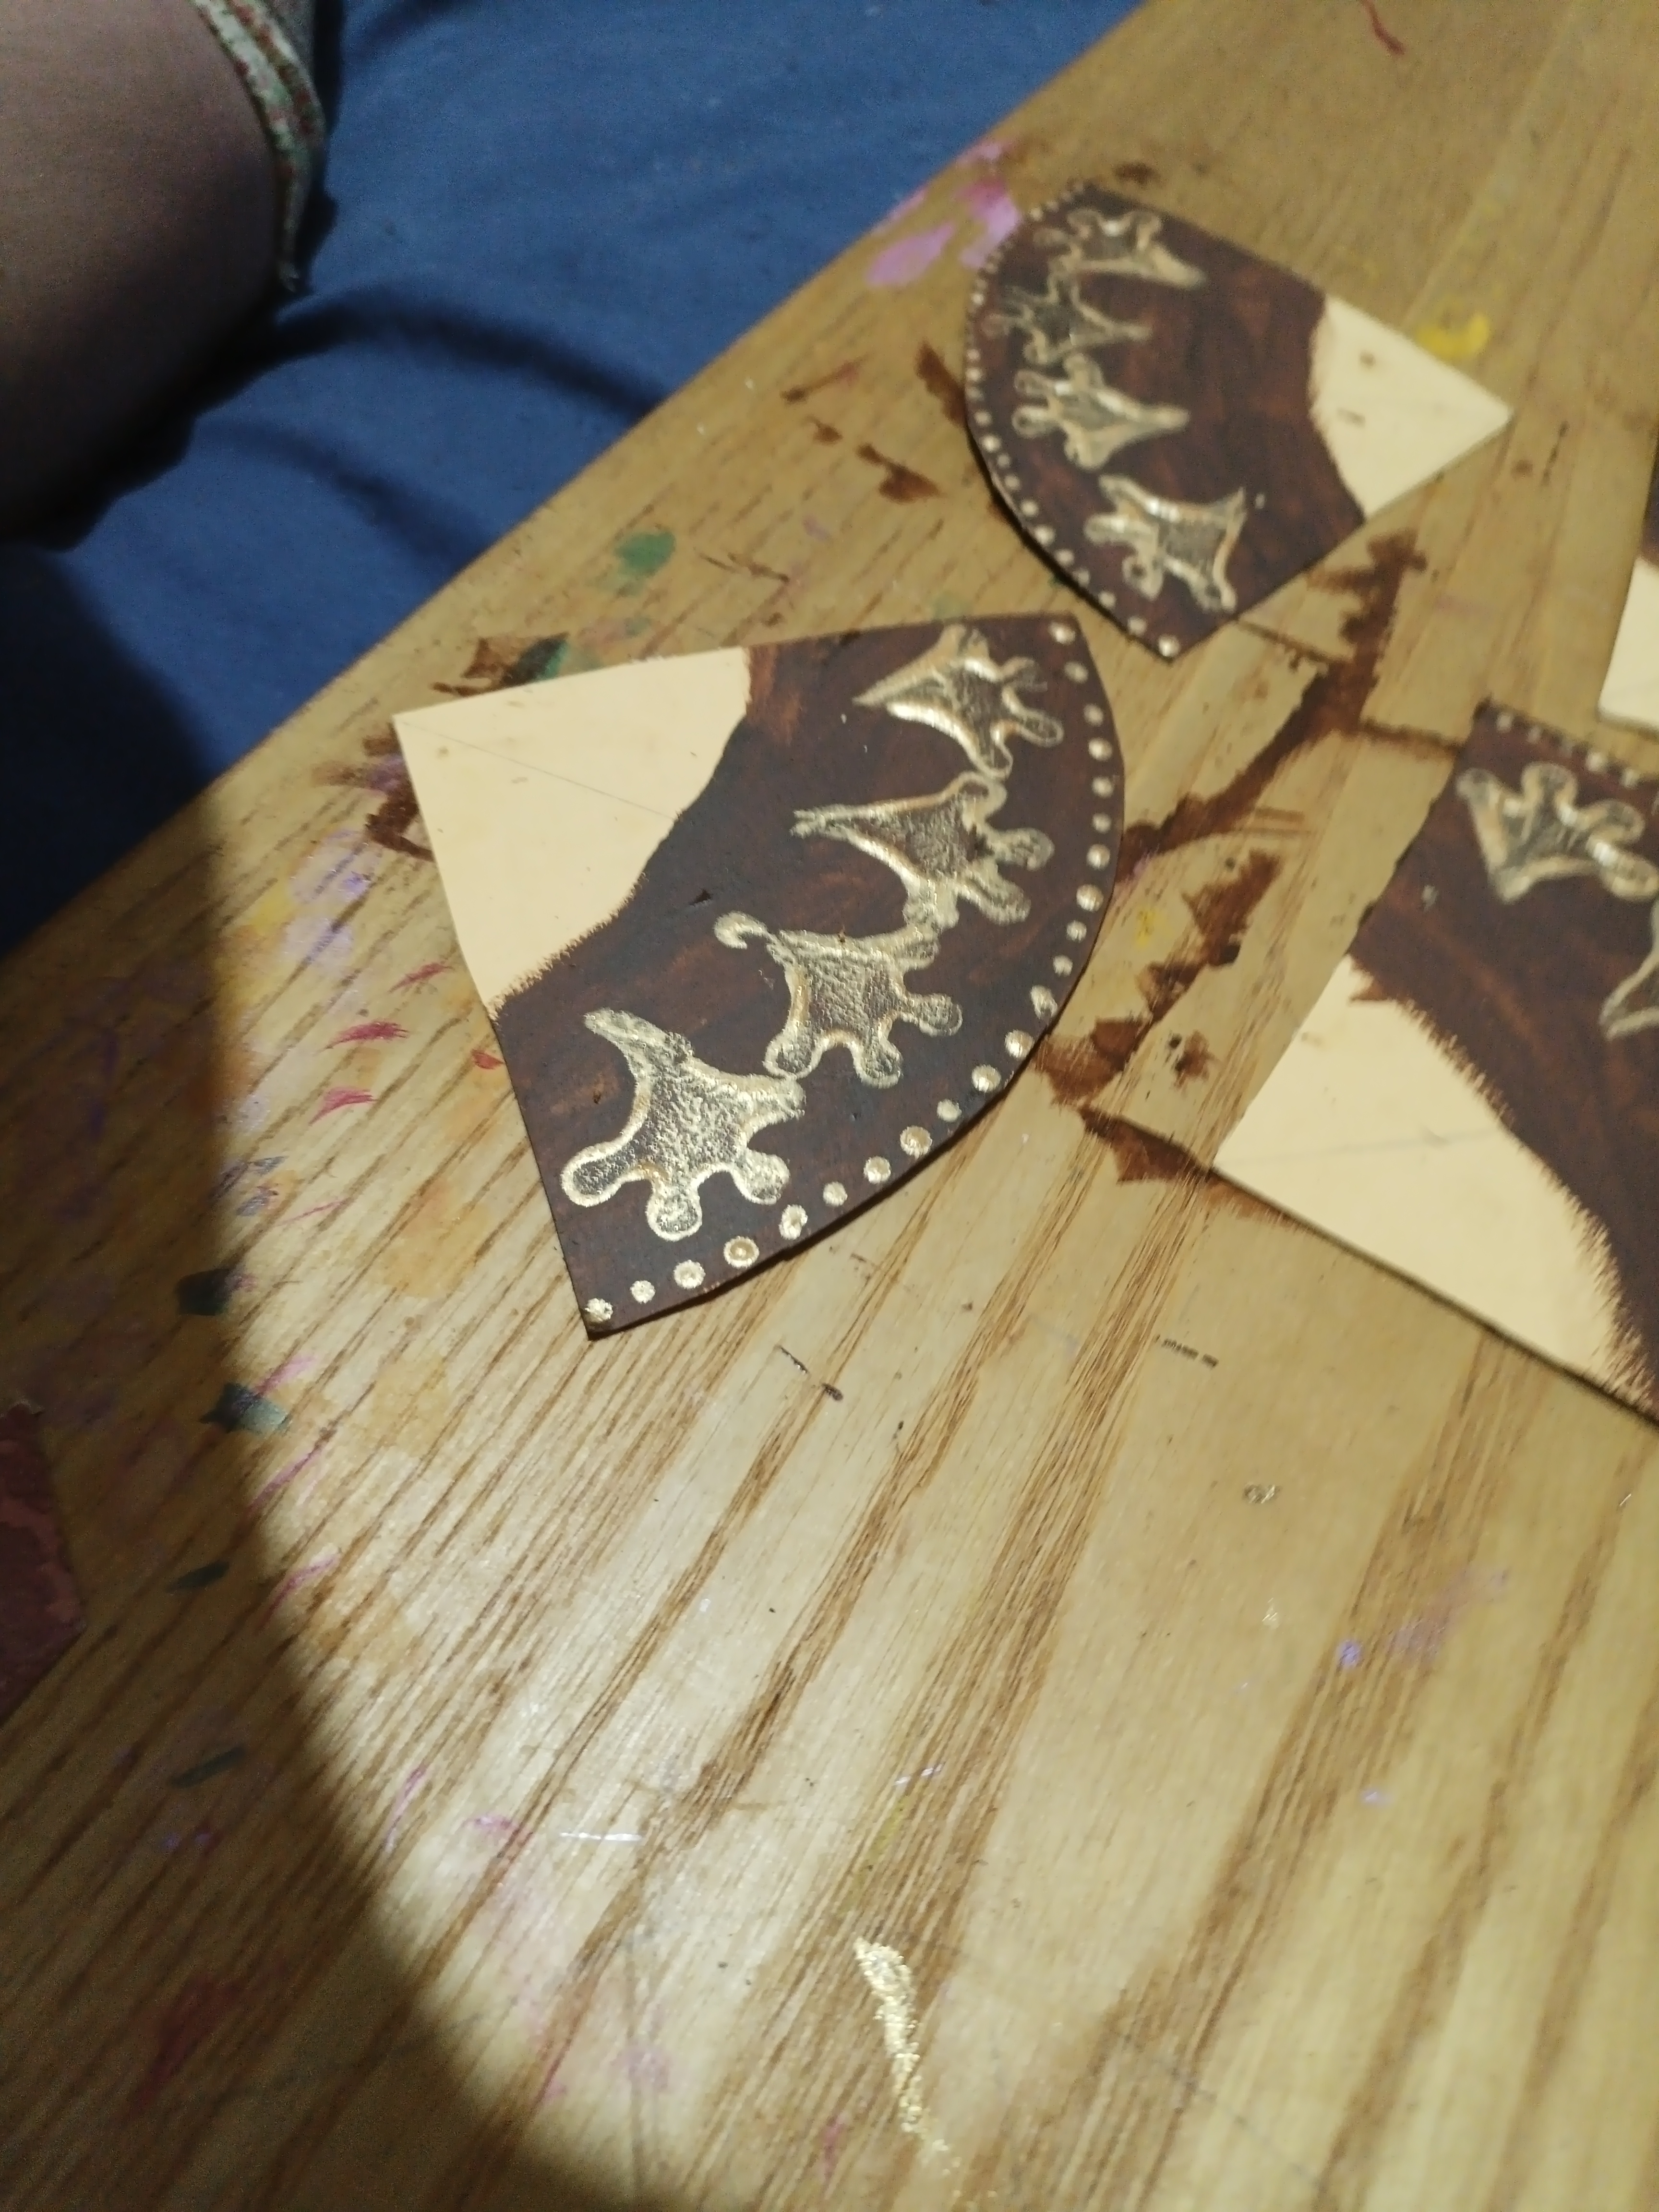
I divided the circle into four parts, cut it out and painted each of the edges that would be visible with a dark color.
Used a bookmark that I have of a little ghost with an upturned hand and used it as a stamp to decorate that edge with the gold paint that I had used in the center of the design.
I glued the parts and put a hook with the cardboard to hang it. Now my art is ready!
Pero sentía que necesitaba un toque más y recorte por el contorno para obtener otro círculo en cartón, del mismo tamaño que el anterior.
Dividí el círculo en cuatro partes, lo recorte y pinté con un color oscuro cada uno de los bordes que se verían. Utilicé un marcador de libros que tengo de un fantasmita con una mano extendida hacia arriba y la usé como sello para decorar ese borde con la pintura dorada que había utilizado en el centro del diseño.
Pegué las partes y coloqué un gancho con el cartón para poder colgarlo. ¡Ahora sí está listo mi arte!
FINAL ART
///
ARTE DEFINITIVO
FINAL ART
///
ARTE DEFINITIVO
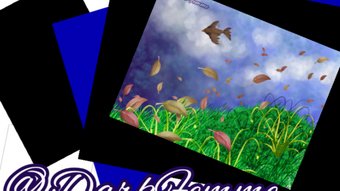
After adding some details, this is the final art:
Ahora sí me siento satisfecha con el resultado y les muestro cómo quedó:

VIDEO TECHNICAL DETAILS /DETALLES TÉCNICOS DEL VIDEO
This video was maked by my INFINIX NOTE 11 PRO as a .MP4 file and edited with the free Ciberlink Power Director APP. All images inside my video with digital art was created by APP Ibispaint.
The music was used of the folder "Lounge" inside program as part of free music, title "Cant Go On".
Este video fue editado con la APP gratuita de Power Director de Ciberlink luego de ser creado con INFINIX NOTE 11 PRO. Las imagenes dentro del video fueron trabajadas con la APP de ibispaint donde las realicé.
La musica es parte de la sección "Free", en la carpeta "Lounge", bajo el nombre "Cant Go On".
Veremos si les gusta o no en los comentarios jijiji
-. DarkFemme .-
-. DarkFemme .-
 |  |  |
|---|---|---|
| On Twitter |
 & Telegram as @DarkFemme
Note:
All divisors, the video, the cover and sign was maked for myself with ibispaint.
The GIF was created with a video in my INFINIX HOT 11 PRO and giphy.
Original content will be posted in my social media for more promo.
Nota:Todos los separadores, el video, la portada y la firma son de mi autoría, realizados con ibispaint.
Contenido original que será publicado en varias redes con el mismo nombre de usuario para mayor promoción.
Para los .gif se crearon las imágenes con videos de un INFINIX HOT 11 PRO y el gif con la app Giphy.
Show more
Tags :
Woo!
This creator can upvote comments using 3speak's stake today because they are a top performing creator!
Leave a quality comment relating to their content and you could receive an upvote
worth at least a dollar.
Their limit for today is $0!
Their limit for today is $0!

6 views
2 years ago
$

5 views
a month ago
$

8 views
11 months ago
$

0 views
2 years ago
$
5 views
3 years ago
$
More Videos

15 views
2 years ago
$
4 views
3 years ago
$
18 views
10 months ago
$
9 views
2 years ago
$

17 views
2 years ago
$

14 views
11 months ago
$

32 views
a year ago
$

24 views
a year ago
$

1 views
a month ago
$
Hive Open Mic - WEEK 139 "Work of True Love” ❤ "Pequeños Detalles" Melodía Original de @Williepicana
5 views
a year ago
$
11 views
11 months ago
$
1 views
3 years ago
$
1 views
5 months ago
$
1 views
3 years ago
$

0 views
7 months ago
$

15 views
3 weeks ago
$
0 views
5 months ago
$

8 views
5 months ago
$

58 views
a year ago
$

12 views
3 months ago
$

8 views
2 months ago
$

36 views
3 months ago
$

24 views
3 years ago
$
0 views
4 years ago
$

6 views
2 years ago
$
Comments:
Reply:
To comment on this video please connect a HIVE account to your profile: Connect HIVE Account