Crochet Diamond Halter Top.
13
About :
Hello Needlework Lovers🤍
It's a lovely Monday and yet another amazing day to share my crochet crafts with the #needleworkmonday community.

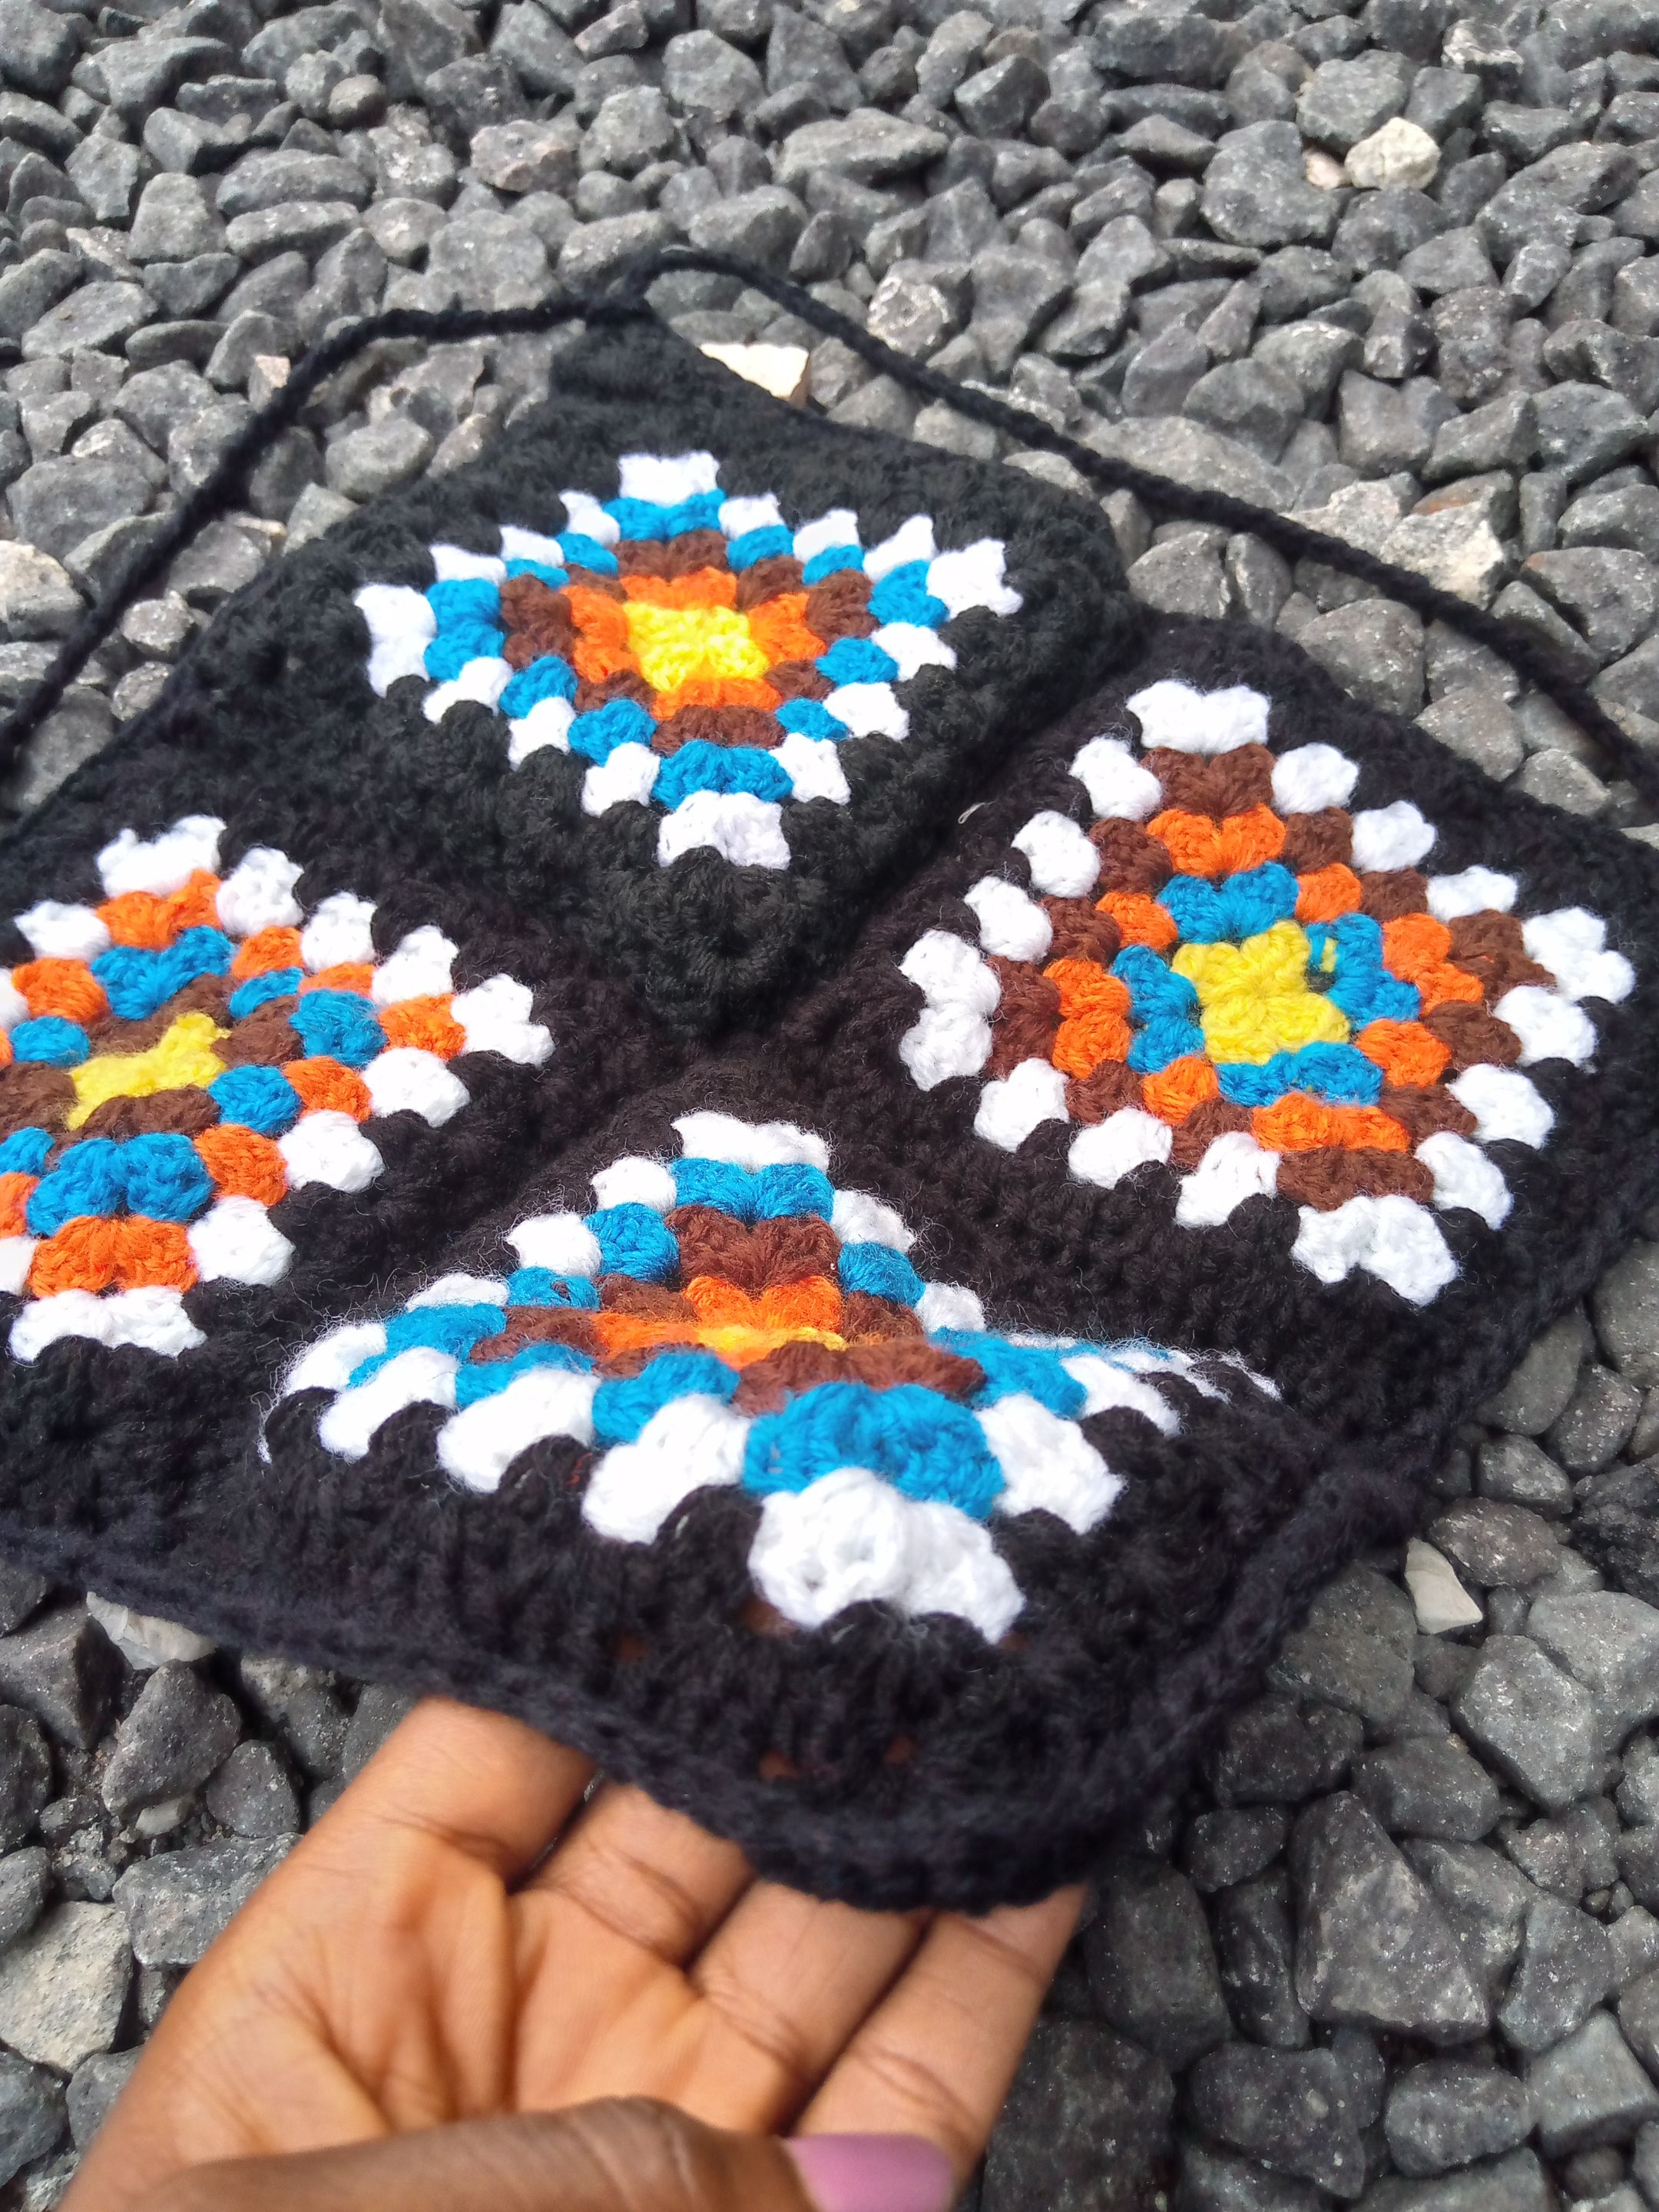
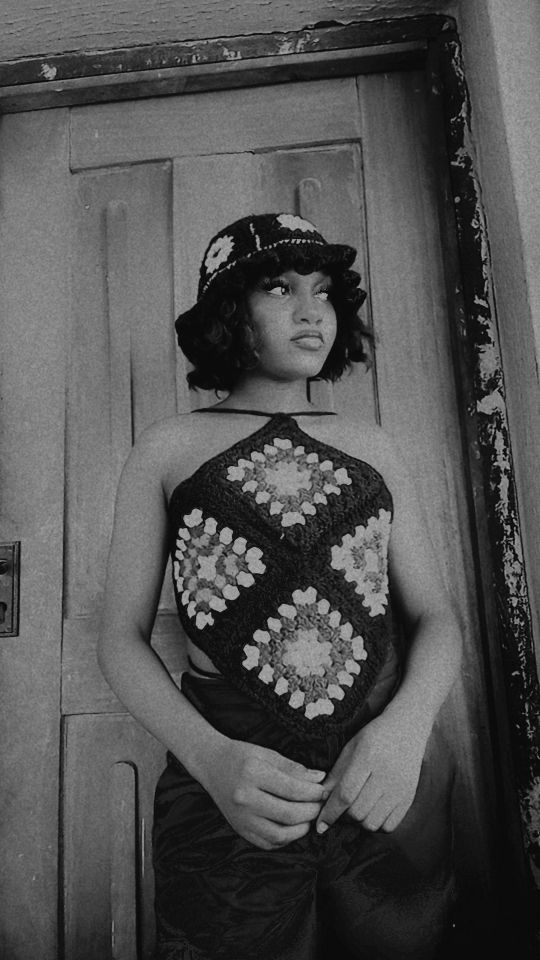
For today, I would be sharing with you the process of making a “crochet granny square diamond halter top” (what a long name). This halter top was made exclusively with granny squares; the same granny squares that I have been avoiding for a while now.
I did a little research and I found out that there are numerous types of granny square patterns and most of them look a bit complex (until you try them out). The granny square pattern I used for this project was one that I considered to be very complex even after I was told that they were one of the easiest granny square patterns to make.
After so much hesitation and out of pure necessity, I decided to try out the pattern and I must confess that not only is it easy to make, I also love how the different colours compliment each other.
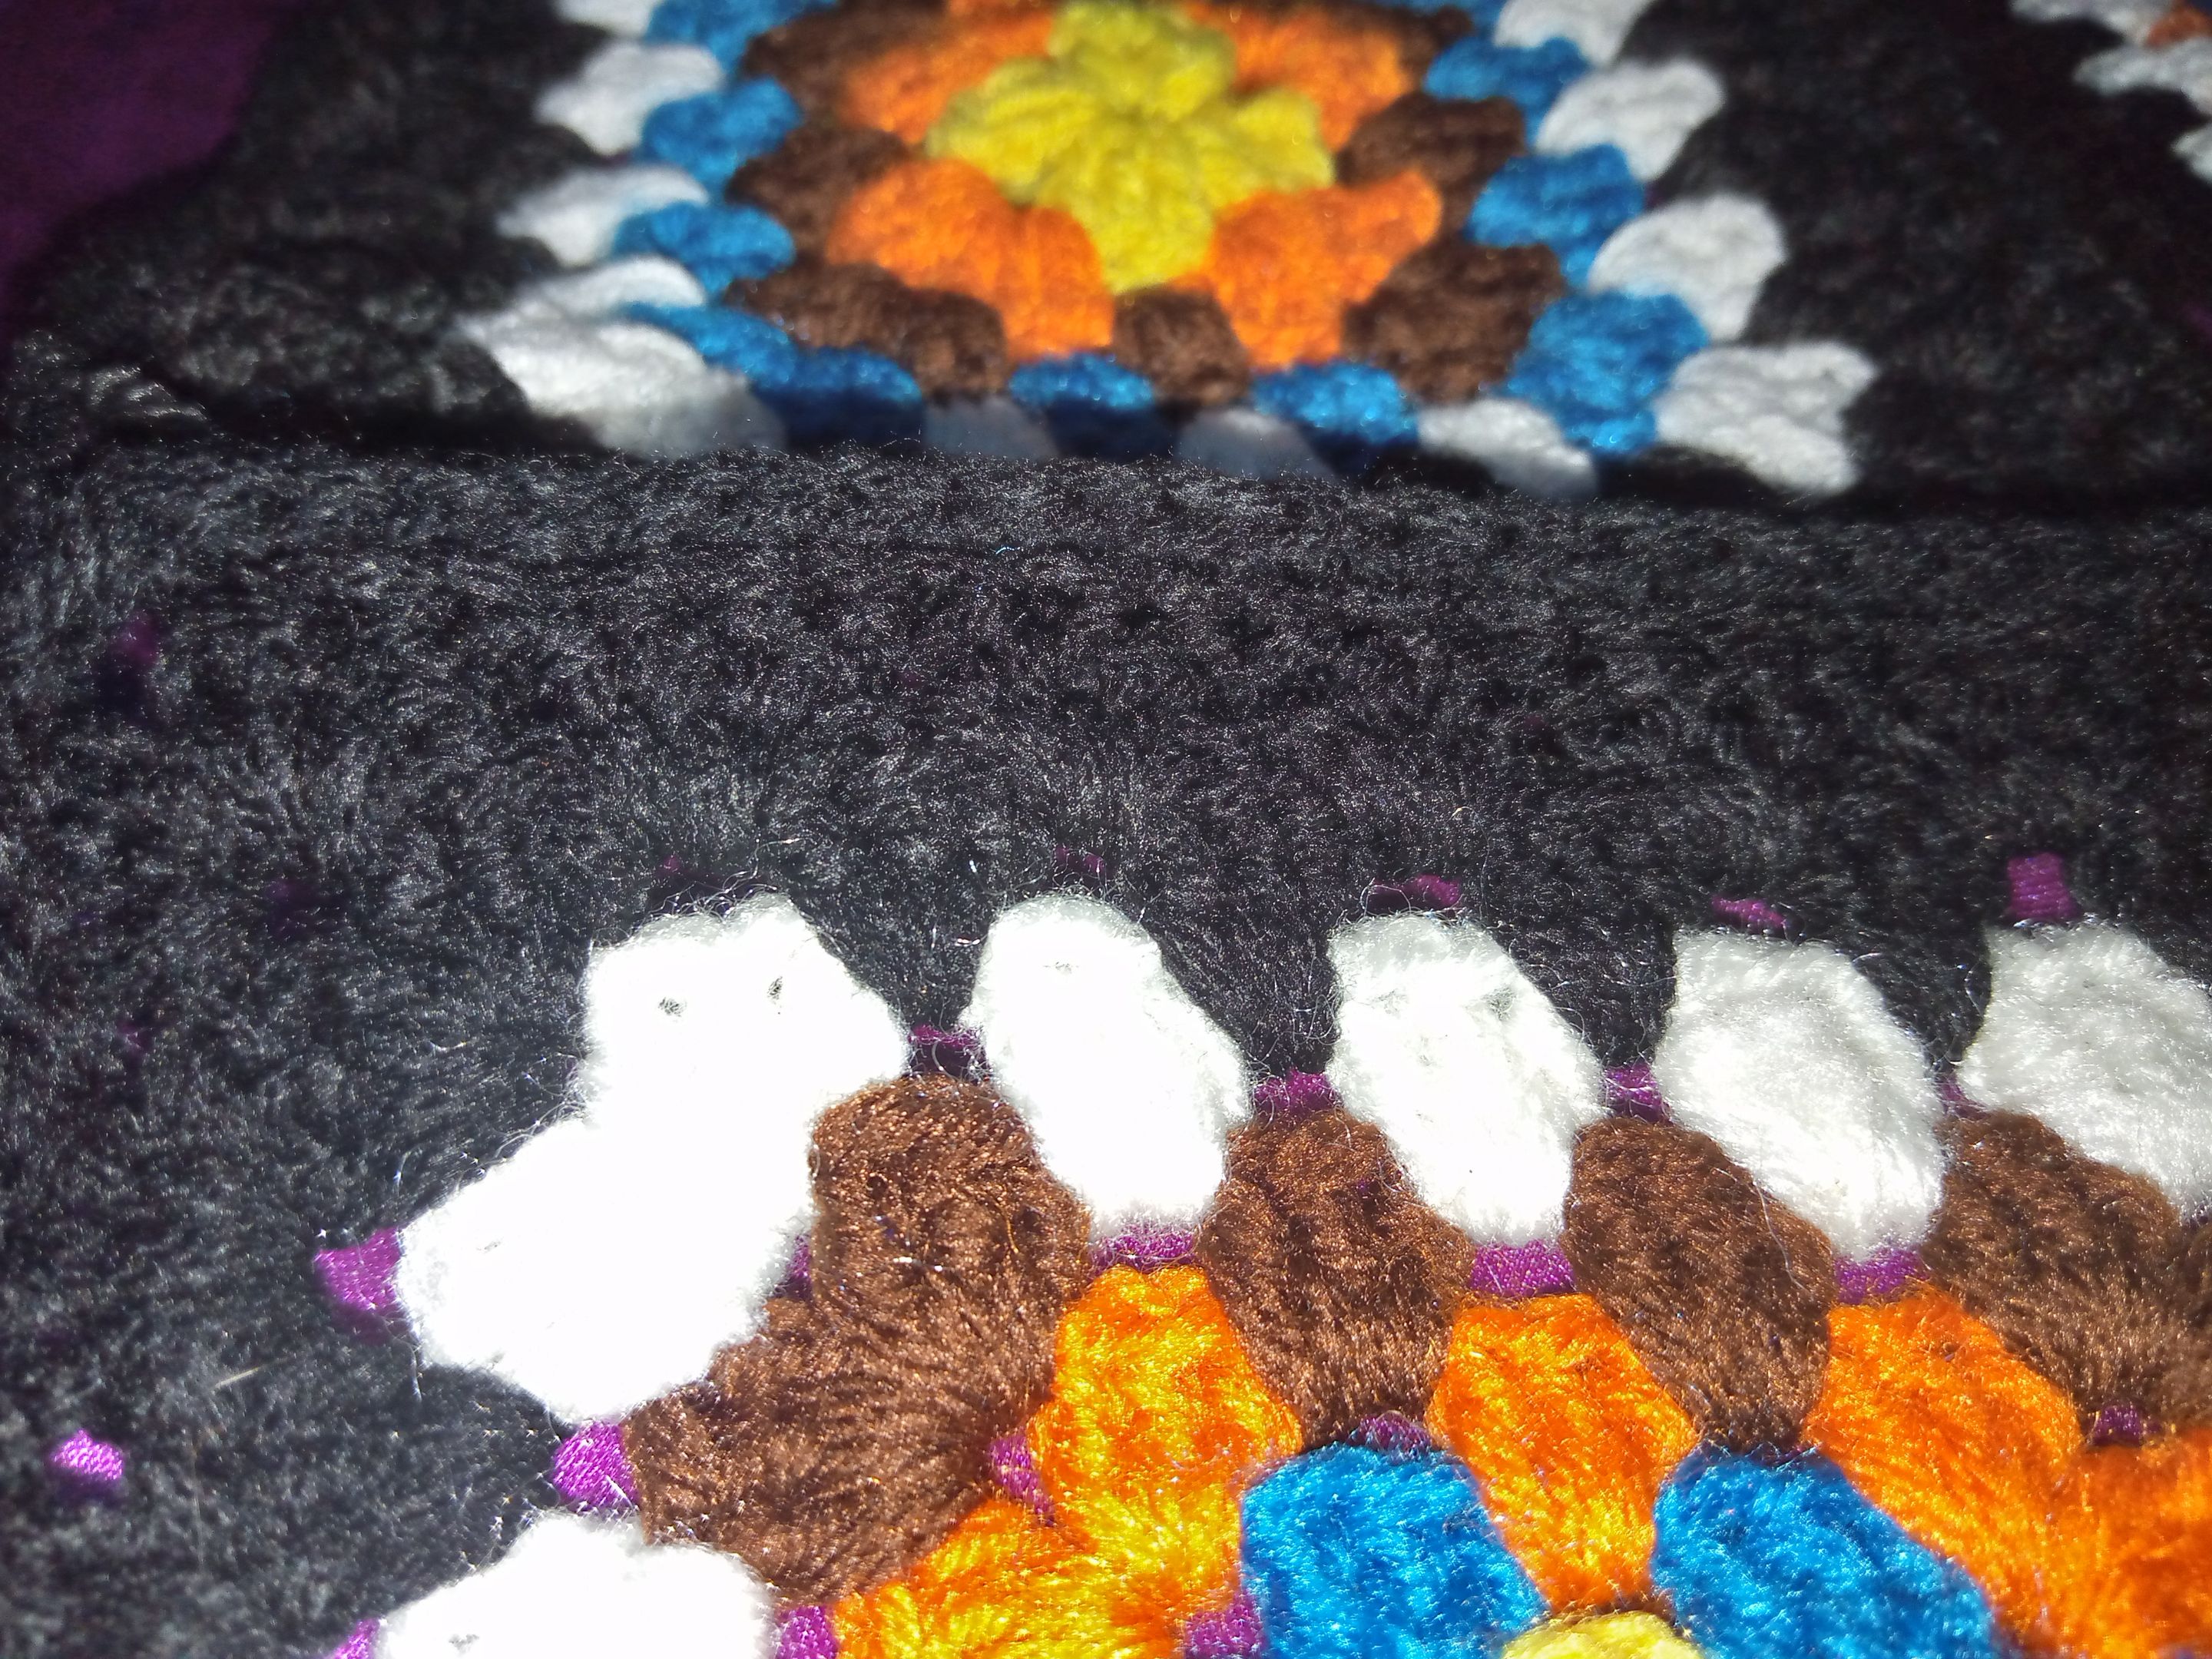
One interesting thing about this project is that I made it entirely using scrap yarn. A combination of six different colours of scrap yarn can get you this beautiful result.

Materials Used.
- Different colours of yarn
- 4.5mm hook
- Measuring tape
- Tapestry needle
- Yarn cutter
Procedure
First off, I had to determine how wide I wanted my granny squares to be. This is to ensure that the edges cover up one's bosom properly. To get the right size, measure from your sternum to the edge of your bosom. The measurement you get is what you would be working with for each granny square.
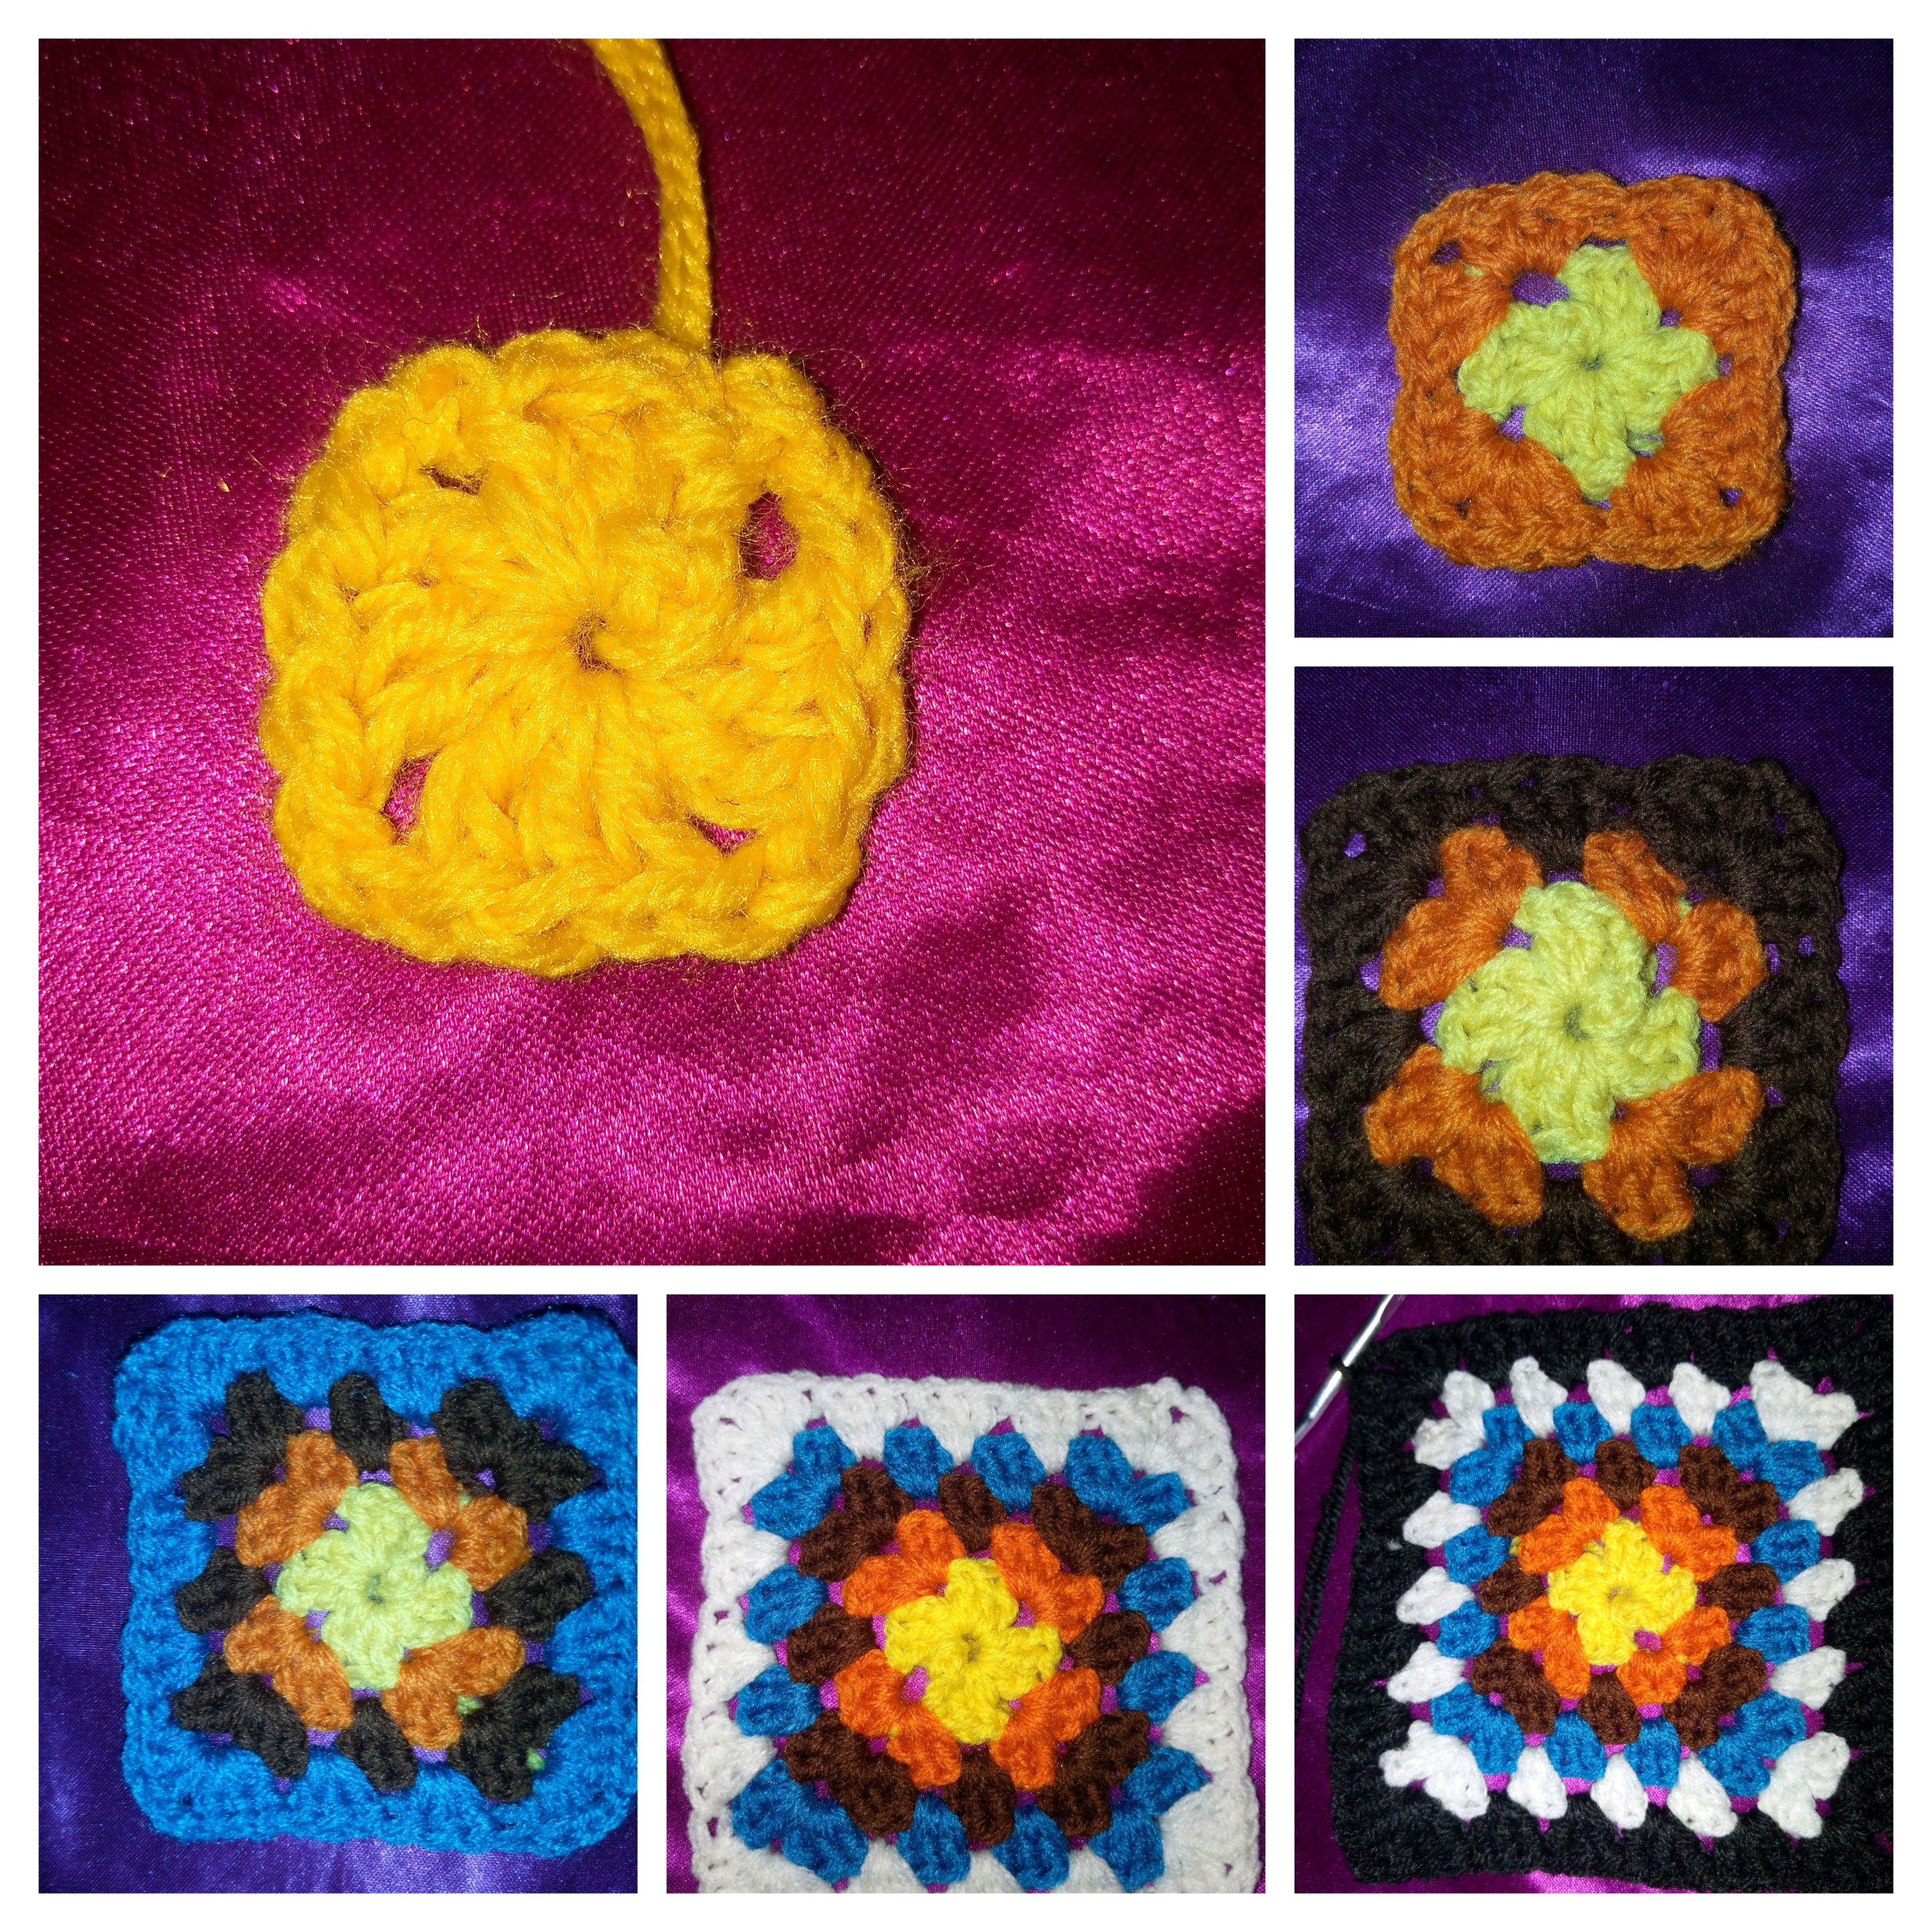
To make the granny square, I started with a magic circle. I made a chain of three and went ahead to make two more double crochet stitches (the chain three counts as a stitch) into the circle. I chained two and made three more double crochet stitches. I continued this till I got four corners.
After this, I chained one and fastened off. Sew in my loose ends and went ahead to change colour. To make the colour change, I inserted my hook into one of the corners, made a chain of three and made two extra double crochet stitches.
Then, I moved straight to the next corner, made a cluster of three, chained two and made another cluster of three into the same corner. I continued this till the end of the row.
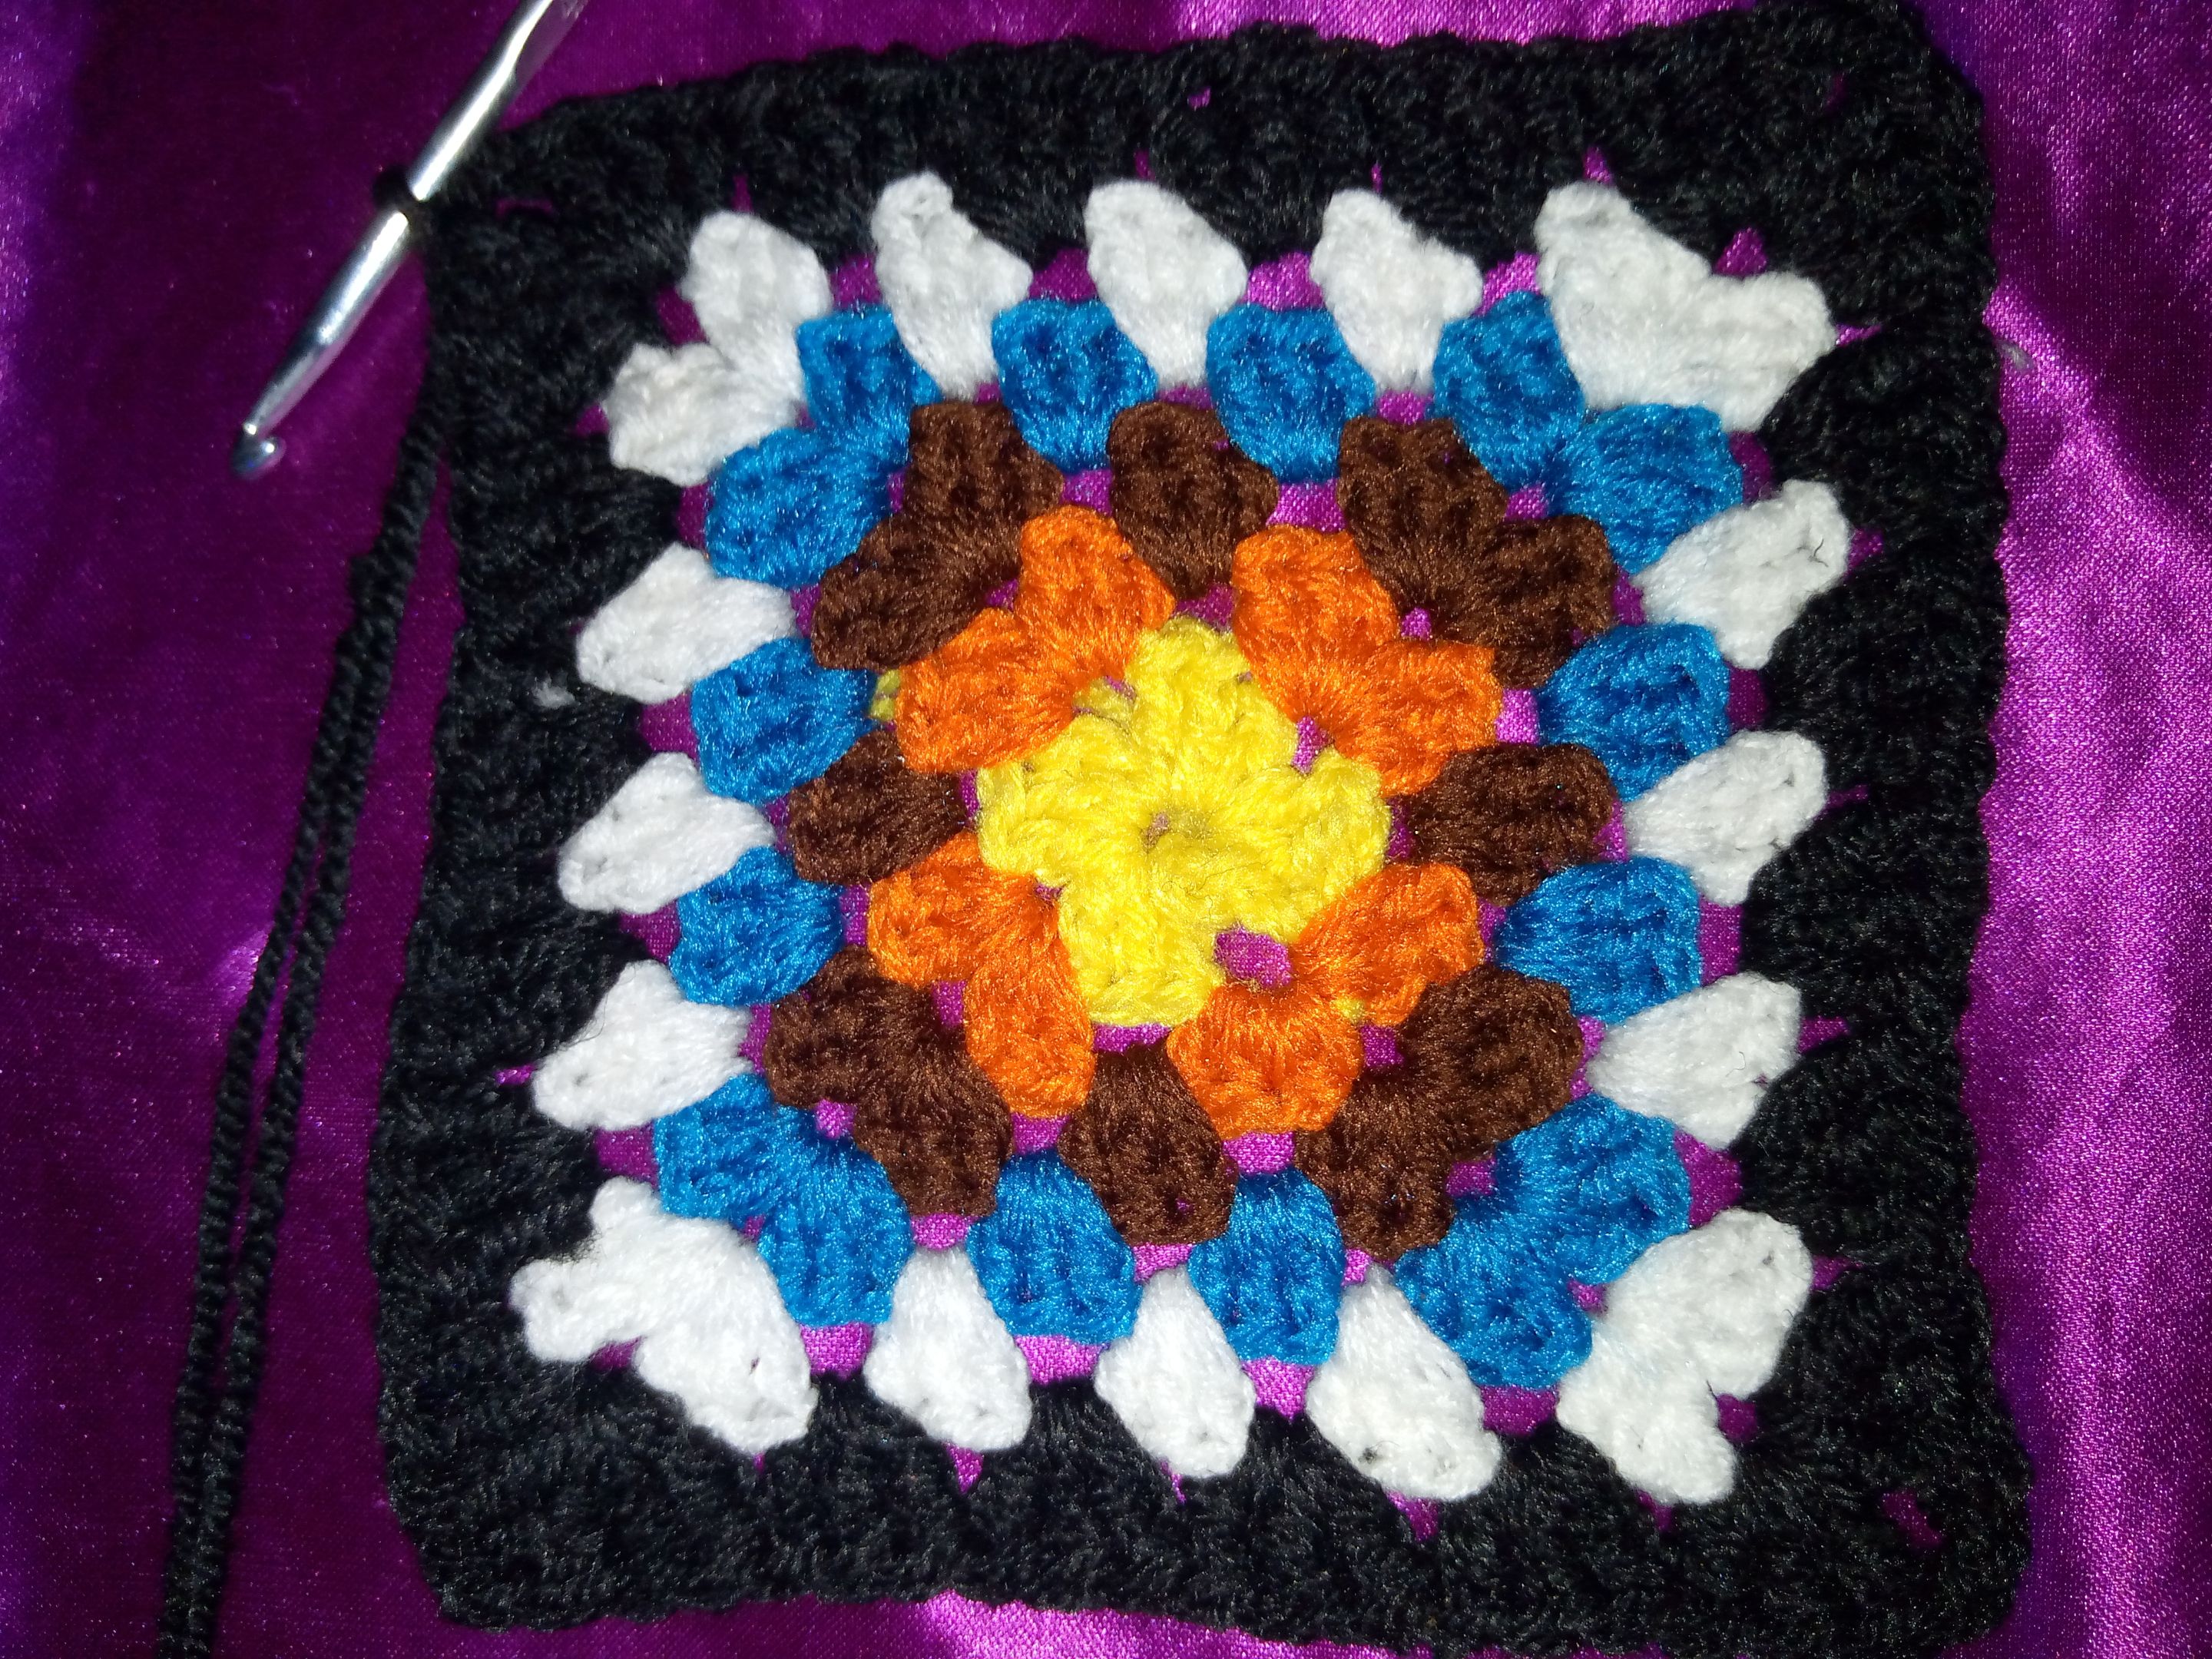
Again, I made another colour change, following the same exact pattern as the previous row. The only slight difference would be the extra spaces before the corners. In these spaces, I made a cluster of three double crochet stitches and that was it.
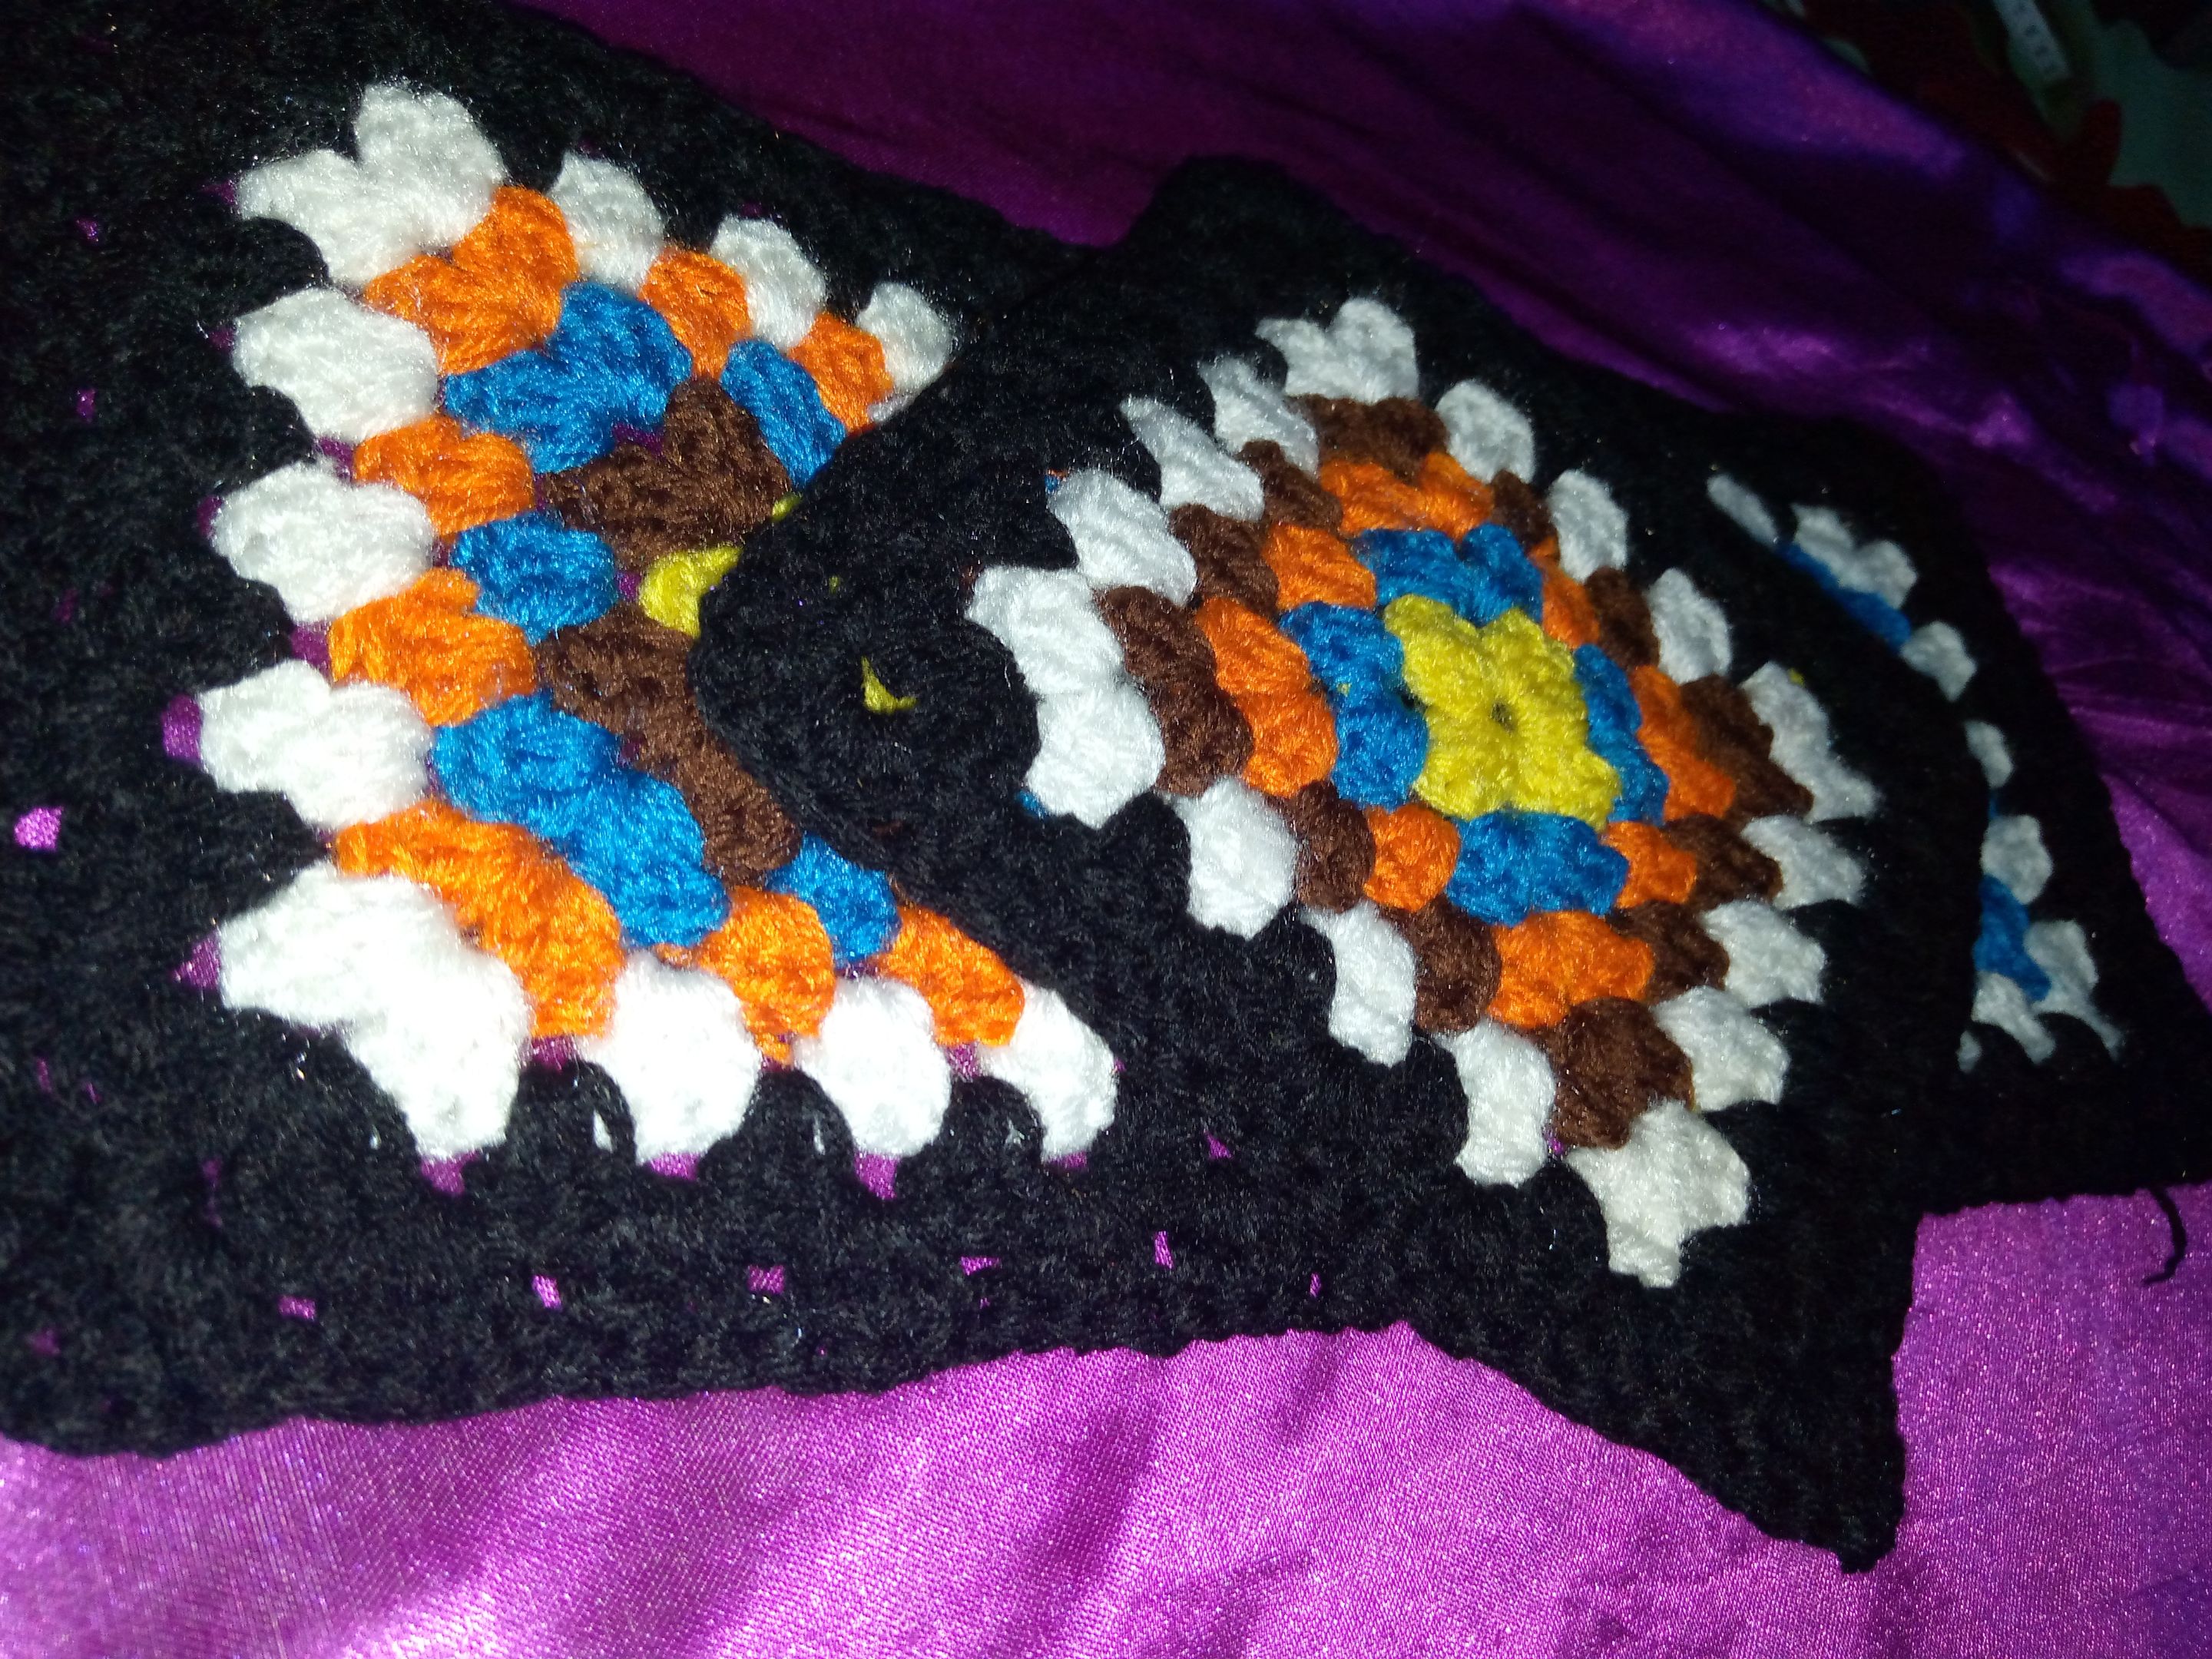
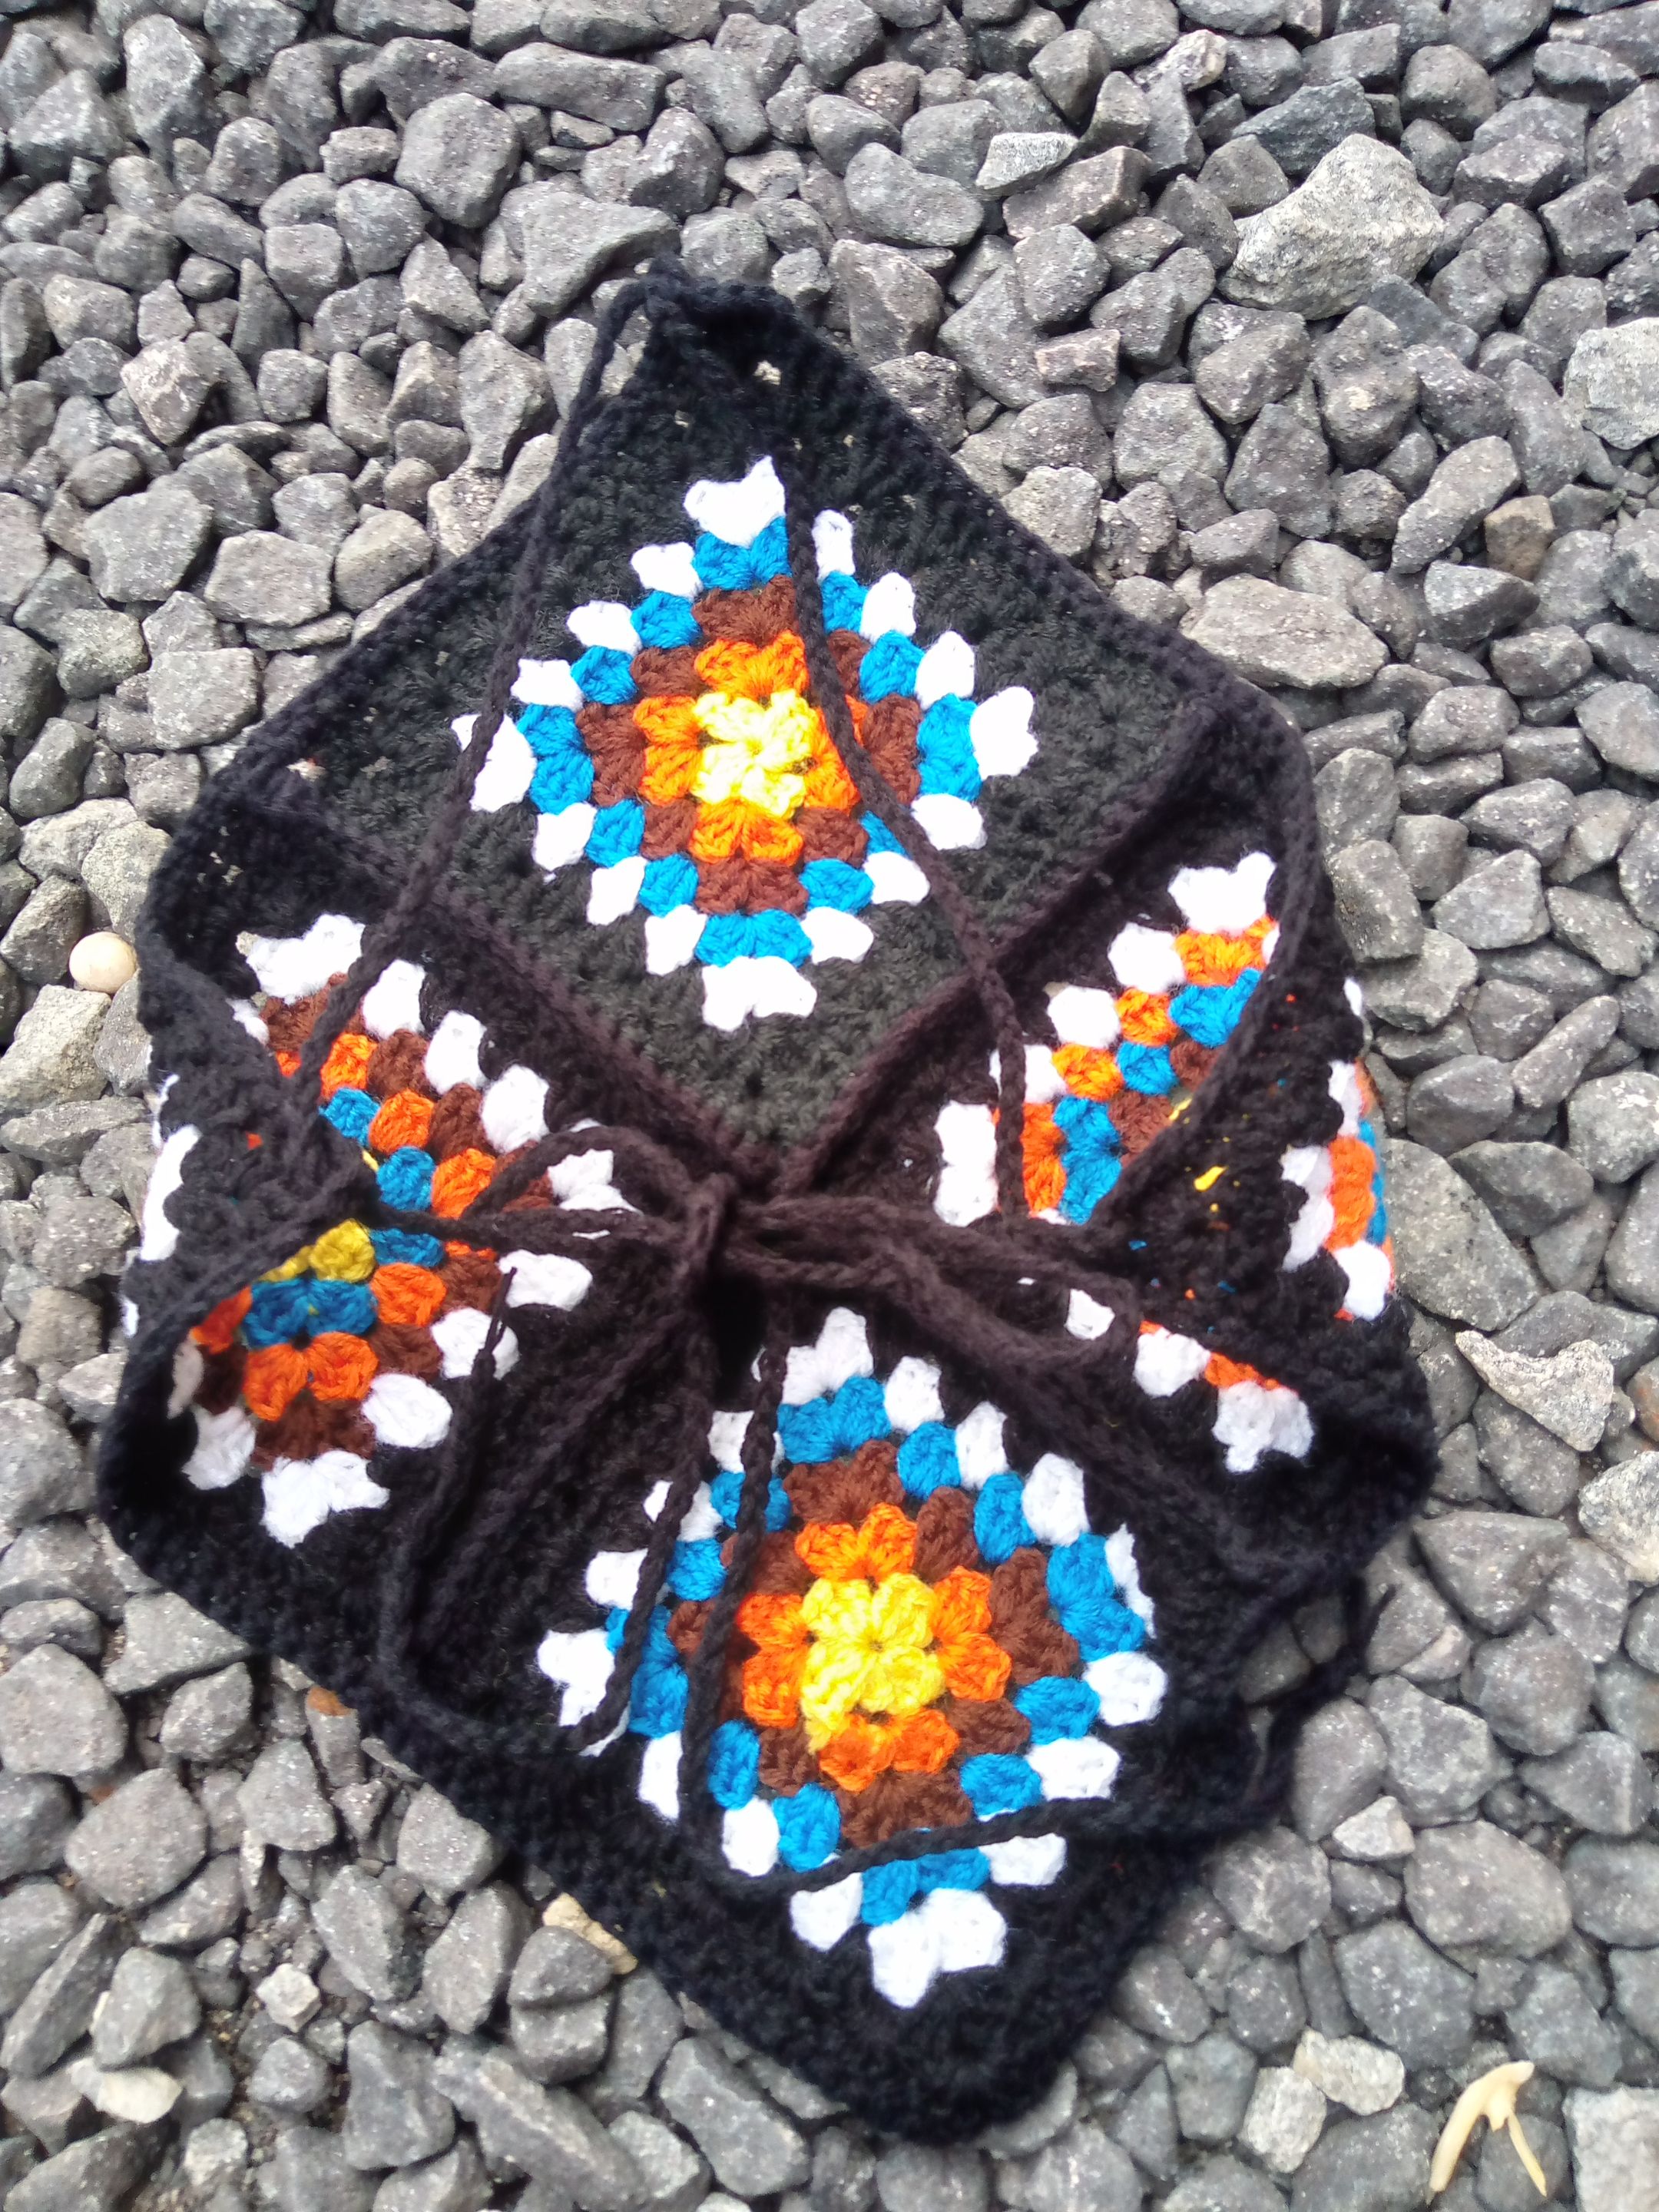
After I made my four granny squares, it was time to join them together. With a single crochet stitch, I joined all four granny squares together and the top was coming out pretty well.
Now to the hard part–sewing in loose ends. I tried as much as possible to hide the loose ends while making the granny squares but they were still some loose ends to sew in and so I did just that.
After sewing in loose ends, I went around the edges of all the granny squares with a single crochet stitch to give the project a fine finish.
The last lap of this project was the rope. I made a rope long enough to go in through the required hole and with that, I came to the end of this masterpiece.
One part I liked most about this project was the fact that I got to play around with different colours, changing them as I saw fit. The beautiful thing about it is that the project still came out looking splendid.

This top is popularly worn to the beach but can still be worn out on a hot with a shawl or a jacket depending on your preference.
I took the liberty to make a short video of the process. You can check it out and tell me what you think as I would love to hear your remarks.
All images used belong to me and were taken with my mobile device except stated otherwise
Love 🤍
Show more
Tags :
Woo!
This creator can upvote comments using 3speak's stake today because they are a top performing creator!
Leave a quality comment relating to their content and you could receive an upvote
worth at least a dollar.
Their limit for today is $0!
Their limit for today is $0!

17 views
7 months ago
$

10 views
7 months ago
$
6 views
7 months ago
$

5 views
a year ago
$

2 views
7 months ago
$
More Videos

17 views
a year ago
$

0 views
2 years ago
$
0 views
2 years ago
$

4 views
a year ago
$

0 views
a year ago
$

8 views
a month ago
$

8 views
a year ago
$

0 views
a year ago
$

3 views
6 months ago
$

2 views
2 years ago
$

29 views
8 months ago
$

16 views
8 months ago
$

15 views
2 years ago
$

10 views
a year ago
$

19 views
6 months ago
$

20 views
a year ago
$

0 views
2 years ago
$

33 views
5 months ago
$

7 views
a month ago
$

8 views
7 months ago
$

25 views
2 years ago
$

1 views
2 years ago
$

20 views
2 years ago
$

34 views
2 years ago
$

8 views
a year ago
$
Comments:
Reply:
To comment on this video please connect a HIVE account to your profile: Connect HIVE Account