Rear brake restoration process
5
About :
Greetings,
Dear friends once again here I continue restoring my Hyundai getz, this time I come to show you in video and photos the process of restoring the rear brake system.
To be honest with the 7 years that has the car stopped I thought that the brakes is what was going to give me more work, I imagined a scenario of the brake cylinders locked and with a bad mixture of brake fluids, rust and moisture.
Thank God as the car is quite original this was not the case, of course I did get wear and tear and one of the sides the springs that hold the brake shoes were broken.
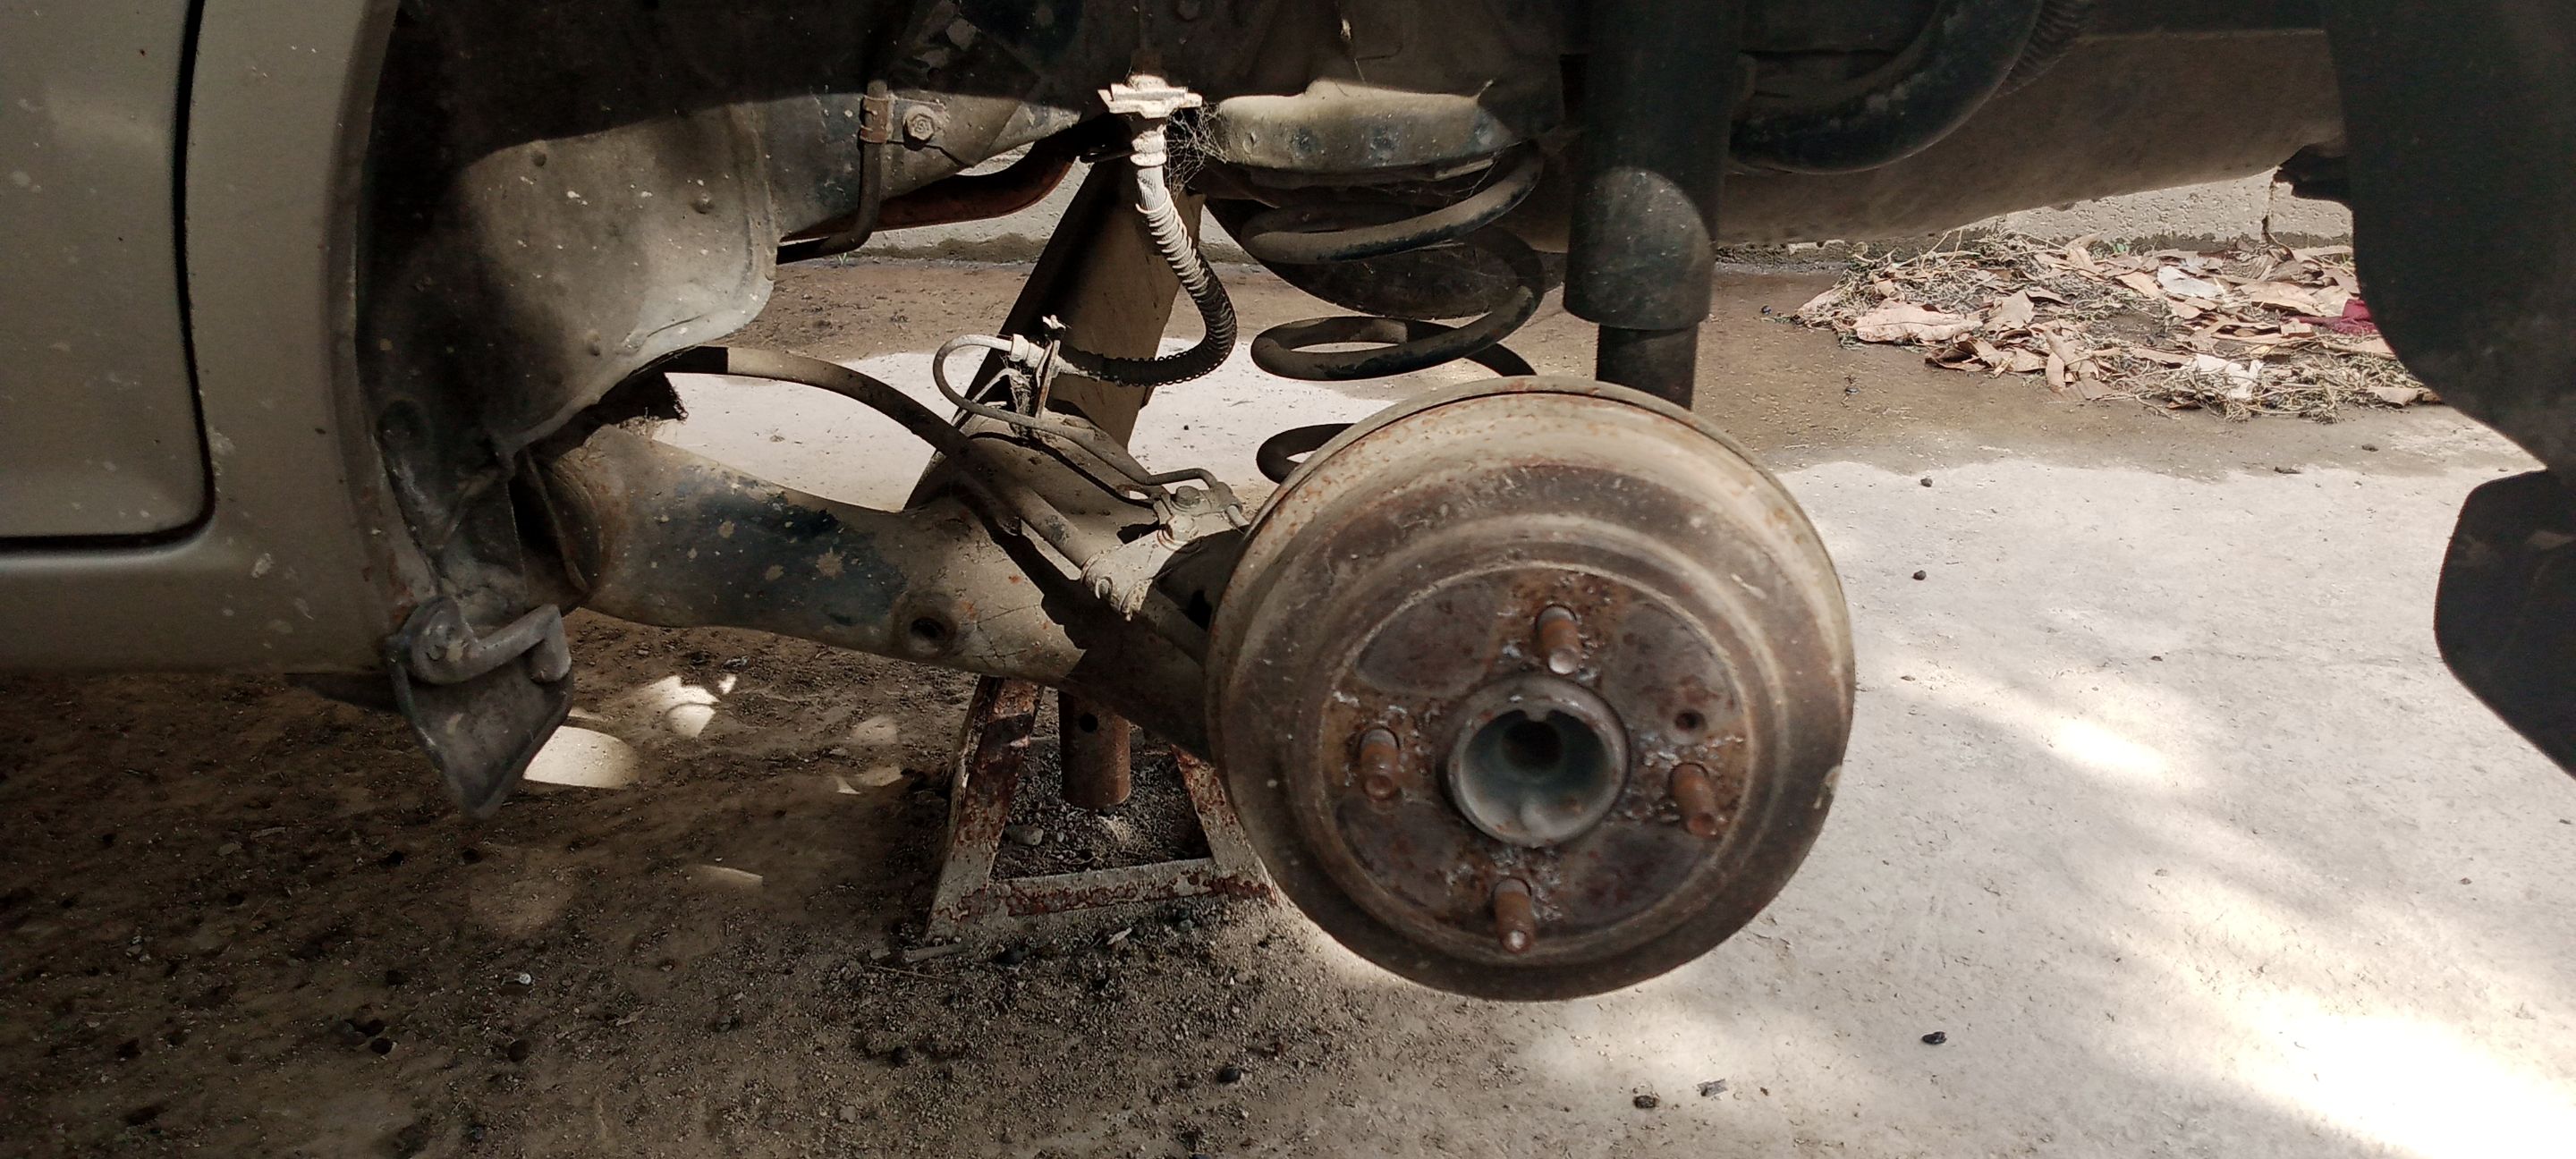
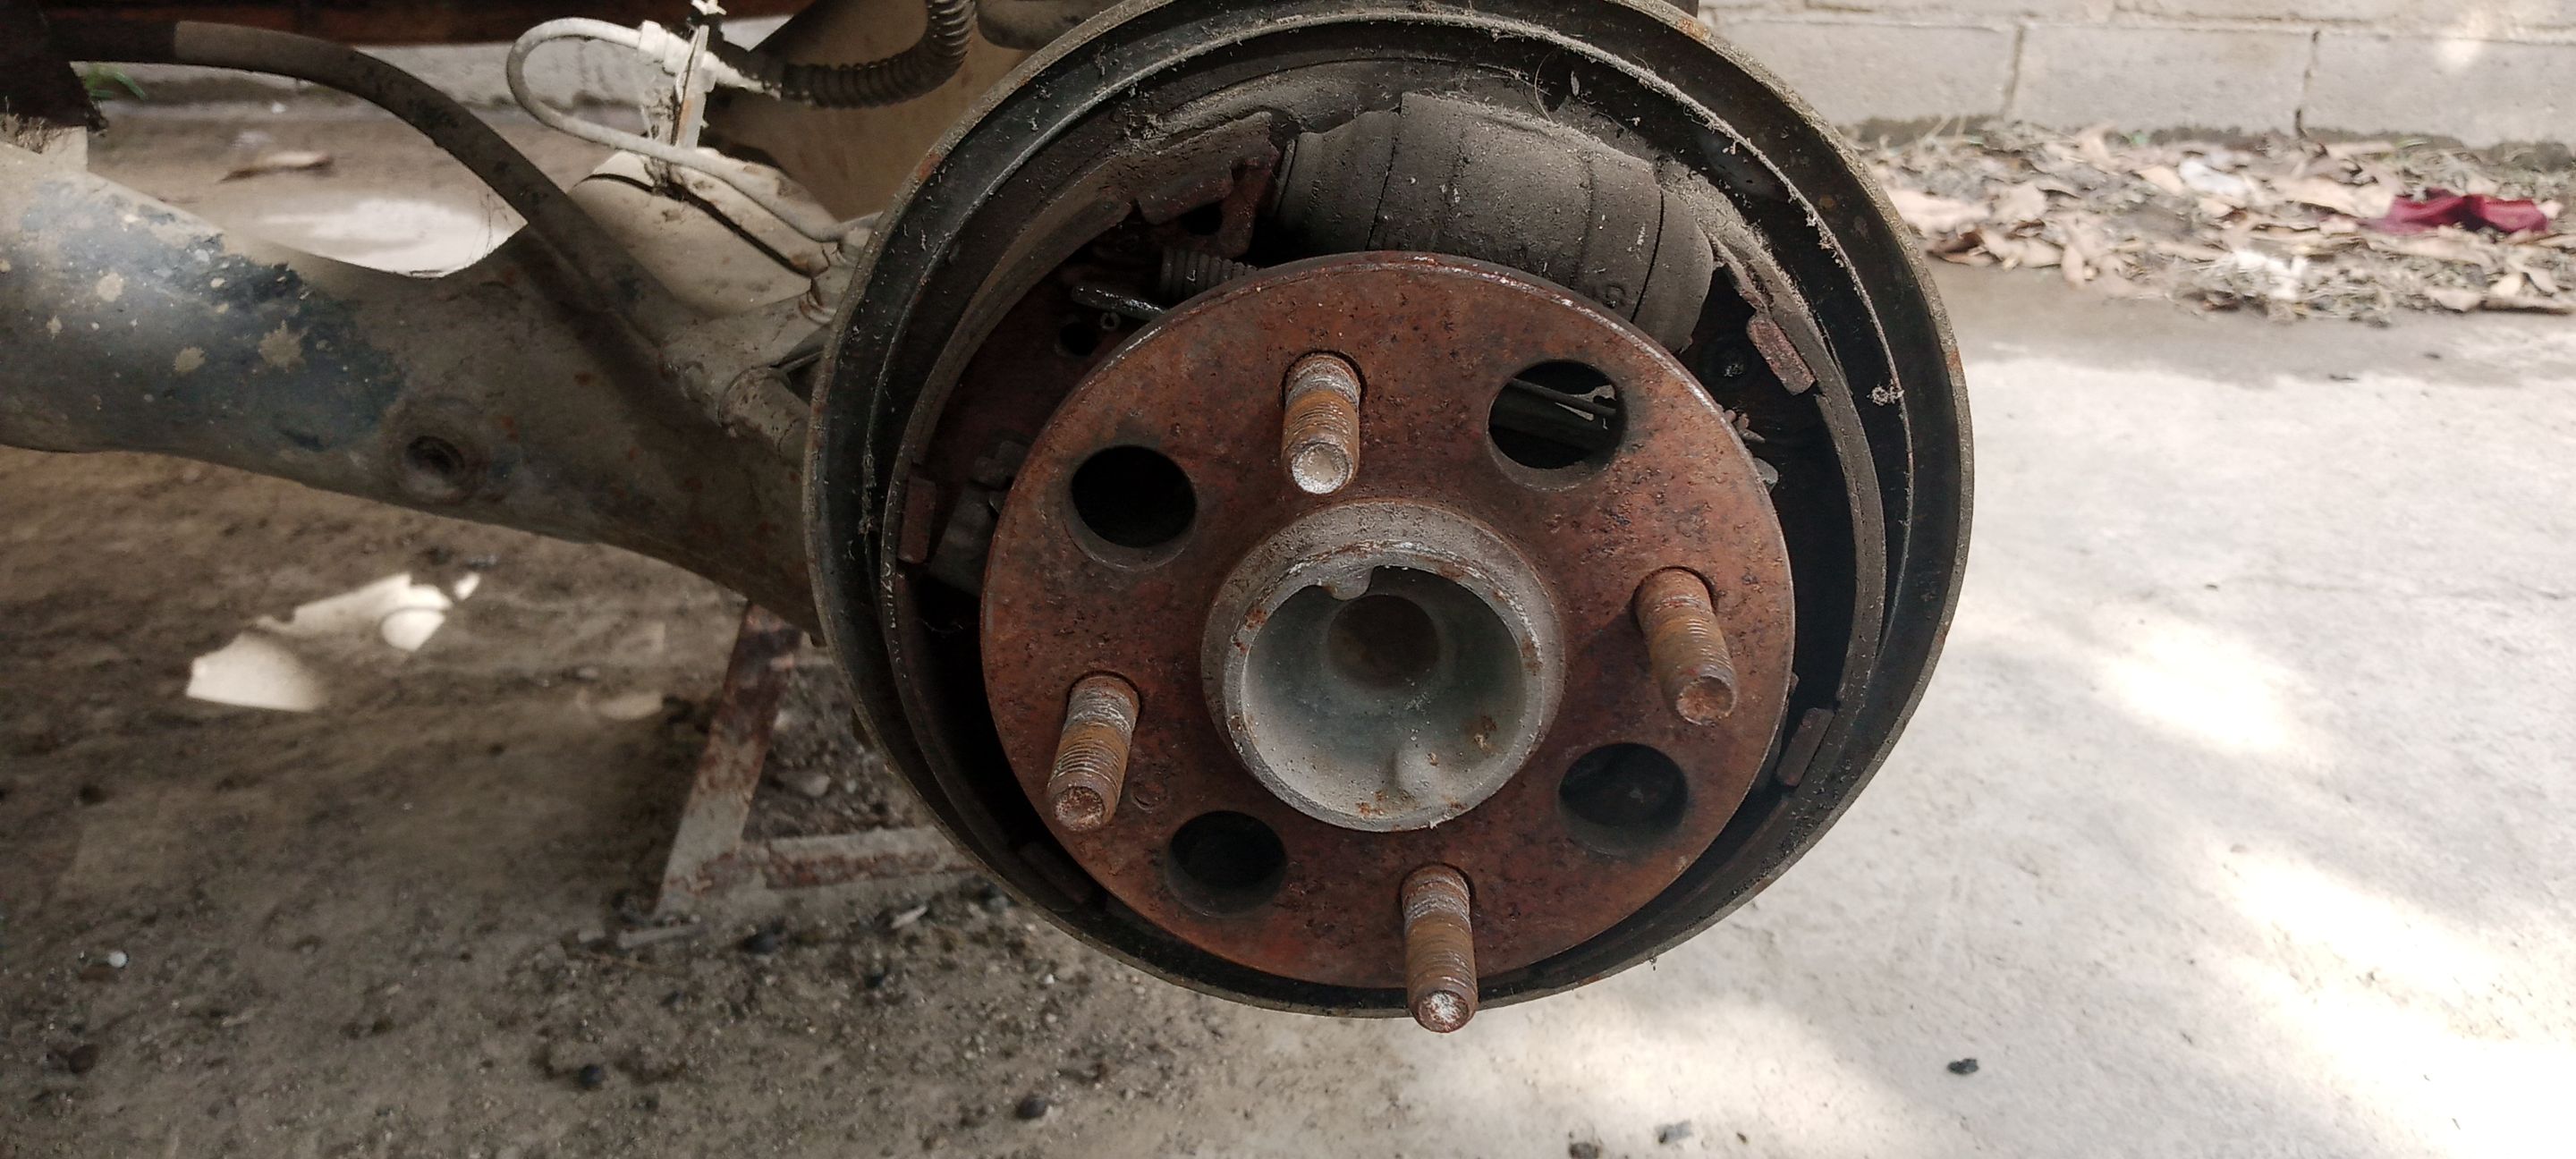
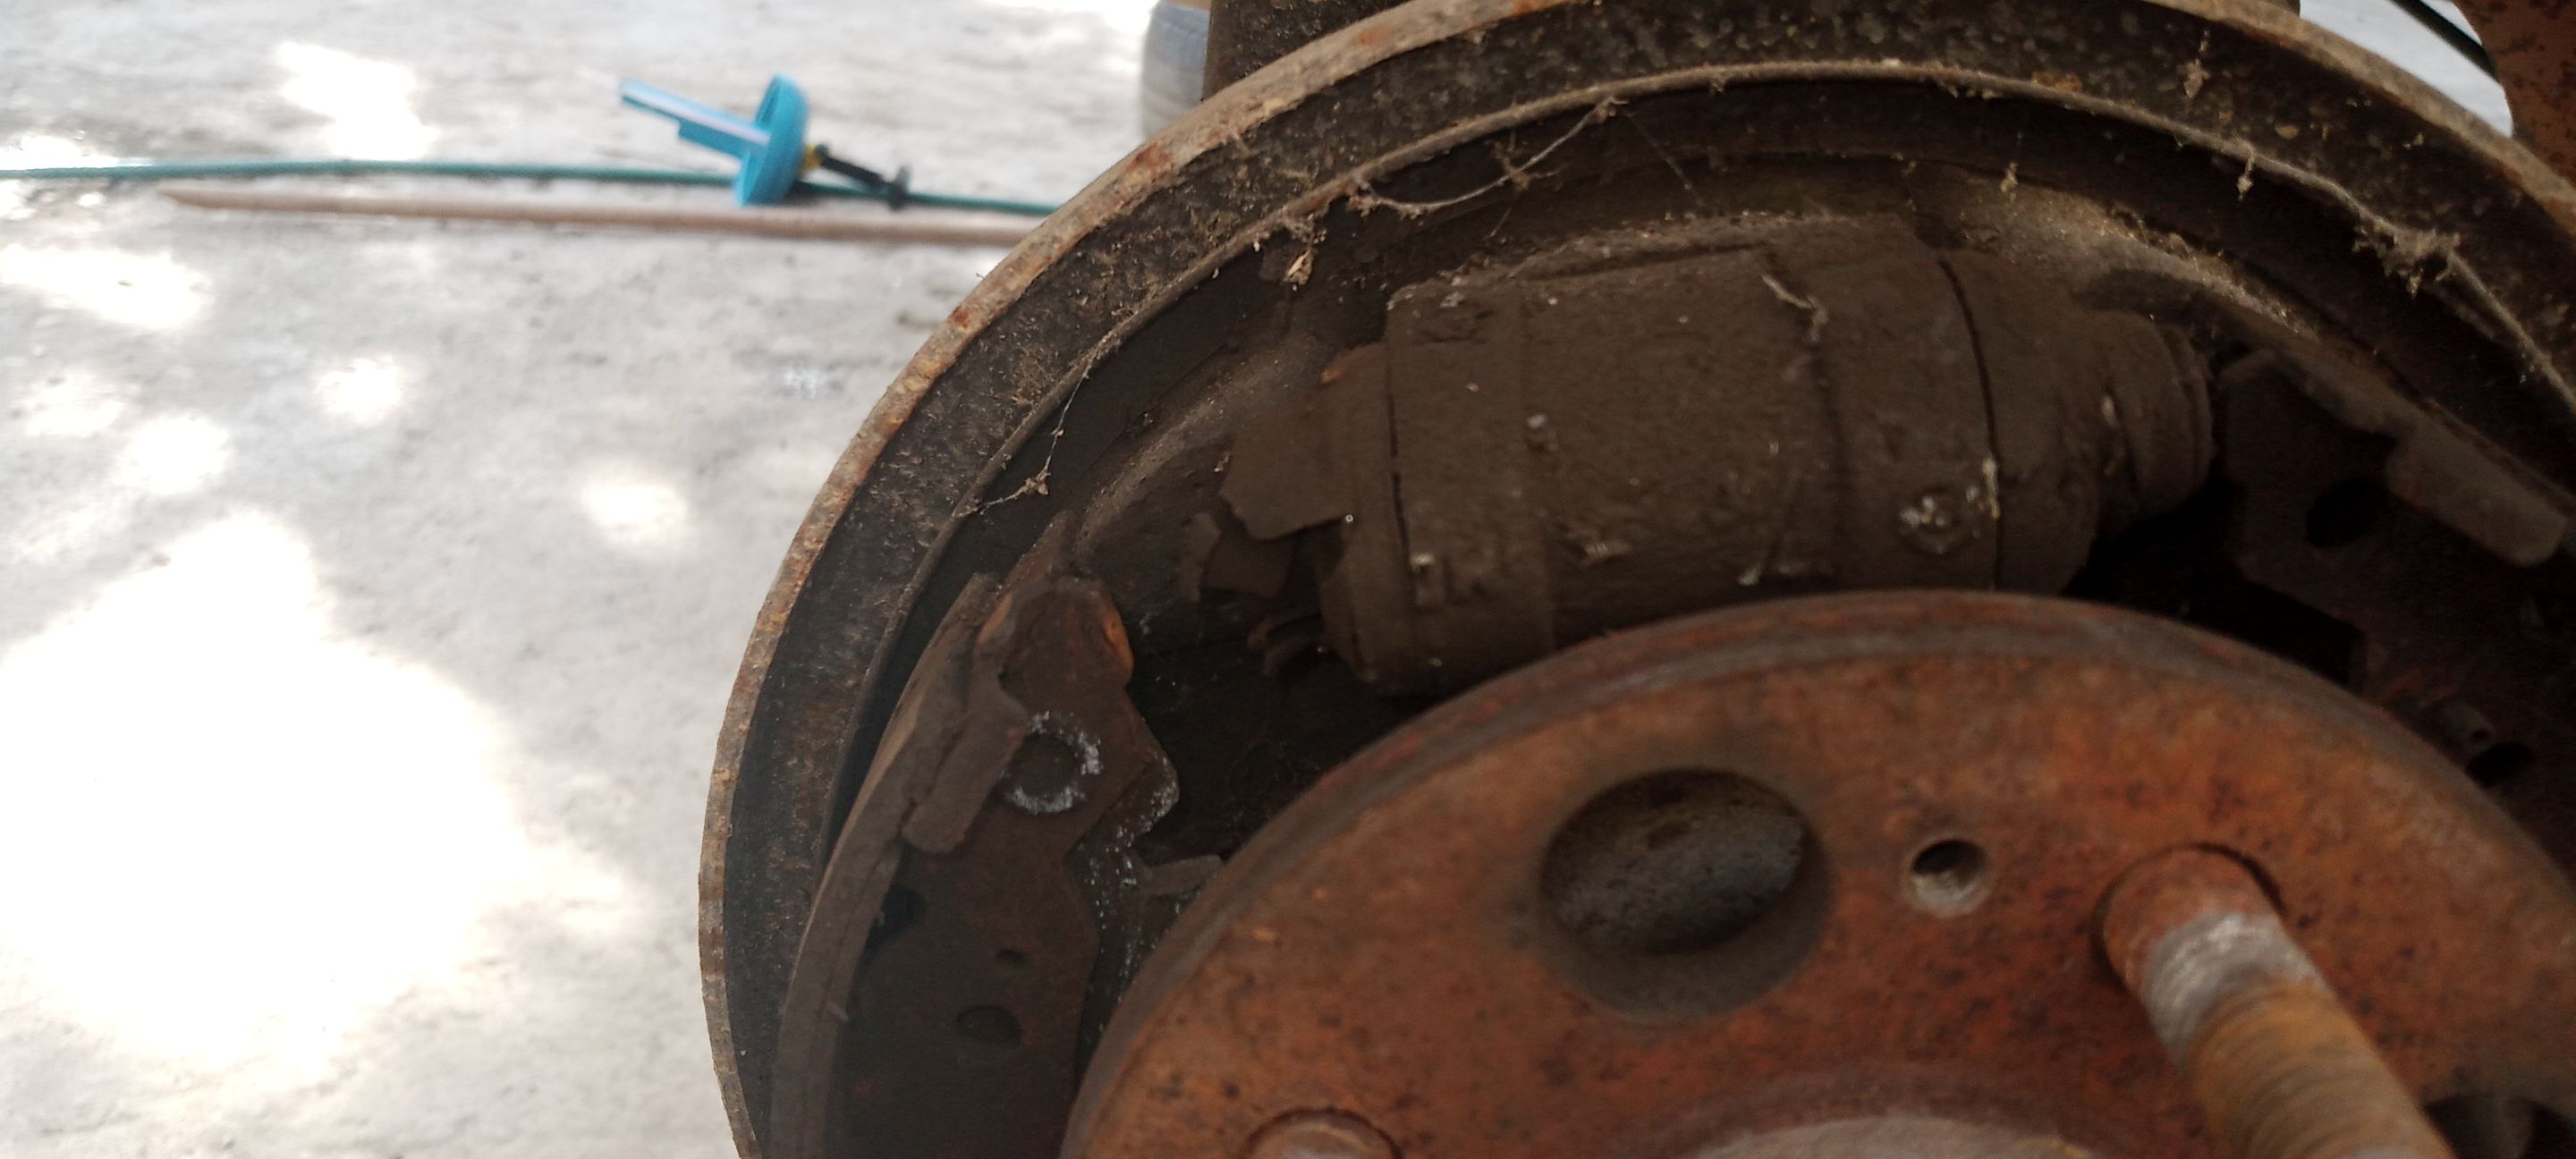
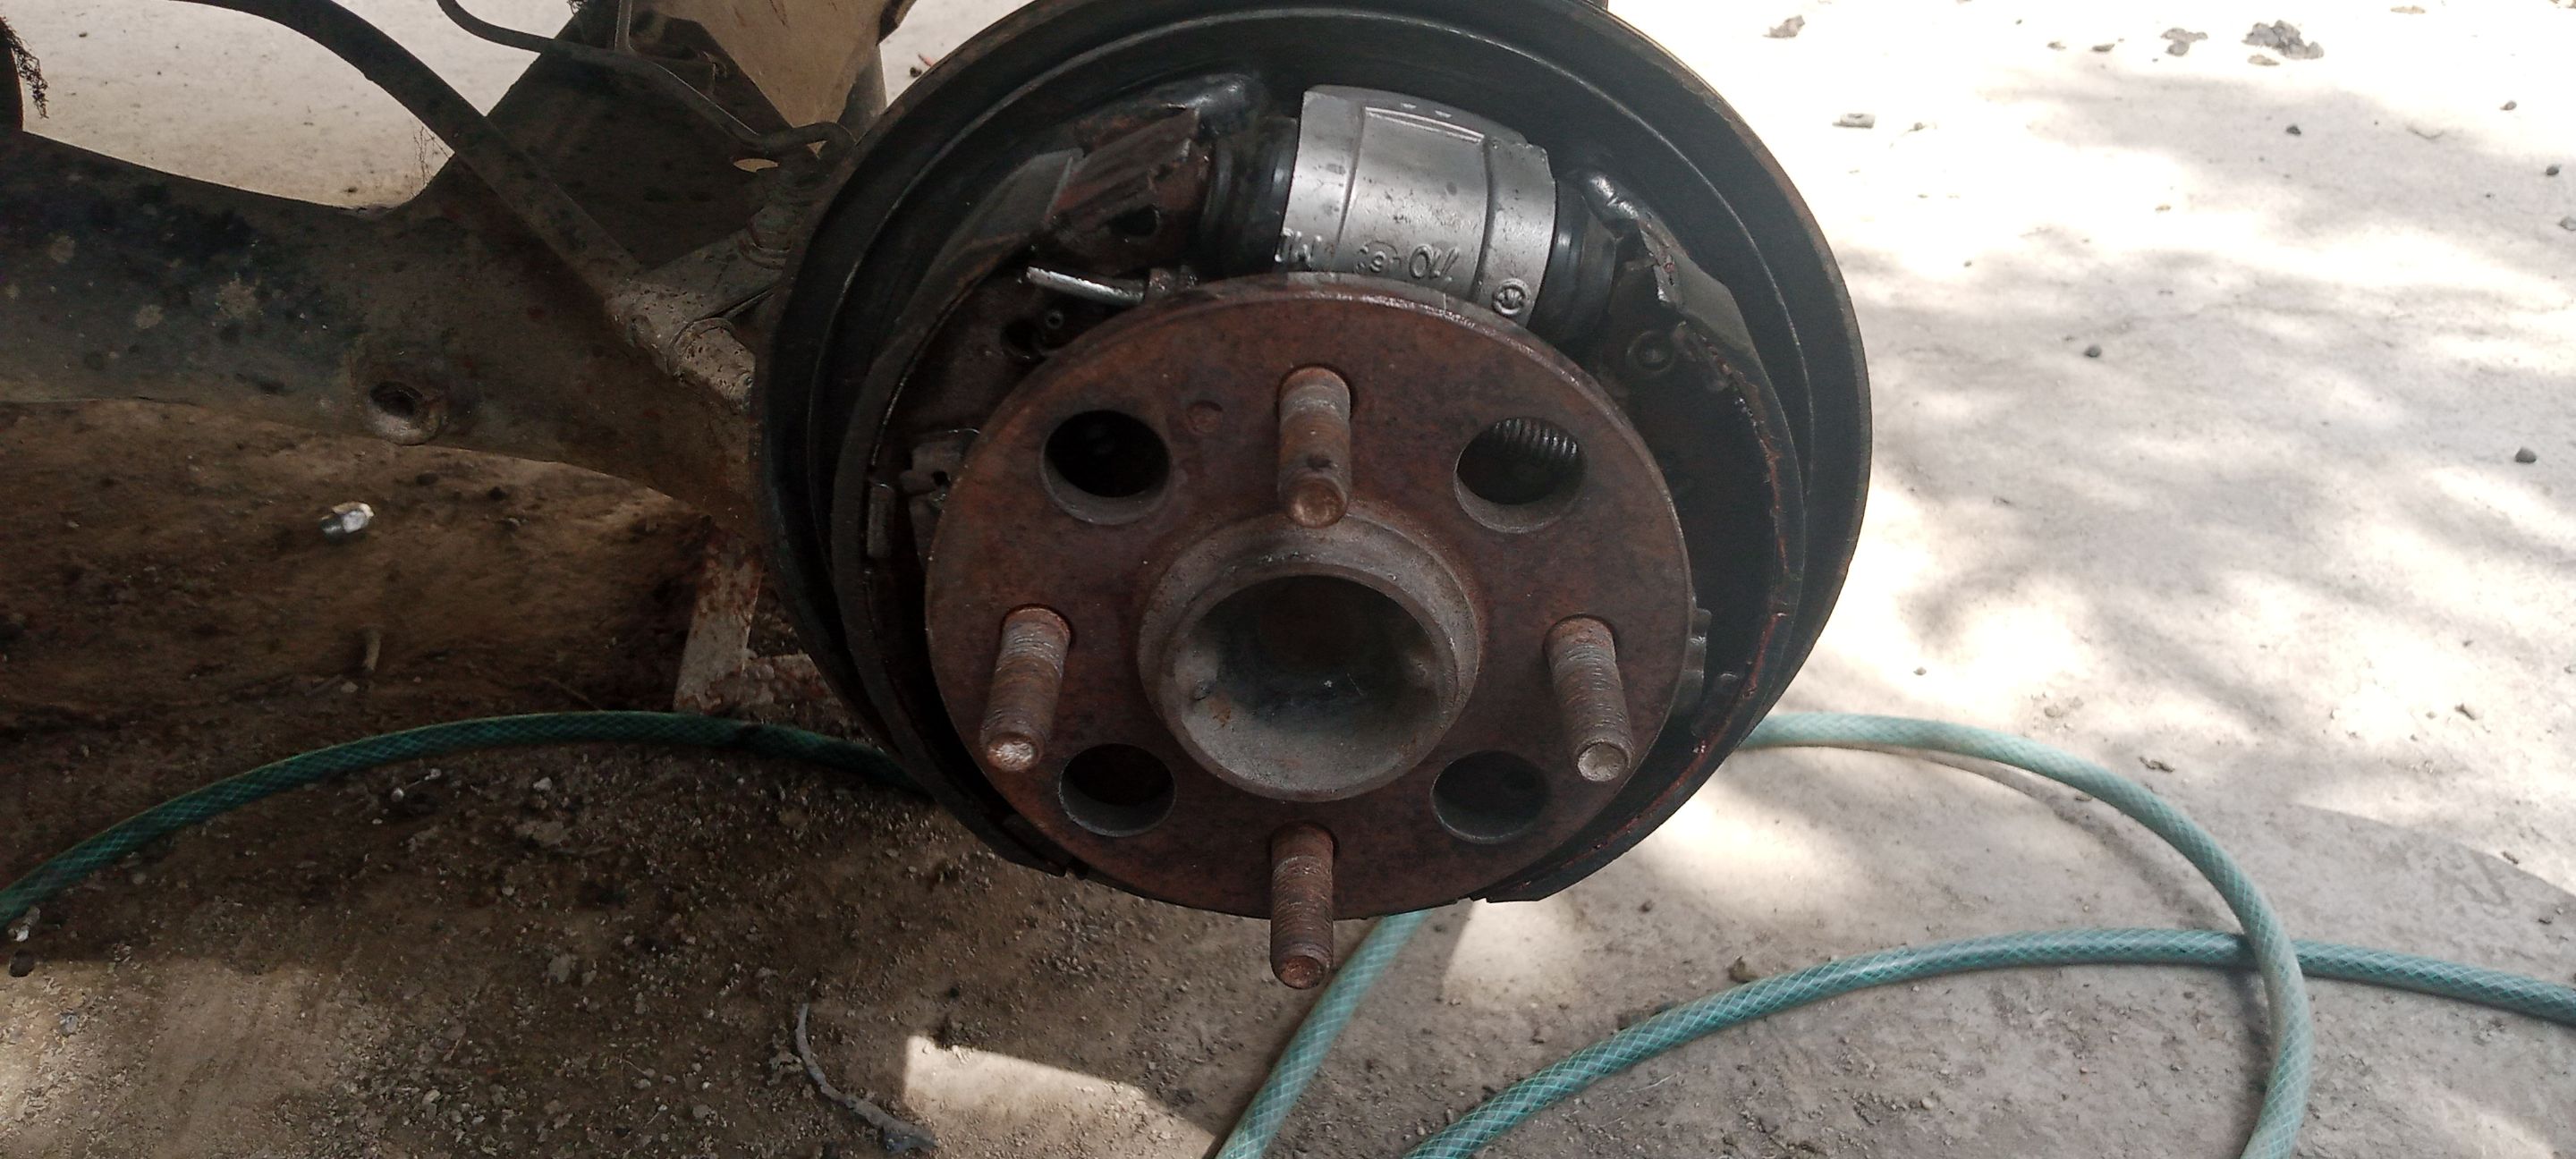
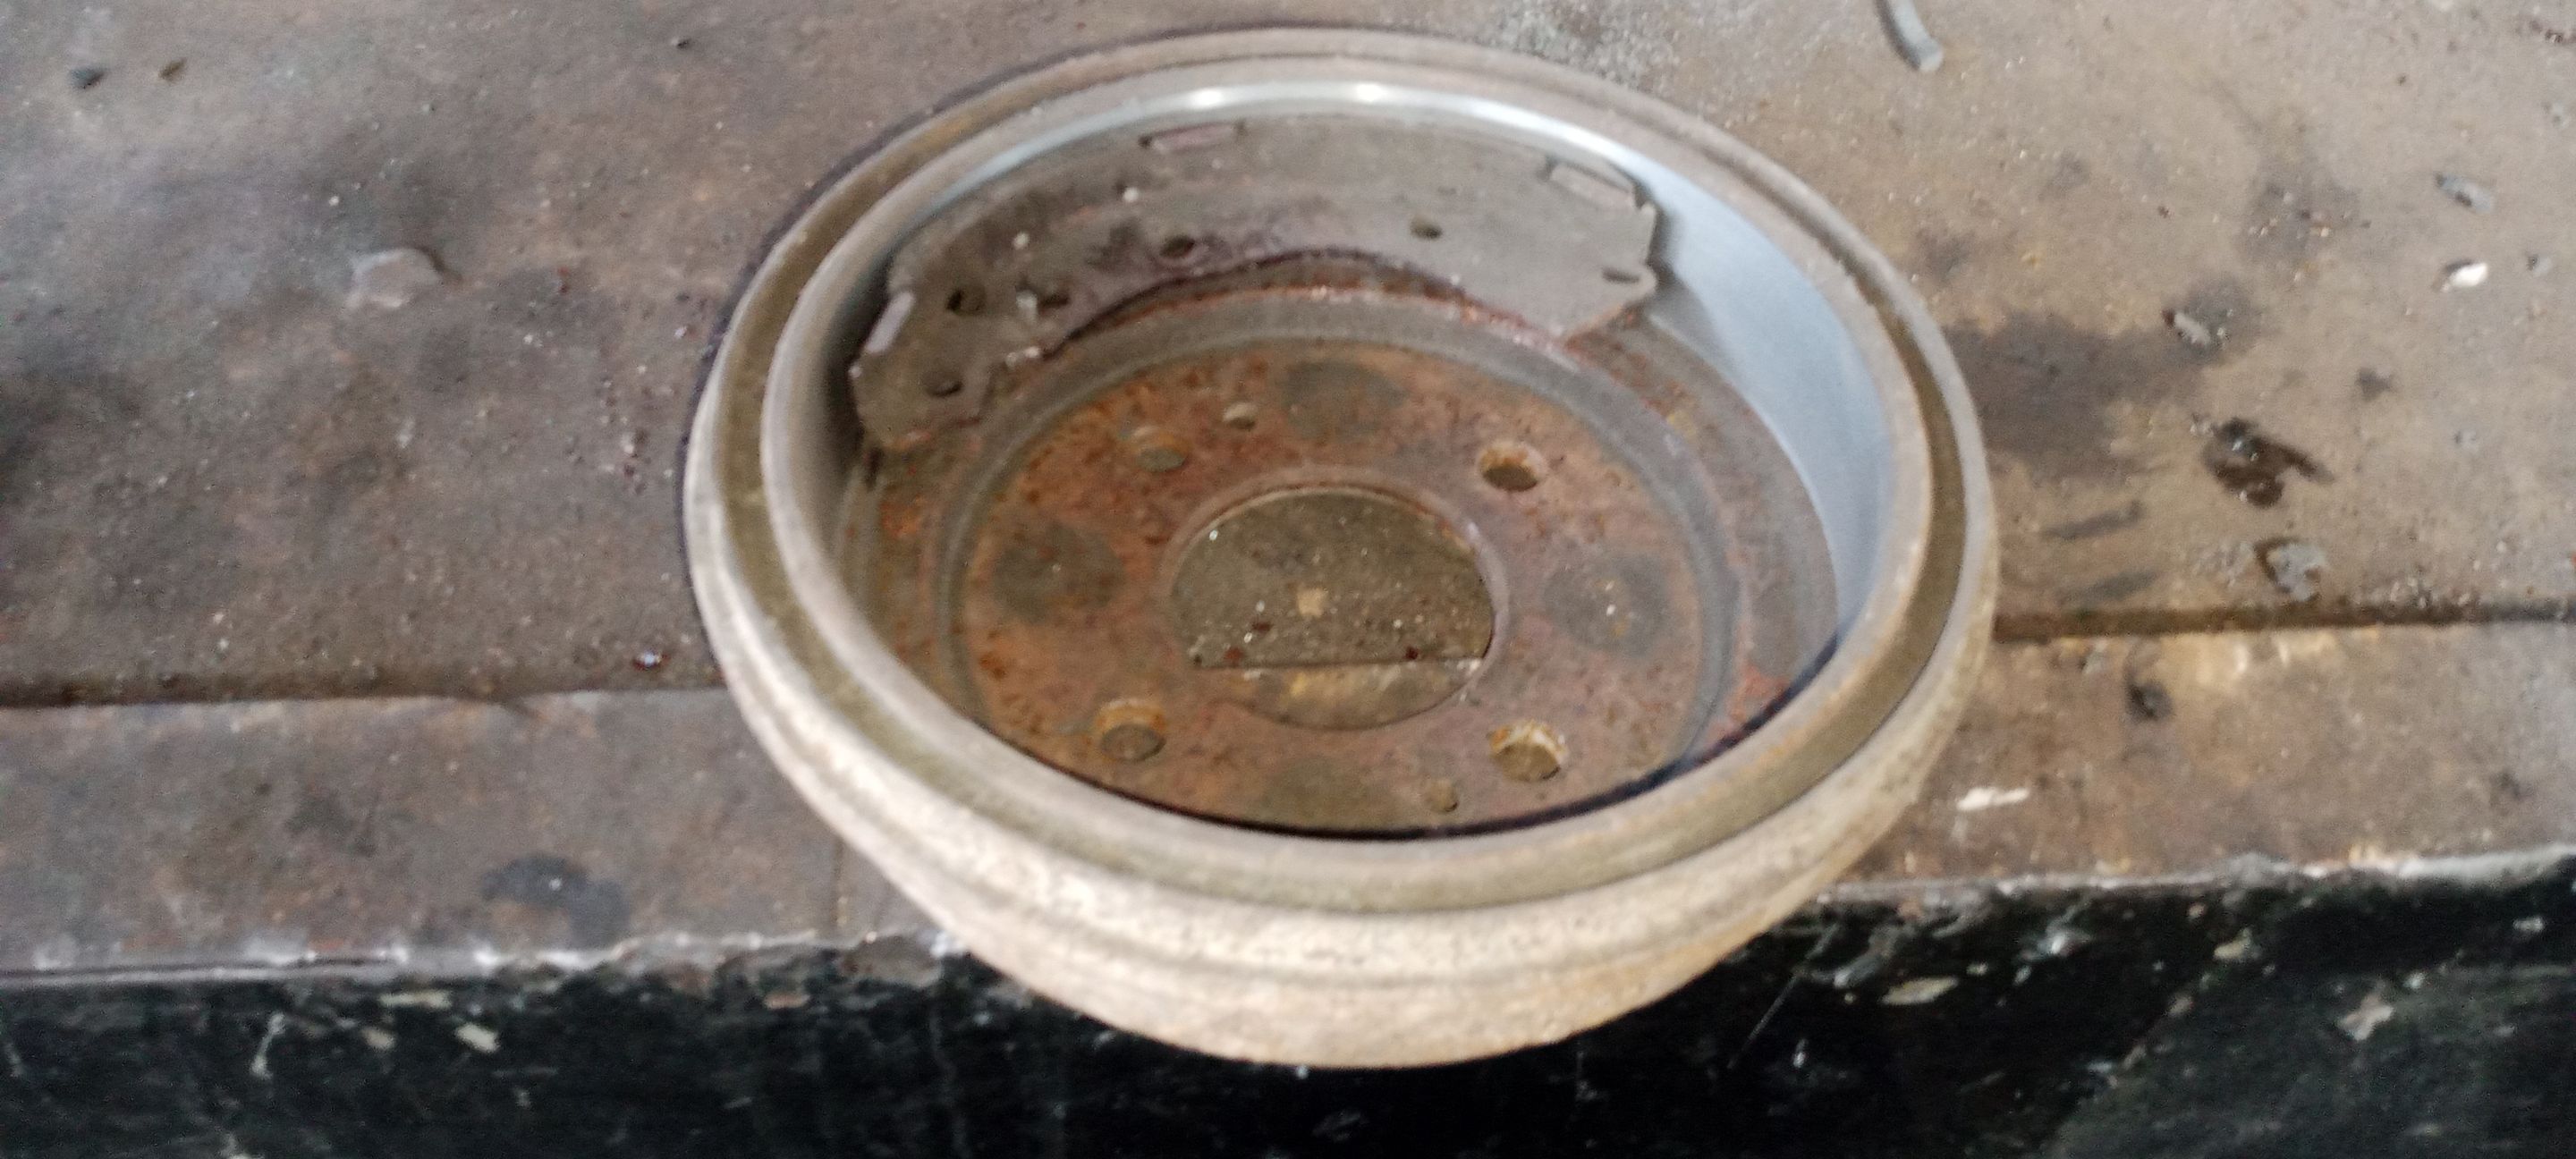
He disassembled my brake drum and then process to remove the brake shoes, on the right side I had to buy the brake caliper and the springs because when the springs broke the caliper worked badly and broke too.
The next morning I go to the brake shop to vulcanize the brake shoes and rectify the brake drums so that the seat of the new brake shoes is correct and the car brakes evenly.
The process of grinding the drums is what you can see in the video.

After disassembling the whole system he applied degreaser and washed it very well so that it is ready for assembly.
Now the process of grinding the brake drums is to mount the drum on a lathe and with a special knife cut the material of the drum removing 1mm per pass until the drum is without traces of the previous braking, this process can be done about two or three times before replacing the drum this will also depend on how much the mechanic or the user allows the brake shoes to wear more than necessary, because if the material (usually asbestos) is consumed and begins to apply metal to metal it wears much faster.

Already all repaired only remains to perform the installation of the brake shoes, test the drum and give the graduation that we consider necessary, I personally like to graduate the rear brakes well adjusted and that the emergency brake applied with short travel, this makes the emergency brake is quite effective and extends the life of the front brakes, many people or mechanics give little importance to this and that is why they have to replace the front brake pads quite often.
I hope that this installment and the video is to your liking as I know that many do not know the whole process that goes behind a braking.
Thank you for reading my lines and may God bless you greatly.
The photos and video are of my property taken with the Infinix Hot 10 i cell phone, the video editing was with the app capcut.
SPANISH
Saludos,
Queridos amigos una vez más por aquí sigo restaurando mi Hyundai getz, en esta oportunidad vengo a mostrarles en video y fotos el proceso de restauración del sistema de frenos traseros.
Para serles sincero con los 7 años que tiene el auto parado pensé que los frenos está lo que más trabajo me iba a dar, me imaginaba un escenario de los cilindros de freno trancado y con una mezcla malisiosa entre fluidos de freno, óxido y humedad.
Gracias a Dios como el auto está bastante original esto no fue así, por supuesto si me conseguí desgaste y uno de los lados los resortes que sostienen las zapatas estaban partidos.
Desmontó mi tambor de frenos y luego proceso a retirar las zapatas, del lado derecho me tocó comprar el graduador de frenos y los resortes ya que al partir los resortes el graduador trabajo mal y se partió también.
Me voy en la mañana siguiente al taller de frenos a vulcanizar las zapatas y rectificar los tambores de freno para que el asiento de las nuevas zapatas sea correcto y el auto frene de manera pareja.
El proceso de rectificar los tambores es lo que pueden apreciar en el vídeo.
Luego de desarmar todo el sistema le aplicó desengrasante y lavo muy bien para que esté listo a la hora de ensamblar.
Ahora el proceso de rectificar los tambores de freno consiste en montar el tambor en un torno y con una chuchilla especial realizan un corte al material del tambor quitando 1mm por pasada hasta que el tambor este sin rastros de las frenadas anterior, este proceso se puede realizar unas dos o tres veces antes de reemplazar el tambor esto también va a depender de cuánto el mecánico o el usuario permite que las zapatas se desgasten más de la cuenta, porque si el material (generalmente asbesto) se consuma y empieza a aplicar metal con metal se desgasta mucho más rápido.
Ya todo reparado solo queda realizar la instalación de las zapatas, probar el tambor y dar la graduación que consideramos necesaria, a mi personalmente me gusta graduar los frenos traseros bien ajustados y que el freno de emergencia aplique con corto recorrido, esto hace que el freno de emergencia sea bastante efectivo y alarga la vida de los frenos delanteros, muchas personas o mecánicos le dan poca importancia a esto y es por ello que tienen que reemplazar las pastillas de freno delanteras con bastante frecuencia.
Espero que está entrega y el vídeo sea de su agrado ya que se que muchos no saben todo el proceso que va detrás de una frenada.
Gracias por leer mis líneas y que Dios les bendiga grandemente.
Las fotos y el vídeo son de mi propiedad tomadas con el celular Infinix Hot 10 i, la edición del video fue con la app capcut.
Show more
Tags :
Woo!
This creator can upvote comments using 3speak's stake today because they are a top performing creator!
Leave a quality comment relating to their content and you could receive an upvote
worth at least a dollar.
Their limit for today is $0!
Their limit for today is $0!

Closing of my daughter's project and graduation promotion // Cierre de proyecto y promoción de grado
11 views
a year ago
$

17 views
a week ago
$
8 views
2 years ago
$

4 views
2 years ago
$

9 views
a year ago
$
More Videos

3 views
9 months ago
$

8 views
a week ago
$

21 views
6 months ago
$

35 views
a year ago
$

2 views
8 months ago
$

9 views
2 years ago
$

0 views
a year ago
$

7 views
a year ago
$

11 views
4 months ago
$

0 views
a year ago
$

28 views
a year ago
$

2 views
2 years ago
$

17 views
a year ago
$

Hive open mic #week 130//(Creativity and free style) The lilly of the valley //compose by akinpelu12
8 views
a year ago
$

16 views
4 years ago
$

2 views
8 months ago
$

1 views
11 months ago
$

11 views
9 months ago
$

17 views
2 years ago
$

35 views
2 years ago
$

5 views
3 years ago
$

3 views
a year ago
$

29 views
a year ago
$

22 views
a year ago
$
4 views
a year ago
$
Comments:
Reply:
To comment on this video please connect a HIVE account to your profile: Connect HIVE Account