Makeup for Photographs | Full Glam Skin Technique
37
About :
💕 Hello Hive Community! 💕
Otro videíto más para la colección! No saben la adrenalina que es grabar, editar, escribir y subir un video en un solo día pero es que a mi me encanta la locura del momento. La historia detrás de este maquillaje es bastante sencilla, necesitaba tomarme fotos y por ende iba a maquillarme, cuando hago este tipo de maquillajes me concentro totalmente en la piel, ya que los ojos puedo cambiarlos dependiendo de las fotos que tome luego de terminar. Es por ello que decidí grabar el proceso enfocándome totalmente en la piel y en el primer look de ojos que me hice el día de hoy, que lo disfruten!
Another little video for the collection! You don't know what an adrenaline rush it is to shoot, edit, write and upload a video in one day, but I love the craziness of the moment. The story behind this makeup is quite simple, I needed to take pictures and therefore I was going to do my makeup, when I do this kind of makeup I focus entirely on the skin, since the eyes I can change them depending on the pictures I take after finishing. That's why I decided to record the process focusing totally on the skin and the first eye look I did today, enjoy!
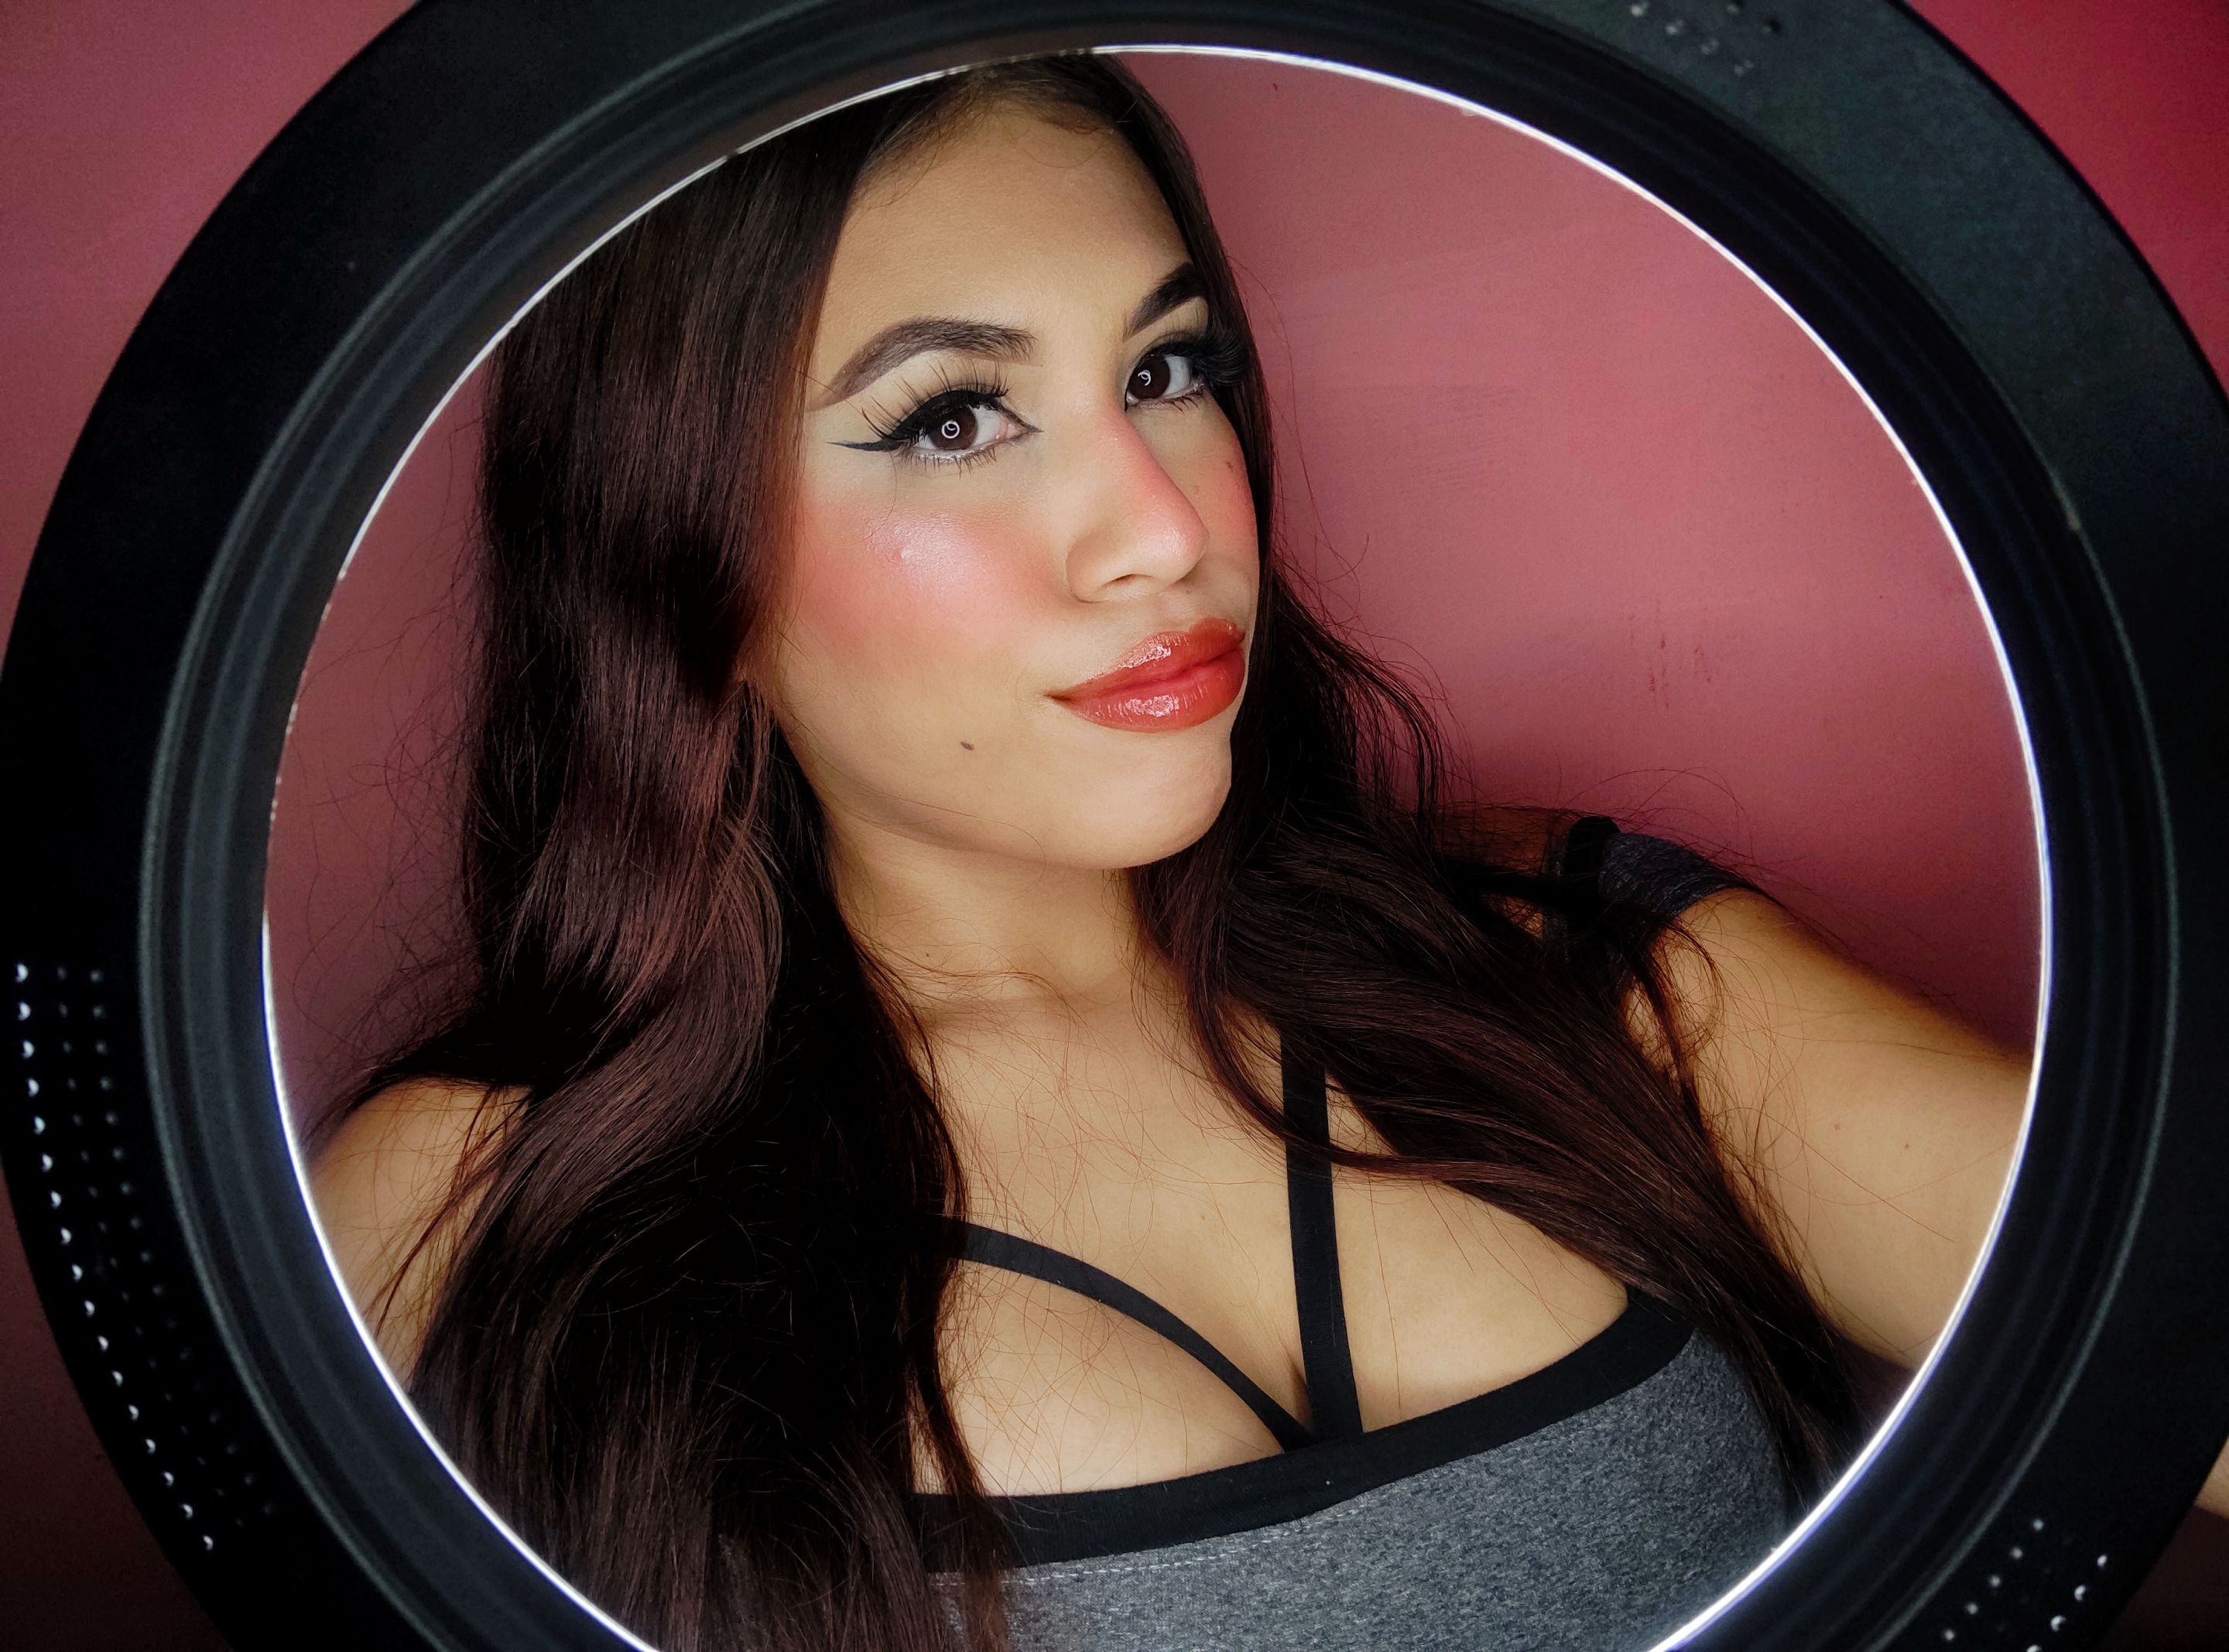
Inicie este video con dos productos de skincare, un tónico y un gel, ambos hidratantes. Después que ambos se absorbieron estuve haciendo mis cejas con la Pomada de Cejas de la marca AOA Studio en el tono Dark Brown, definí los bordes con el corrector hidratante de Salome Makeup en tono numero 2. Pase a hacer mi piel utilizando la A+: AOA Drop Liquid Foundation de AOA Studio y el mismo corrector que mencioné anteriormente. En mis mejillas estuve llevando dos productos en crema, contorno y rubor. Selle con polvos suelto, polvo compacto, aplique dos tonos de rubores en mis mejillas de la marca AOA y un poco de iluminador. Coloque pestañas postizas, pase a hacer mis labios con varios productos y luego me di cuenta que necesitaba un delineado, así que estuve haciéndome uno rápidamente para finalizar con máscara de pestañas.
I started this video with two skincare products, a toner and a gel, both moisturizers. After both were absorbed I was doing my brows with AOA Studio's Brow Pomade in shade Dark Brown, I defined the edges with Salome Makeup's moisturizing concealer in shade number 2. I went on to do my skin using the A+: AOA Drop Liquid Foundation from AOA Studio and the same concealer I mentioned above. On my cheeks I was wearing two cream products, contour and blush. I sealed with loose powder, pressed powder, applied two shades of blush on my cheeks from the AOA brand and a little highlighter. I applied false eyelashes, went on to do my lips with various products and then I realized I needed a liner, so I did one quickly and finished with mascara.
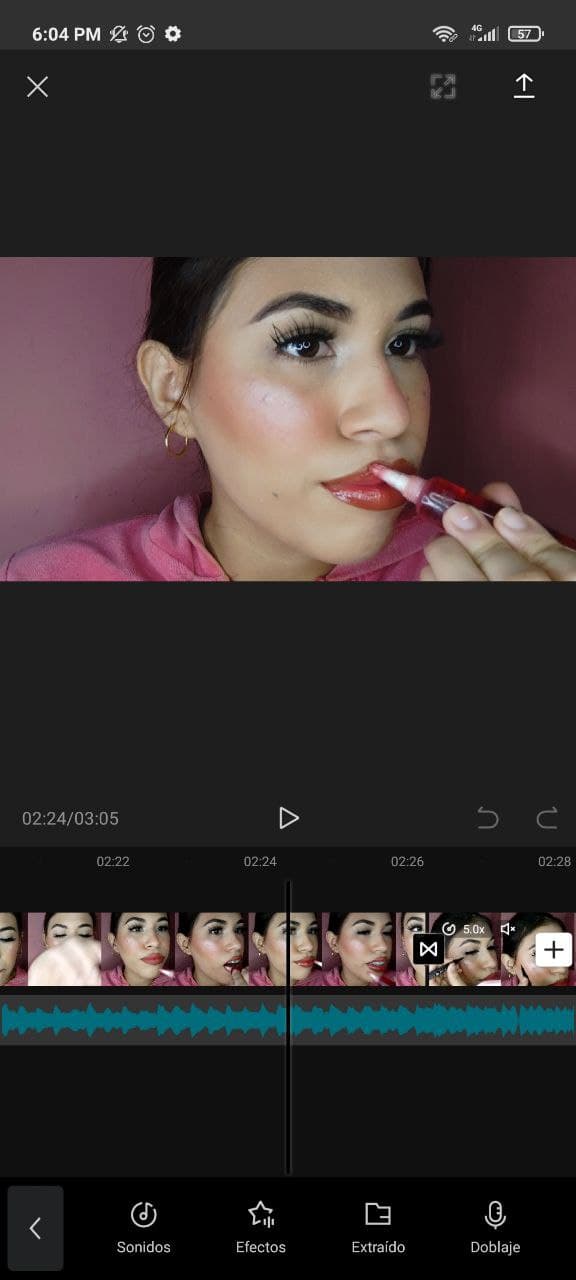
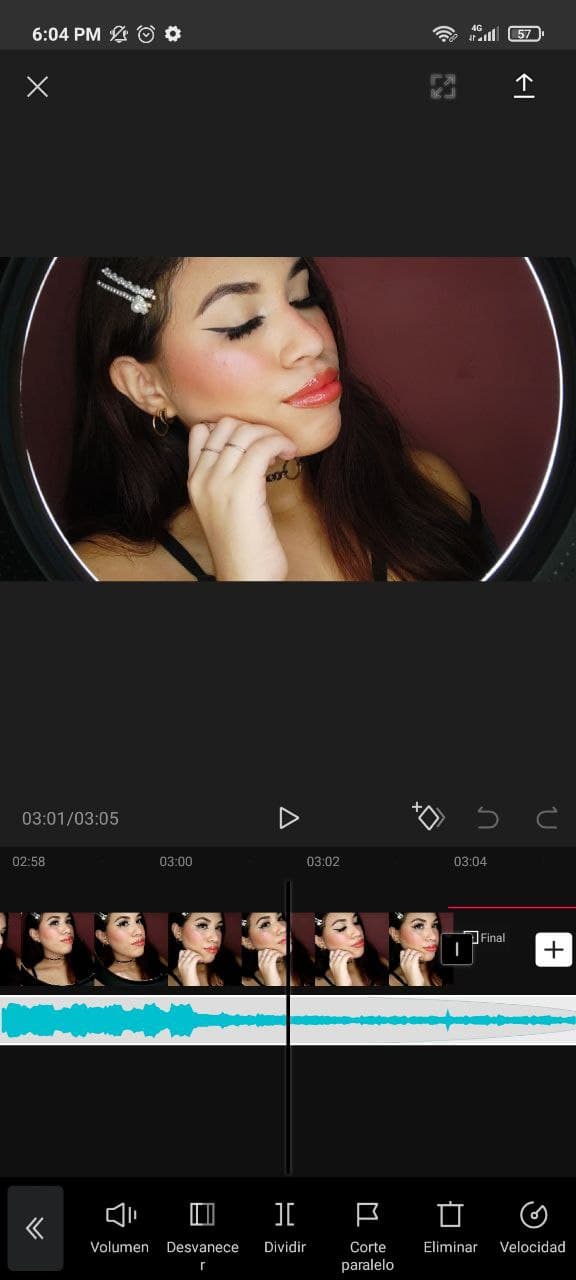
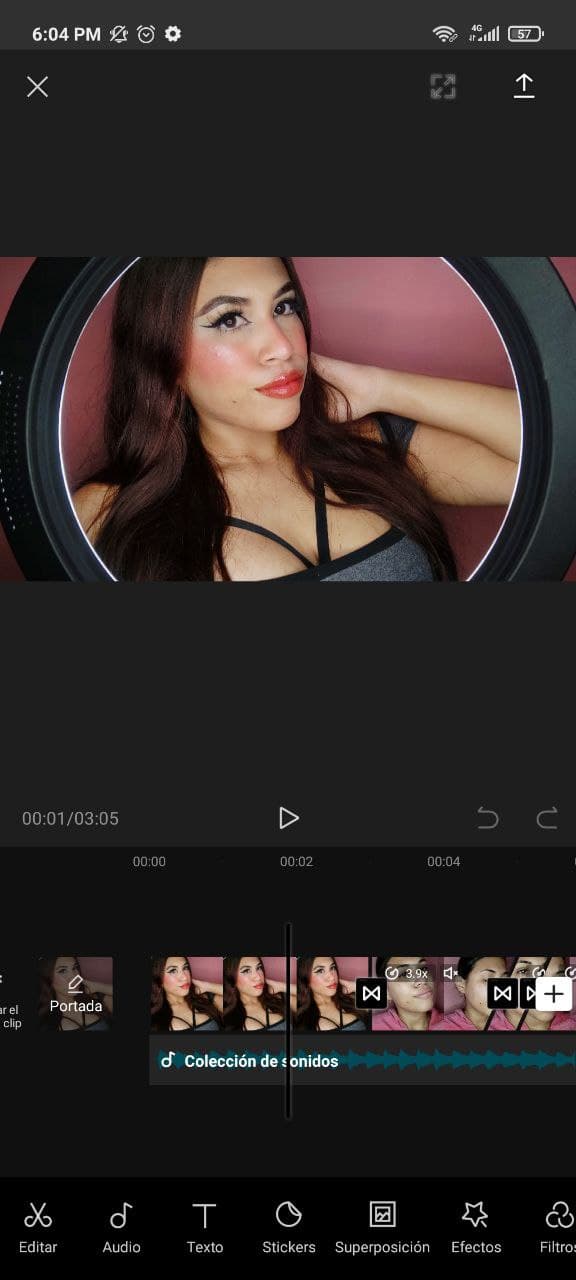
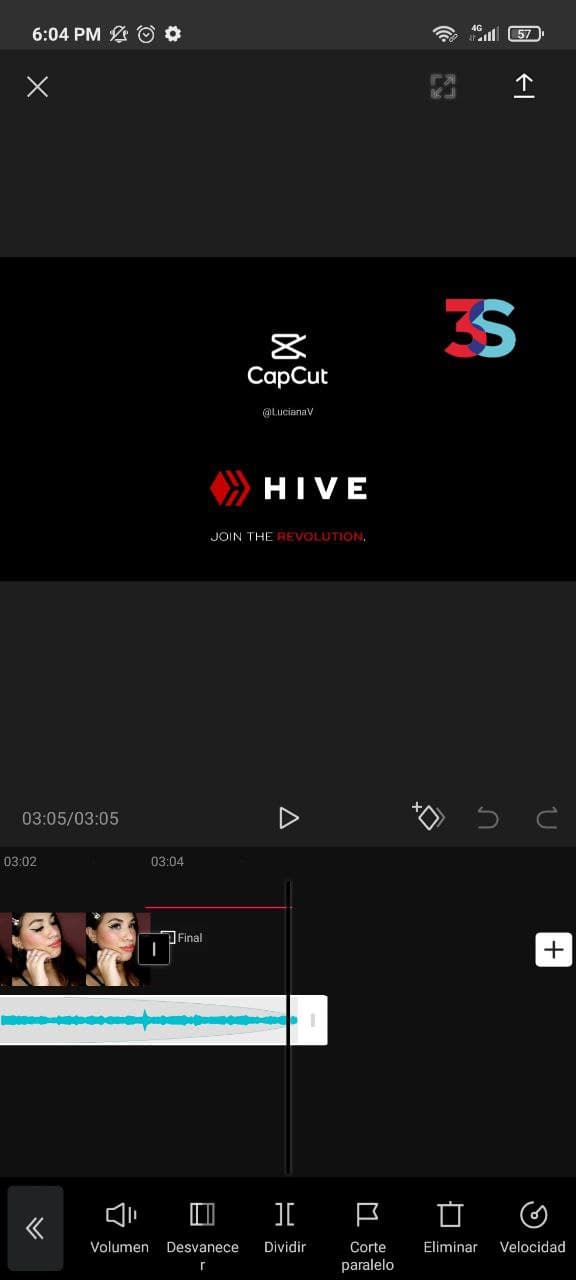
¿Cómo edite el video?
Actualmente estoy utilizando la aplicación Cap Cut, donde hago todo lo necesario, cortar partes de los videos, aumentar la velocidad, eliminar el audio, ajustar la saturación y el contraste, unir todos los clips y agregar tanto animaciones como transiciones lo cual me encanta. He estado considerando hacer una reseña de esta aplicación tan buena que conseguí hace varias semanas.
How did I edit the video?
I'm currently using the Cap Cut app, where I do everything I need to do, cut parts of the videos, increase the speed, remove audio, adjust saturation and contrast, stitch all the clips together and add both animations and transitions which I love. I've been considering doing a review of this cool app that I got several weeks ago.
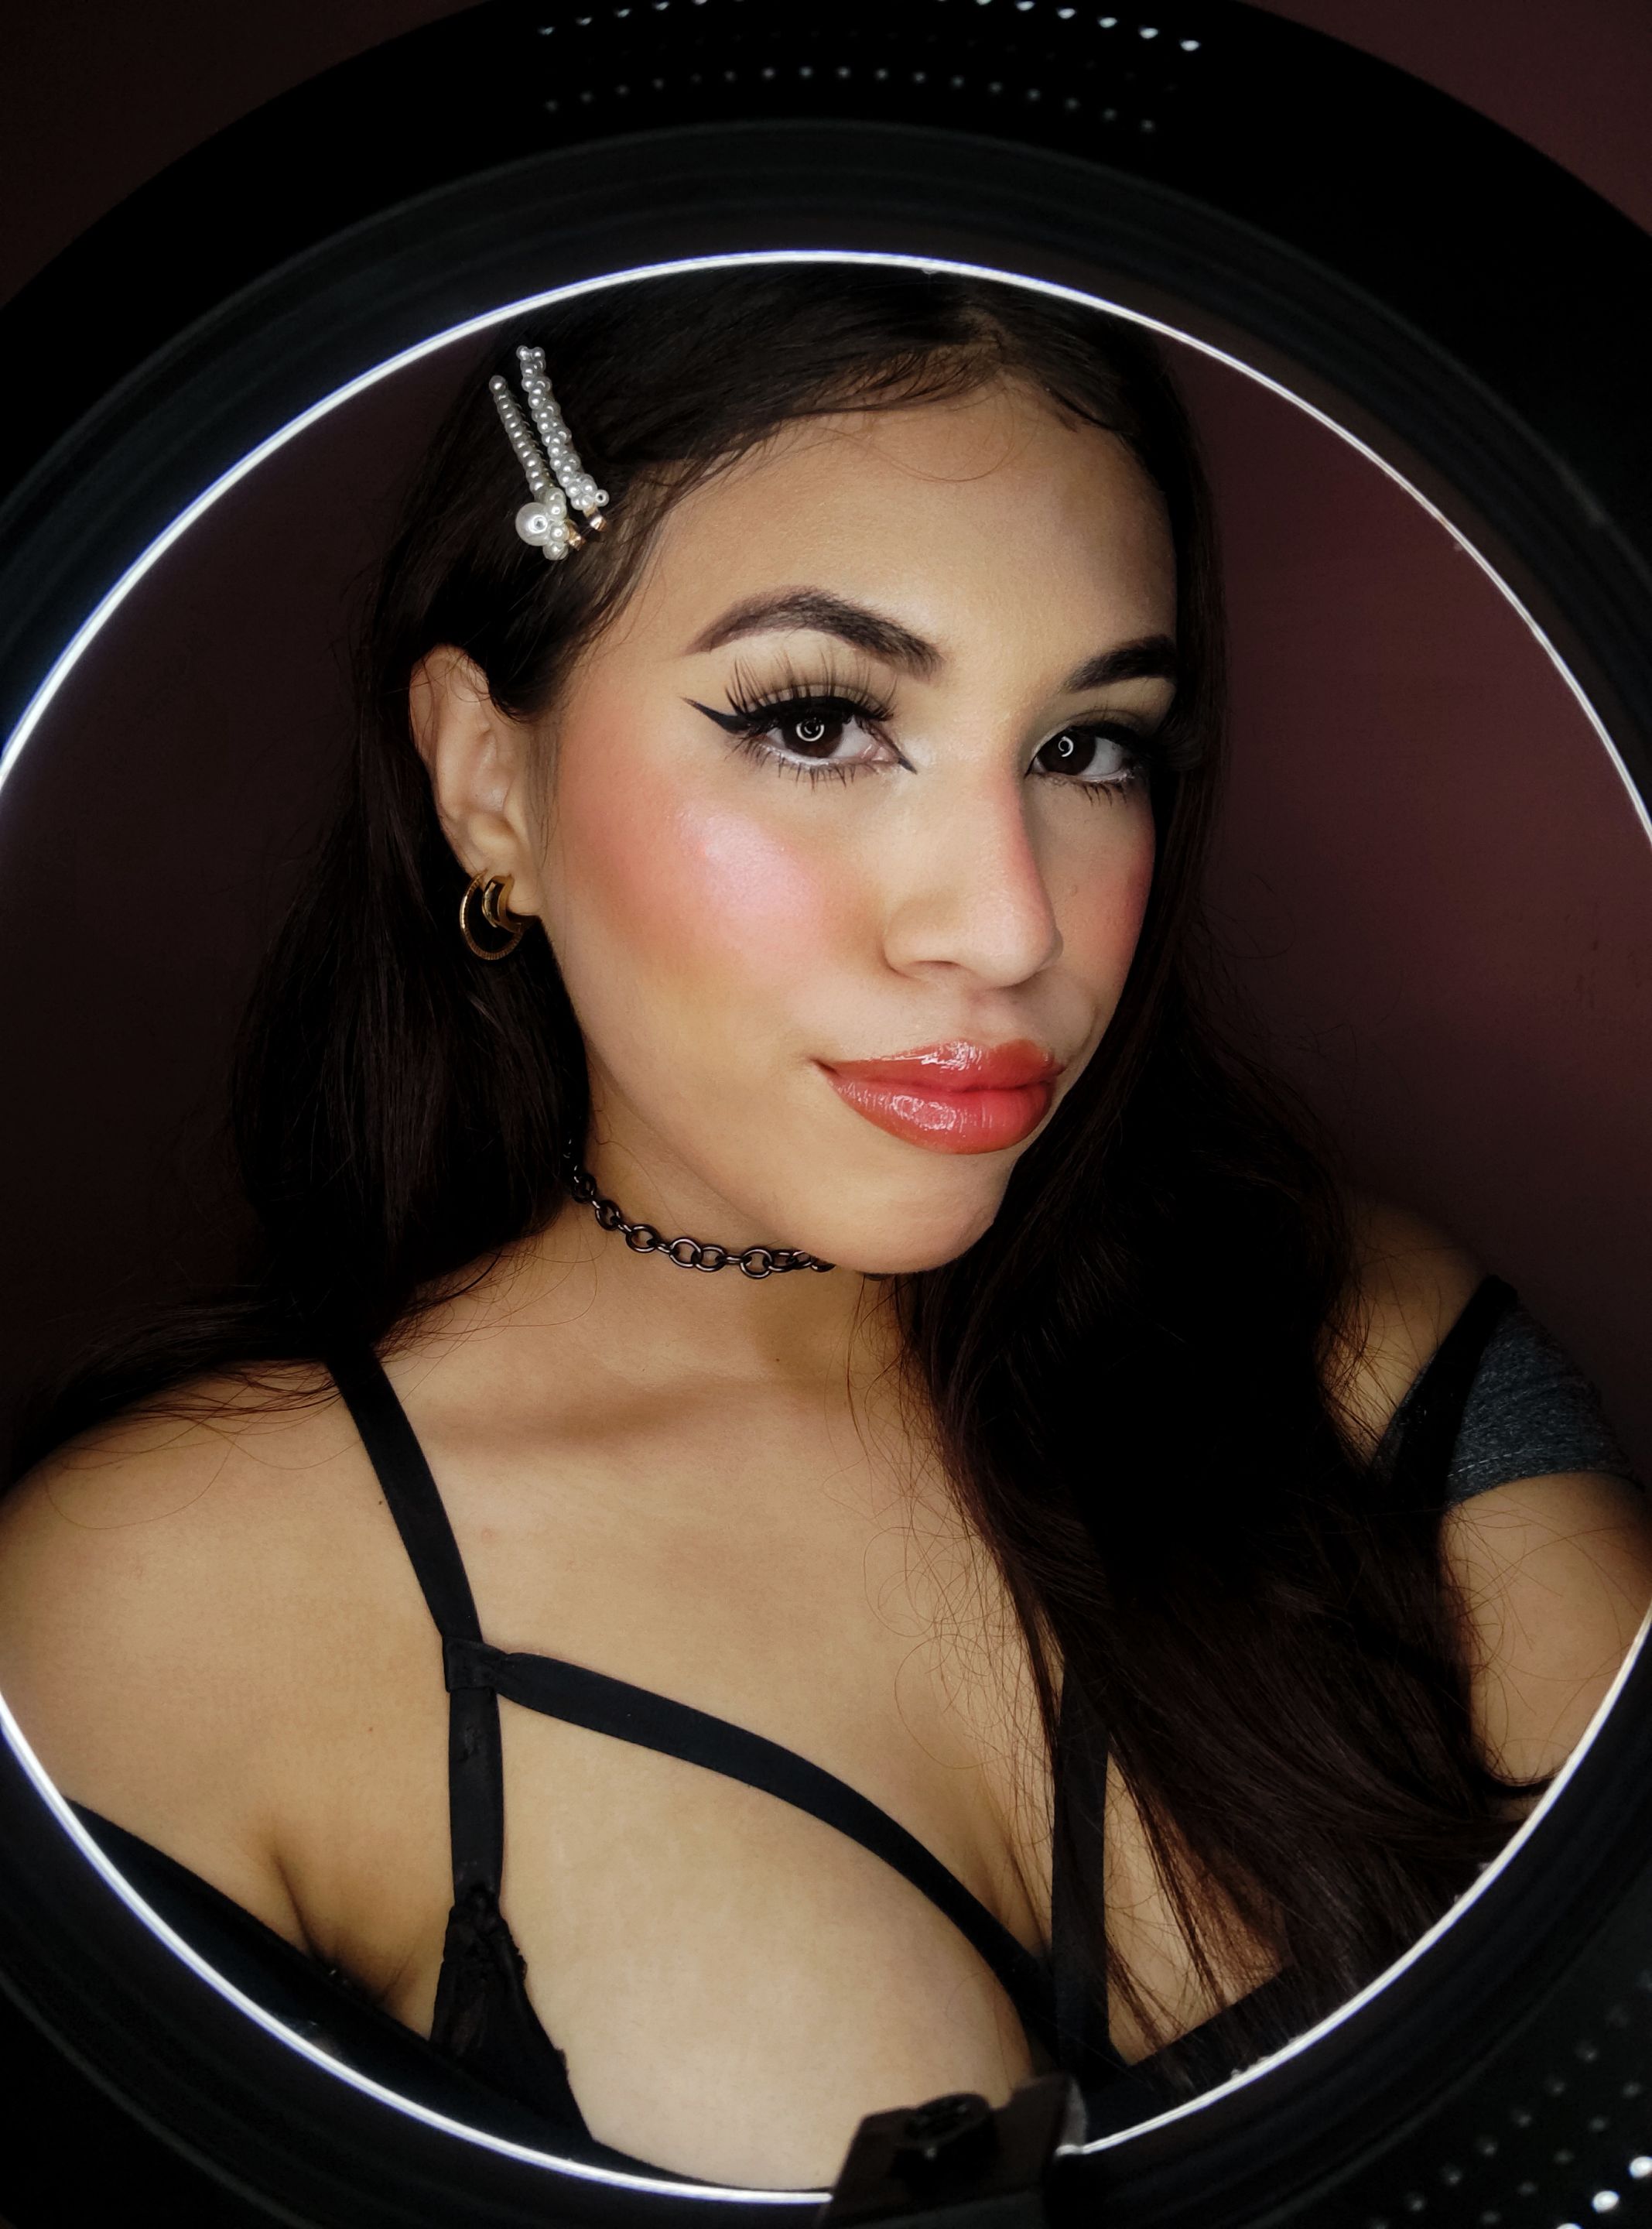
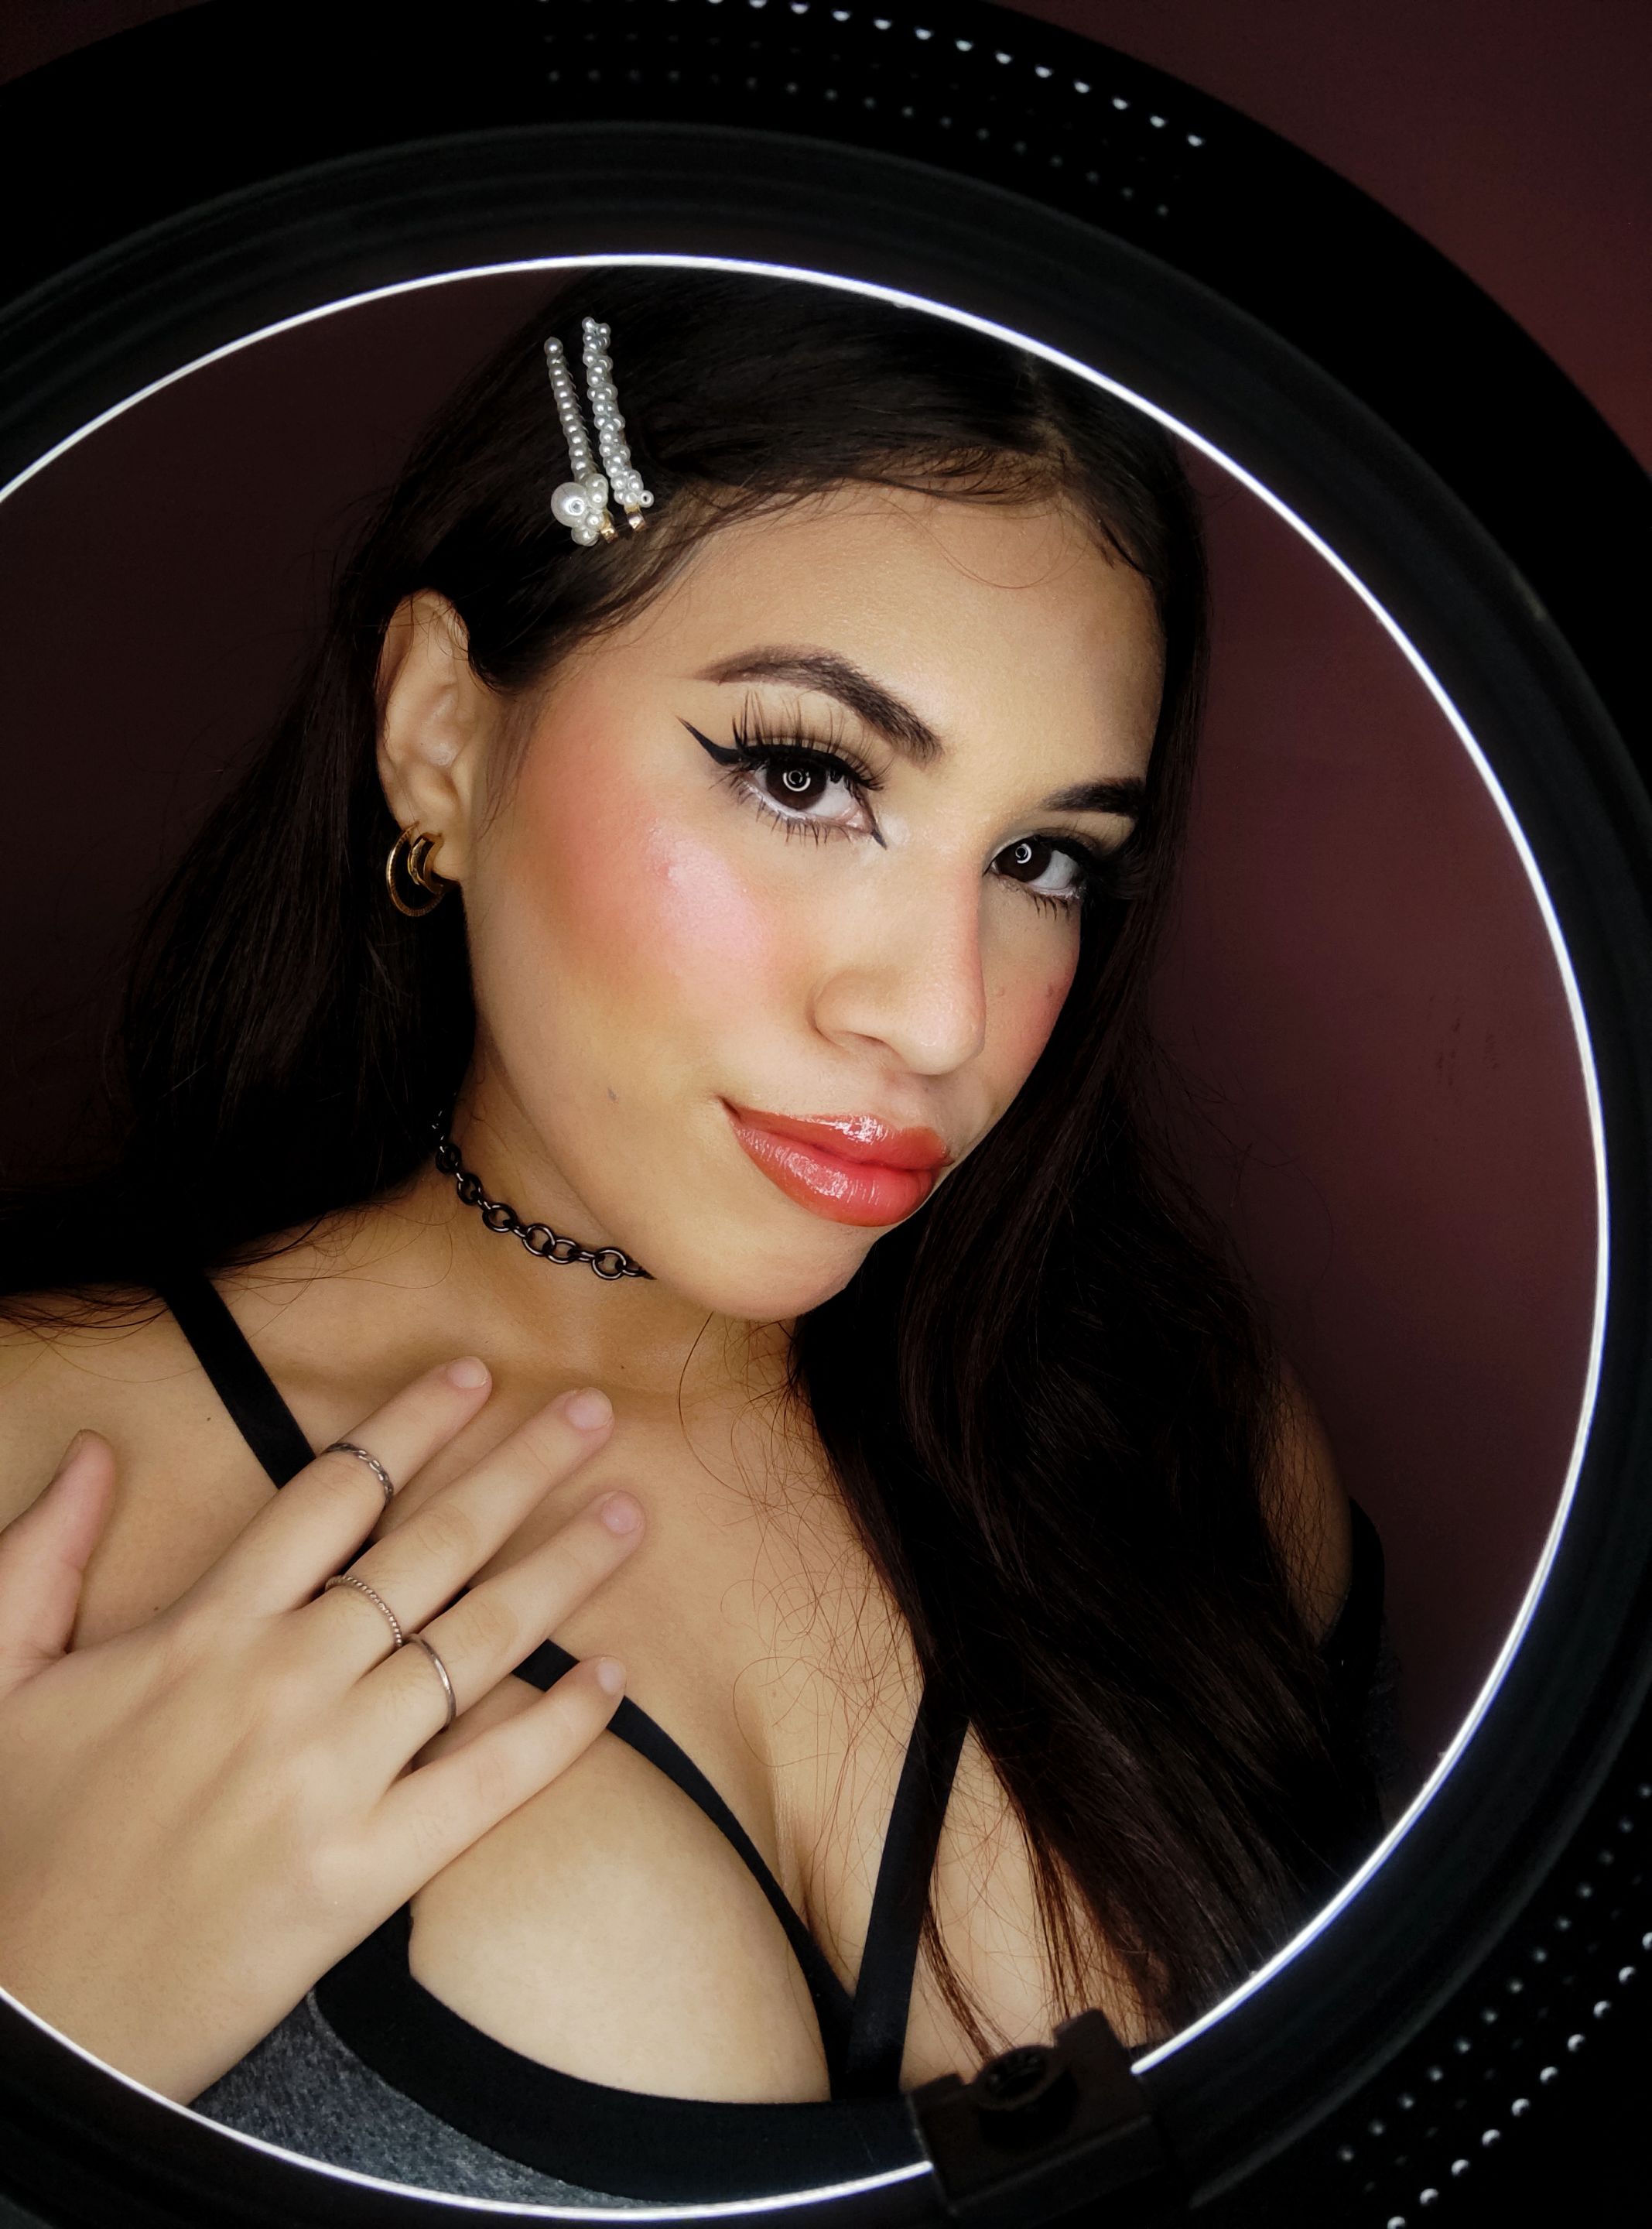
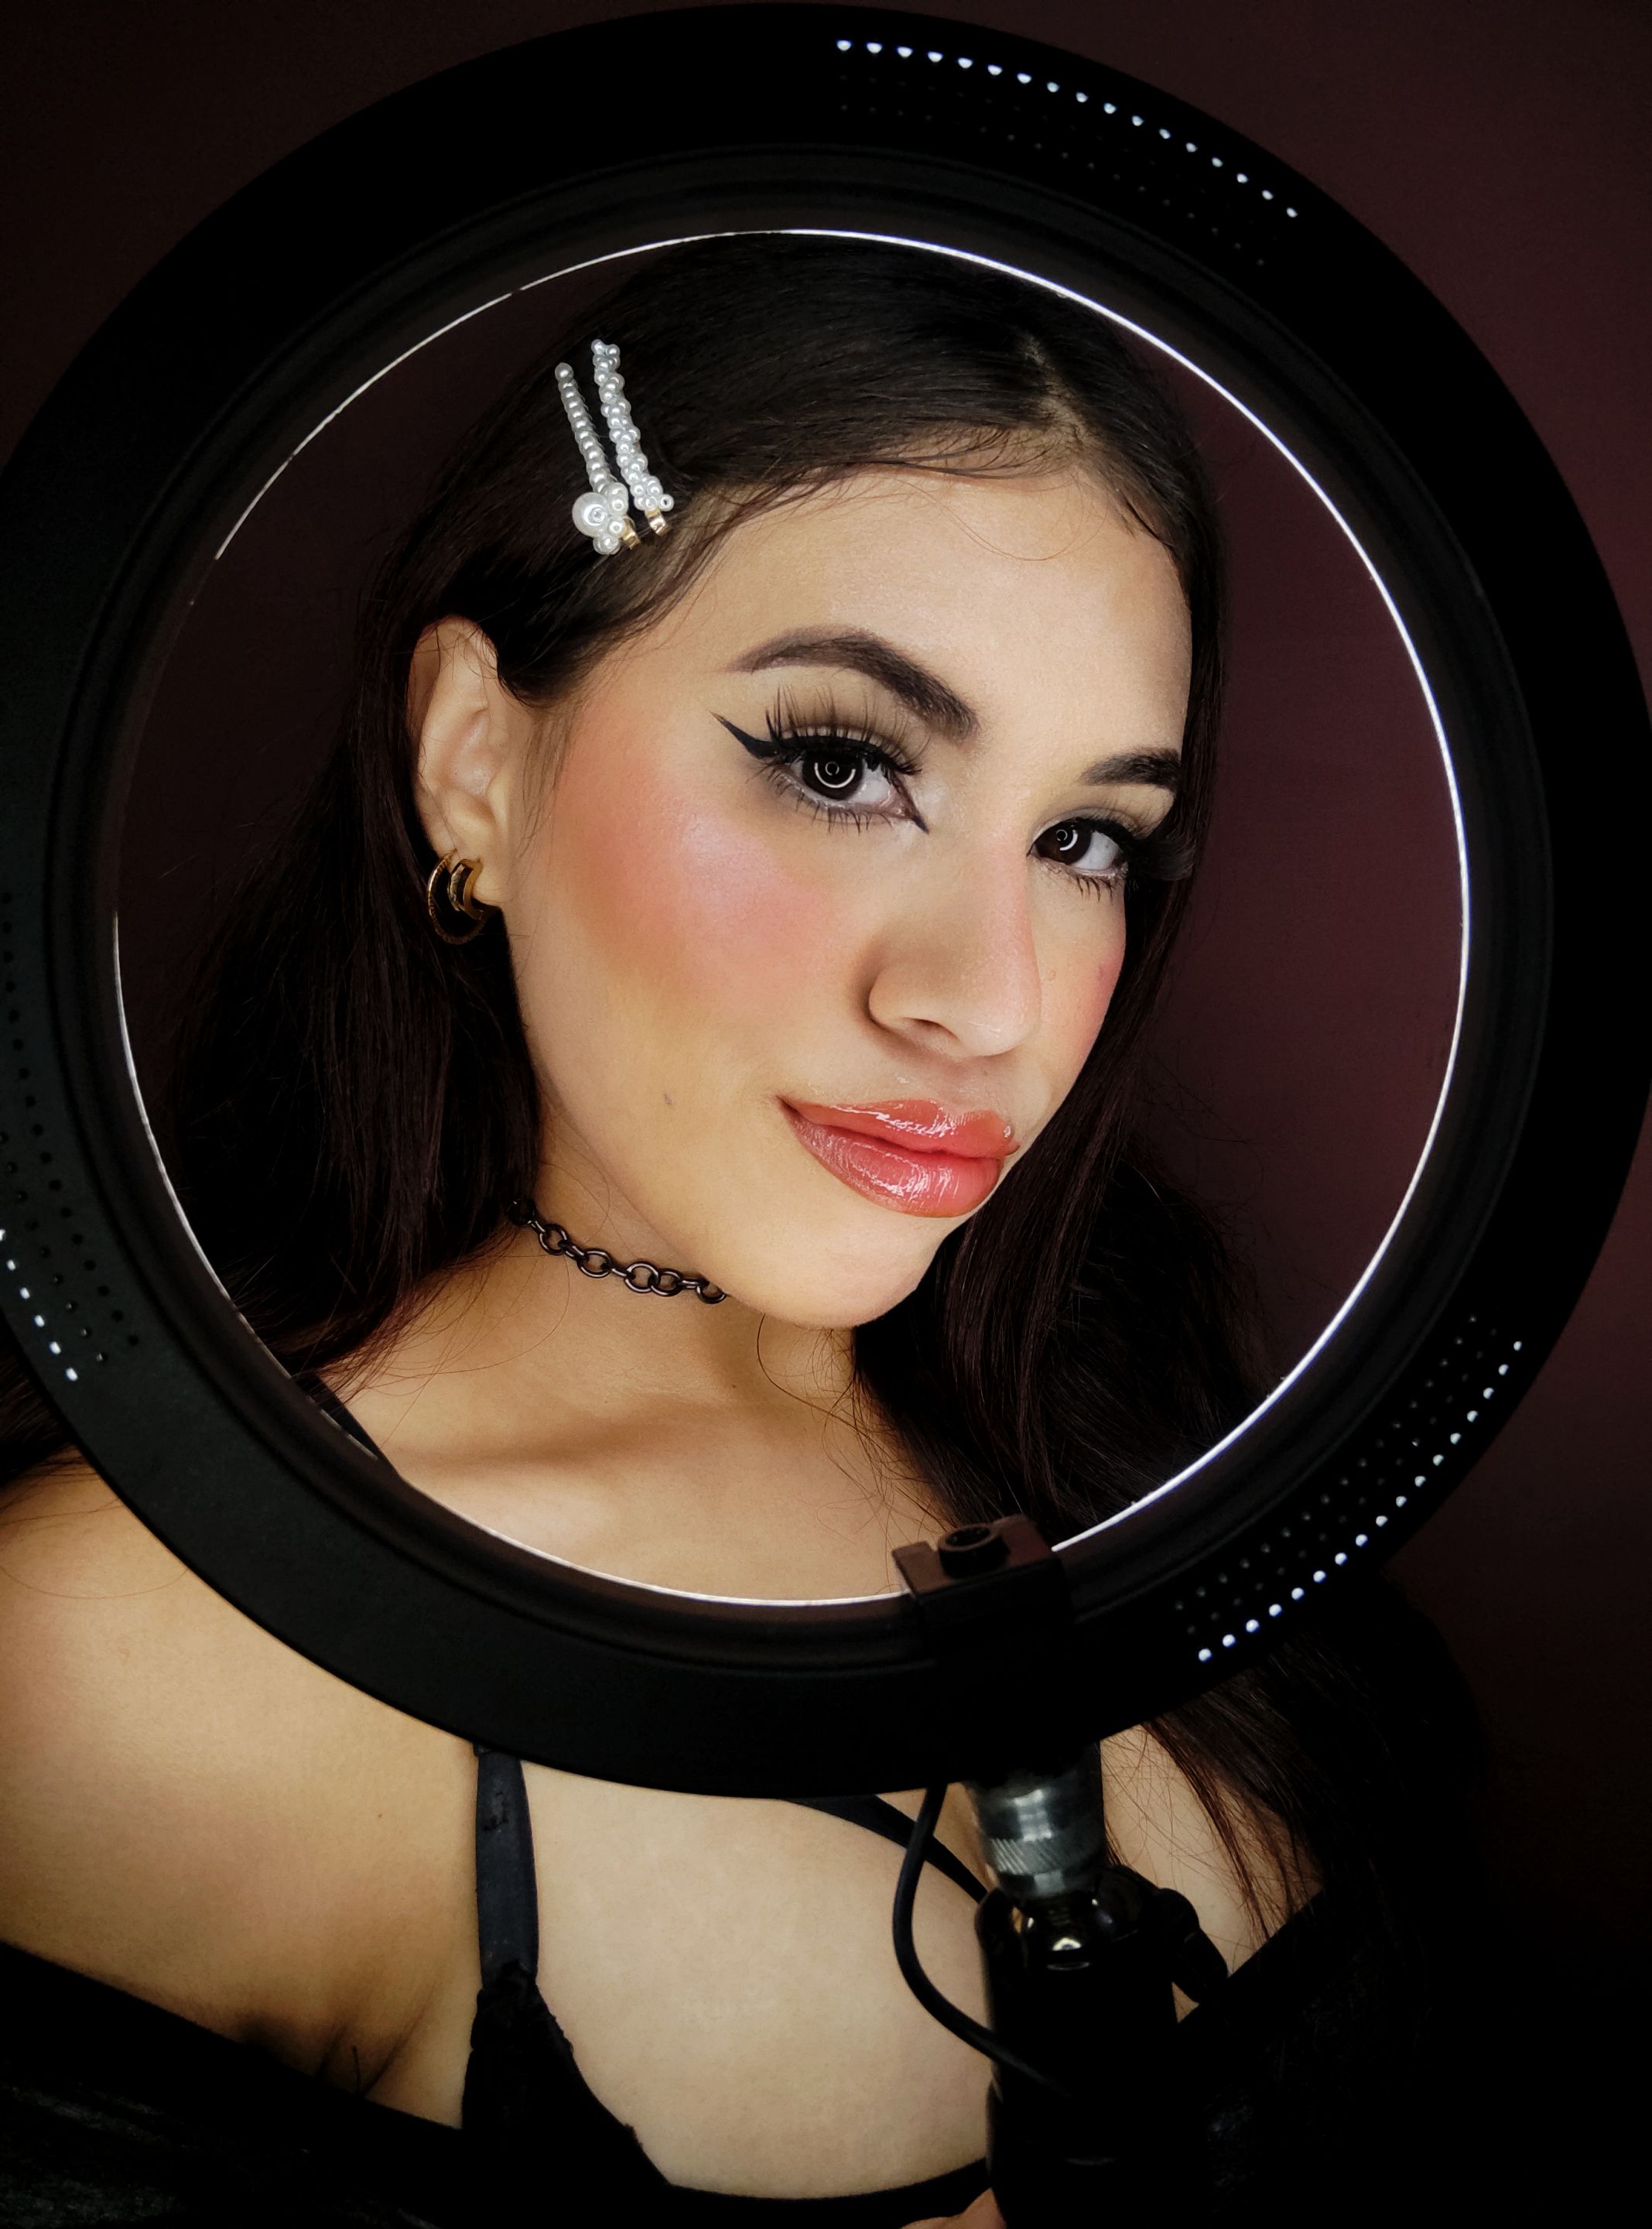
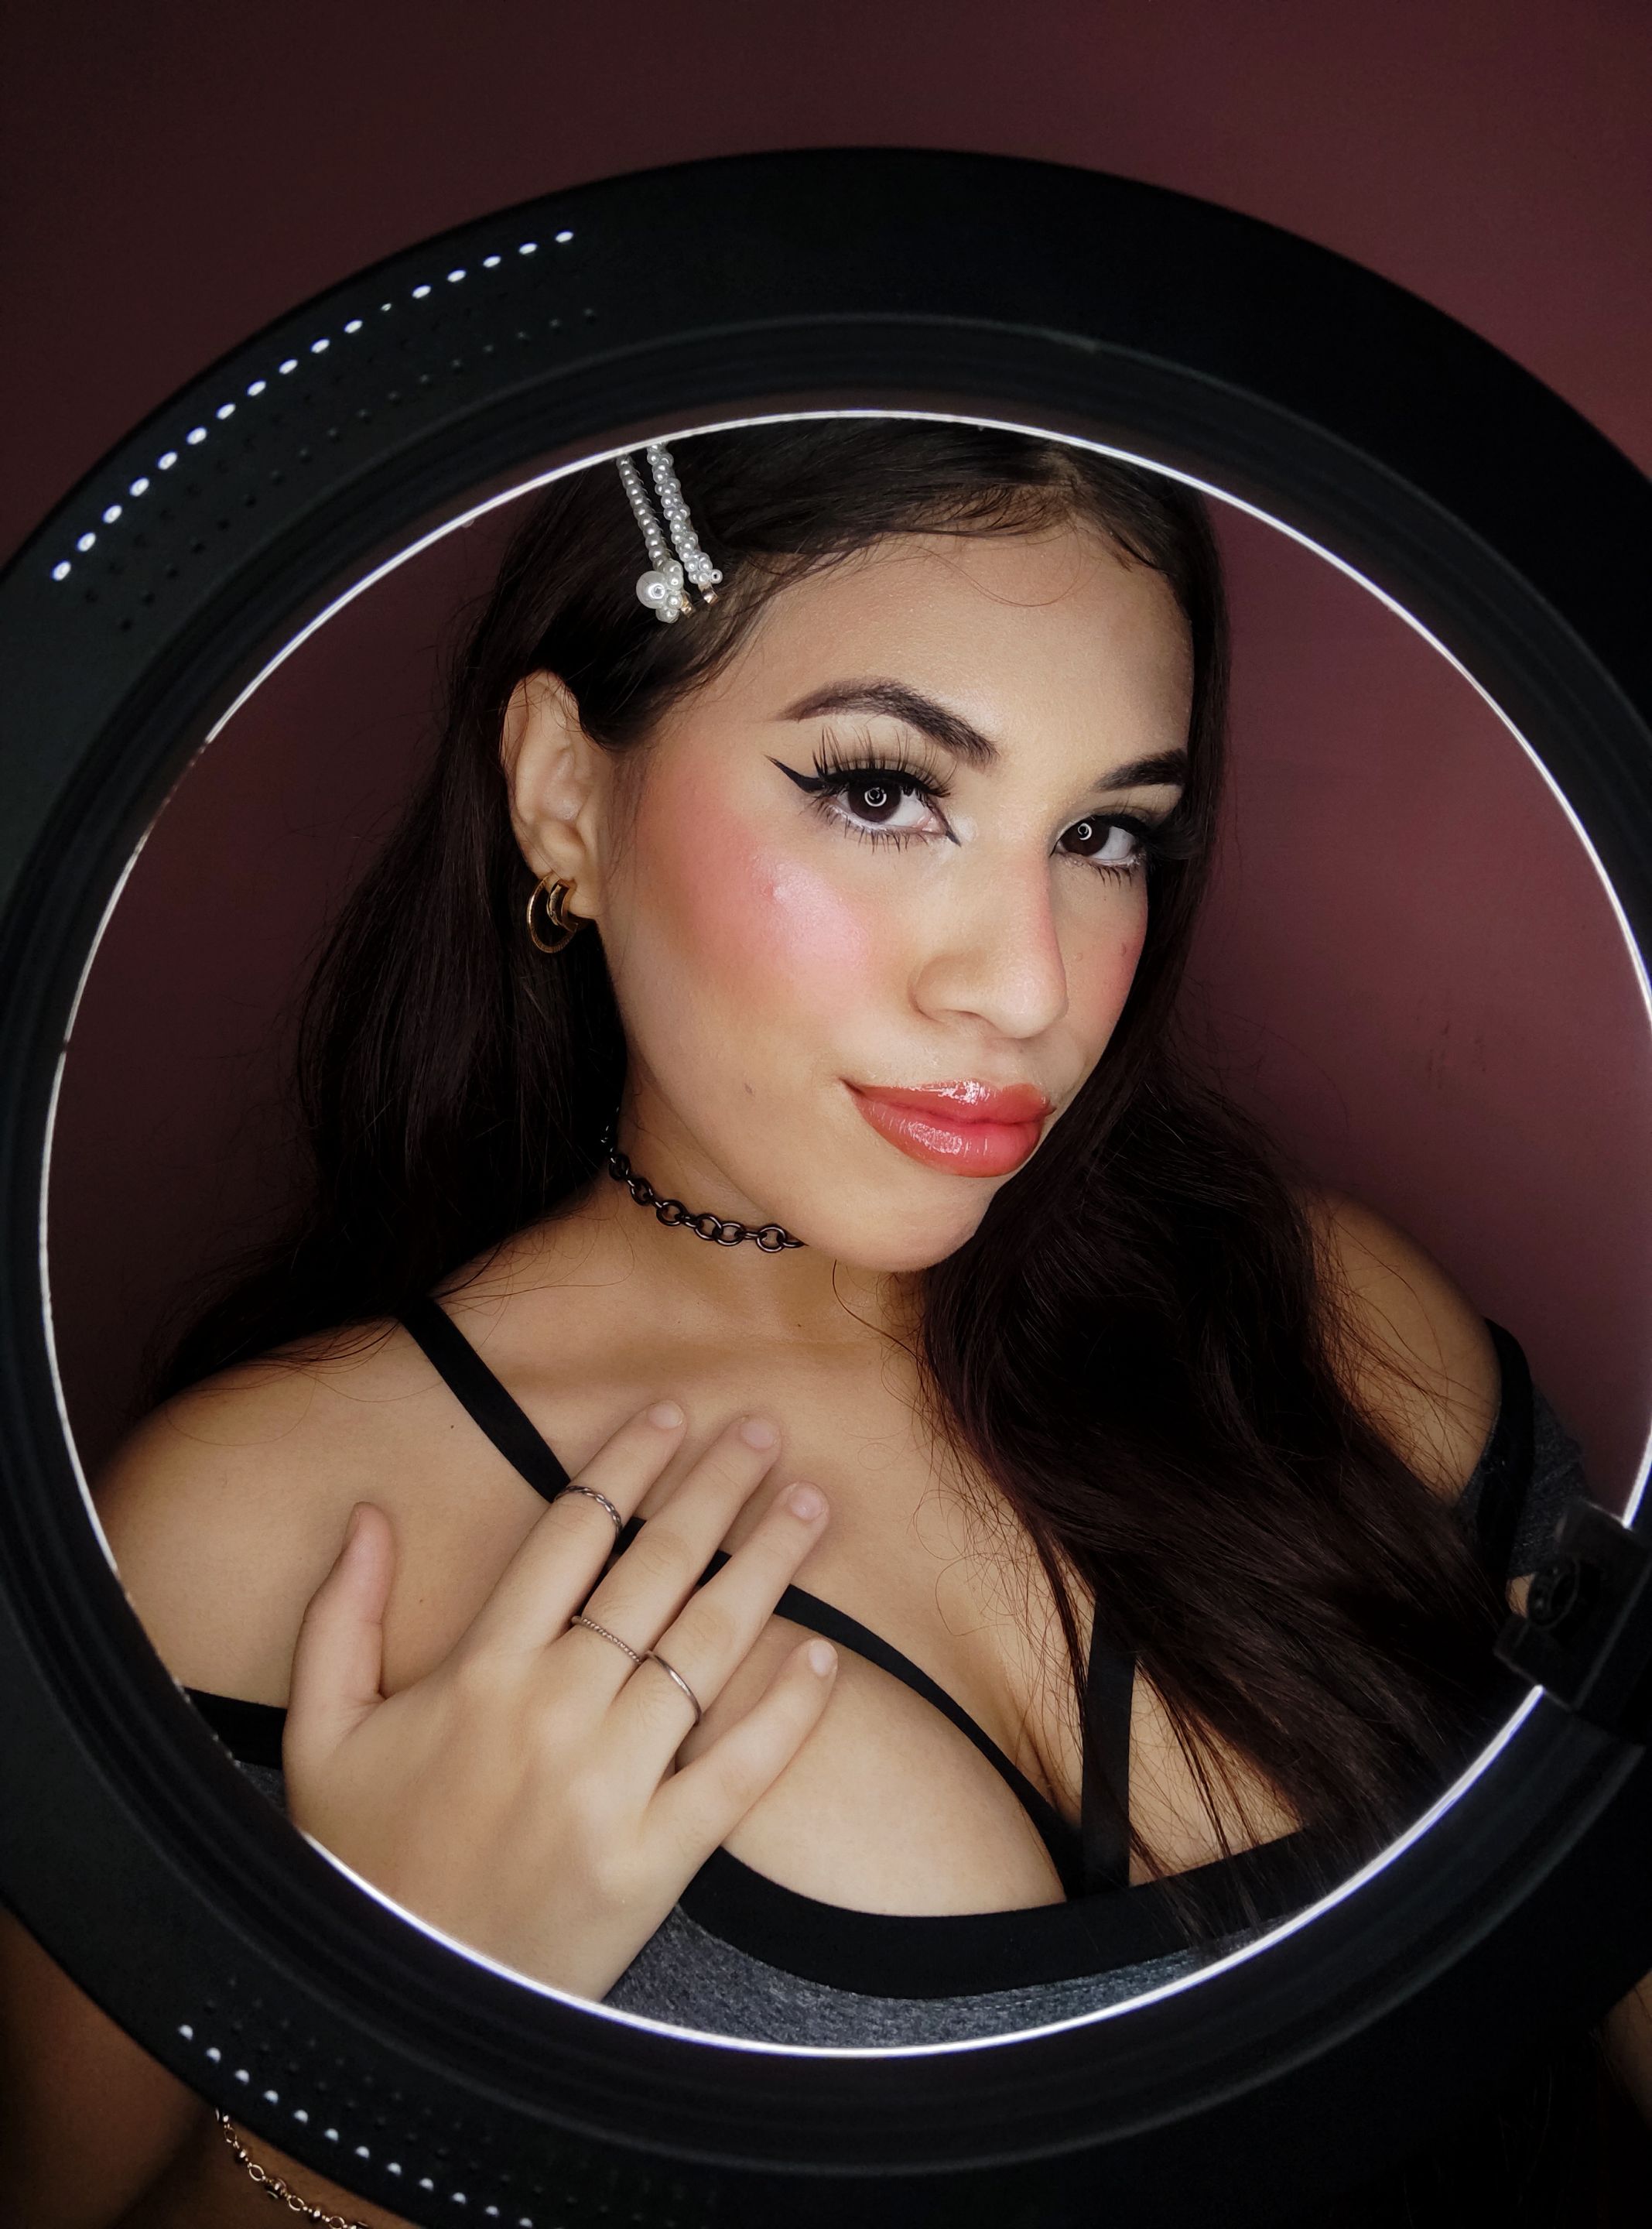
Este tutorial tiene un final medio desastroso, principalmente porque justo cuando termine de maquillarme me toco ir a cocinar, por lo tanto parte se estaba derritiendo por el calor, tuve que retocar para tomar las fotos y grabar los últimos dos clips, donde también se me estaba derritiendo porque hacia demasiado calor en mi cuarto, pero me gustaron muchísimos las tomas que salieron después de todo. Este es mi maquillaje básico para tomar fotos, también es un básico para salir a cualquier parte, solo cambiaria el color de los labios y eso es todo. Espero que les haya gustado este video tutorial, nos vemos pronto!
This tutorial has a bit of a messy ending, mainly because just when I finished doing my makeup I had to go cook, so some of it was melting from the heat, I had to retouch to take the photos and shoot the last two clips, where it was also melting because it was too hot in my room, but I really liked the shots that came out after all. This is my basic makeup for taking pictures, it's also a basic for going out anywhere, I would just change the color of the lips and that's it. I hope you liked this video tutorial, see you soon!
Pictures of my property.
Camera: CellPhone Xiaomi Redmi Note 10.

Si te gusta el maquillaje, el mundo de la belleza o hacer arte en tu piel te invito a la comunidad y al Telegram:
Makeup Power Telegram
If you like makeup, the world of beauty or making art on your skin I invite you to the community and the Telegram:
Makeup Power

Tags :
Their limit for today is $0!
More Videos
@ocdb: 2.5088
@alpha: 1.1185
@blocktrades: 0.5279
@pastzam: 0.2181
@tarazkp: 0.1626
@fedesox: 0.1335
@chronocrypto: 0.1225
@newsflash: 0.1146












Comments:
Reply:
To comment on this video please connect a HIVE account to your profile: Connect HIVE Account