Total refurbishment samsung j7 unusable Exclusive / Renovación total samsung j7 inservible Exclusivo
7
About :
content sources
.deepl translation
gift:
facebook logo
logo instagram
hive logo
week zone logo
Royalty free music

Español
¿Hola amigos de hive qué tal?
Como están como les va?
Soy Daniel, un técnico genuino de reparación para equipos móviles y computadoras.
En esta ocasión quise echar a andar mi imaginación y mis buenas reparaciones para enseñarles algo muy interesante.

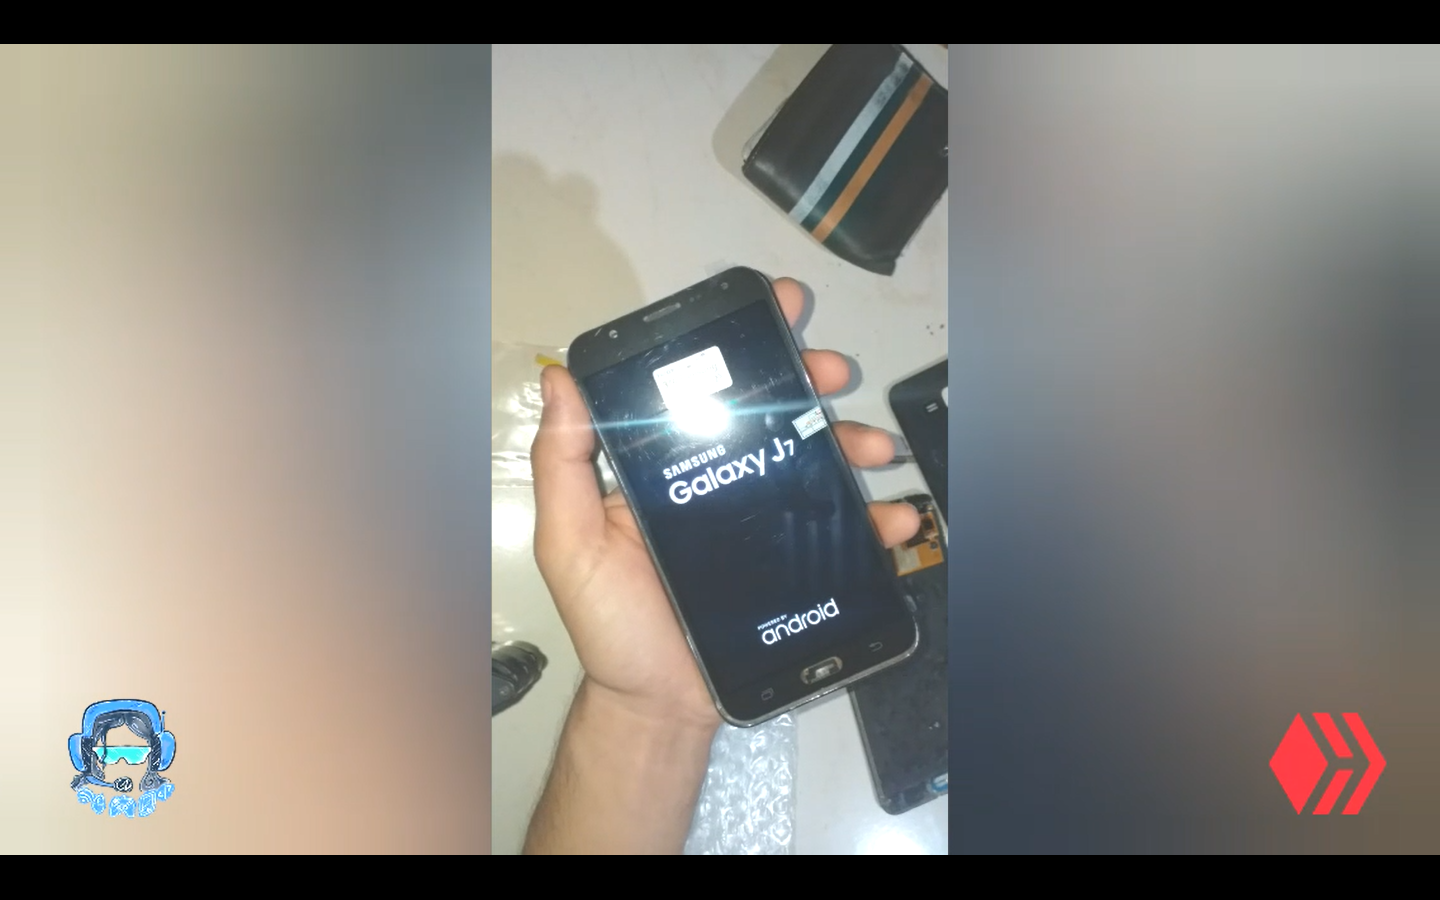
Un cliente llegó al taller hace más de 3 años y me dejo un teléfono Samsung j7 para repararlo y tenía muchas cosas malas. Una era el pin de carga, otra era la cámara y otro era la pantalla A lo que yo le di el precio de la reparación y le salía muy costosa y me dijo que reuniría el dinero, pero yo me aguantara un tiempo. En fin el teléfono lleva más de 3 años en el taller y nunca me dijo nada el cliente así que decidí llamarlo para ver si lo podía reparar y con la venta le pagaba un poco del teléfono a lo que aceptó y procedí a realizar el trabajo.
Para probar el equipo tuve que comprar el pin de carga, la cámara, la batería y la pantalla, todo esto salió muy costoso, pero todo sea para mostrarles como queda este teléfono nuevo.
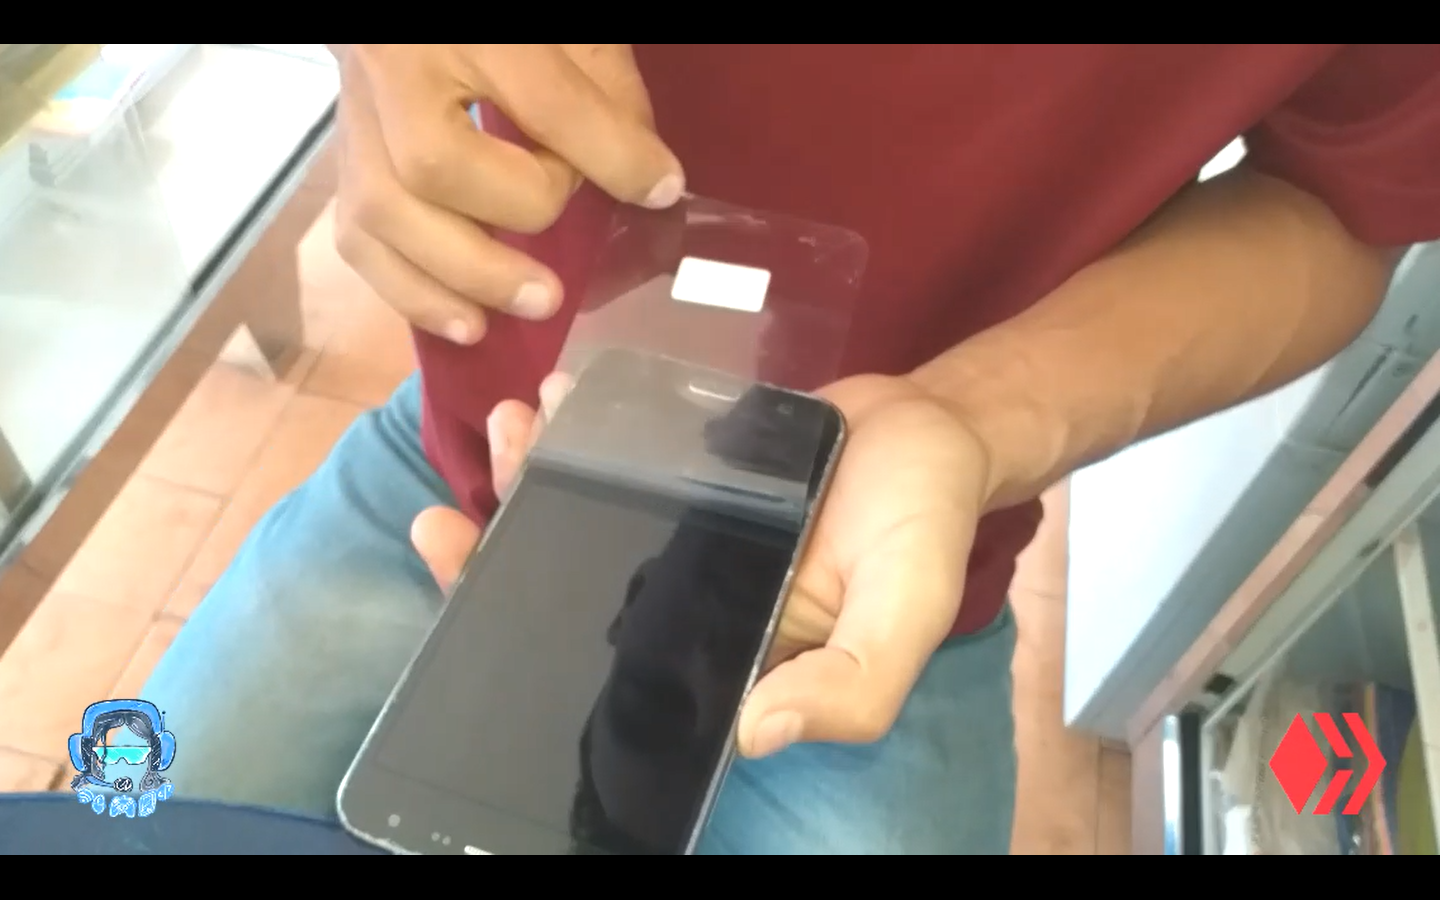
Como probar la pantalla nueva.
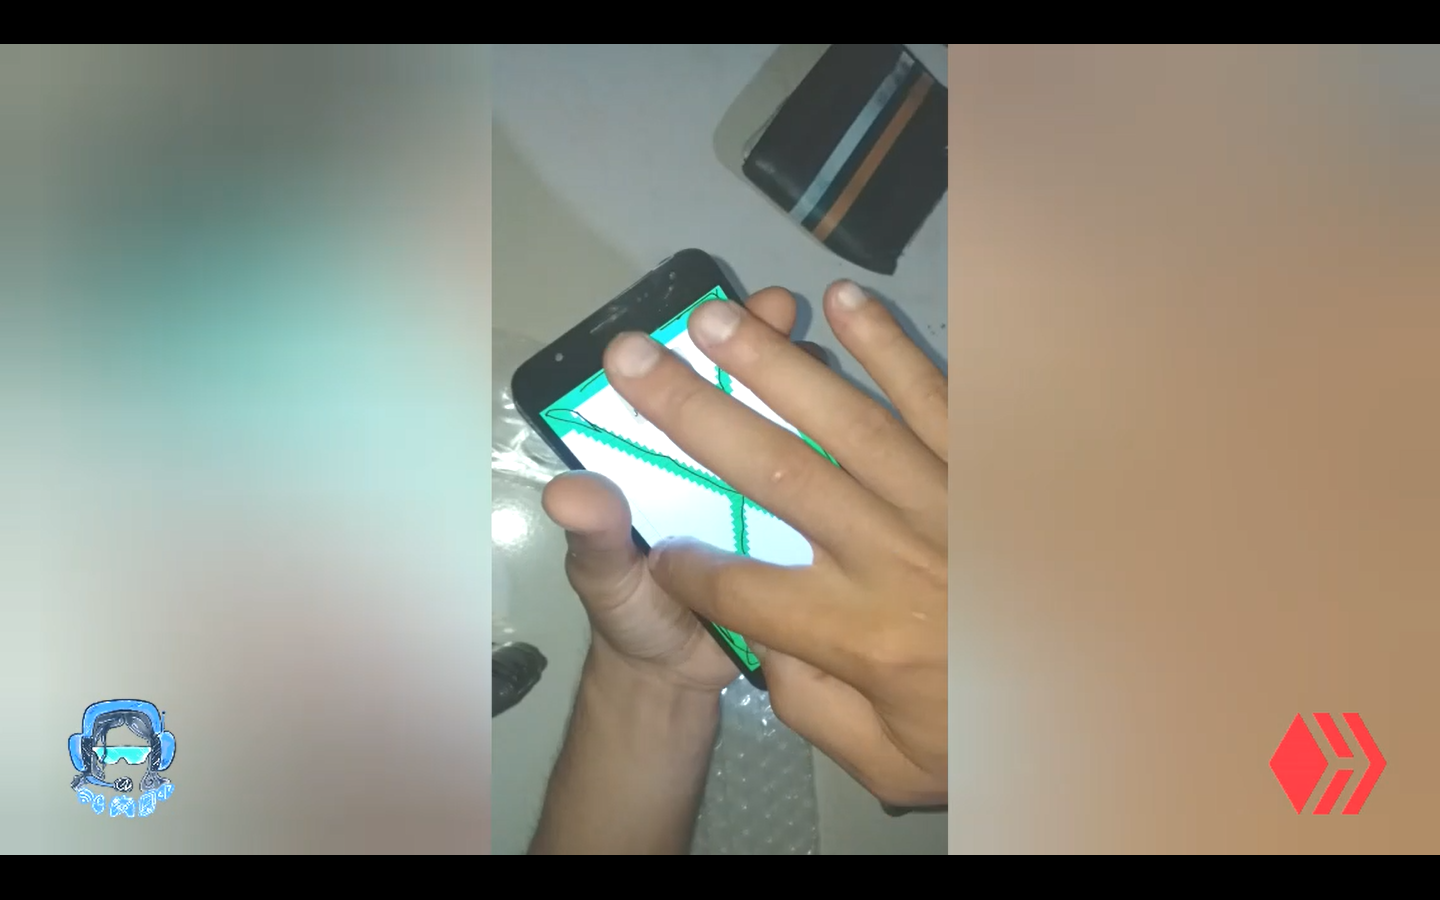
Para empezar el proceso largo tengo primero que probar la pantalla que compre y les muestro en el video como probé todo eso. Tanto la pantalla como el táctil lo probé.
Lo único que debes hacer es colocar en el directorio de agregar contacto este código "#0#" y este código servirá para que te abra un menú donde seleccionaremos la palabra "touch" y allí te aparecerá una secuencia de cuadros que debes marcar solo con la intención de probar si el táctil está en buen funcionamiento, cuando lo pruebes te darás cuenta si está bueno o no. En mi caso si estaba toda buena.
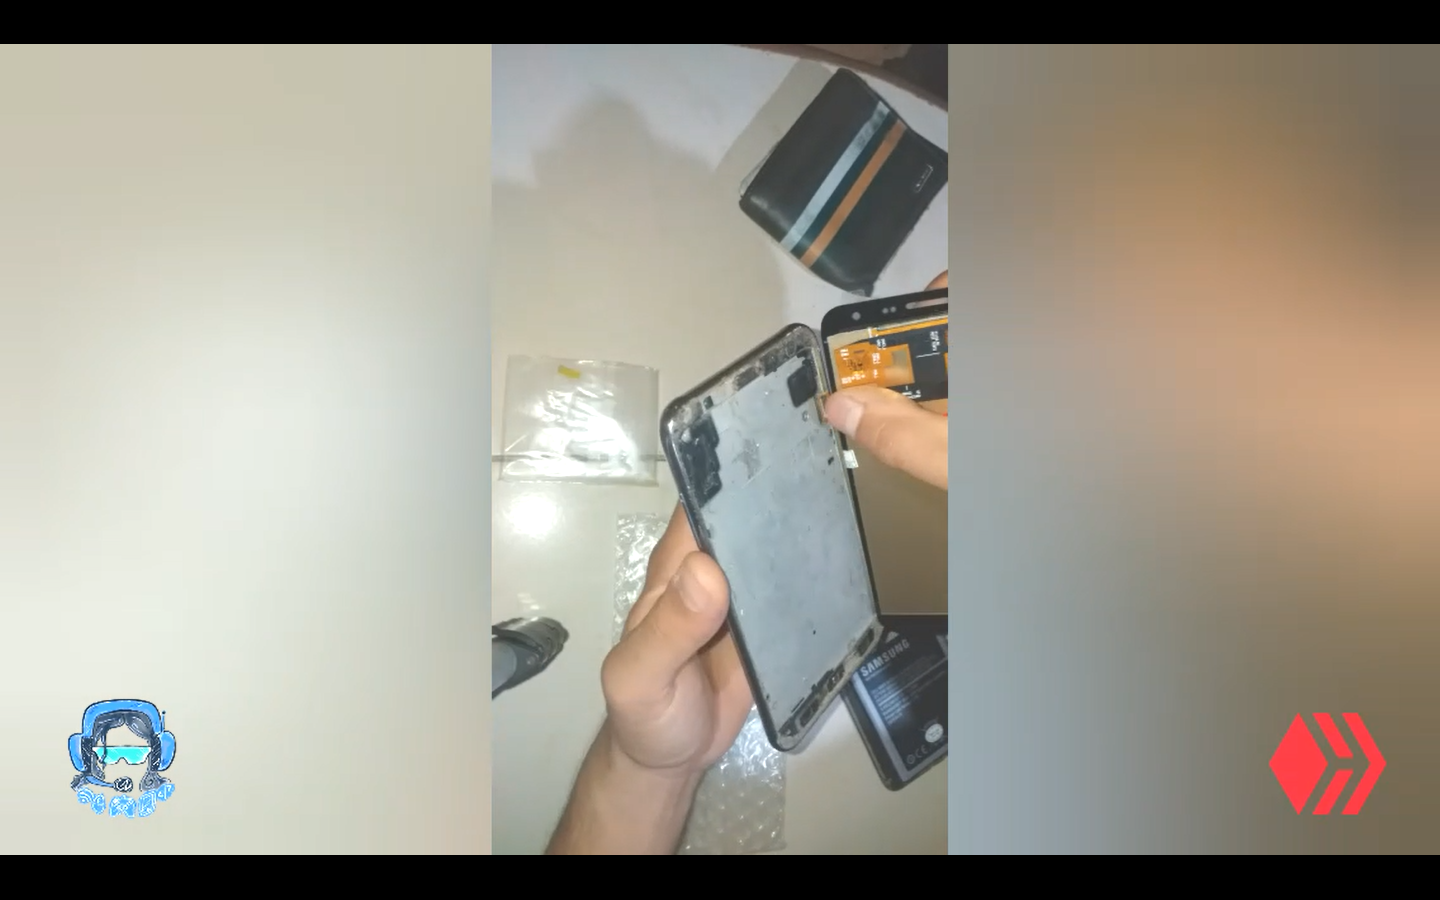
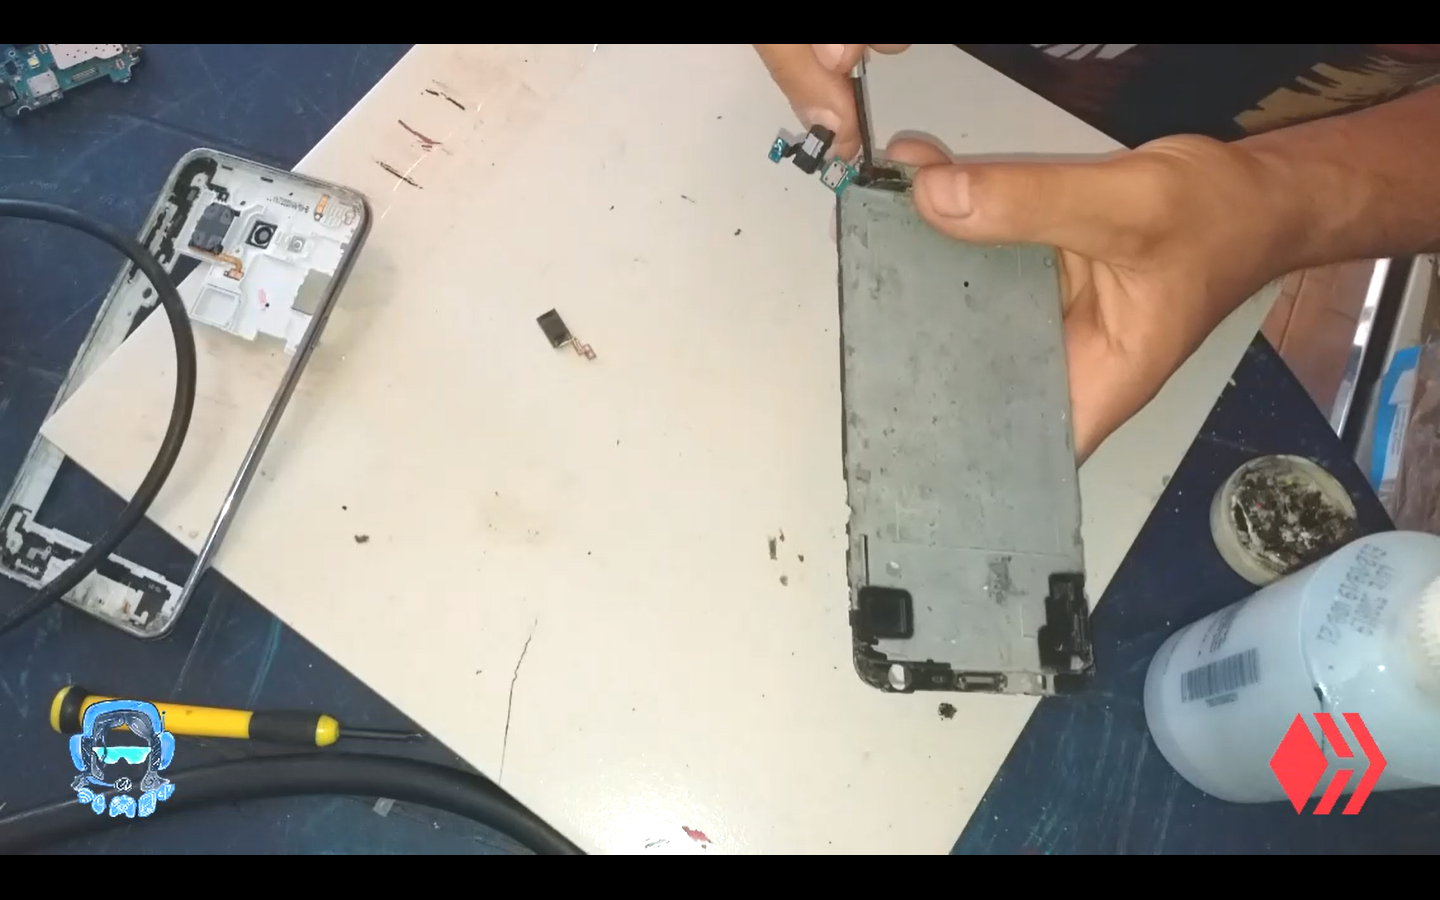
Ya después de todo tienes que desarmar todo el equipo y limpiarlo bien. Esto requiere de absoluta paciencia Mucha, ya que debes limpiar con detalles todas la partes del teléfono, las internas y las externa Todo esto con la finalidad de que si montamos otra pantalla esta no quede y se parta con sucios que tenga dentro
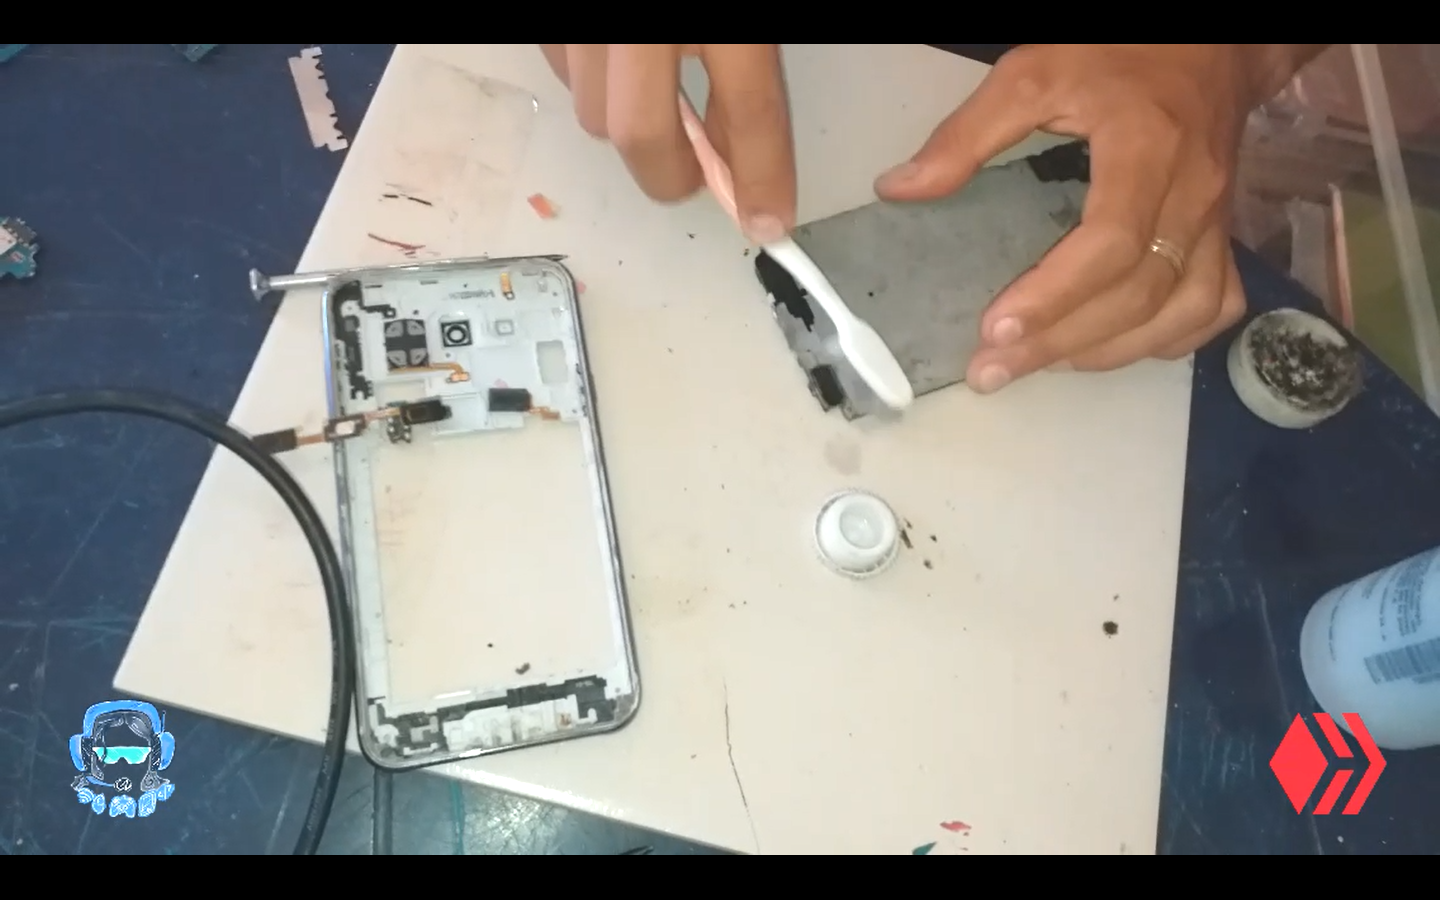
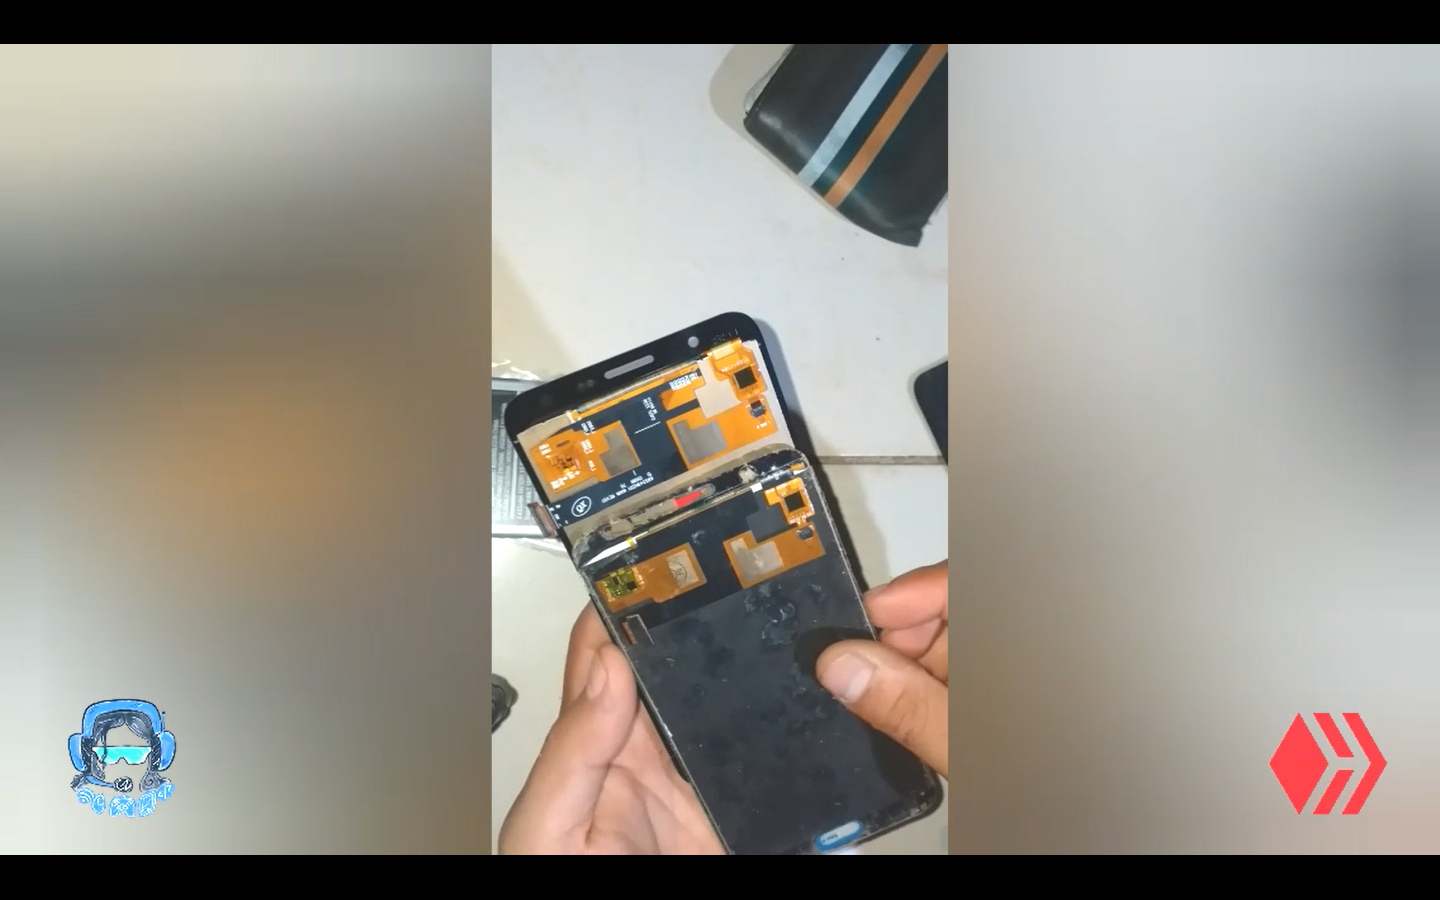
Luego de limpiar la pantalla, hay que sacar la placa del equipo y desarmarlo completo para reparar el pin de carga y cambiar la pantalla. Después de esto tenemos que colocarle la pega a la pantalla y luego a la base del bisel del equipo, esta superficie se quedara secando aproximadamente por 10 minutos frente a algún lugar caliente o la luz del sol. Esto ara que la pega se endurezca un poco y después de esto solo colocar la pantalla.
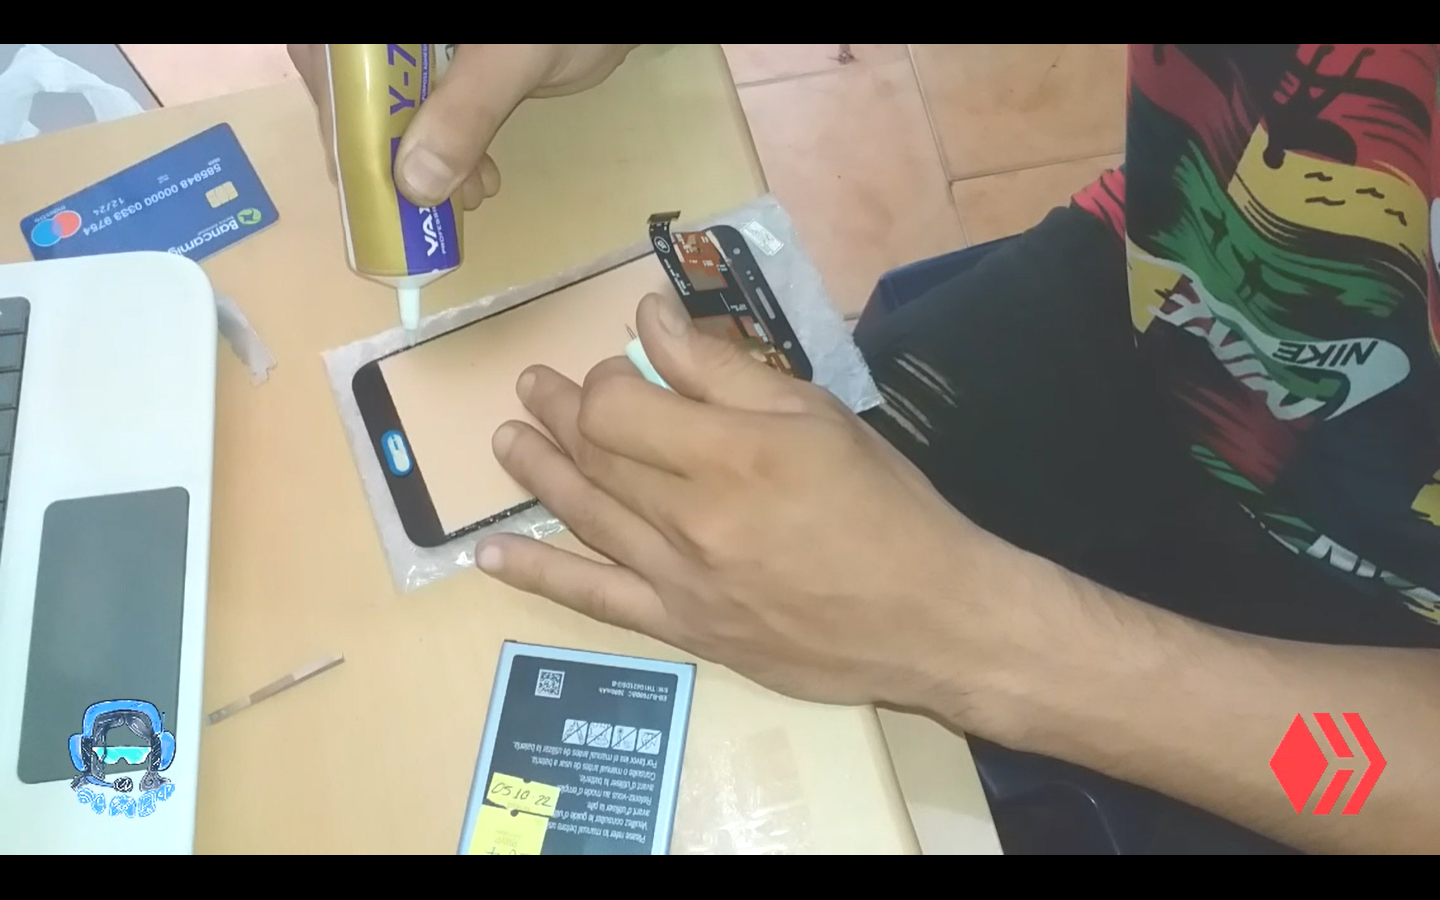
Para colocar la pantalla debemos conectar primero el flex de la pantalla que queda del lado contrario de la pantalla y allí luego colocar los botones de home y el auricular. Ya después de esto solo queda pegar la pantalla.
Debes colocar después de pegar la pantalla un hilo que pueda dar vueltas y presionar con fuerza la pantalla. Unos usan hilo, otro usan pinzas o ganchos. Yo utilizo hilos y así puedo graduar manualmente la profundidad de la pantalla. Y así quedar muy bien.
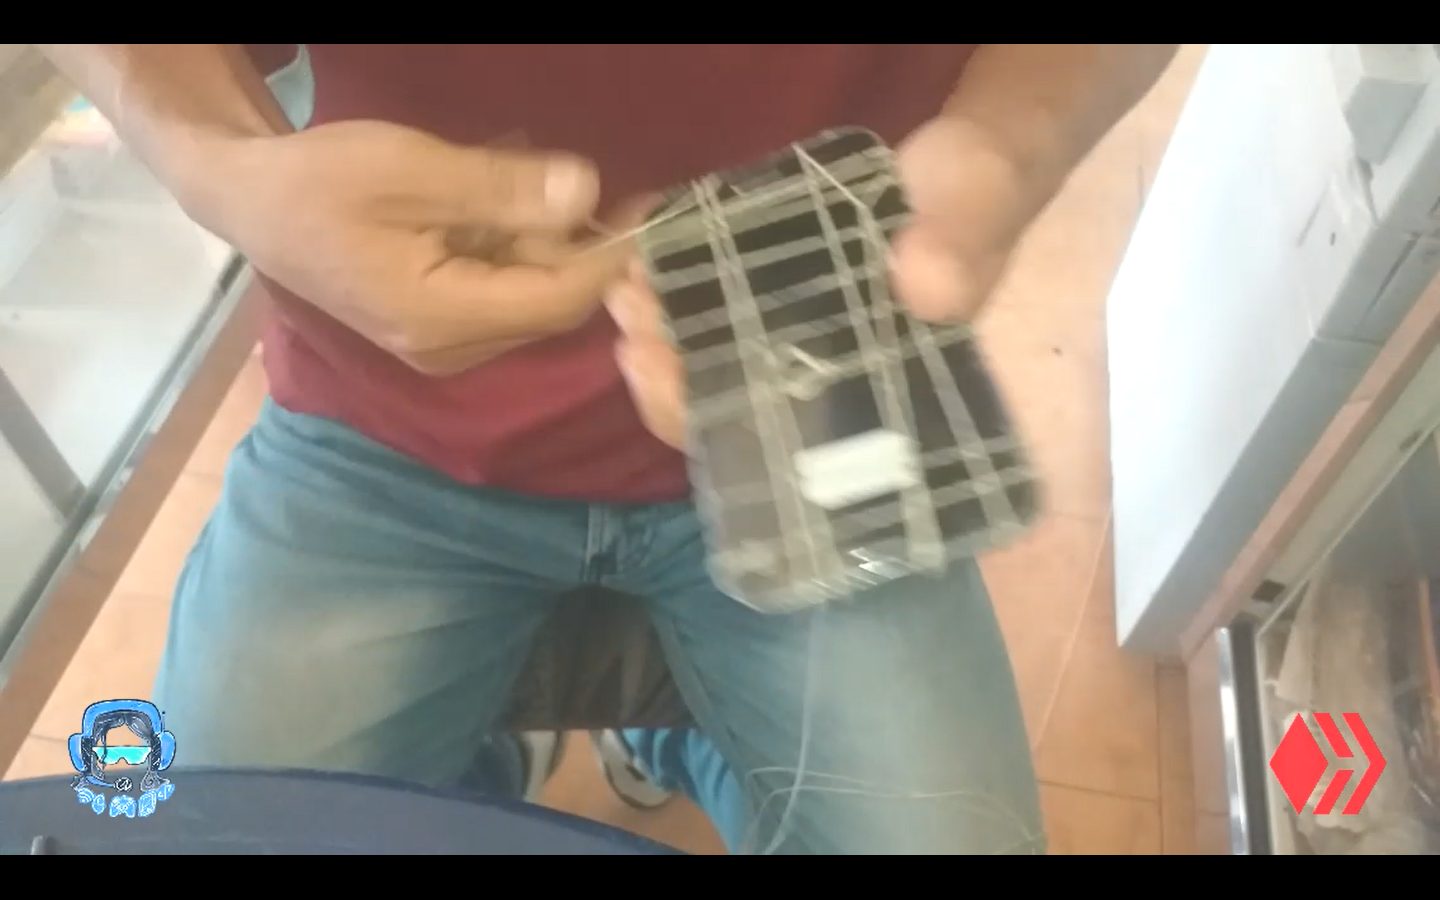
Esta presión del hilo durar aproximadamente un día y así luego quitarlo, esto ara que la pega seque y quede muy bueno.
Ya solo después queda conectar la batería del equipo, quitarle los residuos de pega y esto quedará muy muy bien.
Este es un tutorial exclusivo de renovación casi completo del teléfono Samsung j7
English
Hello hive friends, how are you?
How are you doing?
I'm Daniel, a genuine repair technician for mobile devices and computers.
This time I wanted to use my imagination and my good repair skills to show you something very interesting.
A customer came to the workshop more than 3 years ago and left me a Samsung j7 phone to repair and it had many things wrong with it. One was the charging pin, another was the camera and another was the screen To which I gave him the price of the repair and it was very expensive and he told me he would raise the money, but I held out for a while. Anyway the phone has been in the workshop for more than 3 years and the customer never said anything to me so I decided to call him to see if he could repair it and with the sale I would pay him a little of the phone to which he accepted and I proceeded to do the work.
To test the equipment I had to buy the charging pin, the camera, the battery and the screen, all this was very expensive, but all this was to show you how this new phone looks like.
How to test the new screen.
To start the long process I have first to test the screen I bought and I show you in the video how I tested all that. I tested both the screen and the touchscreen.
The only thing you have to do is place in the add contact directory this code "#0#" and this code will serve to open a menu where we will select the word "touch" and there you will see a sequence of boxes that you must check only with the intention of testing if the touch is in good working order, when you test it you will realize if it is good or not. In my case if it was all good.
Already after all you have to disassemble all the equipment and clean it well. This requires absolute patience A lot, because you must clean in detail all the parts of the phone, the internal and external. All this in order that if we mount another screen this is not left and is broken with dirt that has inside.
After cleaning the screen, we have to remove the board from the device and disassemble it completely to repair the charging pin and change the screen. After this we have to put the glue to the screen and then to the base of the bezel of the equipment, this surface will be left to dry for approximately 10 minutes in front of a warm place or sunlight. This will allow the glue to harden a little and after that just place the screen.
To place the screen we must first connect the flex of the screen that is on the opposite side of the screen and then place the home and earphone buttons. Already after this only remains to glue the screen.
You must place after gluing the screen a thread that can turn and press hard on the screen. Some use thread, others use tweezers or hooks. I use threads so I can manually adjust the depth of the screen. And so it looks very nice.
This pressure of the thread will last about a day and then remove it, this will make the glue dry and look very good.
Now it only remains to connect the battery of the equipment, to remove the residues of glue and this will be very very well.
This is an exclusive tutorial of almost complete renovation of the Samsung j7 phone.
fuentes del contenido
Traducción deepl
gift:
Logo facebook
logo instagram
Logo hive
Logo week zone
Musica sin derechos autor
Ganar algunios pequeños tokens por buscar en google. Registrare aqui
presearch
 Instagram
 Facebook
.png)

Show more
Tags :
Woo!
This creator can upvote comments using 3speak's stake today because they are a top performing creator!
Leave a quality comment relating to their content and you could receive an upvote
worth at least a dollar.
Their limit for today is $0!
Their limit for today is $0!

3 views
a year ago
$

77 views
a year ago
$

7 views
a year ago
$
1 views
a year ago
$

13 views
a year ago
$
More Videos

0 views
6 months ago
$

1 views
a year ago
$

5 views
a year ago
$

2 views
4 months ago
$

33 views
2 years ago
$

6 views
7 months ago
$

11 views
a year ago
$

5 views
2 years ago
$

13 views
2 months ago
$

0 views
4 months ago
$

8 views
2 years ago
$

10 views
3 years ago
$

4 views
2 years ago
$

2 views
a year ago
$

6 views
5 months ago
$

5 views
a week ago
$

12 views
6 months ago
$

89 views
a year ago
$

5 views
2 years ago
$

3 views
2 years ago
$

34 views
3 years ago
$

3 views
2 years ago
$

8 views
2 years ago
$

2 views
10 months ago
$
Comments:
Reply:
To comment on this video please connect a HIVE account to your profile: Connect HIVE Account