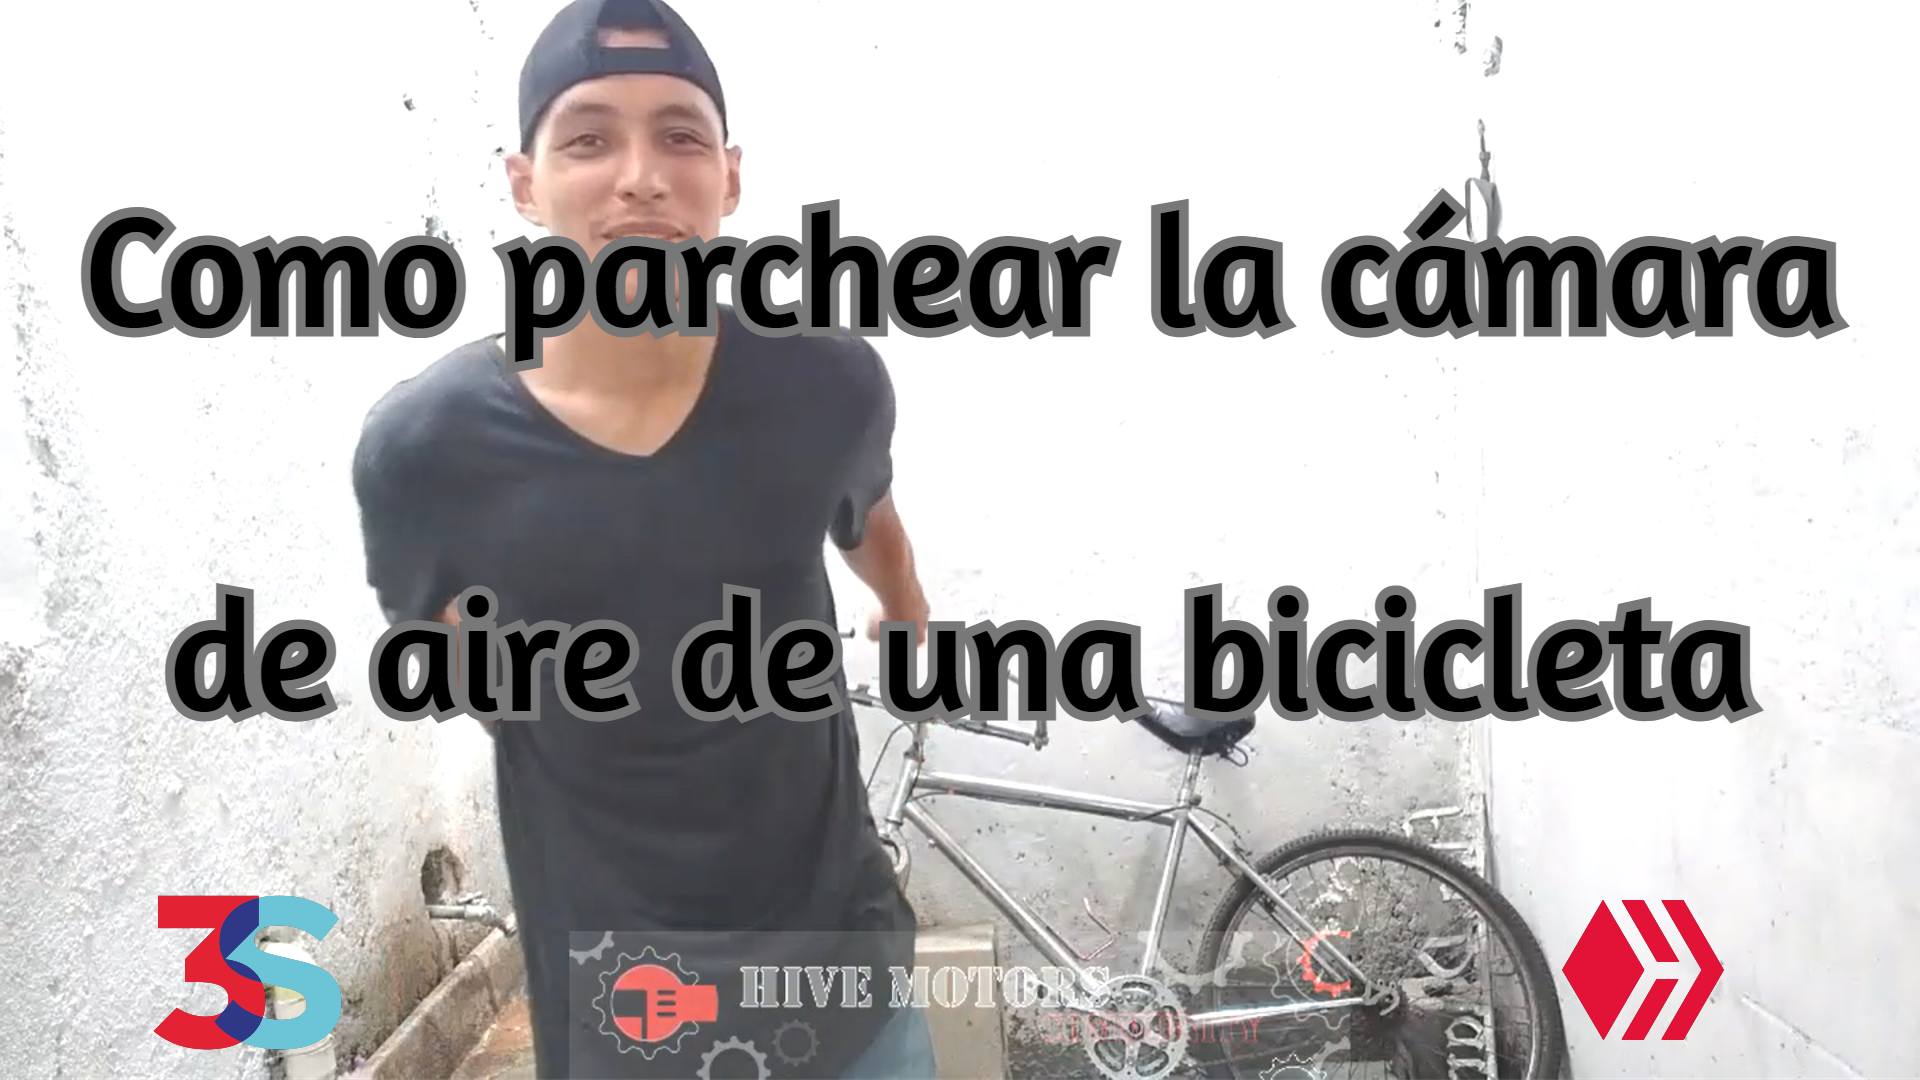
How to patch a bicycle inner tube - JOSUERR29 - [Esp/Eng].
5
About :
| content sources | |
|---|---|
| - Translation of the text: | https://www.deepl.com |
| - Separator taken from: | Here |
| - Photo and video: | Picsart pro. YouCut. Samsung Galaxy j6 plus. |
| - Source and authorship of the content: | Own original: |
| - Creation of gift: https://www.canva.com. | |
| - Intro of the video made in canca: | - Gift creation: https://www.canva.com |
| - Music of the video without copyright: | Here |
| Logo 1 | Design by https://studio.3espeak.tv |
| Logo 2 | Design by https://hive.blog |
| Logo 3 | Design by Hive motors |
English
**Hello friends of hive motors how are you? How are you doing I'm josuerr29 in this opportunity I have again with another video to share with you a very interesting content.
All of us have driven at some point a bike maybe from a friend or maybe from us, others have our own bikes, there are endless variety of bikes in the world some people have them for Hobby others have them to work another to pass the time and another to give it to their children. However when they get damaged we are often not prepared for this.
In my case I have my bike, I have it as a second option is a rim 26, I also have my bike but my bike is the one that helps me when the bike is making a joke, with it I buy spare parts and also when I am using the bike, the bike serves part of my family to do their errands too. So I could say that even though I have the bike, I also have to keep the bike active because it is something important in my house and in my environment.
However these last few days something very unusual has happened, the rubber is already a little worn a little old, I have already taken the juice out of the rubber, all the edges of grip they had have already been removed the rubber is smooth and this makes more often that the rubber can spichar and the inner tube simply stop working is common in bikes with smooth rubber and this time was no exception my bike is spicho.
I put my hands around the rubber and couldn't find what had gotten into it, apparently it was a barb that went in and out and that's all that happened to make the rubber go flat.
After this and realizing that my bike has to serve for use in my house I had to take on the task of repairing it myself and the truth is not so difficult, it is something relatively easy the only thing you need is knowledge and common sense to do it carefully and besides this have the tools. I am going to explain what I used.
The tools I used were very easy to get:
I needed two strong spatulas, you can use them made of iron or plastic but the tip should be round and not sharp so as not to lacerate the rubber or the casing. I have seen some people use spoon handles and the other thing I also used was glue which you can find at any bicycle parts store, also to use was a patch and a punch bowl with water a very easy to use item.
I will start with the simple and easy process so you know how it is done.
.You must remove the two nuts that go on the rim valves, these nuts press the one-way worm so that you put air in it and it doesn't come out. When you have already removed the nuts the worm comes out just goes in and out easily after this you have to go with the two spatulas that I mentioned at the beginning to pull out the tabs of the rubber very carefully and that when you put these spatulas do not go through the air chamber that is inside the rubber has to go slowly removing the sticking one the other because if you do it with a lot of distance can damage the rubber this is basic. Then get to the next step which is to remove the air chamber from the rubber to be able to examine it.
When you pull the inner tube out of the rubber it is easier to put your hand between the rubber and try to remove the sharp object inside the rubber that can lacerate the casing because sometimes you can repair the inner tube and if the sharp object is still inside the rubber then it will be of no use because the casing will be pierced again.
Then we will go to examine the air chamber we have to place the air valve with its nuts and then connect the air pump and start filling the air chamber when it is full of air we have to try to hear where the rubber has the hole where the air escapes if we can not find it there then we have to use the second option in a punch bowl with water and the air chamber full we have to go introducing where bubbles are coming out in that place where it has the hole.
After this we have to go looking with patience for the hole and when we find it we have to mark it and with a sandpaper scratch the place of the hole to change the surface of the Isaac or rough that is scratched so that it adheres better and stronger the glue after having done it we have to place the glue just on the surface where we scratched that has the hole and also in the park so that the two believe drying approximately 20 minutes.
We will know that the glue will be ready to join the patch with the surface when we are going to place the finger to the glue and it does not adhere to the finger is there when the glue is in the exact point to glue the two surfaces.
After gluing the surfaces we have to press about 30 minutes with a heavy object the casing to keep it pressed after this time we can if we want to go examining what other gap exists and thus test with the water punch if the gap was sealed successfully.
If this hole was successfully sealed congratulations that is already a hole of an air chamber is there where we have to put again this gut inside the rubber and then very carefully not to go through the air chamber then introduce the tabs of the rubber inside the ring so that everything is in place again, remember to place the air valve right in the hole of the rim so you have to introduce air again. With all this ready we will be ready to put air to the rubber and start riding with our bike ....
Thank you very much for all your contribution friend for everything you saw and I hope you like it.
Español
Hola amigos de hive motores cómo están Cómo les va soy josuerr29 en esta oportunidad tengo de nuevo con otro vídeo para compartirles un contenido muy interesante.
Todos nosotros hemos manejado en algún momento alguna bicicleta quizás de un amigo o quizás de nosotros, otros tenemos nuestras propias bicicletas, hay sinfín de variedad de bicicletas en el mundo unas personas las tienen para Hobby otros los tienen para trabajar otro para pasar el tiempo y otro para regalársela a sus hijos. Sin embargo cuándo se nos dañan muchas veces no estamos preparados para esto.
En mi caso yo tengo mi bicicleta, la tengo como segunda opción es una rin 26, yo también tengo mi moto pero mi bicicleta es la que me ayuda cuando la moto está echando broma, con ella compro los repuestos y además cuando la moto la estoy usando yo, la bicicleta le sirve a parte de mi familia para que hagan sus diligencias también. Entonces podría decir que mi bicicleta a pesar de tener la moto también hay que tener activa la bicicleta porque es algo importante en mi casa y en mi entorno.
Sin embargo estos últimos días ha pasado algo muy inusual, ya el caucho está un poco desgastado un poco viejo, ya le he sacado el jugo al caucho, todos los bordes de agarradero que tenían ya se le han quitado el caucho está liso y esto hace con más frecuencia que el caucho se puede espichar y que la cámara de aire simplemente deje de funcionar es algo común en bicicletas con cauchos lisos y esta vez no fue la excepción mi bicicleta se espicho.
Yo colocando las manos alrededor del caucho no pude encontrar que puya se le había metido, al parecer fue una puya que entró y salió y Esto fue todo lo que sucedió para que el caucho se desinflara.
Pasado esto y dándome cuenta que mi bicicleta tiene que servir para usarla en mi casa tuve que darme a la tarea de repararla yo mismo y la verdad no es algo tan difícil, es algo relativamente fácil lo único que necesitas es conocimiento y sentido común para hacerlo con cuidado y demás de esto tener las herramientas. Voy a explicarte Qué cosas utilice.
Las herramientas que yo utilice fueron muy fáciles de conseguir:
Necesite dos espátulas fuertes, puedes utilizarlas de hierro o de plástico pero que la punta sea redonda y no aguda para no lacerar ni el caucho ni la la tripa. He visto que algunas personas utilizan los mangos de cuchara y la otra cosa que también utilice fue pega que tú la puedes encontrar en cualquier venta de repuestos de bicicleta, también a los utilice fue un parche y una ponchera con agua un artículo muy fáciles de usar.
Comenzaré con el proceso simple y sencillo para que sepa cómo se hace.
Debes sacar las dos tuercas que van en las válvulas del rin, estás tuercas presionan el gusanillo unidireccional para que tú le coloques aire y no se salga. Cuando tú ya has sacado las tuercas el gusanillo sale solo entra y sale con facilidad luego de esto tienes que con las dos espátula que mencione al principio ir sacando hacia fuera las pestañas del caucho con mucho cuidado y que cuando metas estás espátulas No atravieses la cámara de aire que está dentro del caucho tiene que ir la sacando poco a poco pegada una la otra ya que si lo hace con mucha distancia puede dañar el caucho esto es básico. Luego llegar al siguiente paso Qué es sacar la cámara de aire del caucho para poder examinarla.
Cuándo sacan la cámara de aire del caucho es más fácil que pueda meter la mano entre el caucho Y tratar de sacar el objeto puntiagudo hay dentro del caucho que pueda lacerar la tripa Ya que en ocasiones puedes reparar la cámara de aire y si el objeto puntiagudo Sigue estando dentro del caucho entonces De nada servirá porque la tripa volverá a ser atravesada.
Después iremos a examinar la cámara de aire tenemos que colocarle la válvula de aire con sus tuercas para luego conectarle la bomba de aire y comenzar a llenar de aire la cámara cuando está esté llena de aire tenemos que tratar de escuchar Dónde tiene el hueco el caucho por donde el aire se escapa si no logramos encontrarlo allí Entonces tenemos que utilizar la segunda opción en una ponchera con agua y la cámara de aire llena tenemos que ir introduciendo donde estén saliendo burbujas en ese sitio donde tiene el hueco.
Después de esto tenemos que ir buscando con paciencia el hueco y al encontrarlo tenemos que marcarlo y con una lija rayar el sitio del hueco para cambiar la superficie del Isaac o rugosa que esté rayada para que se adhiera mejor y más fuerte la pega luego de haberlo hecho tenemos que colocar le pega justo en la superficie donde rayamos que tiene el hueco y también en el parque para que los dos creen secando aproximadamente 20 minutos.
Sabremos que la pega estará lista para juntarse el parche con la superficie cuando le vayamos a colocar el dedo a la pega y no se nos adhiera al dedo es allí cuando la pega está en el punto Exacto para pegar las dos superficies.
Después de pegar las superficies tenemos que presionar como 30 minutos con un objeto pesado la tripa para que se mantenga presionada después de este tiempo podemos Si queremos ir examinando qué otro hueco existe y así Probar con la ponchera de agua si el hueco fue sellado con éxito.
Sí este hueco fue sellado con éxito felicidades que ya esté un hueco de una cámara de aire es allí donde tenemos que meter otra vez está tripa dentro del caucho y luego con mucho cuidado de no atravesar la cámara de aire introducir luego las pestañas del caucho dentro del ring para que todo quedé en su sitio de nuevo, Recuerda que debes colocar la válvula de aire justo en el hueco del rin para que tengas como introducirle aire de nuevo. Con todo esto listo estaremos dispuestos ya para colocarle aire al caucho y comenzar a rodar con nuestra bicicleta...
Muchas gracias por todo su aporte amigo por todo lo que vieron y espero les guste.
| fuentes del contenido | |
|---|---|
| - Traducción del texto: | https://www.deepl.com |
| - Separador tomado de: | Aqui |
| - Foto y video: | Picsart pro. YouCut. Samsung Galaxy j6 plus. |
| - Fuentem autoría del contenido: | original propio |
| - Creación de gift: | https://www.canva.com. |
| - Intro del video realizada en canca: | Creación de gift: https://www.canva.com |
| - Musica del video Sin derecho de autor: | Aqui |
| Logo 1 | Diseño de https://studio.3espeak.tv |
| logo 2 | Diseño de https://hive.blog |
| Logo 3 | Diseño de Hive motors |


▶️ 3Speak
Show more
Tags :
Woo!
This creator can upvote comments using 3speak's stake today because they are a top performing creator!
Leave a quality comment relating to their content and you could receive an upvote
worth at least a dollar.
Their limit for today is $0!
Their limit for today is $0!
4 views
a year ago
$

4 views
11 months ago
$

5 views
a year ago
$

12 views
10 months ago
$

1 views
a year ago
$
More Videos

11 views
2 years ago
$

11 views
a year ago
$

10 views
2 years ago
$

10 views
2 months ago
$

29 views
a year ago
$

11 views
a year ago
$

8 views
a month ago
$

14 views
2 years ago
$

15 views
a year ago
$

6 views
a year ago
$

3 views
3 years ago
$

10 views
a year ago
$

14 views
a year ago
$

4 views
8 months ago
$

6 views
5 months ago
$

11 views
a week ago
$
18 views
8 months ago
$

17 views
a year ago
$

2 views
3 years ago
$

18 views
a month ago
$

5 views
6 months ago
$

19 views
a year ago
$
25 views
a year ago
$
Comments:
Reply:
To comment on this video please connect a HIVE account to your profile: Connect HIVE Account