brz200 motorcycle power change - Cambio de corriente de moto brz200
5
About :
| content sources | ||
|---|---|---|
| - Translation of the text: | https://www.deepl.com | |
| - Separator taken from: | Here | |
| - Photo and video: | Picsart pro. YouCut. Samsung Galaxy j6 plus. | |
| - Source and authorship of the content: | Own original: | |
| - Creation of gift: | https://www.canva.com. | |
| - Intro of the video made in canca: | Gift creation: https://www.canva.com | |
| - Music of the video without copyright: | Here | |
| Logo 1 | Design by https://studio.3espeak.tv | |
| Logo 2 | Design by https://hive.blog | |
| Logo 3 | Design by Hive motors |
English

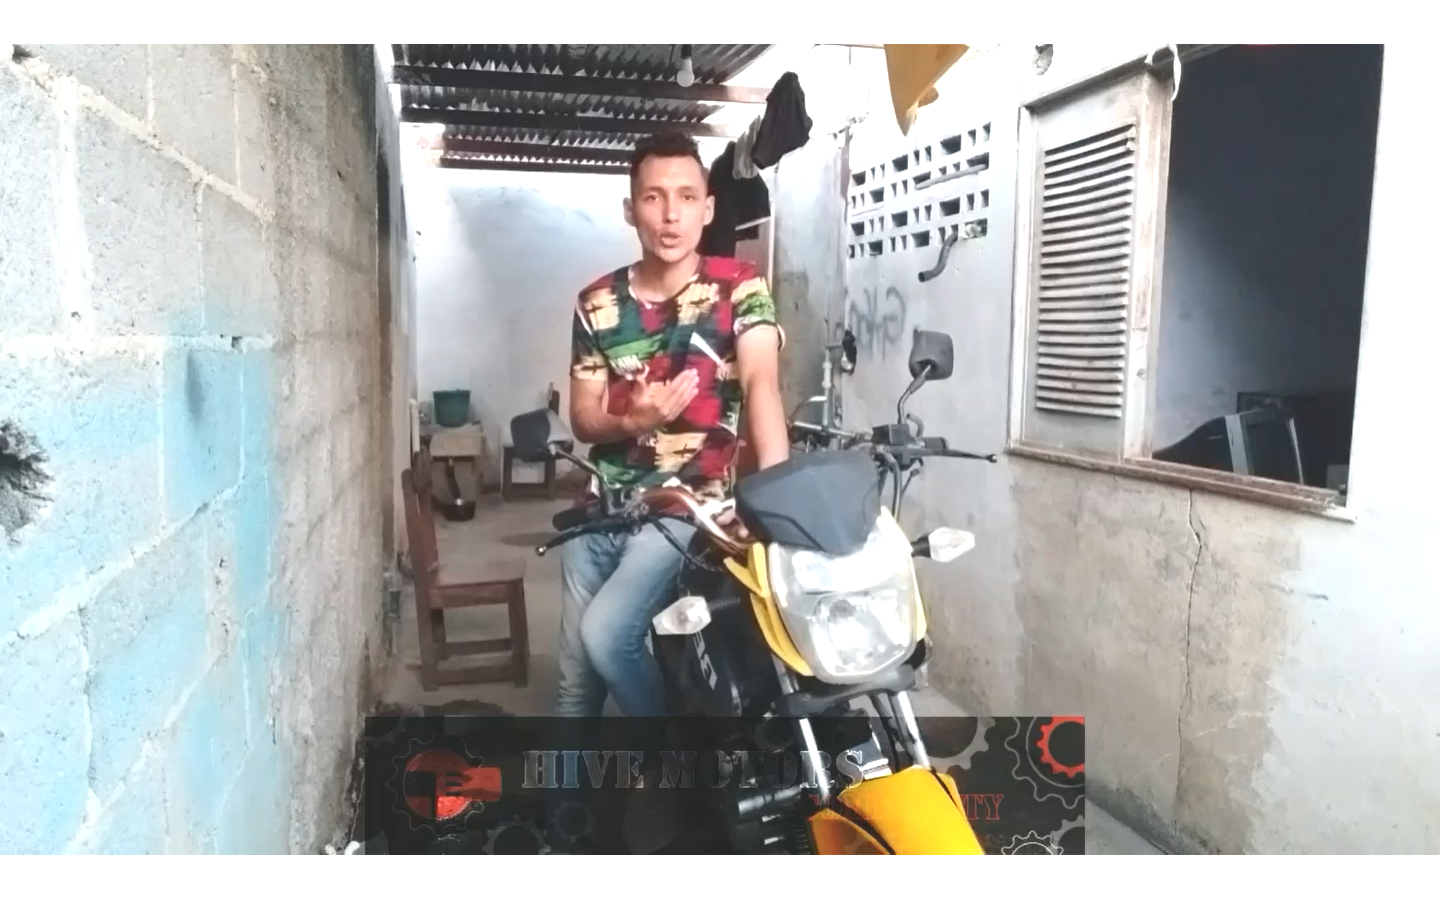
Hello good friends of Hive Motors how are you How have you been doing?
I hope you have been doing great I'm josuerr29.
In this opportunity I bring another content. I have always wanted to repair my bike by myself and I have loved to do it however on this occasion I could not do it myself with my own hands, as it required many technical languages spare parts that I did not understand to be able to repair it.
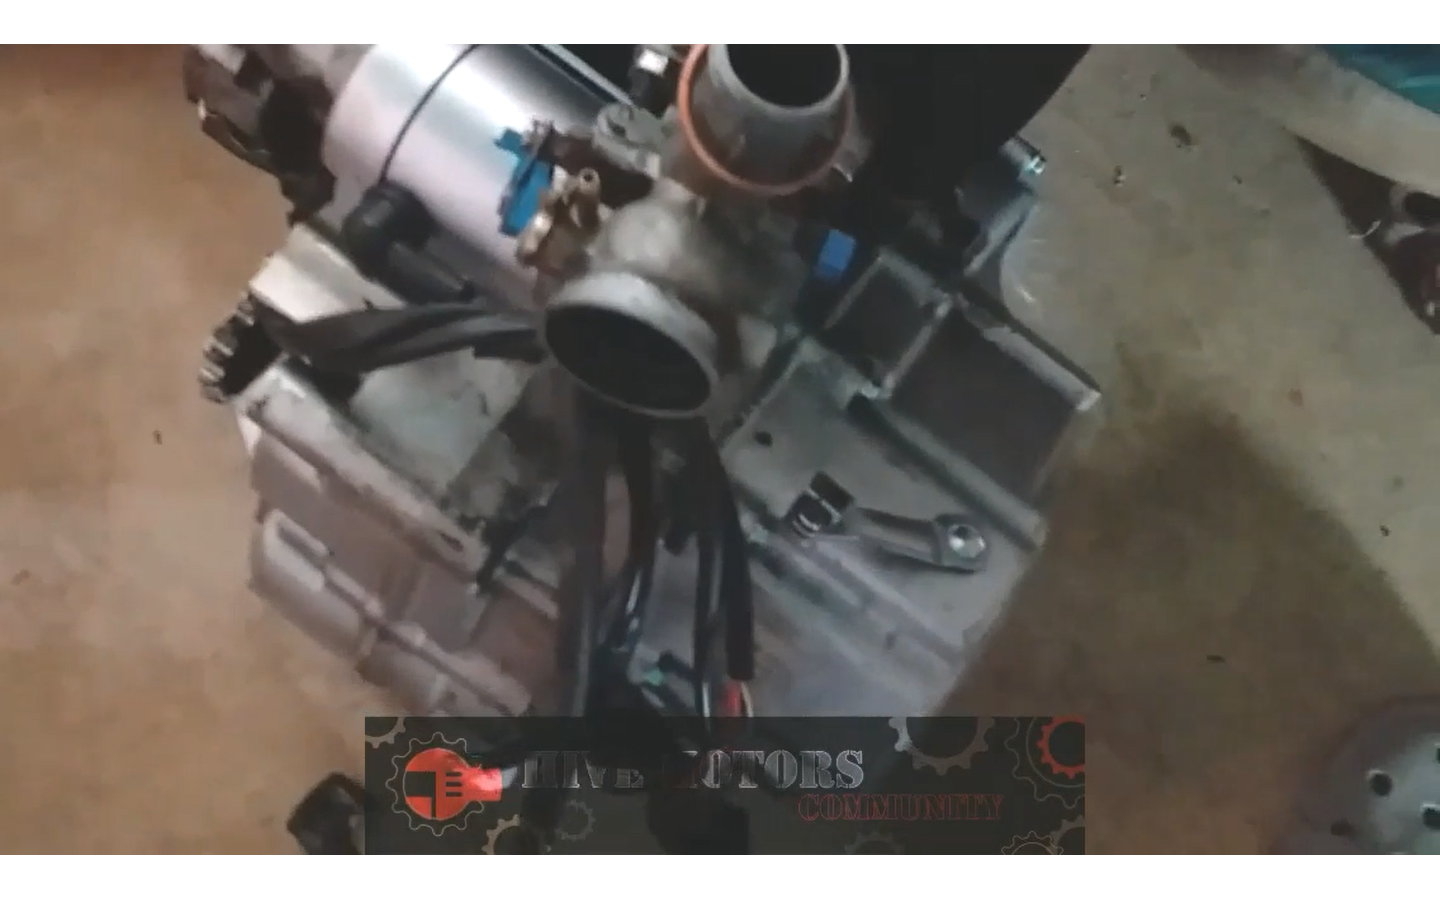
However that did not stop me I was present in half of the repair of the bike not all because I am doing an errand so I will only show you how the bike was repaired, its electrical part since the mechanic had done the engine, when I arrived the engine was already assembled and repaired and everything was working.
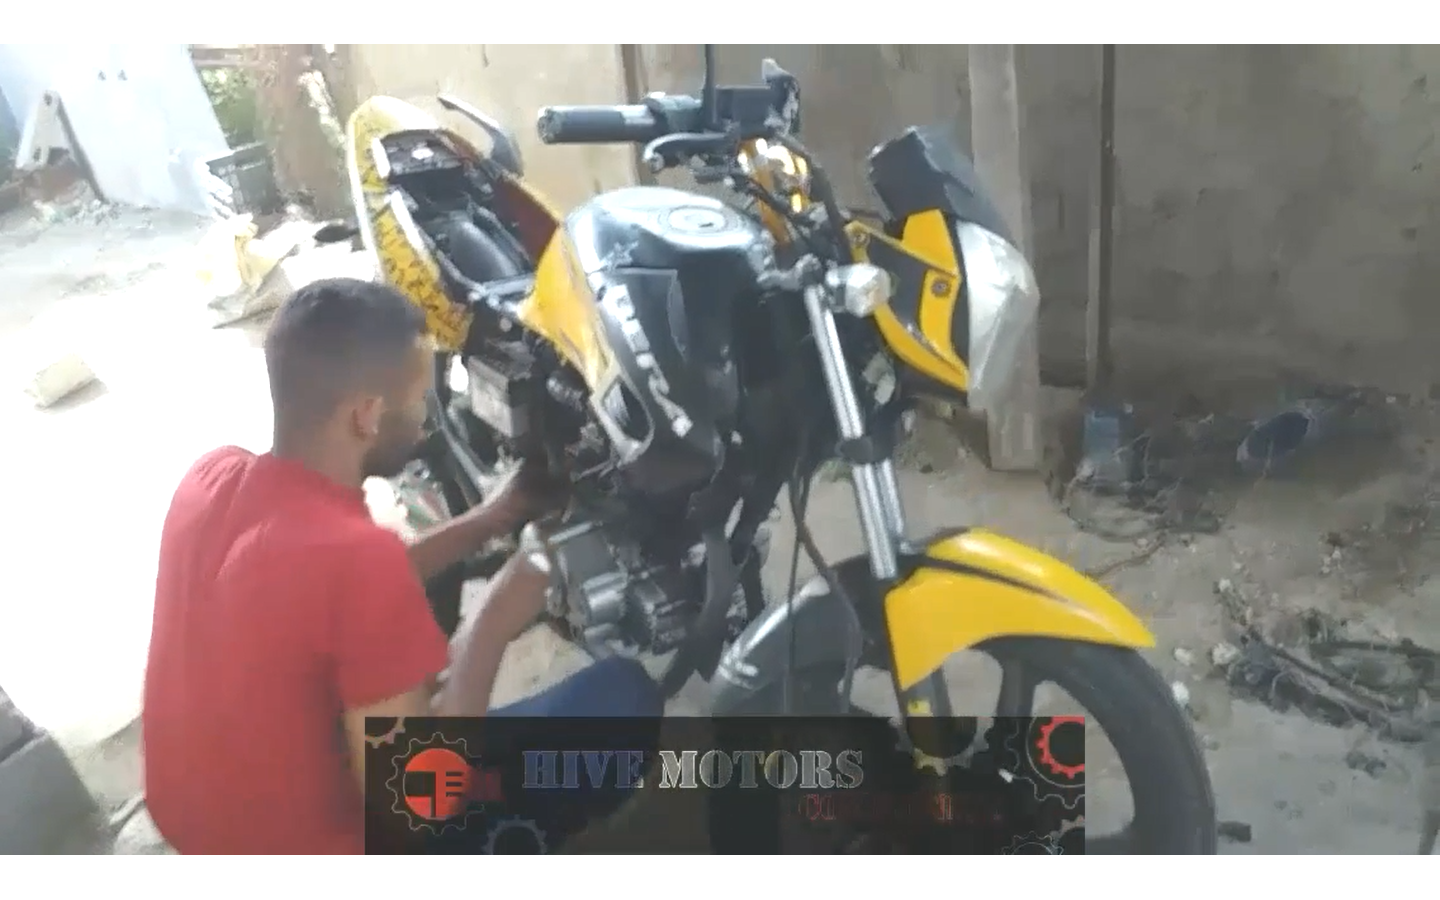
My bike is a very nice brz200 yellow almost new is 2013, so little spare parts are counted for it, however we did our best, we looked for what we have to look for, we bought the pickup coil, which is in the box, we bought the controls, we bought the branch, we bought the spoon that go inside the engine new, we had to do it so that the bike will be completely serviceable and good.
image.png](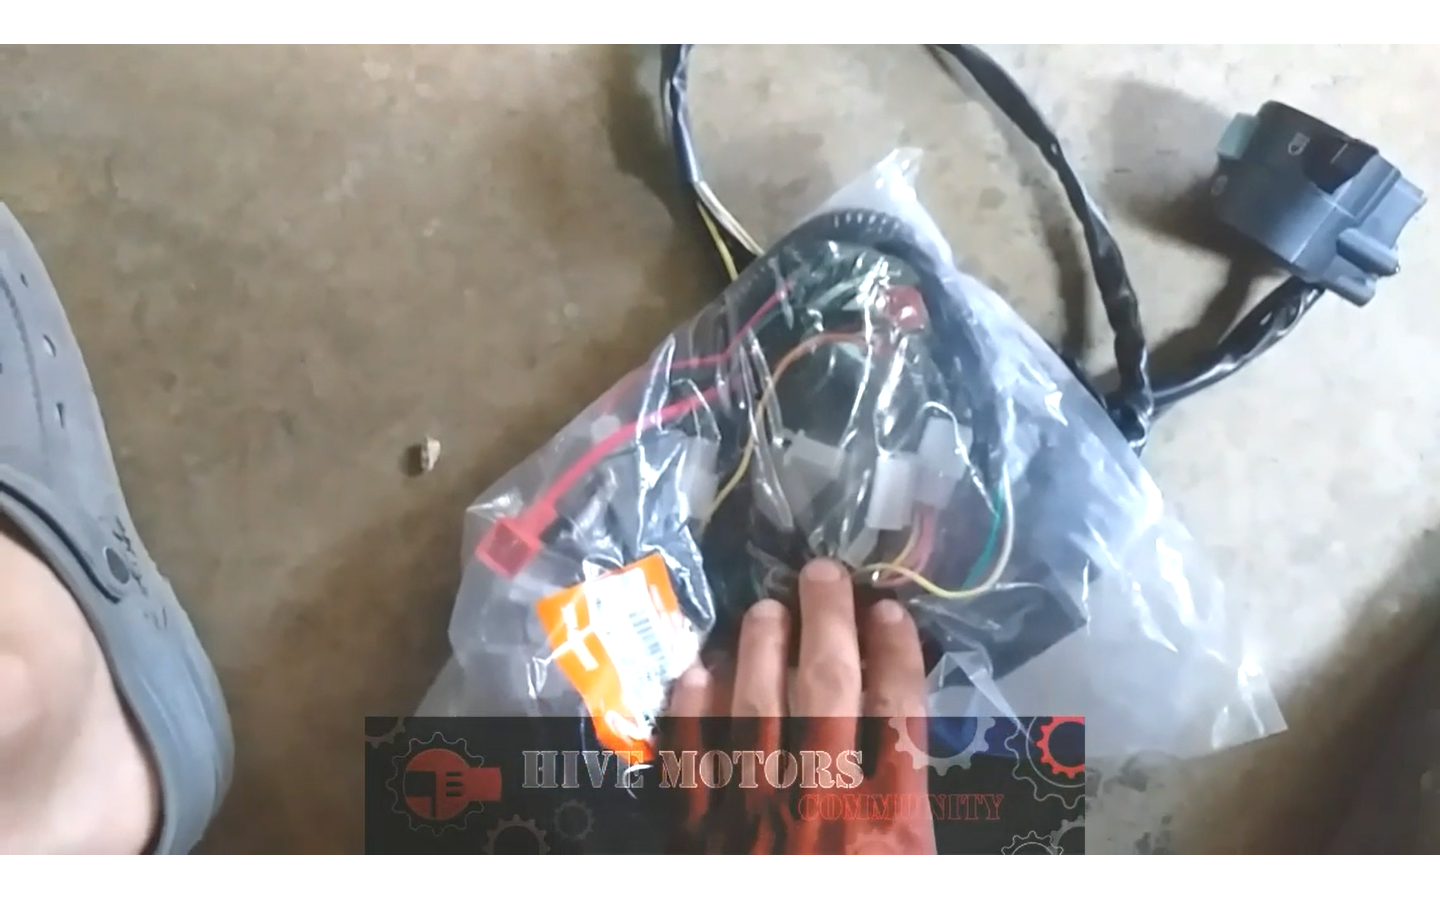 )
)
We bought the CDI and of the bike, we bought the automatic, we bought the ignition coil, we also bought some light bulbs and a series of things more that little by little I will show you in the video all this so that the bike will be absolutely without failure if it is necessary to accommodate it more.
When I had returned from the repair the mechanic had done was to assemble the motor but had not placed it, however he was already starting to assemble the current of the bike.
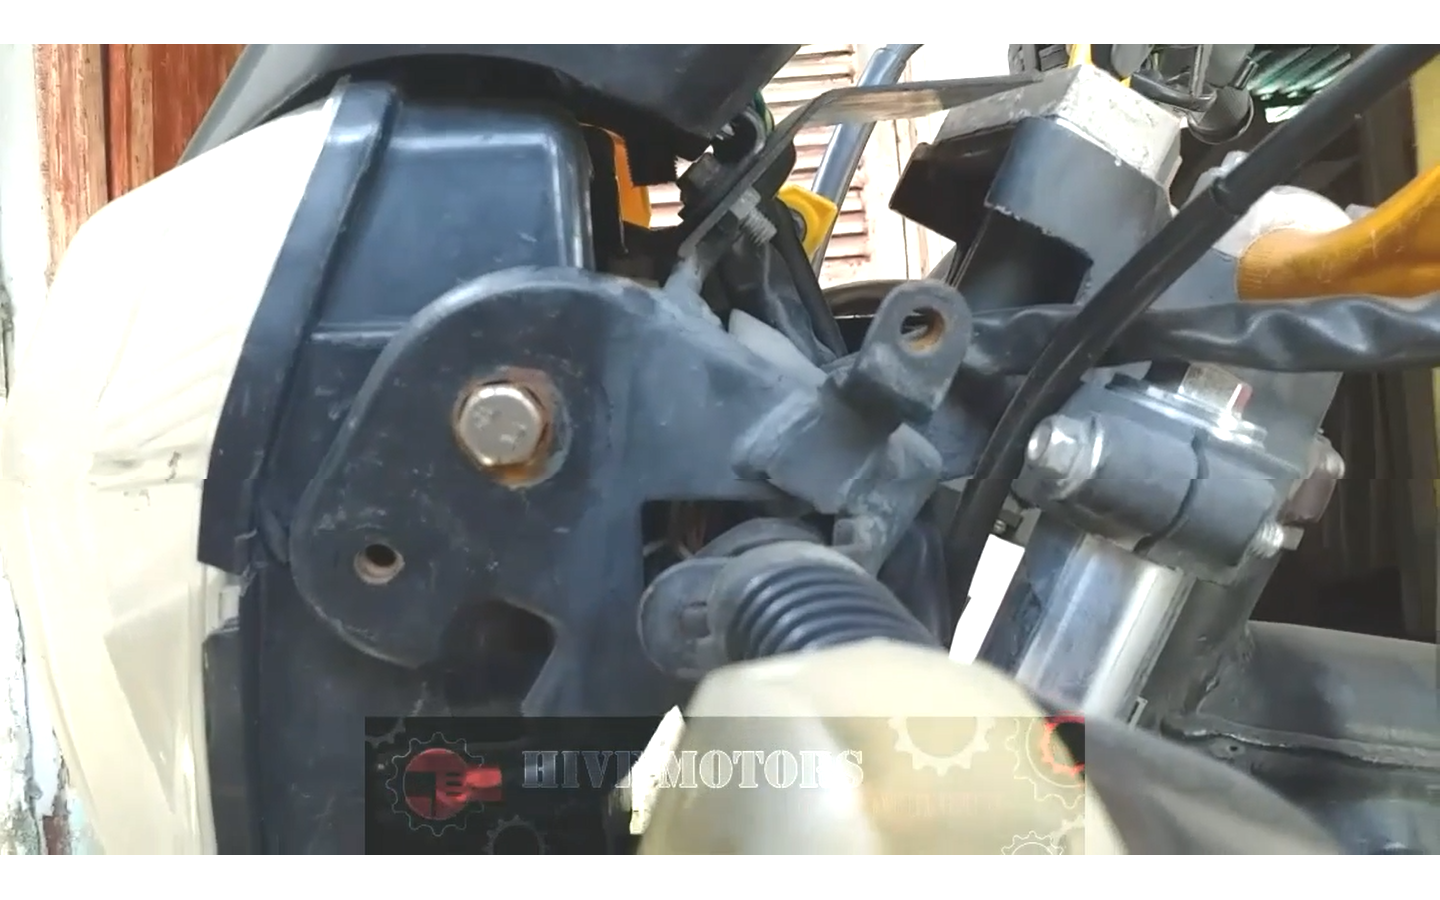

So the first thing he did was to remove the seat, then the tank, and then disassemble the headlight from the bike. All at once From there he started cutting wire he also started cutting the wires going to the tail lights, yes he just removed the whole branch line without making contact without testing anything, that whole branch line was terrible as if mud and sludge had fallen on it.
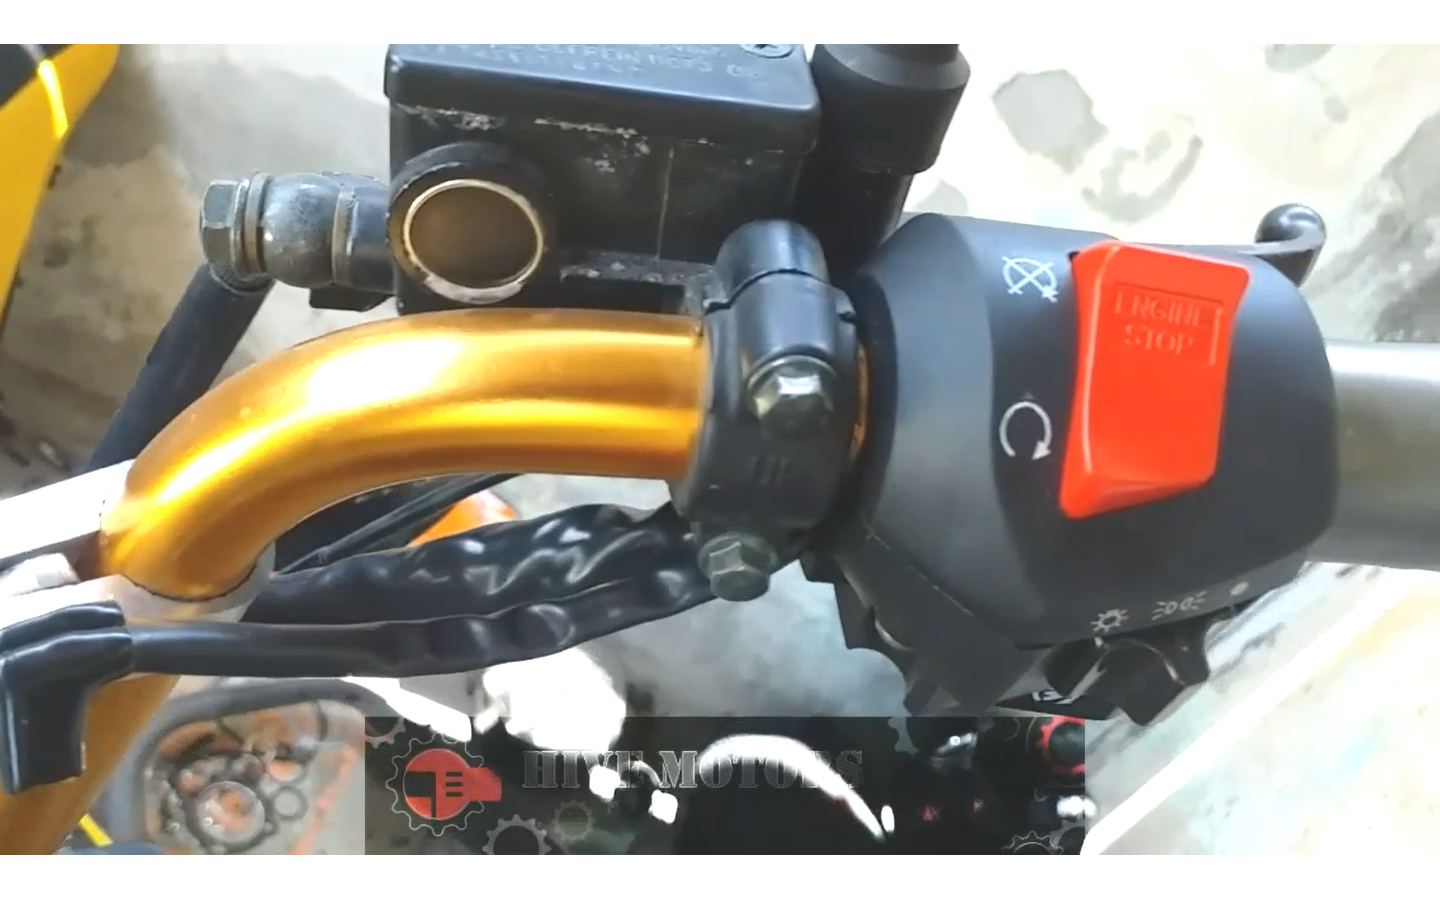
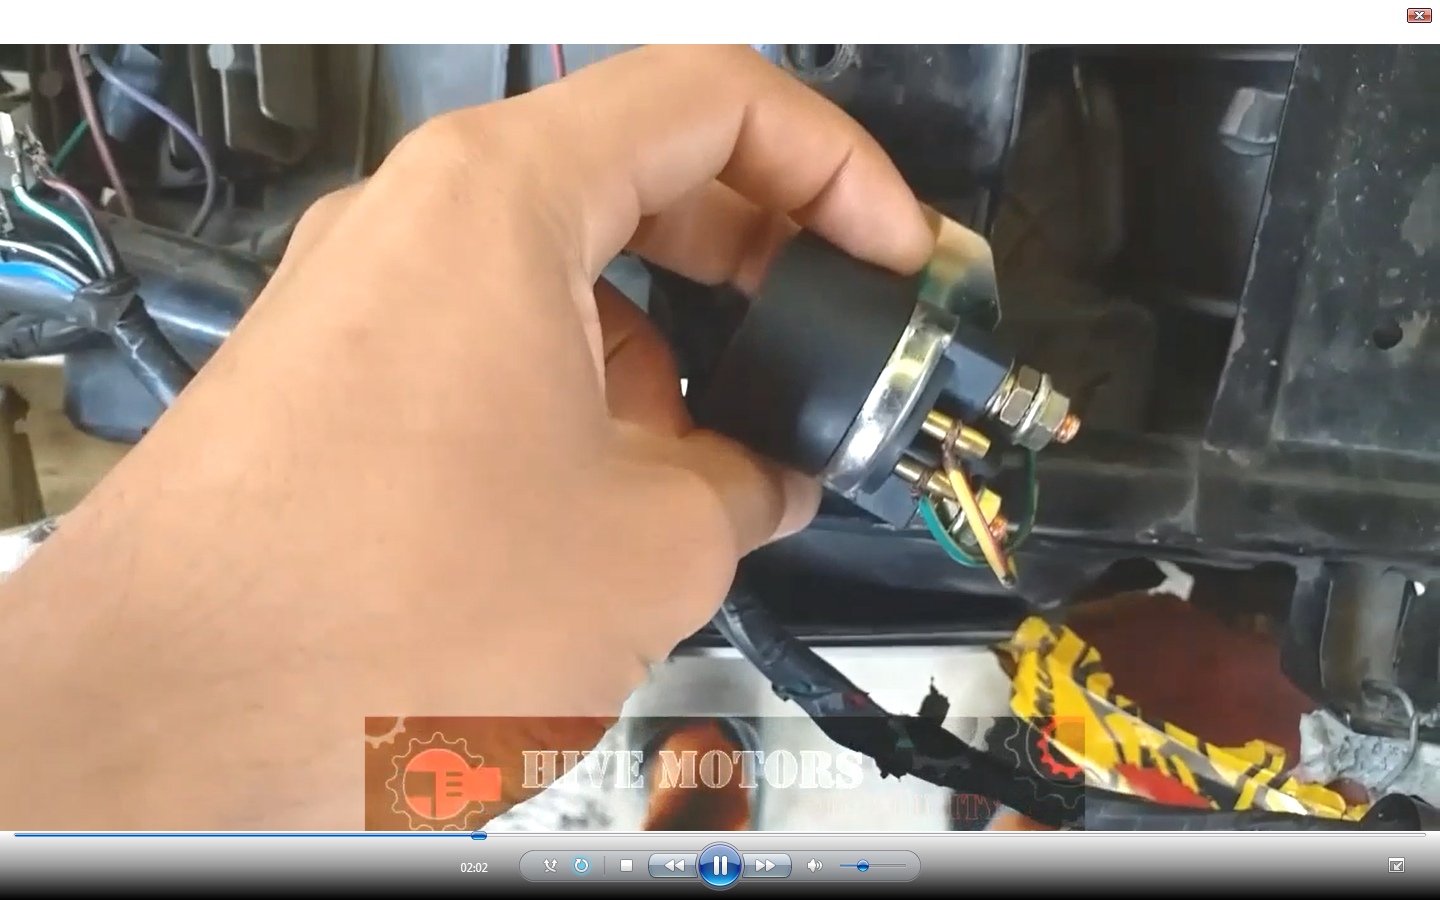
Then he started to place the controls and from the controls came out each wire, those wires he connected them to the branch just behind the headlight, he also started to connect each terminal all the solenoid, the automatic, the starter, without connecting the bulbs only the main parts. After having done this what he did was to begin to place each cable with its bulb, but everything was testing, everything was a connect cable and press button if it was the one that had to be connected, I think that was the longest process after this simply remained to assemble the bike and problem solved my bike is already repaired.
Thanks for watching the video
Español
Hola amigos Buenos de Hive Motors ¿cómo están Cómo les ha ido?
Espero que les haya ido muy bien Yo Soy josuerr29.
En esta oportunidad traigo otro contenido. Siempre he querido reparar mi moto yo solo y me ha encantado hacerlo sin embargo en esta ocasión no pude hacerlo yo con mis propias manos, ya que requería de muchos lenguajes técnicos repuestos que no entendida para poder repararla.
Sin embargo eso no me detuvo estuve presente en la mitad de la reparación de la moto no toda porque estoy haciendo una diligencia Así que solamente le voy a mostrar Cómo fue que la moto fue reparada, su parte eléctrica ya que el mecánico le había hecho el motor, cuando yo llegué ya simplemente el motor estaba armado reparado y todo funcionando.
Mi moto es una brz200 muy bonita amarilla casi nueva es 2013, Así que poco se cuentas repuestos para ella, sin embargo Hicimos lo posible, buscamos lo que tenemos que buscar, compramos la bobina de captación, que está en la caja, compramos los mandos, compramos el ramal, compramos La cuchara que van dentro del motor nuevas, tuvimos que hacerlo para que la moto quedará completamente servible y buena.
Compramos el CDI y de la moto, compramos el automático, compramos la bobina de ignición, también compramos unos bombillos y una serie de cosas más que poco a poco les iré mostrando en el vídeo todo esto para que la moto quedará absolutamente sin falla si hay que acomodarla más.
Cuándo había regresado de a la reparación el mecánico lo que había hecho era armar el motor mas no lo había colocado, si embargo ya estaba comenzando armar la corriente de la moto.
Así que lo primero que hizo fue sacar el asiento, luego el tanque, y luego desarmar El Faro de la moto. De una vez Desde allí comenzó a cortar cable también comenzó a cortar los cables que iban hacia las luces traseras, sí que simplemente quitó todo el ramal sin hacer contacto sin probar nada, todo ese ramal estaba terrible como si le hubiera caído barro y lodo encima.
Después comenzó a colocar los mandos y de los mandos salía cada cable, esos cables los a conectando al ramal justo detrás del faro, también comenzó a conectar cada terminal todo el solenoide, el automático, el arranque, sin conectar los bombillos solamente las piezas principales. Después de haber hecho esto lo que hizo fue comenzar a colocar cada cable con sus bombillo, pero todo iba probando, todo era un conectar cable y presionar botón si era el que tenía que estar conectado, creo que ese fue el proceso más largo luego de esto simplemente quedó armar la moto y problema solucionado mi moto ya está reparada.
Gracias por ver el vídeo
| fuentes del contenido | |
|---|---|
| - Traducción del texto: | https://www.deepl.com |
| - Separador tomado de: | Aqui |
| - Foto y video: | Picsart pro. YouCut. Samsung Galaxy j6 plus. |
| - Fuentem autoría del contenido: | original propio |
| - Creación de gift: | https://www.canva.com. |
| - Intro del video realizada en canca: | Creación de gift: https://www.canva.com |
| - Musica del video Sin derecho de autor: | Aqui |
| Logo 1 | Diseño de https://studio.3espeak.tv |
| logo 2 | Diseño de https://hive.blog |
| Logo 3 | Diseño de Hive motors |


Show more
Tags :
Woo!
This creator can upvote comments using 3speak's stake today because they are a top performing creator!
Leave a quality comment relating to their content and you could receive an upvote
worth at least a dollar.
Their limit for today is $0!
Their limit for today is $0!

3 views
a year ago
$
2 views
a year ago
$
2 views
a year ago
$

6 views
a year ago
$
8 views
a year ago
$
More Videos

4 views
2 years ago
$
3 views
a year ago
$

3 views
2 years ago
$
10 views
a year ago
$

3 views
2 years ago
$

18 views
a year ago
$

6 views
a year ago
$

13 views
a year ago
$
2 views
3 years ago
$

6 views
4 years ago
$
8 views
10 months ago
$
1 views
4 years ago
$

4 views
3 months ago
$

6 views
8 months ago
$

5 views
8 months ago
$
6 views
a year ago
$

Primera división de Venezuela | Triunfo con contundencia del Monagas SC sobre Academia Puerto Cabell
13 views
2 years ago
$
29 views
a month ago
$

2 views
3 years ago
$
15 views
2 years ago
$

24 views
a year ago
$
7 views
a year ago
$

11 views
3 years ago
$
Comments:
Reply:
To comment on this video please connect a HIVE account to your profile: Connect HIVE Account