Motorola e7 Plus charging pin repair tutorial / Tutorial reparacion pin de carga Motorola e7 Plus
6
About :

| content sources | |
|---|---|
| - Translation of the text: | https://www.deepl.com |
| - Separator taken from: | Here |
| - Photo and video: | Picsart pro. YouCut. Samsung Galaxy j6 plus. |
| - Source and authorship of content: | @josuerr29 |
| - Creation of gift: | https://www.canva.com. |
| - Video intro by @josuerr29 | app YouCut. |
| - Music of the video Without copyright: | soundcloud |
| Logo 1 | Design by https://studio.3espeak.tv |
| Logo 2 | Design by https://hive.blog |
| Logo 3 | Design of the geek zone meal |
| Equipment used to record the video | Motorola e7 Plus |
| Samsung j6 + | Recording equipment |
| Setup for recording | Tripod for can-i820 |
English
Hi my geek zone friends, how are you? How are you doing?
I hope you are too.
I'm josuerr29 and this is another video about repairing a telephone equipment.
Previously I did the disassembly of a Motorola e7 Plus. This took several implements and a very long and delicate procedure, however I did it and I let him bring it to you.
I brought it to this workshop because the customer told me that the charging pin was difficult to charge so I proceeded to perform the respective disassembly and then the respective analysis. I will leave the video of how to disassemble it here
The analysis was very simple, I investigated the voltage passing through the charge pin and entering the board, the voltage was normal but only sometimes when I moved the charge pin the voltage was cut and stopped passing but I moved it a little and I returned to pass voltage.
Another time I also investigated to see if there was short on the main board or short on the charging board, everything was fine, the only thing that was failing was that charging pin that charged intermittently.
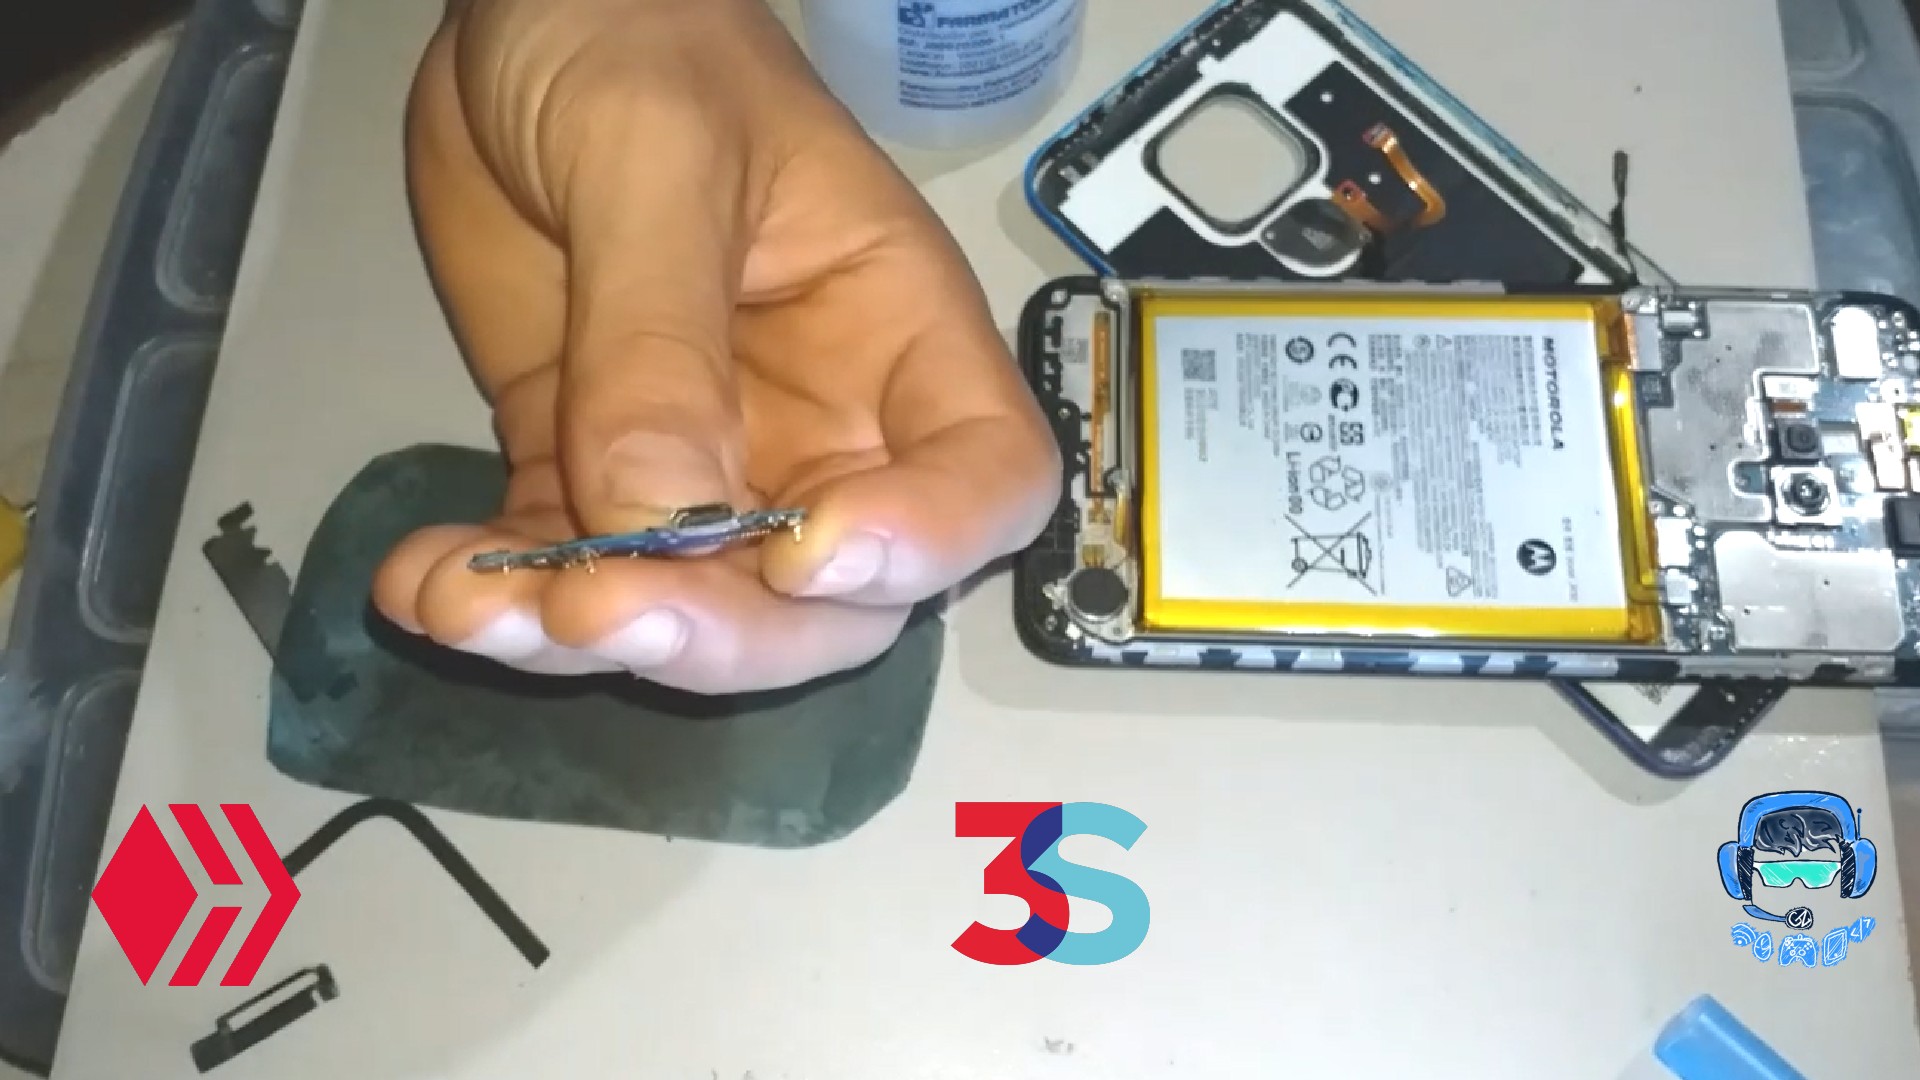
I proceeded to make the investigation of the state of the charging pin, only visual investigation the charging pin looked in perfect condition had absolutely nothing loose or anything damaged, only with visual inspection determined that it was very hard and was very well soldered.
But it had that failure then what I proceeded to do was something very easy, the first thing I did was to heat it with the heat station to 500 degrees, and air to 6 I placed it for about 3 minutes stuck on the charge pin so that what was poorly soldered that was not in my sight desoldered it because sometimes this happens from my sight, internal failures are hidden.
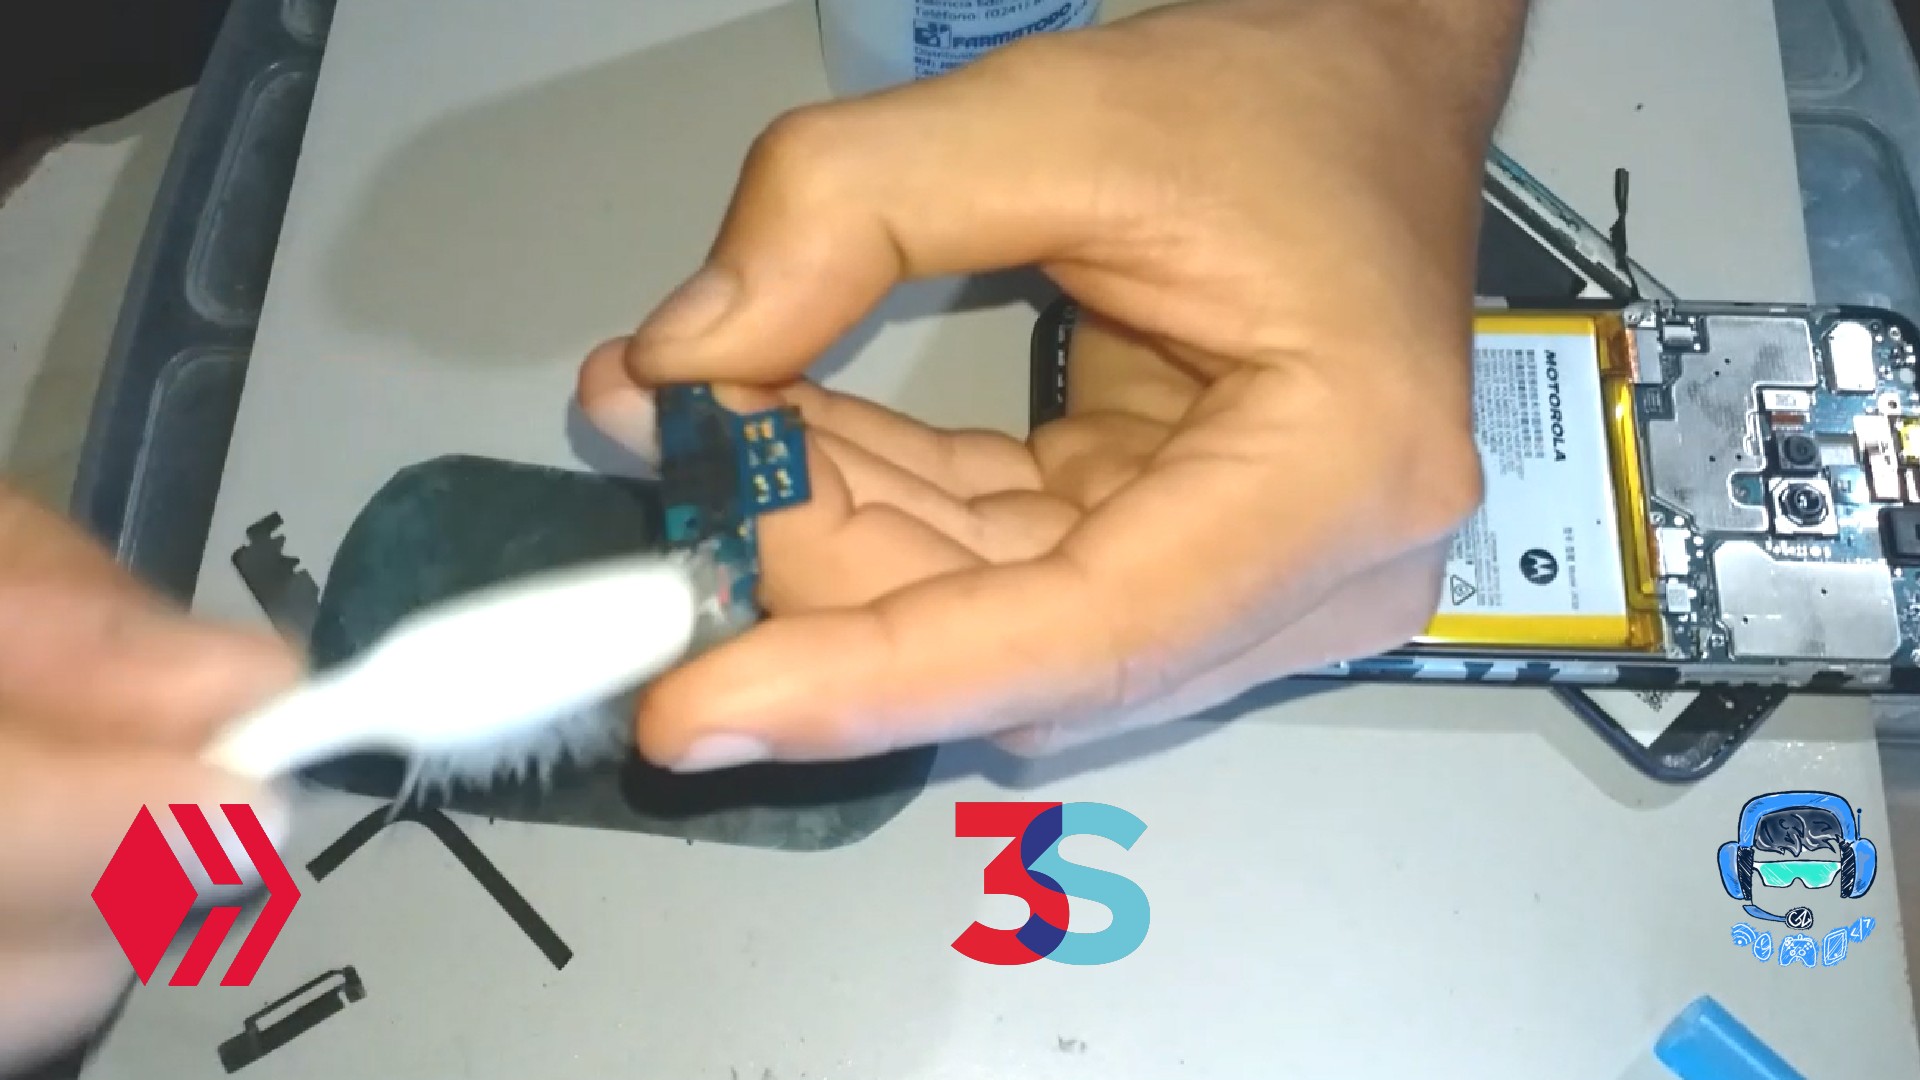
Then after performing this steaming of the charge pin with the technical name of refluxs (so it is called) was performed and then I proceeded with a brush or you can also use a fine brush that you must introduce in the charge pin smeared with alcohol.

In addition to this you must also with a very fine iron tip or a tweezers introduce it to the charging pin, this ara that all the dirt that is inside after having bathed enough with alcohol out of the charging pin much easier.
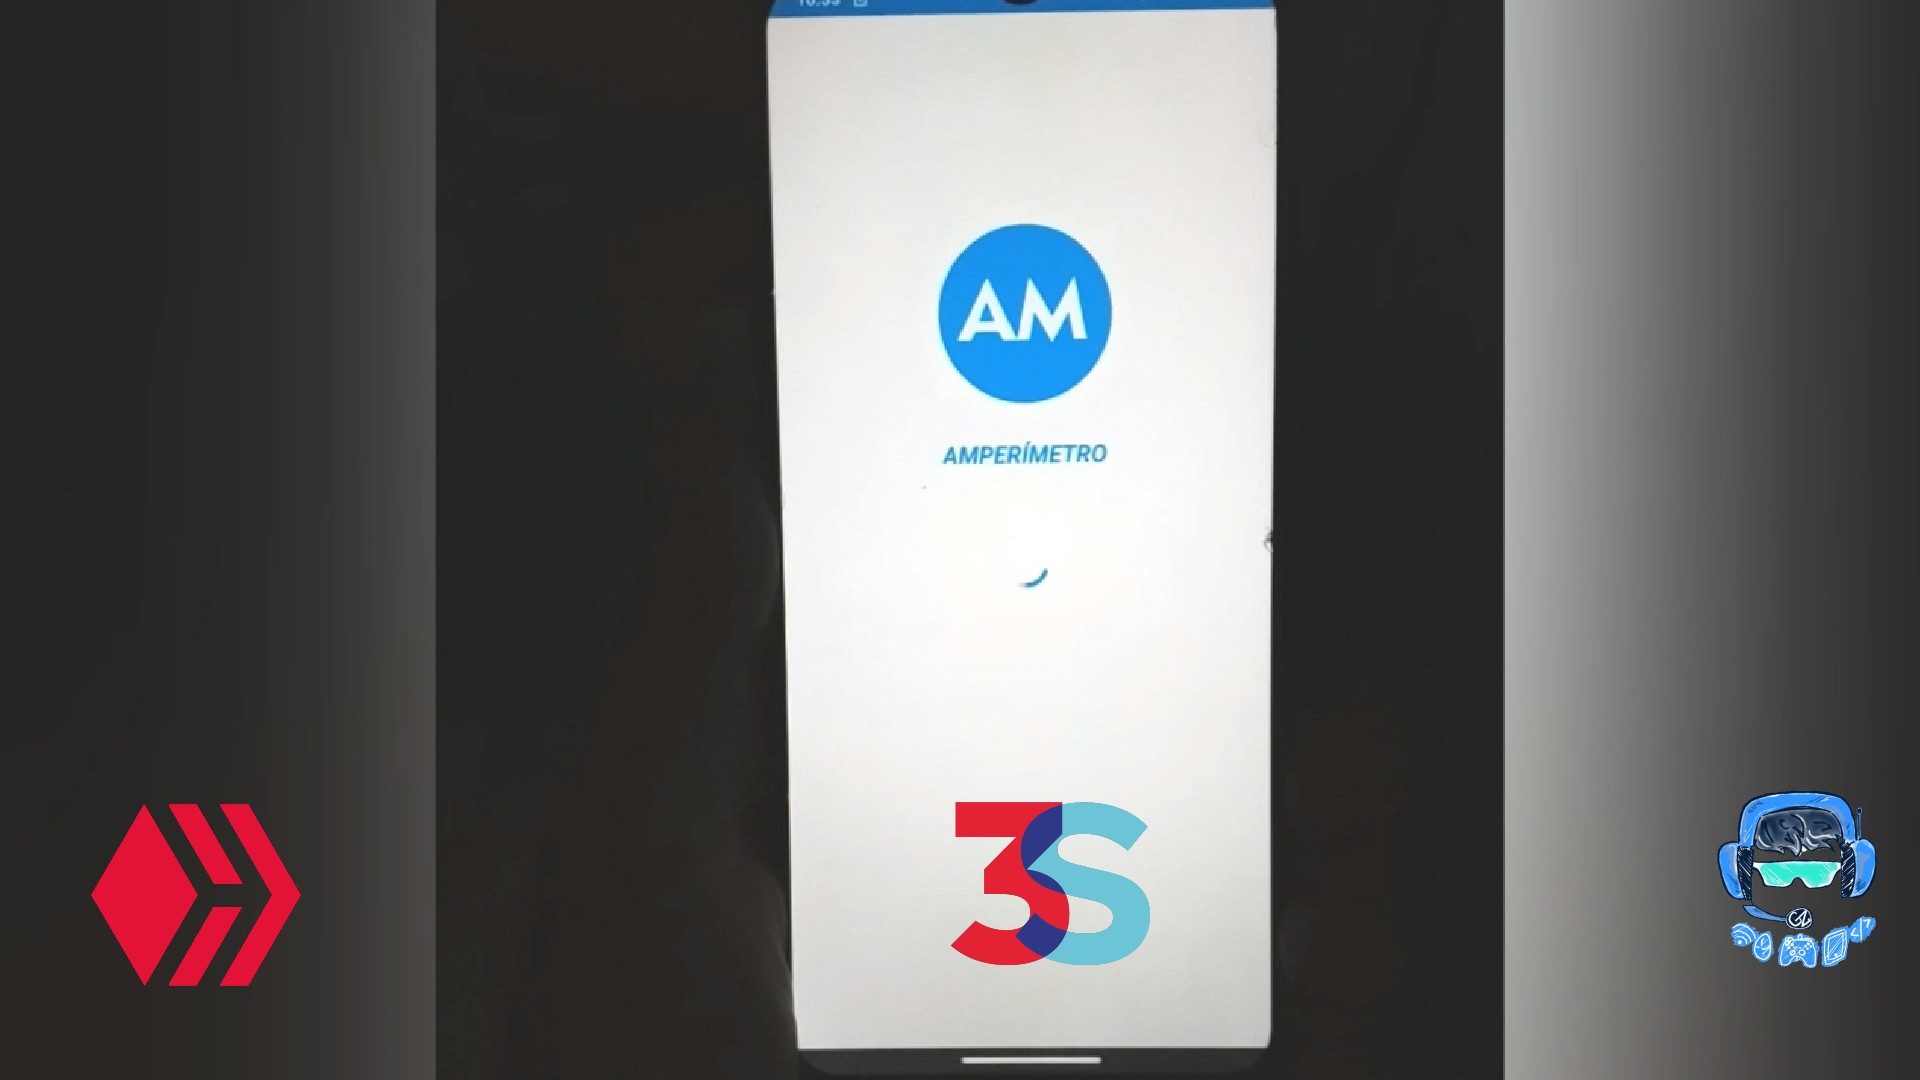
After this I proceed to download an application to the equipment that was the one I used to perform the diagnosis of whether it is good or bad.
The application told me that it was continuously passing 600 700 and 800 mini amps for charging means to me that if it was charging well, because when I used the application at first I marked less (-) meant that instead of having a positive charge, it was consuming a and discharged the phone much faster.
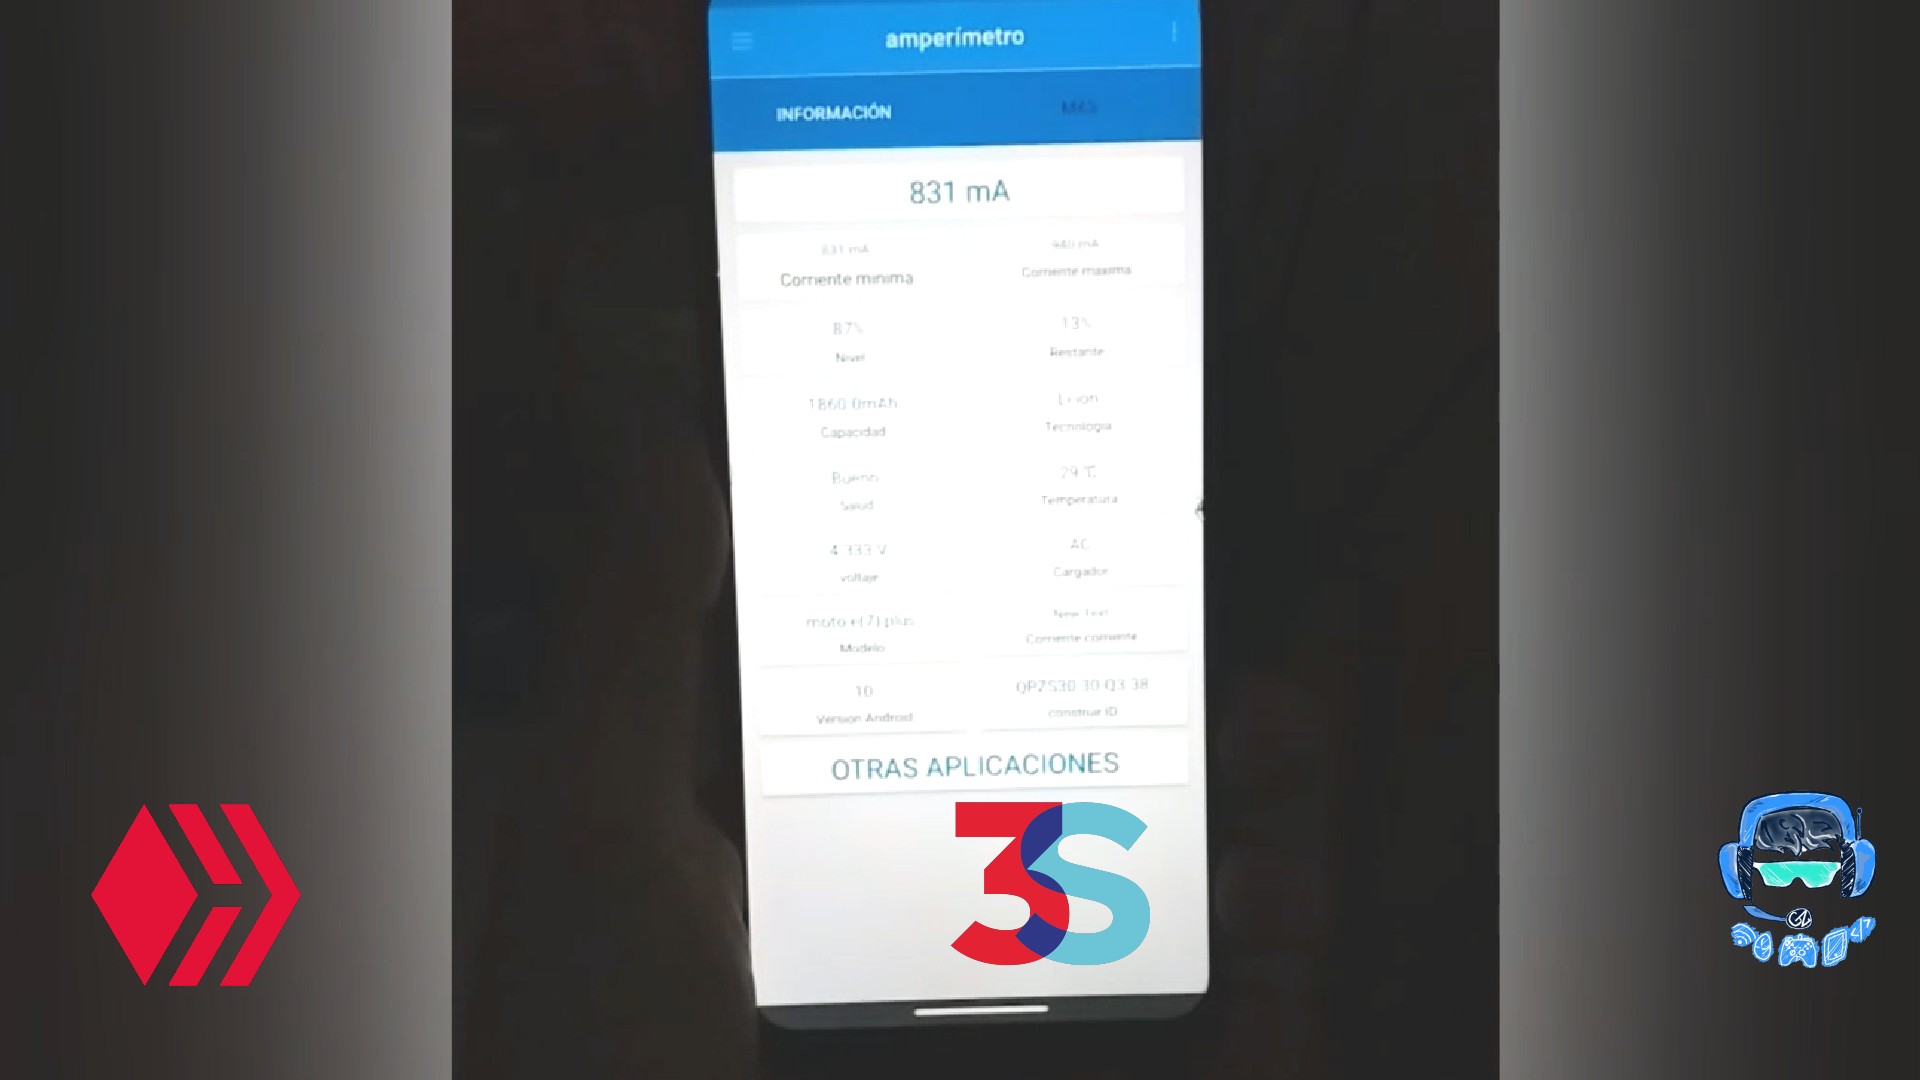
But now simply with this reflash and the cleaning that was done to it the charging pin is working correctly and not intermittently Thanks for commenting.
Español
Hola amigos míos de geek zone ¿cómo están Cómo les va? estoy muy bien.
Espero que ustedes también.
Yo soy josuerr29 y Este es otro vídeo acerca de la reparación la un equipo telefónico.
Con anterioridad realice el desensamble de un Motorola e7 Plus. Esto llevaba varios implementaos y un procedimiento bien largo y delicado, sin embargo lo logré y además lo dejé traérselos.
Lo traje a este taller porque el cliente me dijo que el pin de carga estaba dificultoso para cargar entonces procedí a realizar el respectivo desensamble Y luego el respectivo análisis. Dejare el vídeo de como desarmarlo aqui
El análisis fue muy simple, investigue el voltaje qué pasa por el pin de carga y que entraba hacia la placa, el voltaje era normal pero solo a veces de que cuando movía el pin de carga se cortaba el voltaje y dejaba de pasar pero volvía a moverlo un poco y volví a pasar voltaje.
En otra oportunidad me puse investigar también a ver si había corto en la placa principal o corto en la placa de carga, todo estaba bien Lo único que estaba fallando Era ese pin de carga que cargaba de manera intermitente.
Procedí ha hacerle la investigación del Estado del pin de carga, solamente investigación visual el pin de carga se veía en perfectas condiciones no tenía absolutamente nada flojo ni nada dañado, solamente con inspección visual determine que estaba muy duro y estaba muy bien soldado.
Pero tenía esa falla entonces lo que procedí a realizar fue algo muy fácil, lo primero que hice fue calentarlo con la estación de calor a 500 grados, y aire a 6 lo coloqué como por 3 minutos pegado en el pin de carga para que lo que estuviera mal soldado que no estuviera a mi vista lo desoldara ya que a veces pasa esto de mi vista, se esconden fallas internas.
Entonces después de realizar este vaporizado del pin de carga con el nombre técnico de refluxs (así se le llama) se le Realizó y luego procedí con un cepillo o también puedes utilizar un pincel fino que debes introducir en el pin de carga untado con alcohol.
Adicionalmente a esto debes también con una punta muy fina de hierro o una pinza introducirla al pin de carga, esto ara que toda la suciedad que esté adentro luego de haber bañado bastante con alcohol salga del El pin de carga mucho mas fácil.
Luego de esto procedo a descargar una aplicación al equipo que fue la que utilice para realizar el diagnóstico de si está bien o está mal.
La aplicación me decía que estaba pasando continuamente 600 700 y 800 mini amperios para la carga me quiere decir que si estaba cargando bien, ya que cuando yo utilizaba la aplicación al principio me marcaba menos (-) quería decir que en vez de haber una carga positiva, estaba consumiendo a y descargado el teléfono mucho más rápido.
Pero ahora simplemente con este reflujo y la limpieza que se le realizó el pin de carga está funcionando correctamente y no de manera intermitente Gracias por comentarlo.
| fuentes del contenido | |
|---|---|
| - Traducción del texto: | https://www.deepl.com |
| - Separador tomado de: | Aqui |
| - Foto y video: | Picsart pro. YouCut. Samsung Galaxy j6 plus. |
| - Fuentem autoría del contenido: | @josuerr29 |
| - Creación de gift: | https://www.canva.com. |
| - Intro del video realizada por @josuerr29: | app YouCut. |
| - Musica del video Sin derecho de autor: | soundcloud |
| Logo 1 | Diseño de https://studio.3espeak.tv |
| logo 2 | Diseño de https://hive.blog |
| Logo 3 | Diseño de la cominida de geek zone |
| Equipo usado para grabar el vídeo | Motorola e7 Plus |
| Equipo de grabacion | Samsung j6 + |
| Setup de grabacion | Tripode para camaras can-i820 |


Show more
Tags :
Woo!
This creator can upvote comments using 3speak's stake today because they are a top performing creator!
Leave a quality comment relating to their content and you could receive an upvote
worth at least a dollar.
Their limit for today is $0!
Their limit for today is $0!
5 views
a year ago
$

9 views
a year ago
$

7 views
a year ago
$

5 views
a year ago
$

4 views
a year ago
$
More Videos

18 views
a year ago
$

14 views
a month ago
$

25 views
9 months ago
$

21 views
2 years ago
$

4 views
2 years ago
$

9 views
a year ago
$

6 views
10 months ago
$

6 views
2 years ago
$

14 views
9 months ago
$

33 views
11 months ago
$

12 views
9 months ago
$

6 views
a year ago
$

10 views
7 months ago
$

3 views
2 years ago
$

7 views
2 years ago
$

22 views
10 months ago
$

6 views
a month ago
$

41 views
5 months ago
$

8 views
2 years ago
$

18 views
a year ago
$

16 views
11 months ago
$

19 views
a year ago
$

17 views
3 weeks ago
$
Comments:
Reply:
To comment on this video please connect a HIVE account to your profile: Connect HIVE Account