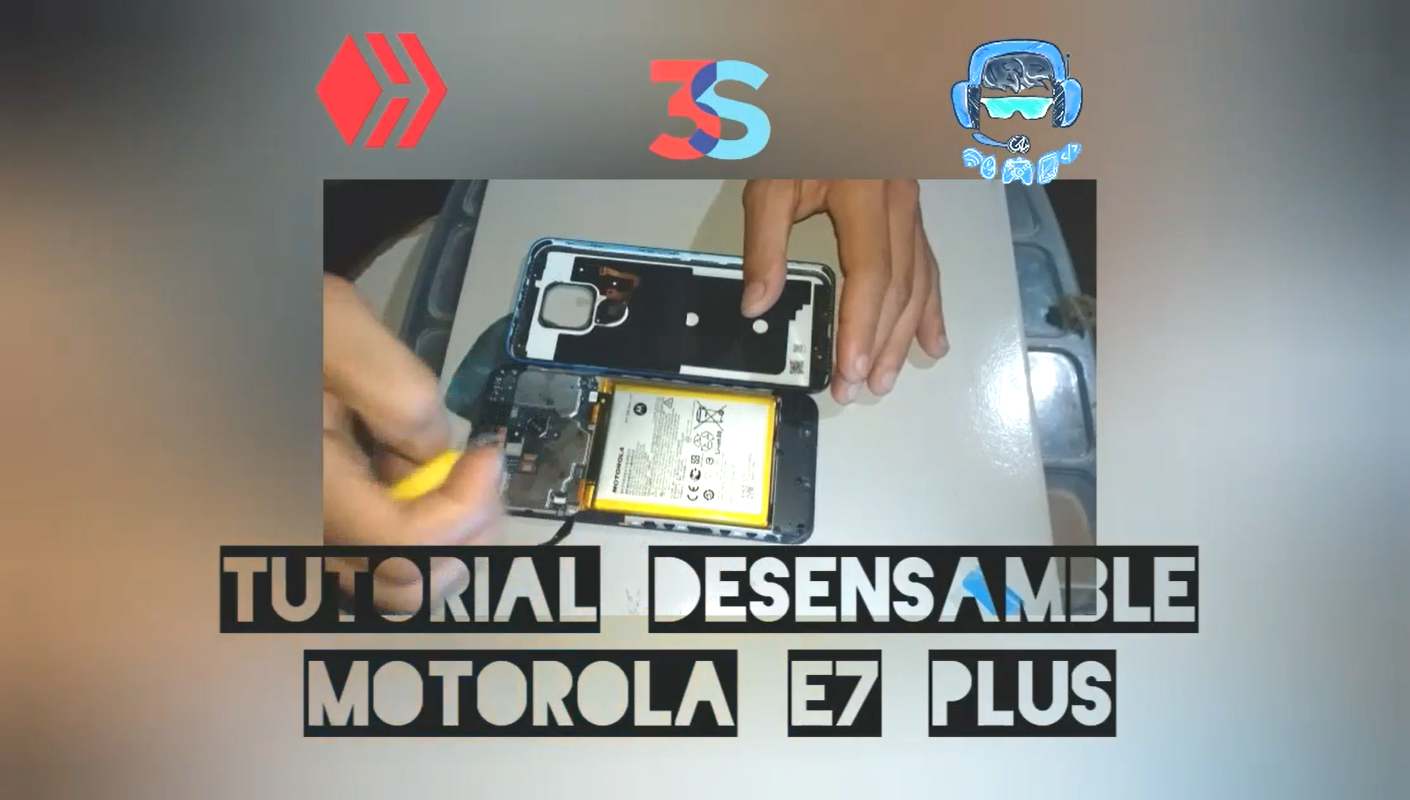
Motorola e7 Plus Disassembly Tutorial / Tutorial desensamble Motorola e7 Plus - [En-Es]
13
About :
| content sources | |
|---|---|
| - Translation of the text: | https://www.deepl.com |
| - Separator taken from: | Here |
| - Photo and video: | Picsart pro. YouCut. Samsung Galaxy j6 plus. |
| - Source and authorship of content: | @josuerr29 |
| - Creation of gift: | https://www.canva.com. |
| - Video intro by @josuerr29 | app YouCut. |
| - Music of the video Without copyright: | soundcloud |
| Logo 1 | Design by https://studio.3espeak.tv |
| Logo 2 | Design by https://hive.blog |
| Logo 3 | Design of the geek zone meal |
| Equipment used to record the video | Motorola e7 Plus |
| Recording equipment | Samsung j6 + |
| Setup for recording | Tripod for can-i820 |
Ingles
Hello dear family Howdy Here I show you a disassembly of a device. This is the Motorola e7 Plus.
On other occasions I have brought me these motorola so I know how to disassemble them, however this is the first time I disassemble this equipment and I bring it to you so you know how to disassemble it.
This equipment came to my workshop for the following fault, and is that it showed that it was charging but it was simply discharging the battery and it seemed that when I connected it discharges faster, it was a little difficult fault and could be the charging pin or many other things.
The customer told me that he wanted it fast so I had to check the super fast, and now I show you the disassembly of the equipment.
To do it all I used were two pieces of x-ray plate spatulas, and a slotted screwdriver that's what I'm going to show you guys and I'll start with the disassembly.
Process
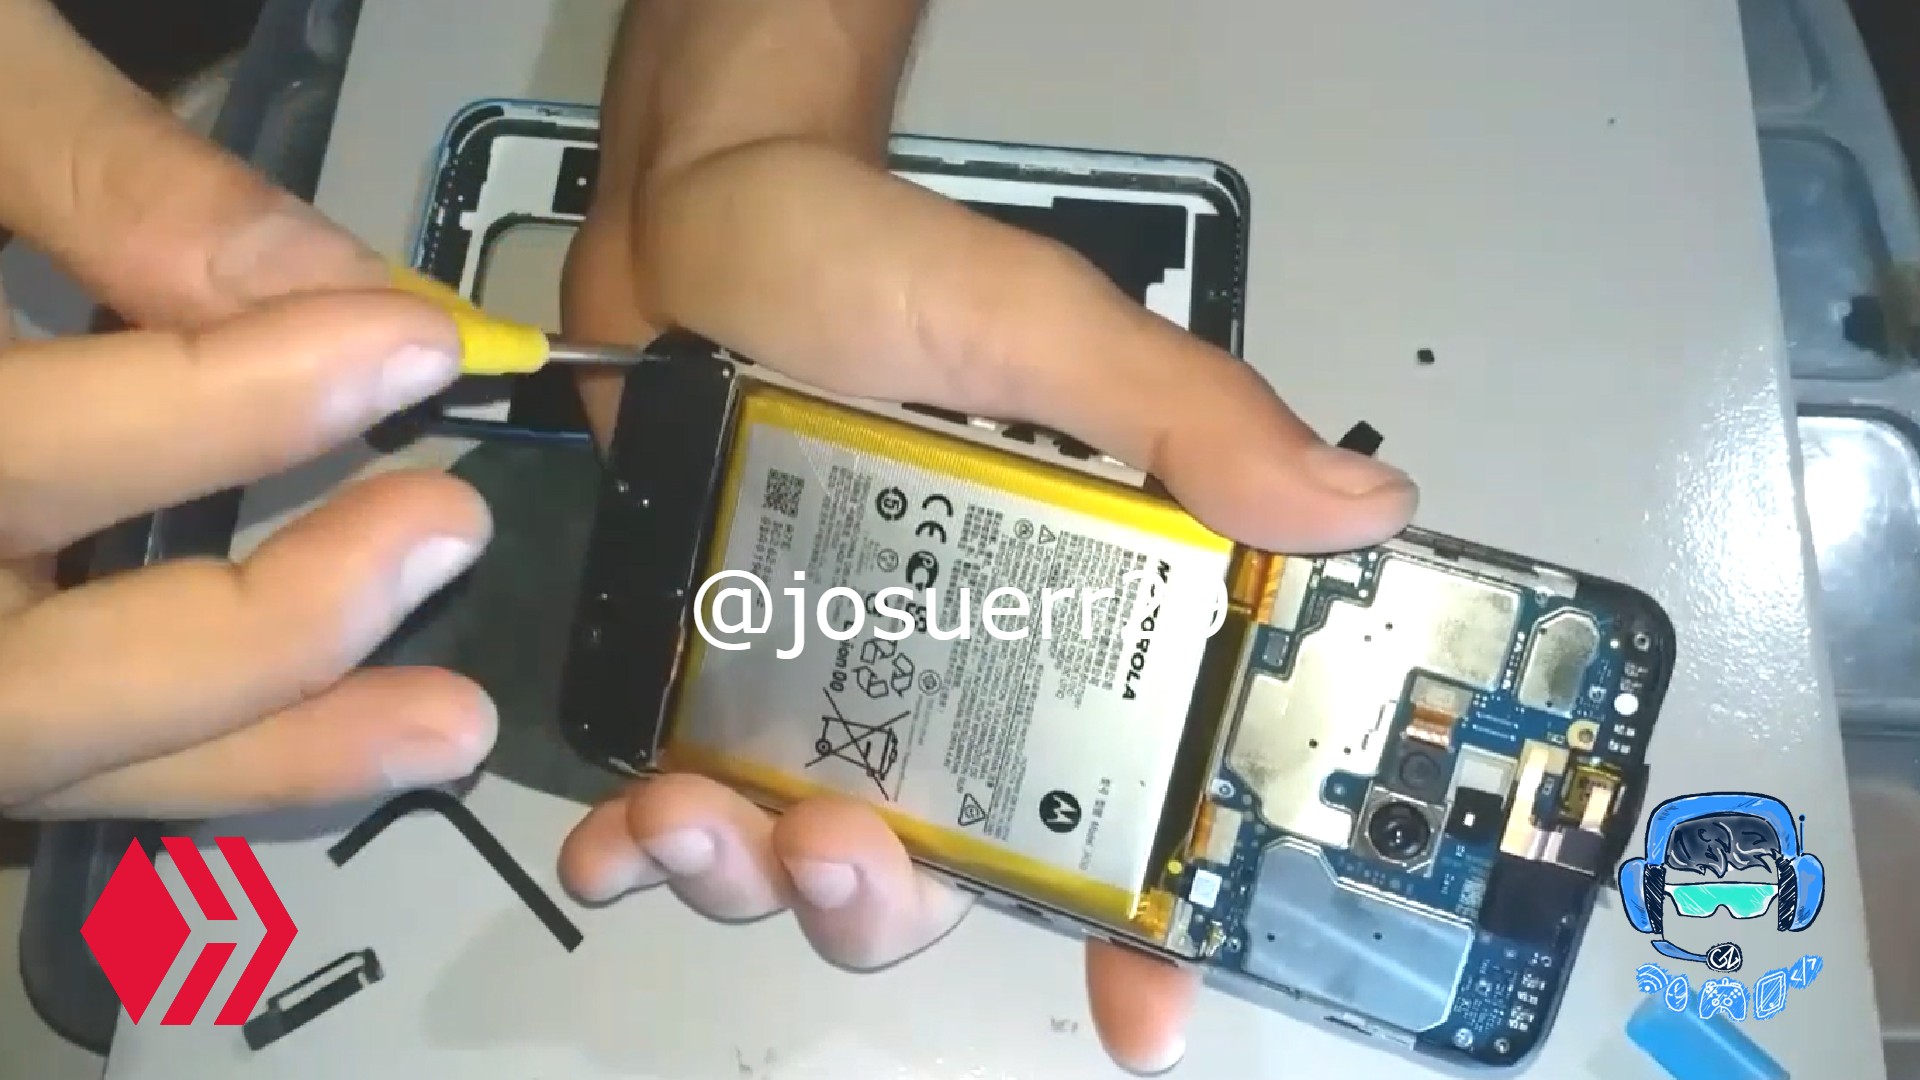
To begin with, all we need to do is put the x-ray spatulas between the bezel of the unit and the case, little by little and very carefully, and then move it all around the sides of the unit, putting pressure on it and lifting it up. This must be done very carefully.
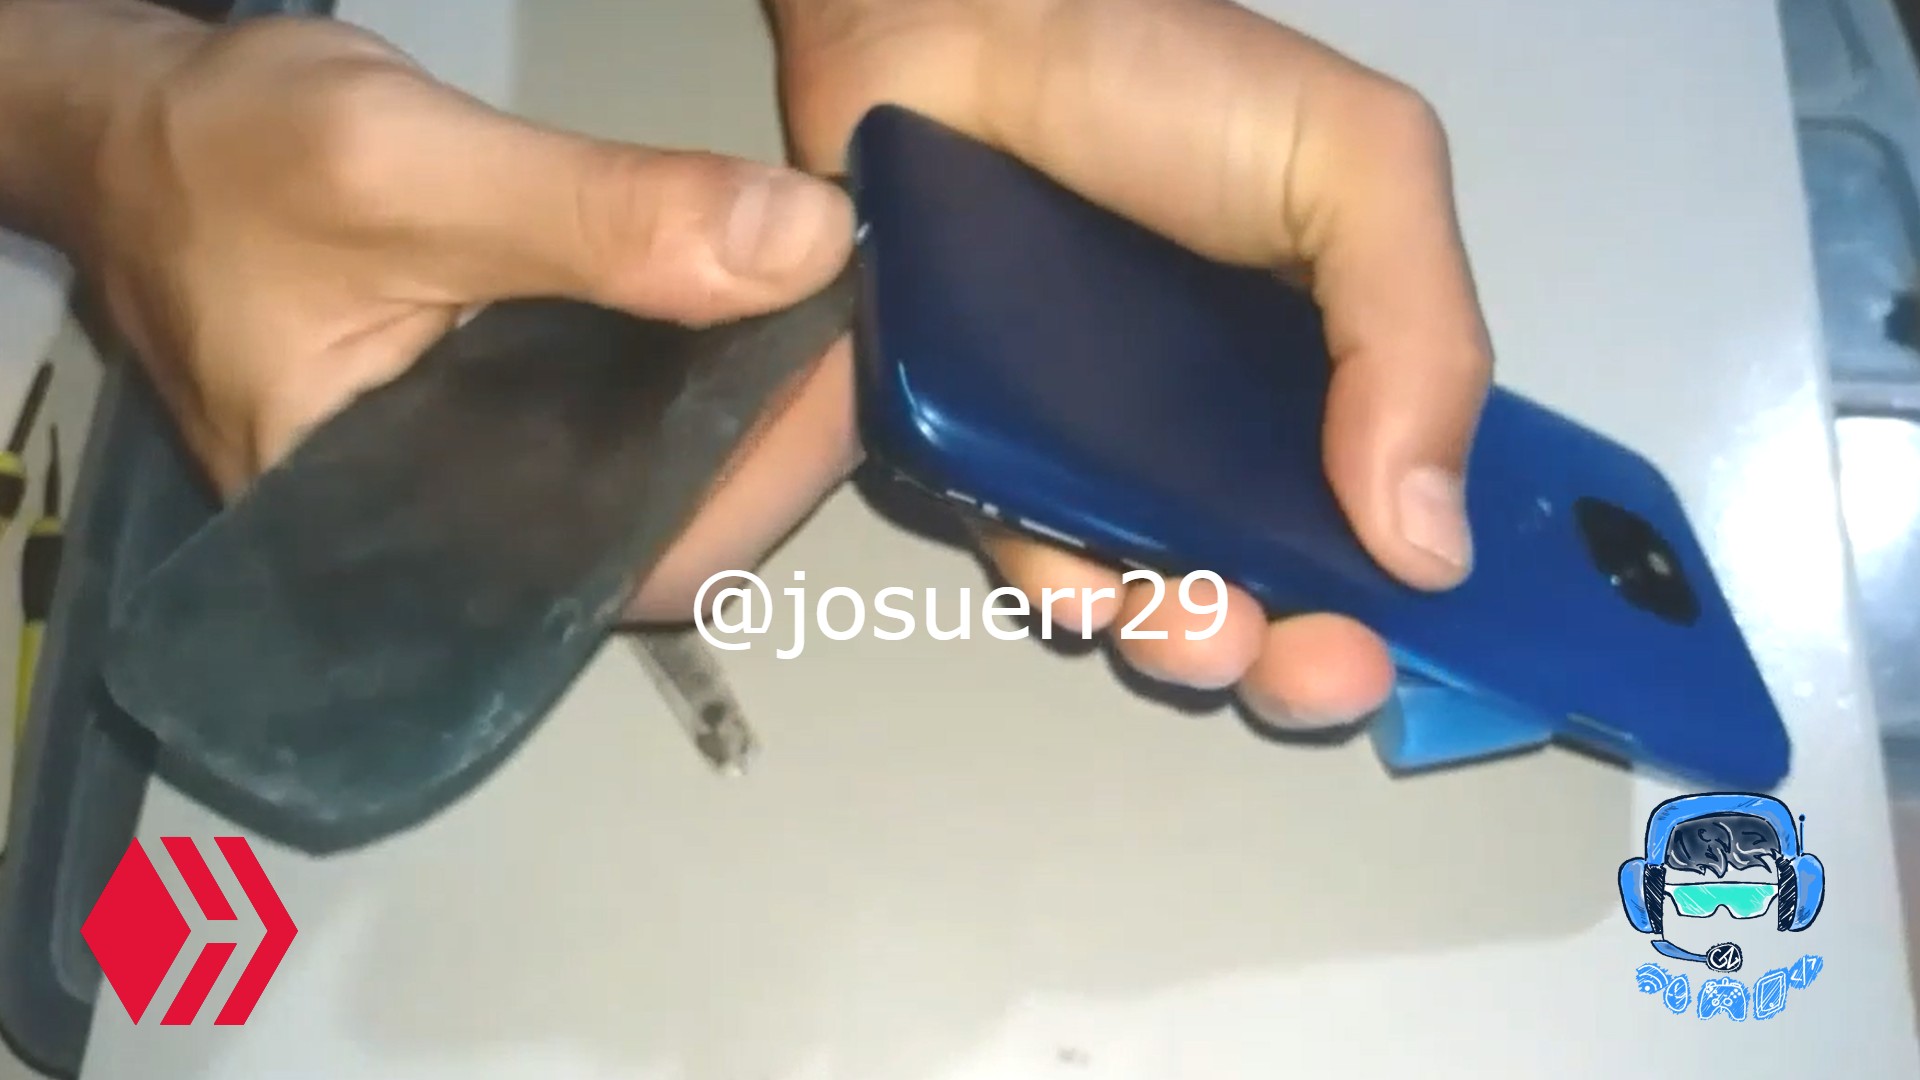
After you have done this you have to go and press a little bit of pressure on the casing towards the outside, however you have to realize that it is sticky and this is going to be a little tricky. The strategy that I used was that when I lifted the housing a little bit I used the same spatula to cut the glue that did not let you separate the housing and so carefully I managed to separate the entire housing.
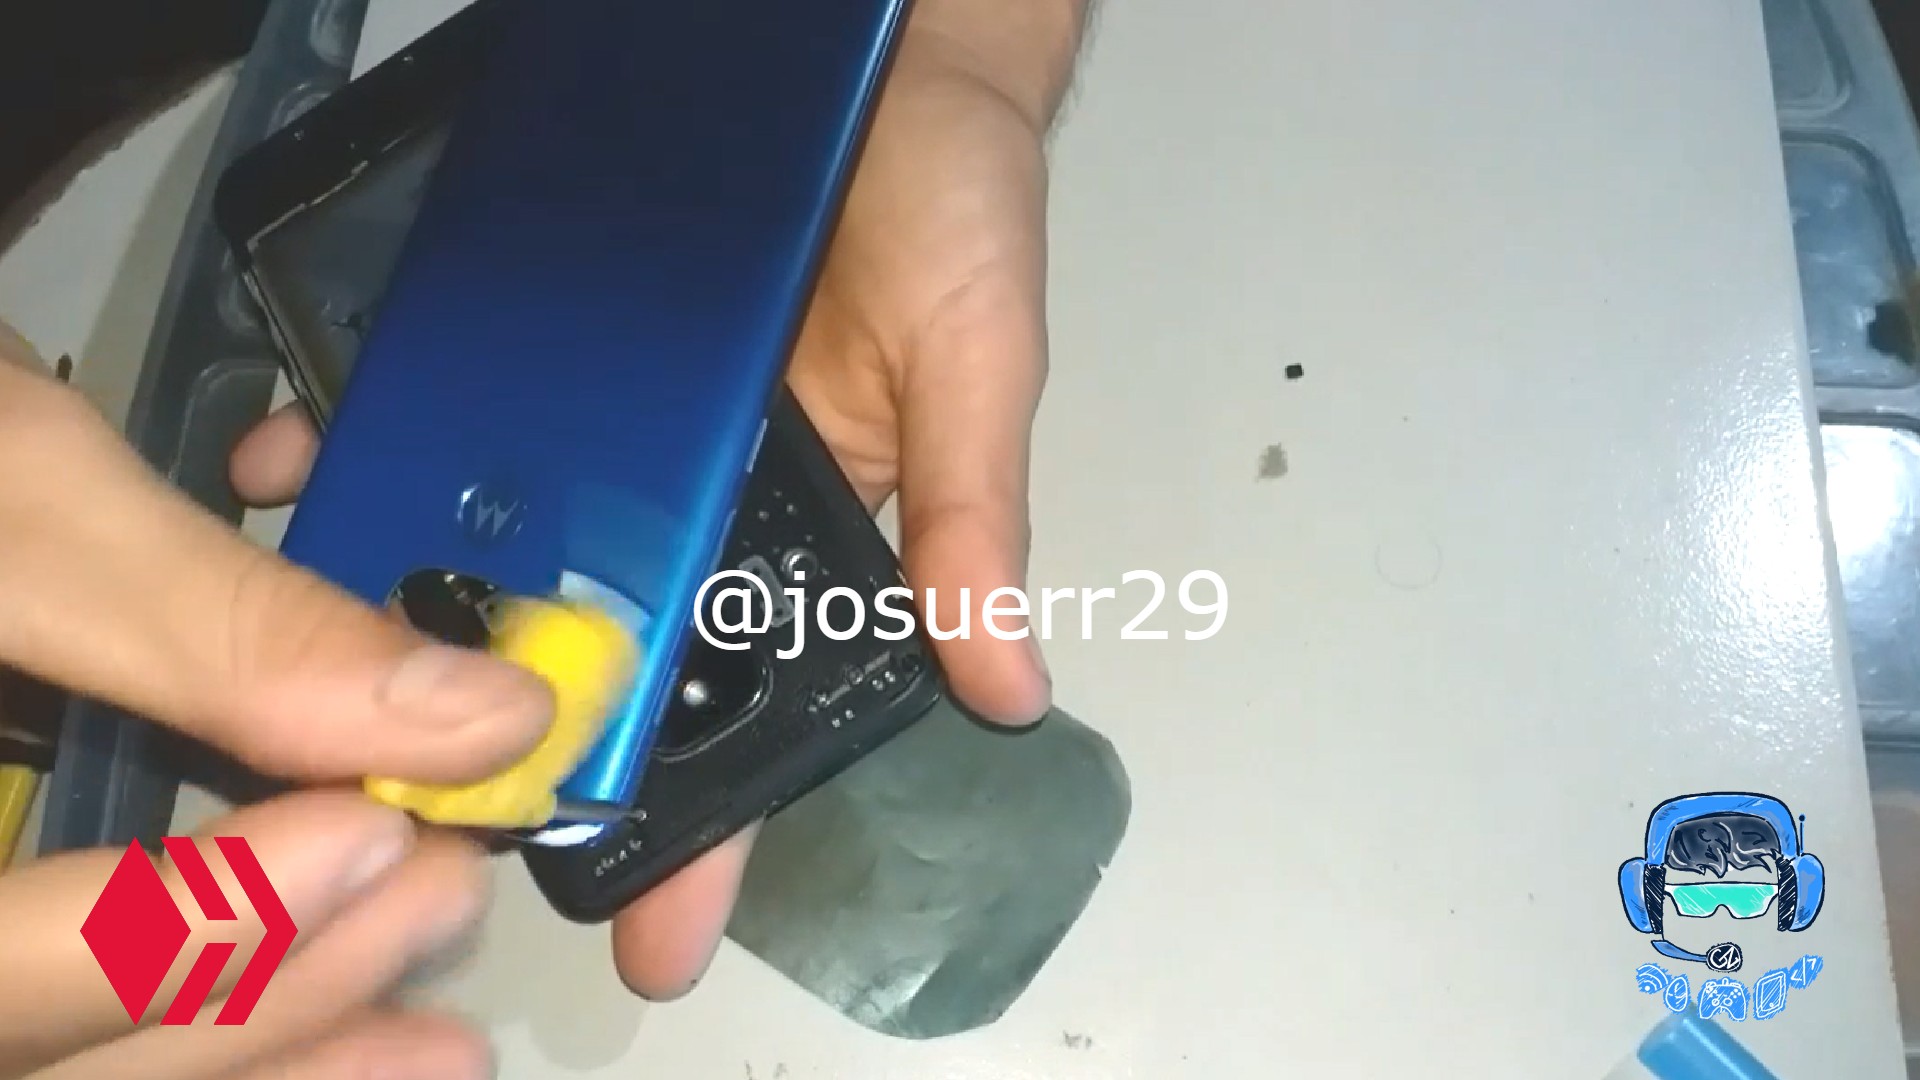
After I managed to do it, I have to do it very carefully because the Flex of the fingerprint had not been detached, if I Alaba with force I could break it before being able to remove the Flex of the fingerprint. Then I have to remove all the screws of the protective backover of the plates, and there I began to remove each of the screws and so I could lift the protective backover, when I managed to do it I could lift the flex of the fingerprint, and finally be able to remove the entire casing there. After doing this I had the main board uncovered. Now I only had to remove the screws from the bottom plate of the charging pin to remove the protective plate of the charging pin and so I did I managed to uncover then each Flex of the equipment.
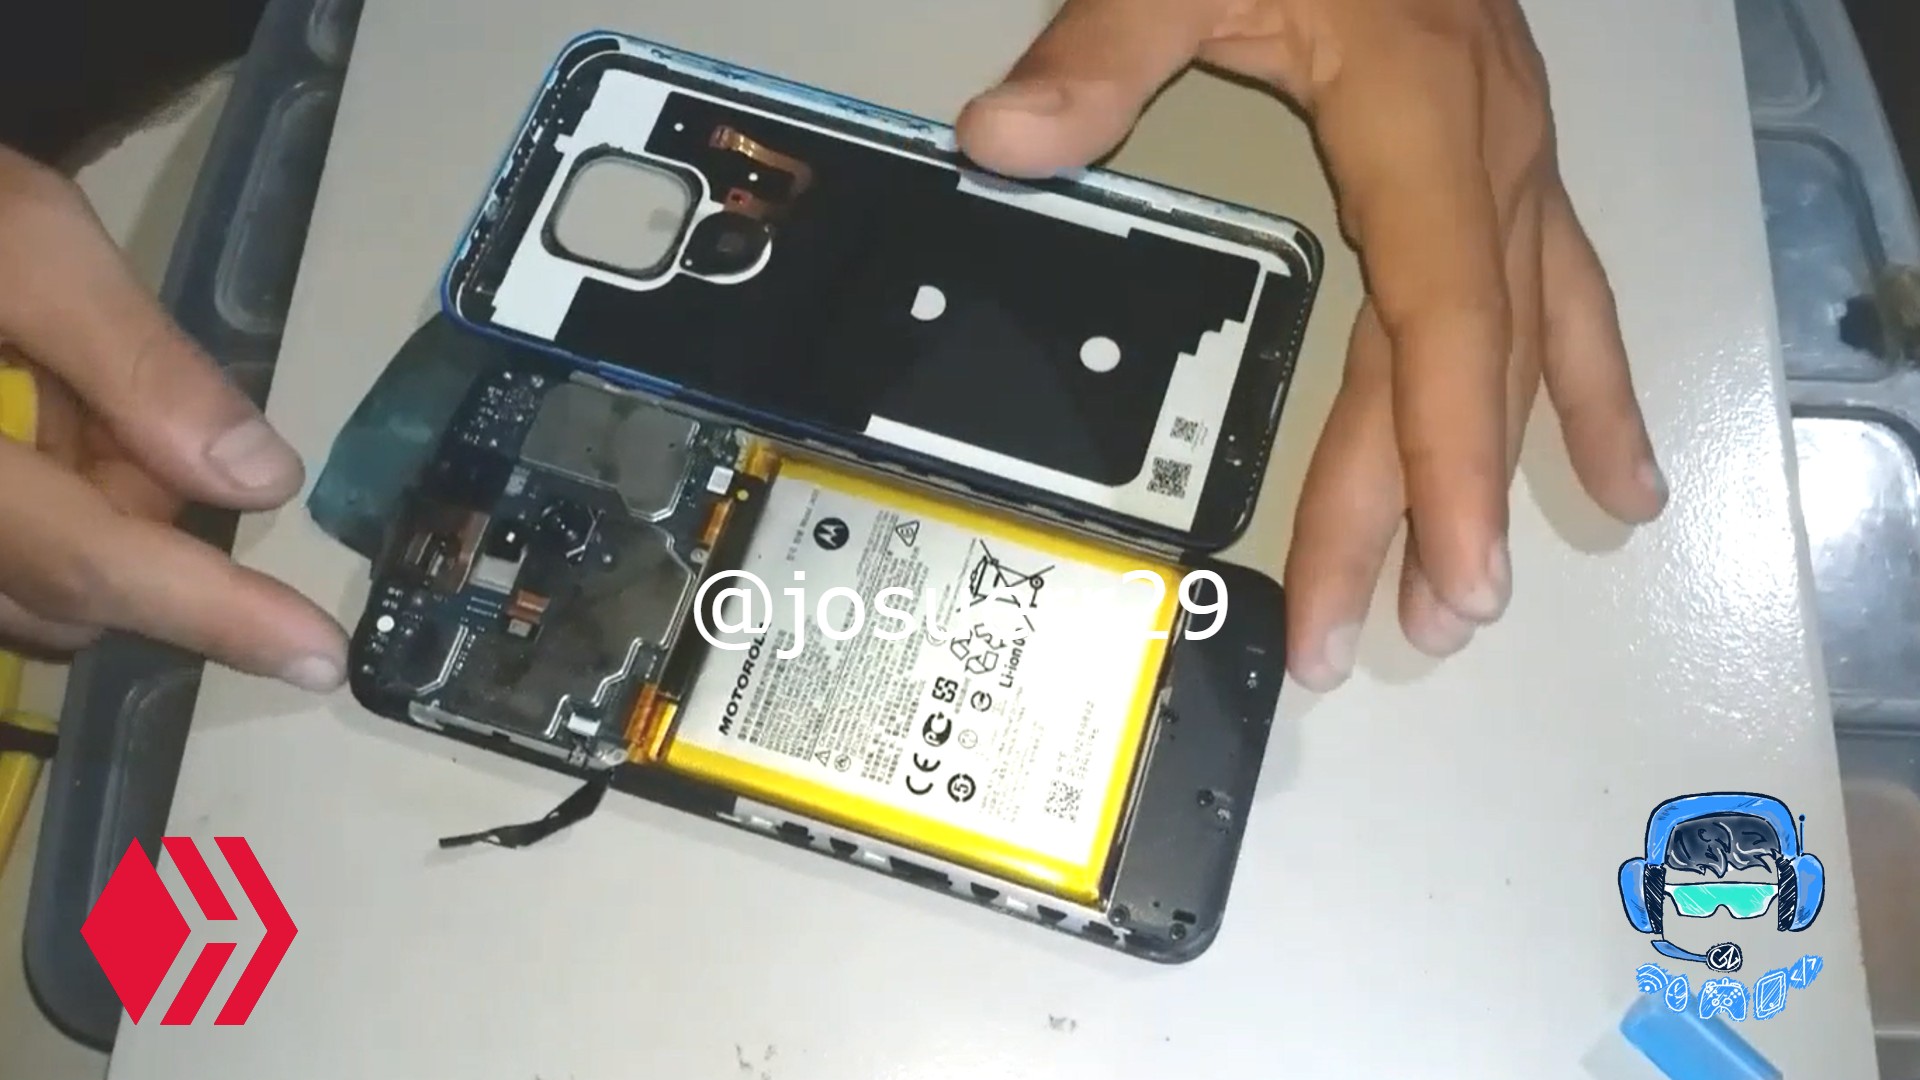
With great care to lift the main board and the charging plate of the phone first had to lift each Flex and remove all the screws that tightened the plate, all this very carefully, the Flex are those of the screen, those of the power button, the battery, the charging pin, and so when I could separate these Flex I could freely remove the two plates and this was what I did.
After having done all this I could consider the device completely disassembled and work completely with the charging pin.
In another video I will show you how to repair the charging pin of this unit.
Español
Hola querida familia Qué tal Aquí les muestro un desensamble de un equipo. Este es el Motorola e7 Plus.
En otras ocasiones me han traído estos motorola así que se como desarmarlos, sin en-embargo esta es la primera vez que desarme este equipo y te lo traigo para que tú sepas como desarmarlo.
Este equipo llegó a mi taller por la siguiente falla, y es que mostraba que estaba cargando Pero simplemente se estaba descargando la batería y parecía que cuando lo conectaba se descarga más rápido, era una falla poco difícil y podía ser el pin de carga o muchas otras cosas más.
El cliente me dijo que lo quería rápido así que yo tenía que revisar los súper rápido, y ahora te muestro el desensamble del equipo.
Para realizarlo lo único que utilice fueron dos pedazos de espátulas de placas de rayos x, y un destornillador de estría eso es lo que le voy a mostrar muchachos y comienzo con el desarme.
Proceso
Para comenzar lo único que necesitamos es meter las espátulas de rayos x entre el bisel del equipo y la carcasa poco a poco y con mucho cuidado y luego ir trasladándola por todo los lados del equipo, haciendo presión levantándola. Esto lo debes hacer con mucho cuidado.
Después de hacer esto tienes que ir hablandando con un poquito de presión en la carcasa hacia afuera sin embargo tienes que darte cuenta que está tiene pega y esto va a ser un poco complicado. La estrategia que yo utilice fue que cuando levanté un poco la carcasa utilice la misma espátula para ir cortando la pega que no te dejaba separar la carcasa y así con mucho cuidado logré separar toda la carcasa.
Luego de lograr hacerlo, tengo que hacerlo con mucho cuidado ya que el Flex de la huella no se había despegado, si yo lo Alaba con fuerza podría romperlo antes de poder quitar el Flex de la huella. Entonces tengo que quitar todos los tornillos del backover protector de las placas,y alli comencé a quitar cada uno de los tornillos y así pude levantar el backover protector, cuando logré hacerlo ya pude levantar El flex de la huella, y por fin poder quitar toda la carcasa de ahí. Después de hacer esto ya tenía la placa principal descubierta Ahora solo correspondía sacar los tornillos de la placa de abajo de la pin de carga para poder quitar la placa protectora del pin de carga y así lo hice logré descubrir entonces cada Flex del equipo.
Con mucho cuidado para poder levantar la placa principal y la placa de carga del teléfono primero tenía que levantar cada Flex y quitar todos los tornillos que apretaban la placa, todo esto con mucho cuidado, los Flex son los de la pantalla, los de el botón de encendido, los de la batería, los del pin de carga, y así cuando yo pude separar estos Flex Ya podía libremente sacar las dos placas y esto fue lo que realice.
Después de haber realizado todo esto ya podría considerar el equipo completamente desarmado y trabajar completamente con el pin de carga.
En otro vídeo te mostraré Cómo reparar el pin de carga de este equipo.
He realizado este post siguiendo algunas de las recomendaciones de @cryptoalvirin
| fuentes del contenido | |
|---|---|
| - Traducción del texto: | https://www.deepl.com |
| - Separador tomado de: | Aqui |
| - Foto y video: | Picsart pro. YouCut. Samsung Galaxy j6 plus. |
| - Fuentem autoría del contenido: | @josuerr29 |
| - Creación de gift: | https://www.canva.com. |
| - Intro del video realizada por @josuerr29: | app YouCut. |
| - Musica del video Sin derecho de autor: | soundcloud |
| Logo 1 | Diseño de https://studio.3espeak.tv |
| logo 2 | Diseño de https://hive.blog |
| Logo 3 | Diseño de la cominida de geek zone |
| Equipo usado para grabar el vídeo | Motorola e7 Plus |
| Equipo de grabacion | Samsung j6 + |
| Setup de grabacion | Tripode para camaras can-i820 |


Show more
Tags :
Woo!
This creator can upvote comments using 3speak's stake today because they are a top performing creator!
Leave a quality comment relating to their content and you could receive an upvote
worth at least a dollar.
Their limit for today is $0!
Their limit for today is $0!

5 views
a year ago
$

3 views
a year ago
$

5 views
a year ago
$

5 views
a year ago
$

3 views
a year ago
$
More Videos

19 views
2 years ago
$

14 views
8 months ago
$

12 views
4 weeks ago
$

8 views
2 years ago
$

3 views
3 years ago
$

18 views
a year ago
$

10 views
8 months ago
$

5 views
6 months ago
$

8 views
2 years ago
$

0 views
6 months ago
$

14 views
3 weeks ago
$
5 views
2 years ago
$

3 views
a year ago
$
7 views
a year ago
$

25 views
a year ago
$

5 views
2 years ago
$

8 views
11 months ago
$

12 views
9 months ago
$

3 views
2 years ago
$

9 views
2 years ago
$

5 views
a year ago
$

Comments:
Reply:
To comment on this video please connect a HIVE account to your profile: Connect HIVE Account