Sample Collection Training For Field Work
4
About :
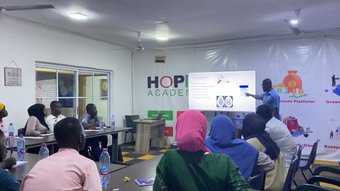
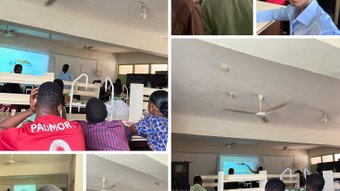
Today, I went for training with my project team mates on sample collection. We’re going to be working with blood, urine and stool samples, and so it was necessary we learnt how to collect the samples. Collecting urine and stool samples are not complicated, blood on the other hand will require care and skill, especially since we’ll be dealing with children.
For our analysis, we won’t need to collect blood venous blood so the training was quite simple. We’ll only be collecting blood from the finger by the finger prick method.
So first, our supervisor who will be training us demonstrated using diagrams from some instruction manual he had, and then with one of us as a volunteer, he took the first sample as a demonstration for us to see.
We each took samples from each other in turns after his demonstration.
The Method
To collect blood from the finger using the fingerprick method, you first wipe the fingertip where the blood will be collected with an alcohol swab to disinfect and clean it.


Then you wipe the alcohol itself off the finger to ensure that it doesn’t interfere with the results for the test. This step is especially important for tests that involve determining blood sugar concentration, since the alcohol will contribute to this concentration.
After wiping the alcohol off, comes the hard part- The Pricking. I personally don’t like needles so it was a little funny when it was my turn to be pricked. The pricking is done at the middle of the last finger segment, not too close to ends of the finger. Middle.


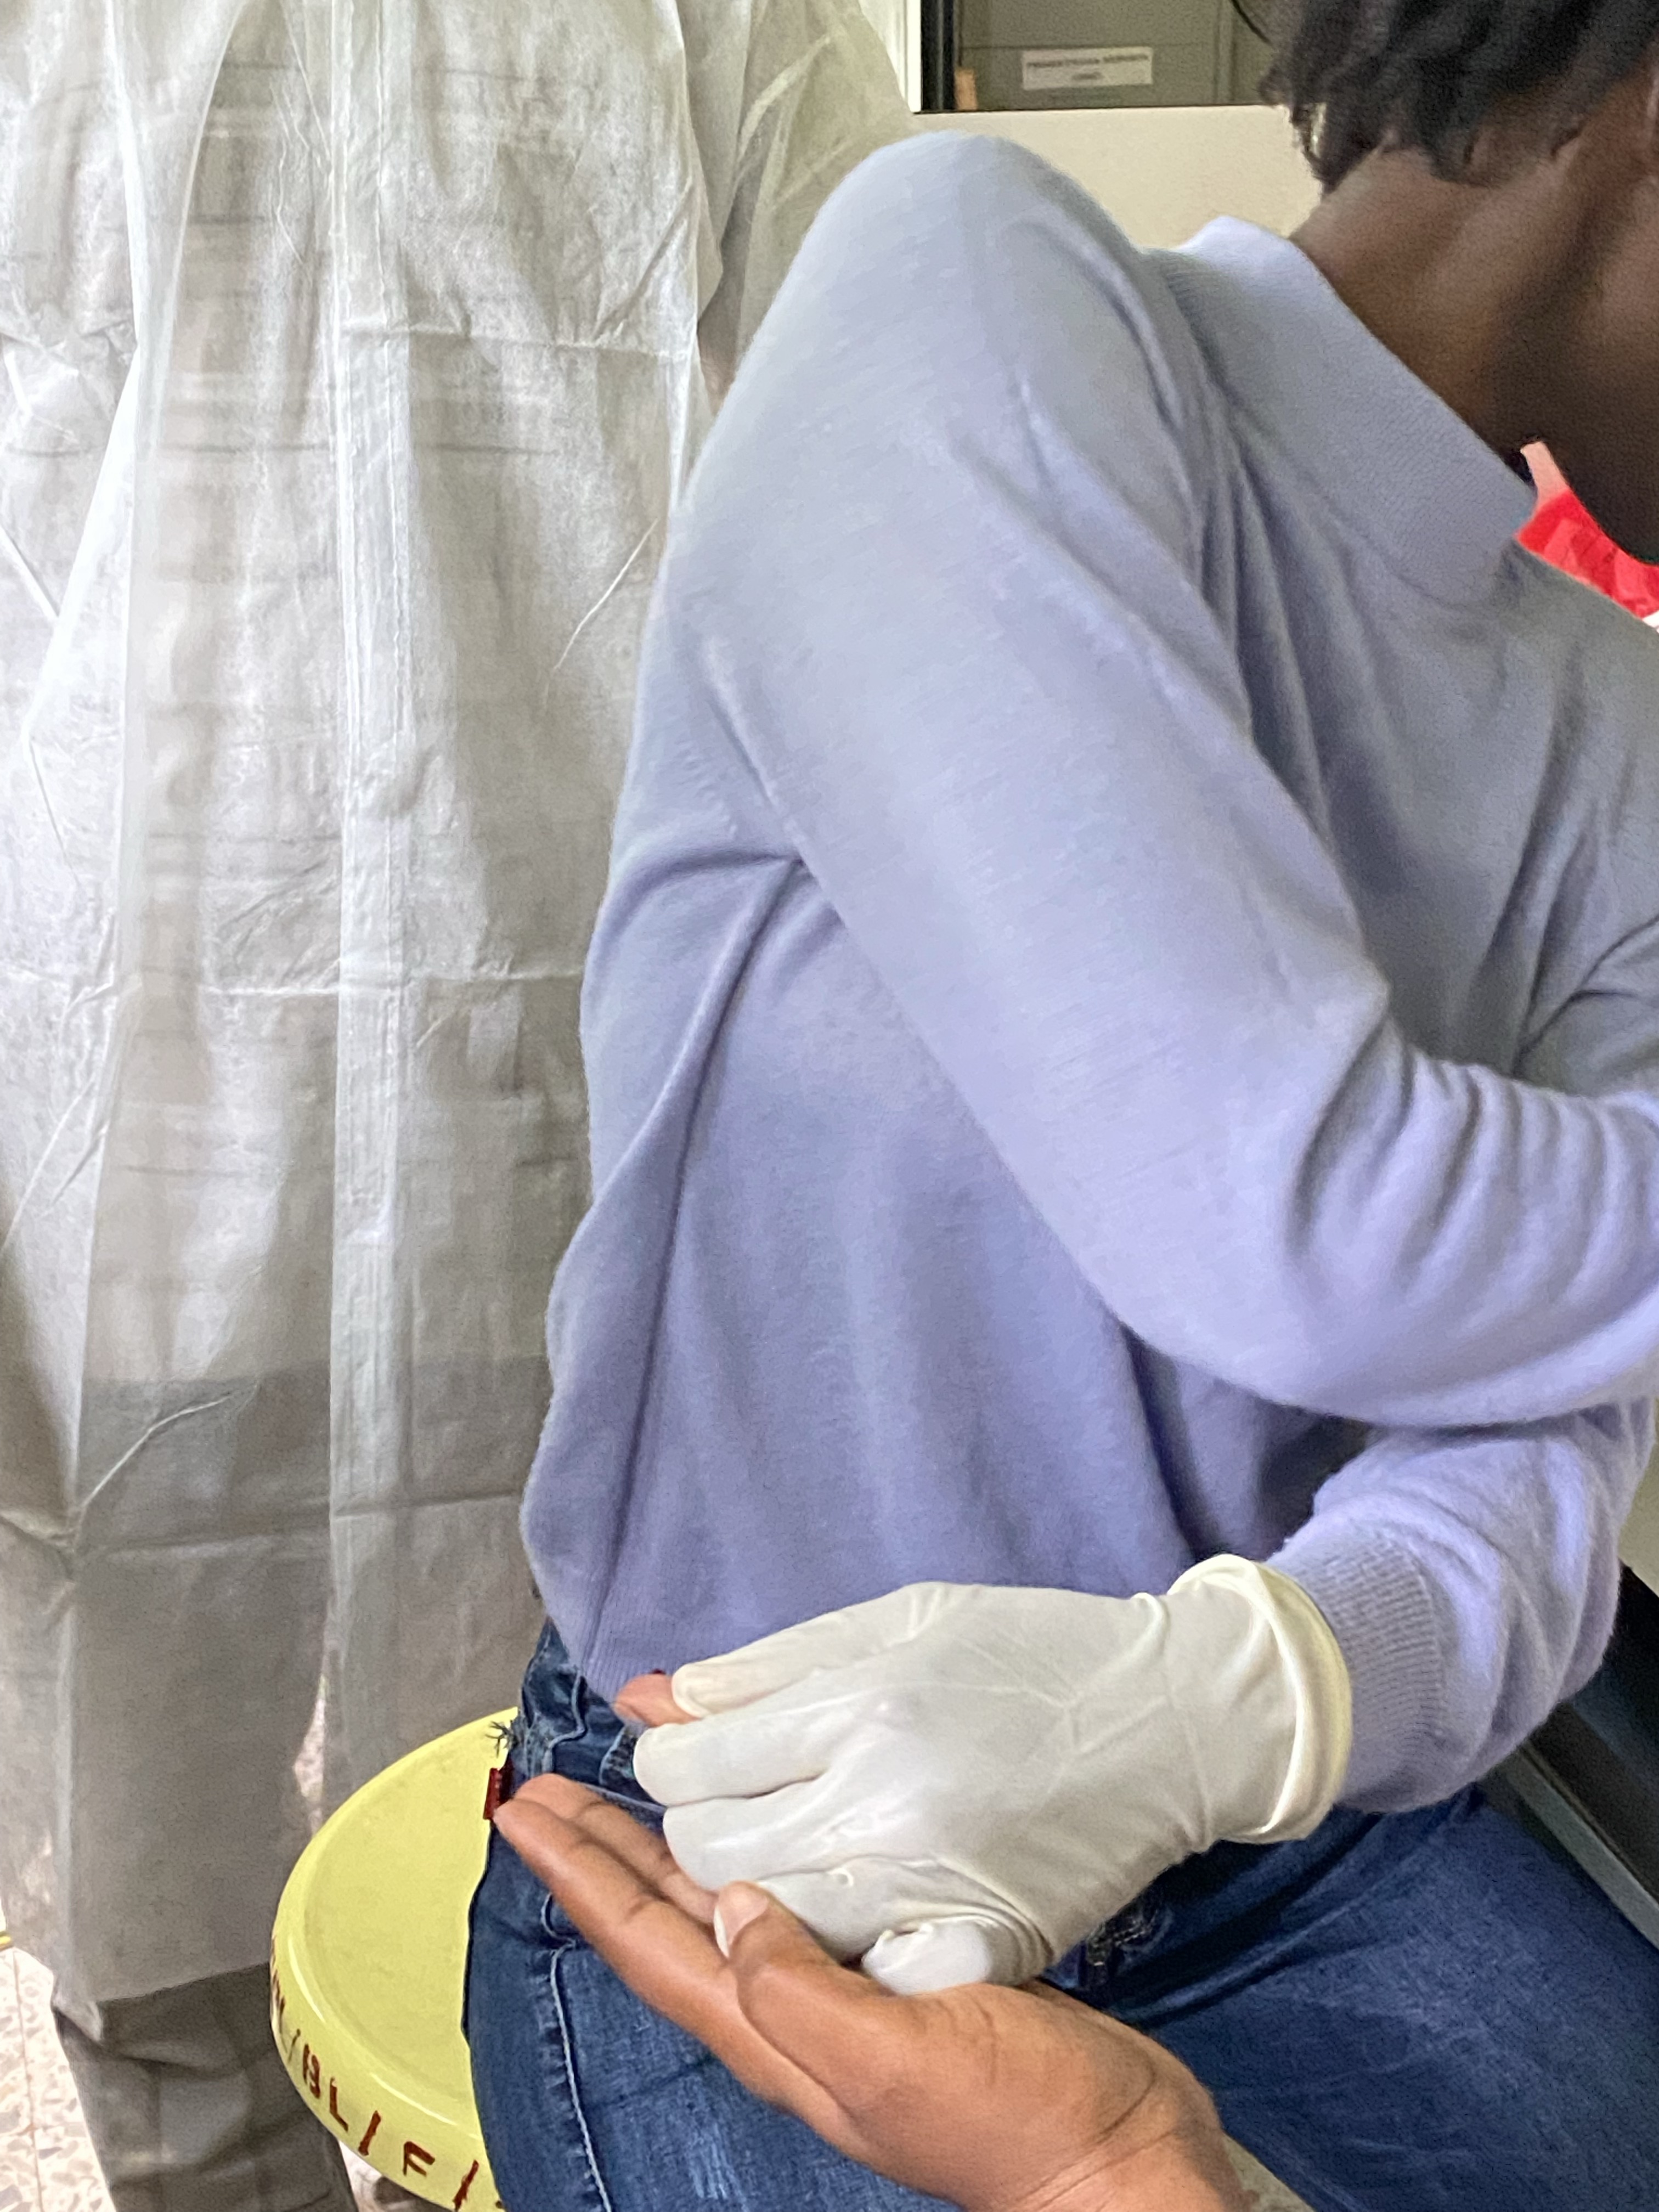
You squeeze the ends of the finger to stimulate blood to flow towards the end you’re pricking. Then once the finger has been pricked, the first drop of blood is wiped off. What we’re interested in is the subsequent drops. Contrary to what most people think, the pricking doesn’t require too much pressure or energy.
The subsequent drops of blood are collected into a small vile where drops can be taken from for the following tests.


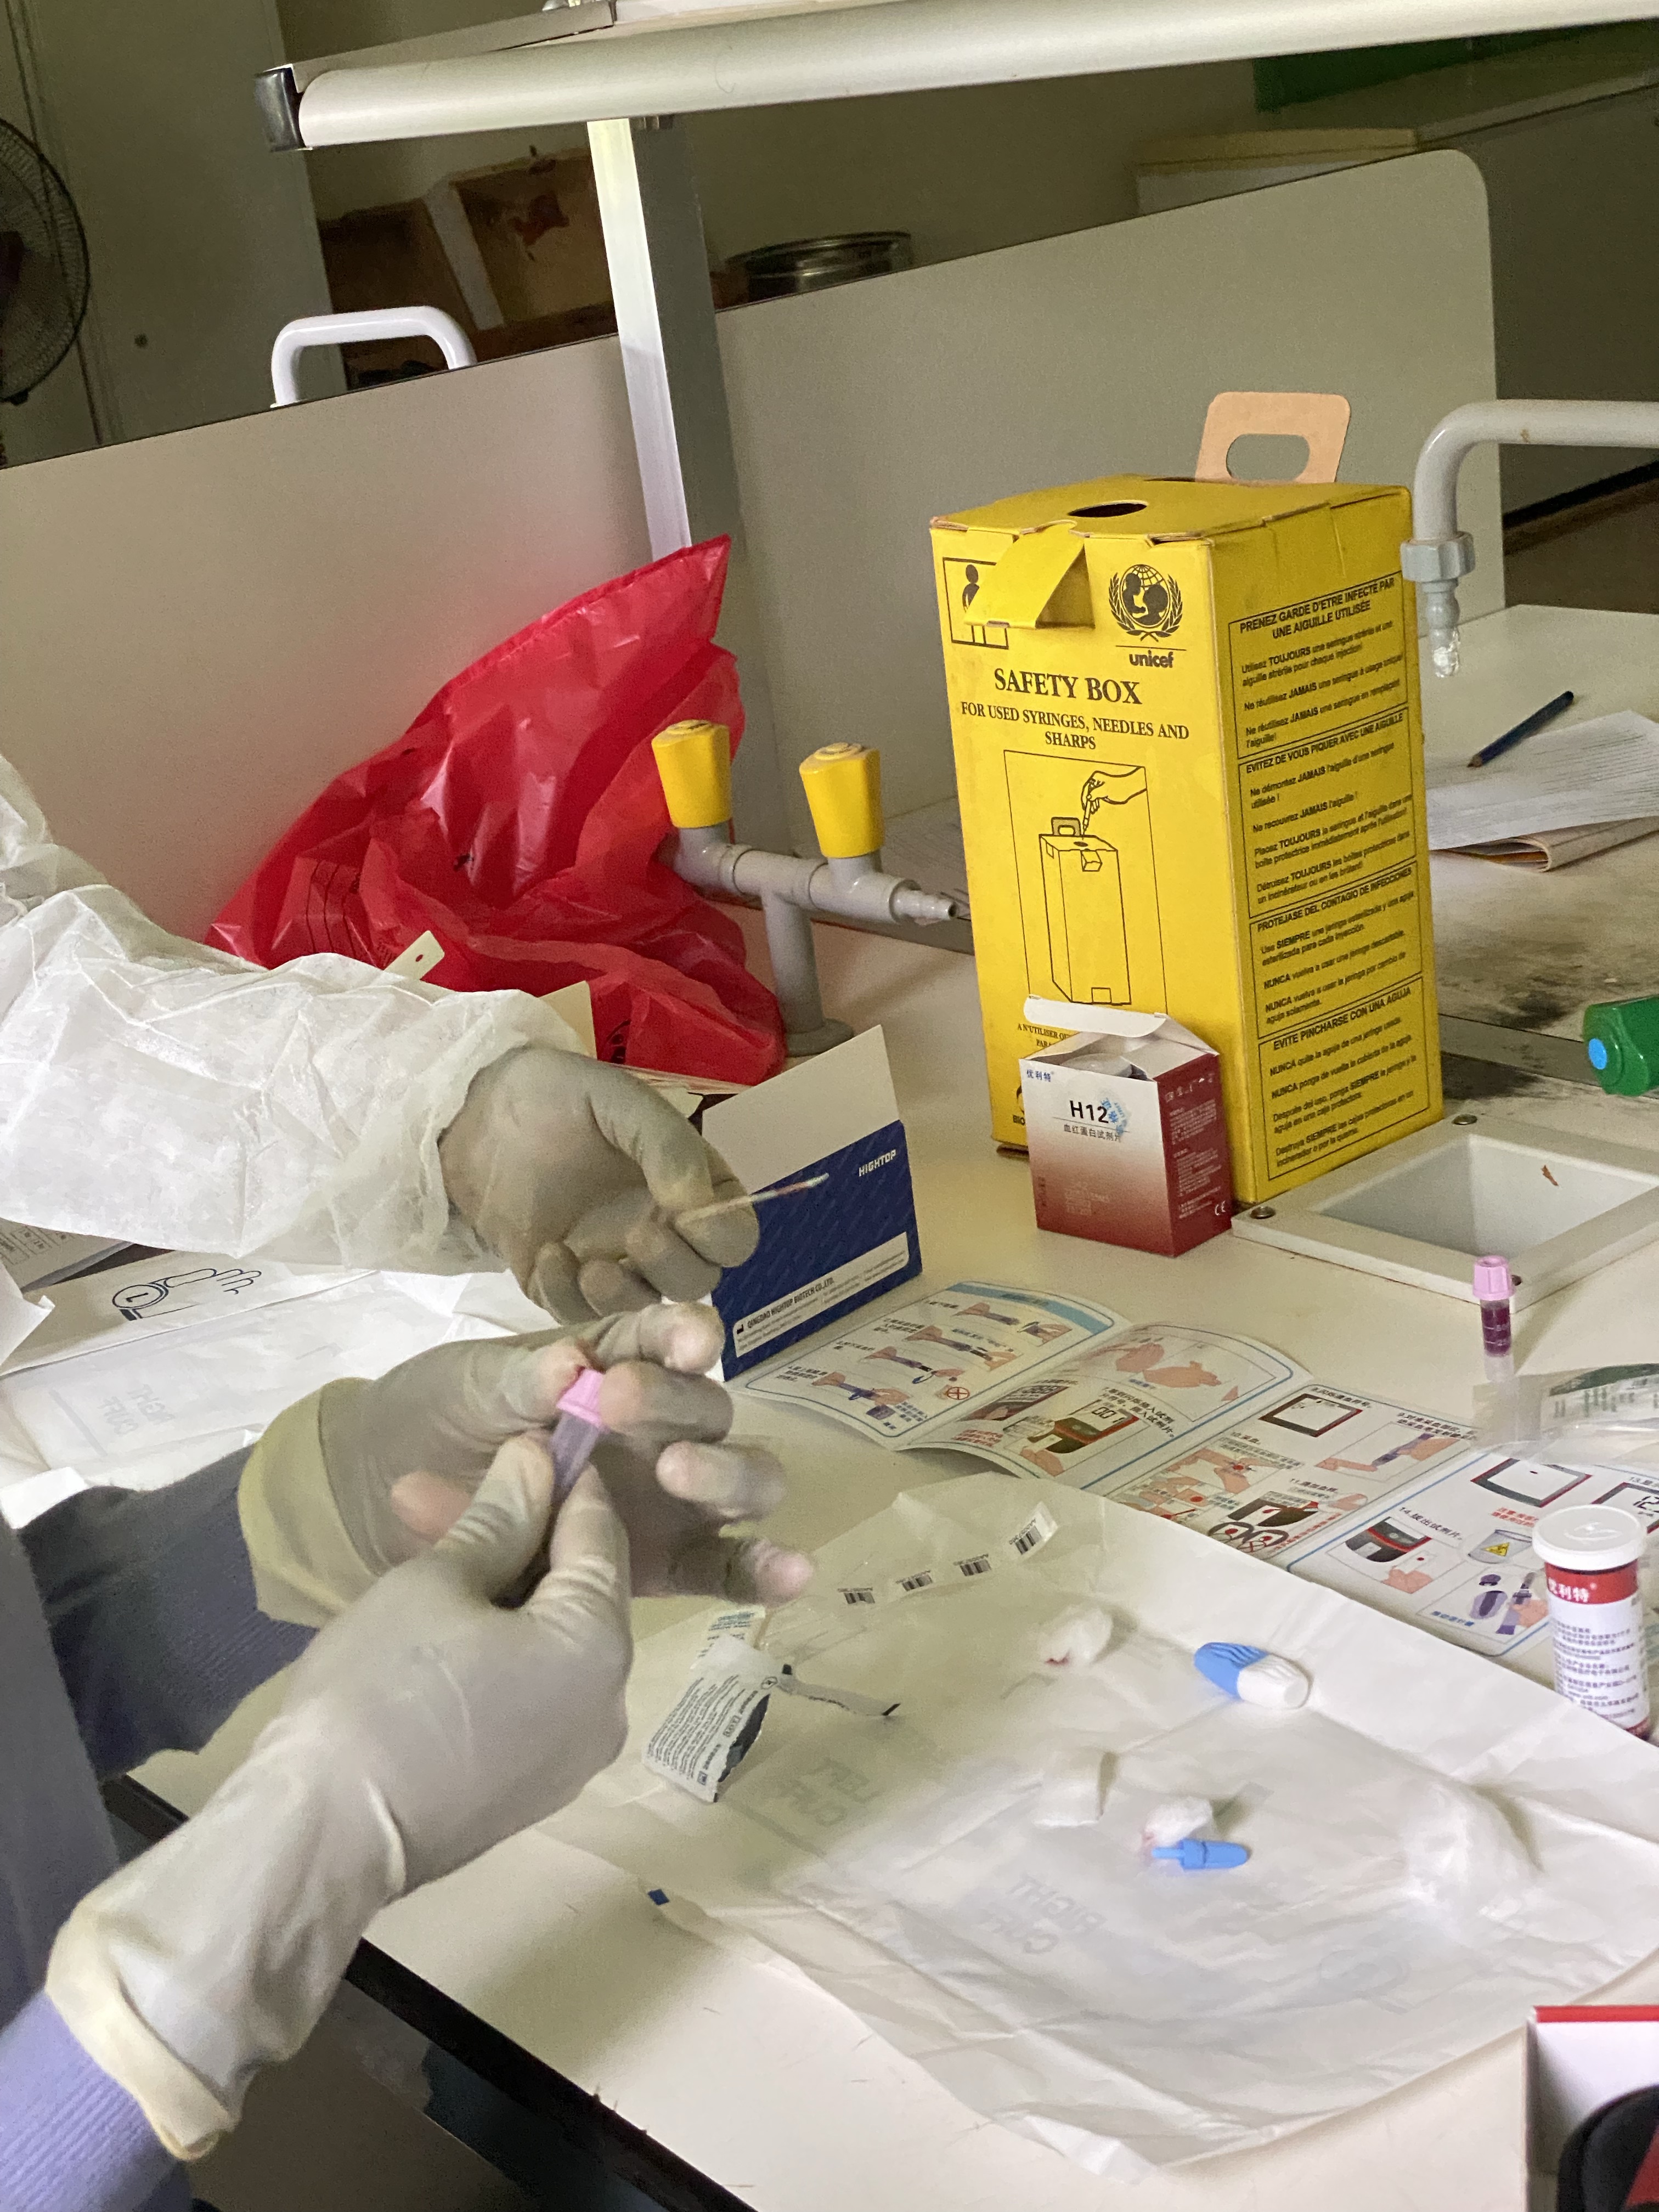
Preparing Thick and Thin Stains
Blood drops are taken from the vile containing the collected blood. Two drops are made on the slide, one thick and the other thin. The thick drop is made near the frost end of the slide.

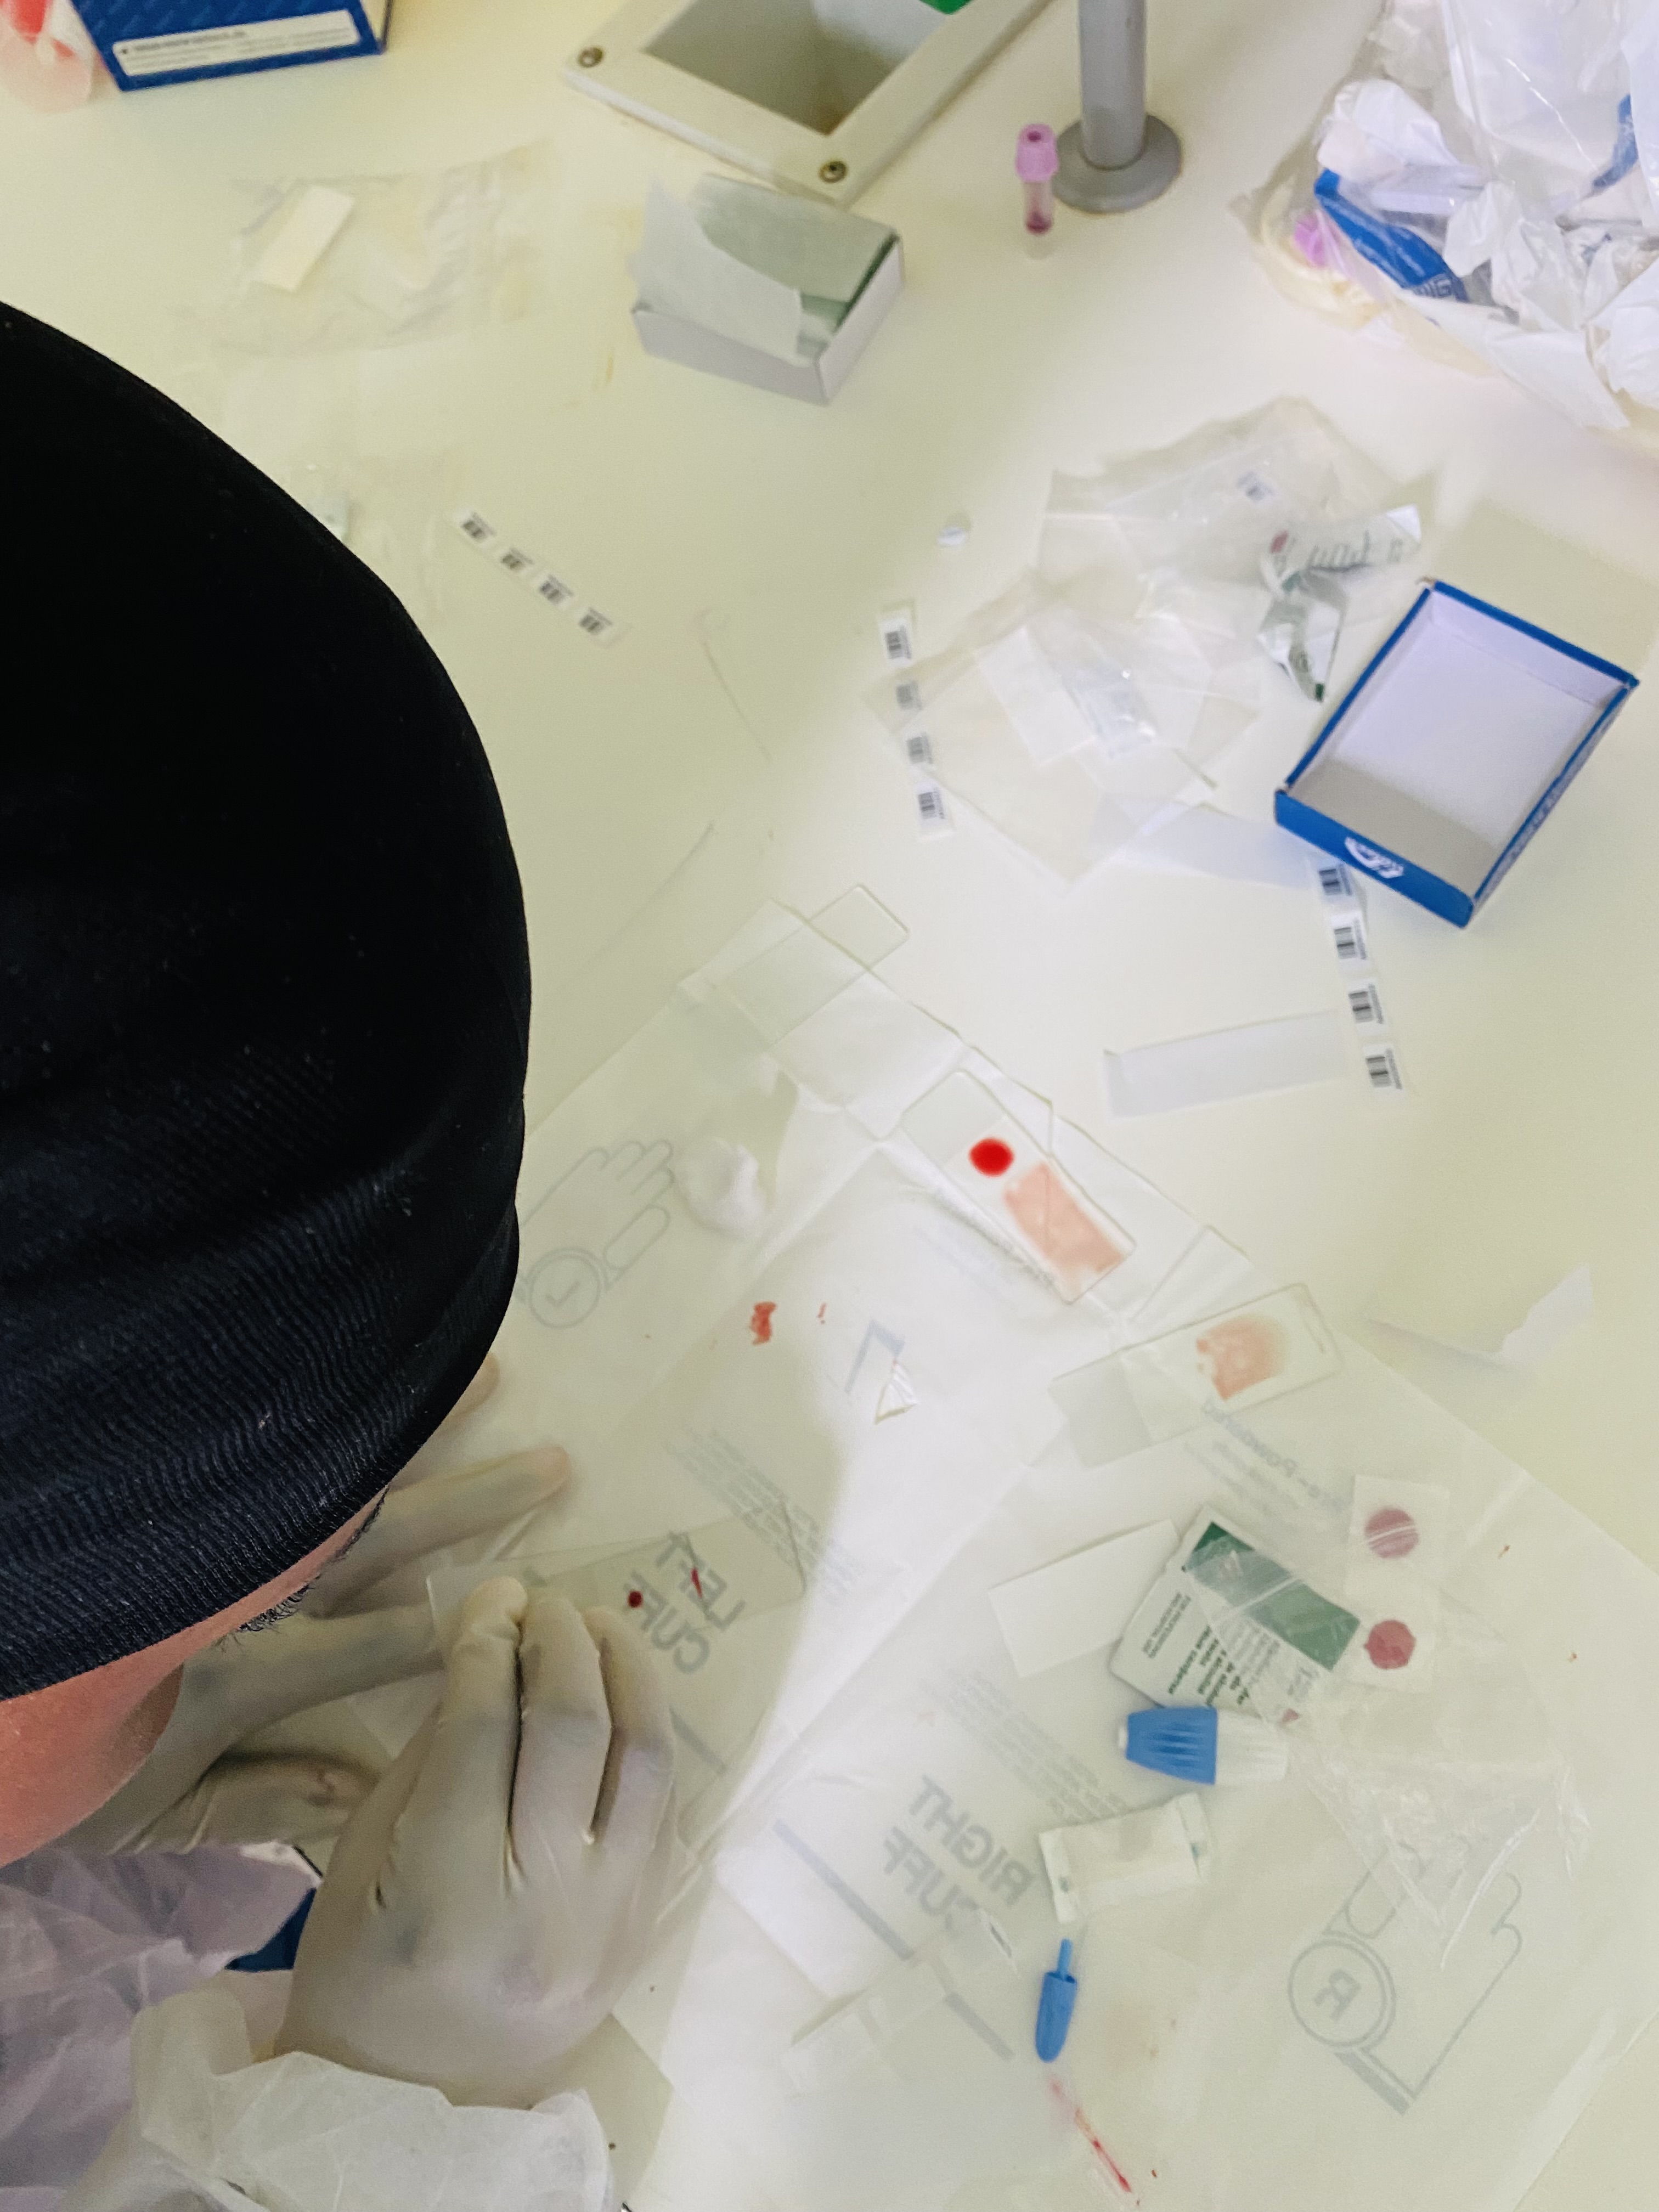
You put another slide called at the other end of the slide on which the blood slides are, and slowly move it along the slide holding the two drops until it touches the thin blood drop. When it does, the thin blood is spread along it’s length and you basically push it along the length to make a thin mark. This what the slide looks like if everything is done correctly. The thin stain is used for a specie identification test.

I demonstrate the procedure in the video above, all though, I didn’t really get the desired results for the thin stain. My thin stain was too thin because my drop was too small, like my colleague mentioned in the video. We'll be doing a lot more practice in the coming days to perfect our skills before we actually head out to the field so it's all good.
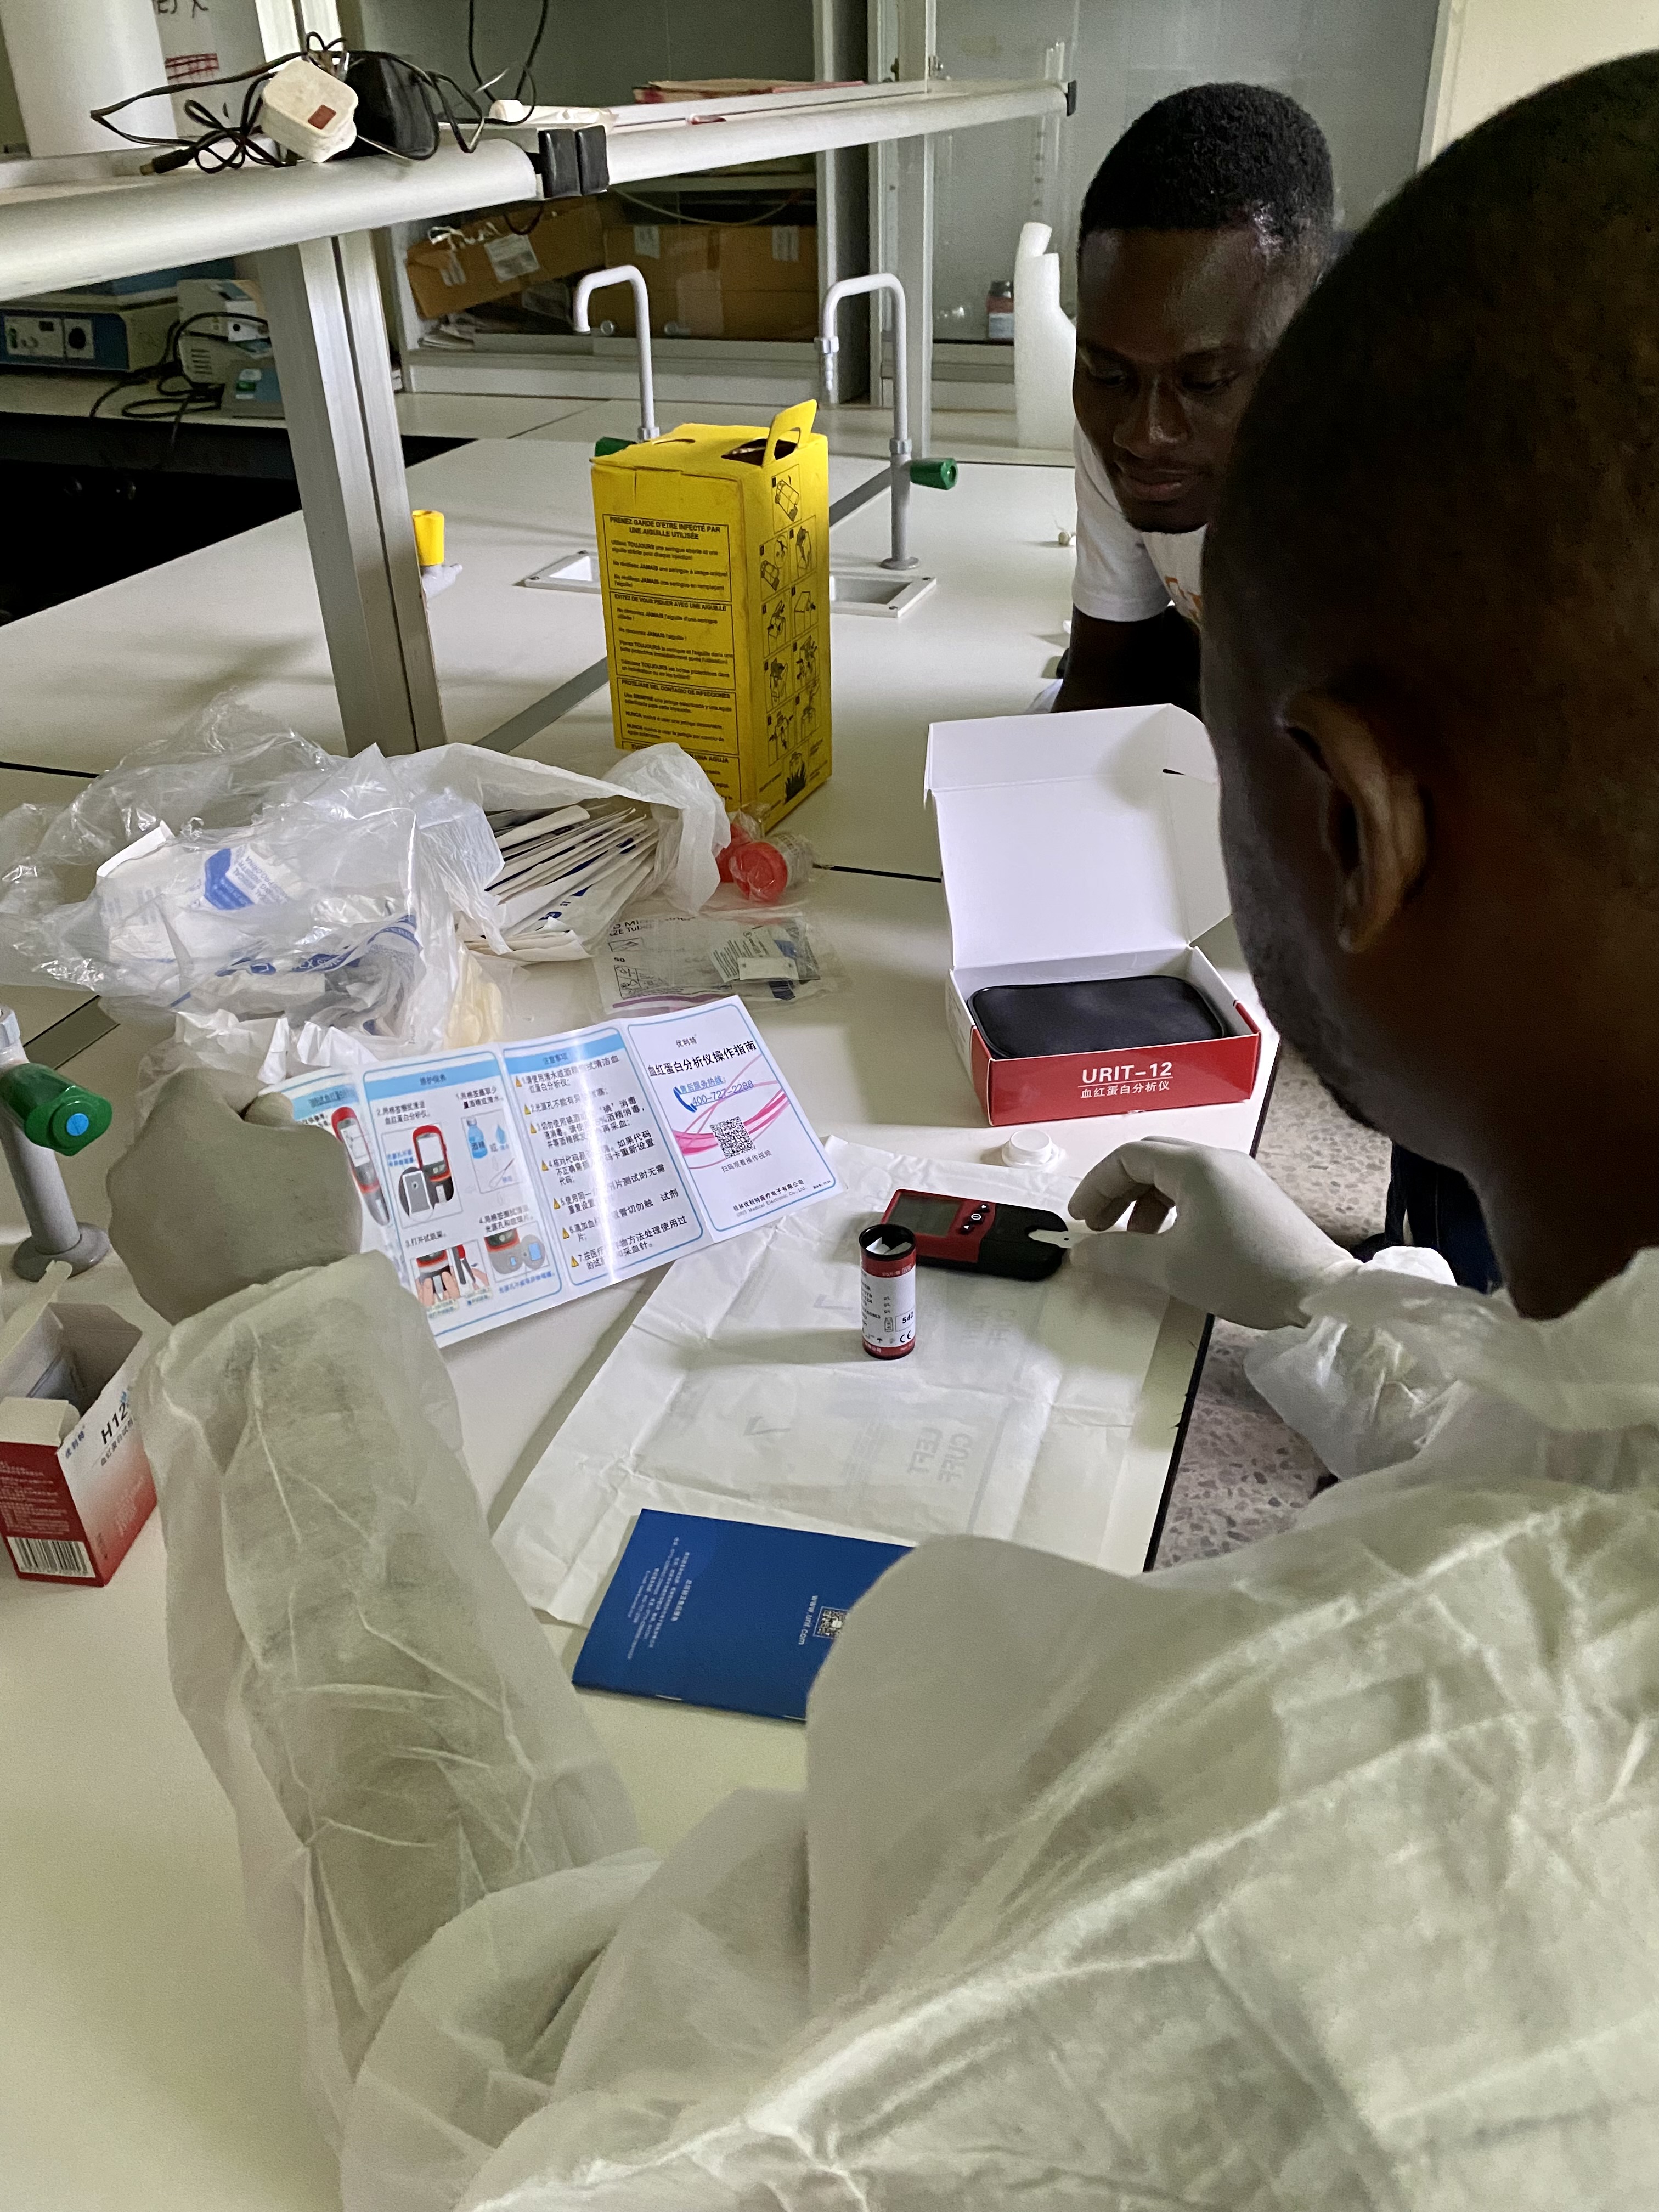
The Hb Meter(Anemia Analysis)
For the Hb meter, you basically take a drop and place it on the strip channel which is where the blood-stained strip will be placed and the Hb level read.

RDT Test (Malaria Test)
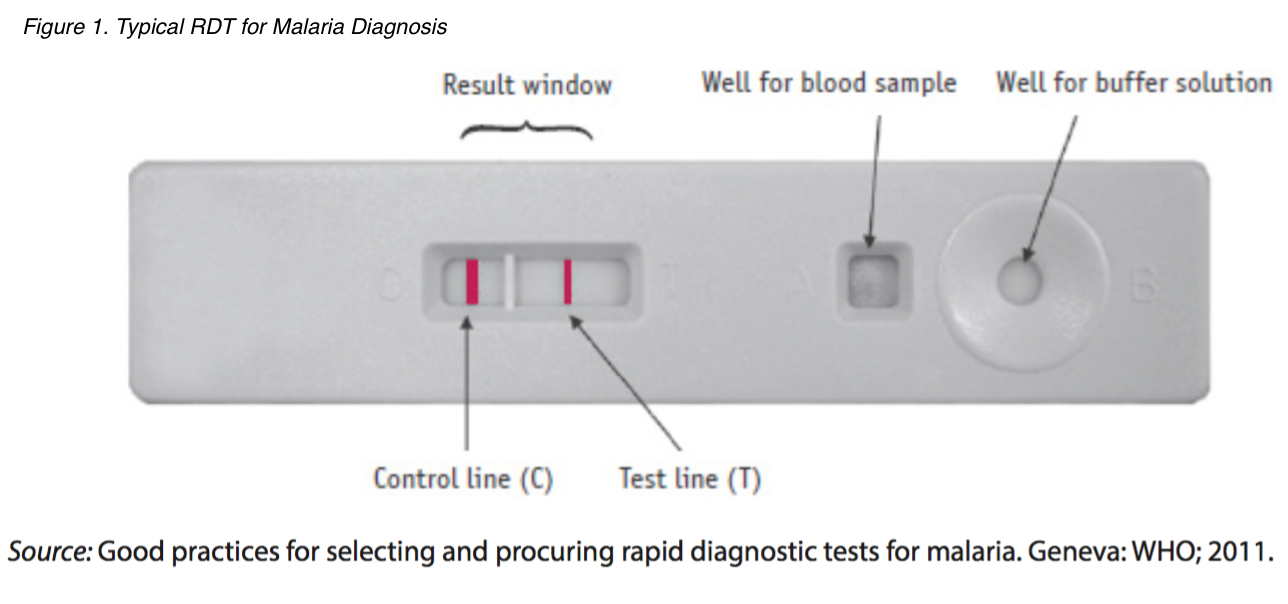
For the RDT test, the RDT strip has two holes called wells, one for the blood drop to be placed into, and the other for the buffer. You add the blood stain in the hole closest to the results window, and the buffer to other. If strips appear at both the C and T lines, then we have a positive test for malaria. However, if only one strip shows at the C line, then the test is invalid and we’ll have to perform a new test.
If you were looking forward to seeing my own pictures of the RDT to accompany the explanation, I’m afraid you’ll be disappointed to hear that I didn’t take any pictures for the RDT test.
Who Authored This Post?

I am @depressedfuckup. The story behind my weird username is in my intro post if you have the time to read. I am a newbie and a content creator on Hive and a Biochemistry student outside of Hive. I write about my present, generally things going on with or around me. Please give this article an upvote and a reblog if you liked the content and leave a comment if you have something to say about it. Thanks for visiting my blog, have a great day!
Browse & Earn With Presearch
[ ](https://
Show more
Tags :
Woo!
This creator can upvote comments using 3speak's stake today because they are a top performing creator!
Leave a quality comment relating to their content and you could receive an upvote
worth at least a dollar.
Their limit for today is $0!
Their limit for today is $0!
14 views
7 months ago
$
16 views
a year ago
$

1 views
4 months ago
$

0 views
9 months ago
$

4 views
a year ago
$
More Videos

47 views
10 months ago
$

1 views
4 years ago
$

3 views
a year ago
$

1 views
a year ago
$

3 views
a month ago
$

74 views
4 years ago
$

2 views
8 months ago
$
18 views
a year ago
$

0 views
2 years ago
$

26 views
2 years ago
$

10 views
a year ago
$

0 views
4 years ago
$

2 views
a year ago
$

45 views
11 months ago
$

6 views
2 years ago
$

13 views
a year ago
$

12 views
a year ago
$

2 views
6 months ago
$

8 views
3 years ago
$

0 views
11 months ago
$

0 views
2 years ago
$

0 views
4 years ago
$

1 views
2 years ago
$
Comments:
Reply:
To comment on this video please connect a HIVE account to your profile: Connect HIVE Account