A MOON FOR MY LOVE!
13
About :
Hello, Creative people of Hive! What a wonderful day it is!
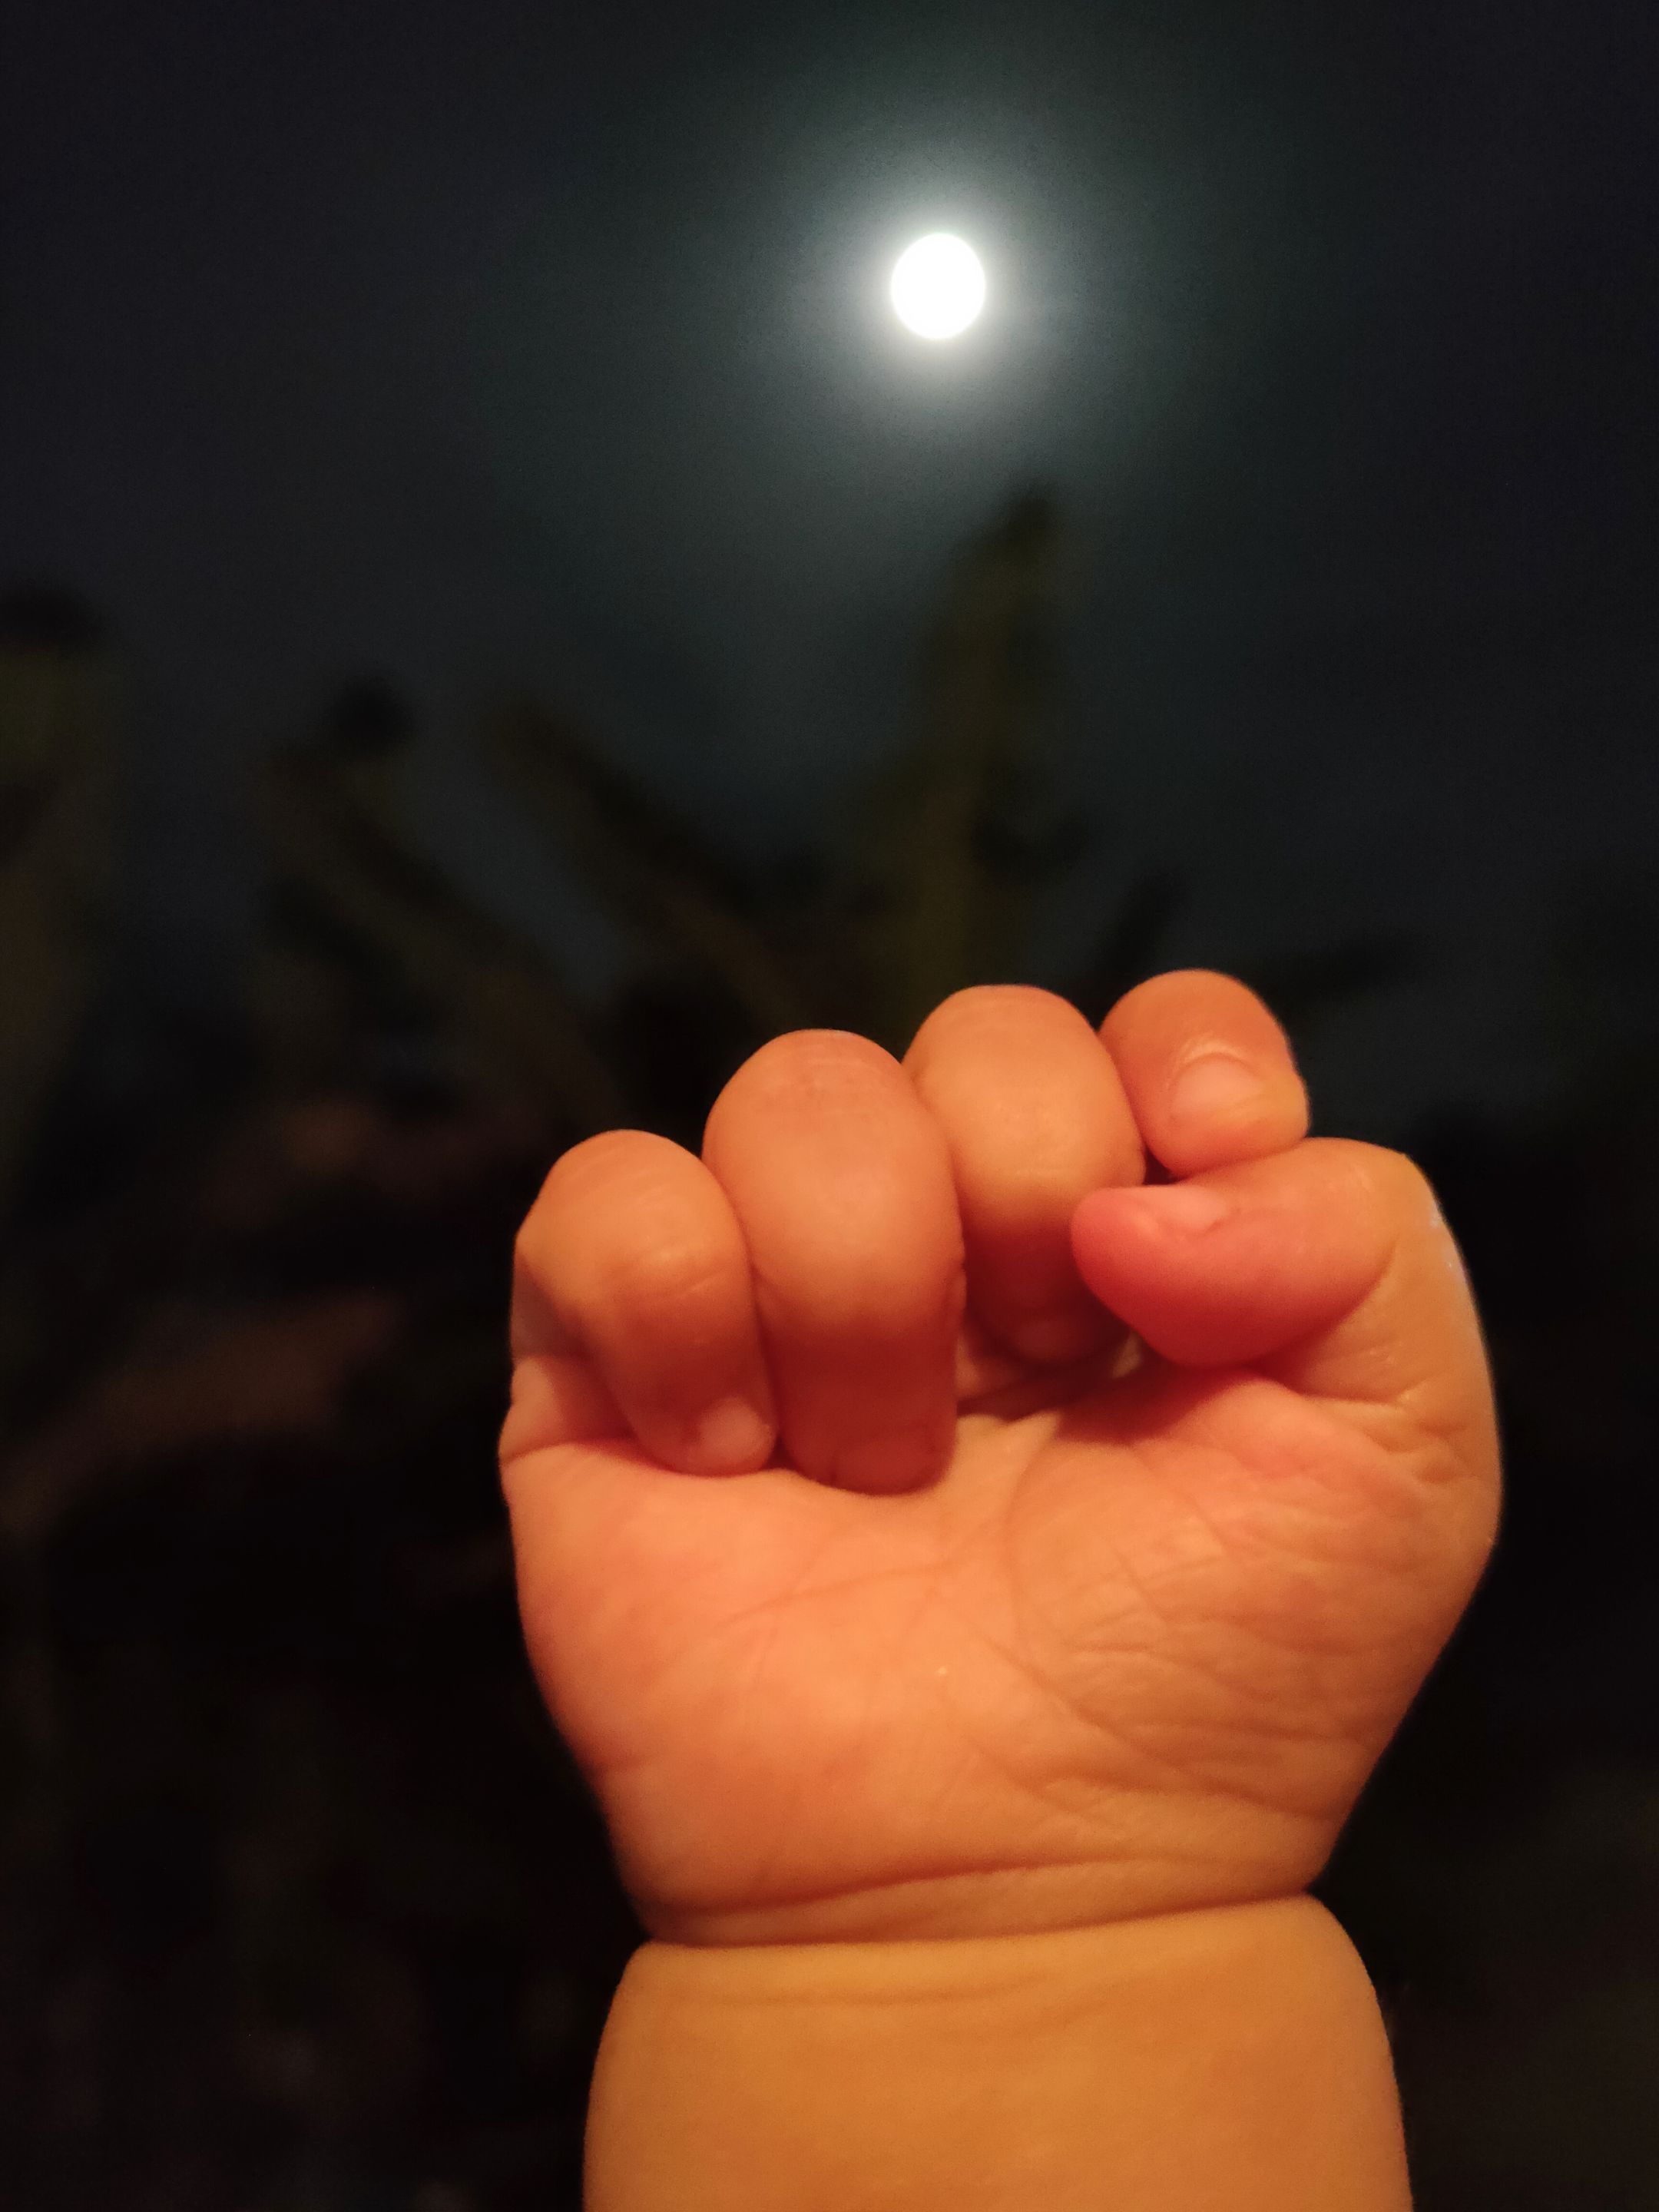
Like everyone else, I soo love that beaming heavenly body in the open sky at night. It just feels so great, watching and staring at the moon after a long tiring day. It is the most beautiful thing we see at night in the countryside. I must say I’m in love with the moon, but my 2-year-old daughter is in love with it even more!
Even before she was just a few months old, she already showed her amazement and interest in the moon. There were a lot of instances when she was making grasps and wanting to reach the moon, which was always followed by her sweet giggles and innocent smiles. From then, I had wished I could give the moon to her. But now I did!
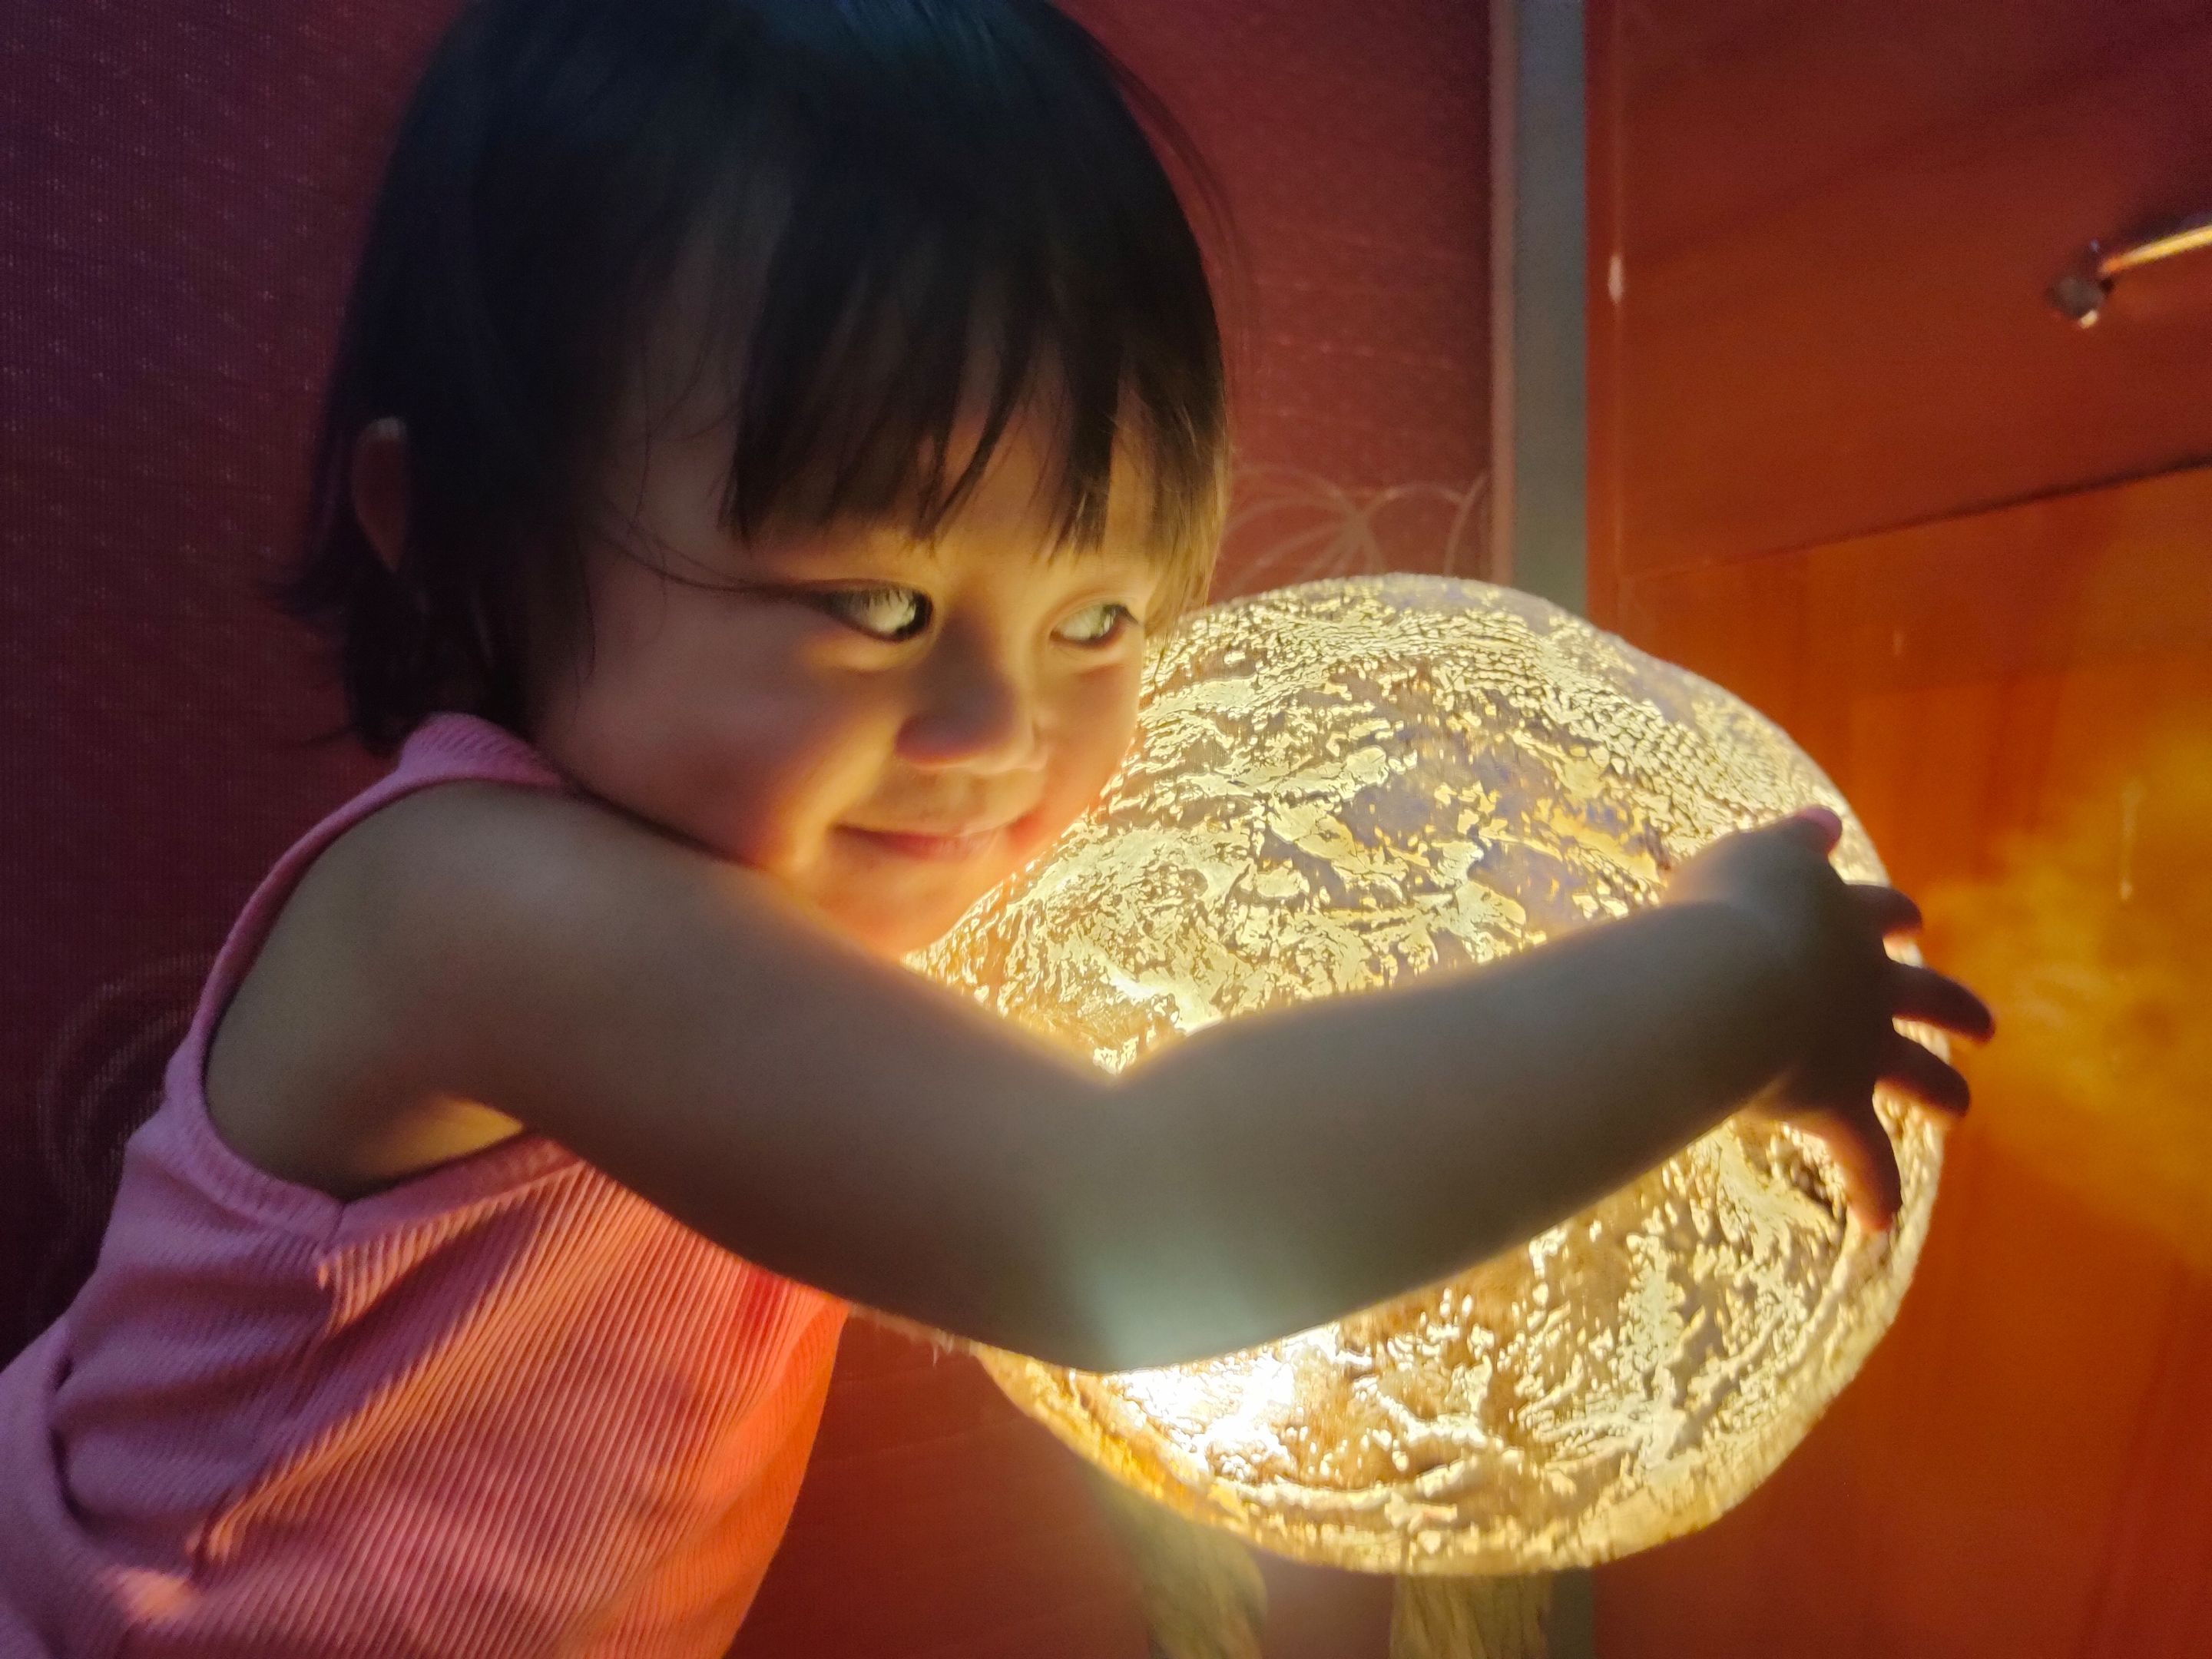
So thanks to this month’s DIYHUB prompt the MOON, my heart is happy to see how delighted my daughter is to hug the Moon. So I’m sharing this simple DIY I did to give her the Moon.
2

DIY MOON LAMP
To have this MOON in your room is so easy and simple. All you have to do is follow these steps and enjoy the process.
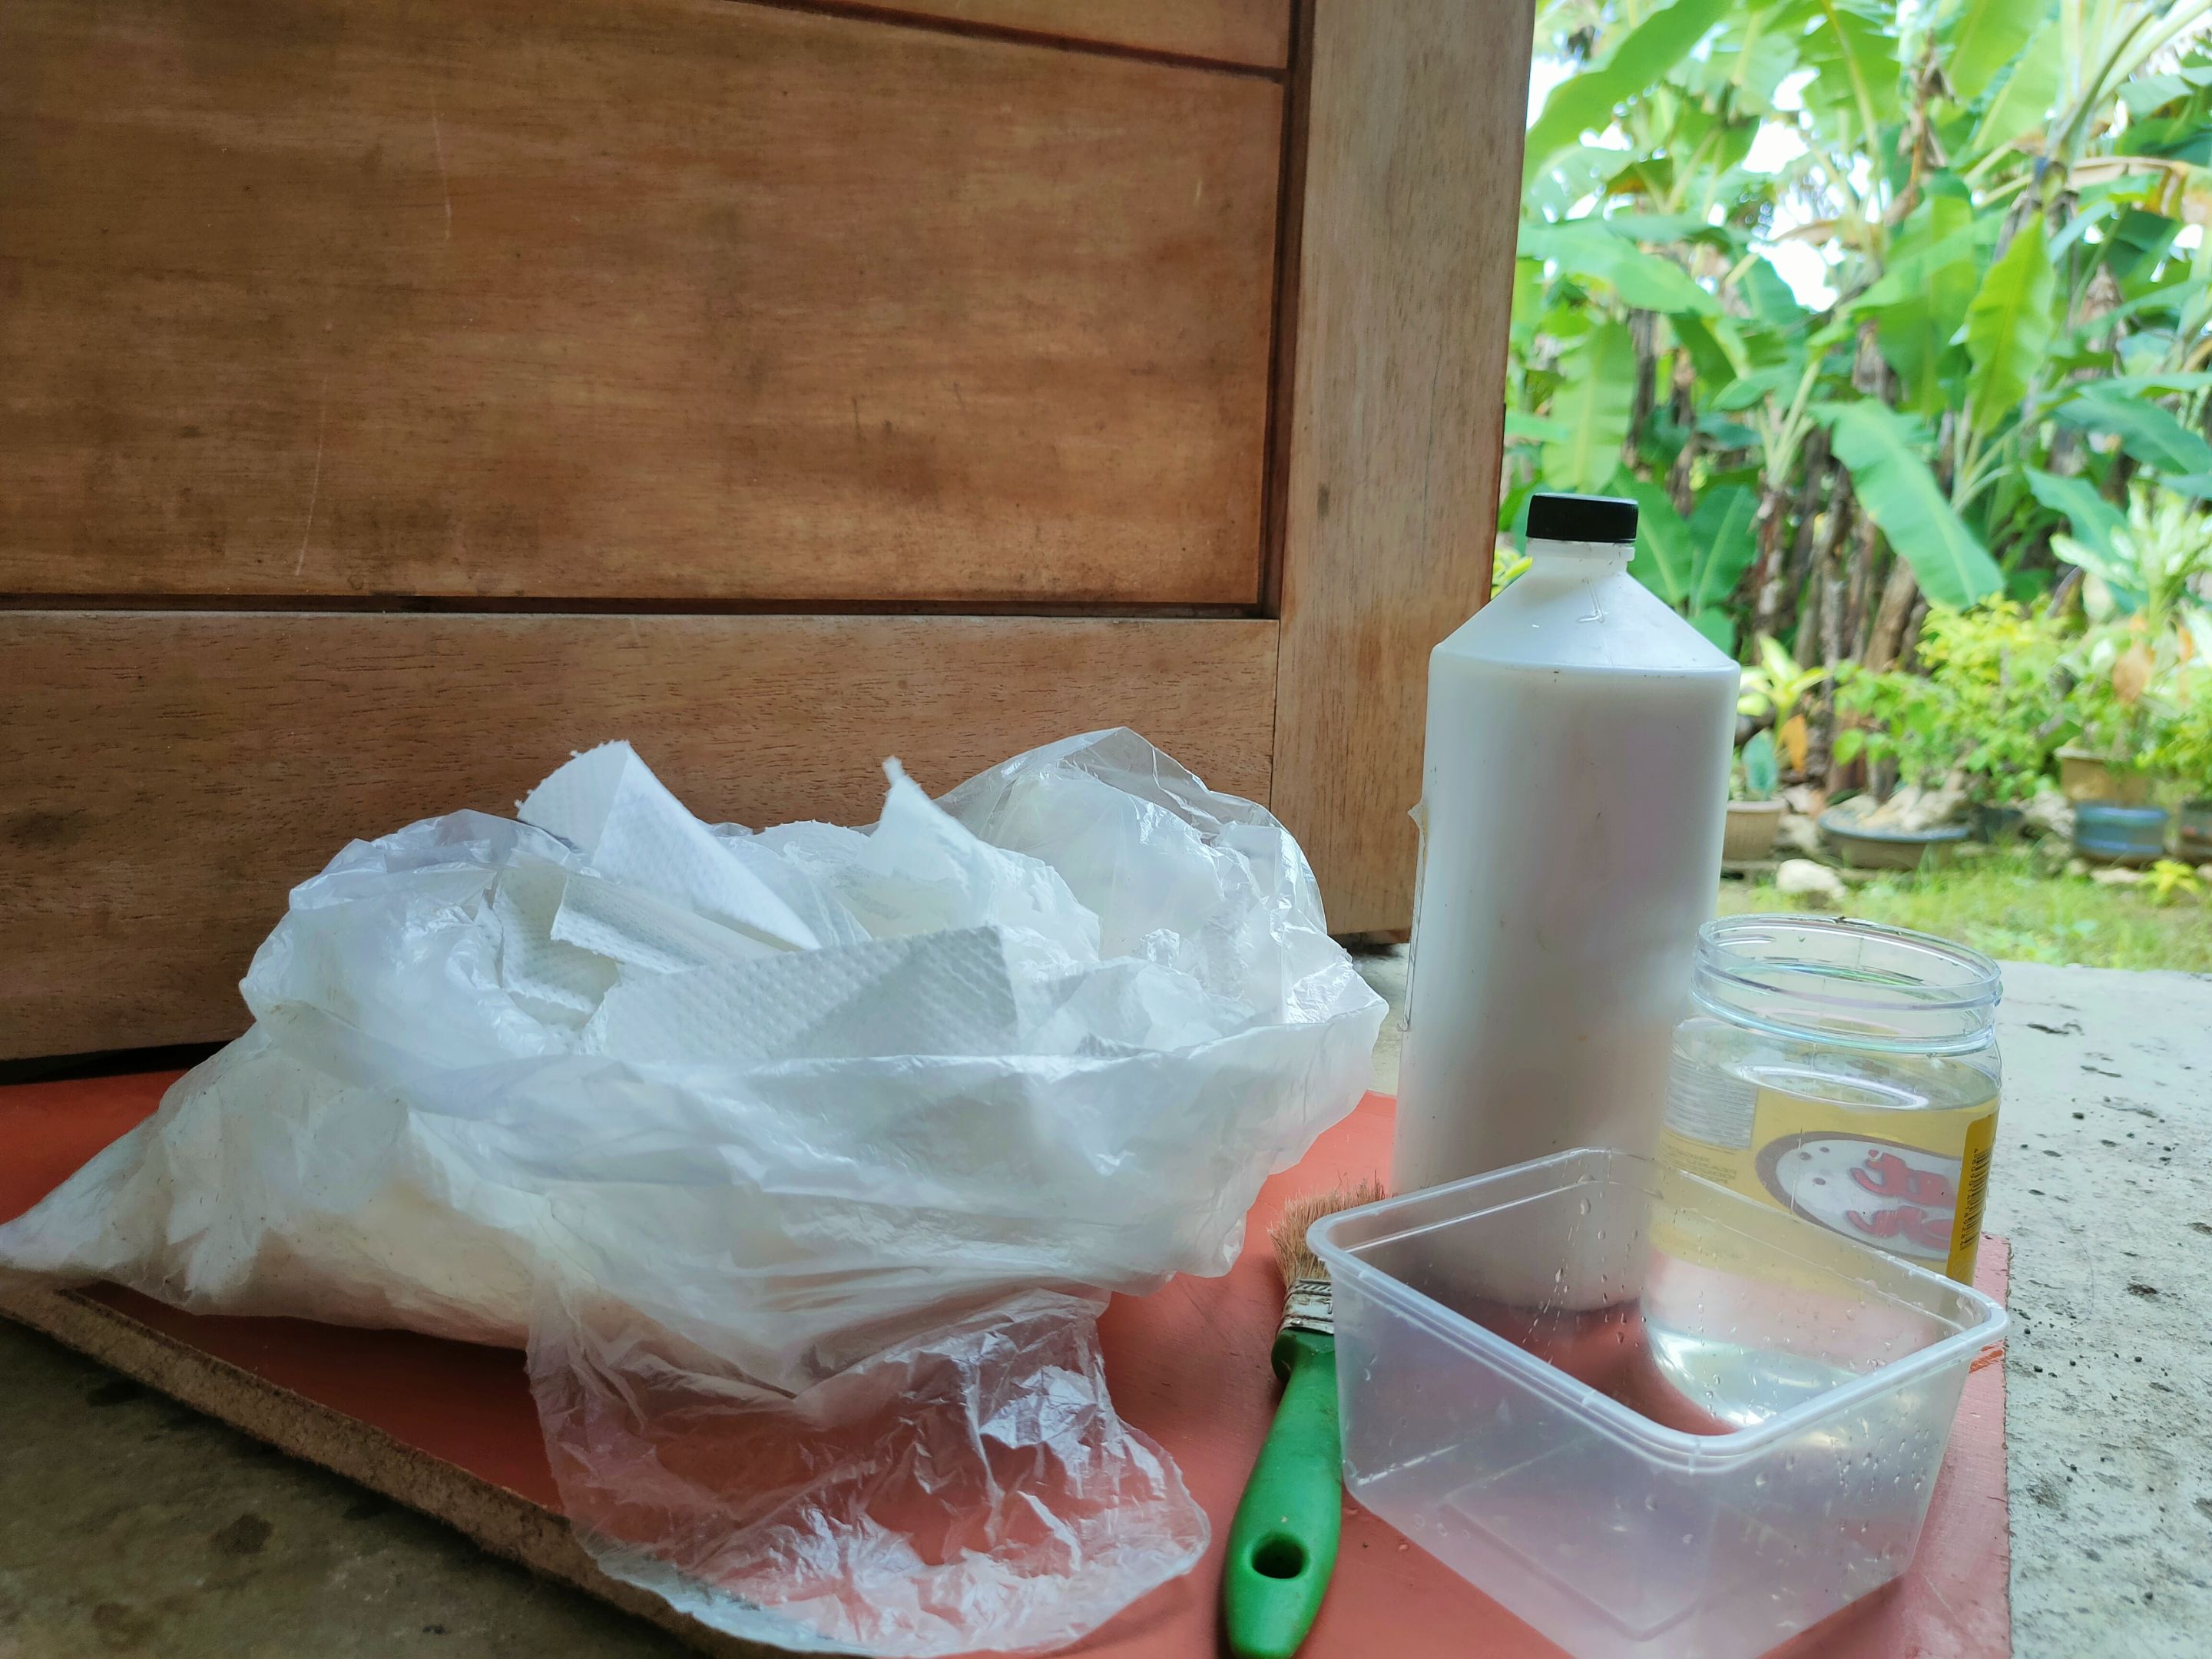
Prepare the following Materials
For the MOON
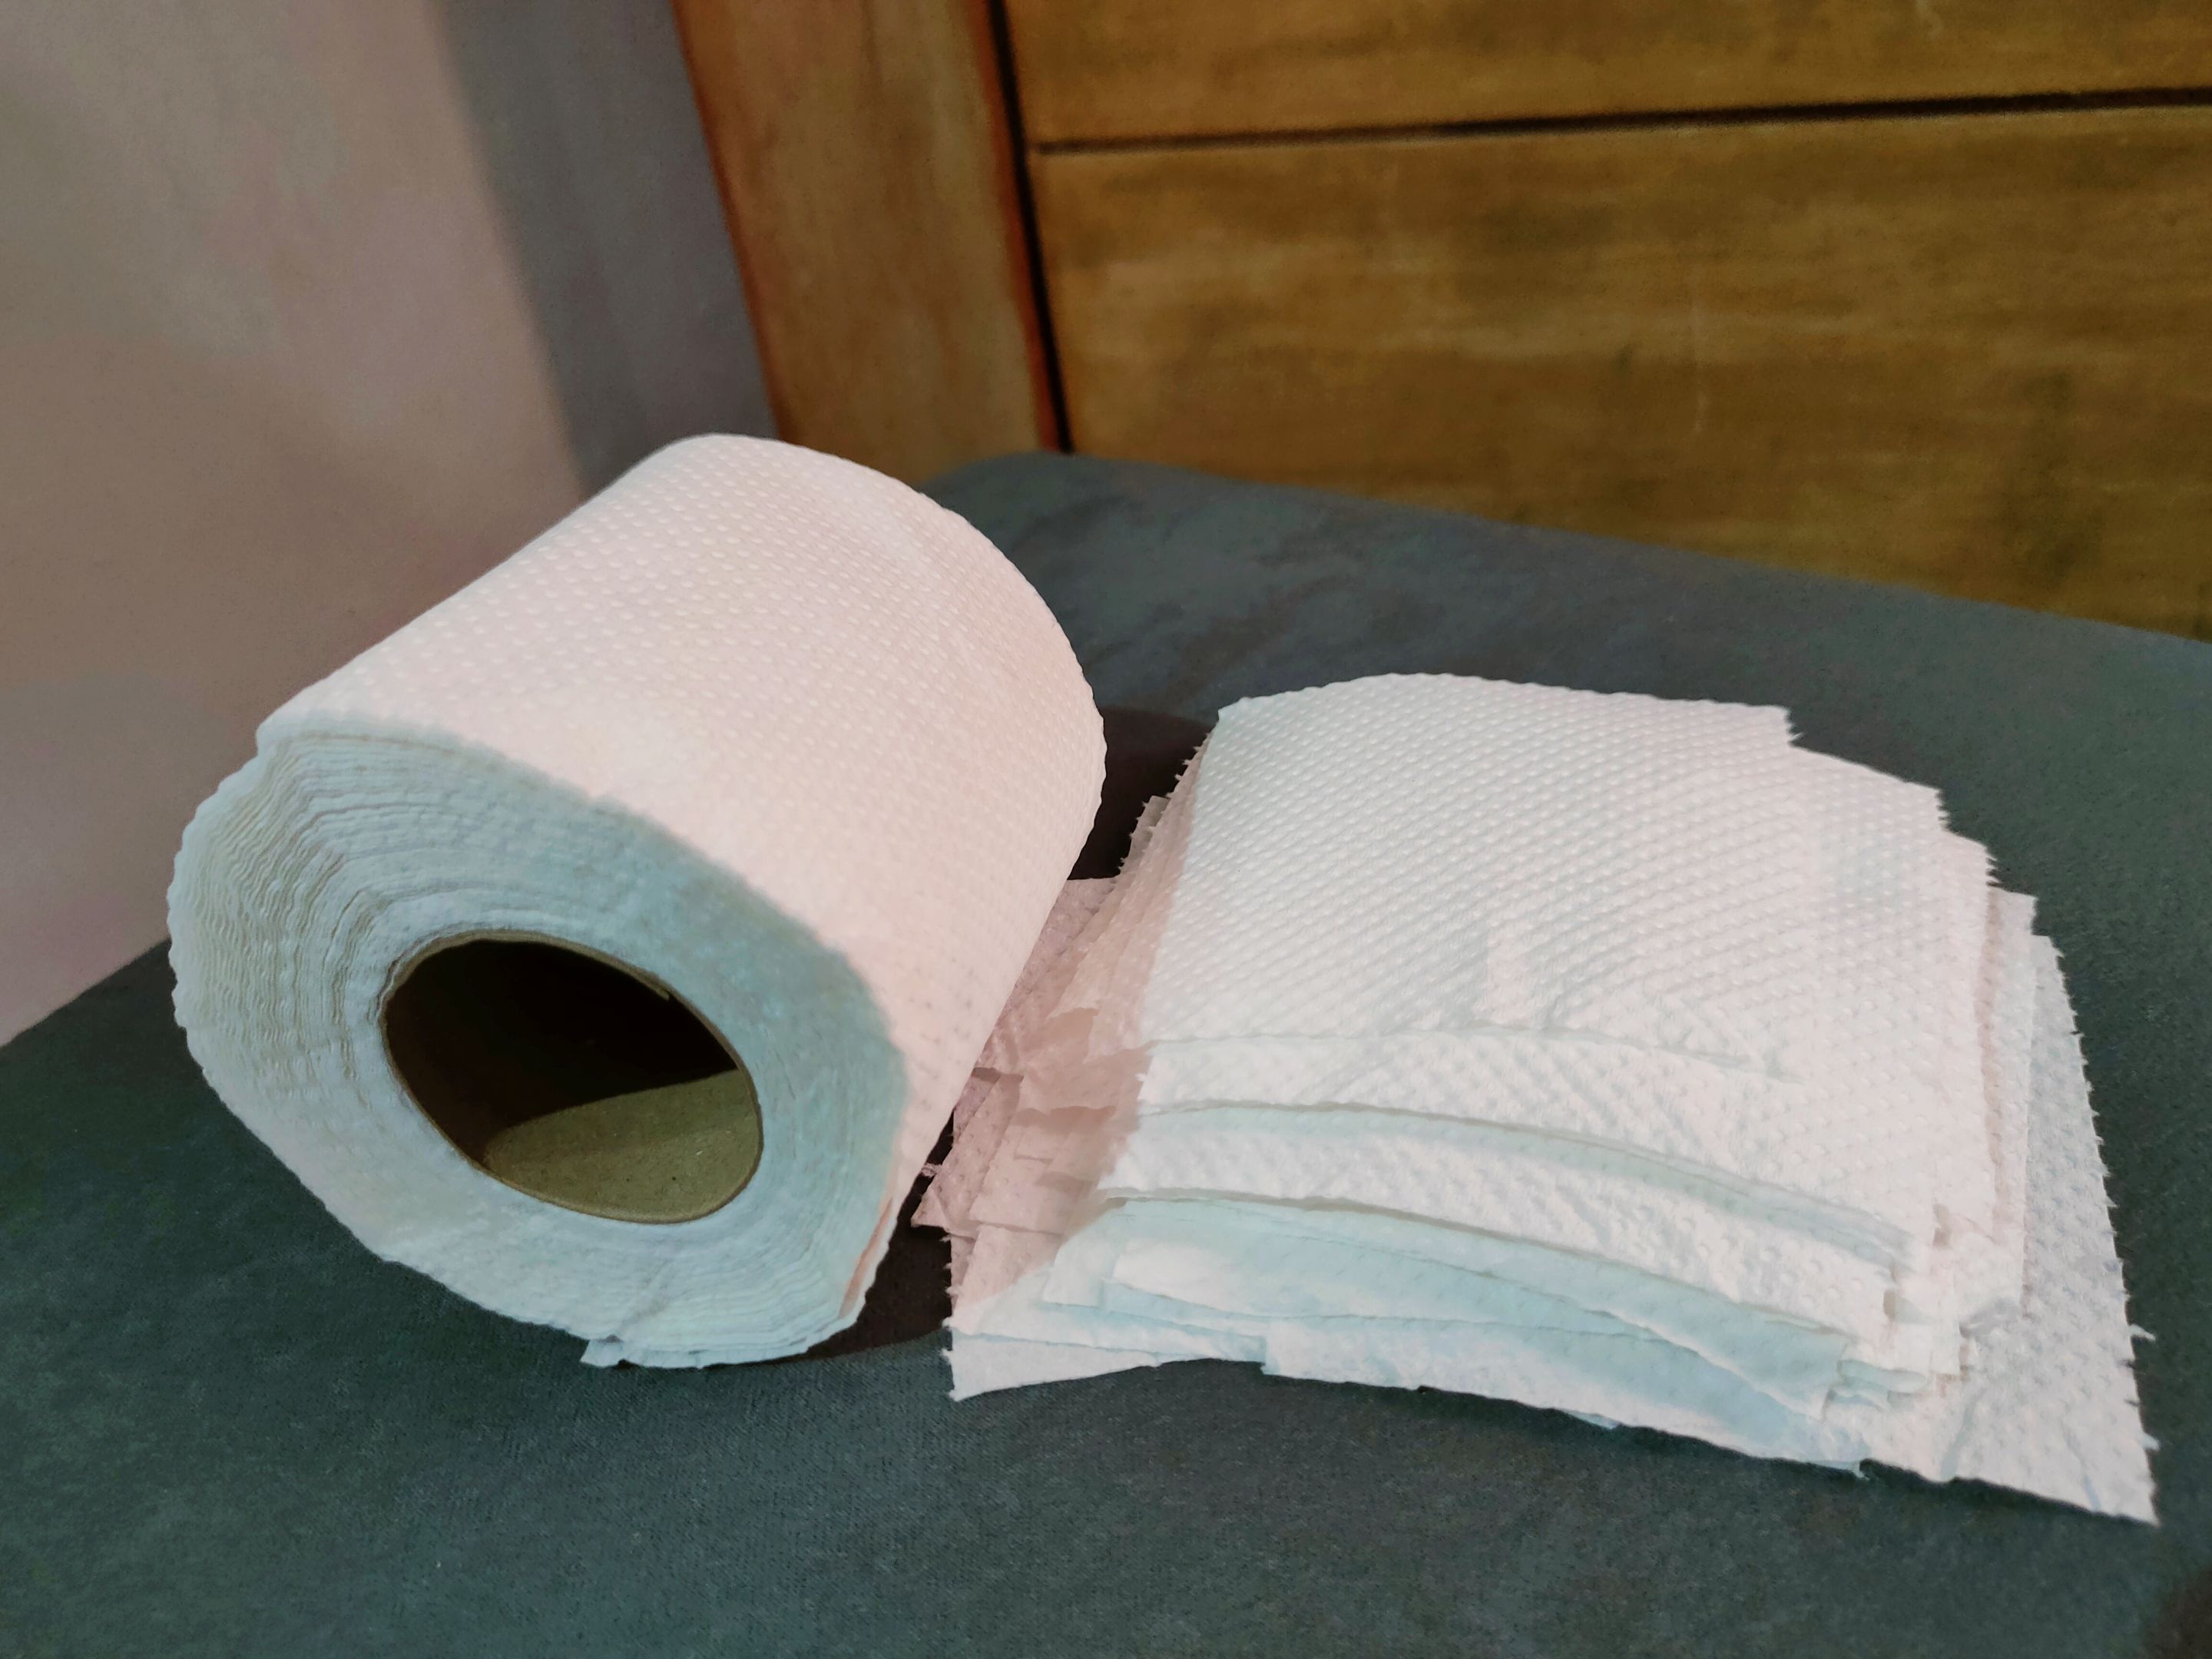
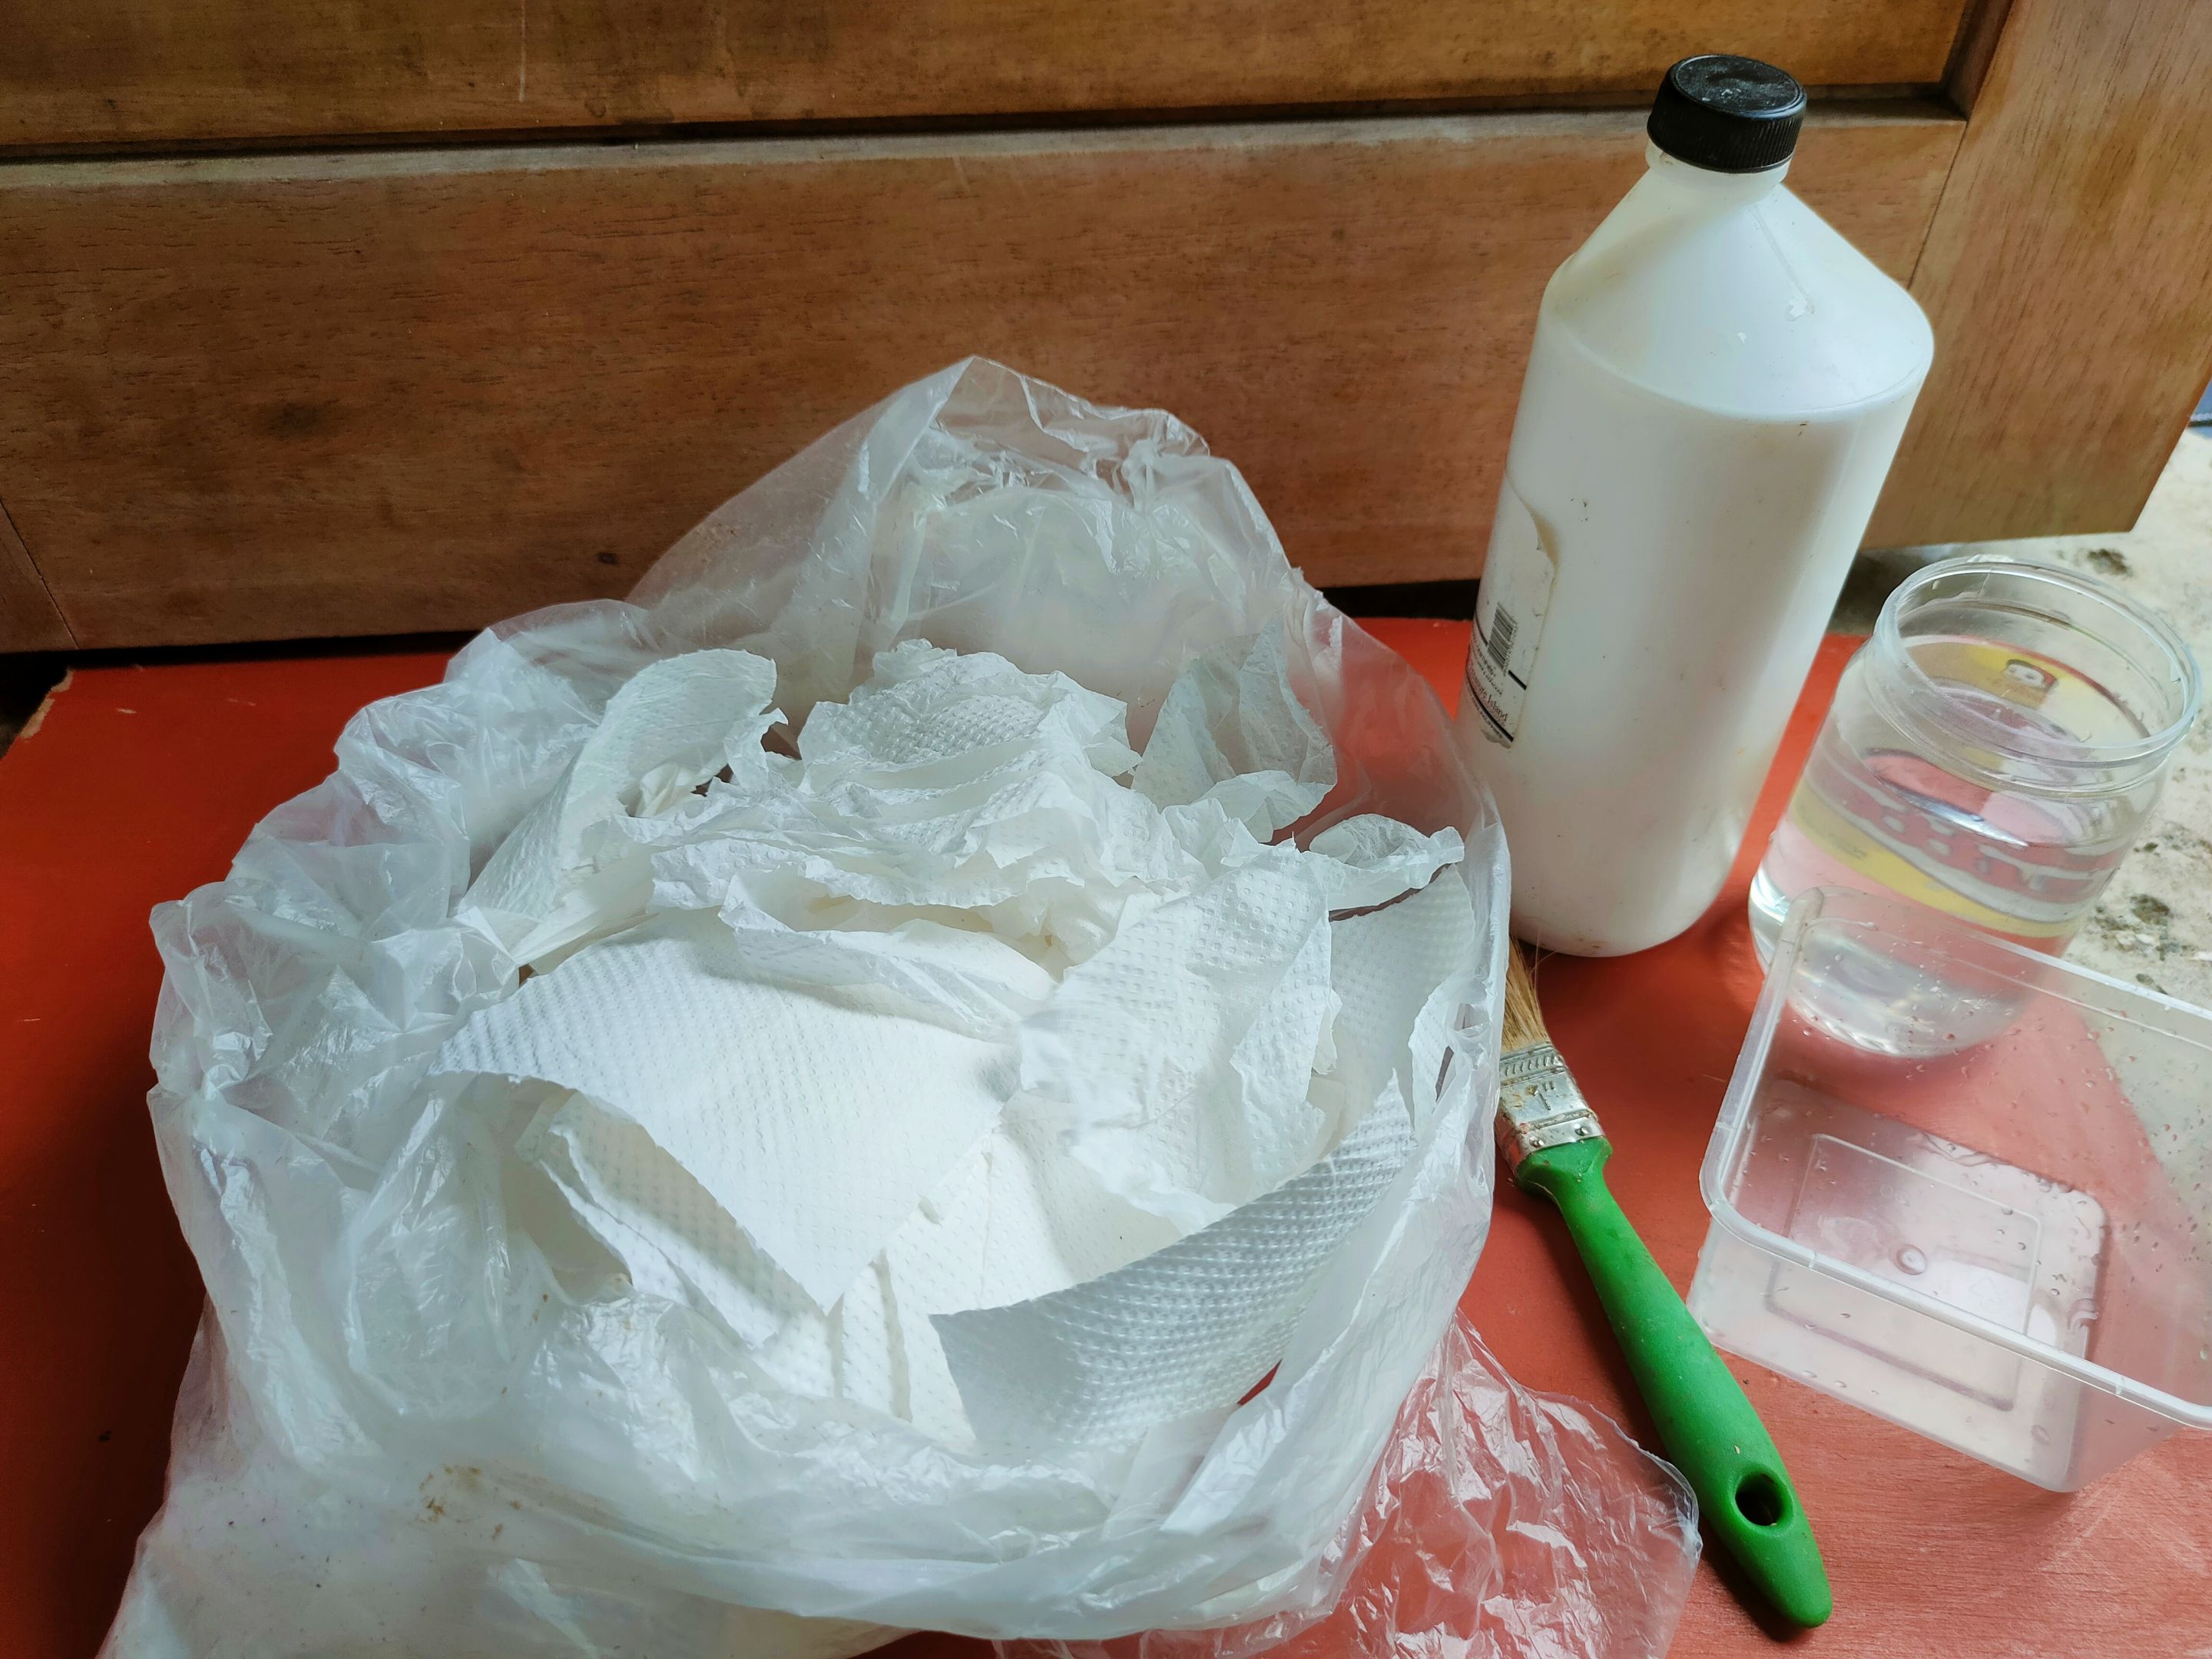
Tissue paper
Glue & water
Brush
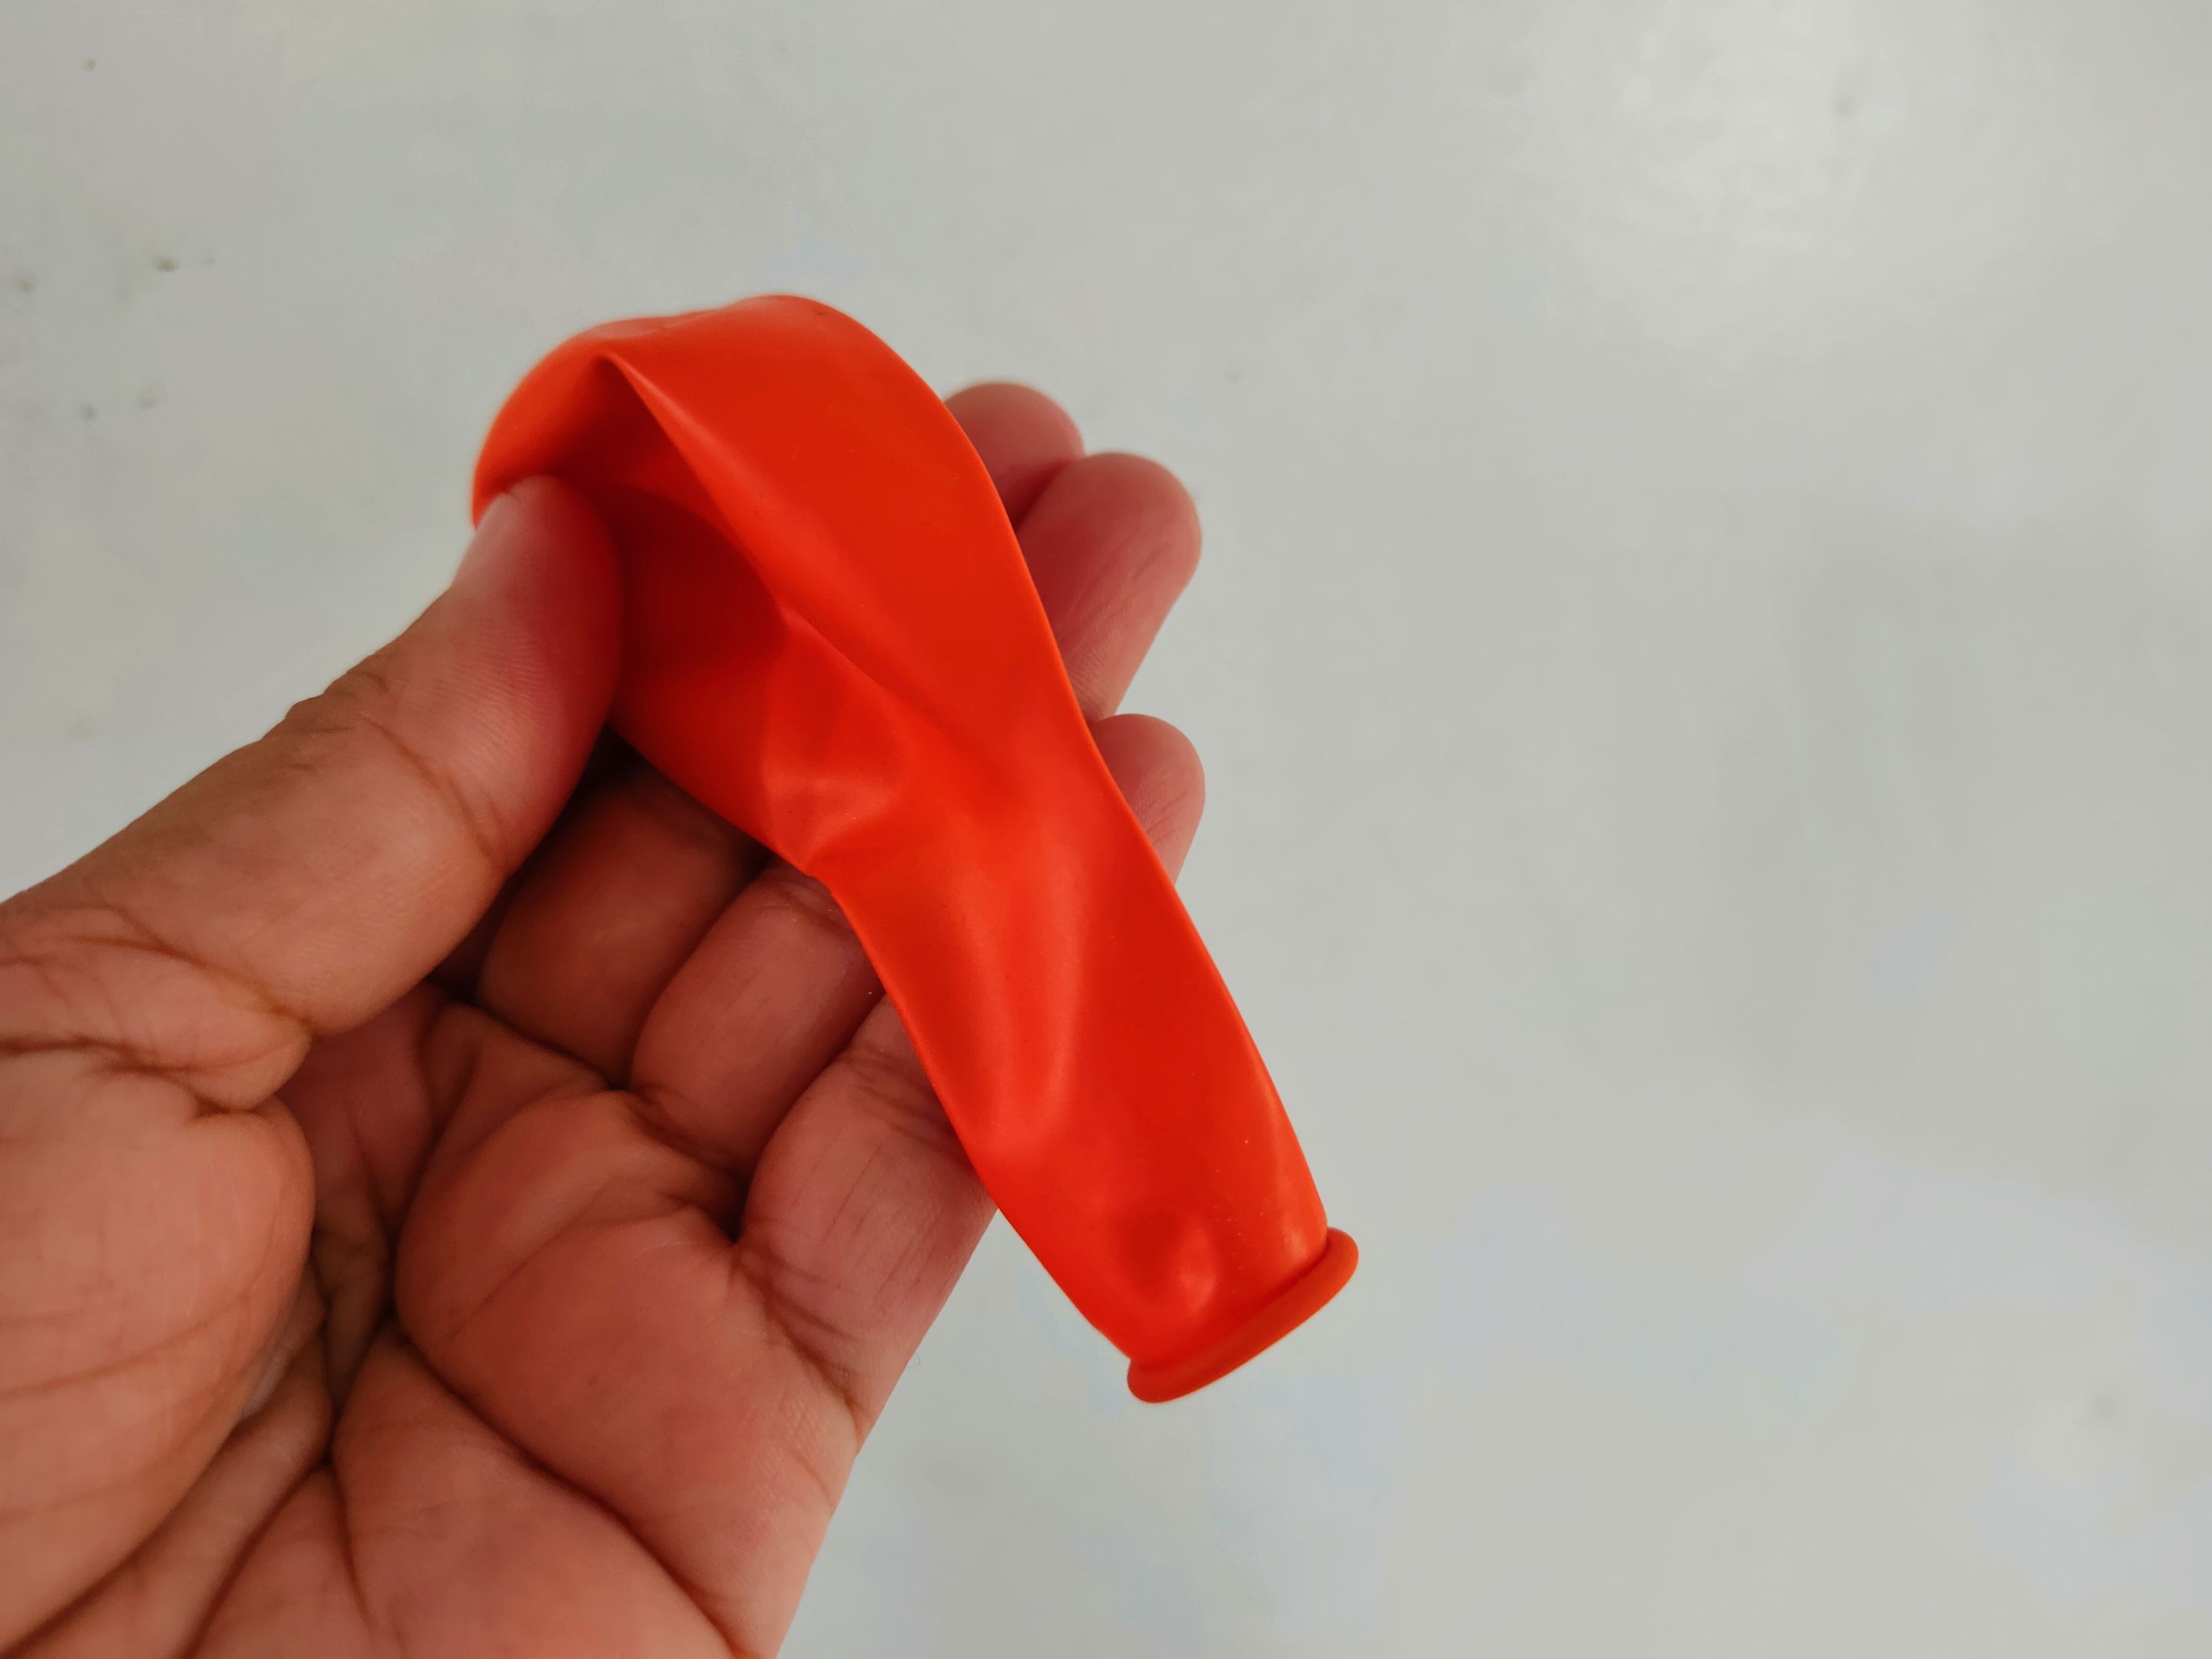
Balloon
Scissor
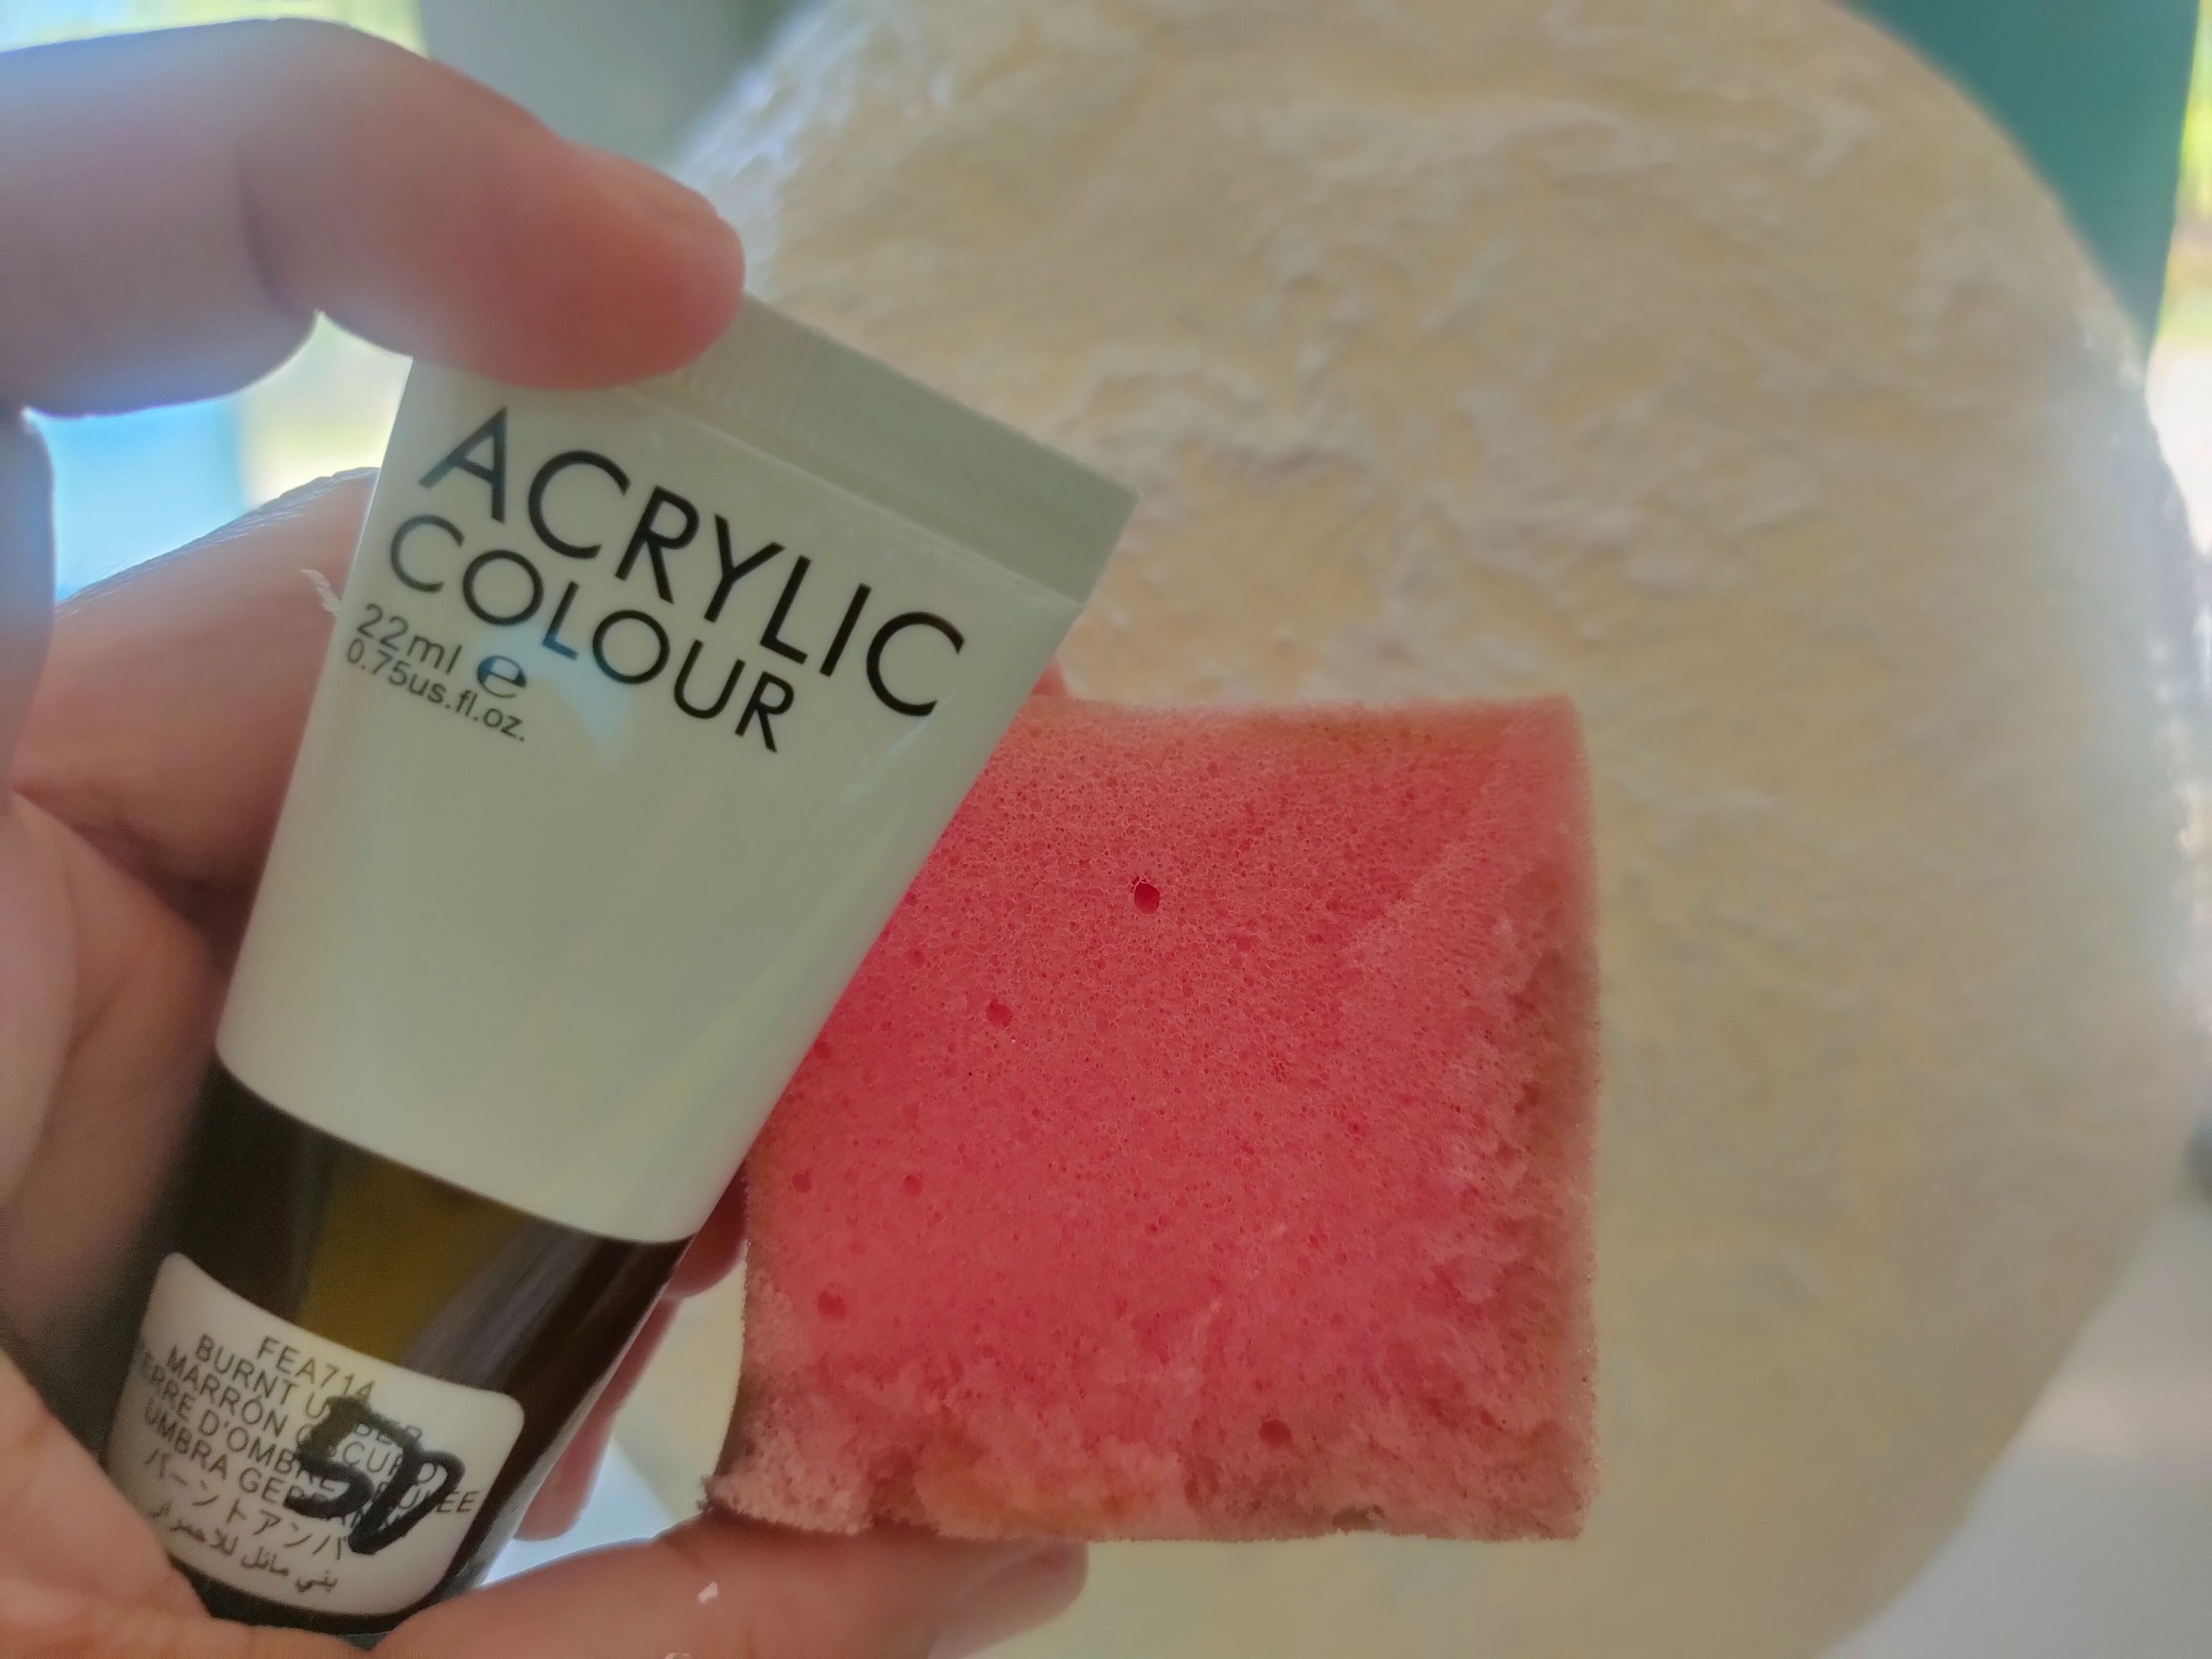
For Coloring
White Paint (I used my old paint)
Brown Acrylic Paint (Only a small amount is needed)
For the Lamp
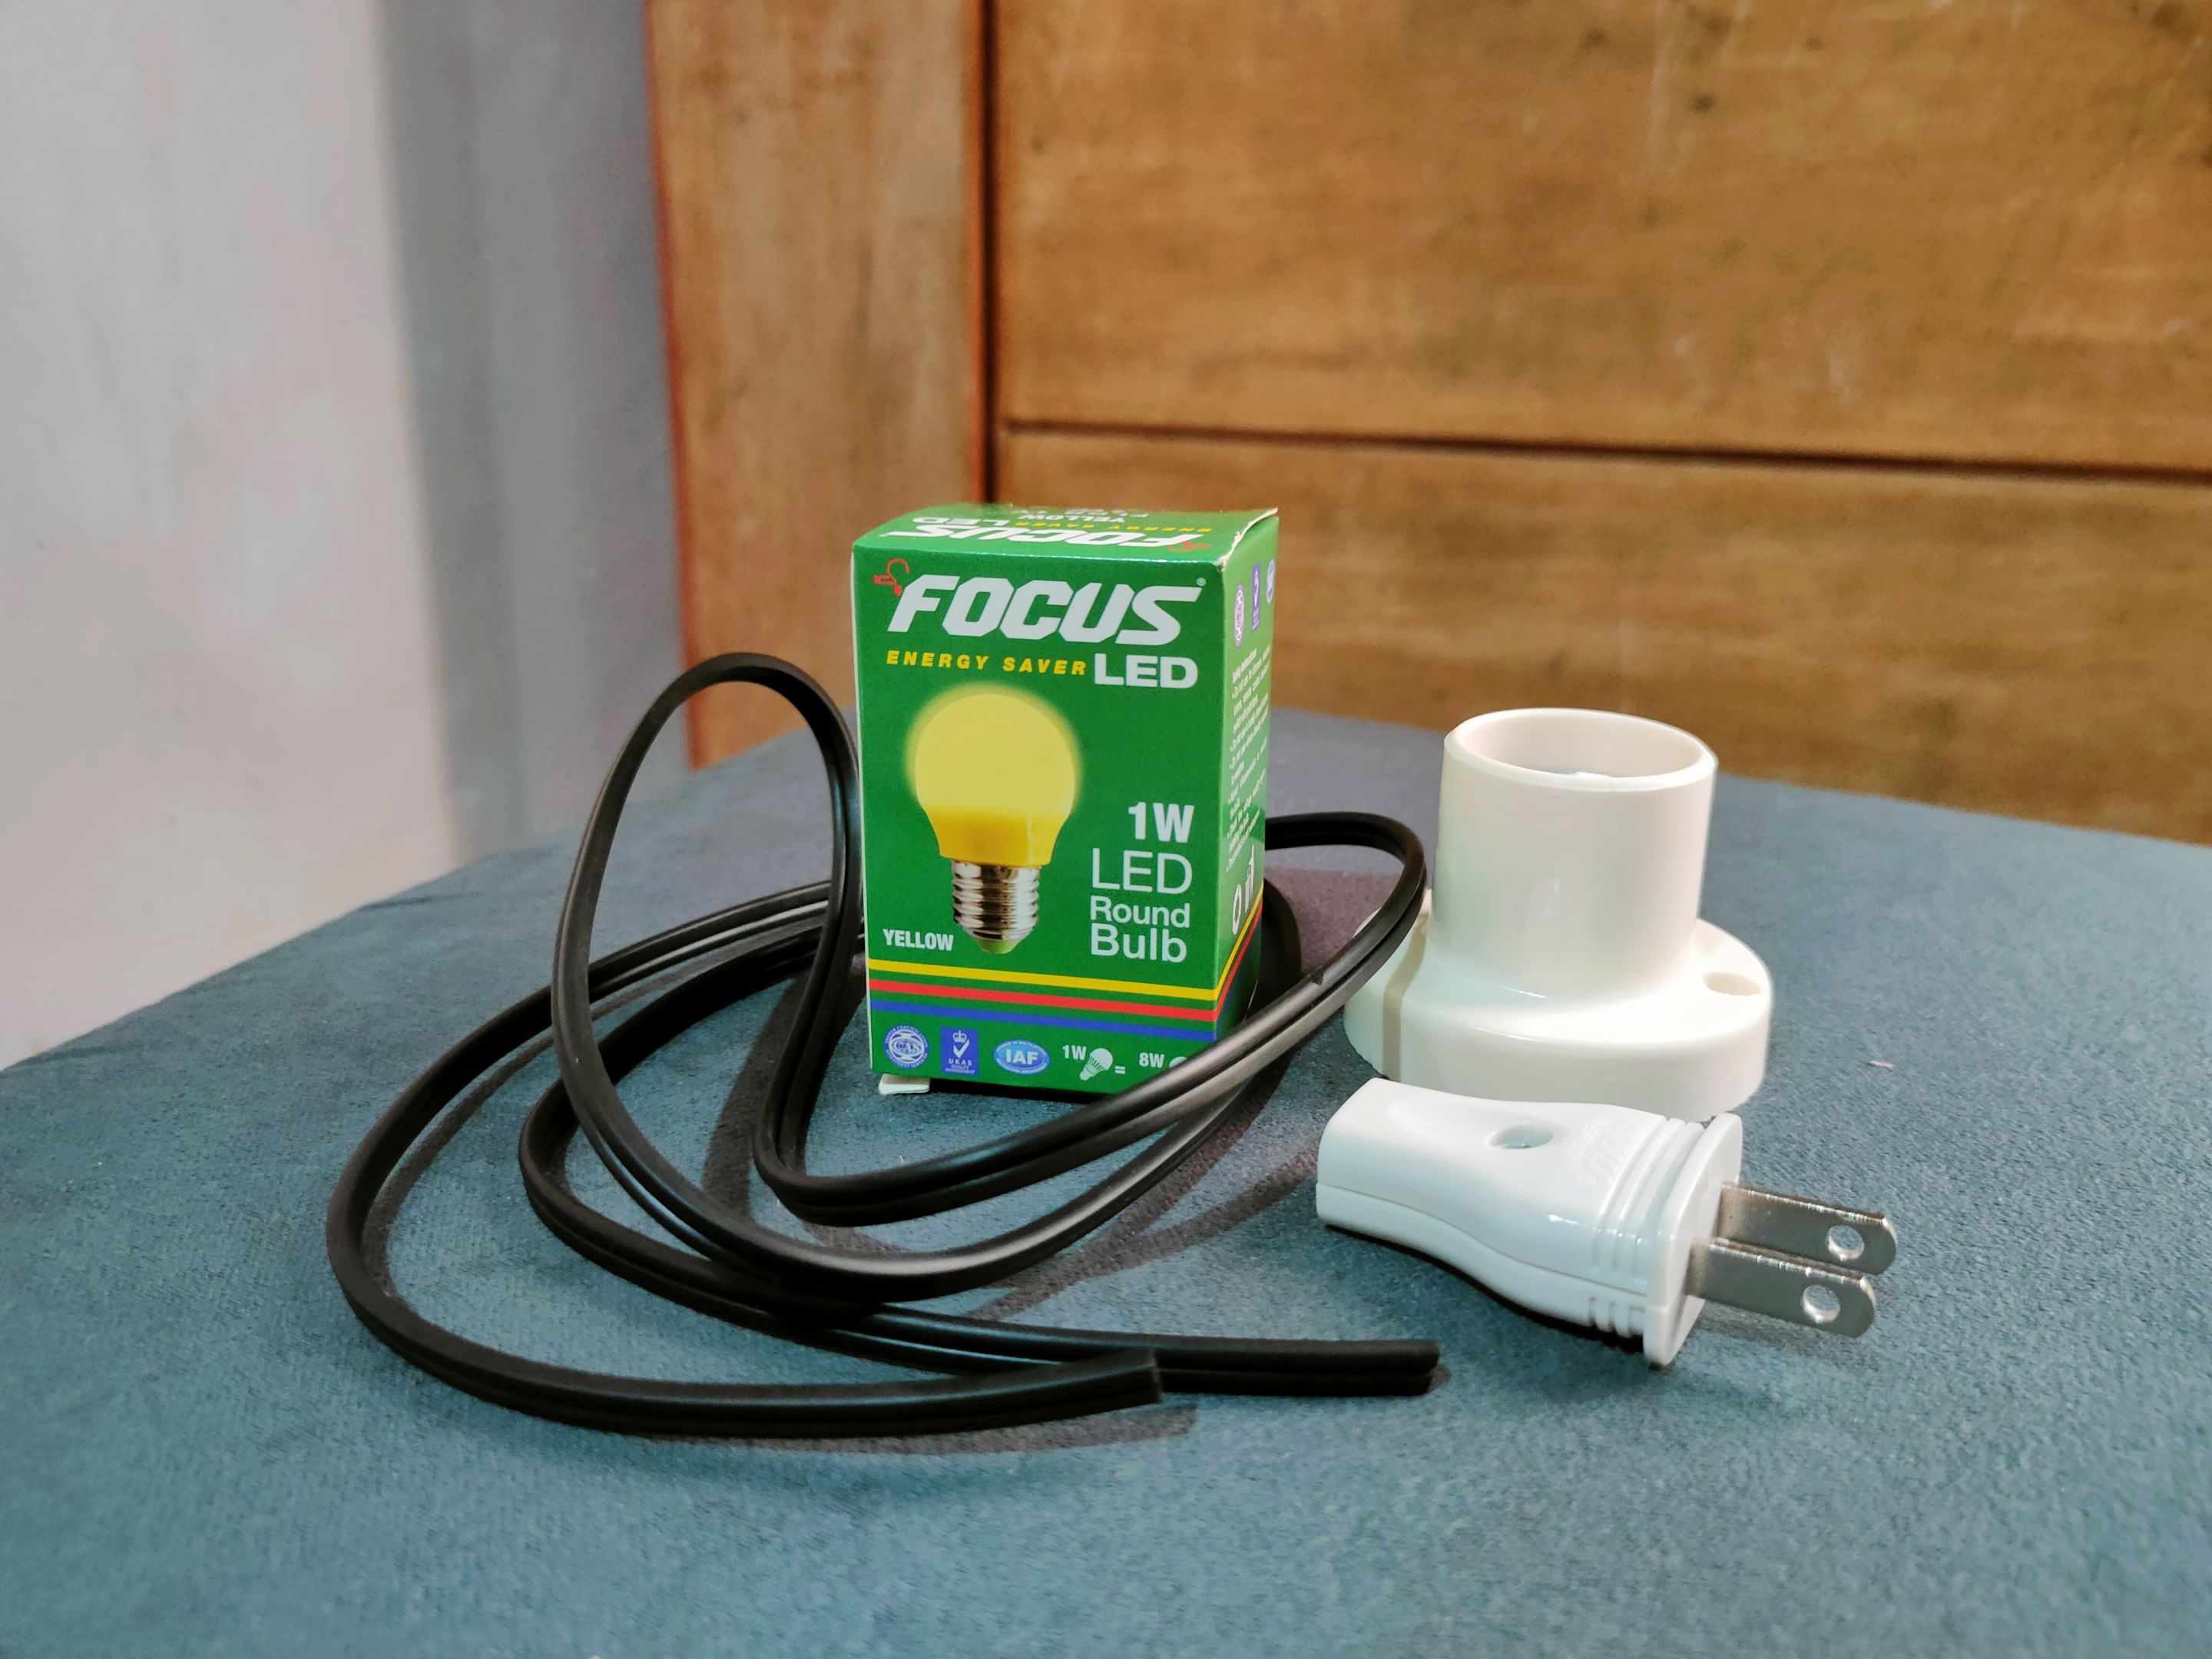
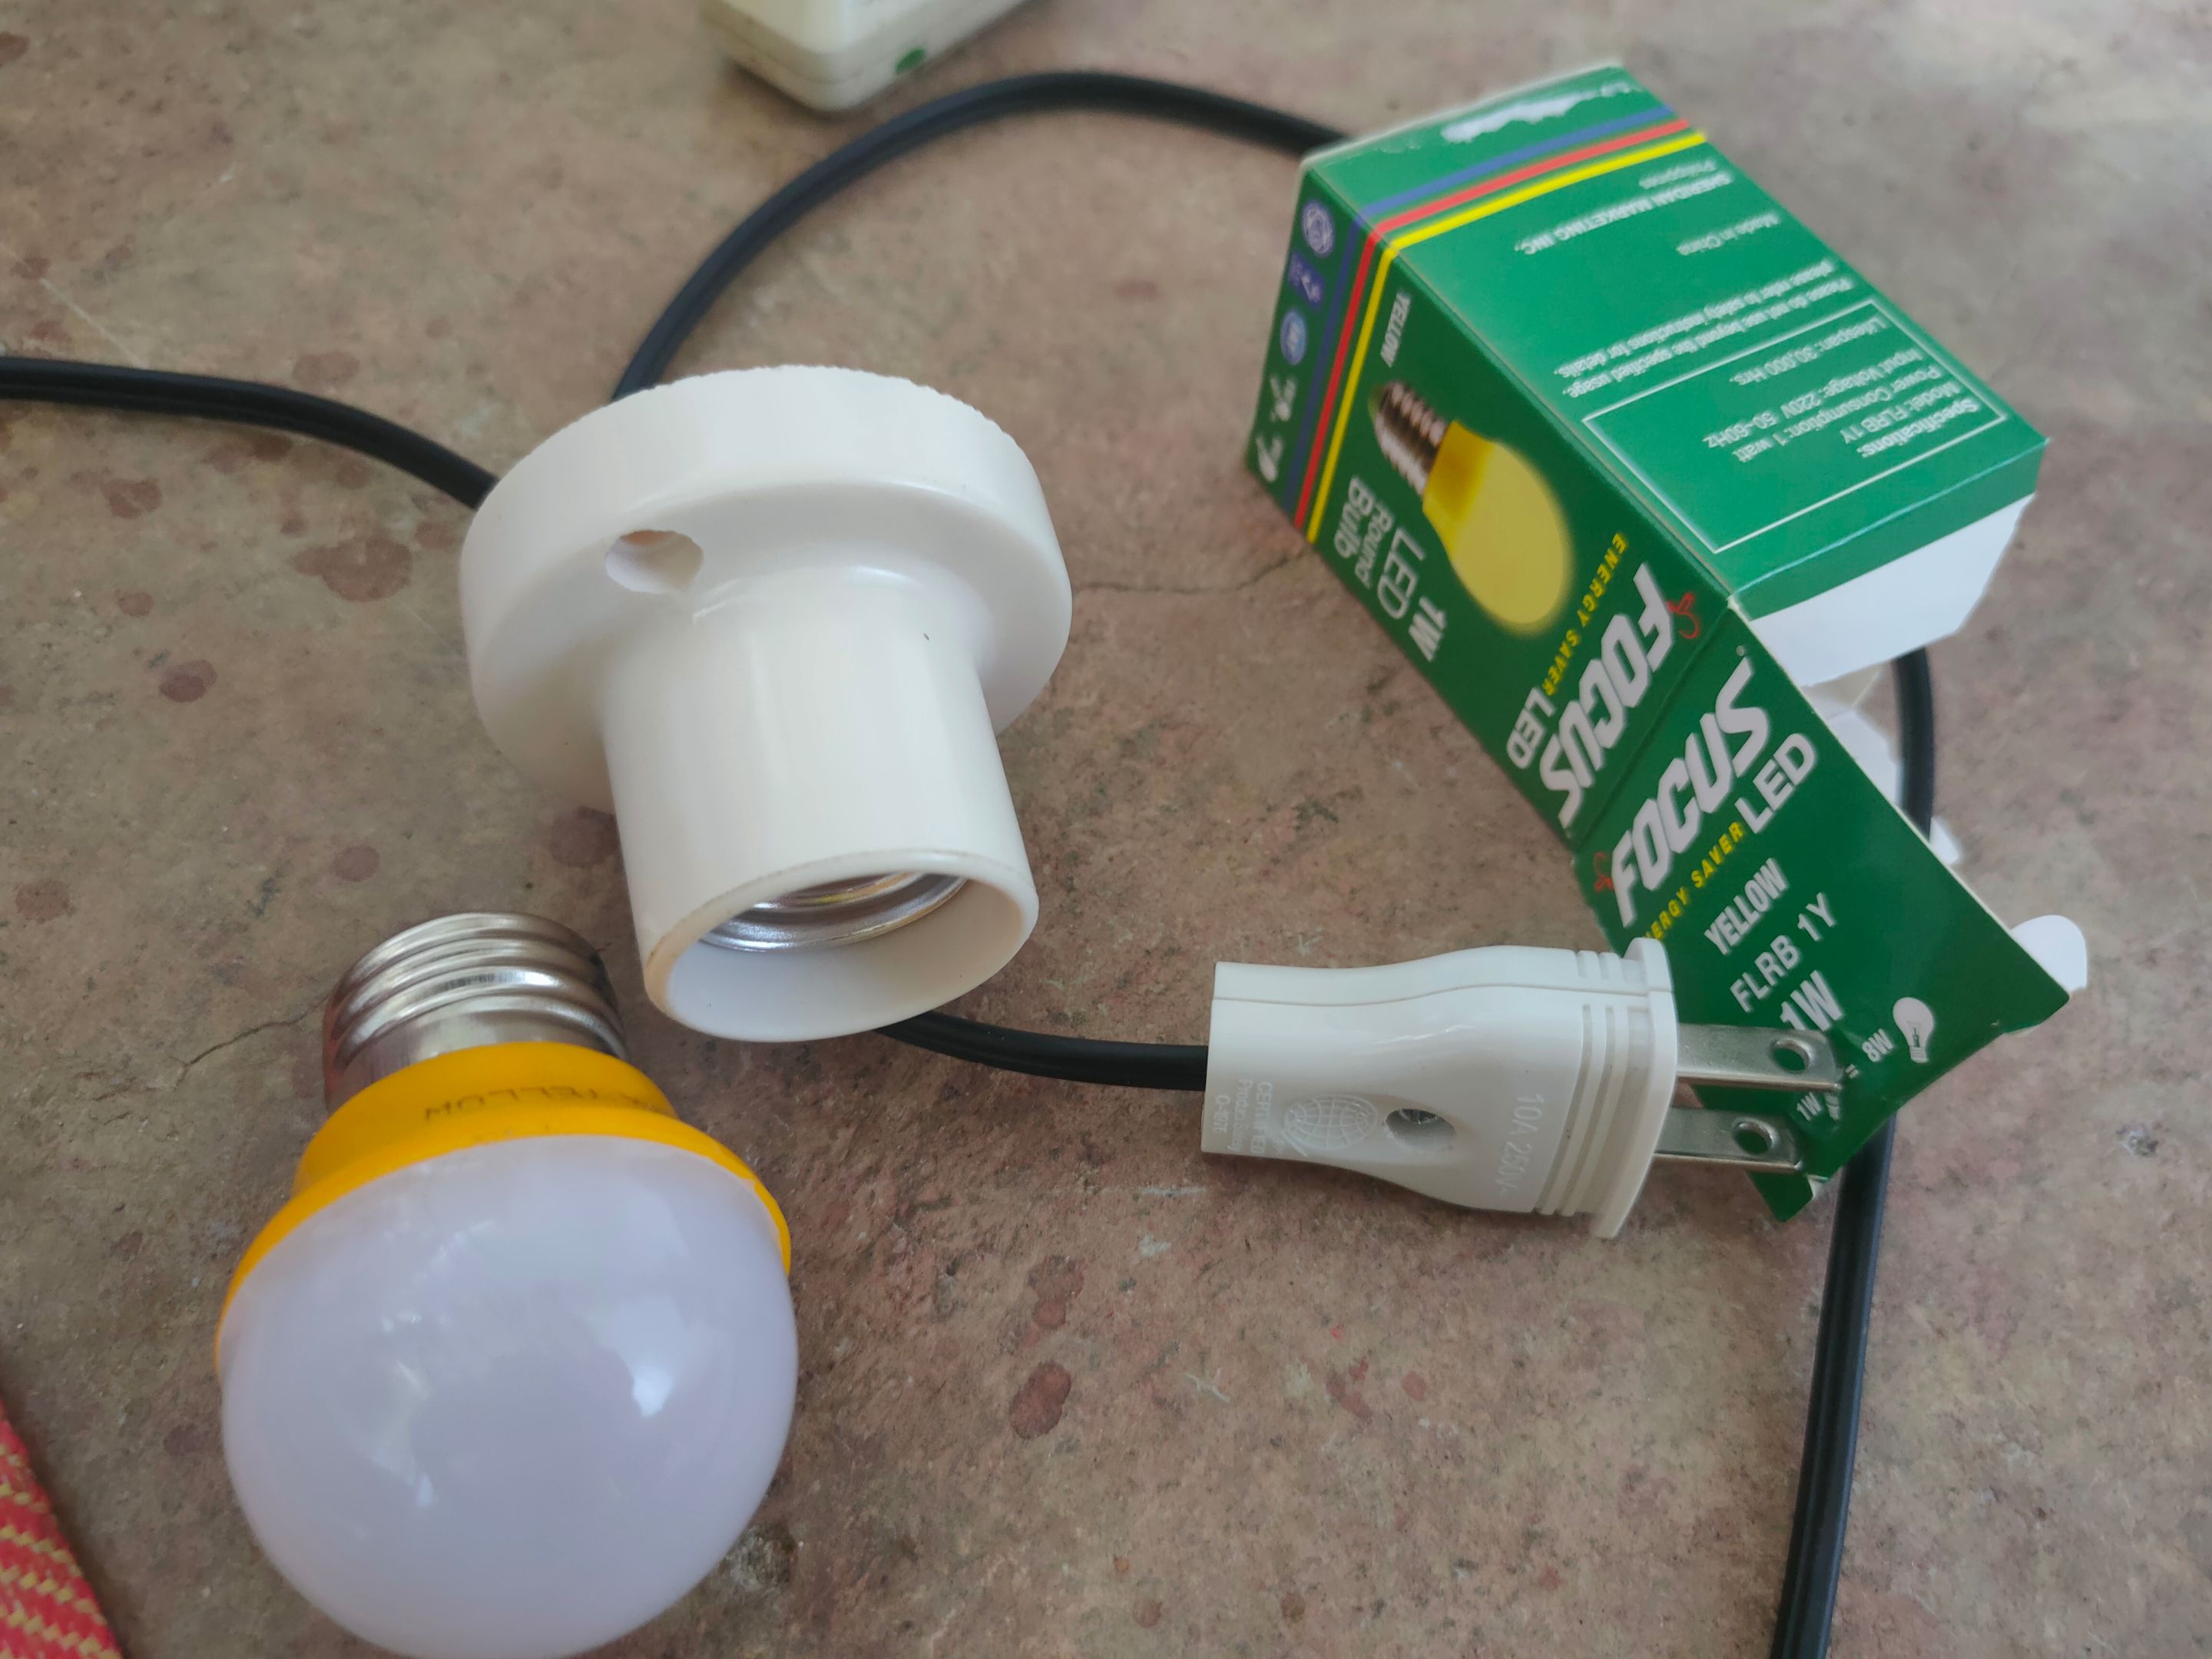
Light bulb with a socket
Wire ( your desired length, Mine is 1 meter)
For the Holder
Any wood
Pot/Container
If you have these then you are good to go!
Now let’s start!
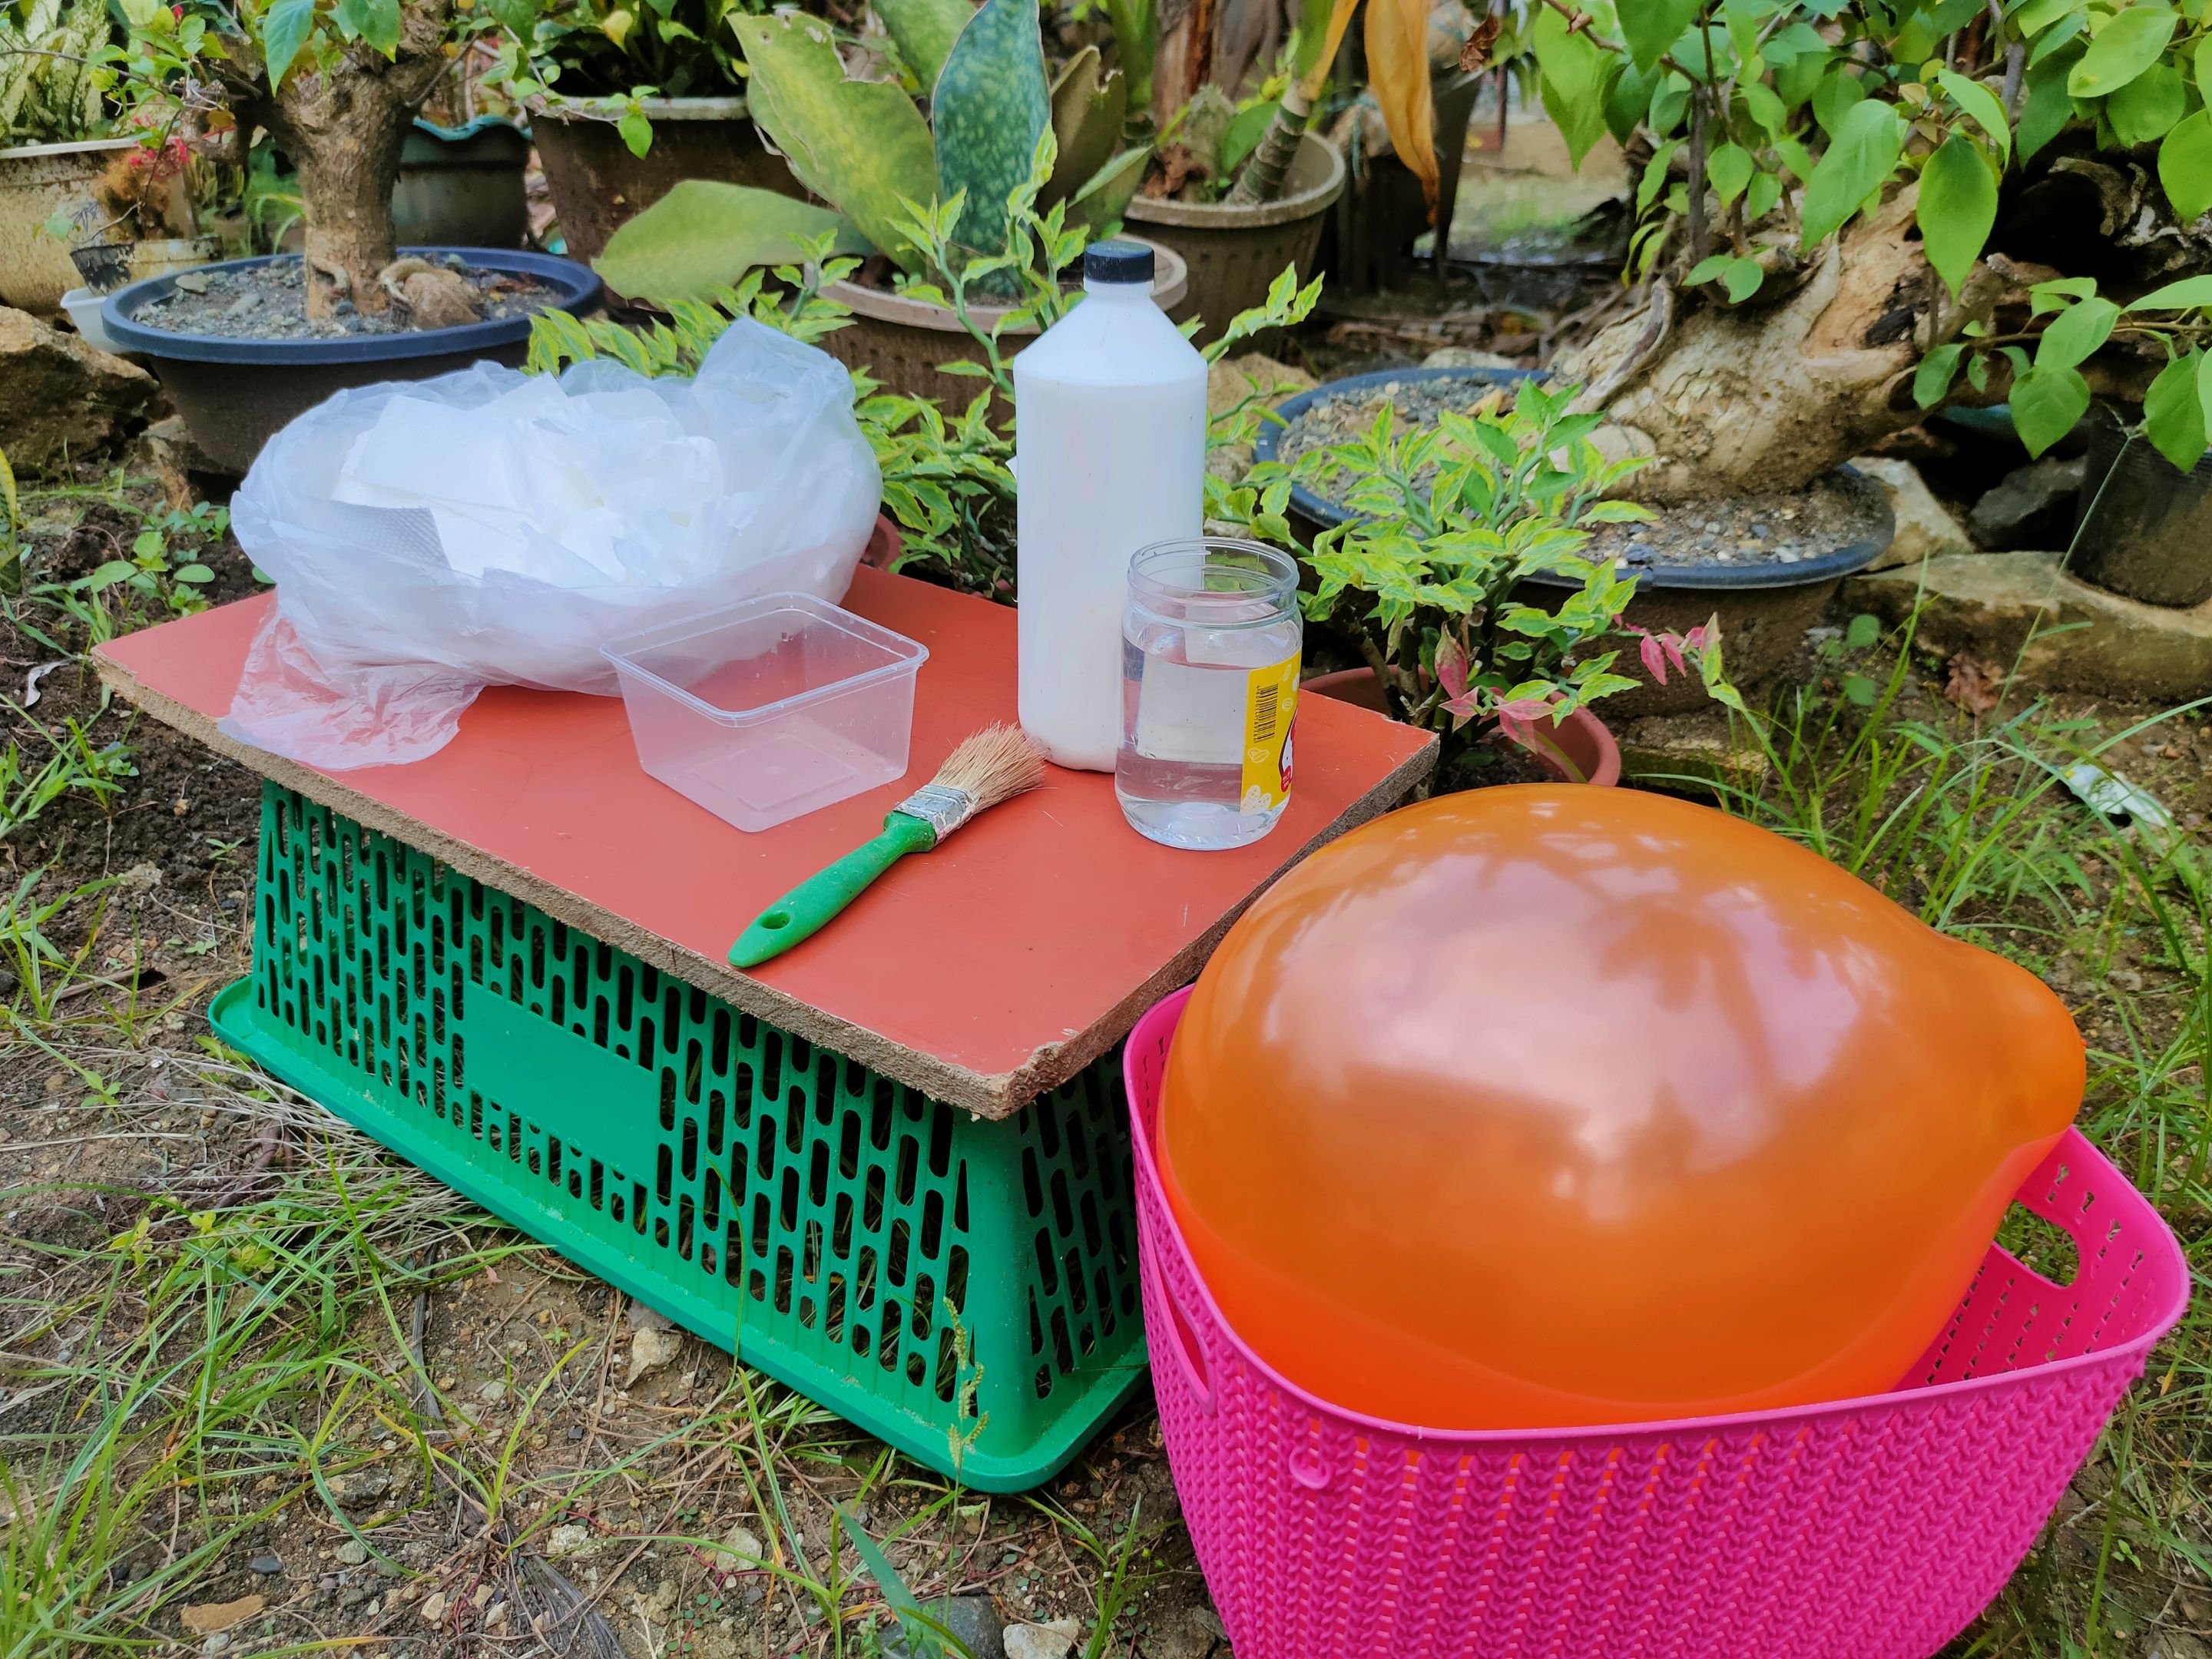
1.Inflate the Balloon to a big Circle shape. Carefully do not inflate it too much so it won’t explode during gluing.
2.Prepare a mixture of your Glue and water. For this, you can have a 1:1 ratio, but in my case, I just mixed it and get the desired mixture I want.
3.Prepare the tissue paper by cutting it into small pieces. I use Tissue Roll Paper so cutting it into a square is easy.
4.Once the Balloon, Glue, and tissue paper are ready. You can now start gluing.
5.Brush the balloon with glue and cover it with tissue paper.
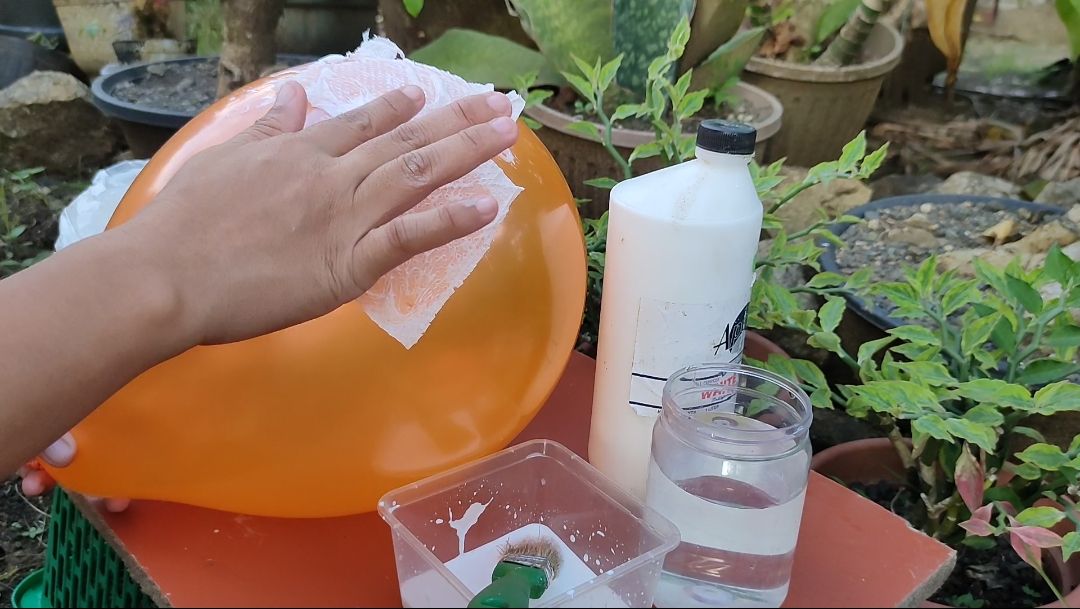
6.Keep brushing and gluing the paper until the balloon is fully covered.
7.Repeat Steps 5 and 6 for multiple layers of Tissue paper. This will make your lamp hard and sturdy once dry. Mine, I had 5 to 6 layers of tissue paper.
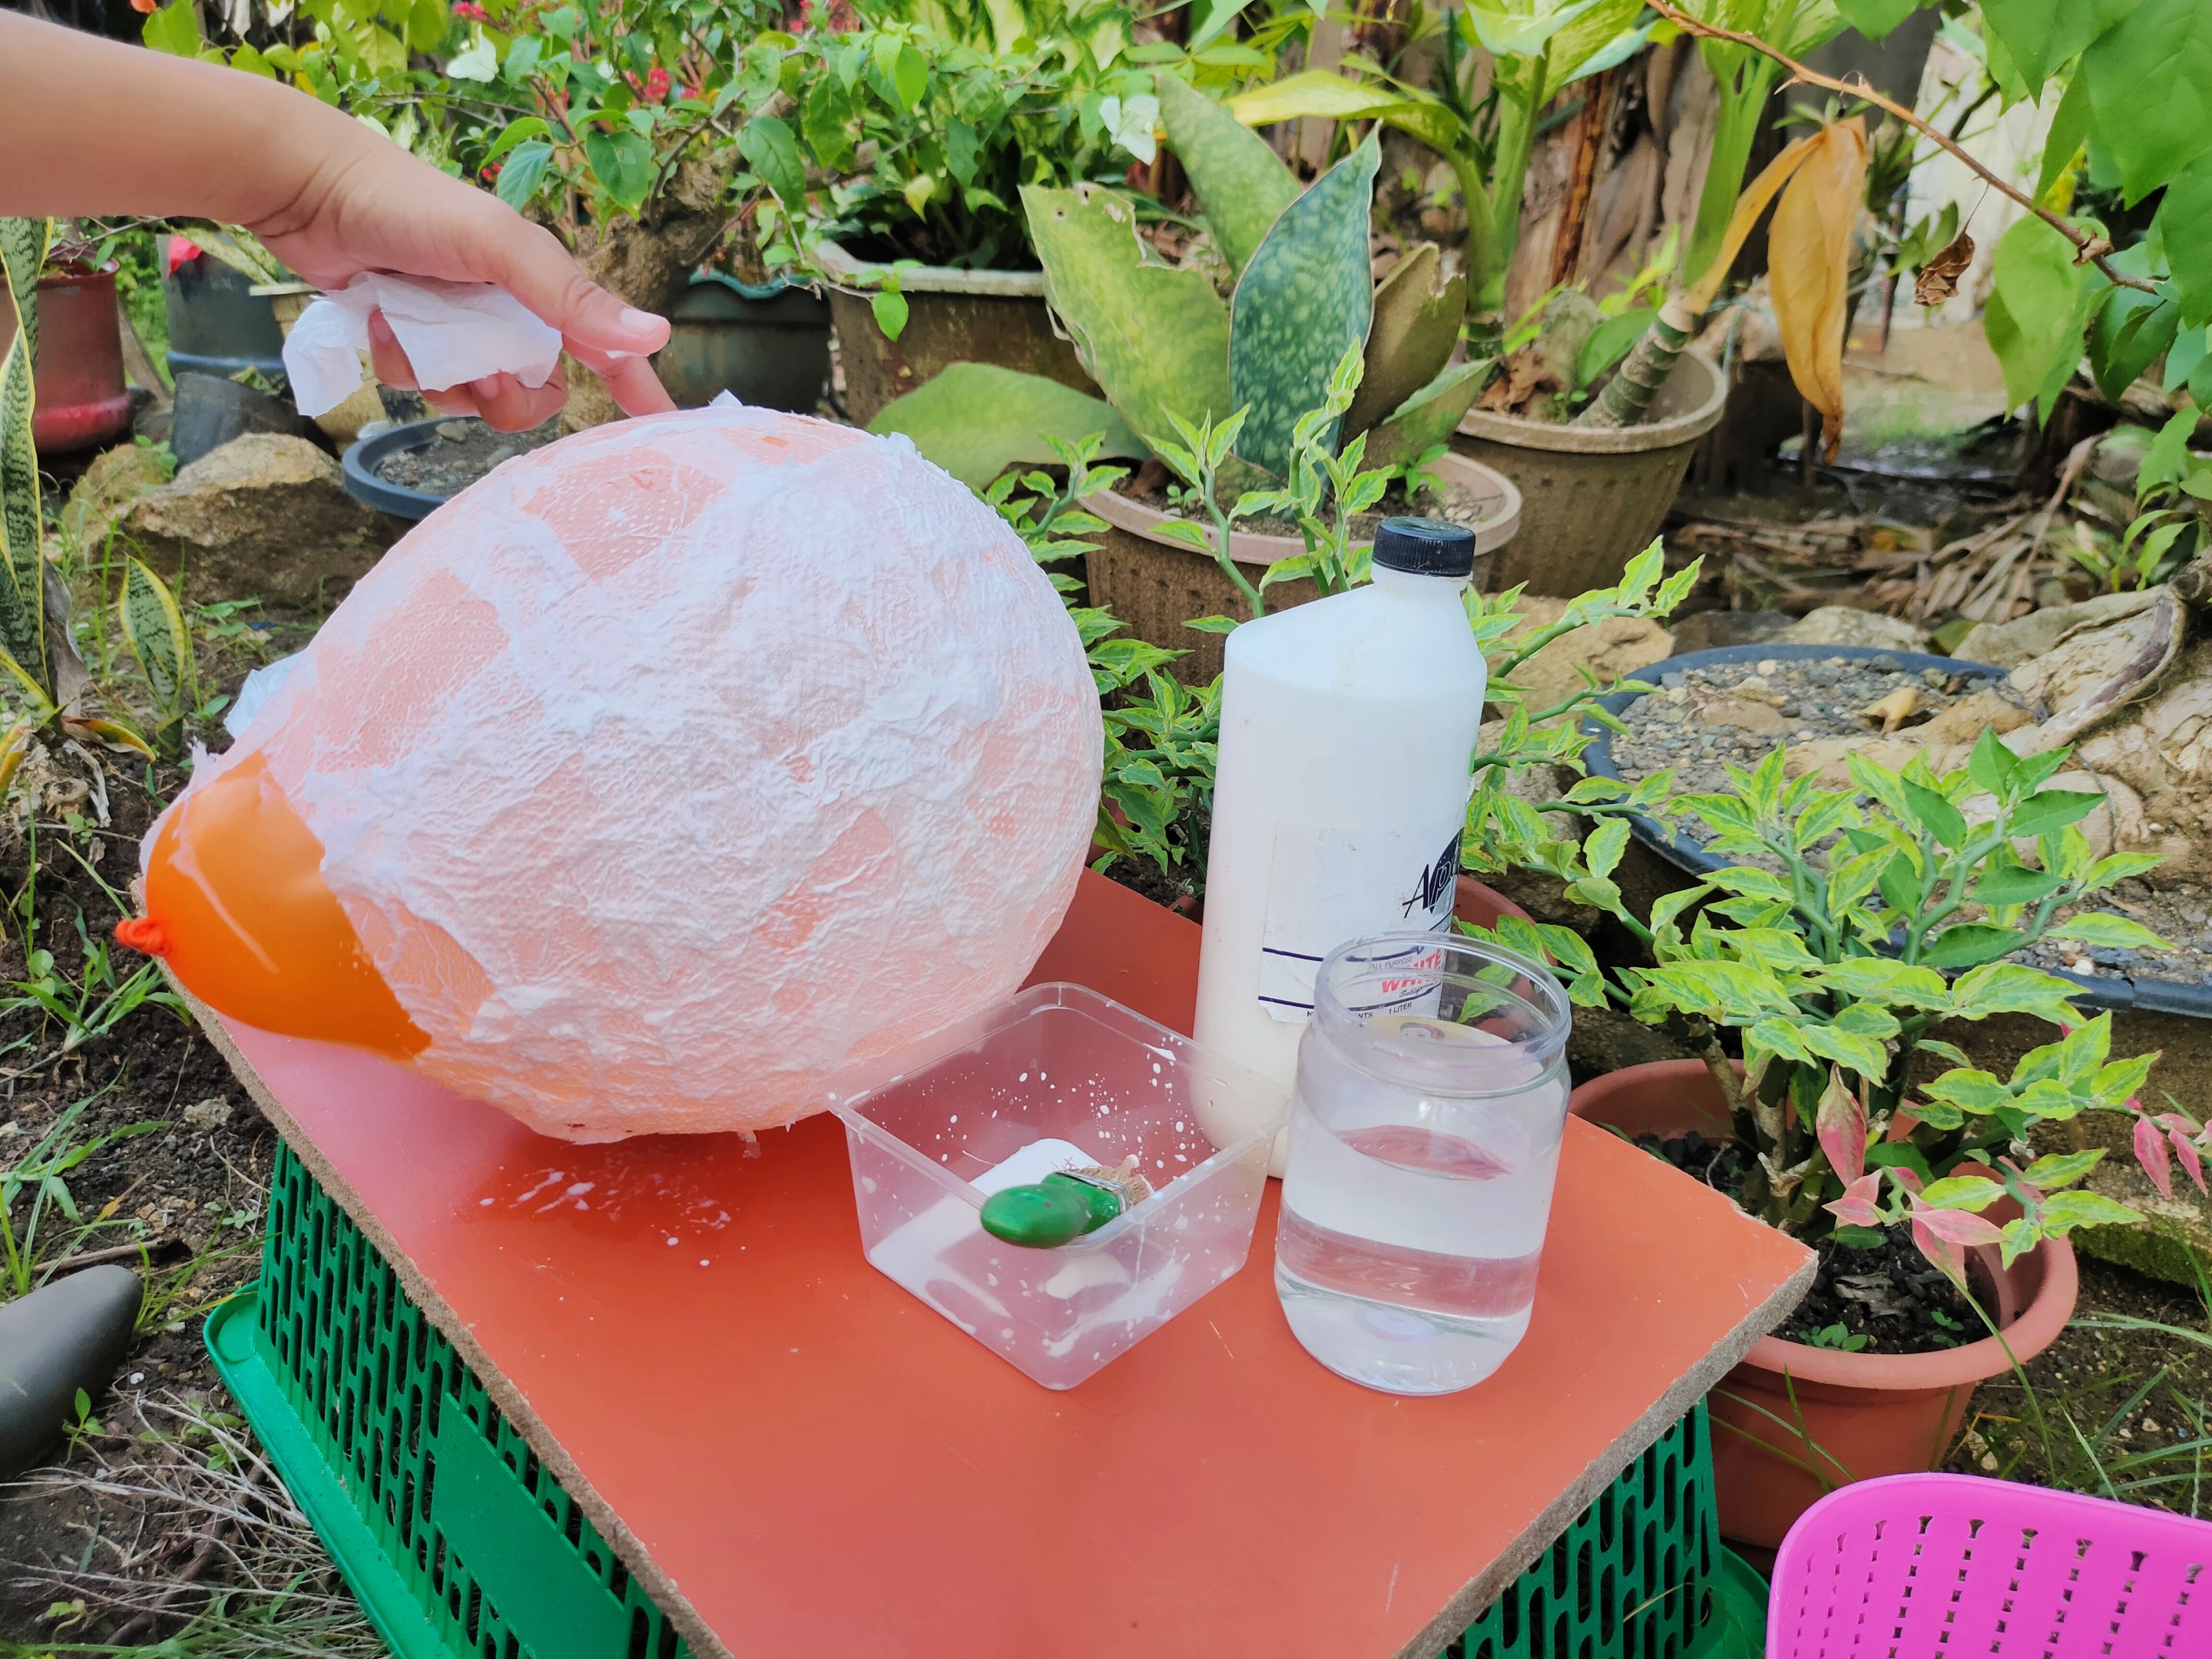
- If you are already satisfied with its thickness, it’s time to dry it outside.
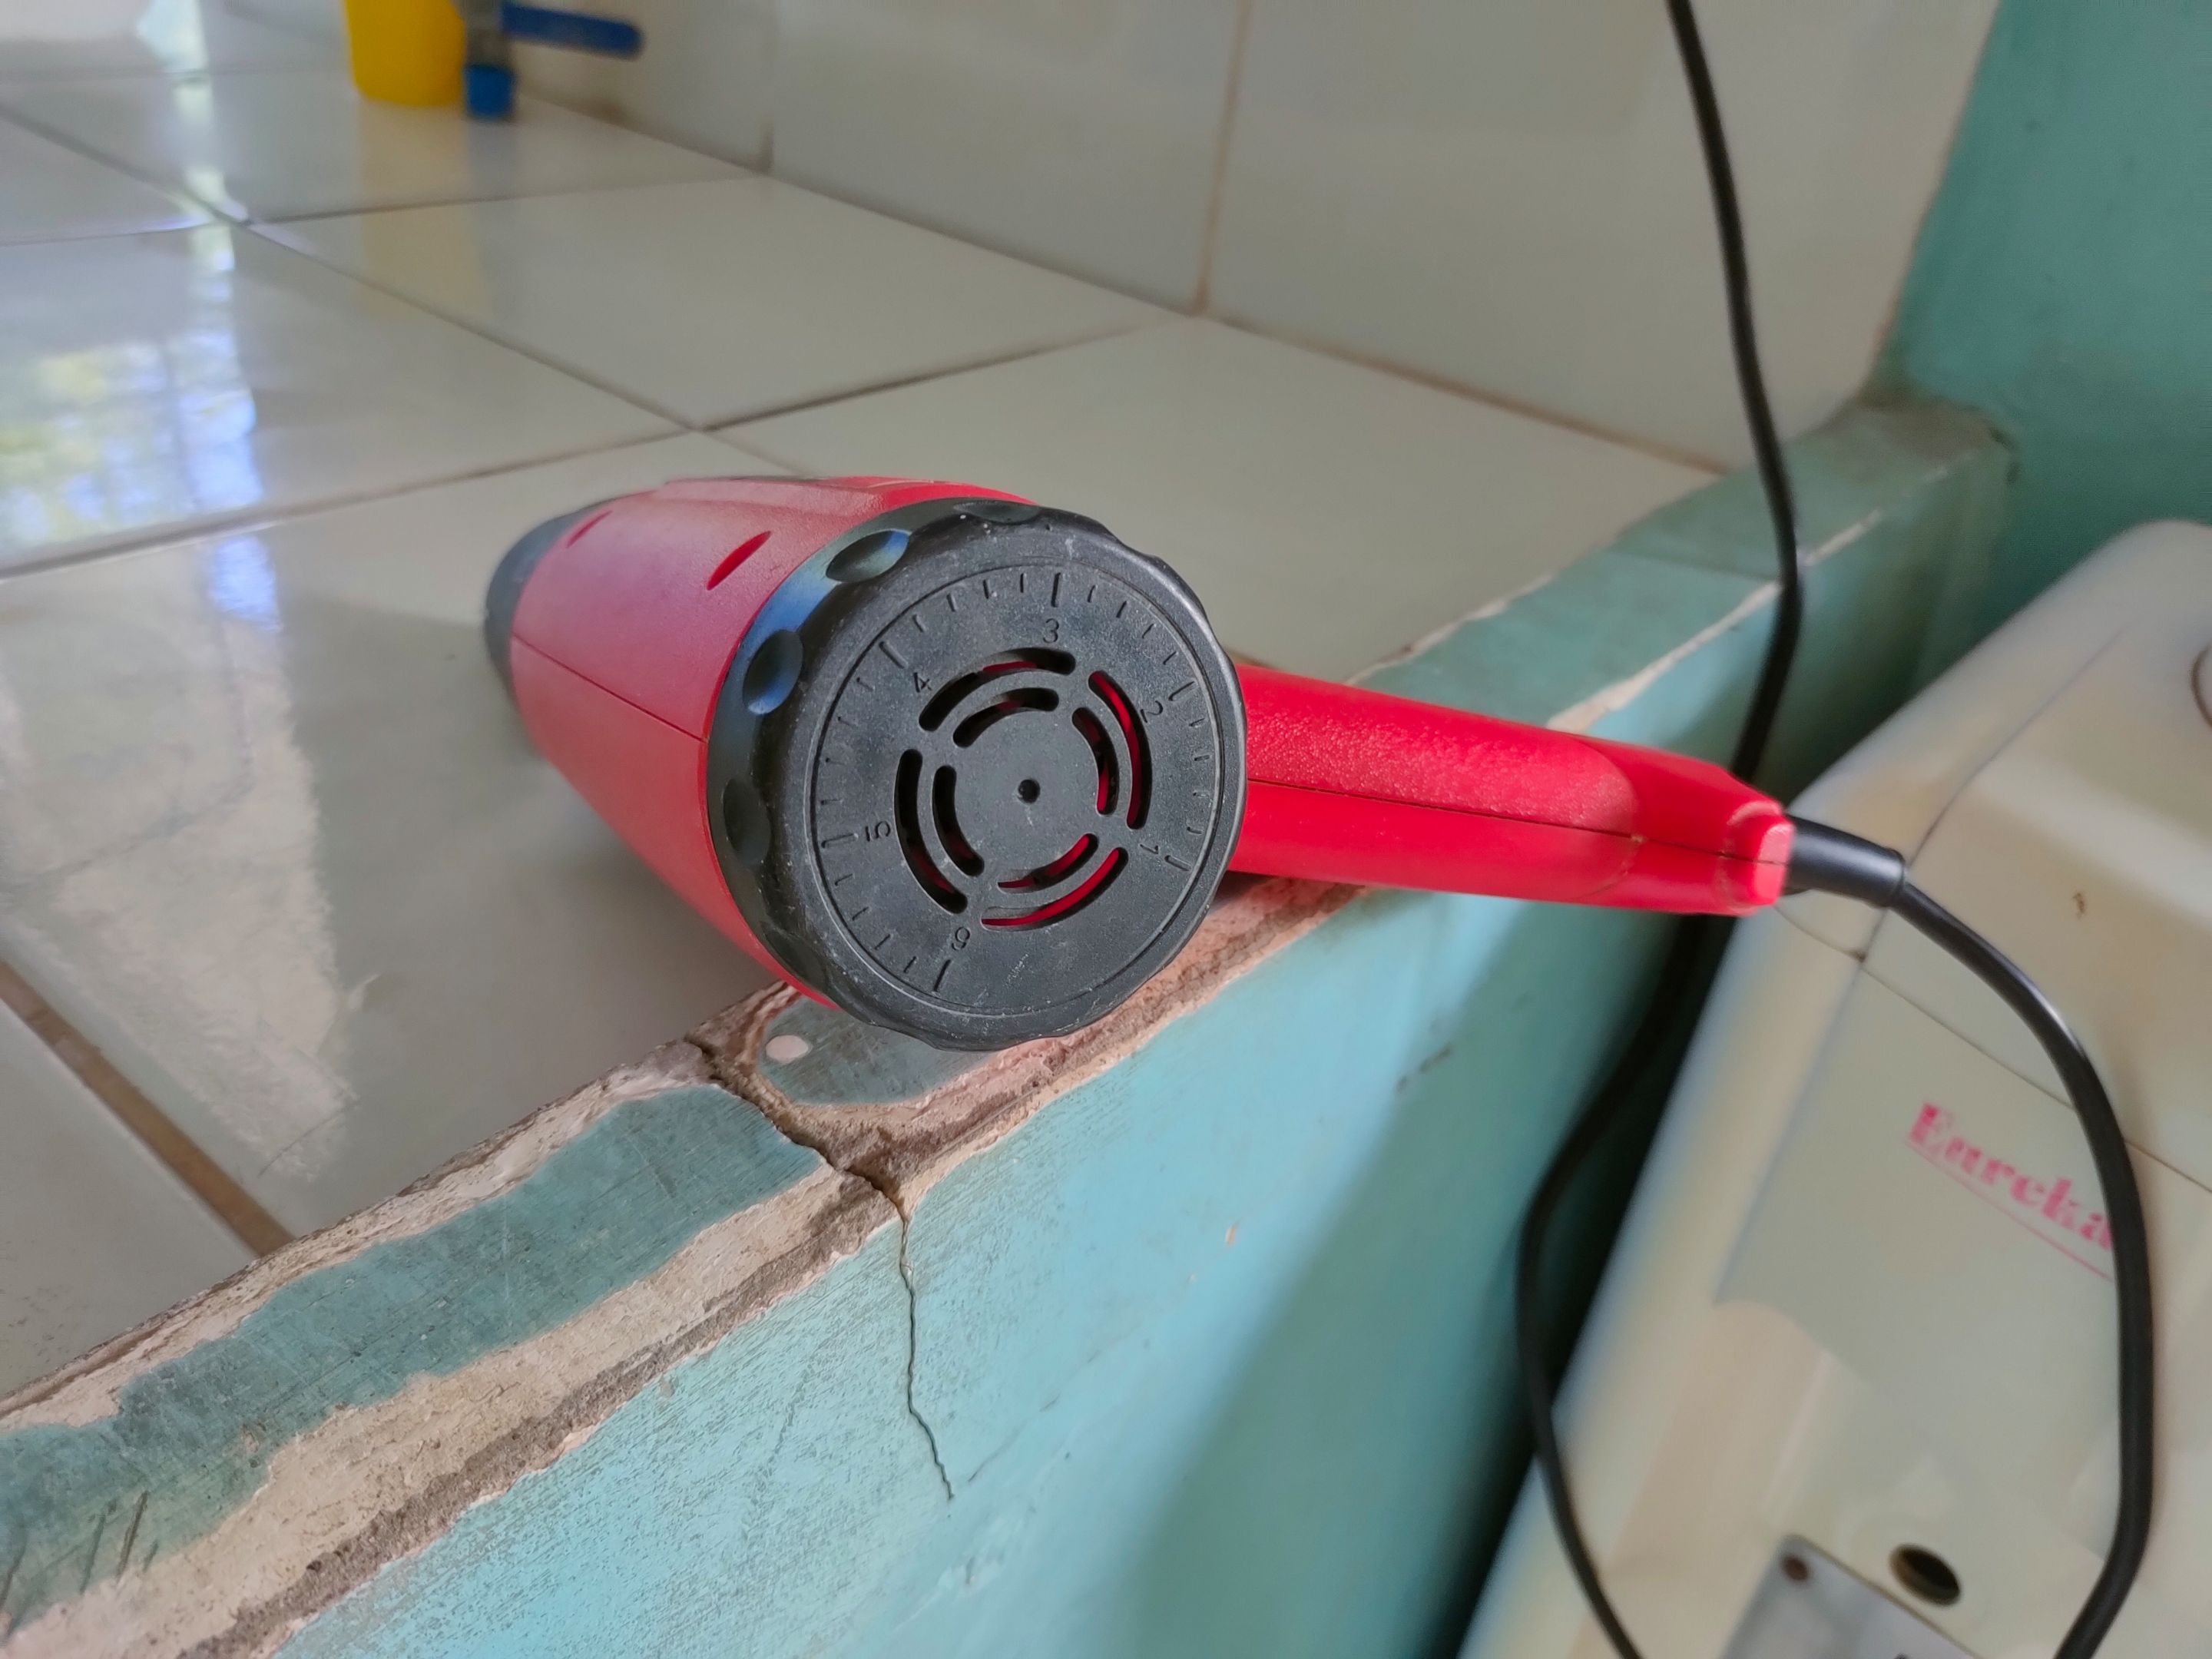
9.Dry it under the sun. Or you can dry it using a fan. Keep it safe while drying it.
Chika:
I had mine dried using a blower, I didn’t have the chance to naturally dry it because the balloon I used exploded during the drying process. Thankfully I was able to repair the small damage it caused.
Now, while waiting for your lamp to dry out, you can have your lamp and holder get ready.
The Lighting and the lamp holder
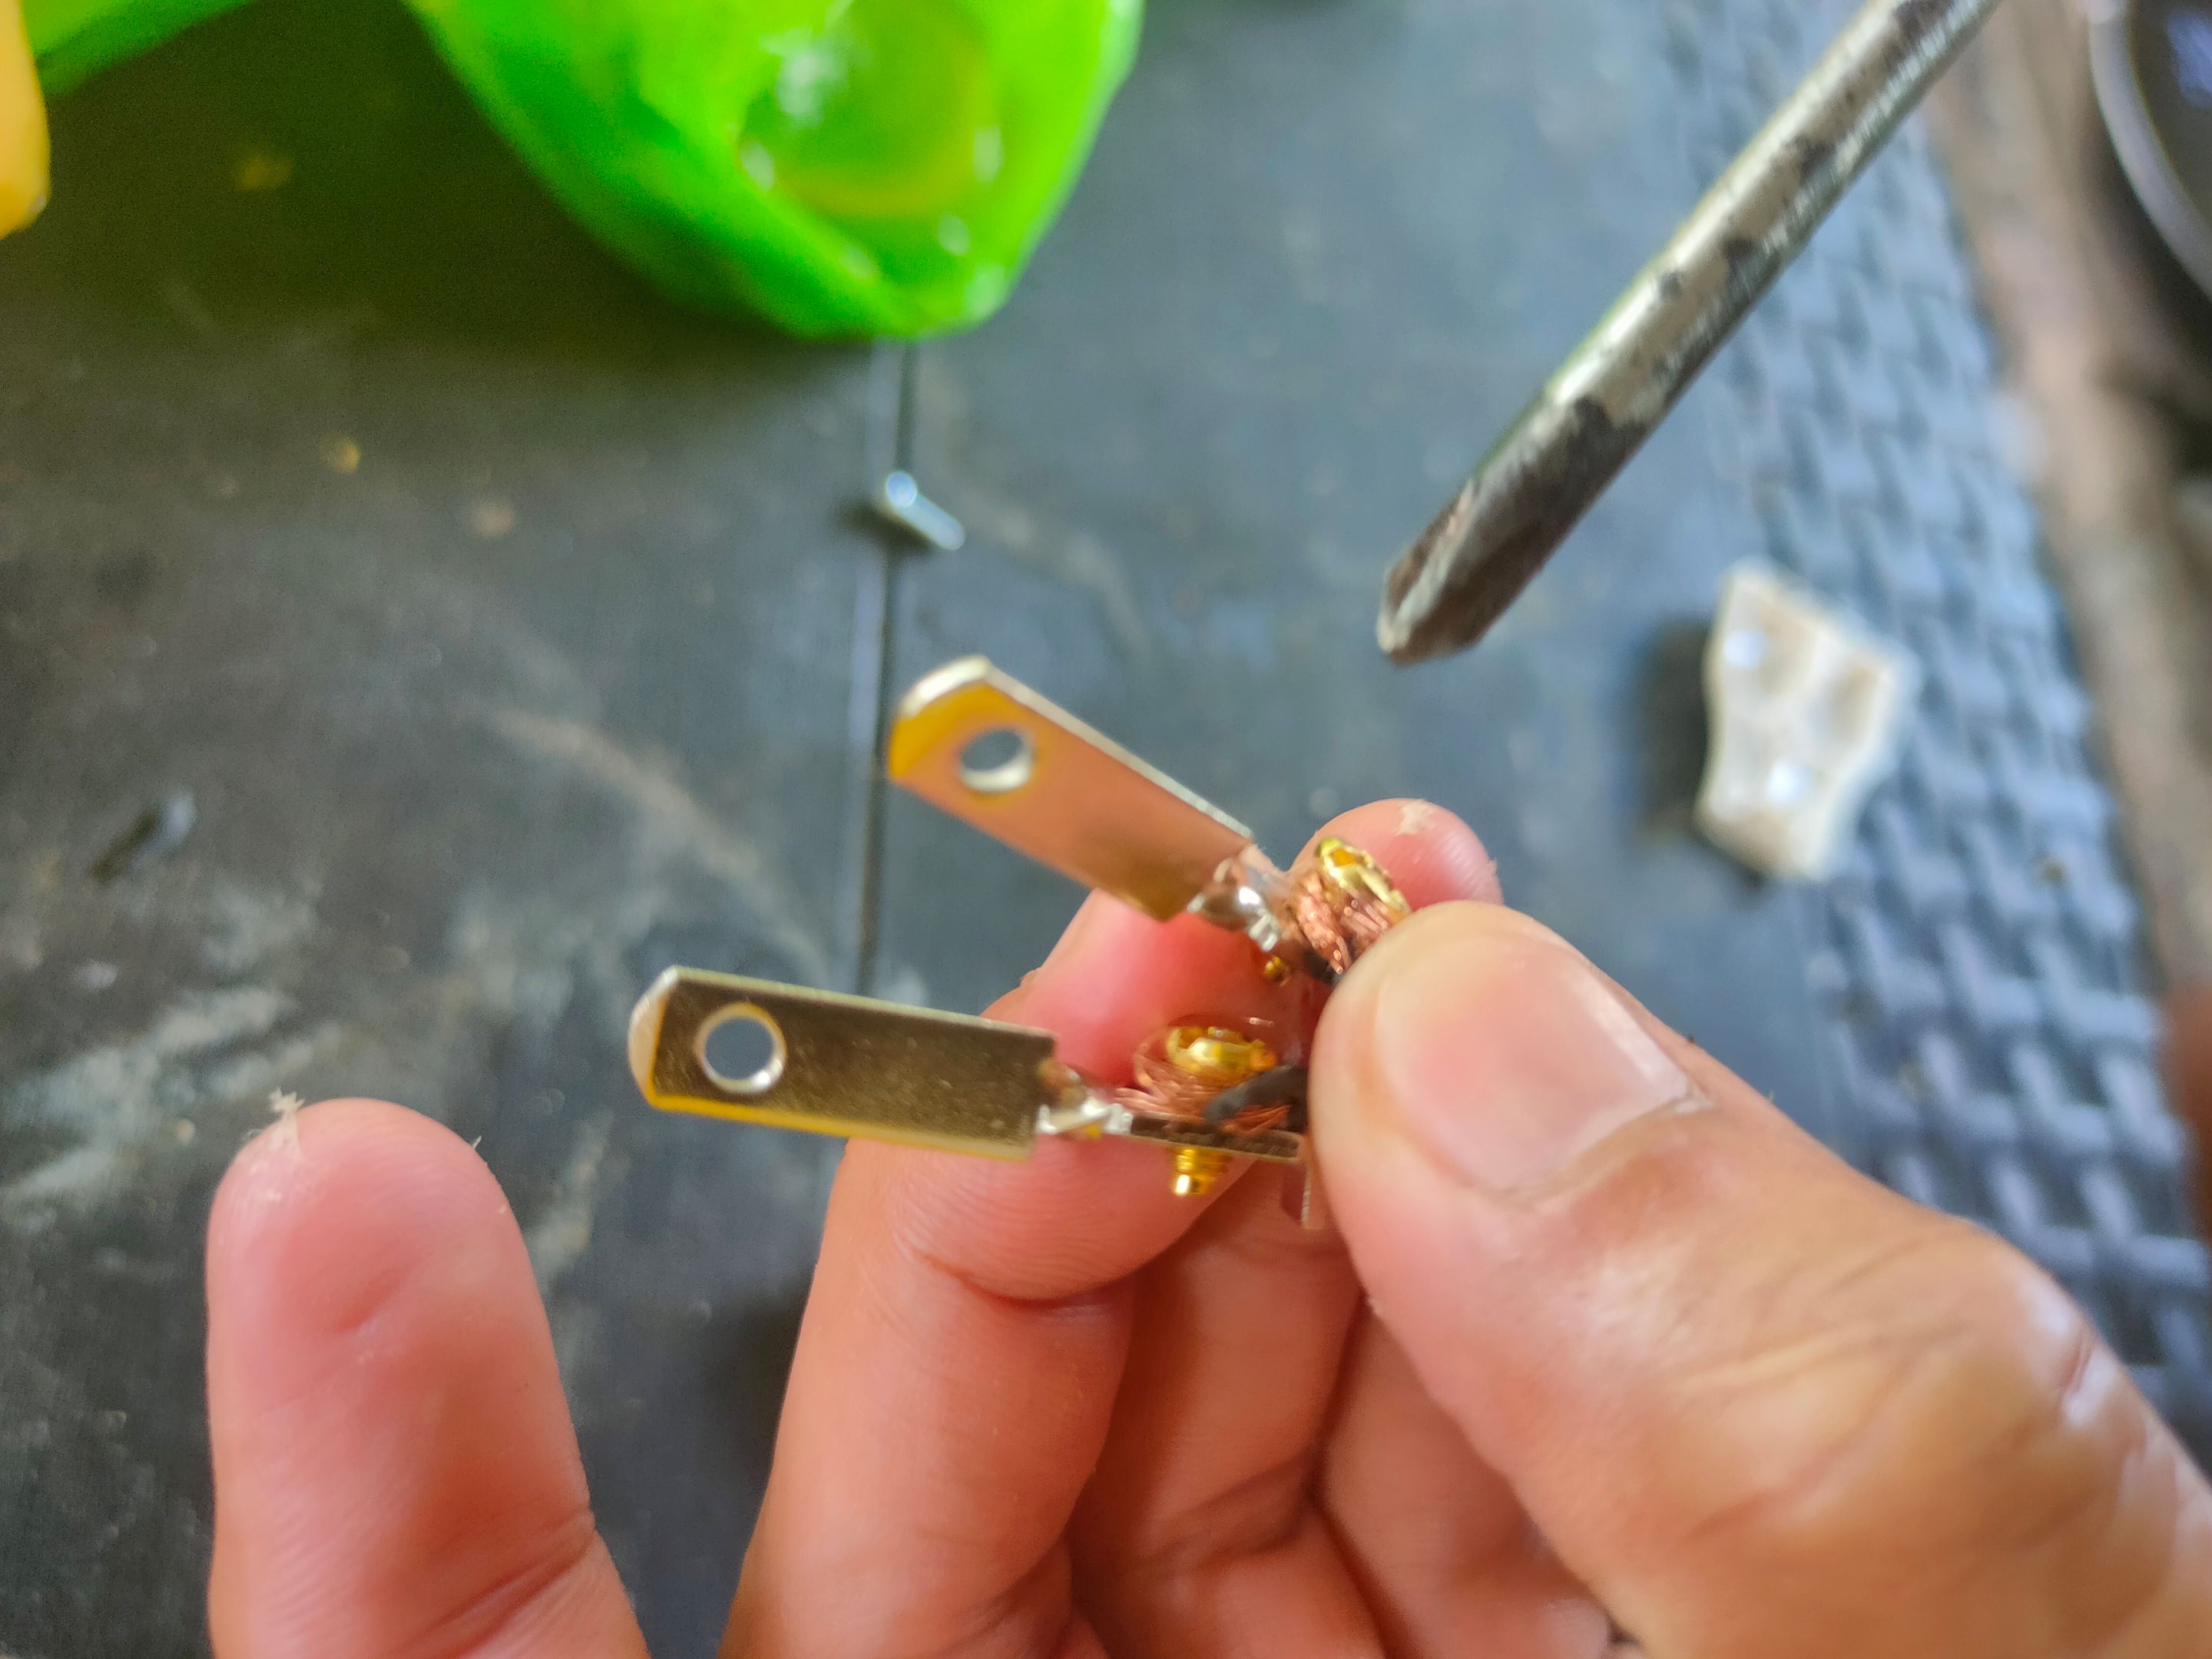
1.Prepare the bulb with sockets and the wire. I used a 1-meter wire.
2.Assemble the wires and the bulb. If you are like me who's scared of electricity (even if it's OFF, hehe), don't hesitate to ask for help or guidance from someone whos good at it.
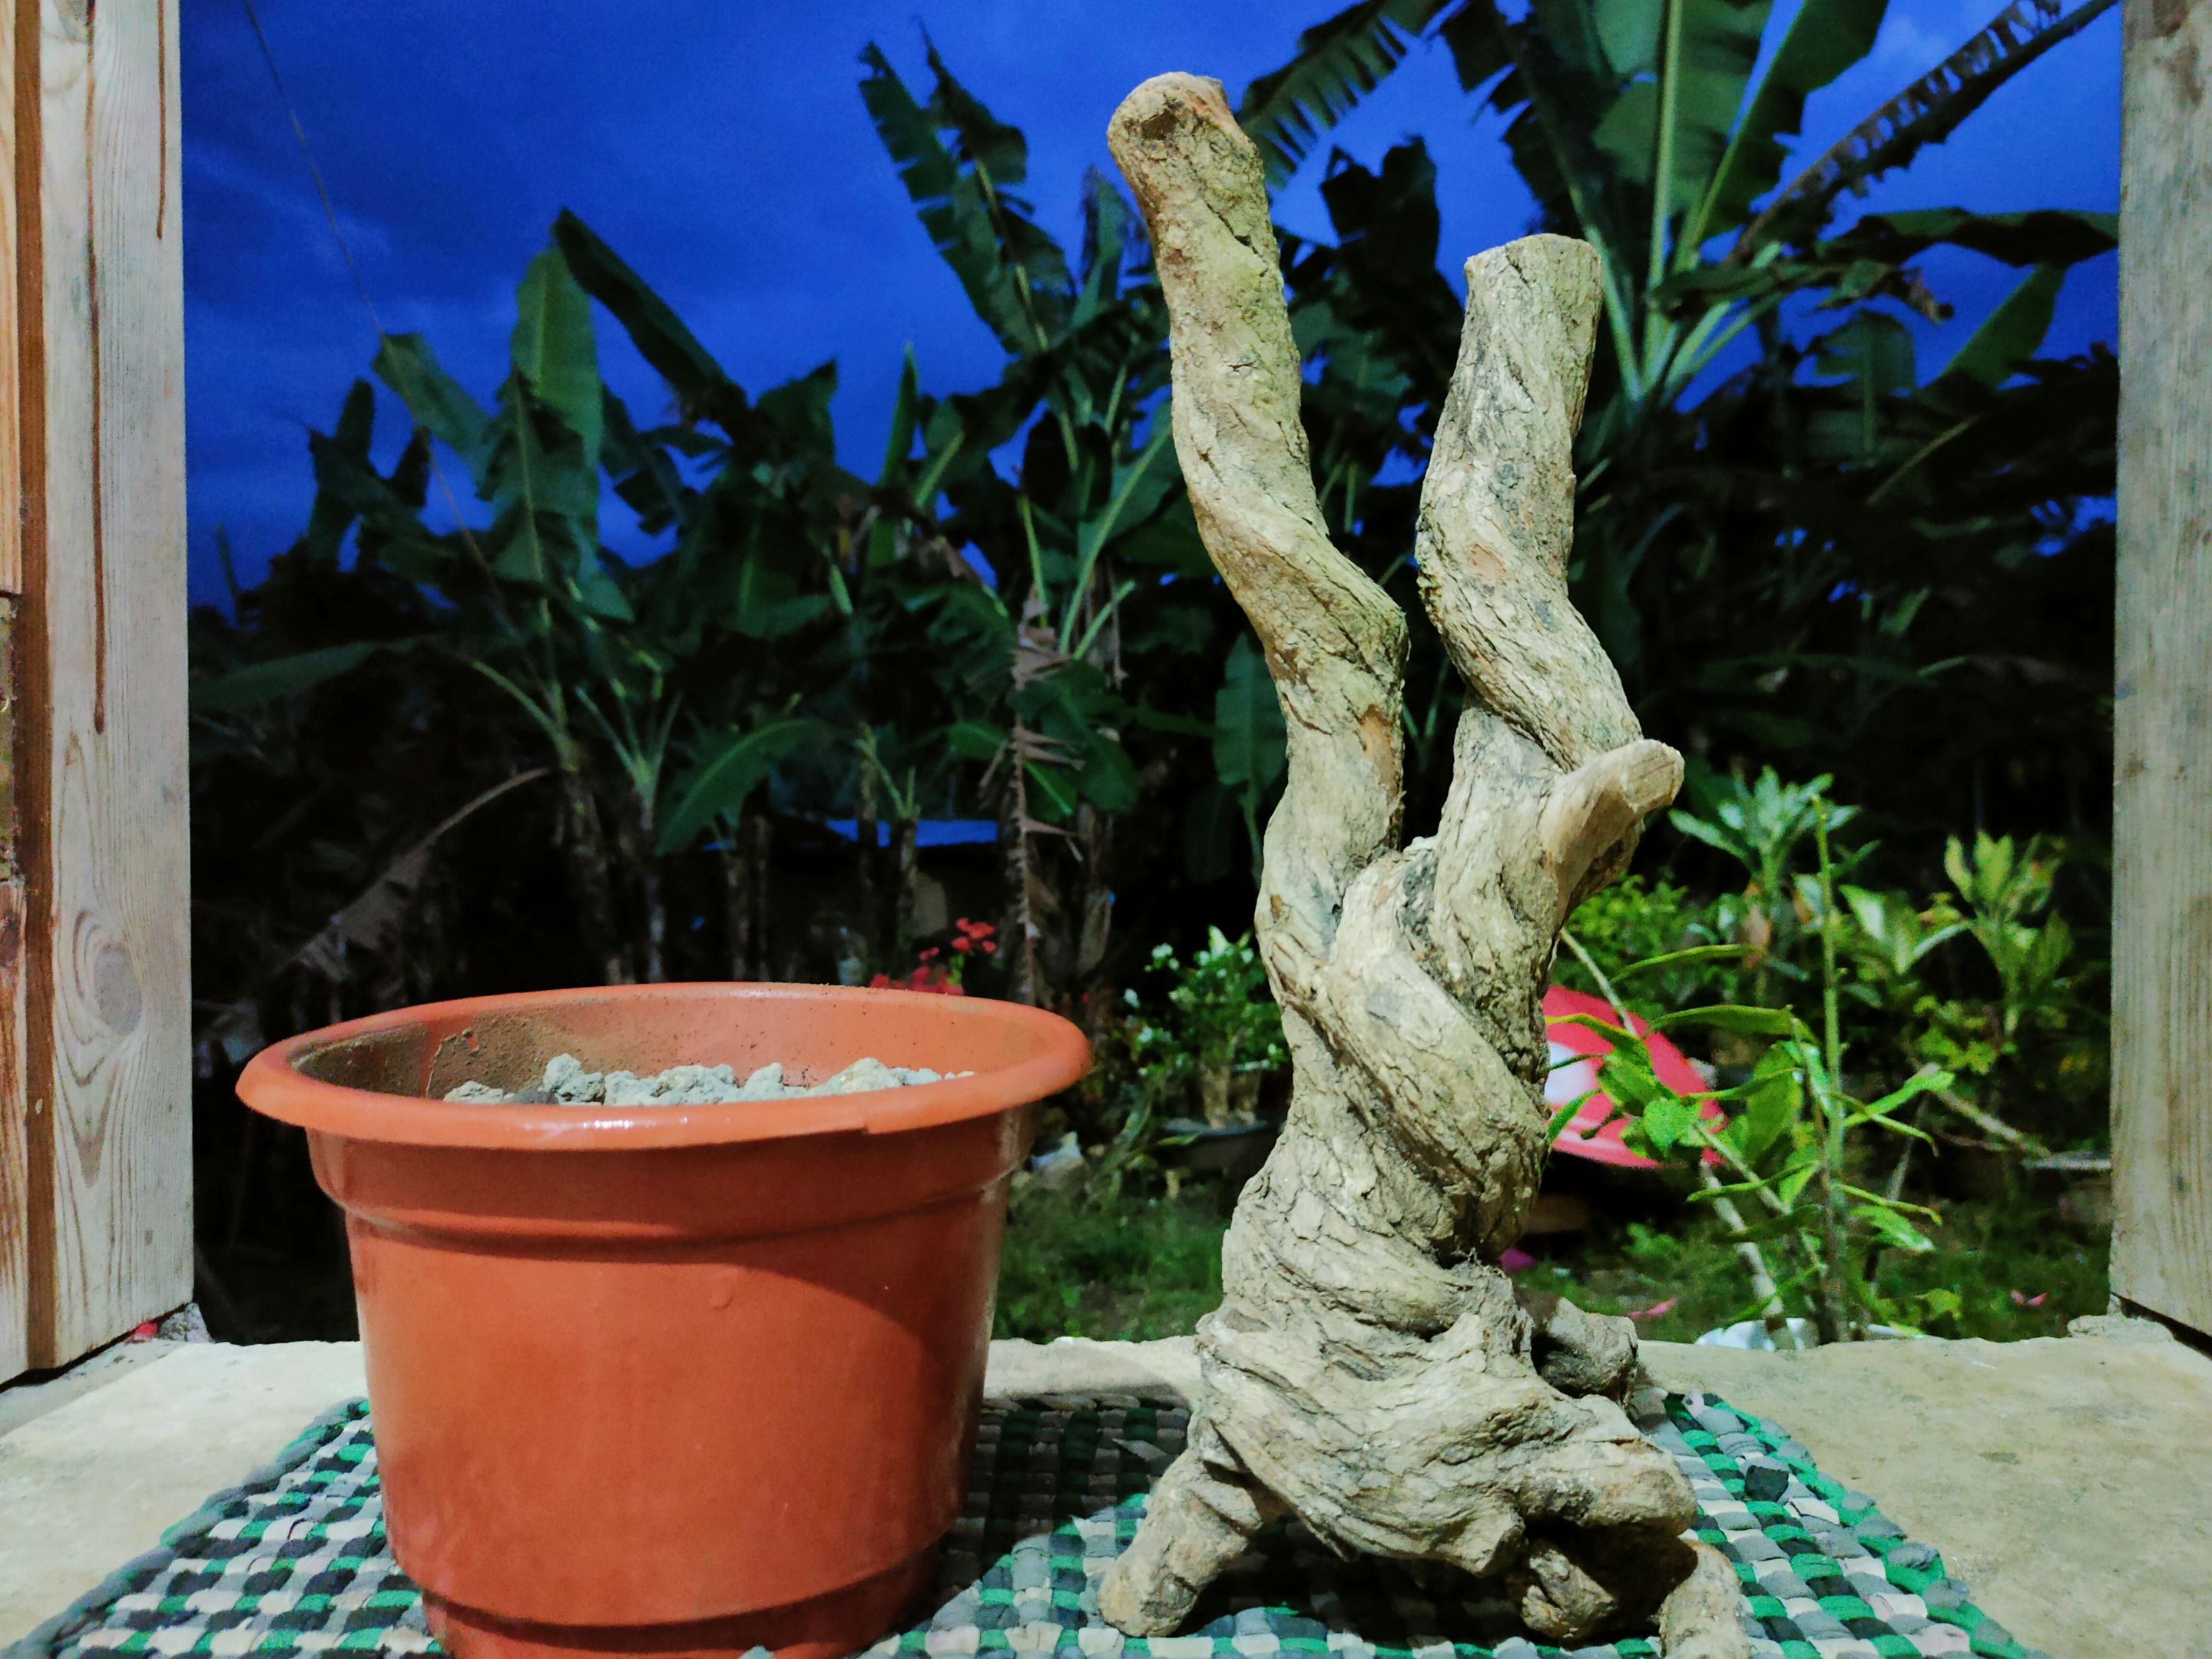
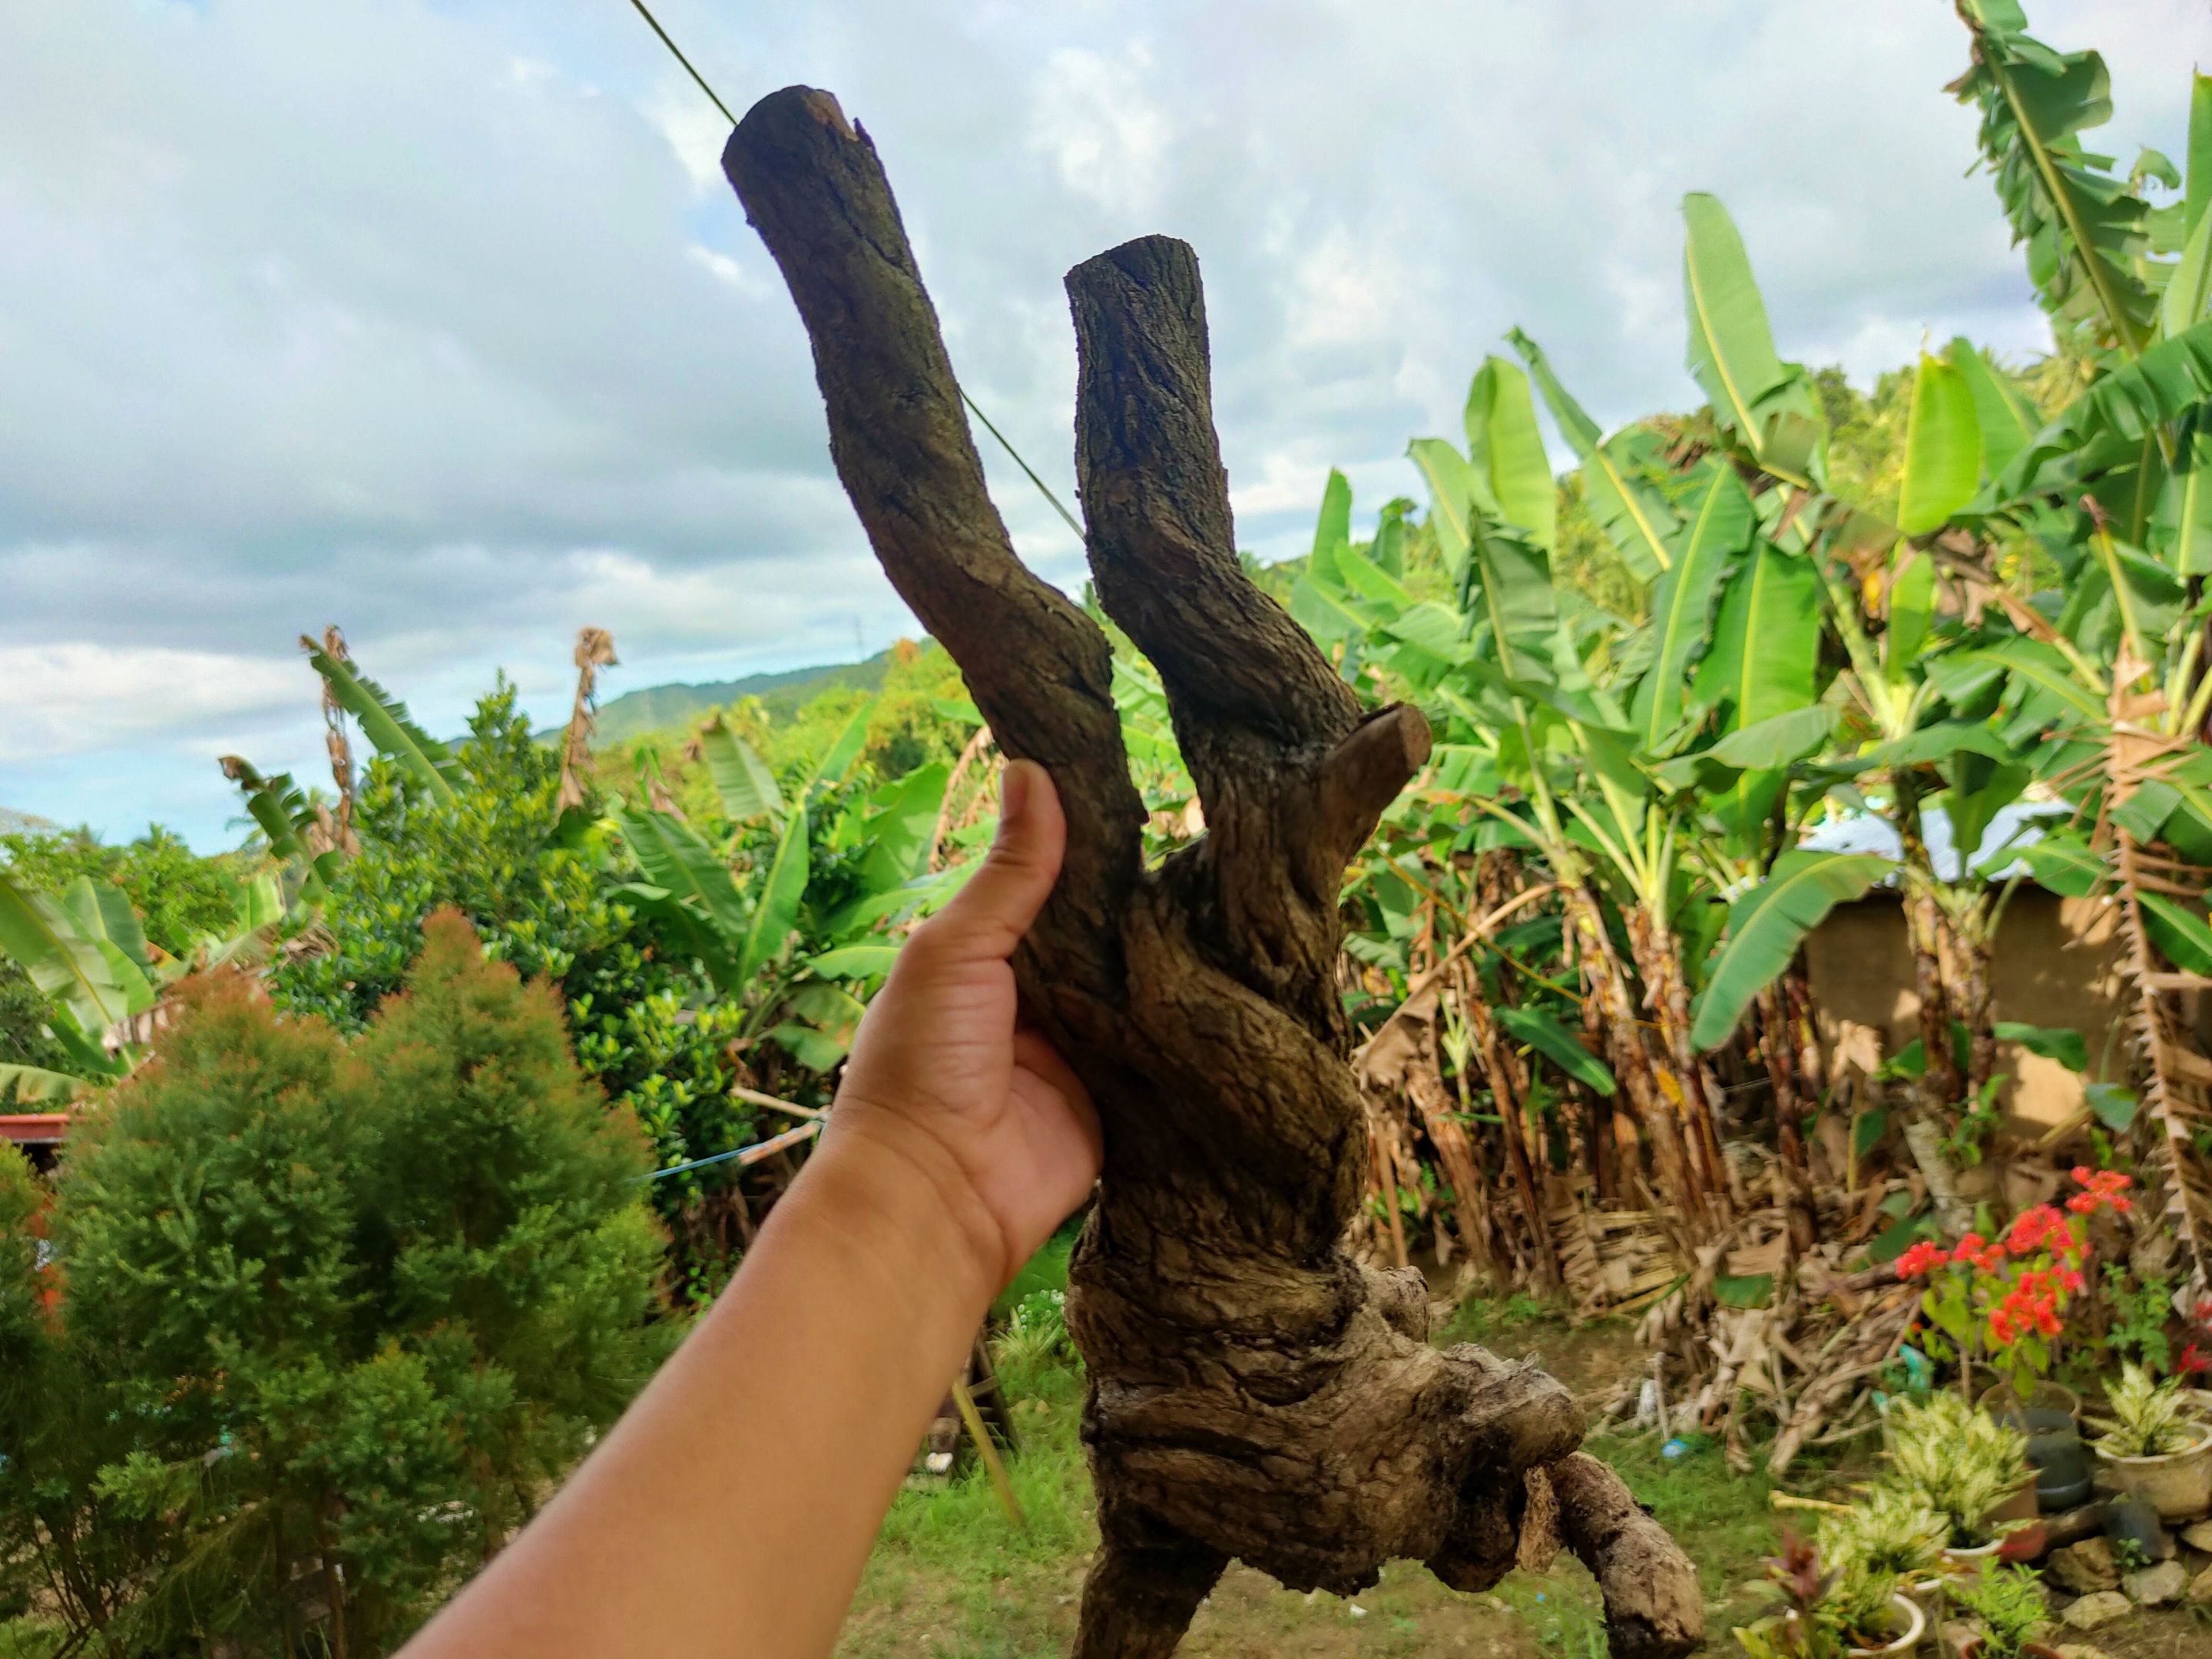
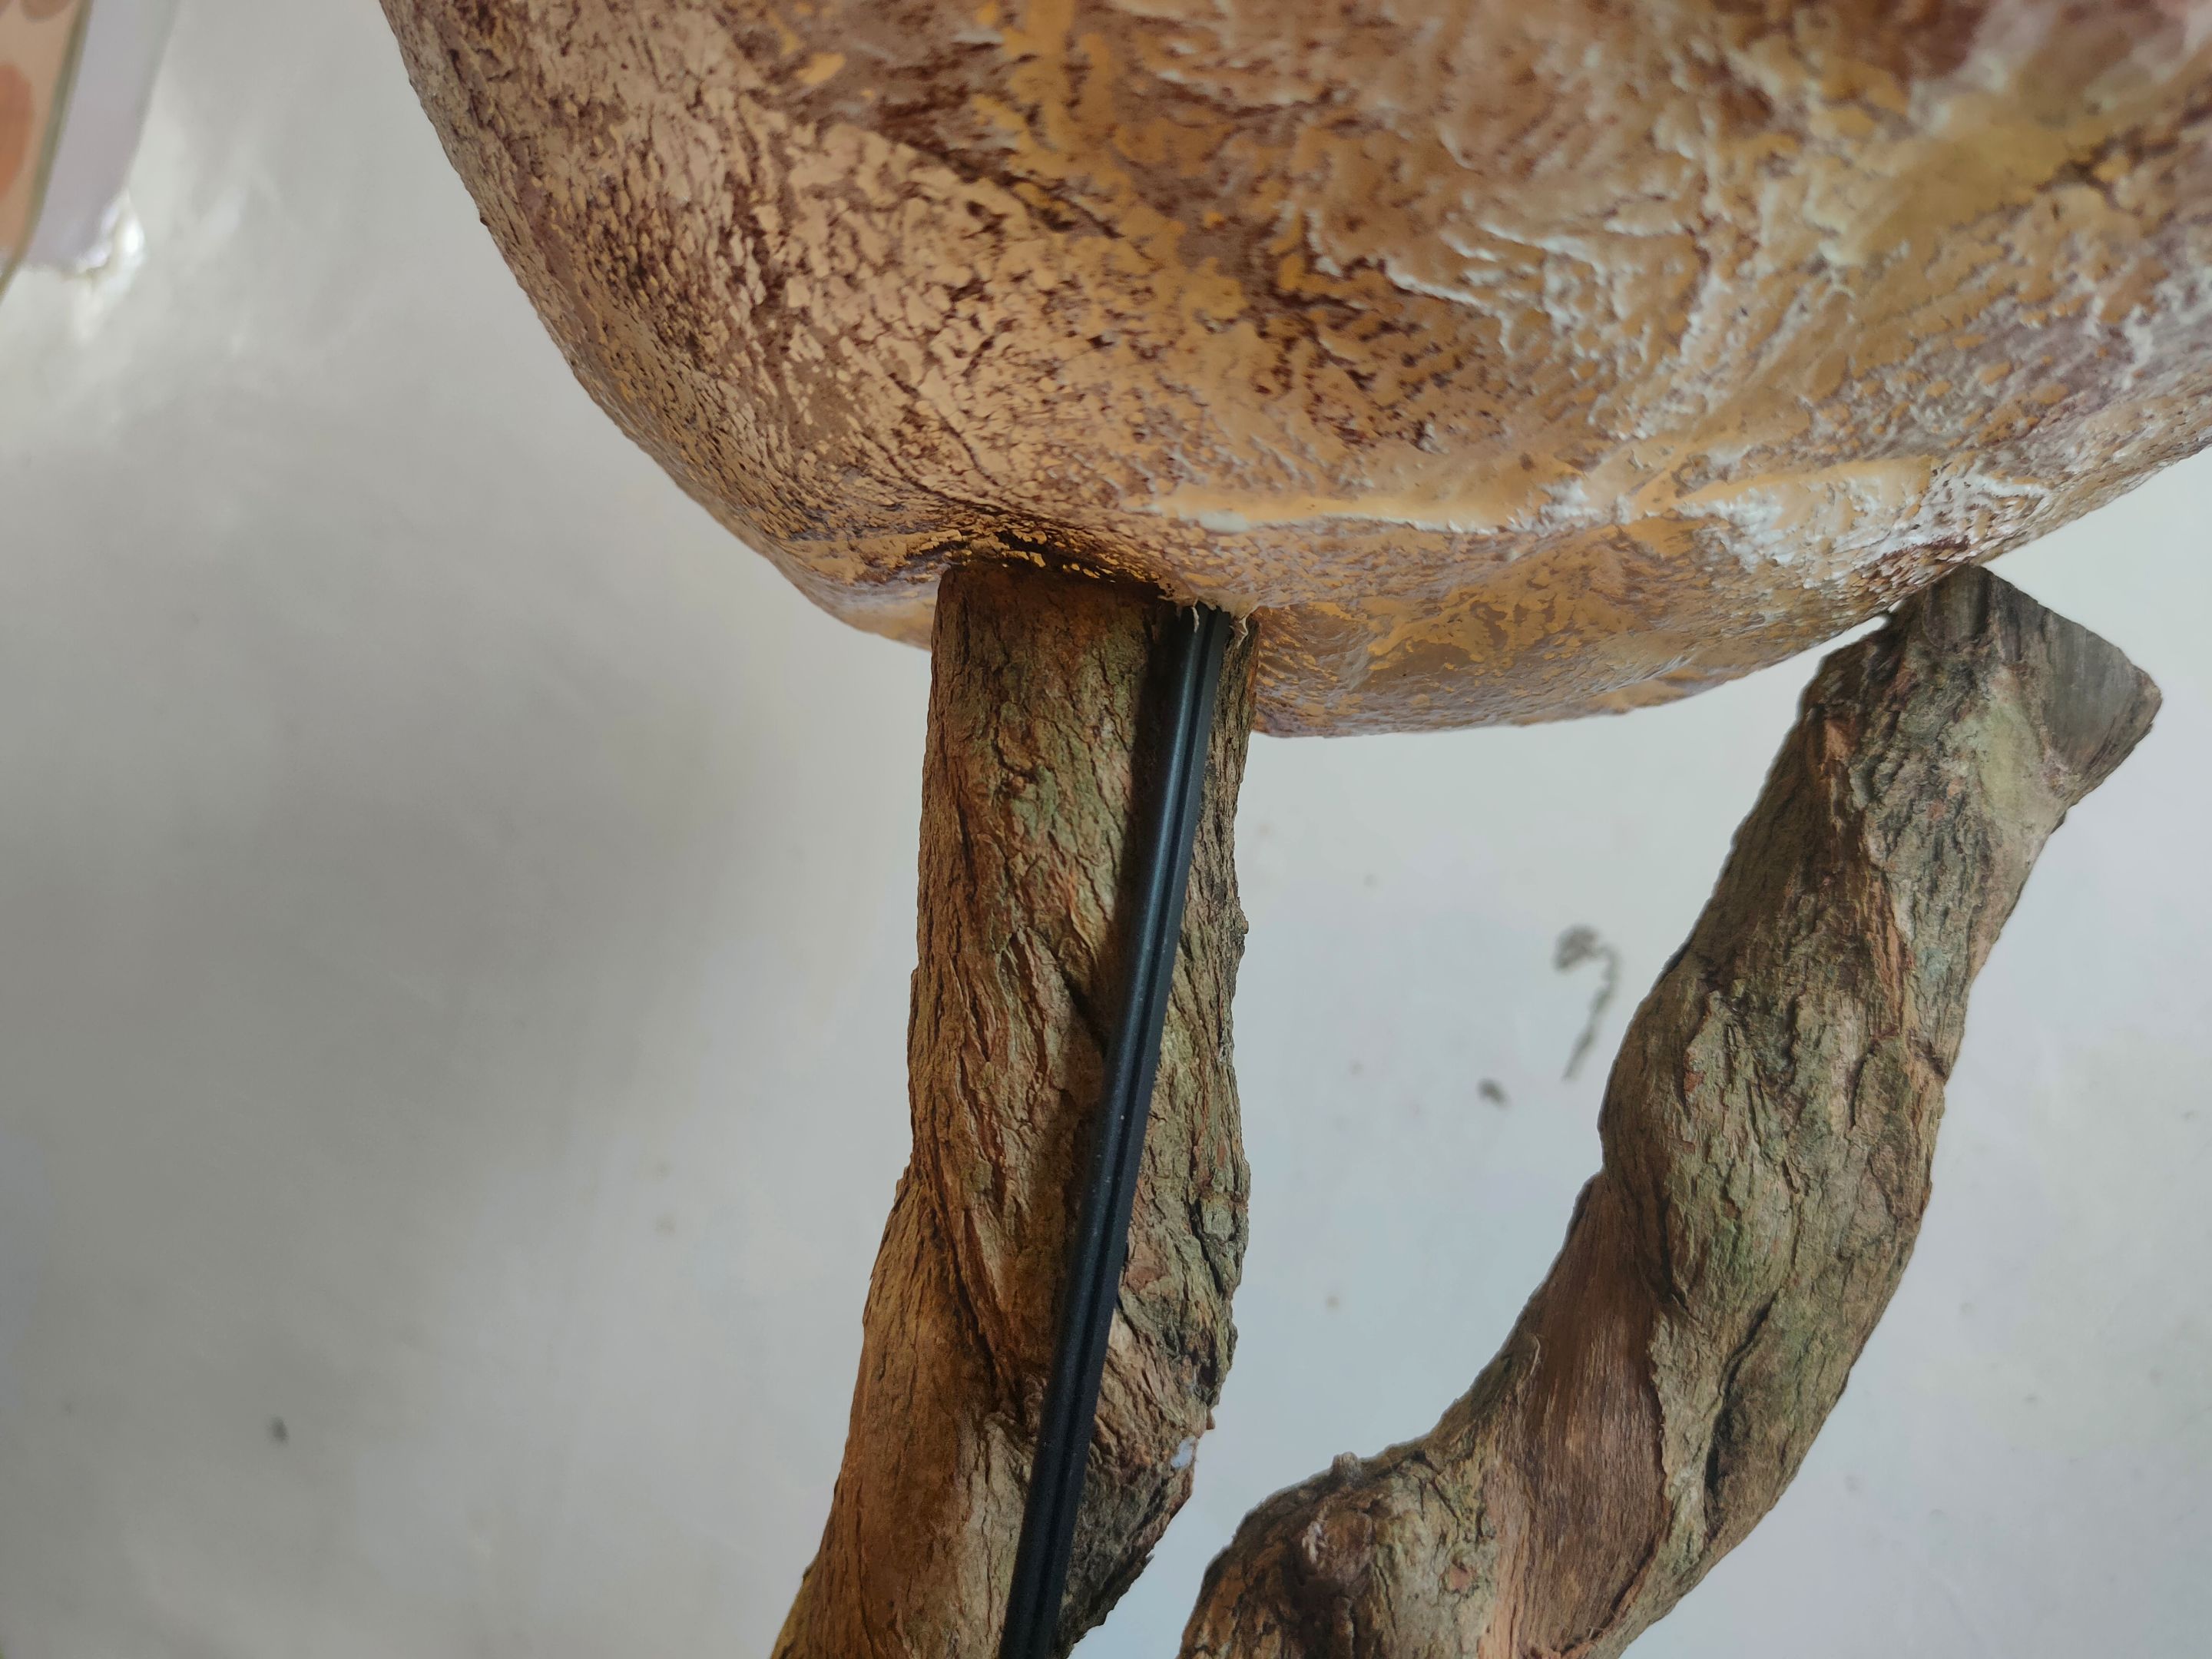
3.For my Moon Lamp holder, I used my old (dead) Bonsai tree. This Bonsai tree didn't survive (also a DIY), but I couldn't throw it away because of its unique form, and now I'm happy that I finally could make use of it.
4.For the base, you can use any pots or container you want. I used my old pot and filled it with pebbles.
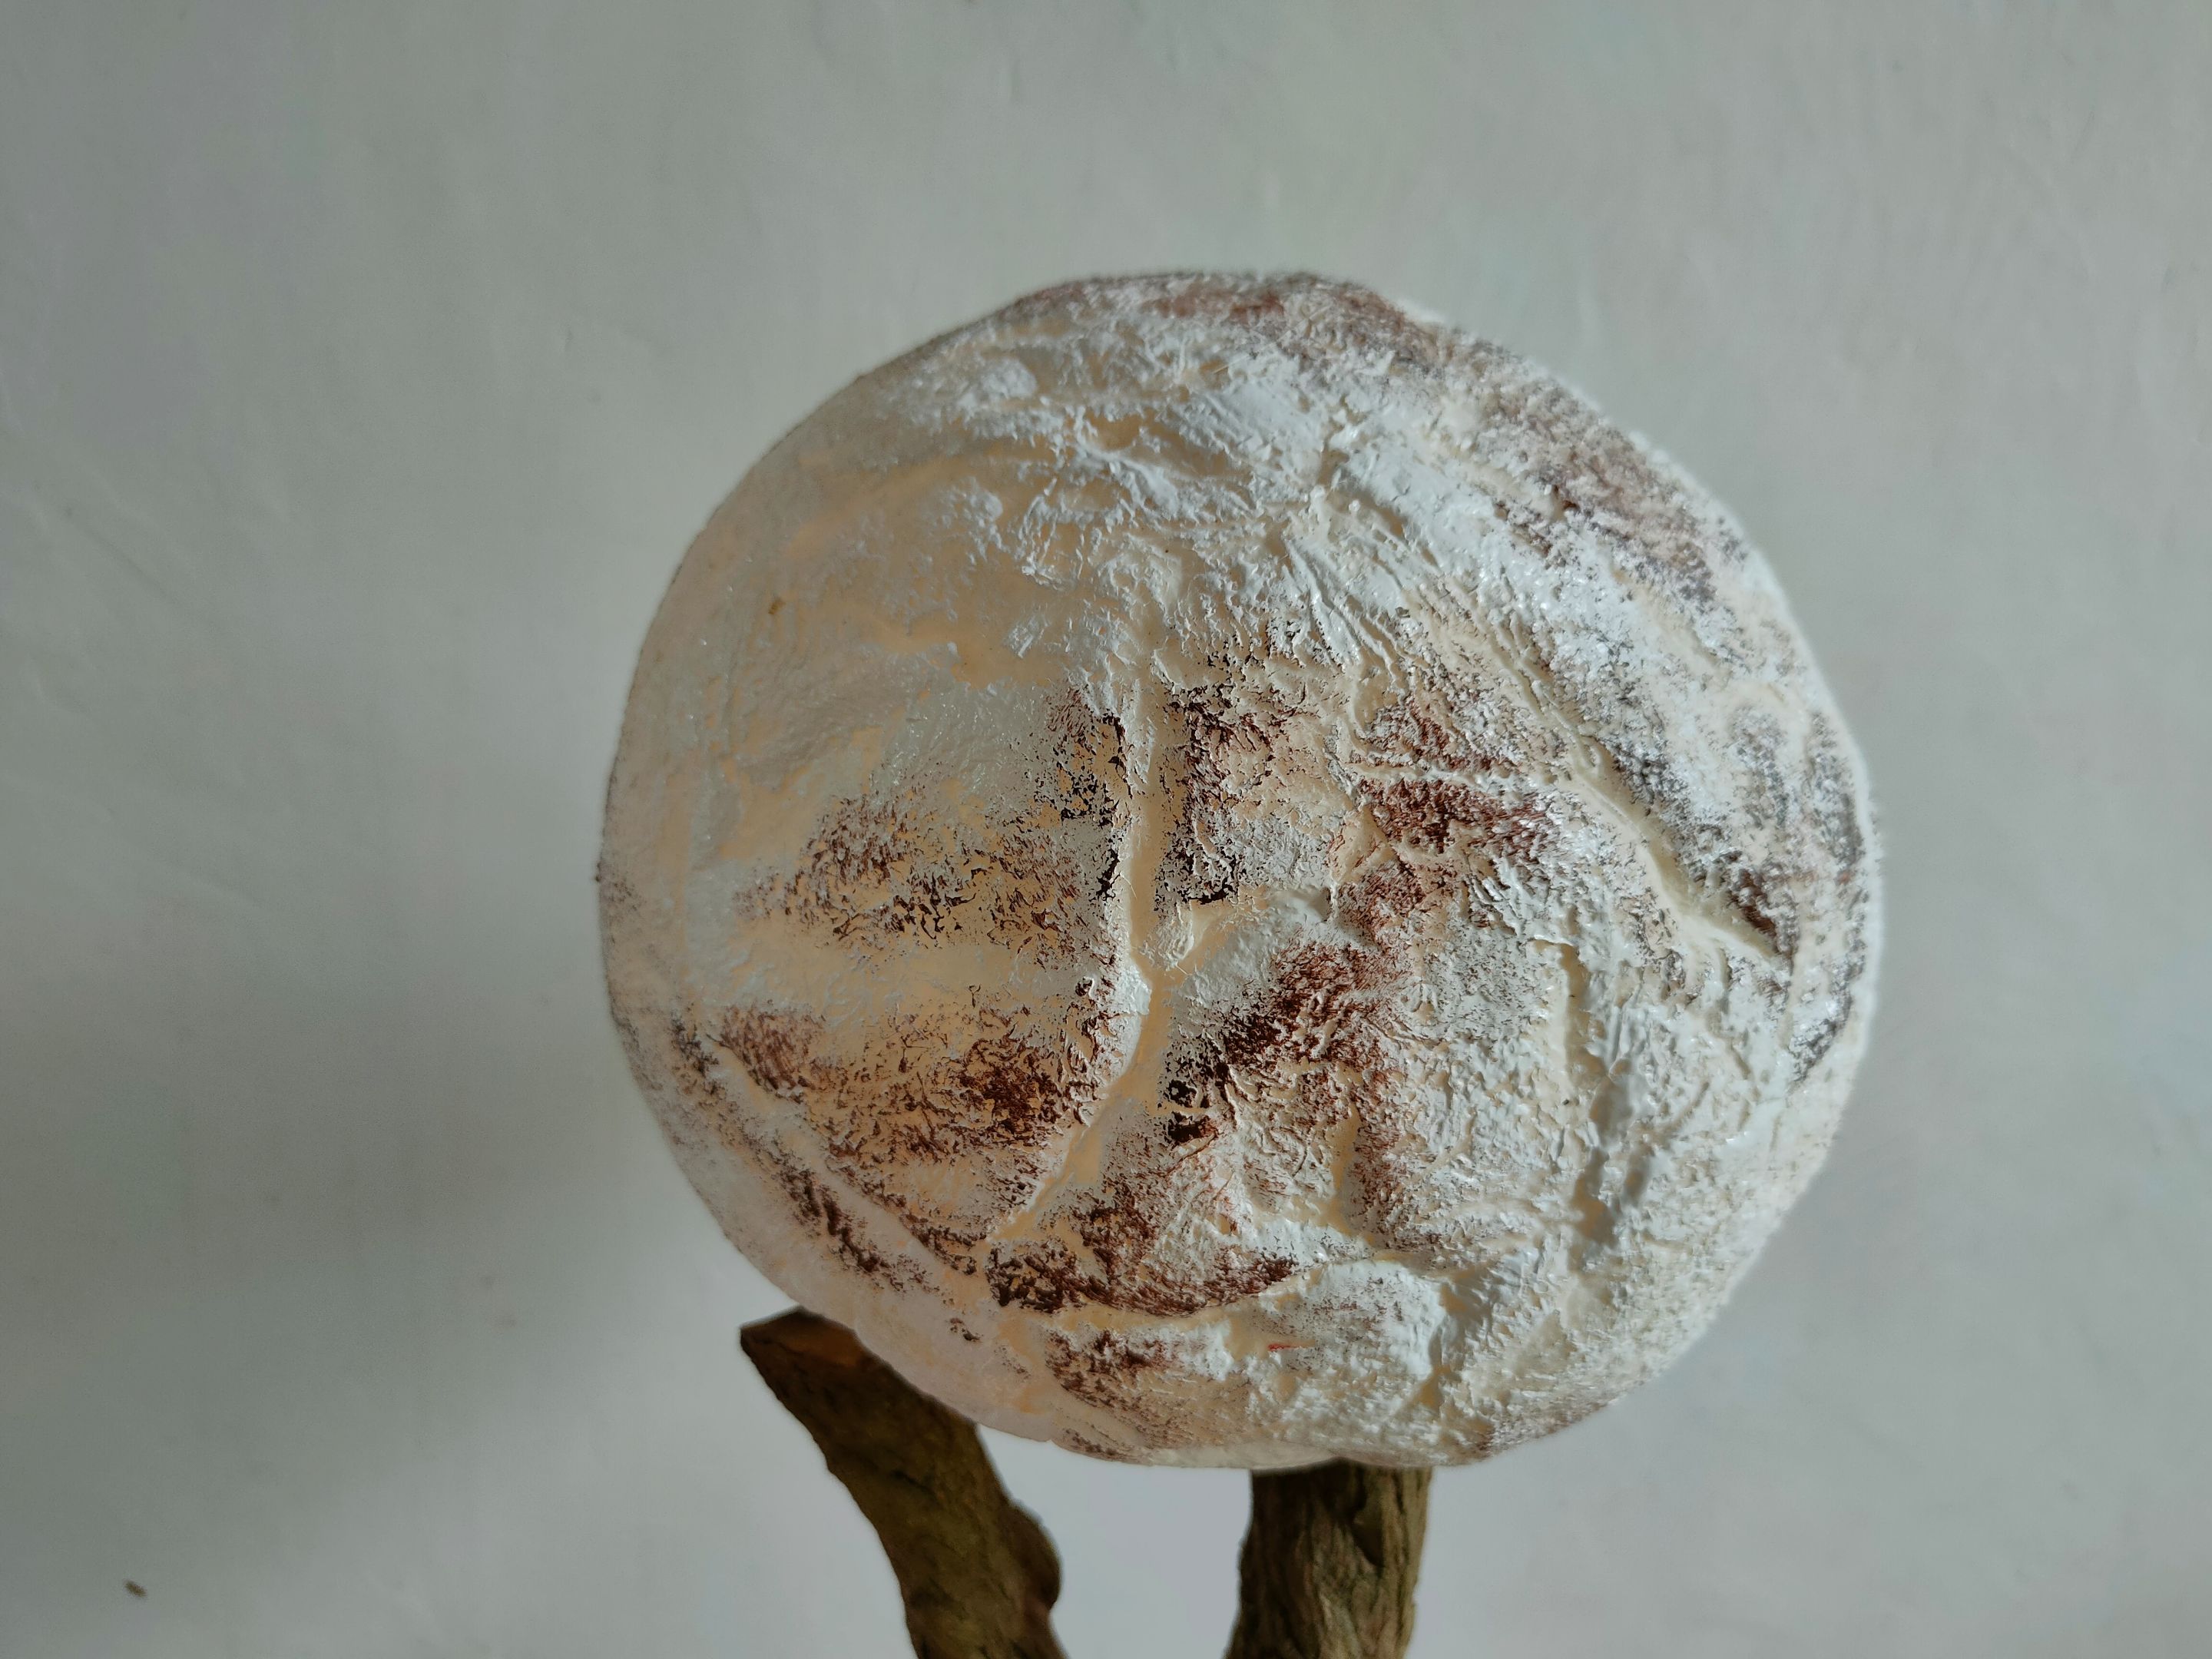
Make your Moon Real! Color it!
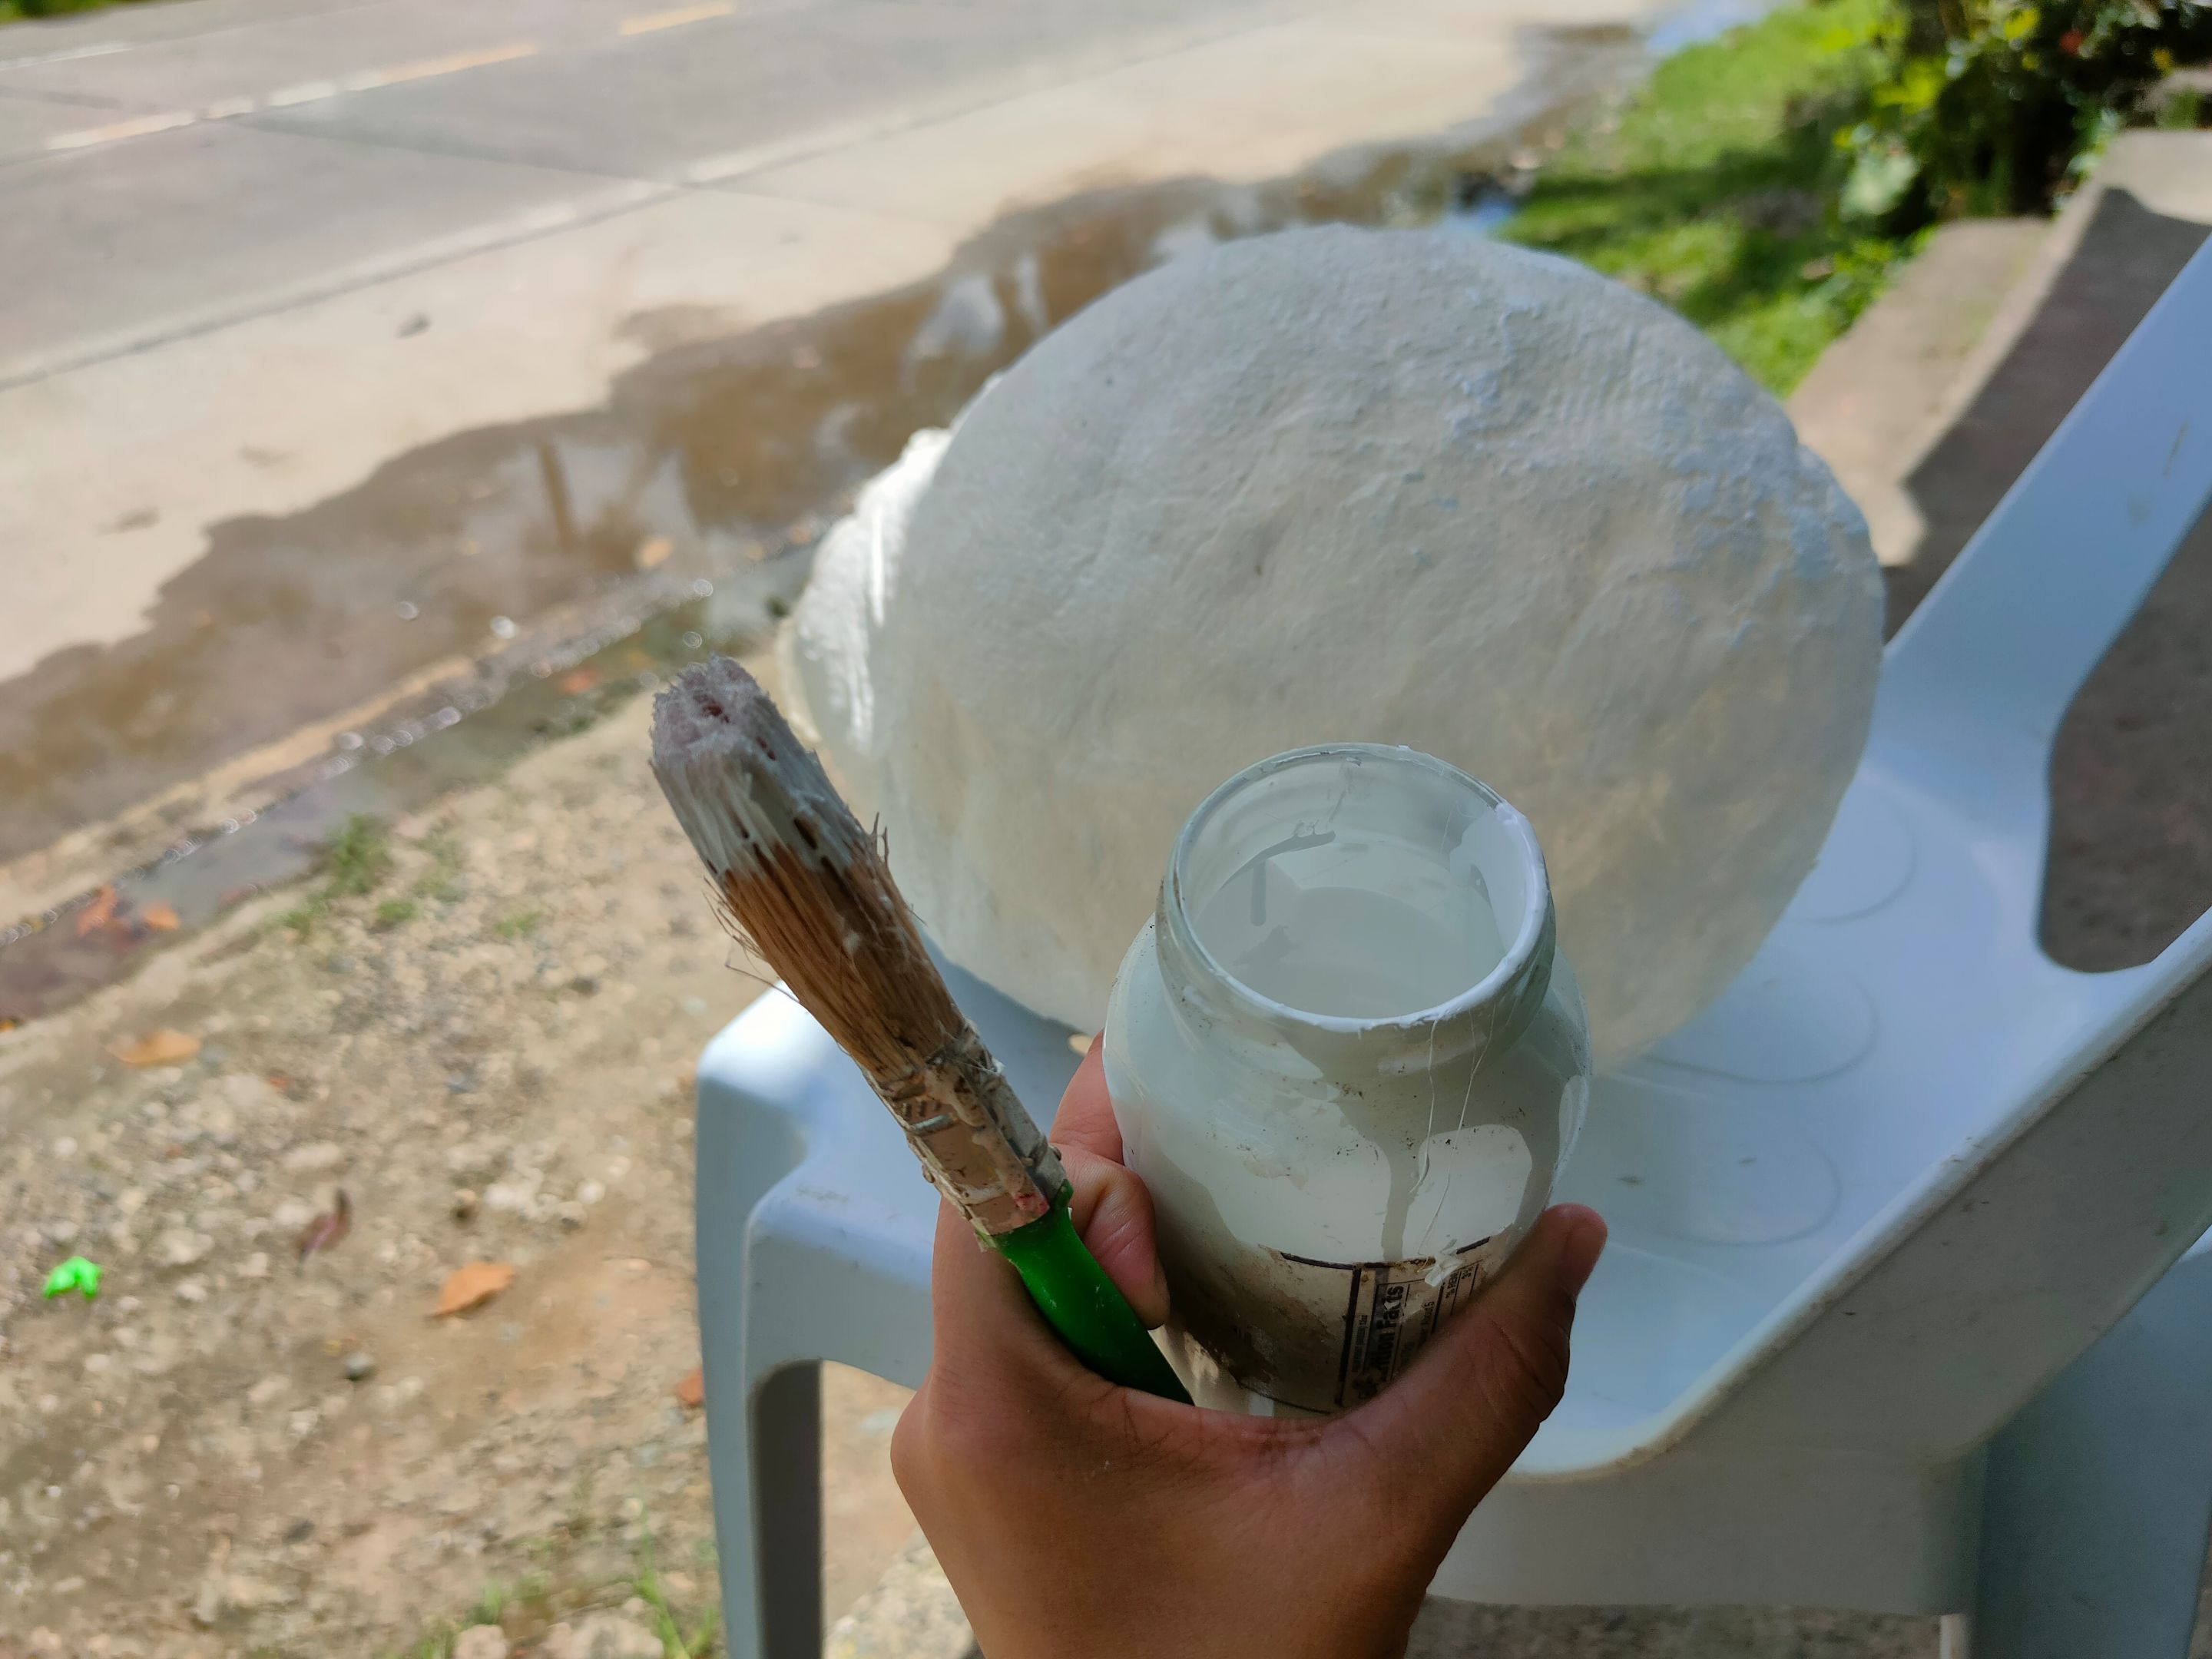
- Prepare White Paint as your Base color. You may or may not apply a white base color, but in my case, I applied white paint to balance the transparency of the lamp or the illumination of the bulb inside the lamp.
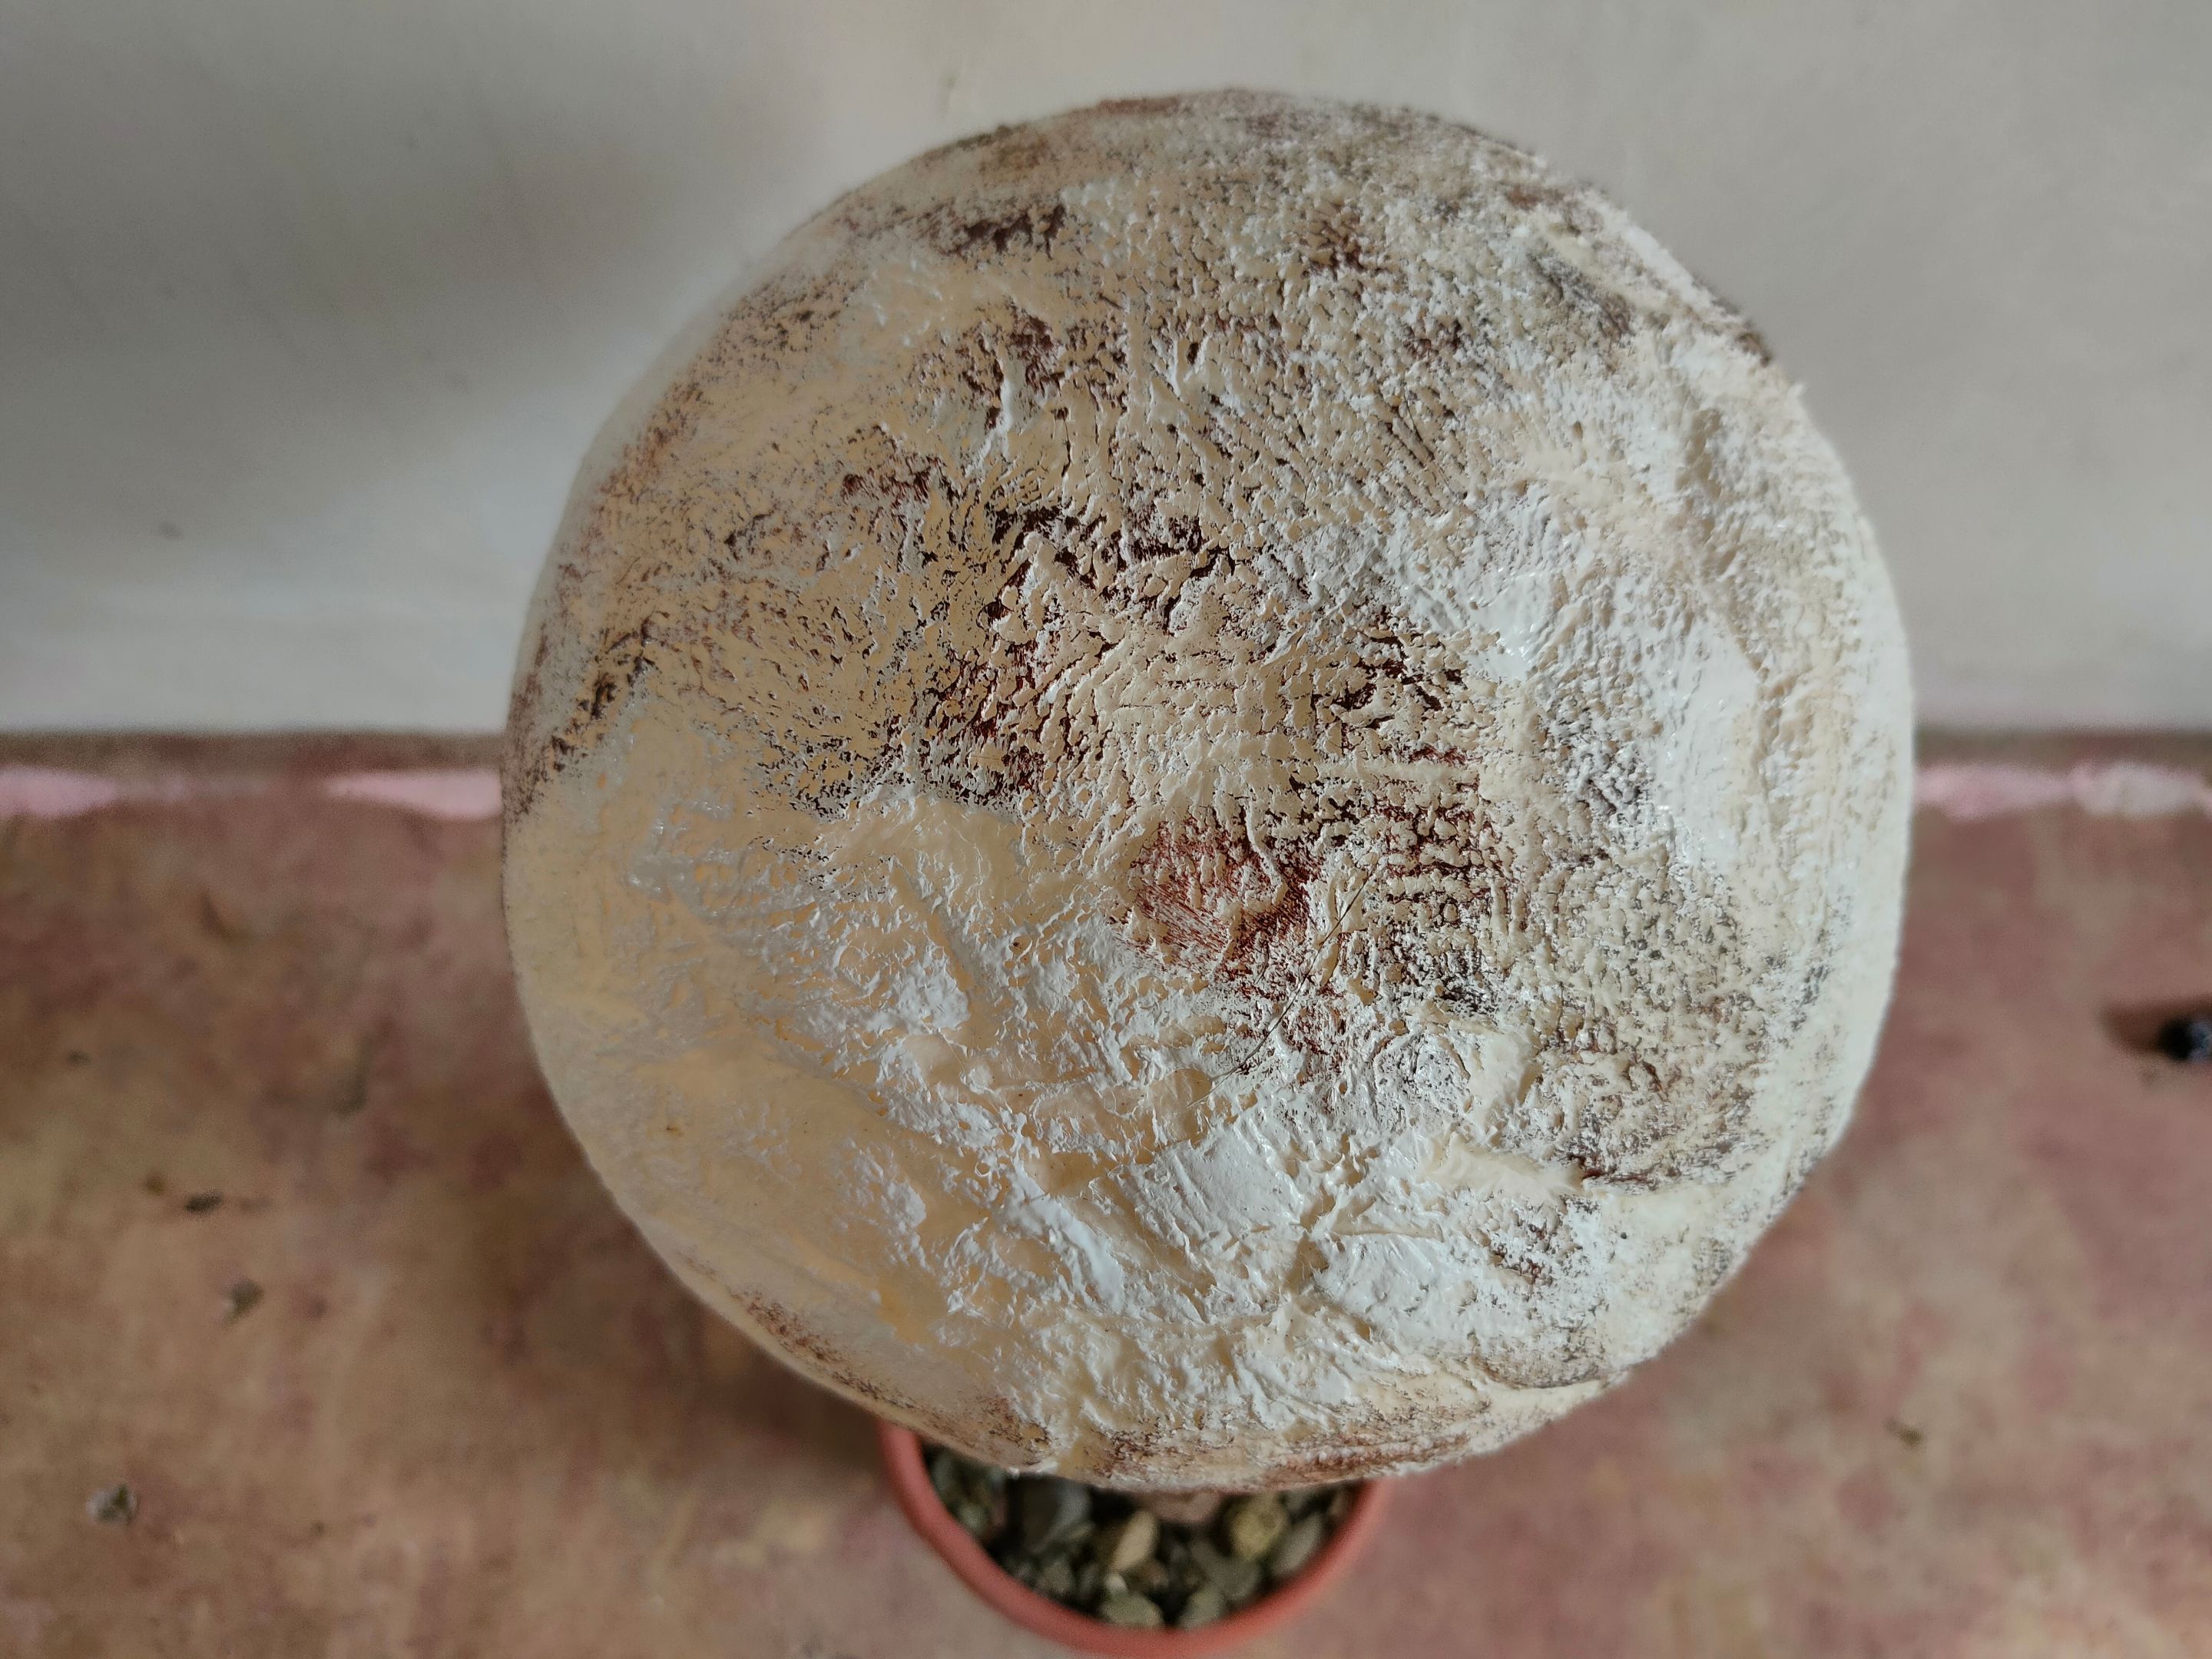
2.When dried, it's time you can apply brown or ivory colors (Acrylic paint) for the design of your moon. Use a sponge instead of a brush to achieve a natural effect and lightly stamp the sponge to the paper lamp.
3.Let it dry.
And Viola! you now have your Moon waiting for the night for it to shine!
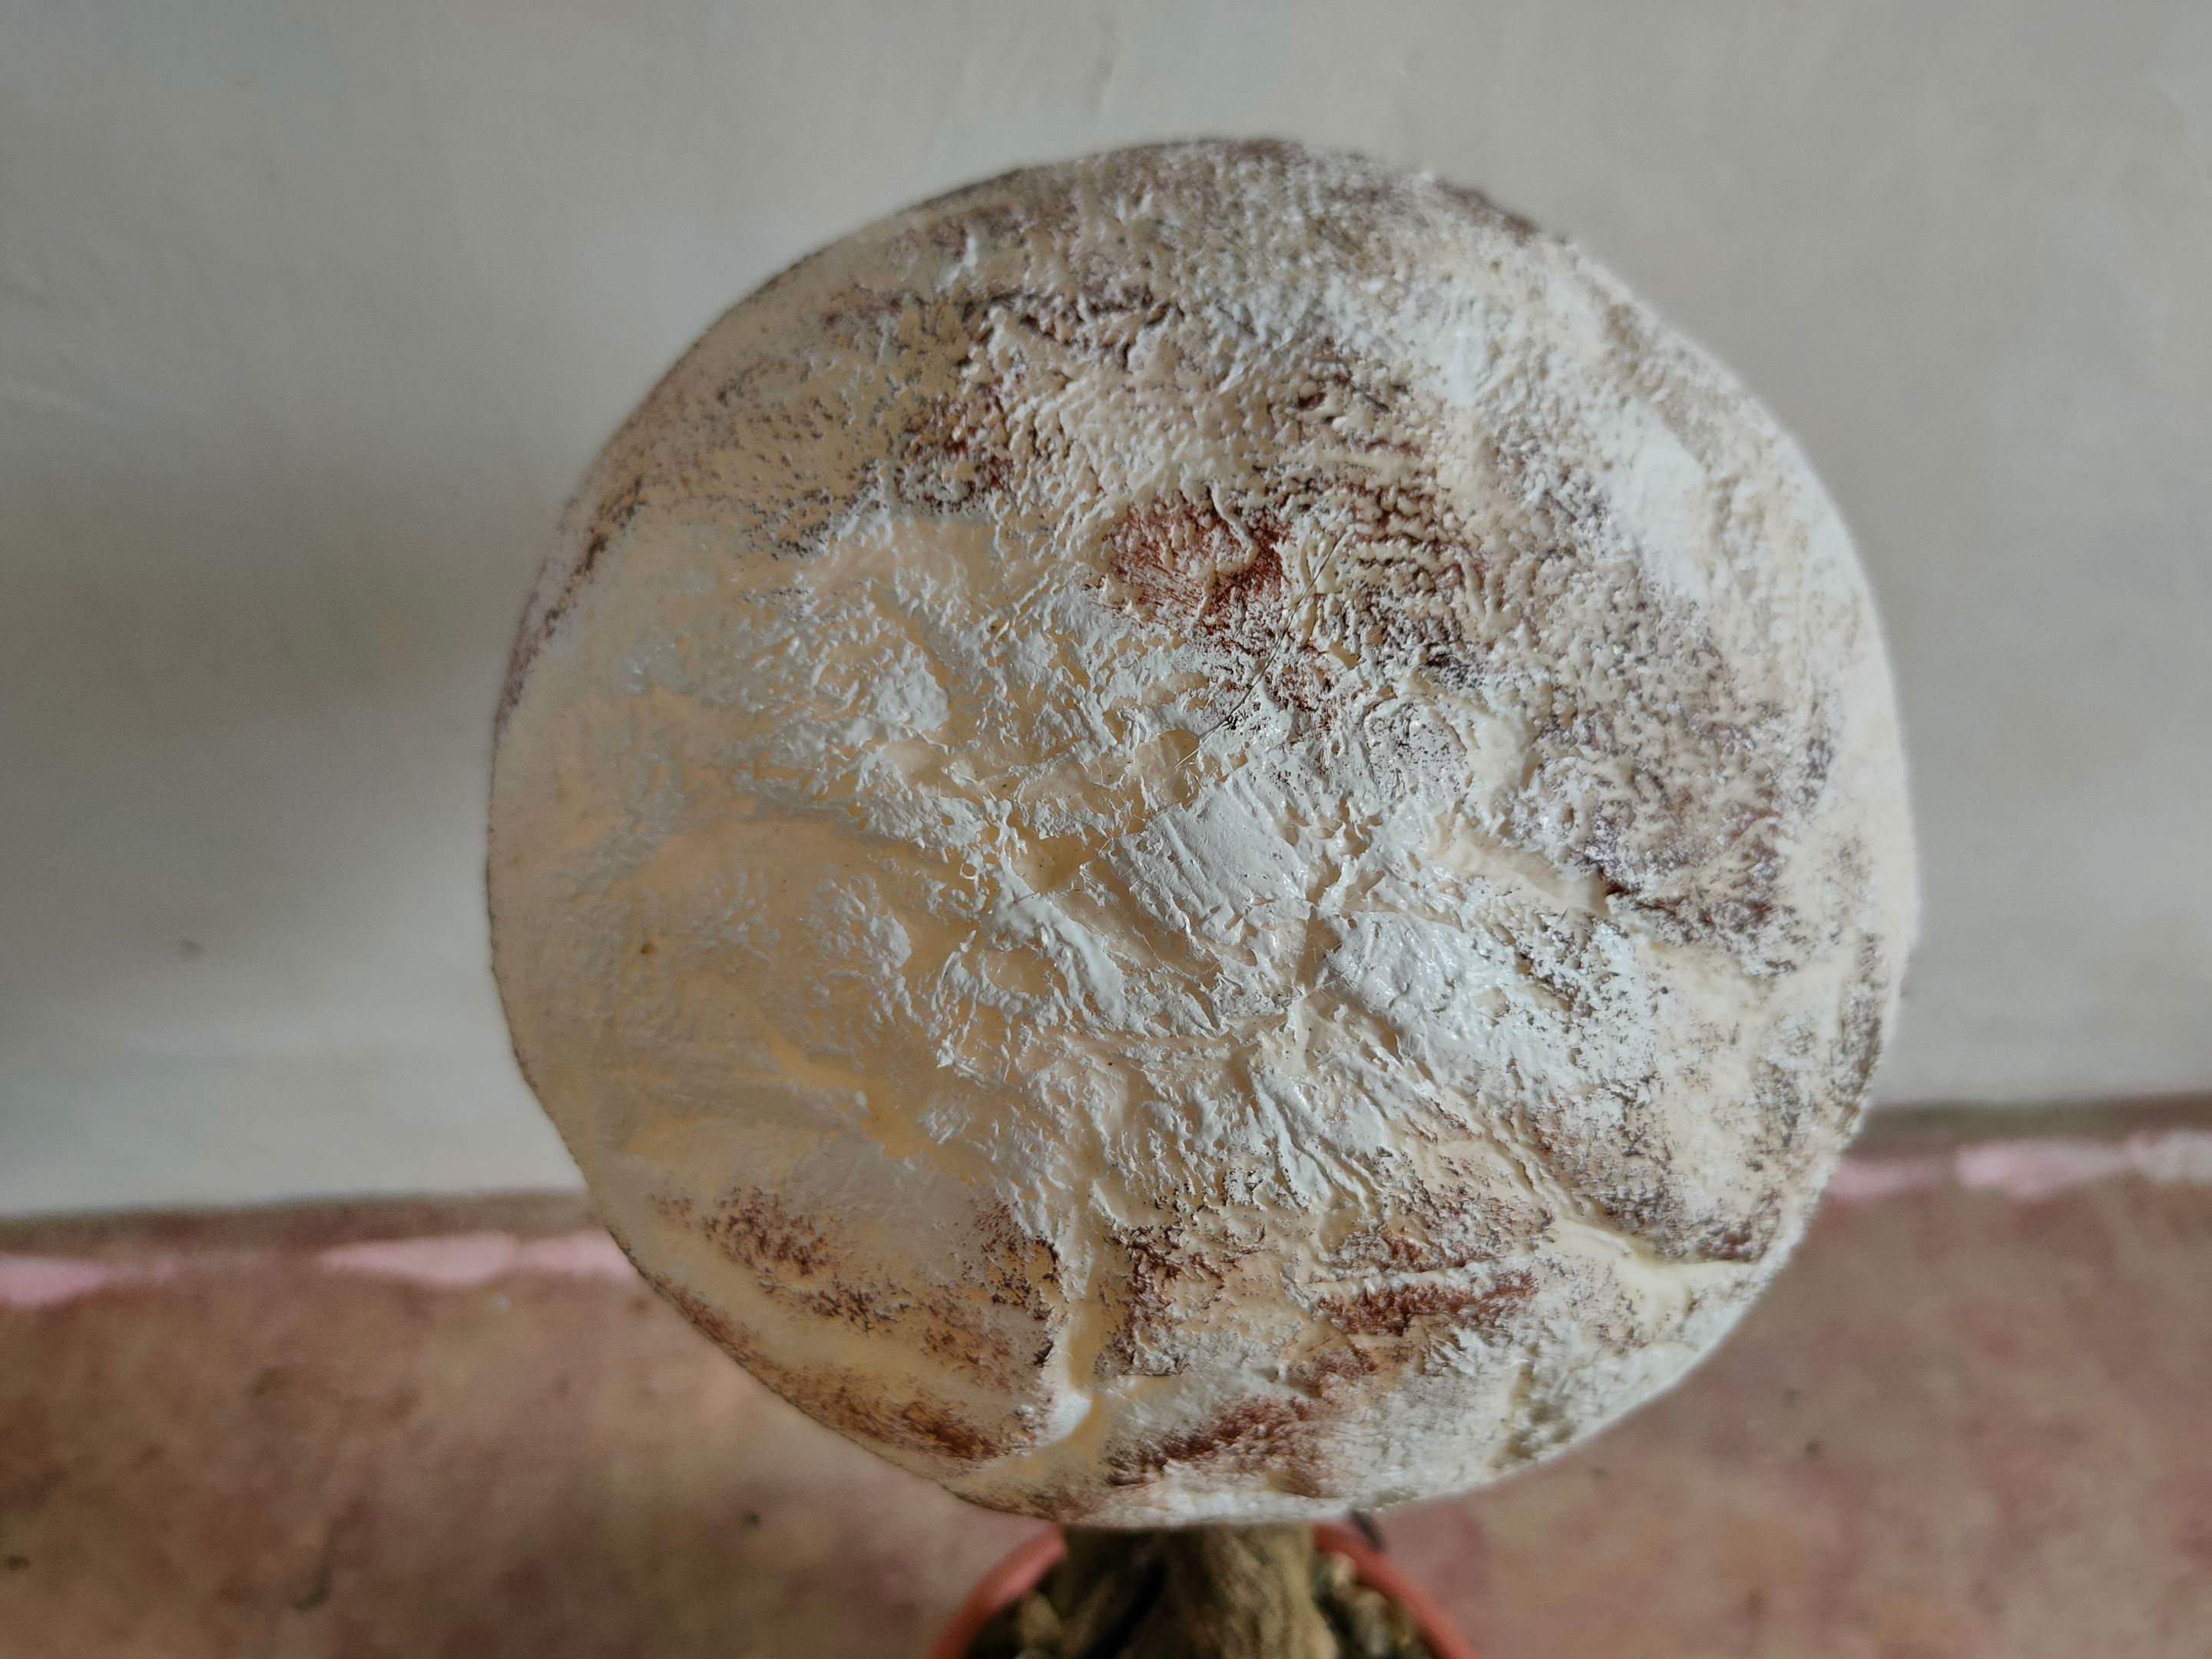
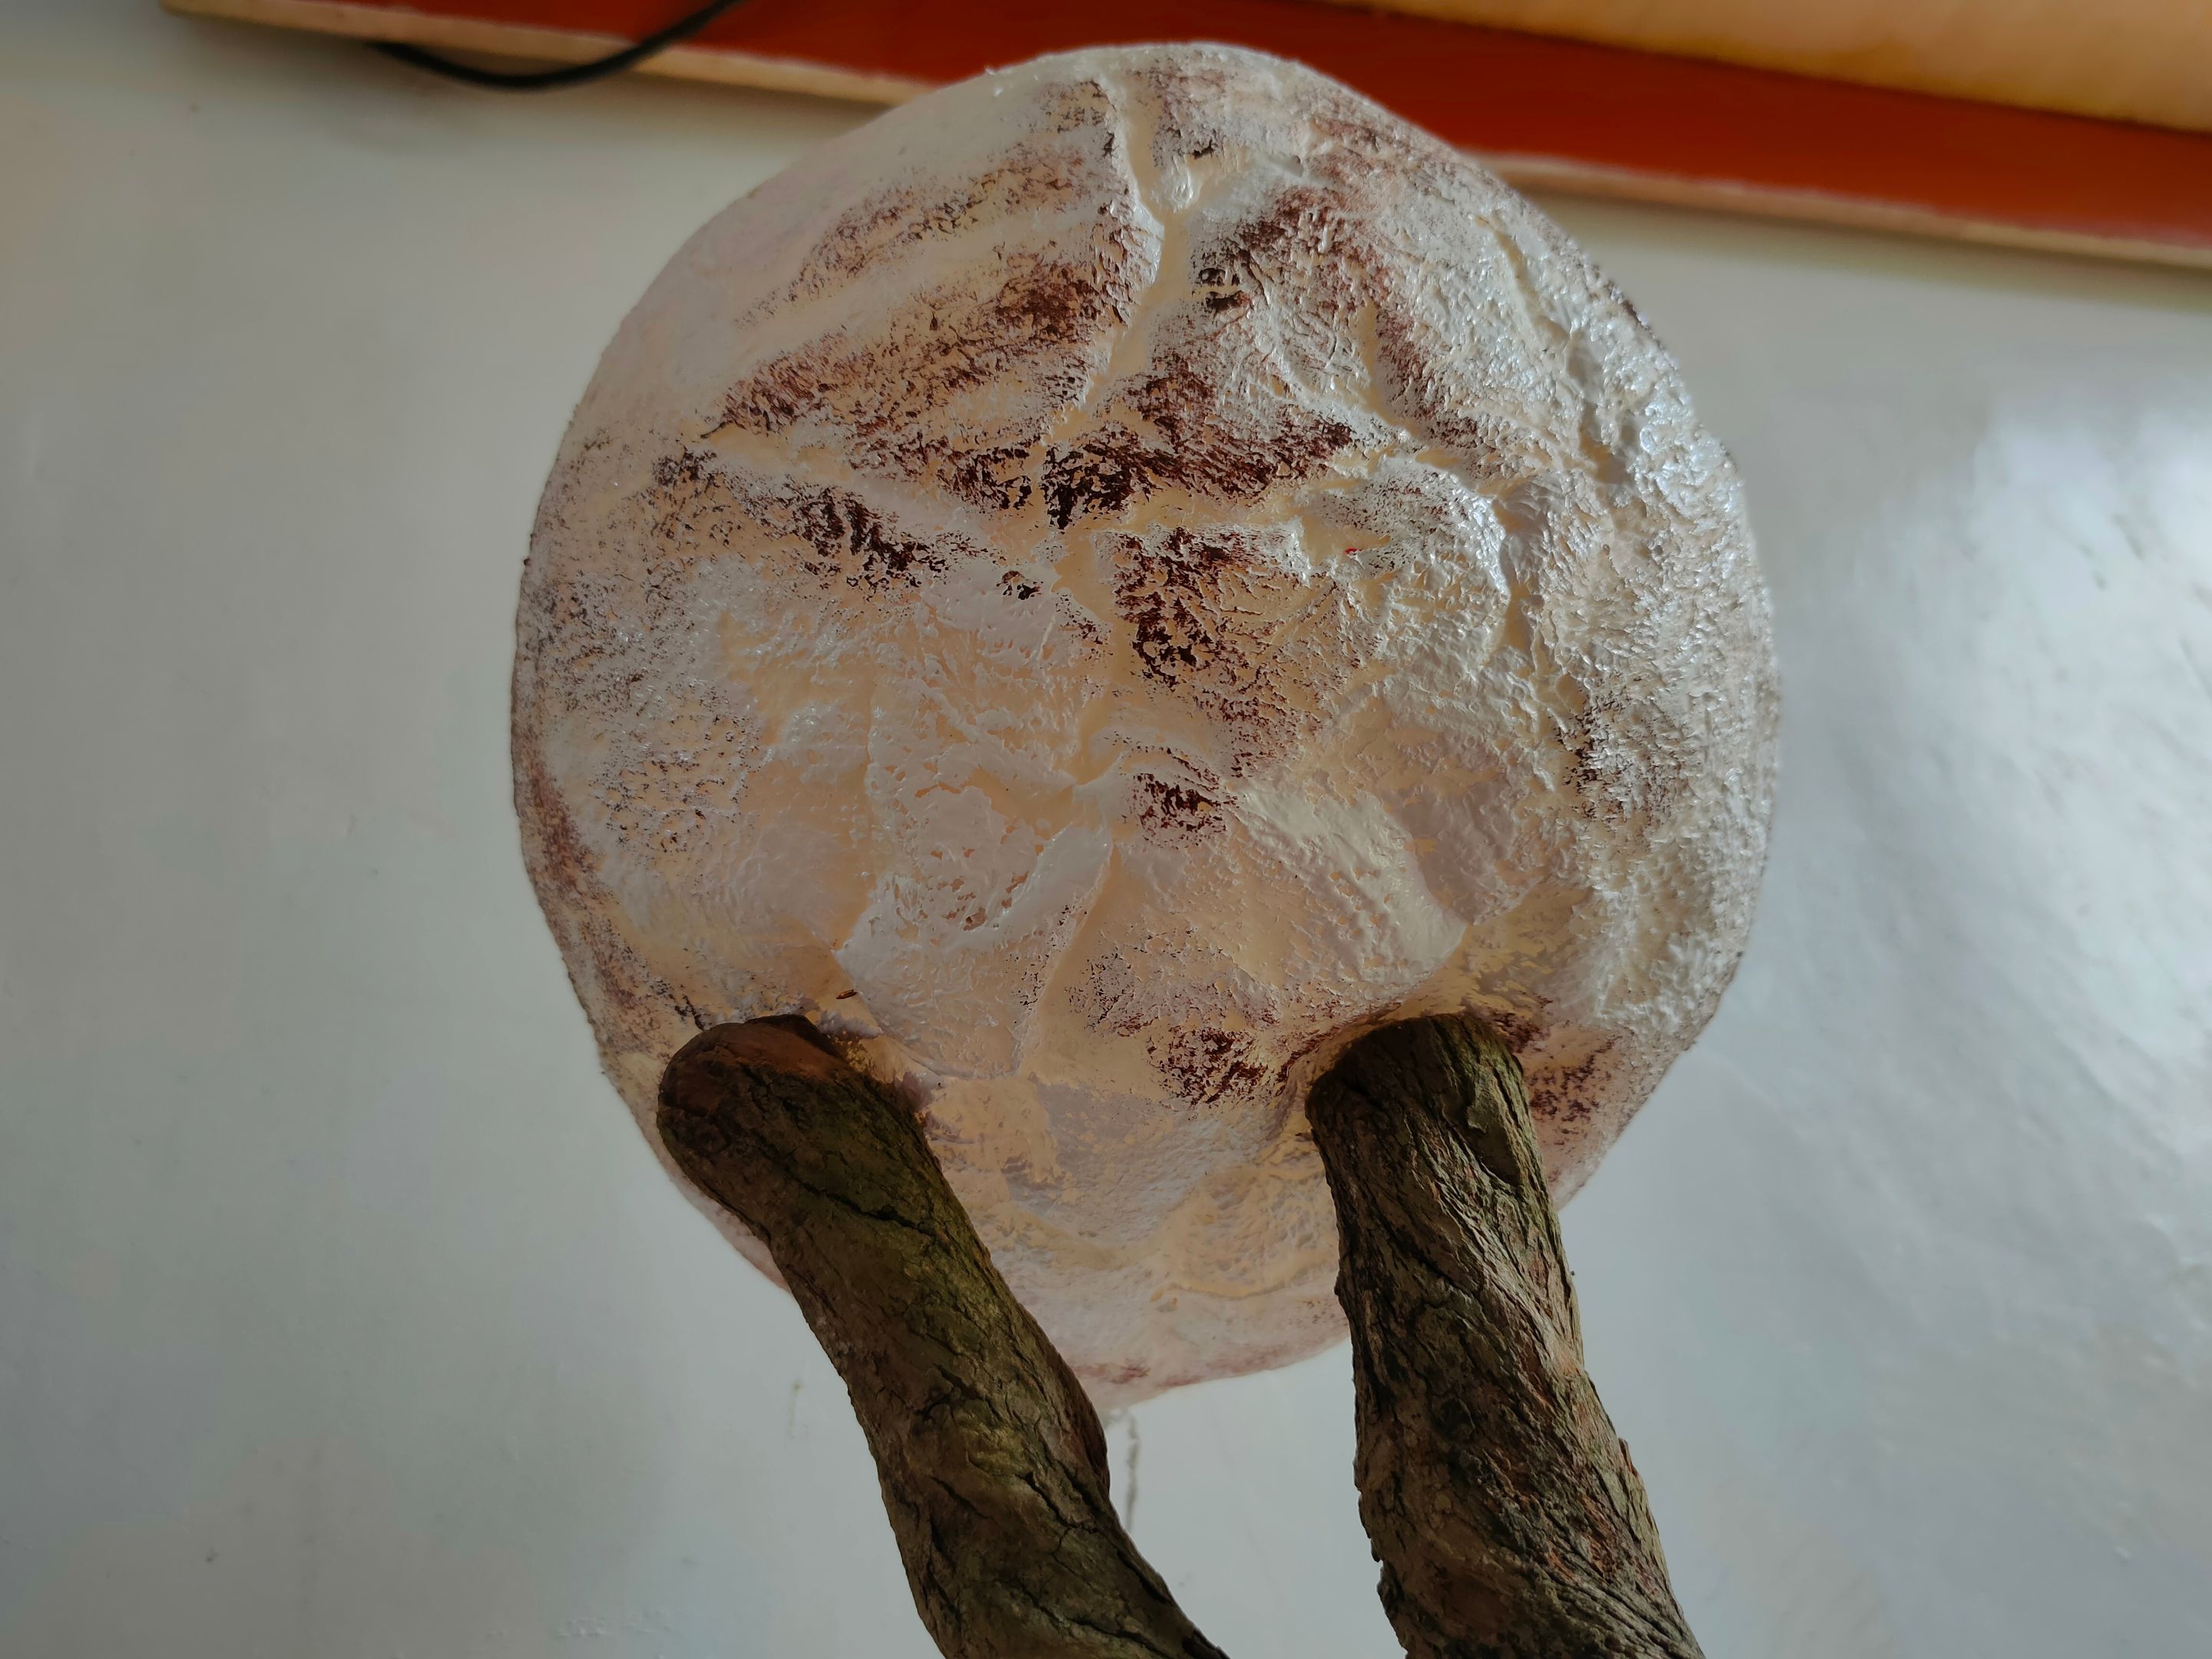
The Moon Lamp.
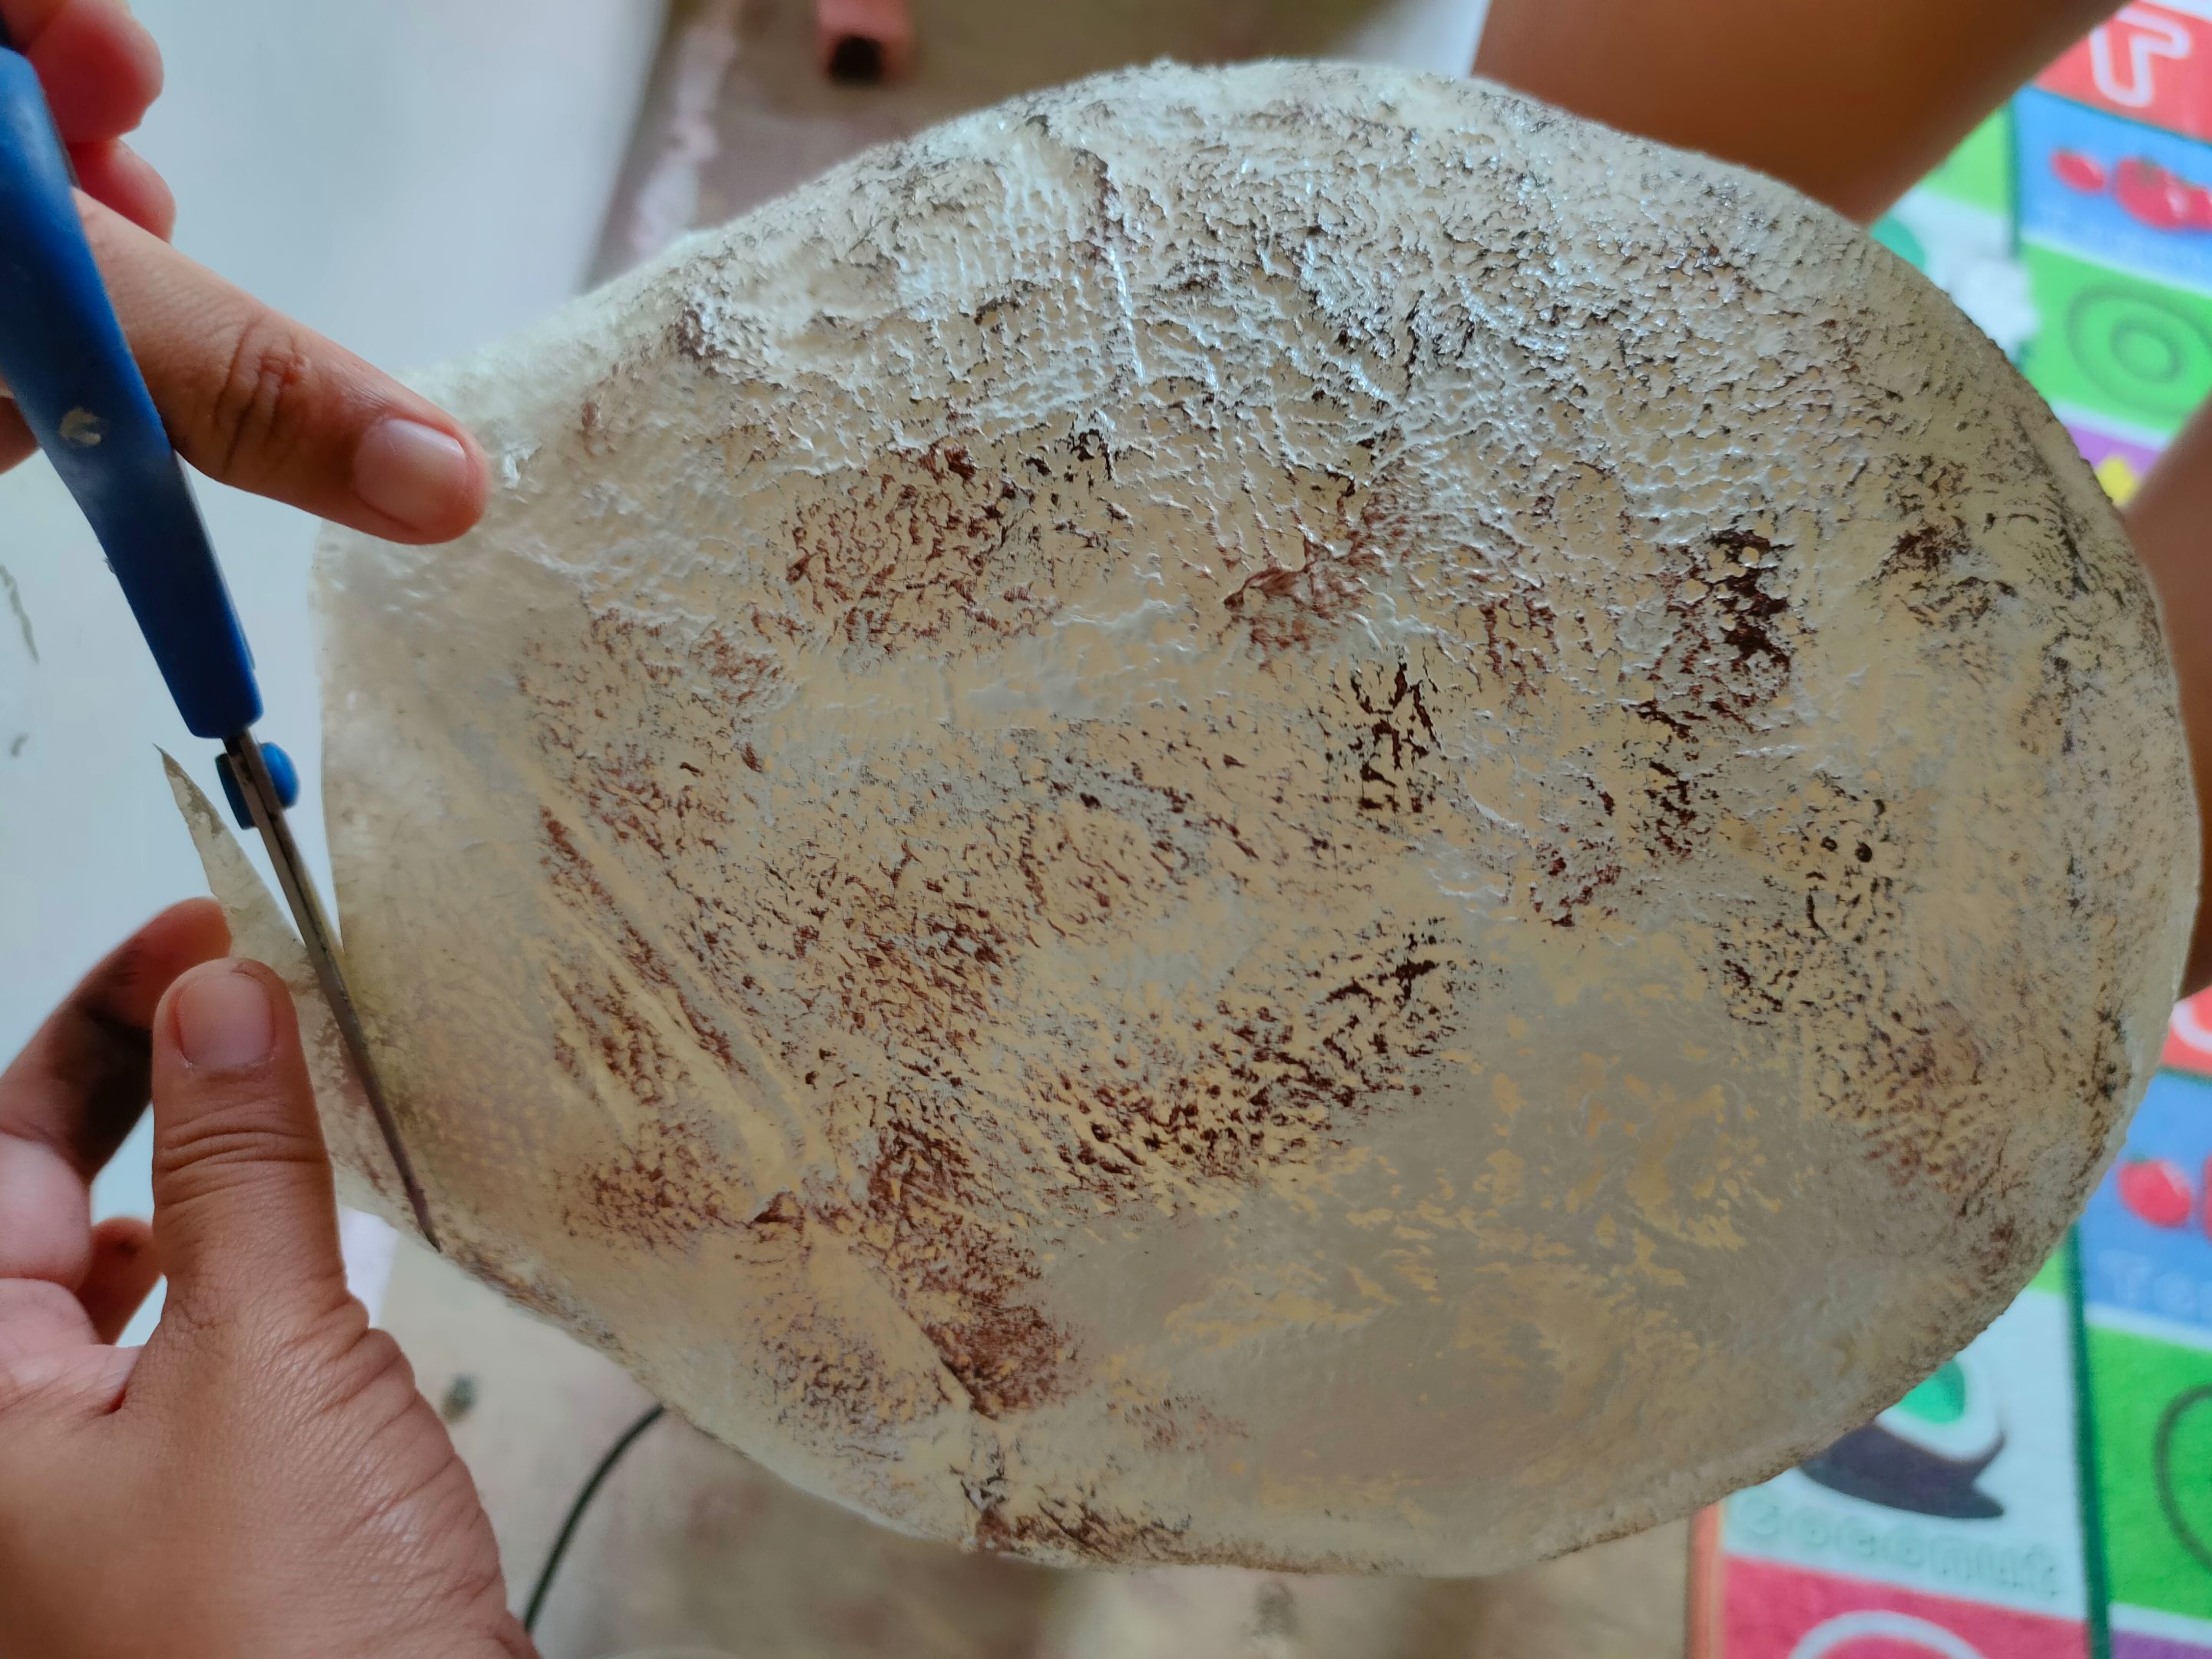
- Once the steps are followed, it's time to attach the Moon to the Lamp Holder. But before I did this, I first cut the hole part of the Lamp to achieve a perfect circle.
- I put a little hole in the paper moon so the wire could get in. I used thumbtacks to glue it to the tree.
- When everything is set, It's time to turn the lamp on and enjoy that soft glue of the heavenly body right in front of your eyes!
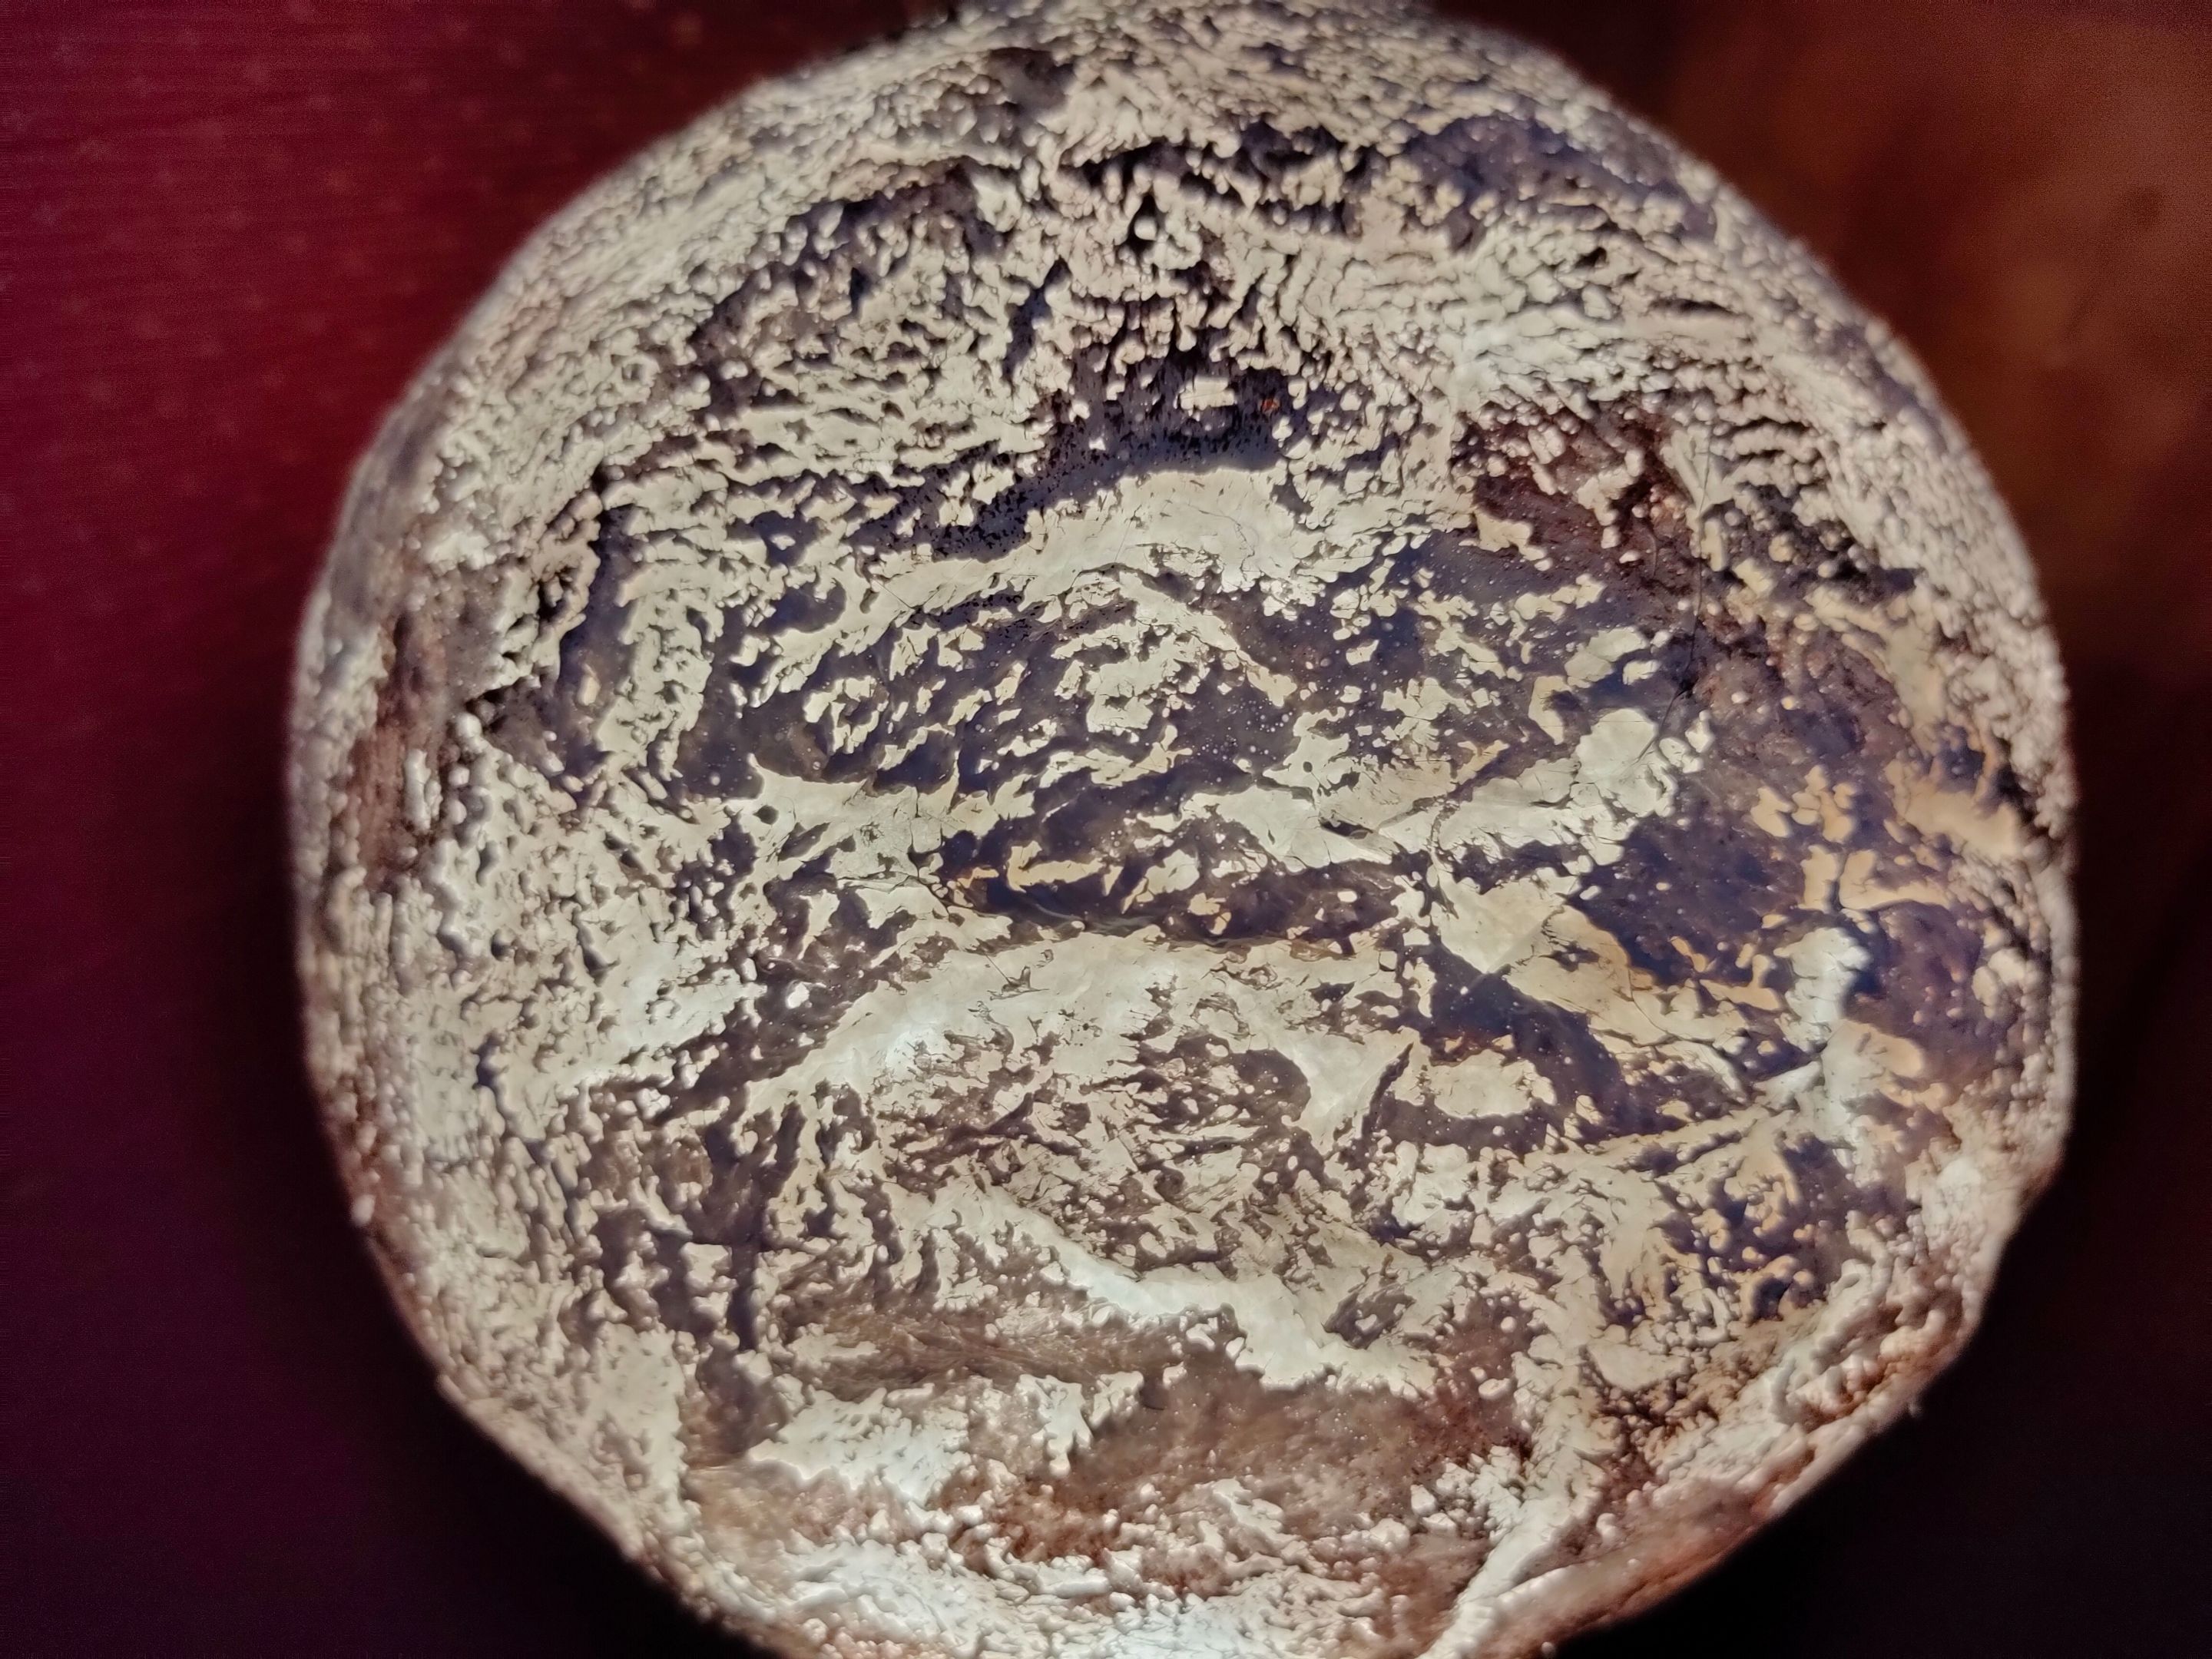


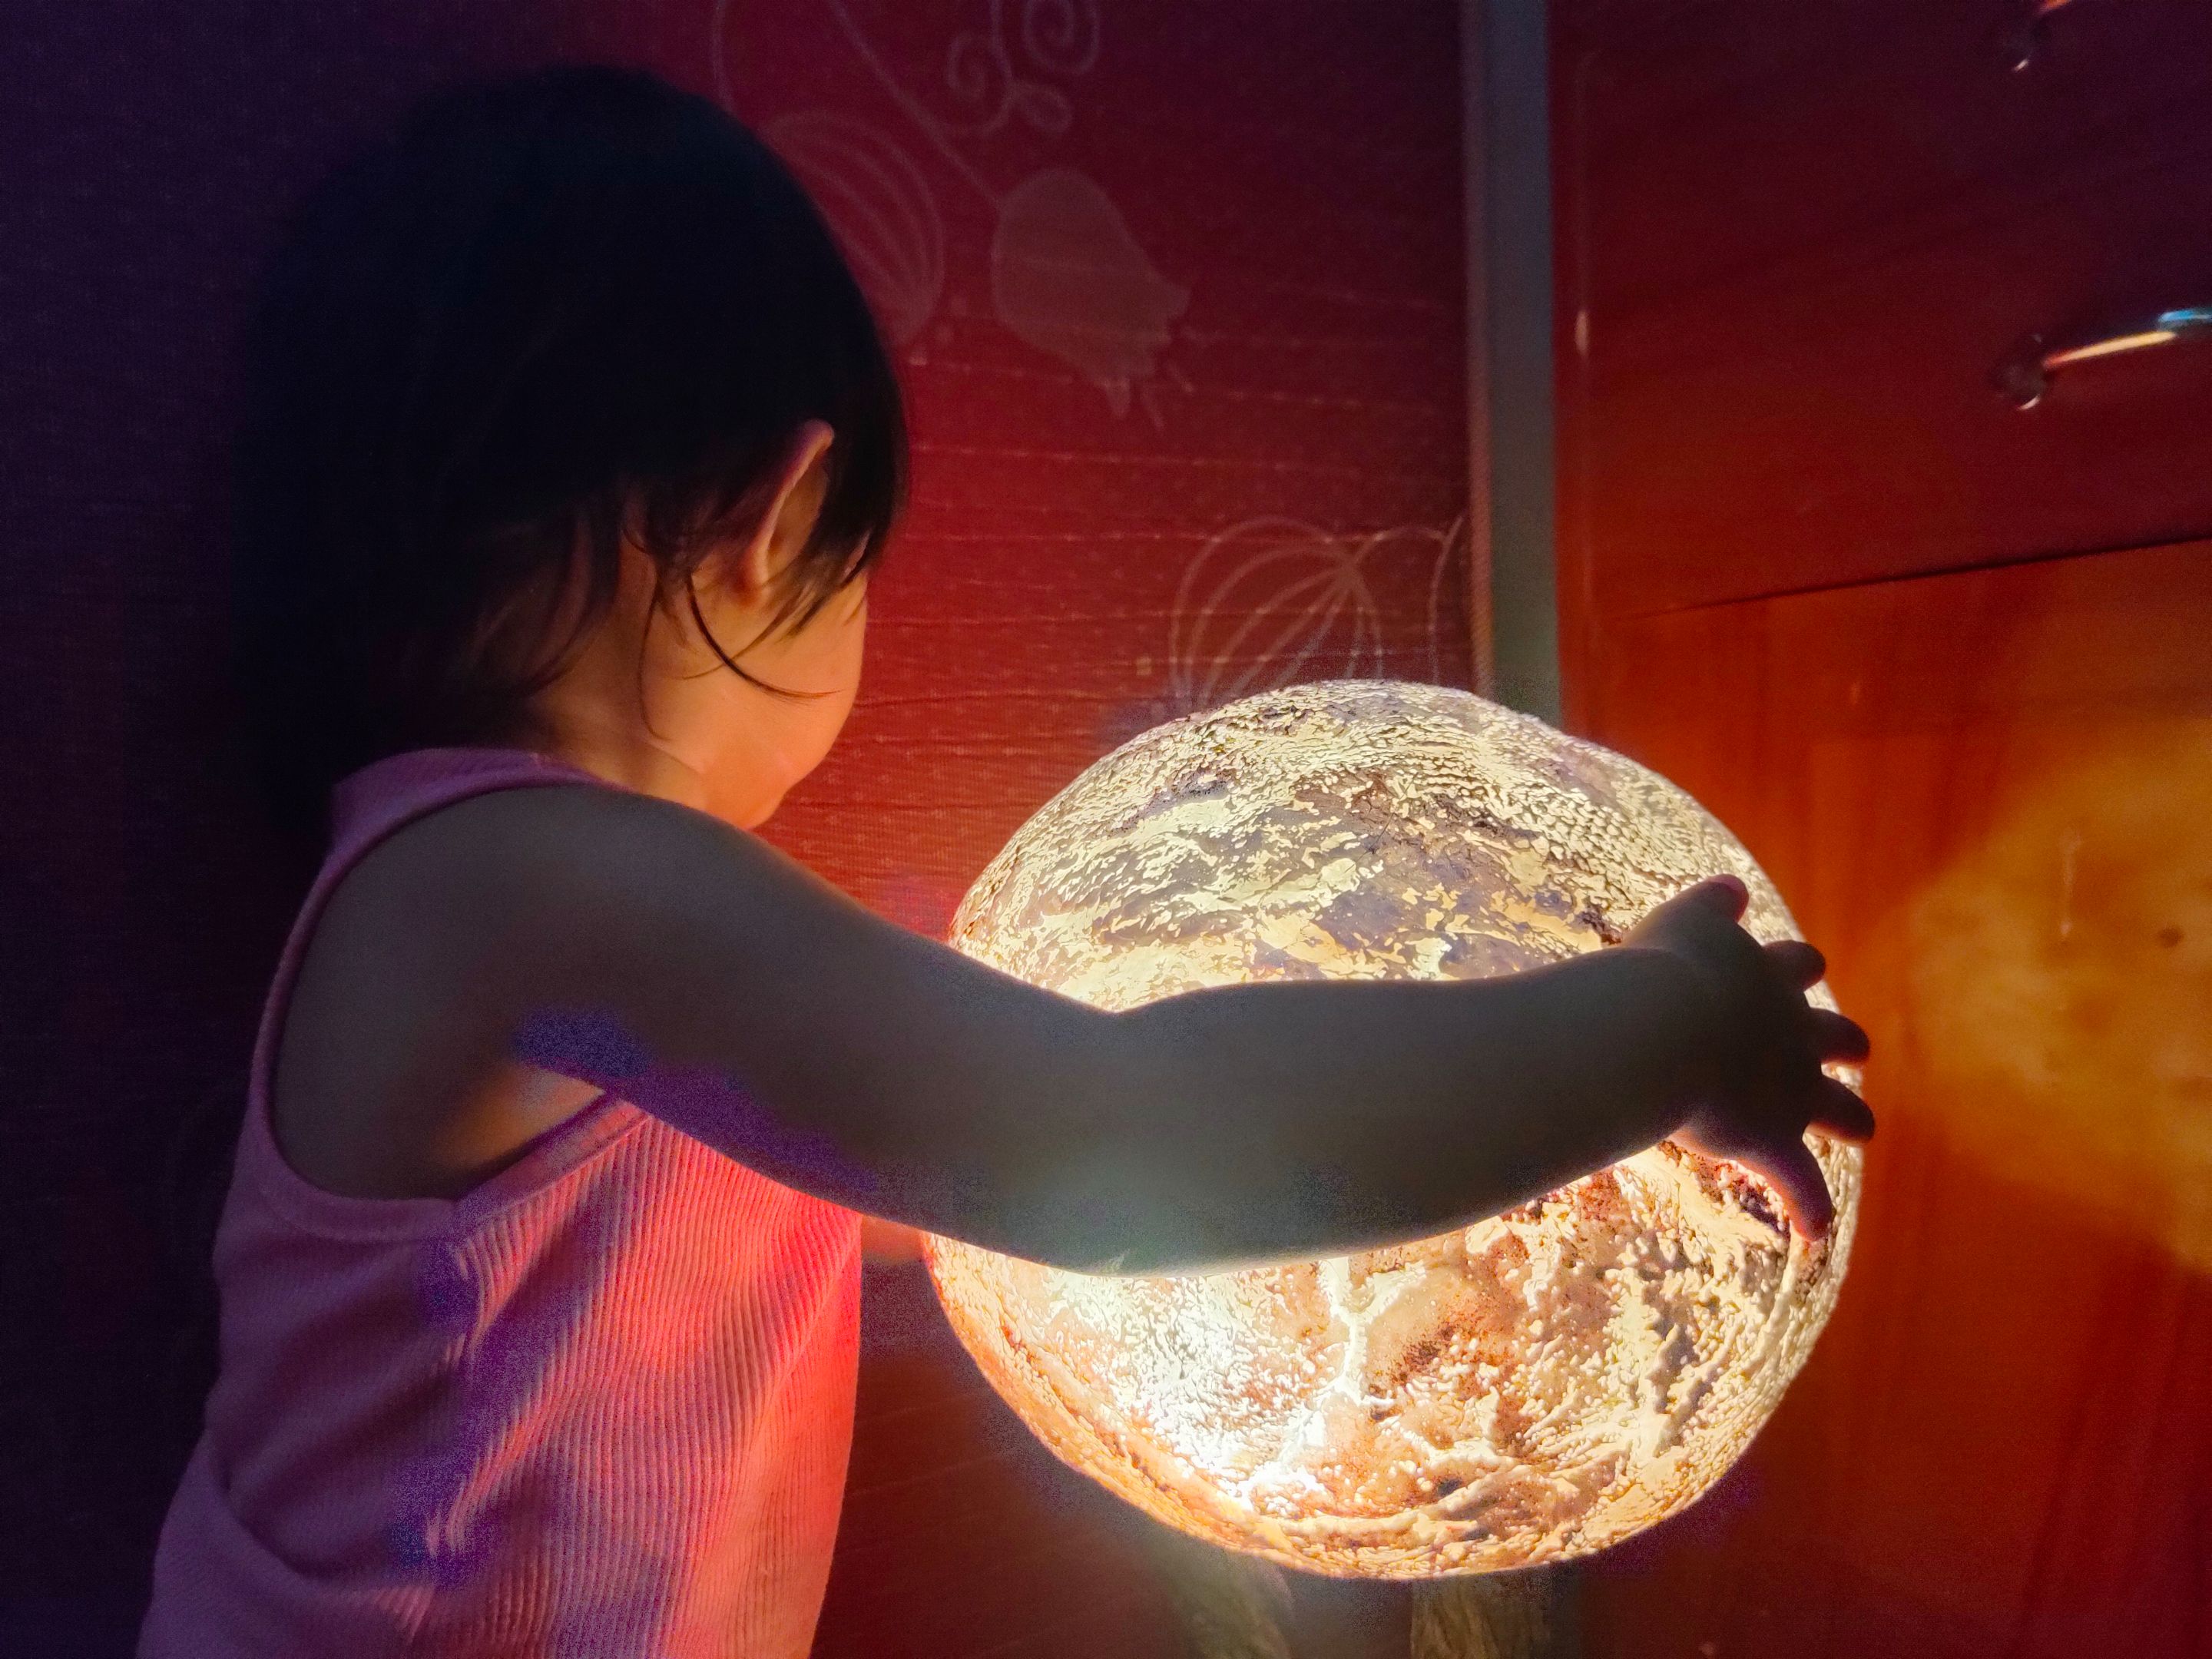
I called my daughter and watched her reaction closely as I turned on the Moon Lamp! Her eyes glowed with surprise and amazement. "Wow! Moon! It's the Moon Mama! It's the Moon!", the words she keeps saying. She stares at the moon with so much wonder, and she looks at me, and looks at the moon again! Ahhhh. My heart is melting! Seeing the happy smile of my daughter is more than winning.
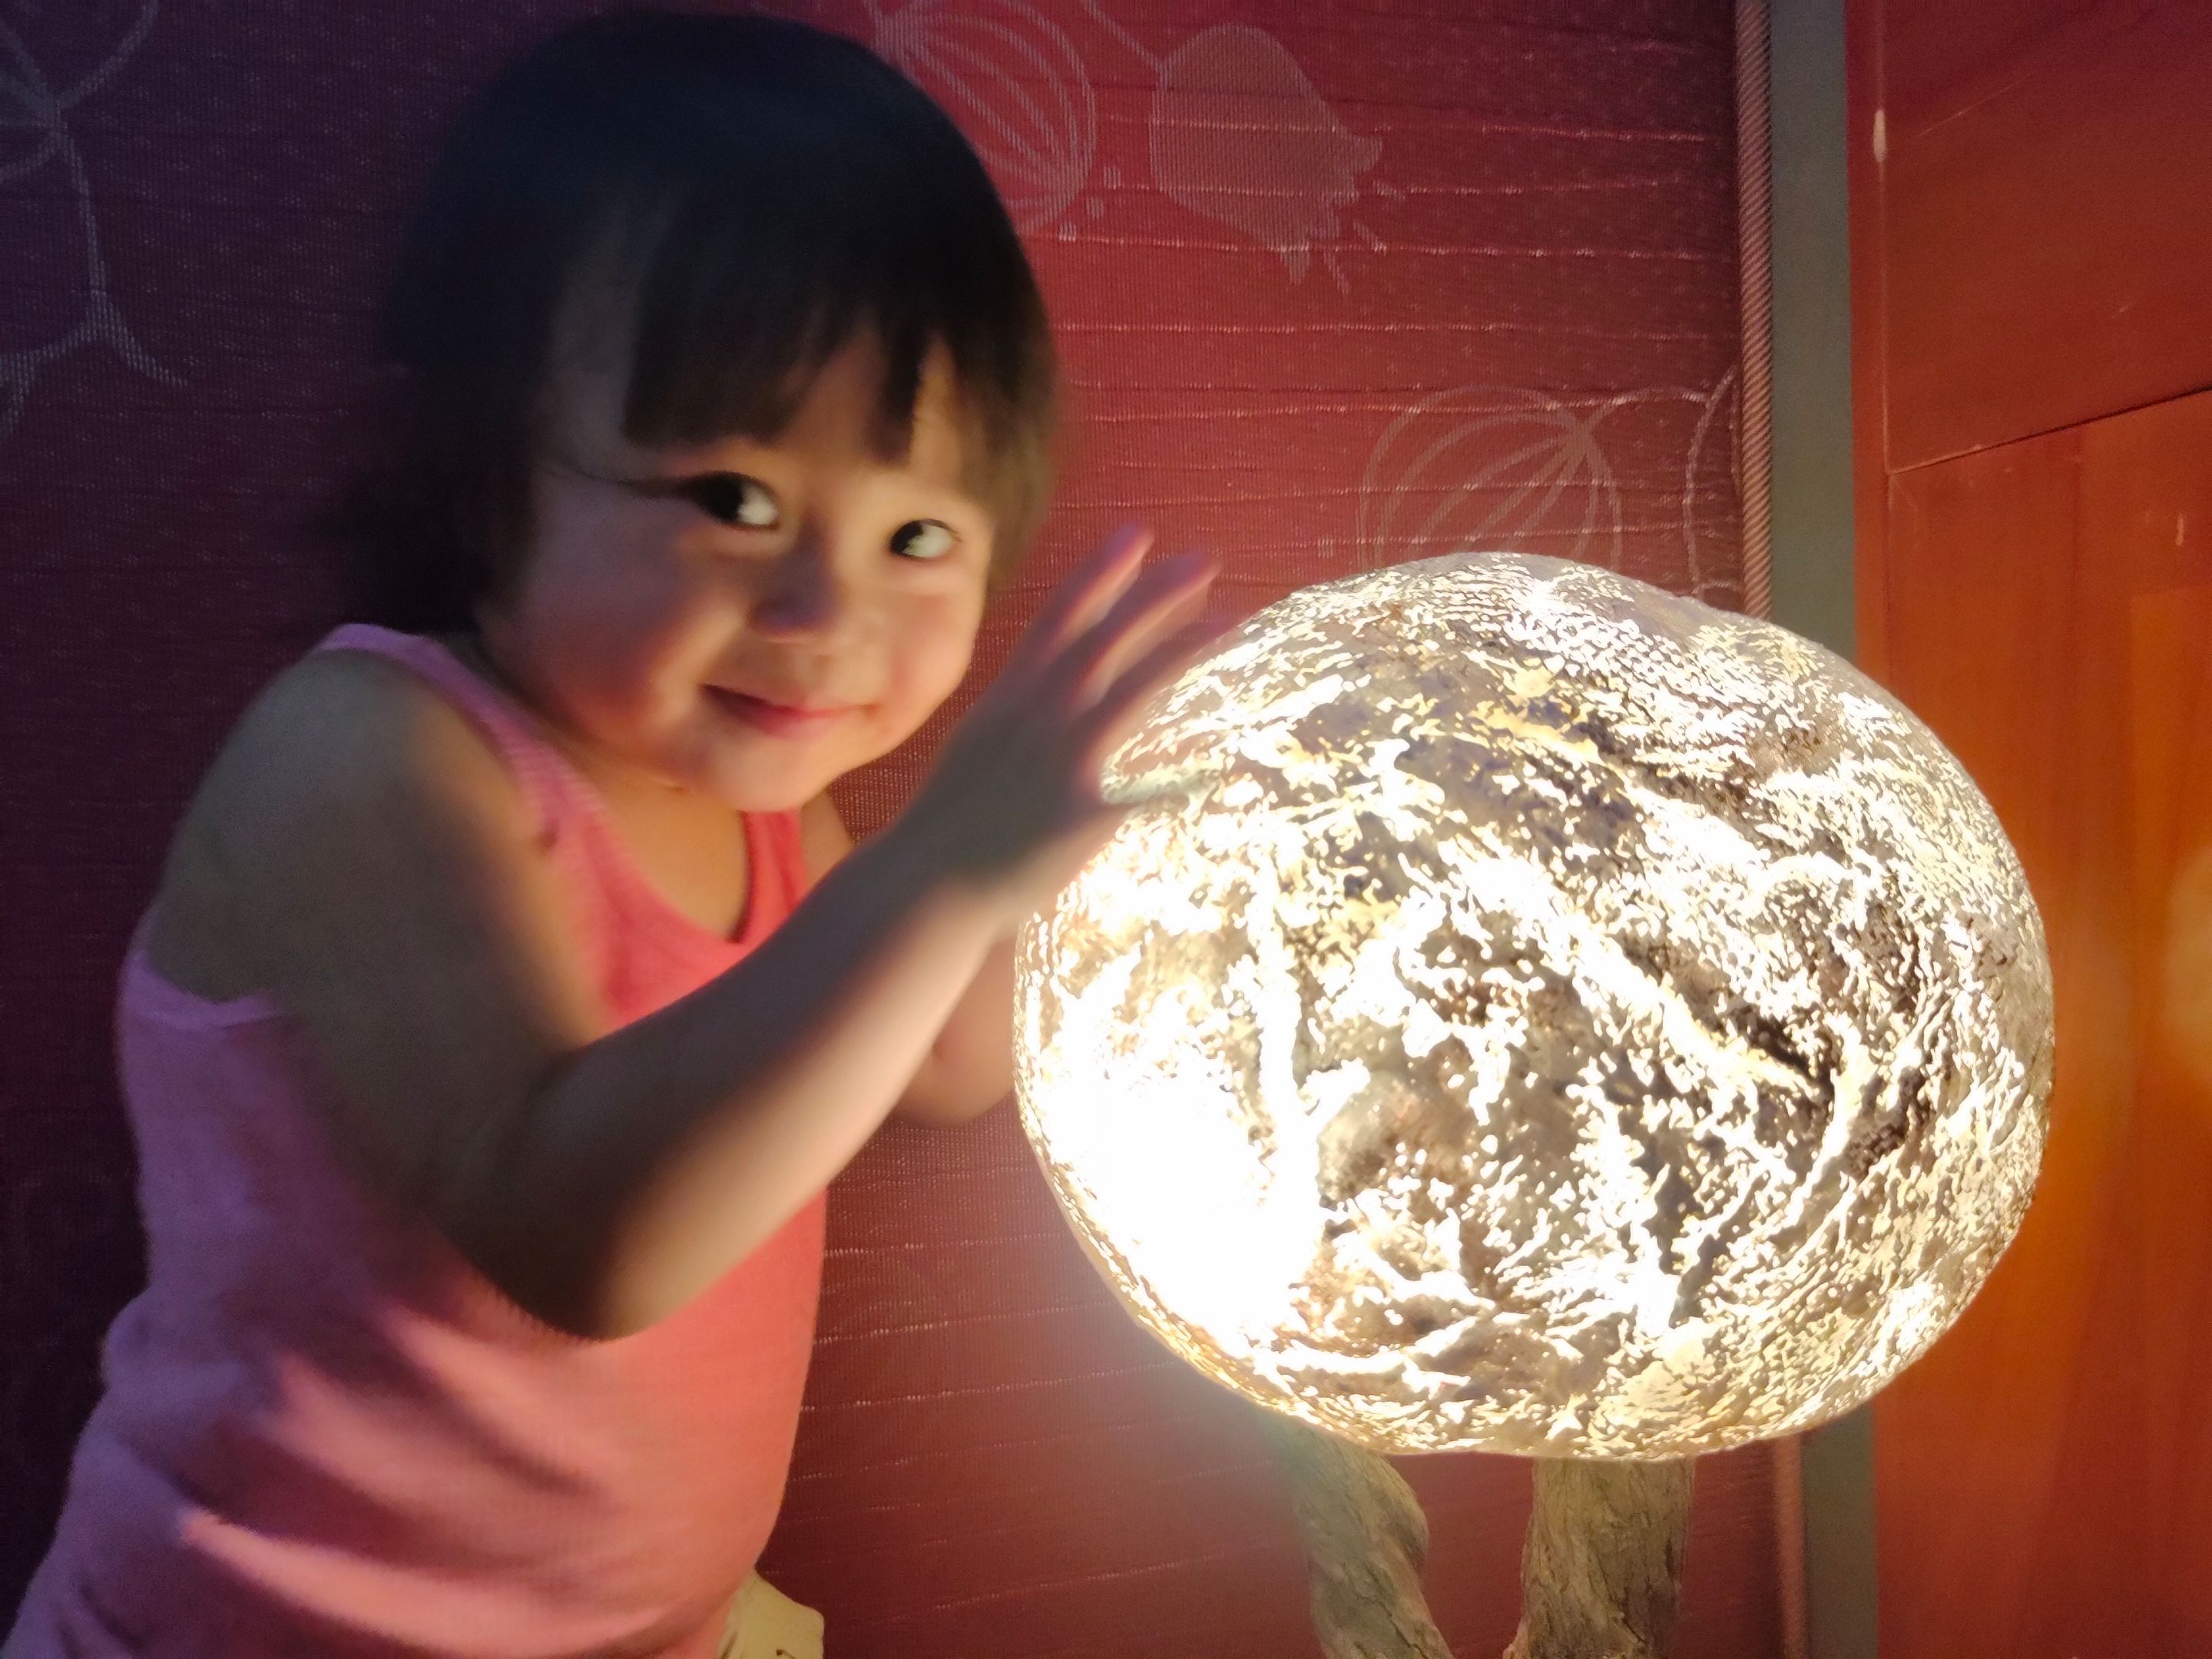
And I realized, my "MOON FOR MY LOVE" DIY which I pour my heart into doing was after all not for this month's competition of the MOONS' but for winning the smile and the heart of my daughter all over again. And this is the beauty and the joy of my DIY MOON LAMP.
P.S.
I was supposed to submit this entry for the February Prompt, but only to discover the competition has expired on the 25th. But still, I'm happy to share this with the @DIYHUB community.
Thank you for reading guys. Hope you are all safe and well always.
Warm smiles from @callmemsile.
Show more
Tags :
Woo!
This creator can upvote comments using 3speak's stake today because they are a top performing creator!
Leave a quality comment relating to their content and you could receive an upvote
worth at least a dollar.
Their limit for today is $0!
Their limit for today is $0!

17 views
a year ago
$

27 views
a year ago
$
More Videos
29 views
a year ago
$
4 views
3 months ago
$

7 views
3 years ago
$

5 views
3 years ago
$

6 views
2 years ago
$

7 views
2 years ago
$

3 views
3 years ago
$

22 views
a year ago
$

1 views
3 years ago
$

12 views
9 months ago
$

3 views
3 years ago
$

10 views
3 years ago
$

4 views
3 years ago
$

18 views
2 years ago
$
0 views
5 months ago
$

2 views
3 years ago
$

7 views
7 months ago
$

1 views
2 years ago
$

2 views
2 years ago
$
4 views
a year ago
$

2 views
3 years ago
$

36 views
2 years ago
$

3 views
2 years ago
$
12 views
10 months ago
$

1 views
2 years ago
$
Comments:
Reply:
To comment on this video please connect a HIVE account to your profile: Connect HIVE Account