Woodworking Wednesdays: Frets and Position Markers (Eng/Esp)
5
About :
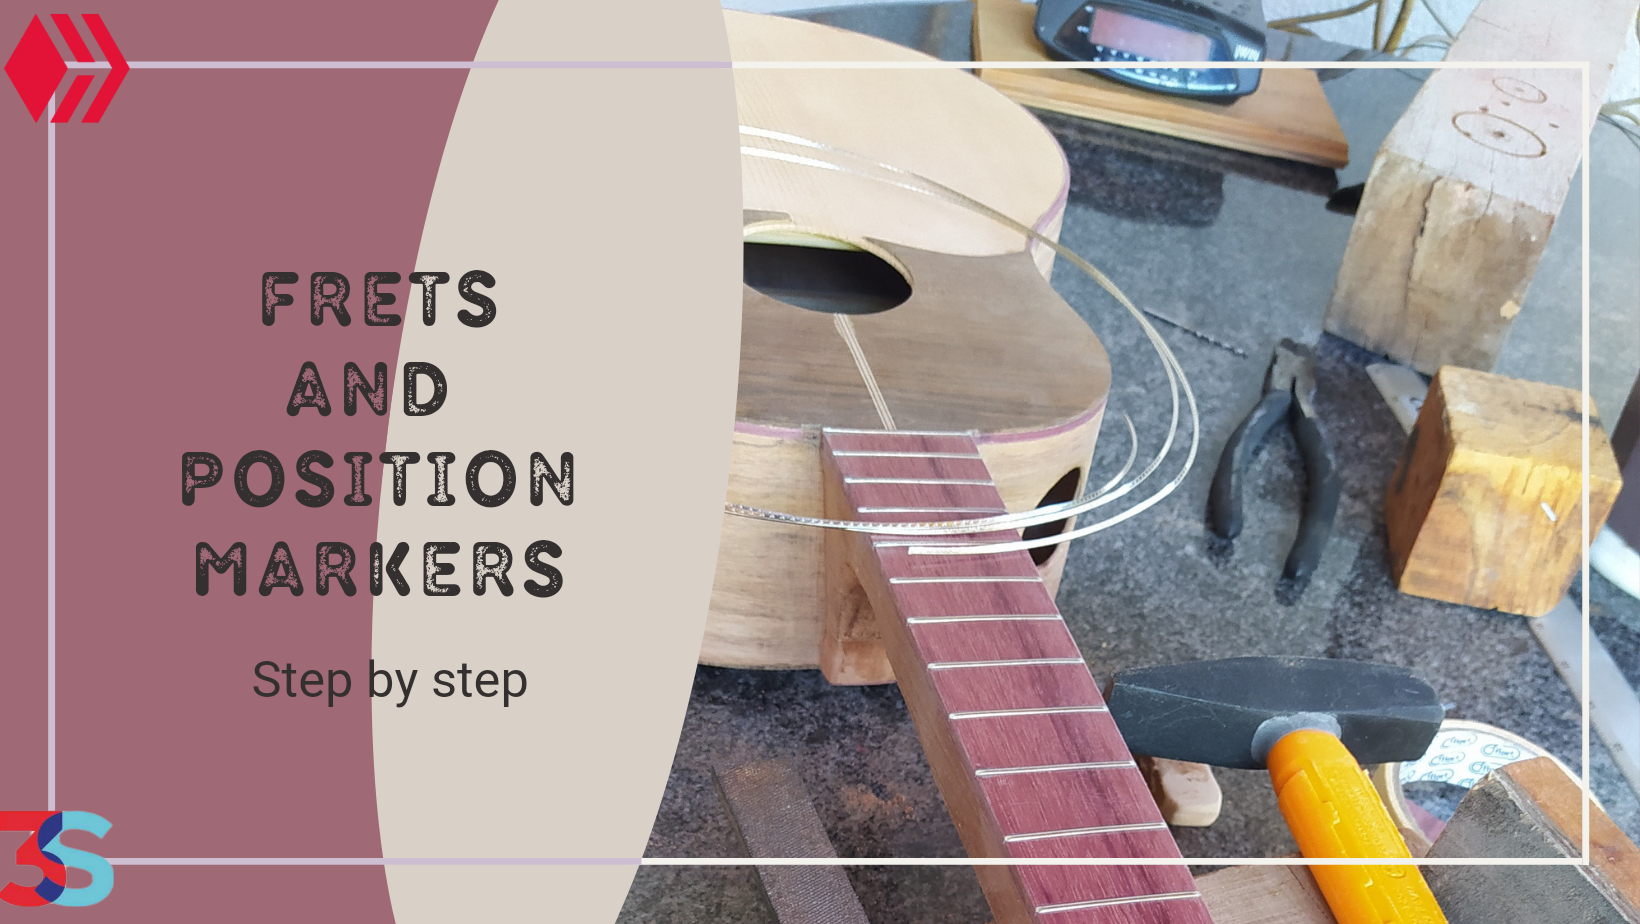

Woodworking Wednesdays are back. There's been some busy days at the workshop preparing more instruments and getting others closer to their final stage. That's always a lot of fun and it's been better to share some of that progress with you. Today, we are on for a treat. I wanted to start making some videos like some of the luthiers I admire. They are not on Hive, so it's my chance to make the breakthrough in the web 3.0. With no further a due, I'm gonna show you how I place the frets on an instrument and the position markers as well.
Volvemos a las sección de miércoles de carpintería. Han sido unos días algo atareados en el taller armando algunos instrumentos y llevando otros proyectos a sus etapas finales. Eso siempre es genial, pero es mejor cuando puedo mostrarles algo de este proceso. Hoy, tenemos una ocasión especial. Desde hace tiempo he querido hacer videos como mis luhtiers favoritos. Ellos no están en Hive así que tengo la oportunidad de ser el primero en crear este tipo de contenido en la web 3.0. Sin más preámbumos, les mostraré como coloco los trates y los puntos armónicos en uno de mis instrumentos.
Frets / Trastes
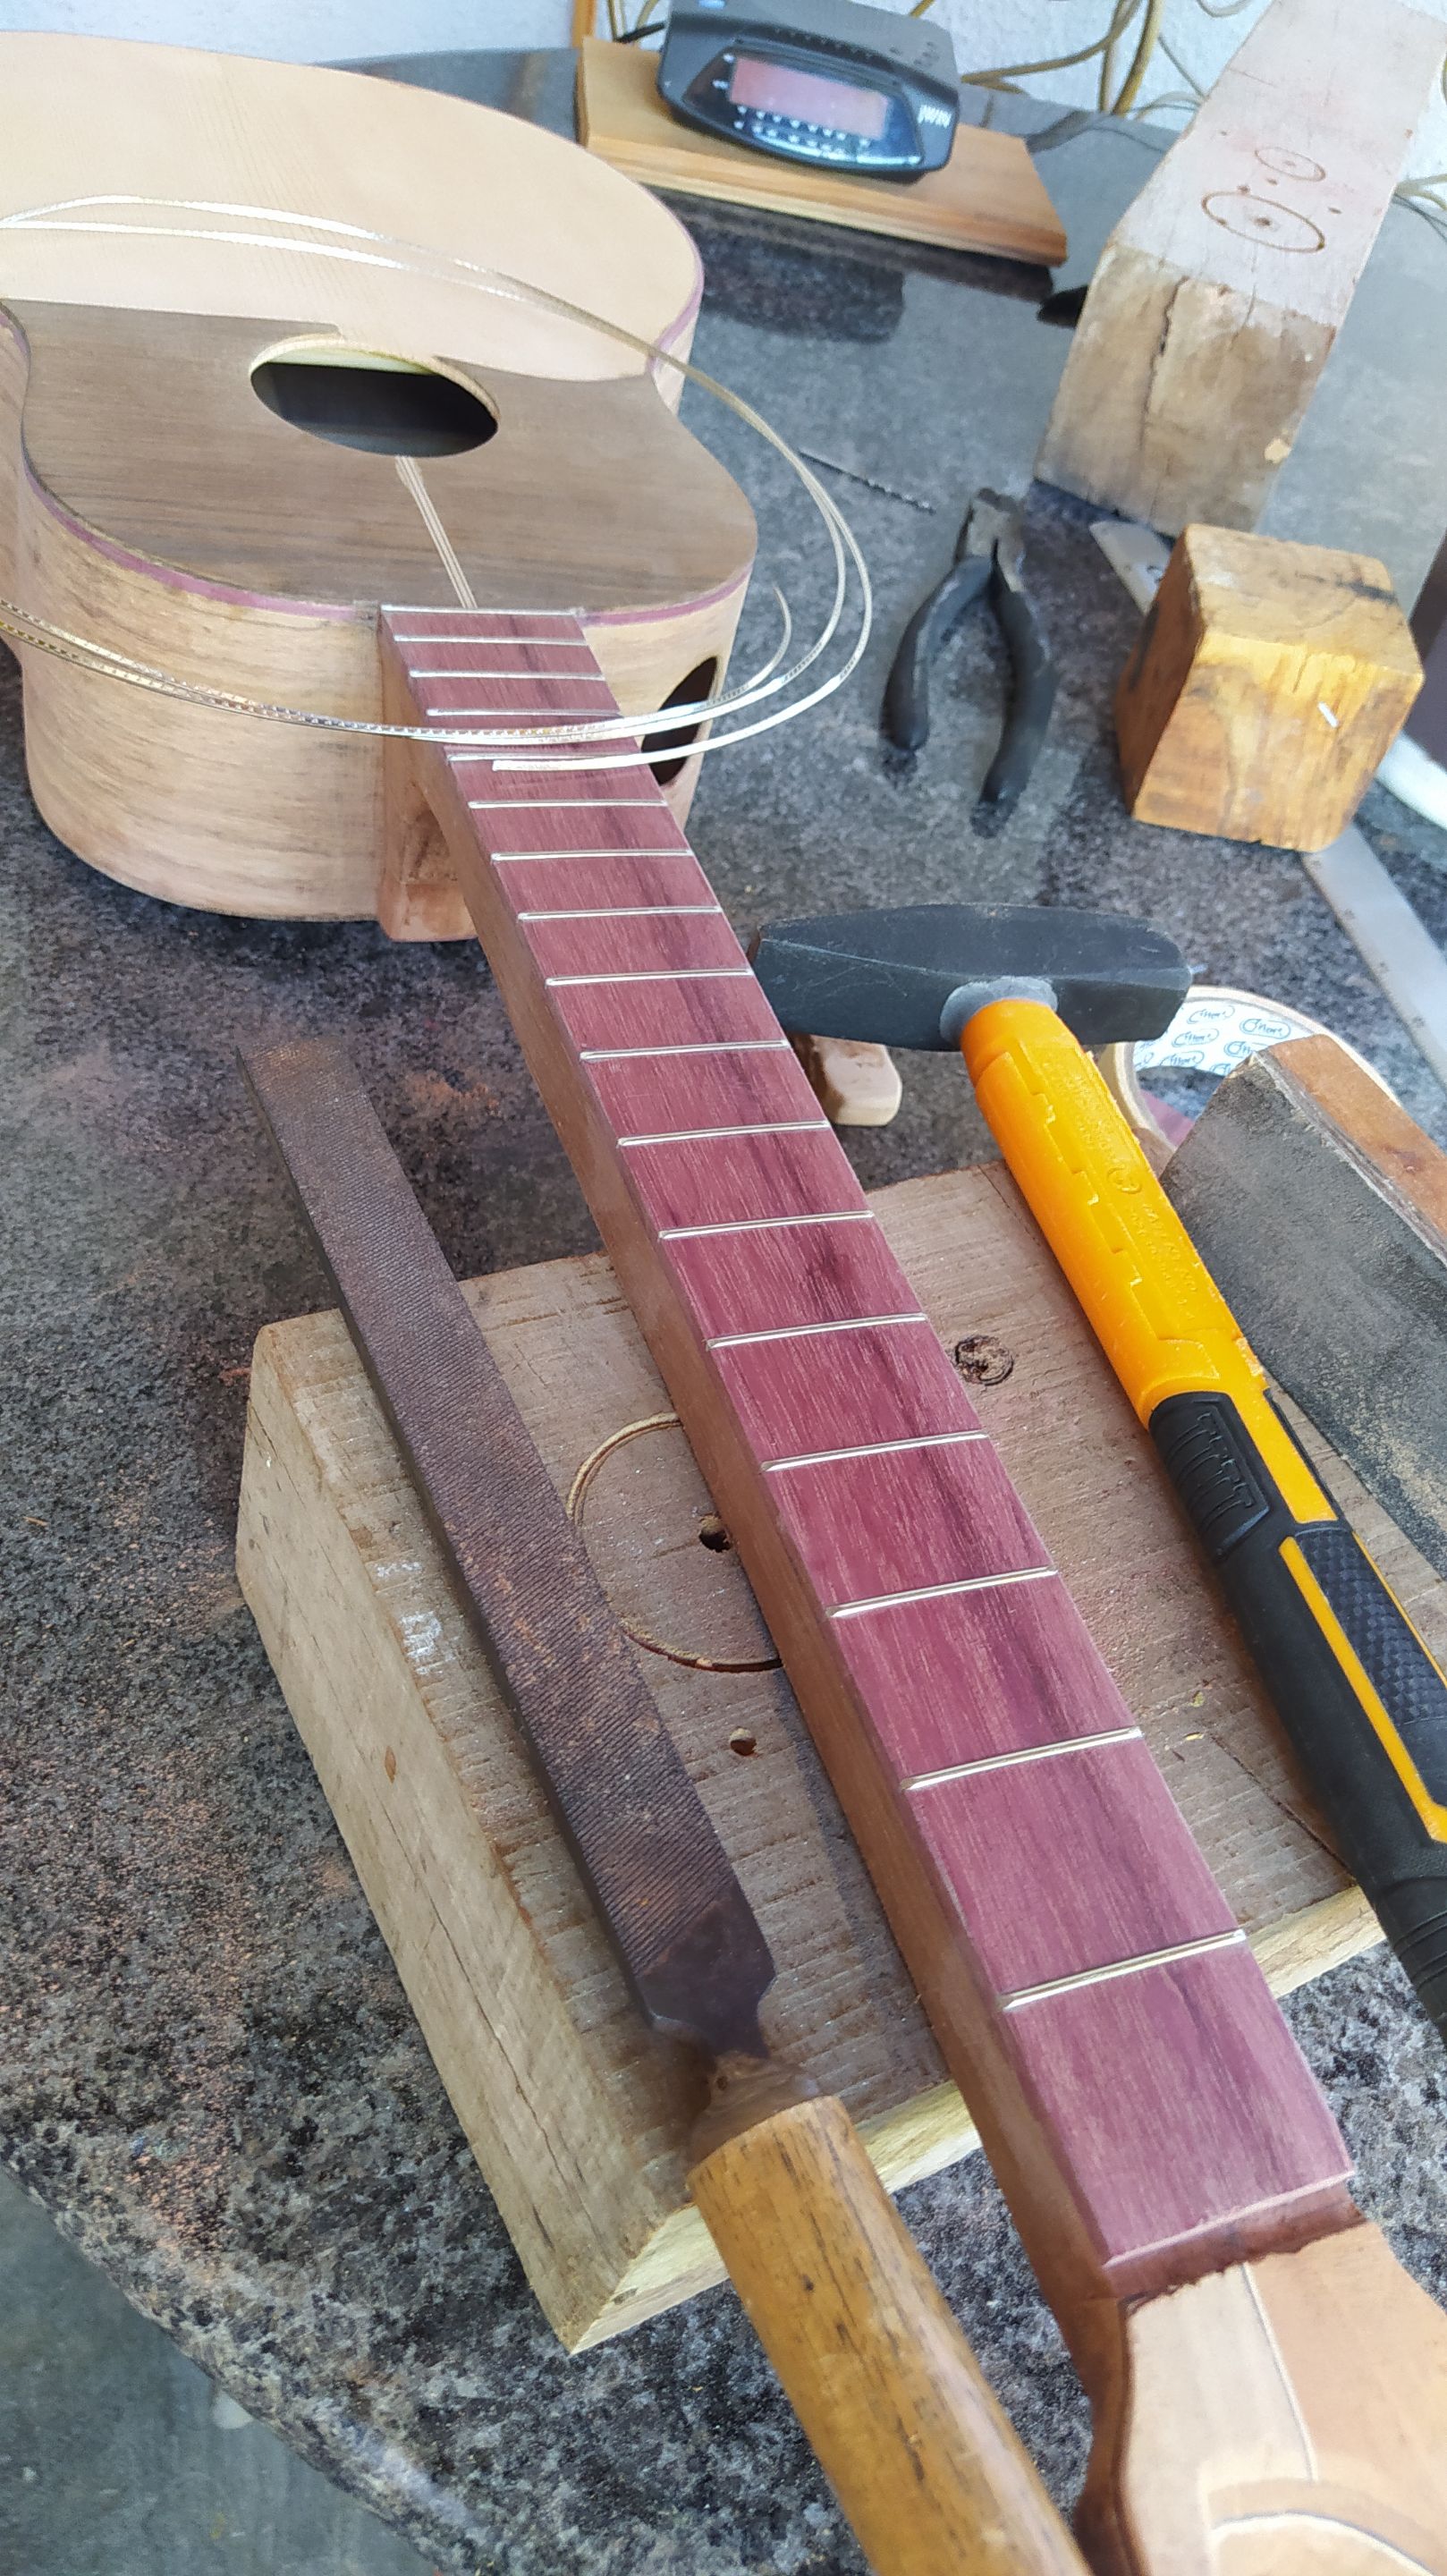
Frets are these metal pieces we find on instruments alongside the neck on the front of an instrument. They divide the fretboard into sections which are also called frets. It's kind of confusing; their function isn't. Placing your fingers in one of these sections makers the strings shorter, giving in a higher pitch sound. Thus, you can make more sounds. That's instruments' mechanics 101. Placing then is not enough. Since they are made of metal, we need to file the edges and then give then a bevel on both ends. This will prevent and cuts in the musician's fingers while they play.
Los trates son estas piezas metálicas que encontramos al frente del instrumento a lo largo del mástil. Estos dividen el diapasón en intervalos exactos. Estos espacios también se llaman trastes. Es algo confuso; su funciono no. Si colocas un dedo sobre una cuerda y pisas, te darás cuenta que ahora la cuerda es más corta y el sonido más agudo. Por lo tanto, hay más sonidos. Es un ejemplo del funcionamiento básico de un instrumento musical de cuerdas. No obstante, al estar hechos de metal hay que limarlos y biselarlos en los bordes para evitar que el músico se corte mientras toca.
In the video, you can see how I changed my approach at fret placing. Optiong yo cut the length needed instead of trying to keep the fretwire complete. It is easier that way. I guess that's why many luthiers do so.
En el video pueden observar como cambié el método para colocarlos. Cortar la cantidad de traste necesaria para cada ranura es más fácil que mantener el rollo completo. Supongo que por eso muchos luthiers lo hacen de esta manera.
Position markers / Puntos armónicos
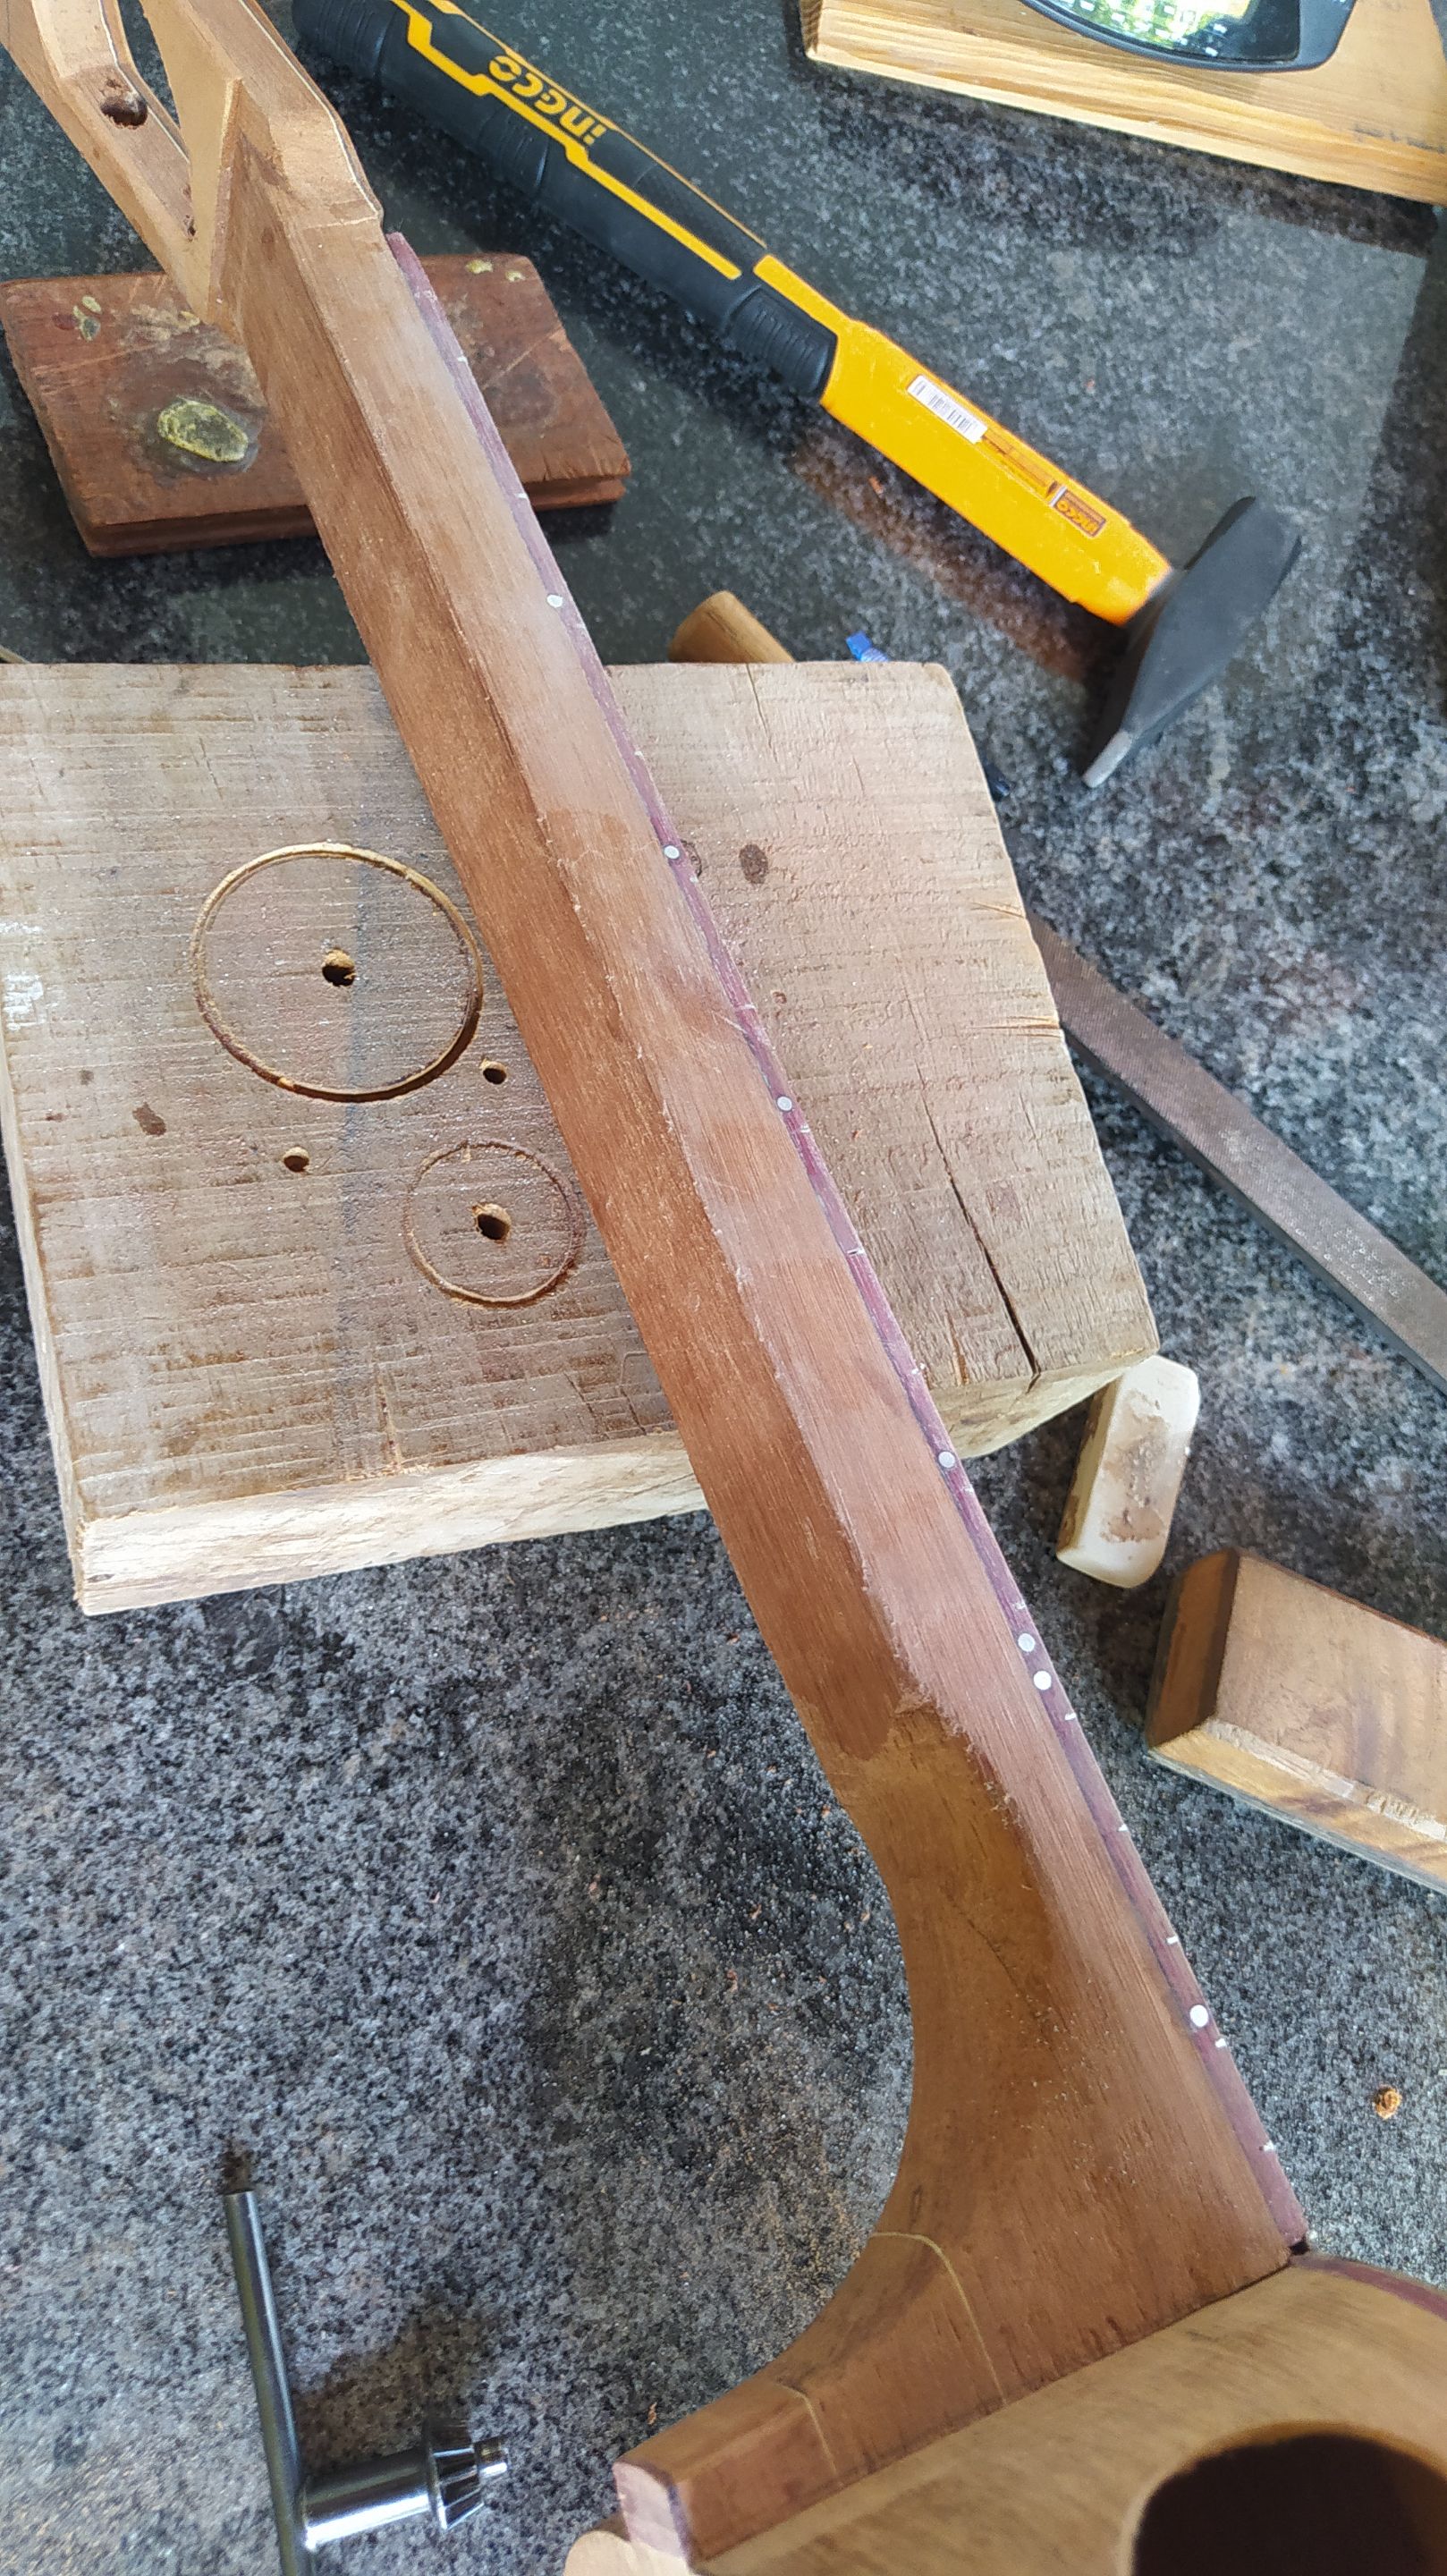
They are optional but useful. These come in different shapes and materials. The idea behind these is to place them as marks on key frets. That way a musician has a resource to locate certain notes while playing. In the Venezuelan Cuatro, the common frets for them are the 3rd, 5th, 7th, 10th, 12th and 15th (but that also depends on the number of frets).
Estas piezas son opcionales pero muy útiles. Se pueden hacer de diversos materiales y formas. La idea es tener una marca en una posición de referencia para el músico. En el cuatro venezolano, las posiciones comunes son en los trastes 3, 5, 7, 10, 12 y 15 (aunque depende de la cantidad de trates).
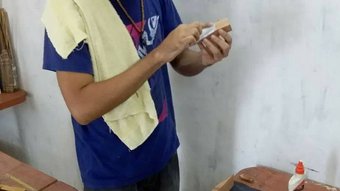
To place them, I first marked the position on one side of the fretboard. Drilled a hole for each position markers (two at fret 12 since that's the mark of an octave). Then, put some cyanoacrylate in each hole and started to place this piece of aluminium, tap it with my hammer and they cut it with pliers. After each piece was in place, some filing and sanding did the work.
Para colocarlos, primero se marcó la posición a un lado del diapasón. Se hicieron agujeros para cada punto armónico (dos en el traste 12 para marcar la octava). Luego, se colocó cianoacrilato en cada agujero. Para terminar, se colocó un trozo de aluminio en cada agujero, ajustando cada uno con el martillo y cortando con pinzas. Posteriormente, se utilizó una lima y lija para terminar el trabajo.
Thumbnail made with Canva.
Photos and video taken with my Redmi note 8 smartphone.
Video editing made with Capcut.
Free copyright music.
Follow me on Instagram for enquires and commission.
If you'd like to help the workshop grow, you can make a donation here. You can find me at discord as bertrayo#1763
Show more
Tags :
Woo!
This creator can upvote comments using 3speak's stake today because they are a top performing creator!
Leave a quality comment relating to their content and you could receive an upvote
worth at least a dollar.
Their limit for today is $0!
Their limit for today is $0!
6 views
3 years ago
$

8 views
a month ago
$

18 views
a year ago
$
26 views
a year ago
$
2 views
3 months ago
$
More Videos

10 views
a year ago
$

13 views
6 months ago
$

28 views
2 months ago
$

4 views
2 years ago
$

2 views
2 years ago
$

7 views
3 years ago
$

16 views
4 months ago
$

2 views
2 years ago
$

4 views
2 years ago
$

1 views
3 years ago
$

4 views
5 months ago
$

1 views
2 years ago
$

8 views
2 years ago
$

16 views
a year ago
$

7 views
6 months ago
$

12 views
3 months ago
$

10 views
7 months ago
$

4 views
3 years ago
$

3 views
2 years ago
$

1 views
2 years ago
$

21 views
2 years ago
$

8 views
5 months ago
$
Comments:
Reply:
To comment on this video please connect a HIVE account to your profile: Connect HIVE Account