CAJA PARA OBJETOS PERSONALES CON LA TÉCNICA DECOUPAGE (Esp - Eng)
7
About :
Image of my property edited with PhotoScape
Imagen de mi propiedad editada con PhotoScape
Imagen de mi propiedad editada con PhotoScape
Buenos días a todos los hermosos artesanos de esta comunidad. ¡¡Felicidades por todas esas lindas creaciones!! Hoy me alegra poder participar en este maravilloso concurso de Hive Diy sobre la técnica de Decoupage. Me gusta trabajar el reciclaje y la reutilización de material de desecho, y decidí revisar mi caja de retazos y objetos que guardo para futuras manualidades y encontré algunos materiales que me podían servir para desarrollar mi manualidad.
Good morning to all the beautiful artisans in this community. Congratulations on all these beautiful creations!! Today I am happy to be able to participate in this wonderful Hive Diy contest about the Decoupage technique. I like to work on recycling and reusing waste material, and I decided to go through my box of scraps and objects that I keep for future crafts and I found some materials that could be used to develop my craft.

Acostumbro guardar en el closet varias cajitas de zapatos, o de otros artículos y las convierto en cajas de objetos personales, pero ninguna está decorada. Me pareció una excelente oportunidad para realizar mi primera Caja de objetos personales decorada con la técnica decoupage. A continuación les voy a mencionar los materiales que utilicé, y luego paso a paso les explicaré cómo elaboré mi cajita personal.
I usually keep several shoe boxes or other items in the closet and I turn them into boxes for personal items, but none of them are decorated. It seemed like an excellent opportunity to make my first Box of personal objects decorated with the decoupage technique. Next I am going to mention the materials that I used, and then step by step I will explain how I made my personal box.
MATERIALES
- Blusa vieja estampada
- Papel crepé azul claro
- Pega de silicón (frío)
- Pistola de silicón
- Barra de silicón
- Lápiz
- Regla
- Cinta métrica
- Pincel
- Pega blanca
- 2 hojas blancas
- Trozos de cintas de tela y encaje
- Marcadores y colores azul claro, rosado y verde
- Tijera lisa de manualidades
- Tiza rosada
MATERIALS
- Old printed blouse
- light blue crepe paper
- Silicone glue (cold)
- Silicone gun
- Silicon bar
- Pencil
- Rule
- Measuring tape
- Brush
- White glue
- 2 white sheets
- Pieces of fabric ribbons and lace
- Light blue, pink and green markers and colors
- Smooth craft scissors
- Pink chalk
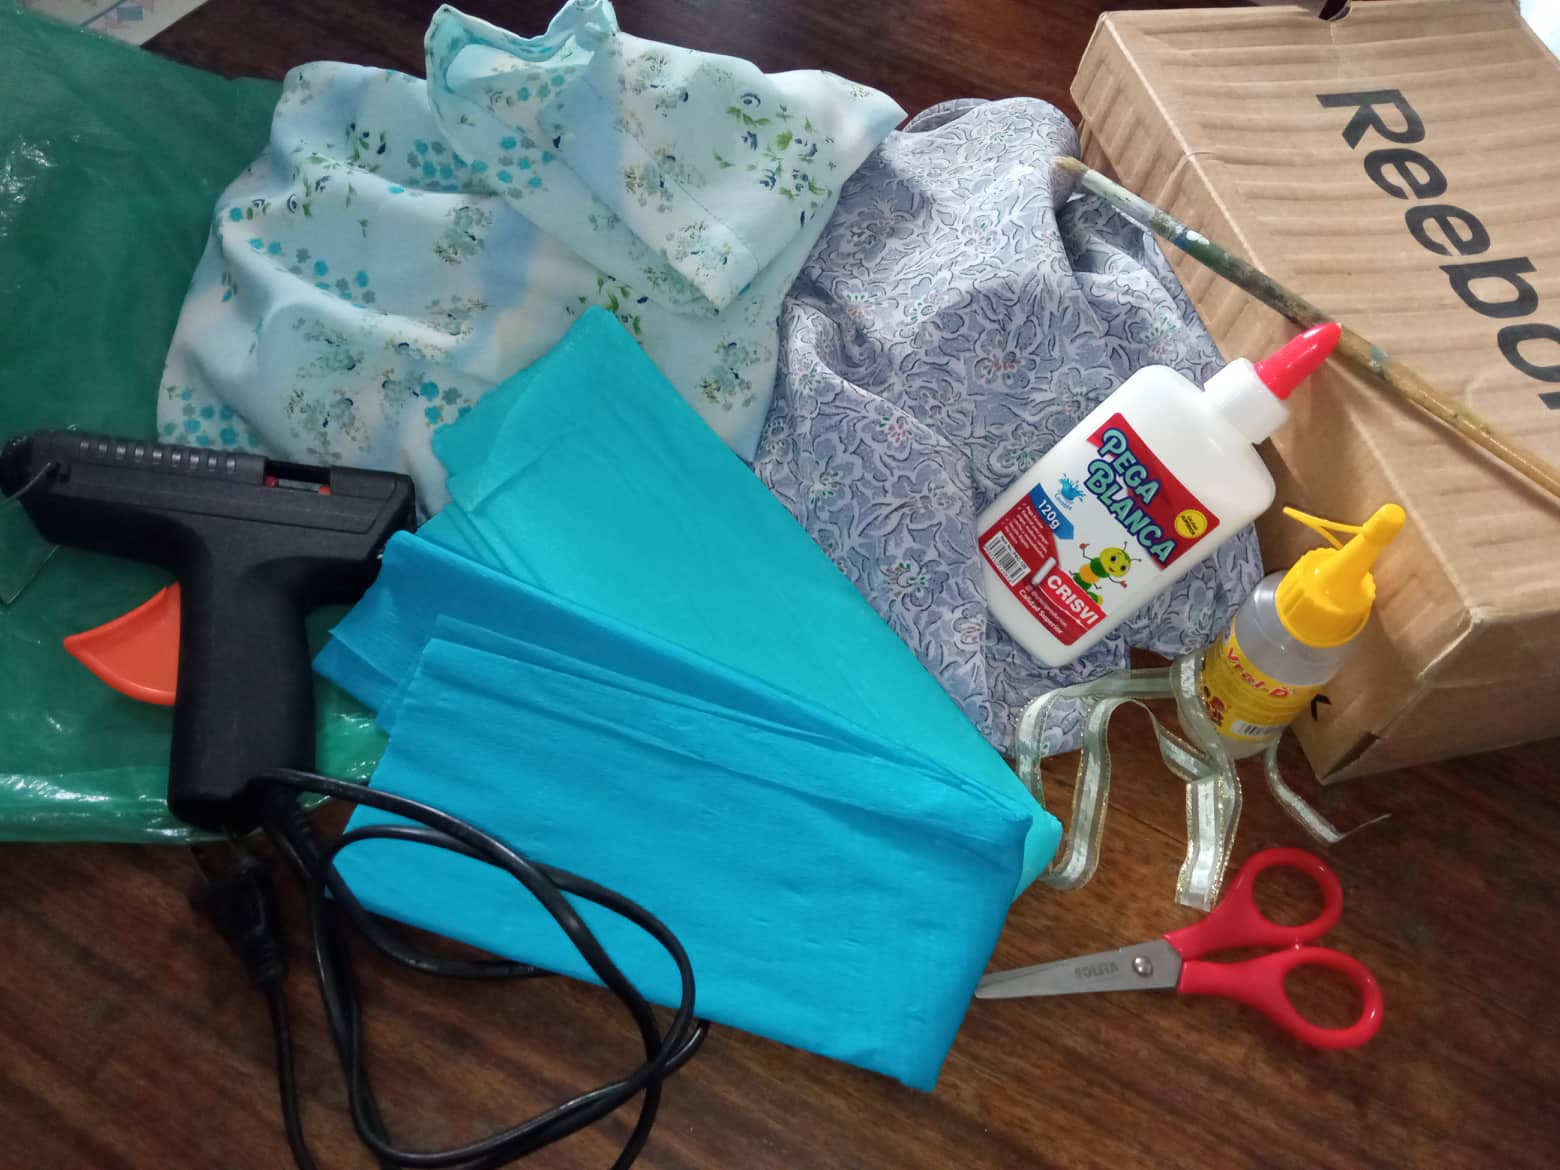
Imagen de mi propiedad // Image of my property
PROCEDIMIENTO // PROCESS
El primer paso para elaborar mi cajita personal con decoupage fue tomar las medidas del contorno de la caja y trazarlo con una regla sobre la blusa abierta, dejando 2 cms de más tanto de la parte de abajo como en la parte de arriba para poder doblar en las orillas y así la tela no se vea con un corte irregular.
The first step to make my personal box with decoupage was to take the measurements of the outline of the box and trace it with a ruler on the open blouse, leaving 2 cm more from both the bottom and the top to be able to fold it. the edges so that the fabric does not look jagged.
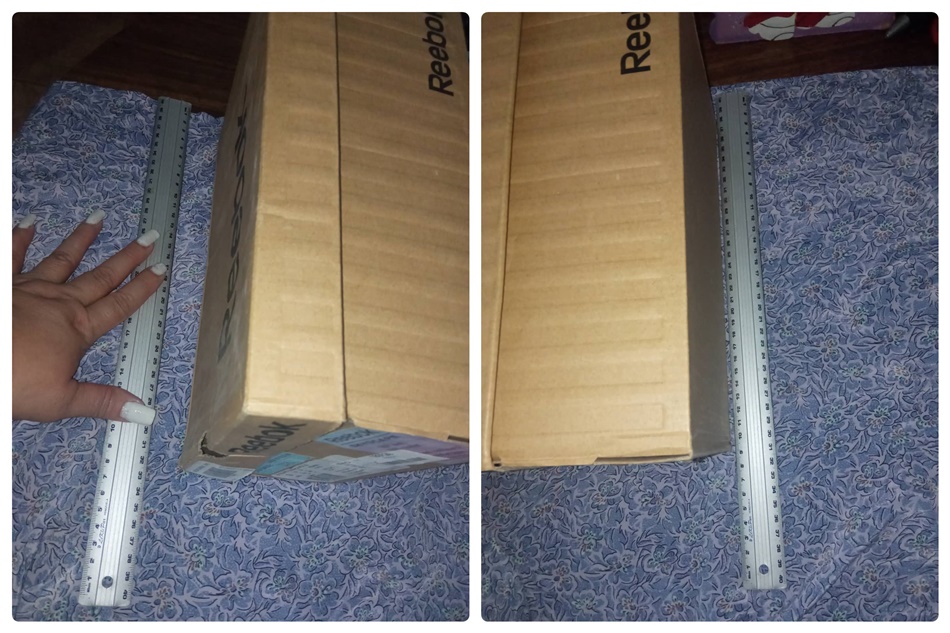
Image of my property // Imagen de mi propiedad
Una vez trazadas estas medidas procedemos a cortar las piezas del contorno. Considerando que estamos trabajando sobre una pieza ya elaborada, se necesitó recortar dos contornos con la misma medida para poder cubrir todo el espacio alrededor de la caja.
Once these measurements have been traced, we proceed to cut the contour pieces. Considering that we are working on an already made piece, it was necessary to cut two contours with the same measurement to be able to cover all the space around the box.
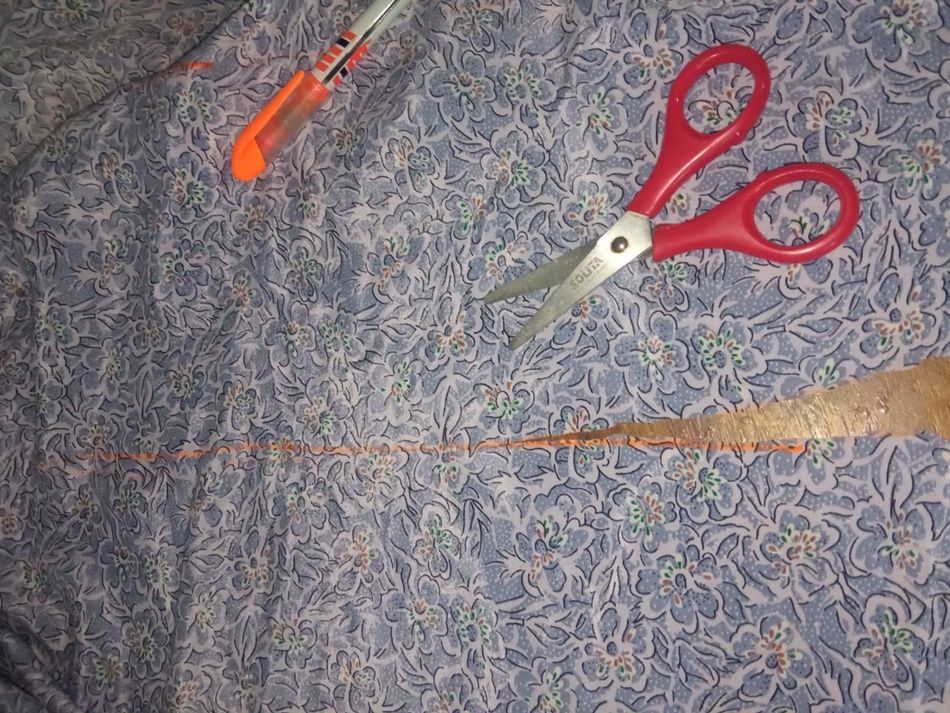
Image of my property // Imagen de mi propiedad
Luego se trazó y recortó la pieza de tela de la parte superior de la caja, o sea, de la tapa. Una vez recortadas todas las piezas de tela, procedimos a doblar y pegar las orillas con silicón frío antes de su colocación sobre la caja.
Then the piece of fabric for the upper part of the box, that is, the lid, was traced and cut out. Once all the pieces of fabric were cut, we proceeded to fold and glue the edges with cold silicone before placing them on the box.
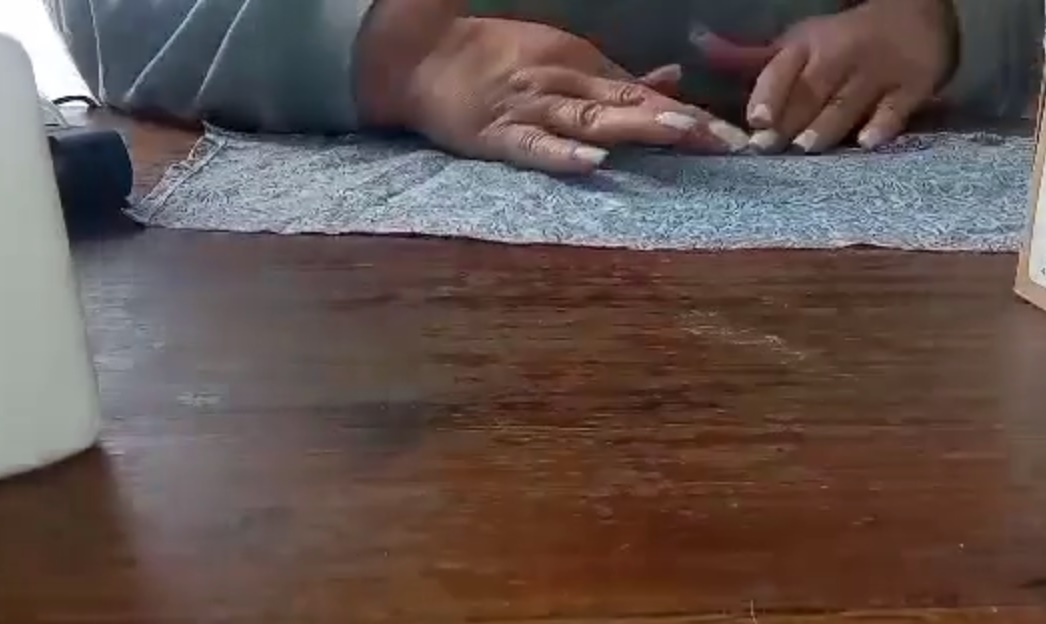
Image of my property // Imagen de mi propiedad
Ya listo este procedimiento, untamos pega blanca con un pincel en toda la superficie de la caja, parte por parte, y fuimos fijando las piezas de tela sobre ella. Las partes donde fue necesario doblar la tela como en el caso de las esquinas, se fijó con silicón caliente.
Once this procedure is ready, we spread white glue with a brush on the entire surface of the box, part by part, and we were fixing the pieces of fabric on it. The parts where it was necessary to fold the fabric, as in the case of the corners, were fixed with hot silicone.
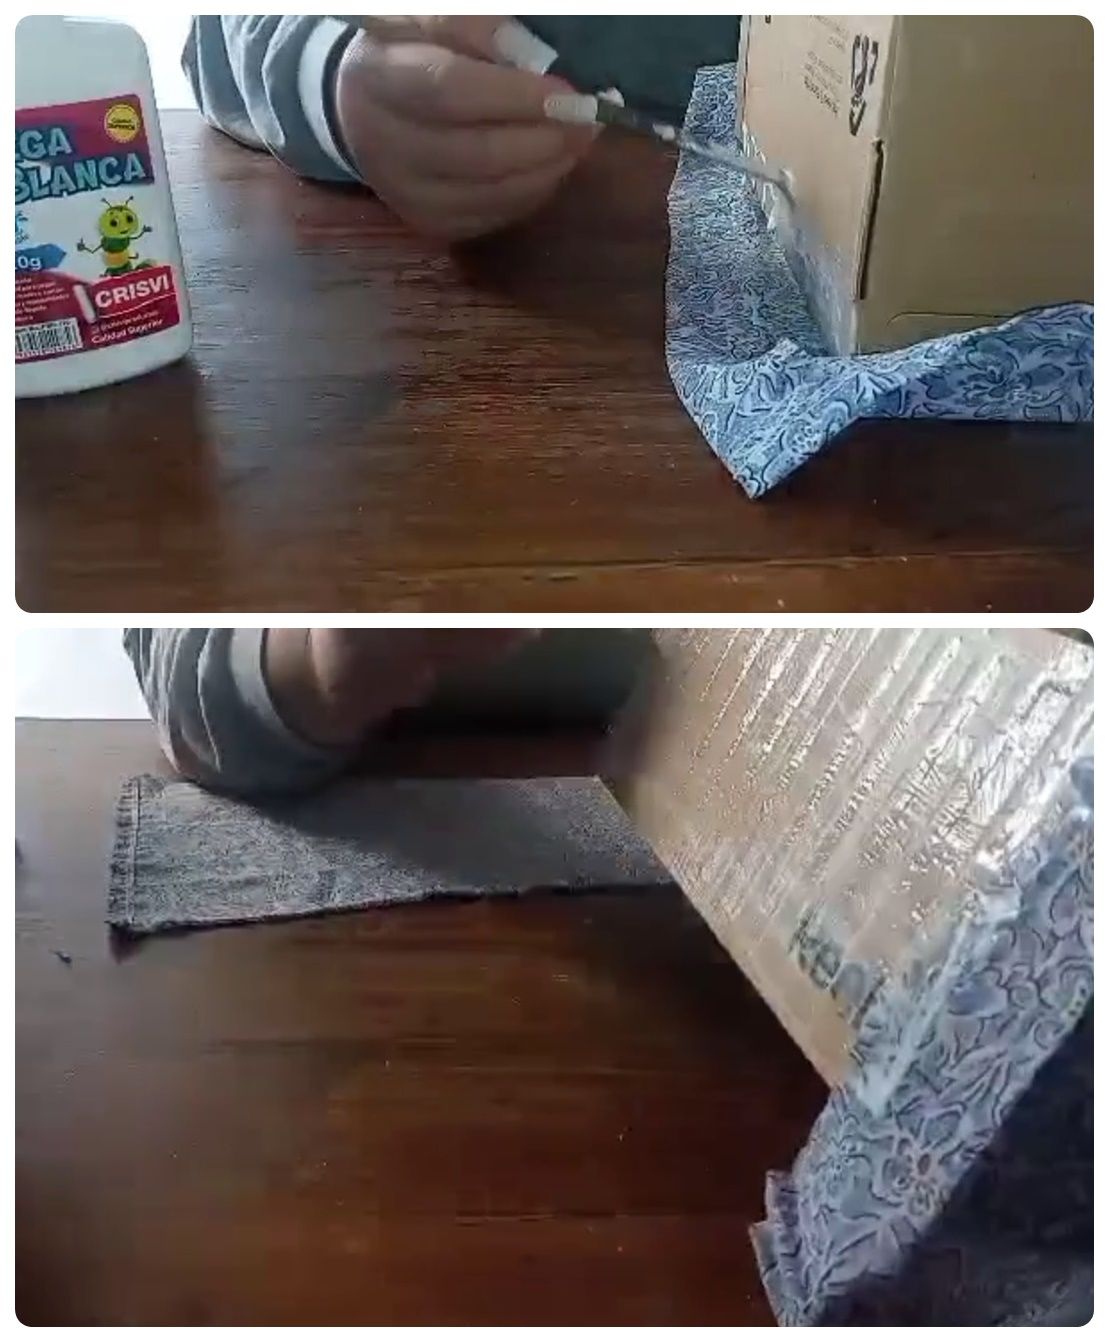
Image of my property // Imagen de mi propiedad
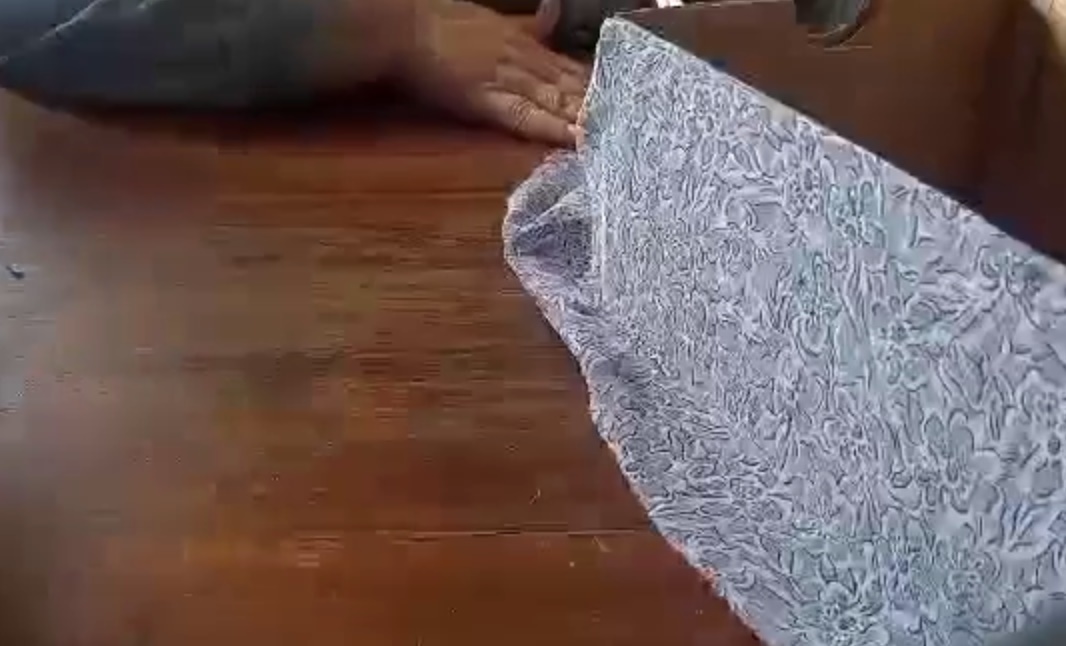
Image of my property // Imagen de mi propiedad
Las orillas al doblar hacia adentro se fijaron con silicón frío para evitar que se soltaran más adelante.
The edges when folded inwards were fixed with cold silicone to prevent them from coming loose later on.
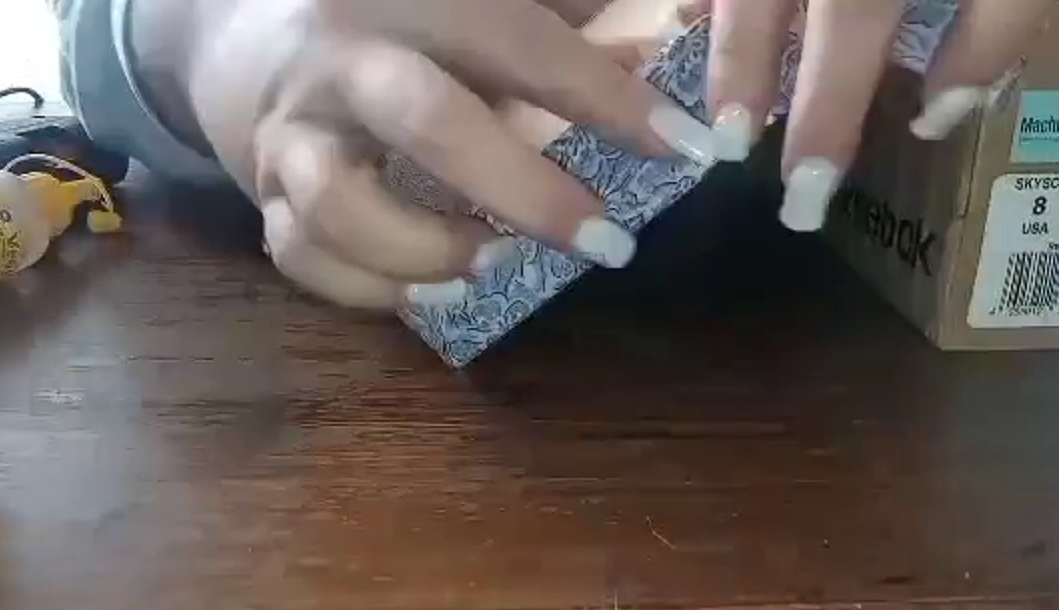
Image of my property // Imagen de mi propiedad

Image of my property // Imagen de mi propiedad
Finalizado este paso, procedimos a untar pega blanca con un pincel en las paredes internas de la caja para colocar papel crepé sobre ellas.
After this step, we proceeded to spread white glue with a brush on the inner walls of the box to place crepe paper on them.
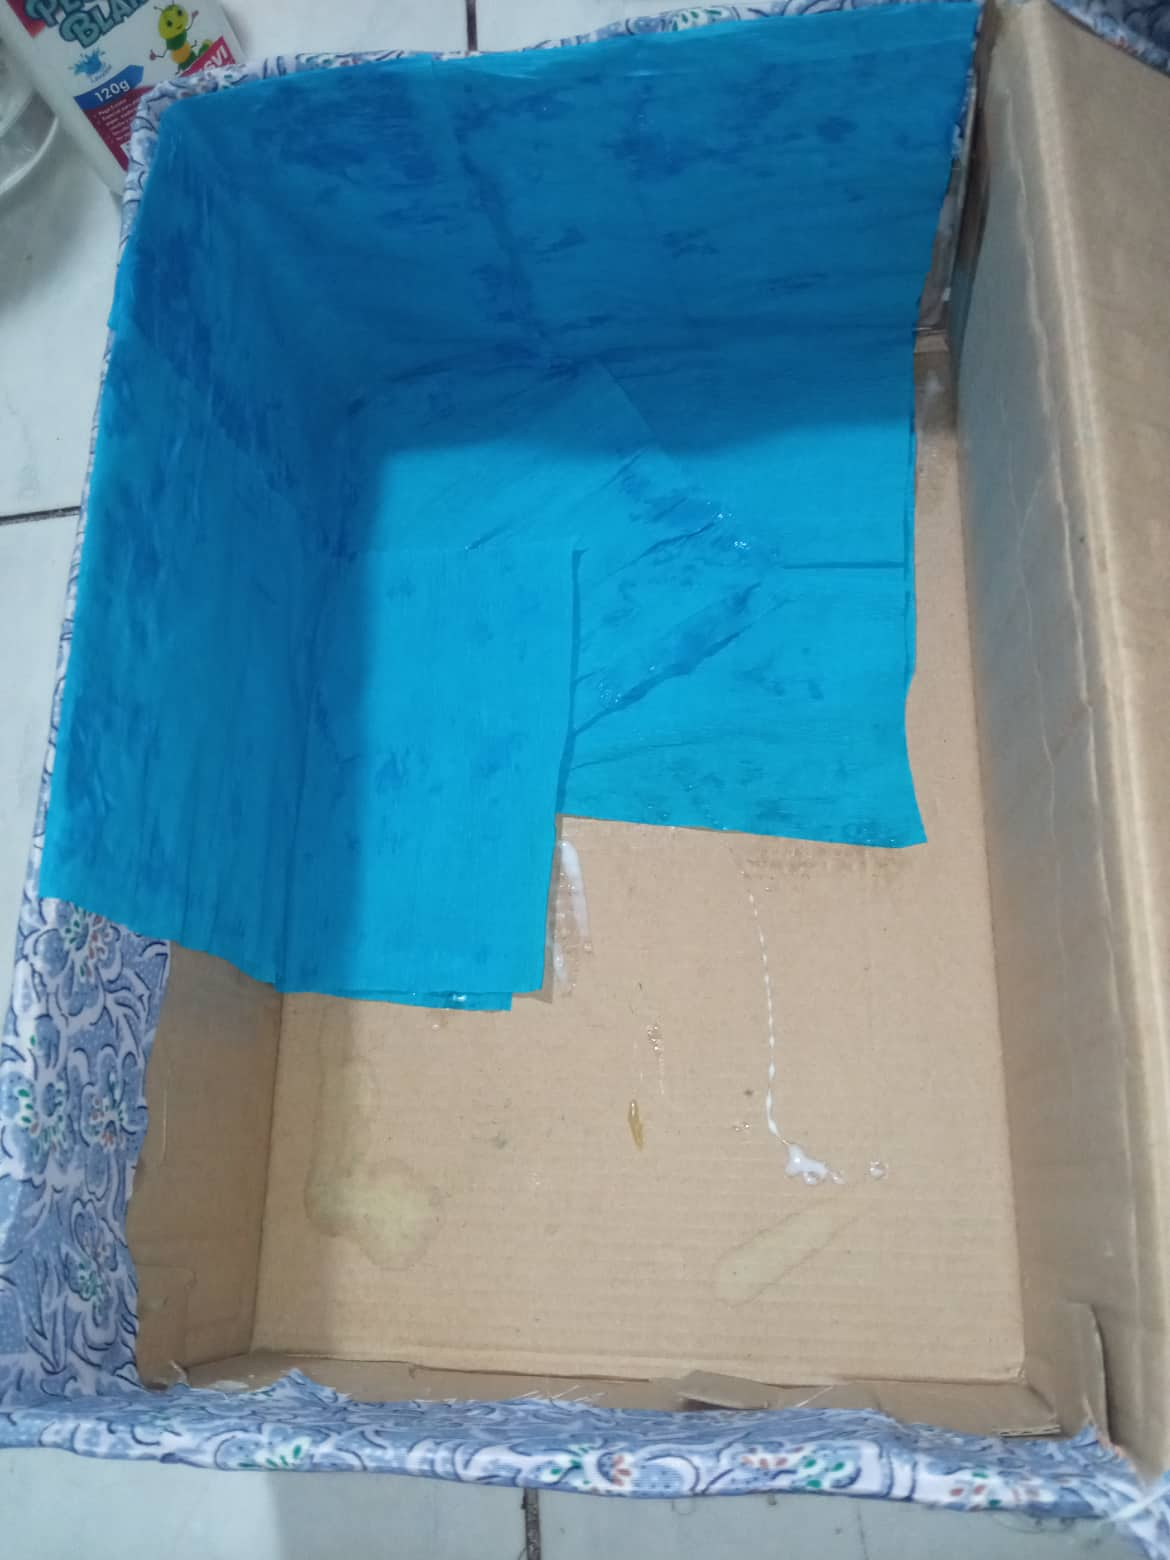
Image of my property // Imagen de mi propiedad
De la misma manera se hizo en la parte interna de la tapa.
In the same way it was done on the inside of the lid.
Esperamos a que secara la pega de la parte interior y mientras procedimos a crear la imagen que iría en la parte superior de la caja. La misma fue diseñada por mí, y consiste en una rosa con sus hojas, la cual fue decorada con marcadores, colores y tiza, y posteriormente recortada y pegada sobre la tapa de la caja.
We waited for the glue on the inside to dry and while we proceeded to create the image that would go on the top of the box. It was designed by me, and consists of a rose with its leaves, which was decorated with markers, colors and chalk, and later cut out and glued on the lid of the box.
vídeo
Image of my property // Imagen de mi propiedad
Finalmente se le colocó pega blanca por encima la cual se expandió con el pincel y al secar quedó un efecto brillante del diseño.
Finally, white glue was placed on top of it, which was expanded with the brush and when it dried, a shiny effect of the design remained.
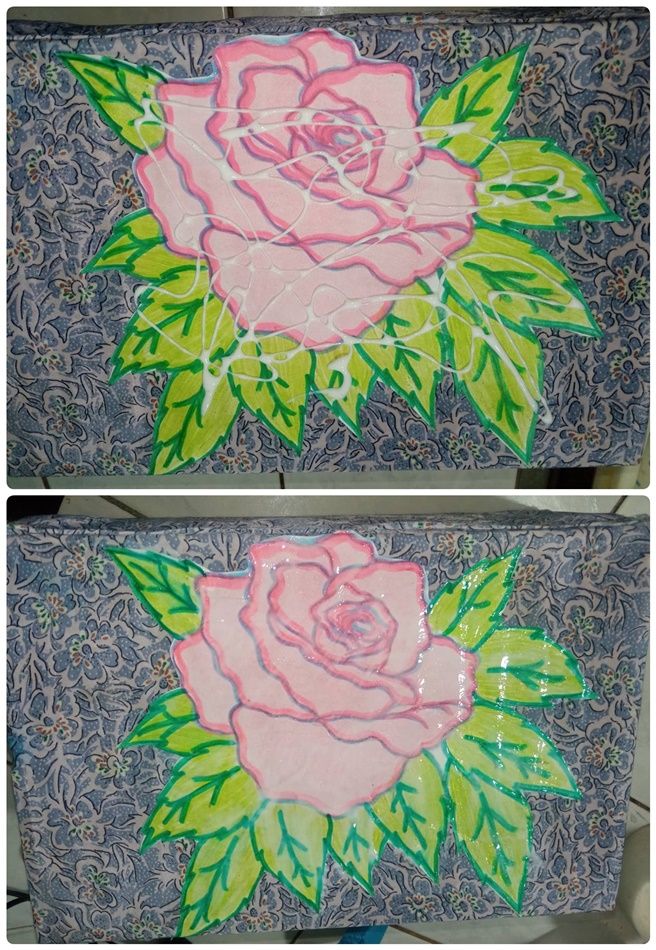
Image of my property // Imagen de mi propiedad
Después que el interior de la caja ya estaba bastante seco, procedimos a medir su interior con una cinta métrica para recortar una hoja blanca y colocarla como base interna tanto de la caja como de la tapa.
After the inside of the box was already quite dry, we proceeded to measure its interior with a tape measure to cut out a white sheet and place it as the internal base of both the box and the lid.

Image of my property // Imagen de mi propiedad
Las esquinas de las hojas se recortaron en forma redonda para que pudieran quedar mejor situadas. Ambas se fijaron con silicón frío.
The corners of the sheets were cut round so they could be better placed. Both were fixed with cold silicone.
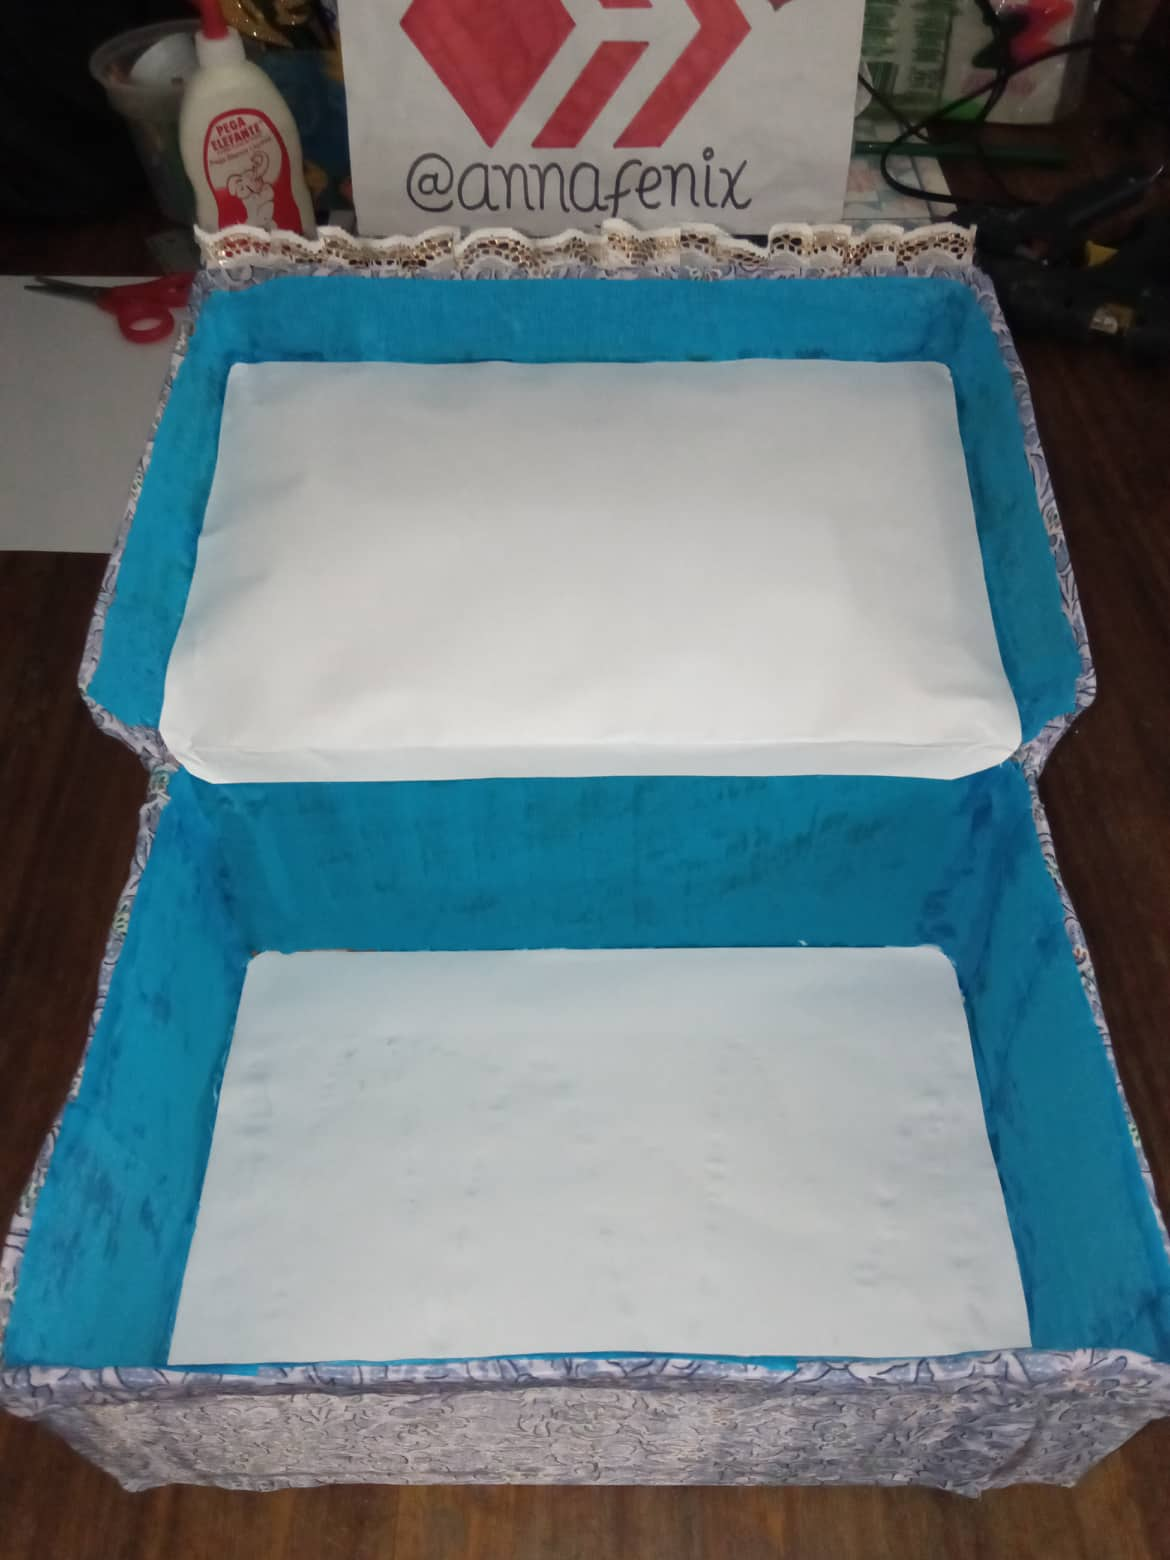
Image of my property // Imagen de mi propiedad
Por último, pensando que aún le faltaba un detallito a mi caja personal, revisando encontré un retazo de encaje que procedí a colocarlo en la parte frontal de la tapa utilizando silicón caliente.
Finally, thinking that my personal box was still missing a little detail, I found a piece of lace that I proceeded to place on the front of the lid using hot silicone.
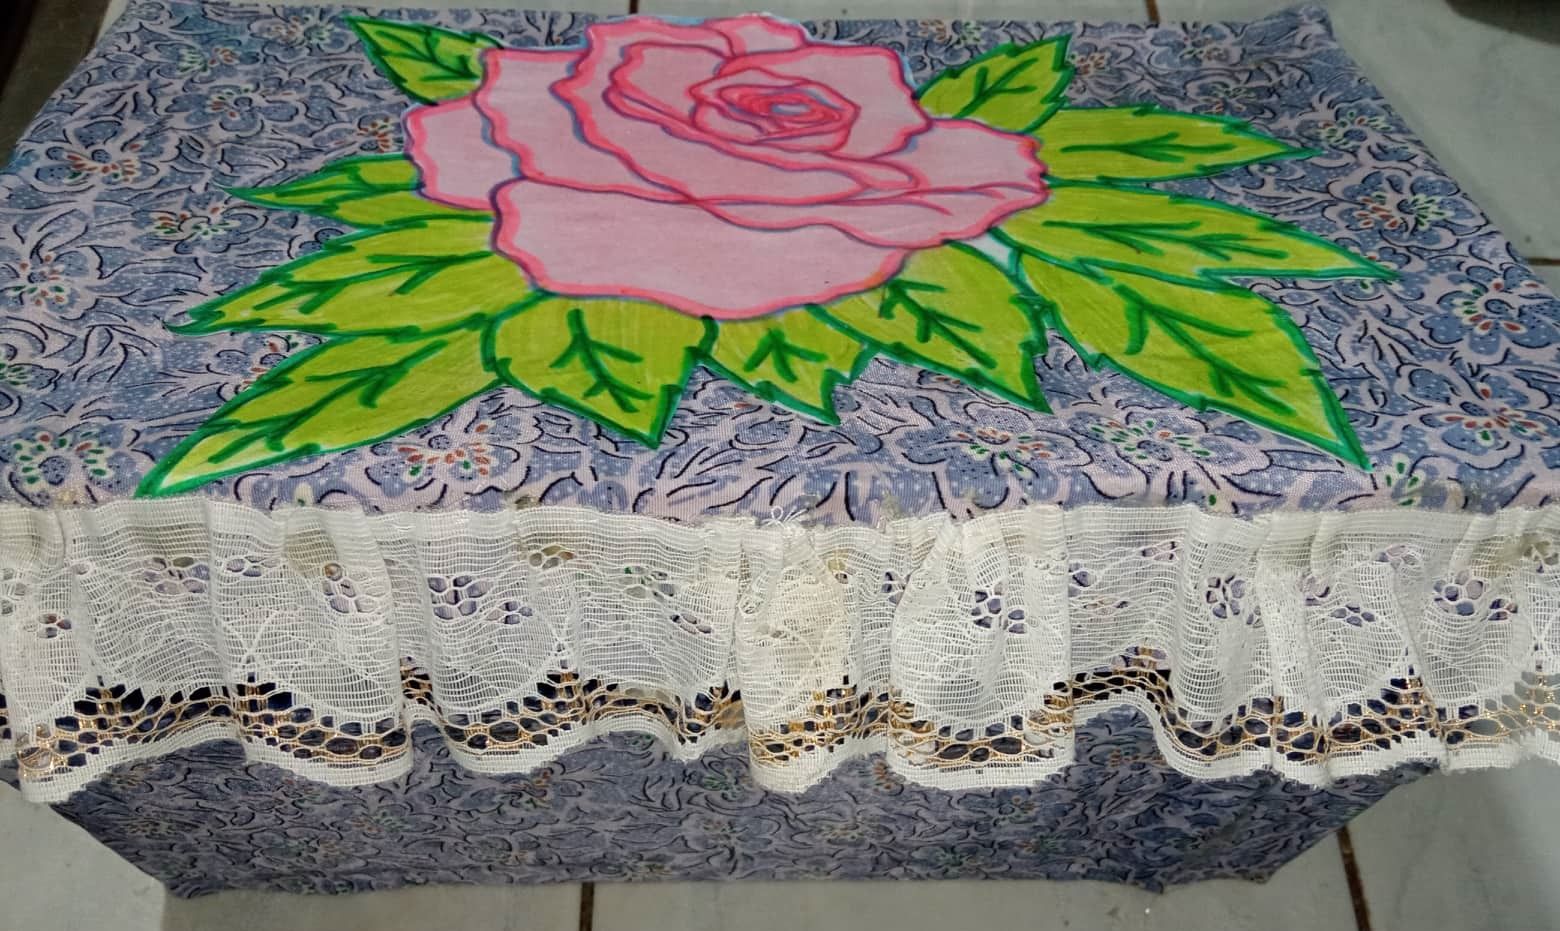
Image of my property // Imagen de mi propiedad
Luego elaboré un lacito con dos retazos de cintas de tela utilizando este método, donde se unen ambas cintas en el centro, se hace un lazo con la más larga y por último se anuda en el centro la más corta.
Then I made a bow with two pieces of fabric ribbons using this method, where both ribbons are joined in the center, a bow is made with the longer one and finally the shorter one is tied in the center.
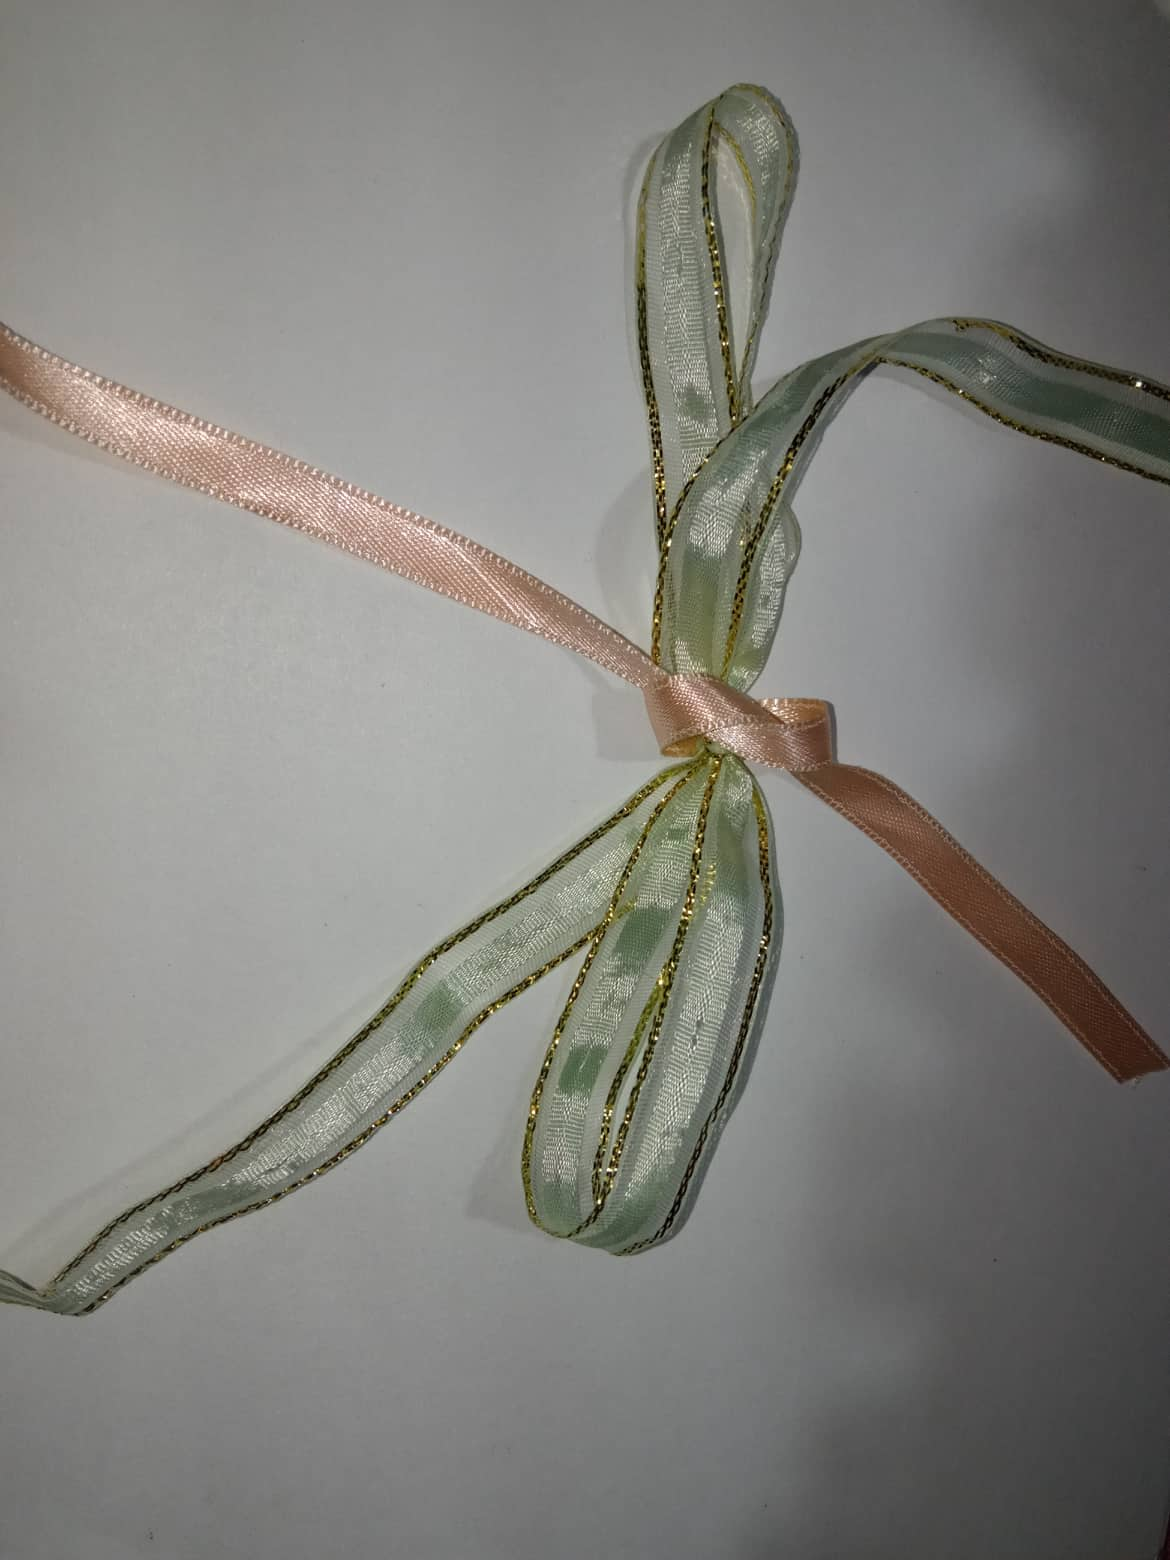
Image of my property // Imagen de mi propiedad
Este lazo se lo fijé con silicón caliente en el centro del encaje, y así dimos por terminado el proceso de elaboración de mi cajita personal con decoupage.
I fixed this bow with hot silicone in the center of the lace, and thus we finished the process of making my personal box with decoupage.
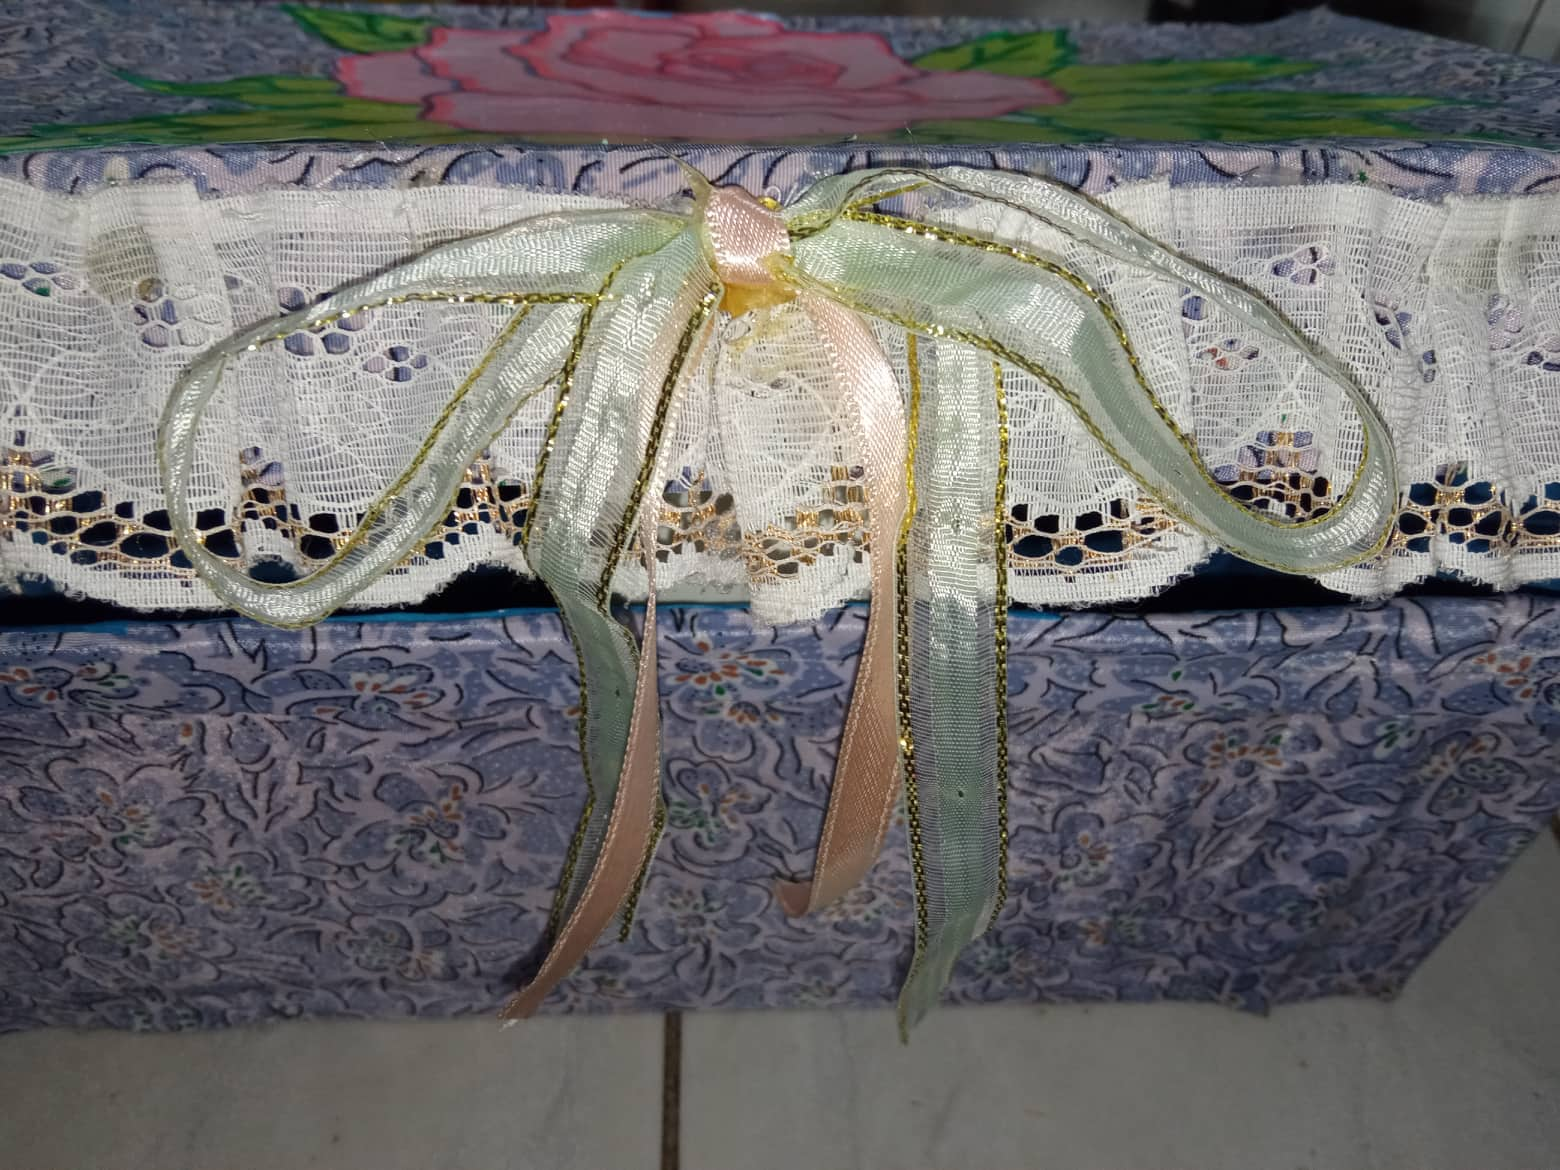
Image of my property // Imagen de mi propiedad
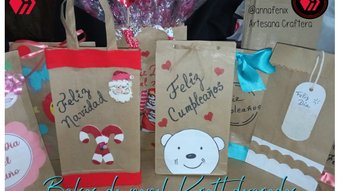
Aquí pueden observar el uso que podemos parle a la cajita ya finalizada.
Here you can see the use that we can make of the finished box.
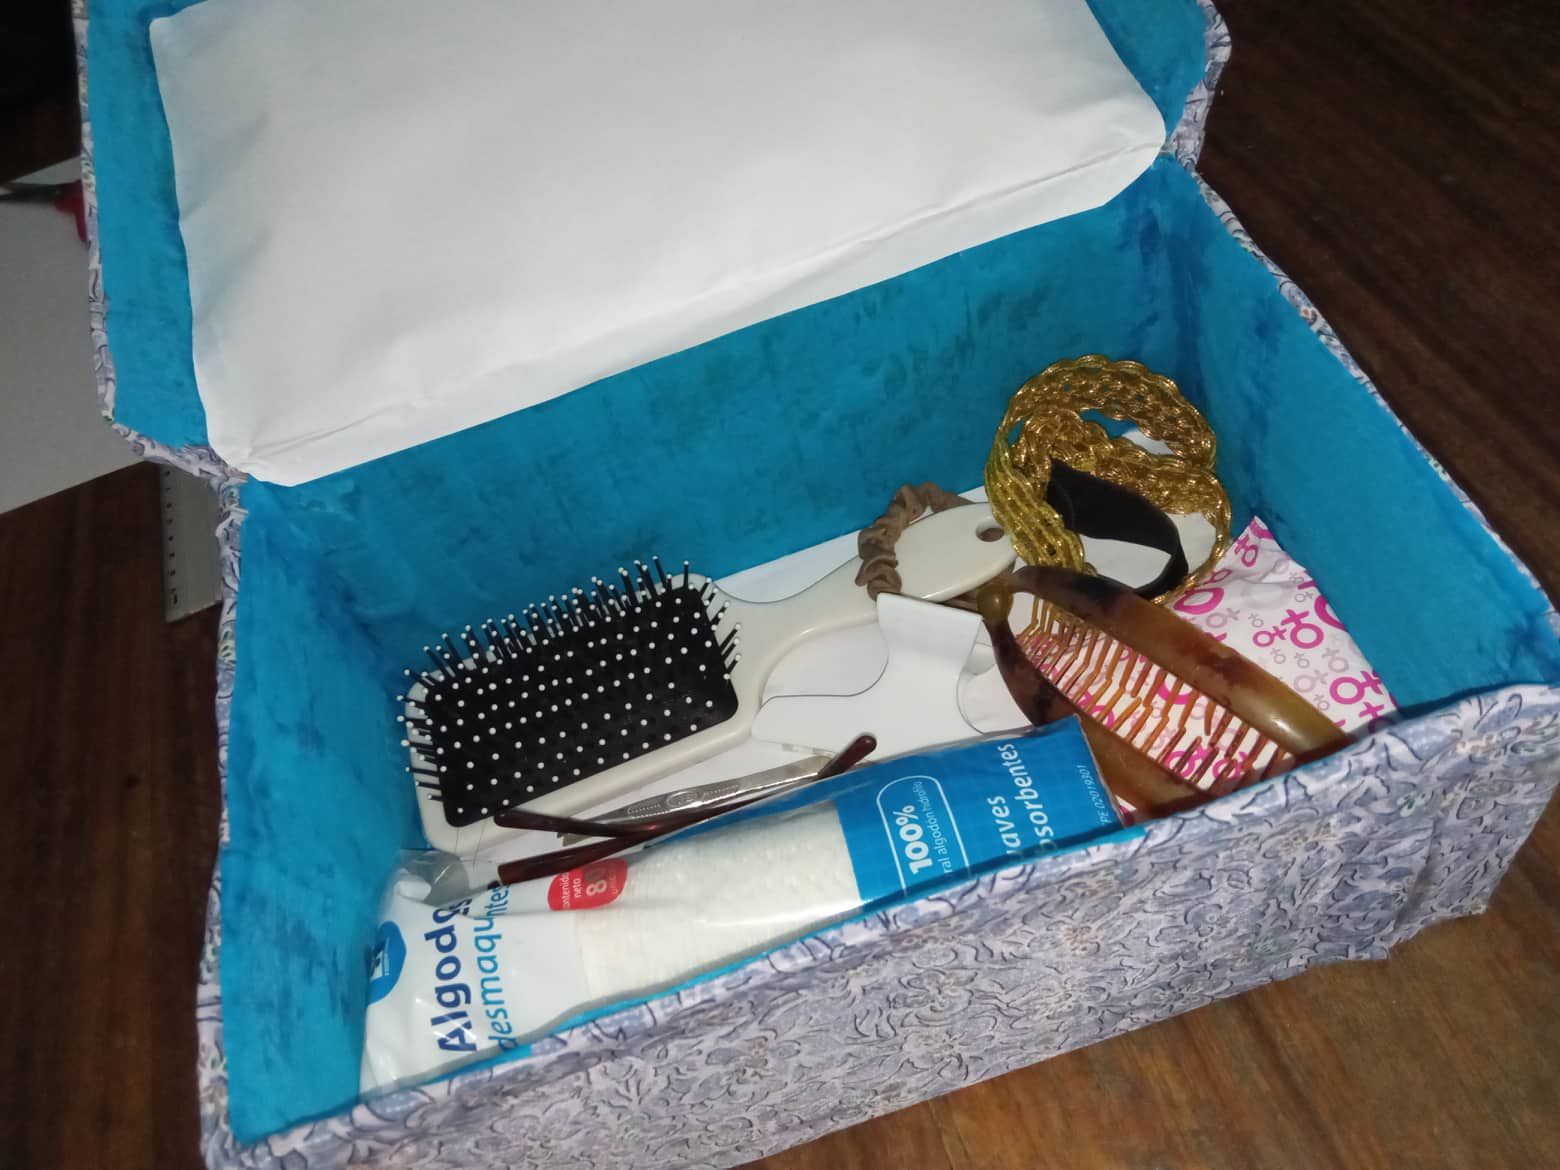
Image of my property // Imagen de mi propiedad
I hope that this simple craft has been to everyone's liking. It is important to continue implementing art through recycling and reuse of waste, since we help immensely to preserve the environment, and at the same time, we encourage creativity and manual arts through this type of initiative.
Espero que esta manualidad tan sencilla haya sido del agrado de todos. Es importante seguir implementando el arte a través del reciclaje y la reutilización de desecho, ya que ayudamos inmensamente a preservar el ambiente, y a la vez, fomentamos la creatividad y las artes manuales a través de este tipo de iniciativas.
Show more
Tags :
Woo!
This creator can upvote comments using 3speak's stake today because they are a top performing creator!
Leave a quality comment relating to their content and you could receive an upvote
worth at least a dollar.
Their limit for today is $0!
Their limit for today is $0!

6 views
2 years ago
$

3 views
4 months ago
$

1 views
2 years ago
$

7 views
a year ago
$
21 views
a year ago
$
More Videos

4 views
a year ago
$

13 views
10 months ago
$

9 views
a year ago
$

18 views
a year ago
$

353 views
3 years ago
$
13 views
a year ago
$

10 views
a year ago
$

2 views
5 months ago
$
29 views
a year ago
$

21 views
4 months ago
$

9 views
a year ago
$

7 views
3 years ago
$

2 views
4 months ago
$

19 views
8 months ago
$

6 views
2 years ago
$

41 views
a year ago
$

5 views
a year ago
$
9 views
a year ago
$

5 views
10 months ago
$

11 views
3 months ago
$

26 views
11 months ago
$

HIVE OPEN MIC WEEK 121/ Blest be the tie that binds by John Fawcett (Song cover by @niglys) [ENG/ESP
18 views
a year ago
$

5 views
a year ago
$

4 views
a year ago
$

19 views
2 years ago
$
Comments:
Reply:
To comment on this video please connect a HIVE account to your profile: Connect HIVE Account