House Renovation: Installing the Lights and Floor
2
About :
More days have passed and more work has been ticked off. Where in the last update we finished all the painting and the bathroom ceiling, today some big steps have been made again!
After all painting had dried, we were on a time schedule to get the lights sorted. First and foremost because summer has passed and the days are getting shorter. Especially when doing DIY work it is important to have good lighting. Up to now we have been just working with portable battery powered lights. Quite handy as they run on power tool batteries, but not ideal. They are quite bright and can blind you when you accidentally stare in one.
As you might have noticed from previous posts I had prepared the ceiling with holes for in-ceiling spotlights. The plasterer neatly plastered around them and when all was done, I pulled the electrical wires using a long spring. I've now, with the paintwork done installed them in the complete house. They are dimmable and have a nice warm color. I'm pretty happy with the end result. Here's some picture:


Also the bathroom now has all the lights installed:

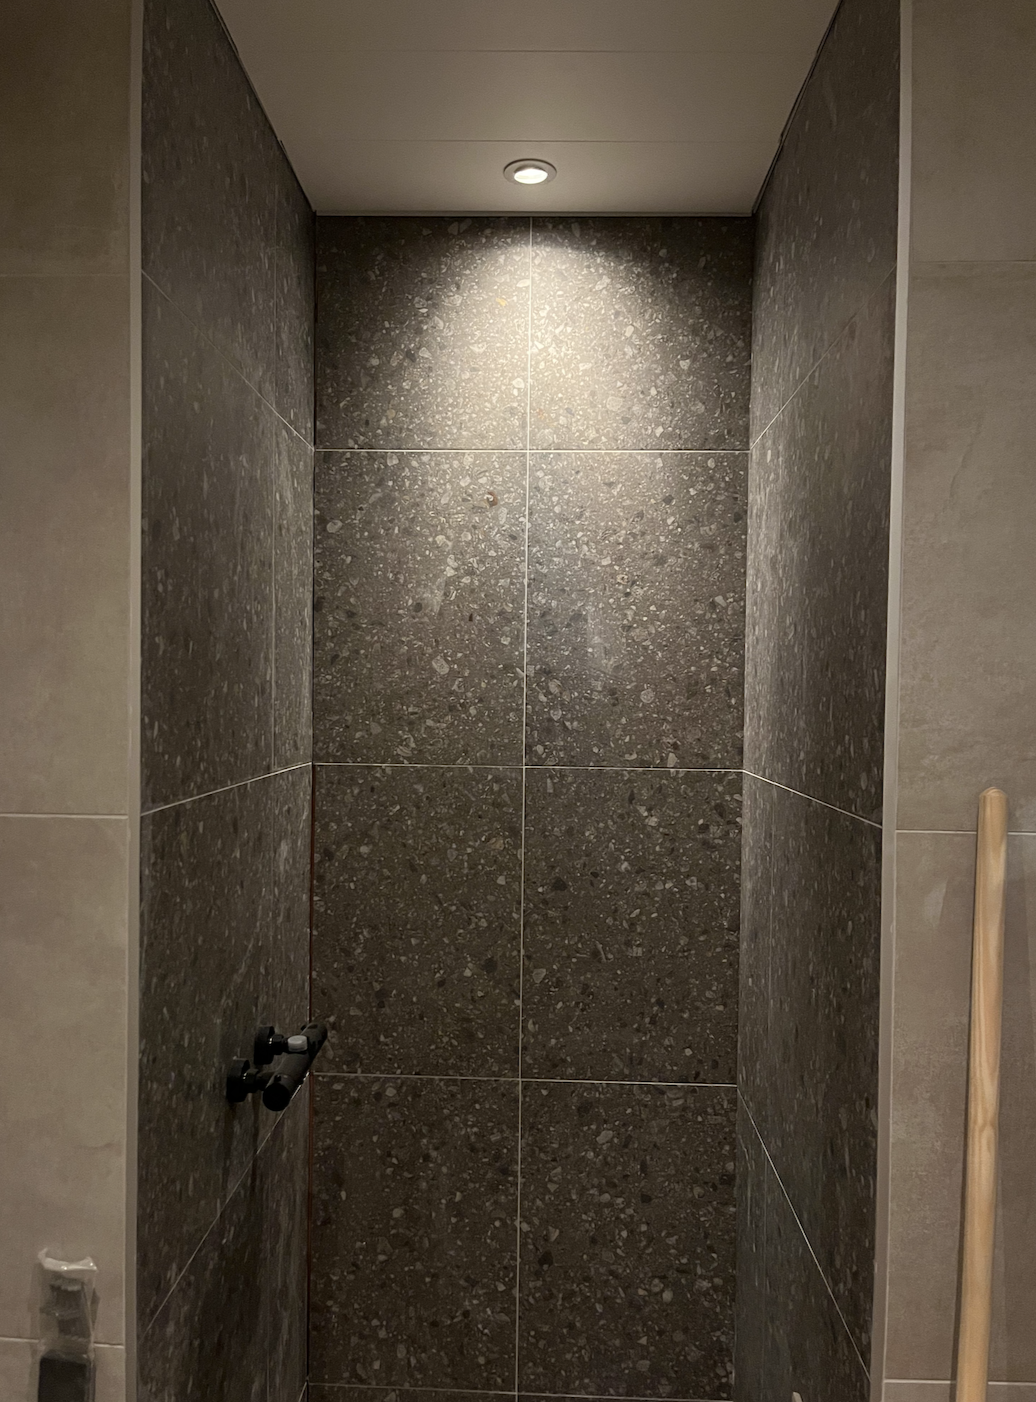
What do you think of the spotlight in the shower?
Another major task that we've crossed of was the flooring. With close to 70 square meters of apartment, it was quite the endeavour for a couple of unexperienced floor layers :)
The floor we choose is a PVC flooring with an oak look to it. The reason we choose this is the affordability and ease of installing. These boards can be cut to size with a good pair of box cutters and don't require and adhesive, nails, or whatsoever. The tricky bit with respect to installing it in our place is that we wanted it through the whole apartment continuously. This mean long stretches of close 20 meters along livingroom, hallway, and bedroom and having to make complex cuts to fit around doors, nooks and crannies. Here's a good example of some interesting cutouts:

After two days of hard work, we managed to get the complete floor in. Here is a time lapse and some end results:

And the hallway (don't mind the trash):


The cutout near the door is for an integrated doormat. Will install this later :)
I'm pretty excited with this big step crossed of the todo's list. Now it really starts looking more and more homely! From the pictures you can see there's still a nice chellange ahead of us; the kitchen instalment to be precise!
But as with everything DIY, when you take your time and prep well, it should all be doable :)
Soon an update on the next big renovation steps, thanks for stopping by :)
For the previous updates see these posts:
Show more
Tags :
Woo!
This creator can upvote comments using 3speak's stake today because they are a top performing creator!
Leave a quality comment relating to their content and you could receive an upvote
worth at least a dollar.
Their limit for today is $0!
Their limit for today is $0!

3 views
9 months ago
$

4 views
6 months ago
$
6 views
9 months ago
$
More Videos

1 views
3 years ago
$

47 views
10 months ago
$

0 views
7 months ago
$

11 views
a year ago
$

2 views
3 years ago
$

6 views
2 years ago
$

2 views
3 years ago
$

3 views
a year ago
$

2 views
2 years ago
$

7 views
2 years ago
$

5 views
a year ago
$

9 views
4 years ago
$

3 views
4 months ago
$

6 views
3 years ago
$

11 views
a year ago
$

1 views
7 months ago
$

17 views
a year ago
$

17 views
4 years ago
$
Comments:
Reply:
To comment on this video please connect a HIVE account to your profile: Connect HIVE Account