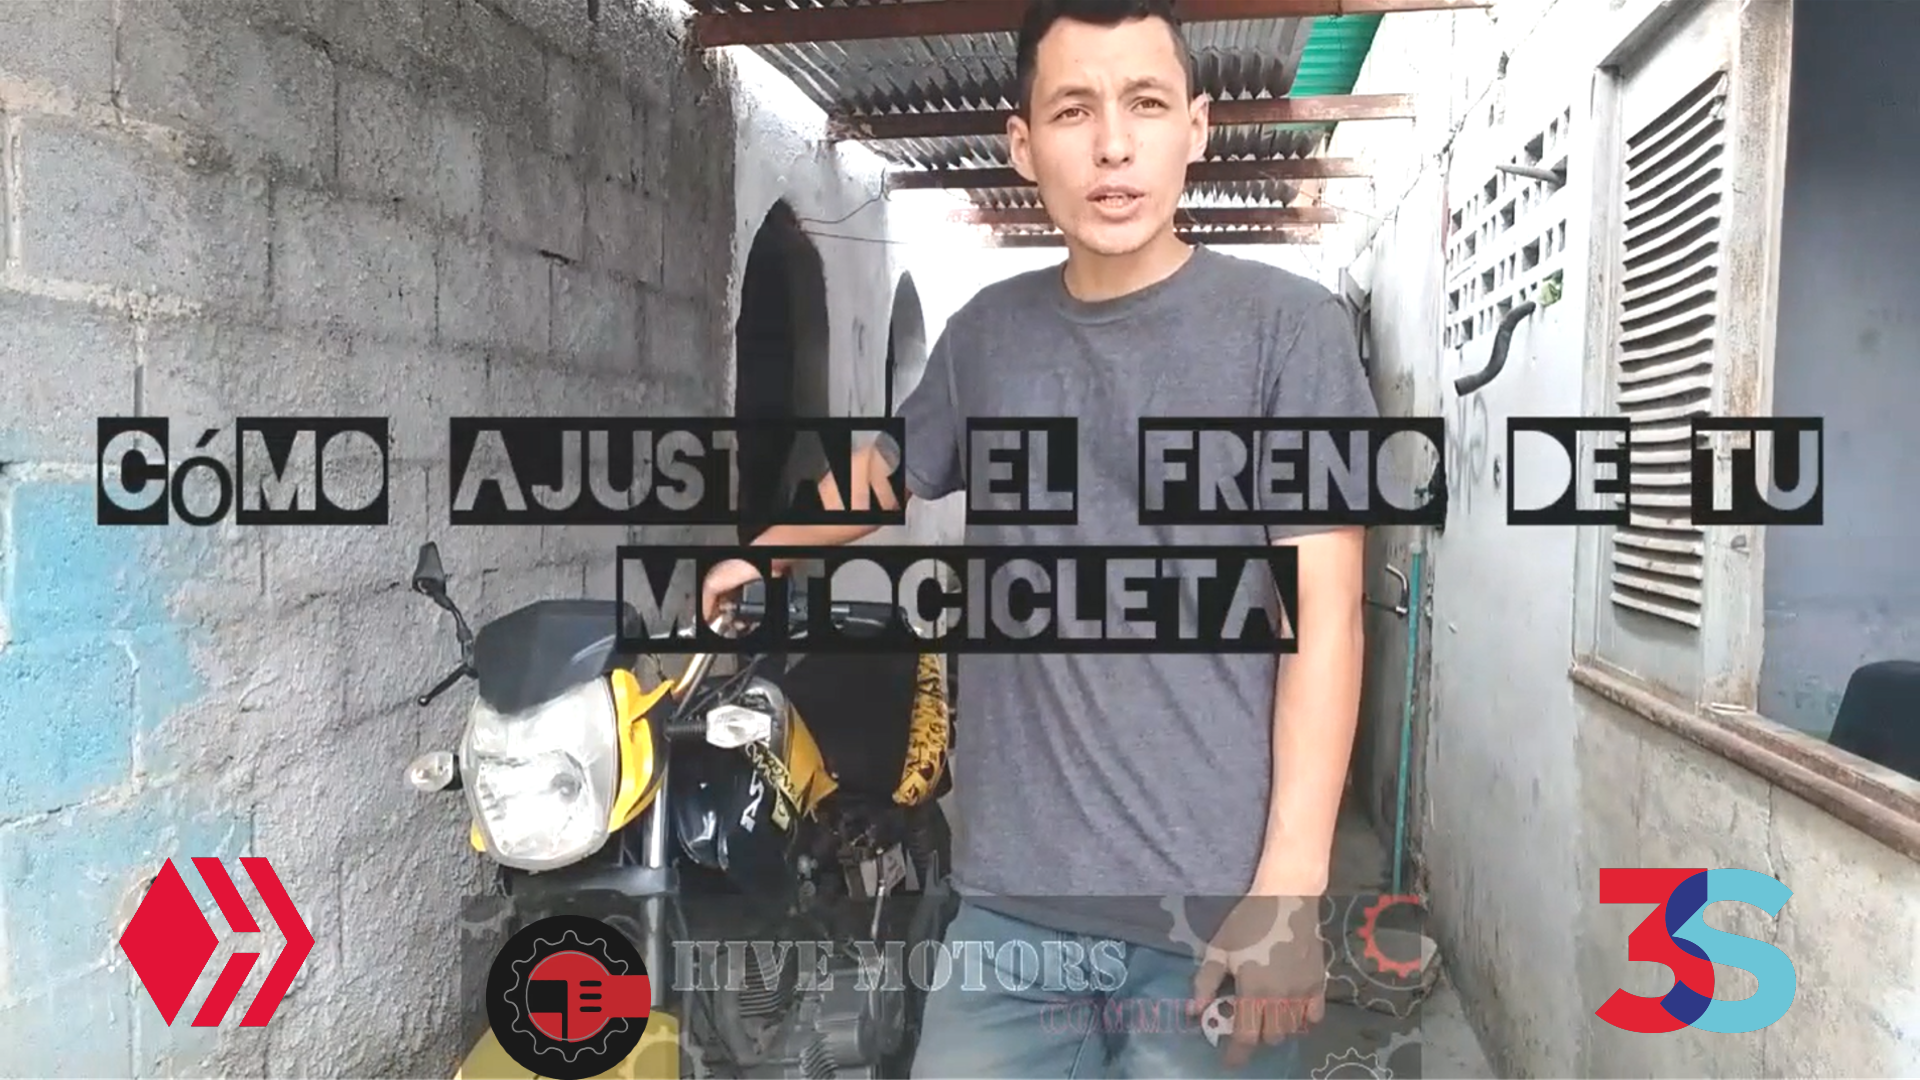
Tutorial how to adjust the brake of the motorcycle BRZ 200 - JOSUERR29 - [Esp/Eng].
8
About :
| content sources | |
|---|---|
| - Translation of the text: | https://www.deepl.com |
| - Separator taken from: | Here |
| - Photo and video: | Picsart pro. YouCut. Samsung Galaxy j6 plus. |
| - Source and authorship of the content: | Own original: |
| - Creation of gift: | https://www.canva.com. |
| - Intro of the video made in canca: | Gift creation: https://www.canva.com |
| - Music of the video without copyright: | Here |
| Logo 1 | Design by https://studio.3espeak.tv |
| Logo 2 | Design by https://hive.blog |
| Logo 3 | Design of Hive motors |
English
I hope everyone is doing great and learning from all your mechanical articles including from the community in general because I always learn from you guys.
In general I had a long time without sharing content about my bike and I decided to make some repairs and also wanted to share with you little by little I will bring them, they are a kind of maintenance to my bike so that it always runs good.
Brz 200 is the model of my bike is very nice I love to ride with her, however with the last maintenance that I brought to you that was complete repair of the engine and box of my bike was the rear rubber a little misaligned and therefore the chain was sticking everywhere, she was a little loose.
This caused me as a good mechanic to decide to pull the rear rubber much further back so that the speed chain would be well tensioned and without problems, so I did my repair very well and the rubber and chain were very well.
However, after having done all this, the brake of my bike was much tighter and more tensioned, the brake line was much more pressed and the brake was practically sticking constantly on the drum.
This caused that when I braked the brake pedal was very sensitive and with a touch could practically stop the rubber completely, also caused the squealing of the bands on the drum was very large as a result the bands were crystallized and many other failures that mentioned in the video.
So I took on the task of repairing and being able to graduate the brake of my bike very well so that it would be excellent, I investigated what was necessary although most of it I knew and proceeded to repair it. I'm going to tell you some of the implements you have to have and how you do it.
Tools
To adjust the brakes on this bike you don't need many things, it's very basic and simple all you need is a medium wrench in my case it was only with this one that I was able to loosen two nuts and that's all you have to do.
Process
Just below the exhaust pipe of my bike is the adjusting nuts of the brake hose of my bike are two nuts that go against each other, if you leave them very tight will be spectacular because they will not move but if you leave them too far apart from each other with the vibration of the bike and the passage of time they will move and mismatch the brake of your bike, so it is very good to stick one against the other tightly tightened.
While you are doing it she will go little by little loosening and releasing the brake pedal will have more freedom to move is there where you have to adjust it to your liking without loosening everything, because it may be that if you loosen it so much then not brake, so you have to look well the exact point at which you want to brake your bike remember that you do not have to leave it so tight for you bands do not eat the drum, this is good and everything is spectacular.
Keeping your bike up to date is very important to me. I must maintain it very well because my life depends on it, my work depends on it and other important things that I must keep up. So it is very good and very important that you always maintain your bike.
This was the content I shared. I hope you liked it and thank you very much for reading it.
Español
Espero que todos estén muy bien y estén aprendiendo de todos sus artículos mecánicos inclusive de la comunidad en general porque yo siempre aprendo de ustedes.
En general llevaba mucho tiempo sin compartirles un contenido acerca de mi moto y decidí hacerle unas reparaciones y también quería compartirla con ustedes poco a poco las iré trayendo, son una especie de mantenimiento a mi moto para que siempre ande buena.
Brz 200 es el modelo de mi moto es muy linda Me encanta andar con ella, sin embargo con el último mantenimiento que le traje a ustedes que fue reparación completa del motor y caja de mi moto quedó el caucho trasero un poco desalineado y Por ende la cadena andaba pegando por todos lados, ella estaba un poco floja.
Esto causó que yo como buen mecánico decidiera halar el caucho trasero mucho más atrás para que la cadena de la velocidad quedara bien tensionada y sin problemas, así que muy bien hice mi reparación y el Caucho y cadena quedaron muy bien.
Sin embargo después de haber realizado todo esto el freno de mi moto quedó muchísimo más ajustado más tensionado, la Guaya de freno quedó muchísimo más presionada y el freno quedó prácticamente pegando constantemente en el tambor.
Esto causaba que cuando yo frenaba el pedal del freno estuviera muy sensible y con un toque podía prácticamente parar el caucho por completo, también causó que el chillido de las bandas en el tambor fuera muy grande como resultado las bandas se cristalizaron y muchísimas otras fallas que mencionó en el vídeo.
Entonces me di a la tarea de reparar y poder graduar muy bien el freno de mi moto para que quedara excelente, investigue lo necesario aunque la mayoría yo lo sabia y procedí a repararlo. Te voy a decir algunos de los implementos que tienes que tener y cómo lo haces.
Herramientas
Para graduar los frenos de está moto no necesitas muchas cosas, es muy básico y simple lo único que necesitas es una llave media en mi caso fue solamente con esta que pude aflojar dos tuercas y es lo único que tienes que hacer.
Proceso
Justo debajo del tubo de escape de mi moto se encuentra las tuercas ajustadoras de la Guaya de freno de mi moto son dos tuercas que van una contra la otra, si tú las dejas muy ajustadas quedara espectacular porque no sé moverán pero si tú la dejas muy separadas una de la otra con la vibración de la moto y el andar del tiempo ellas se Irán moviendo y desajustaran el freno de tu moto, Así que es muy bueno pegar una contra la otra bien apretada.
Mientras tú lo vas haciendo ella ira poco a poco aflojando y liberando el pedal del freno tendrá más libertad para moverse es Allí donde tú tienes que ajustarlo a tu gusto sin desajustarlo todo, por que puede ser que si lo desajuste tanto luego no frené, así que tienes que buscar bien el punto exacto en el cual quieres que frene tu moto recuerda que no lo tienes que dejar tan ajustado para que tú bandas no se coman el tambor, esto este bueno y todo este espectacular.
Mantener al día tu moto es algo muy importante para mí. Debo mantenerla muy bien ya que de ella depende mi vida de ella depende mi trabajo y otras cosas importantes que Debo mantener en pie. Así que es muy bueno y muy importante que siempre le hagas mantenimiento a tu moto.
Esto fue el contenido que compartí Espero te haya gustado y muchas gracias por leerlo.
| fuentes del contenido | |
|---|---|
| - Traducción del texto: | https://www.deepl.com |
| - Separador tomado de: | Aqui |
| - Foto y video: | Picsart pro. YouCut. Samsung Galaxy j6 plus. |
| - Fuentem autoría del contenido: | original propio |
| - Creación de gift: | https://www.canva.com. |
| - Intro del video realizada en canca: | Creación de gift: https://www.canva.com |
| - Musica del video Sin derecho de autor: | Aqui |
| Logo 1 | Diseño de https://studio.3espeak.tv |
| logo 2 | Diseño de https://hive.blog |
| Logo 3 | Diseño de Hive motors |


Show more
Tags :
Woo!
This creator can upvote comments using 3speak's stake today because they are a top performing creator!
Leave a quality comment relating to their content and you could receive an upvote
worth at least a dollar.
Their limit for today is $0!
Their limit for today is $0!

tutorial How to install operating system on canaima red letters (formatting) model: MAGALHAES MG-101
3 views
2 years ago
$
8 views
a year ago
$

3 views
a year ago
$

2 views
a year ago
$

5 views
a year ago
$
More Videos

14 views
2 years ago
$

1 views
3 years ago
$

2 views
a year ago
$

10 views
11 months ago
$

2 views
2 years ago
$

13 views
a year ago
$

16 views
a year ago
$
10 views
2 months ago
$

3 views
11 months ago
$

2 views
2 years ago
$

24 views
2 years ago
$
10 views
a year ago
$

4 views
4 months ago
$
3 views
a year ago
$

7 views
2 weeks ago
$

10 views
6 months ago
$

3 views
7 months ago
$

3 views
a year ago
$

11 views
a year ago
$

3 views
2 years ago
$

5 views
a year ago
$

17 views
2 years ago
$

22 views
4 years ago
$

Comments:
Reply:
To comment on this video please connect a HIVE account to your profile: Connect HIVE Account