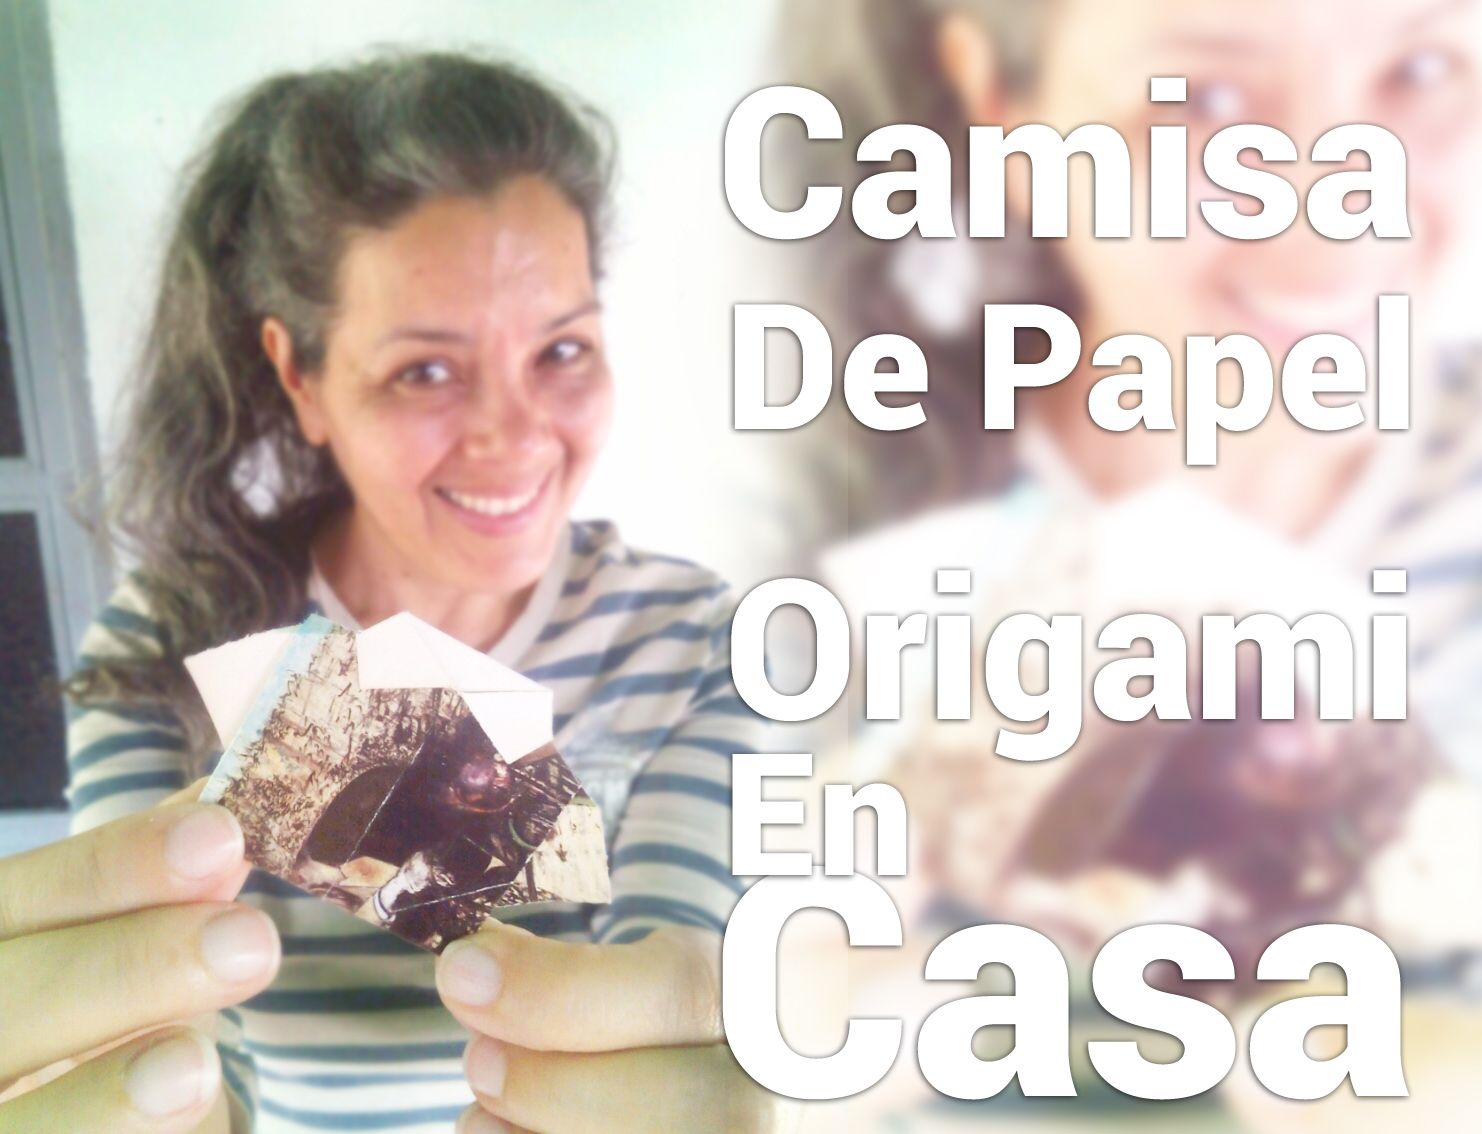
Camisa de papel, Origami en casa (Español/Ingles)
11
About :
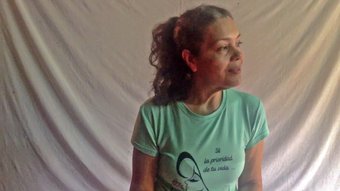
Un saludo amoroso para todos mis amigos de Hive, estoy muy feliz de compartir este post con ustedes, ya que tiene que ver con una de mis grandes pasiones, El Origami. El arte de doblar papel tiene beneficios maravillosos para nuestra mente, nos ayuda a gestionar la atención, lo que tiene como resultado poner toda la concentración en lo que estamos haciendo y evitar que la mente divague, pues es una forma meditación activa. Además tiene una gran influencia en el desarrollo de la matricidas fina, ya que la precisión de los dobleces requiere de nuestra coordinación viso/motora. Es un gran recurso para la comprensión de las formas básicas y la geometría. Nuestra memoria también es afortunada cuando realizamos regularmente figuras de papel. Por todo lo anterior, muchos profesionales lo recomiendan a pacientes de traumatología, pero también conviene practicarlo con los niños y adultos mayores, pues las habilidades que intervienen en este milenario arte deben ser lactadas en todas las etapas de nuestra vida.
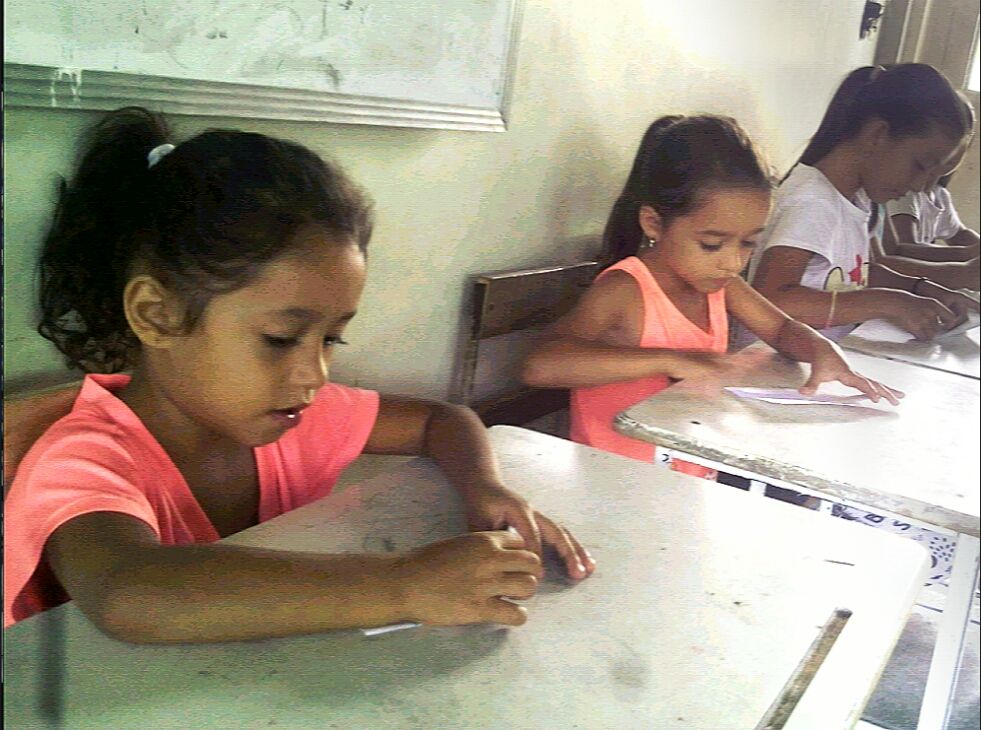
En esta ocasión dedicare esta figura a los más pequeñitos de la casa, pues es sencilla y divertida, por experiencia propia puedo decir que desde los 4 años pueden realizar con ayuda y acompañamiento de alguien mayor. Lo mejor de todo es que solo necesitas un pequeño cuadro de papel reciclado, tus manos y todas las ganas de formar parte de esta aventura.
Entonces, para comenzar, daré las indicaciones que por lo general le aplico con mis estudiantes:
-Manos y mesa limpias. (El papel se ensucia con facilidad, no queremos dañar el trabajo)
-Nada de comida o líquidos cerca del área de trabajo (El palpe se daña cuando tiene contacto con el agua)
-Buena luz (para el cuido de la vista)
-Espalda derecha (para el cuido de la postura)
Para empezar, debes saber que una gran cantidad de las figuras de Origami inician con un cuadrado perfecto, este es el caso.
Dóblalo por la mitad y en seguida desdóblalo, ya que este paso es para marcar una línea guía.
Dirige las dos puntas inferiores hacia la línea que marcaste y realiza el doblado, has lo mismo con las puntas superiores.
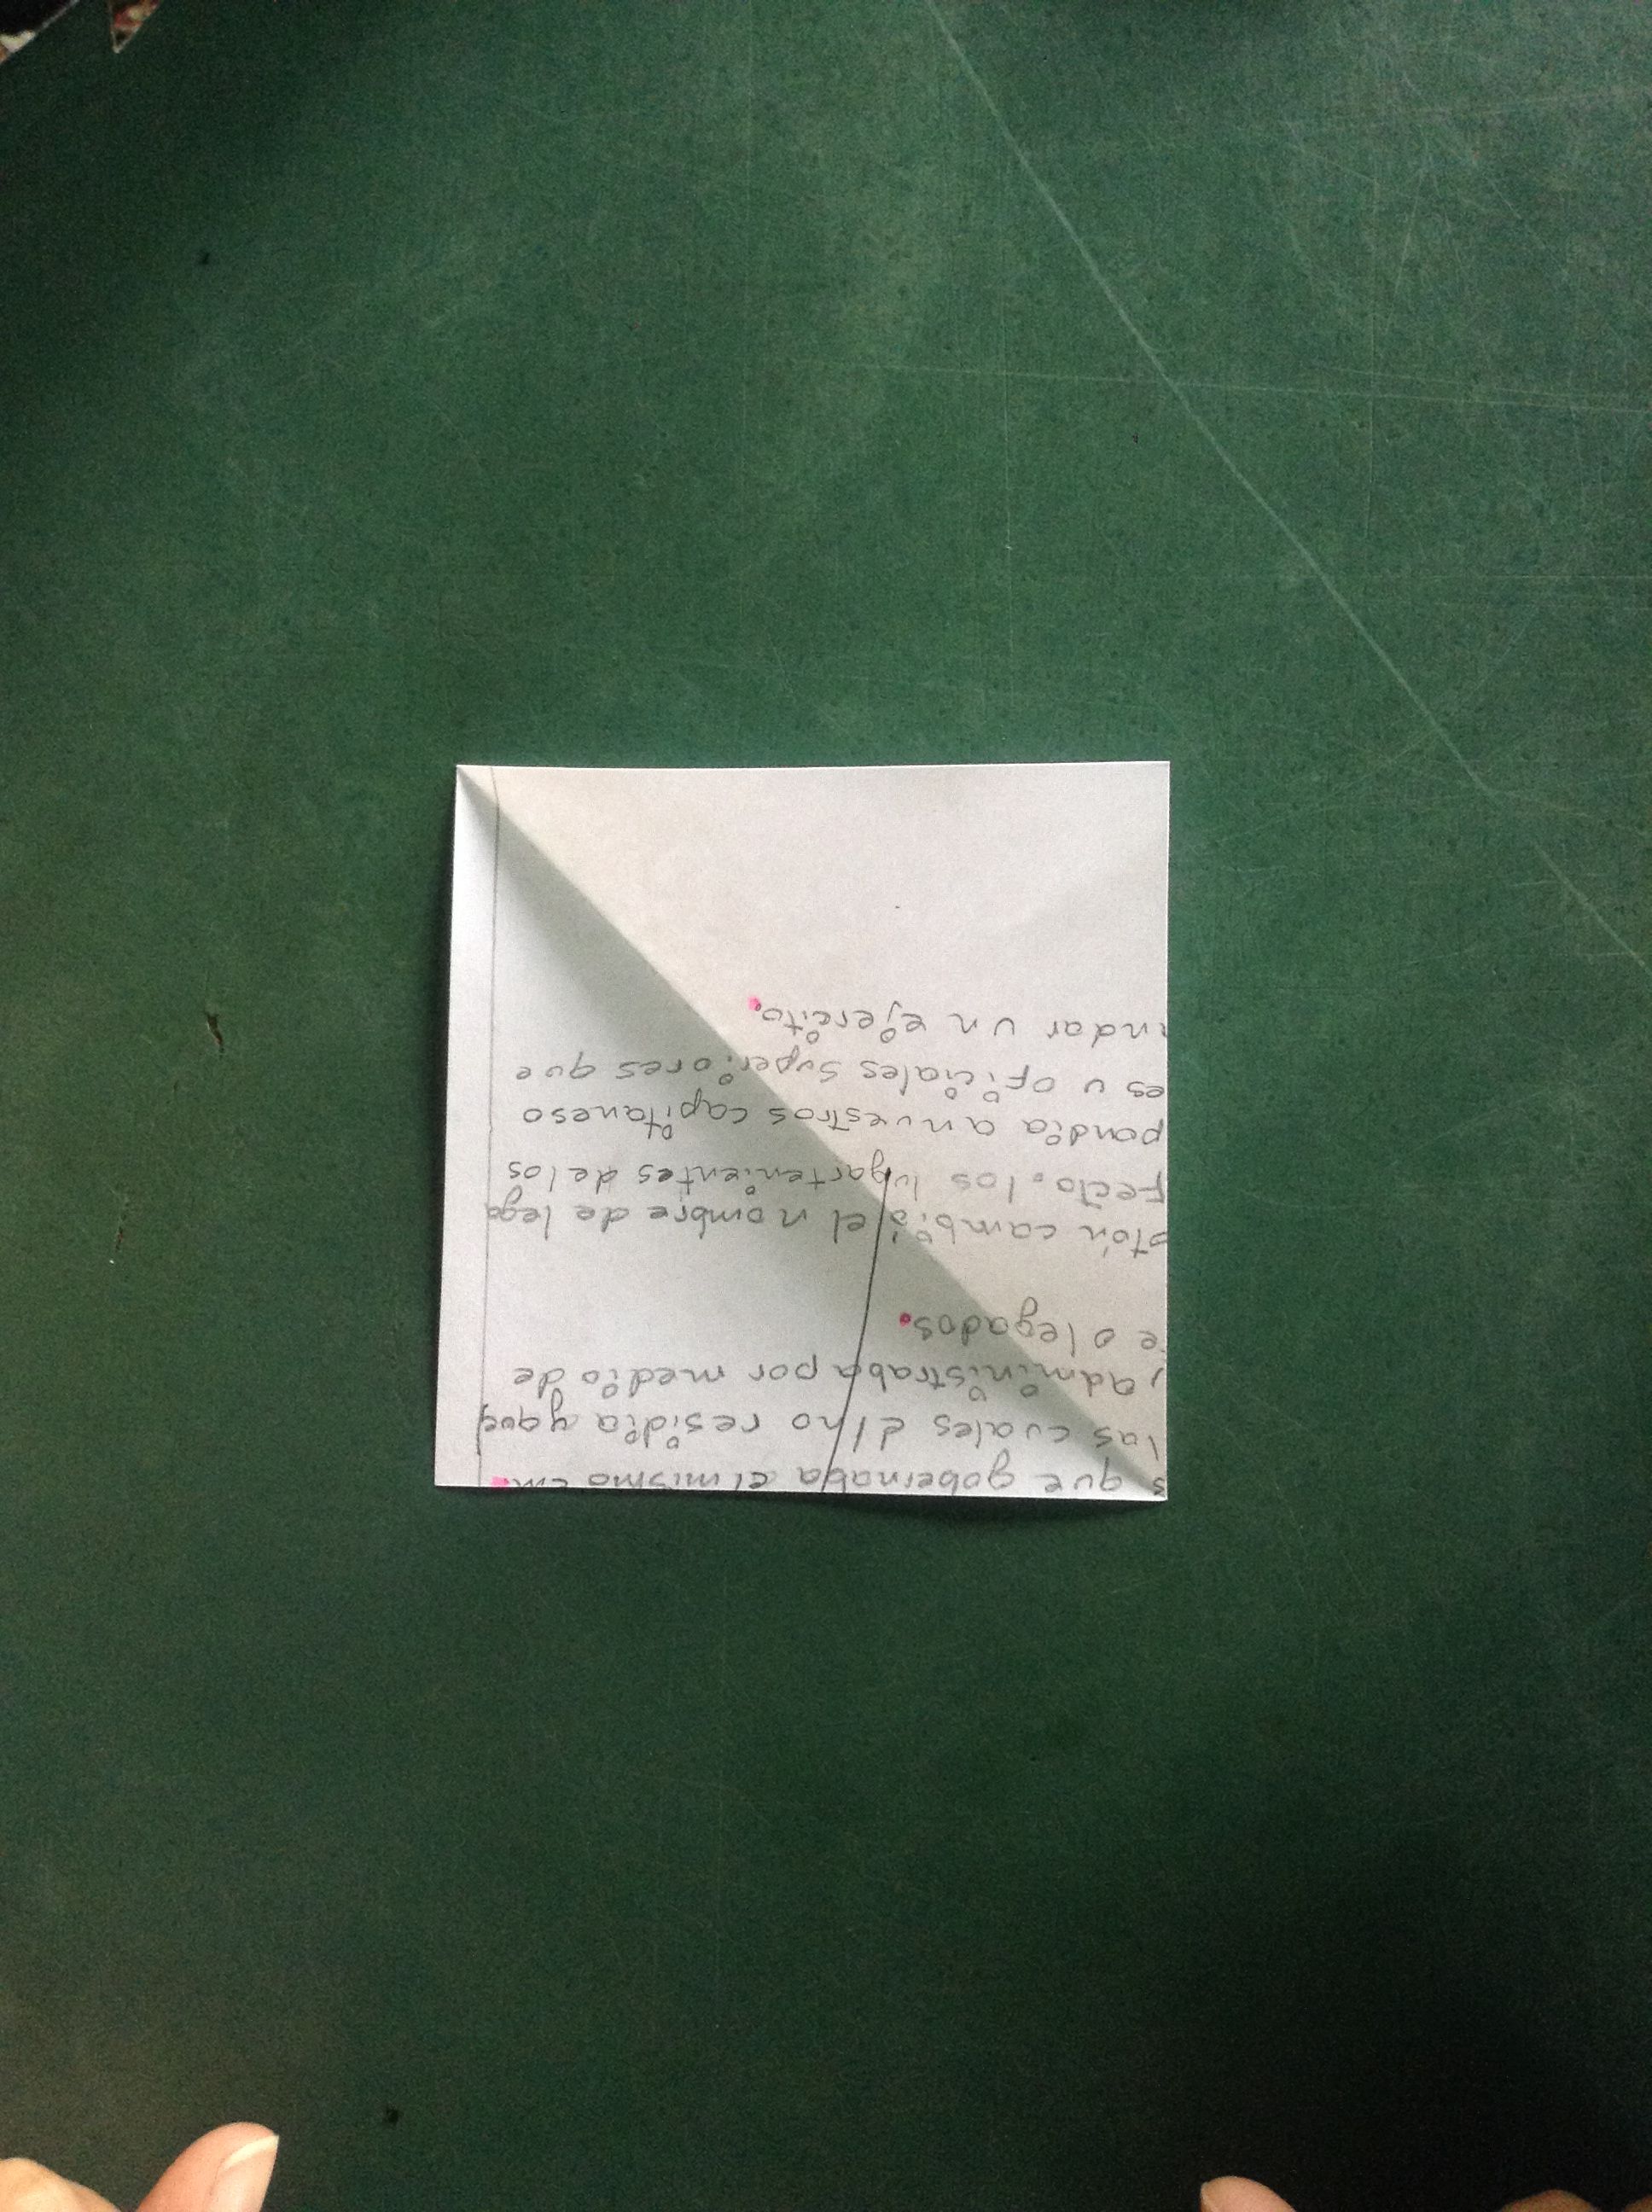
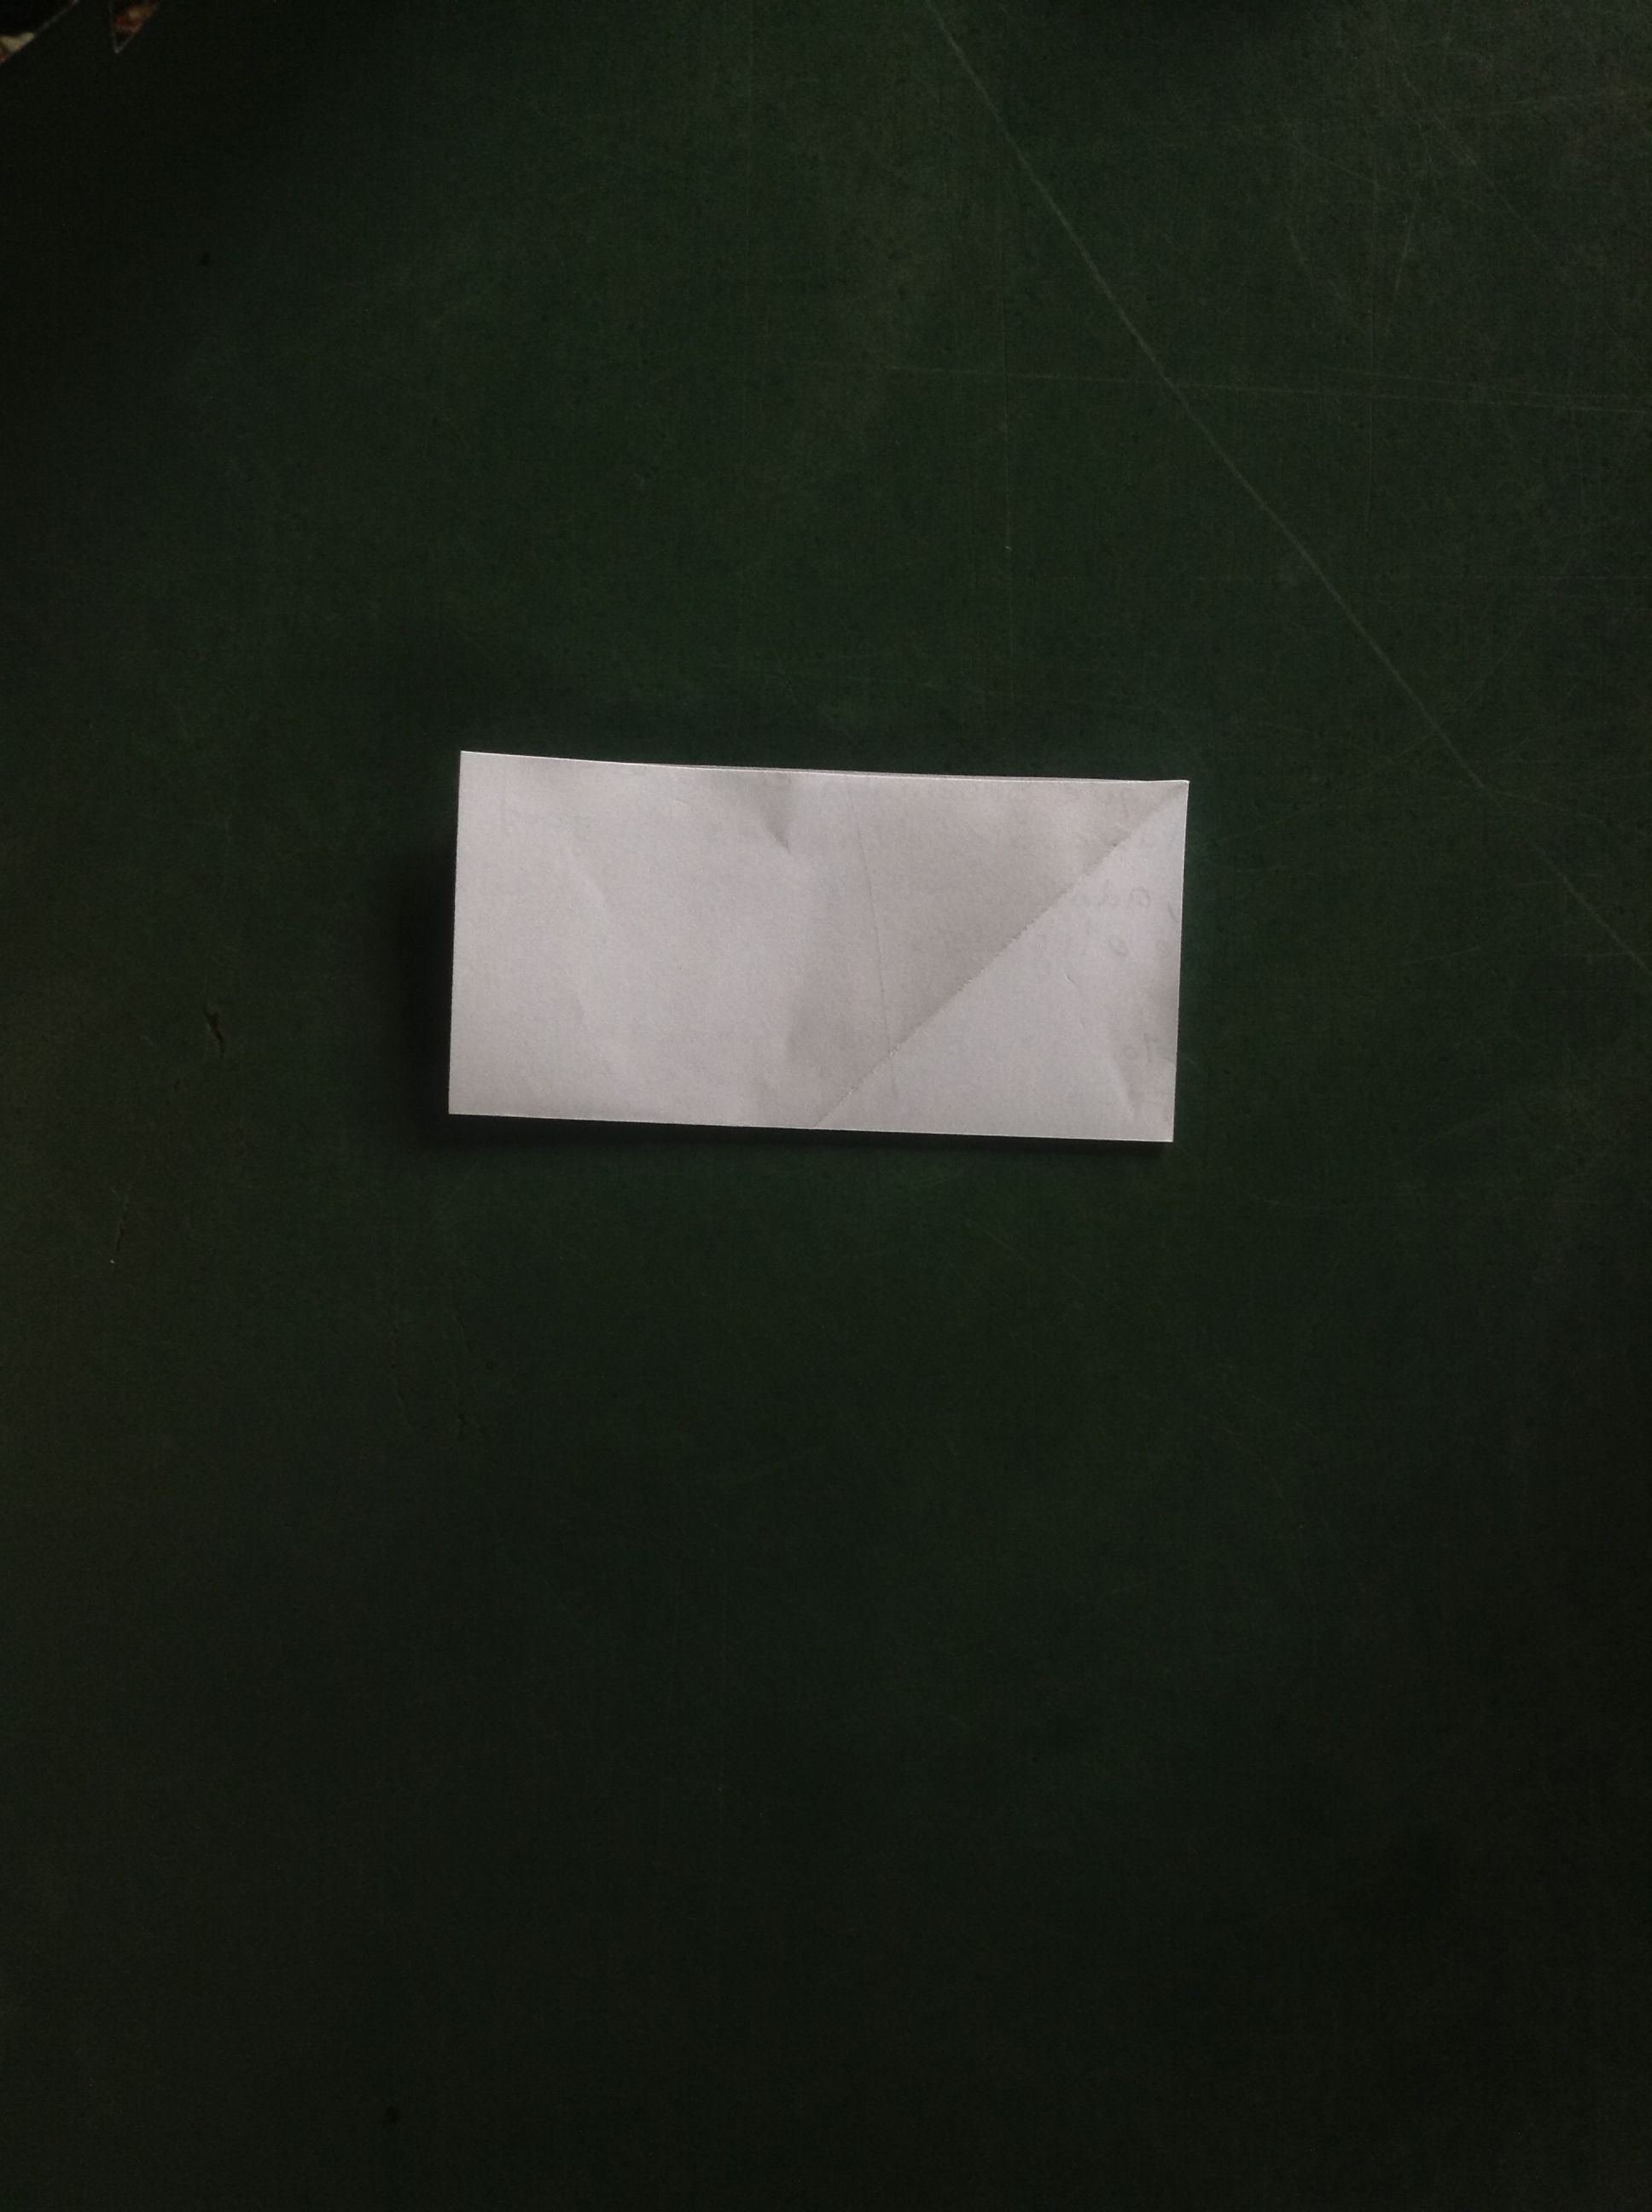
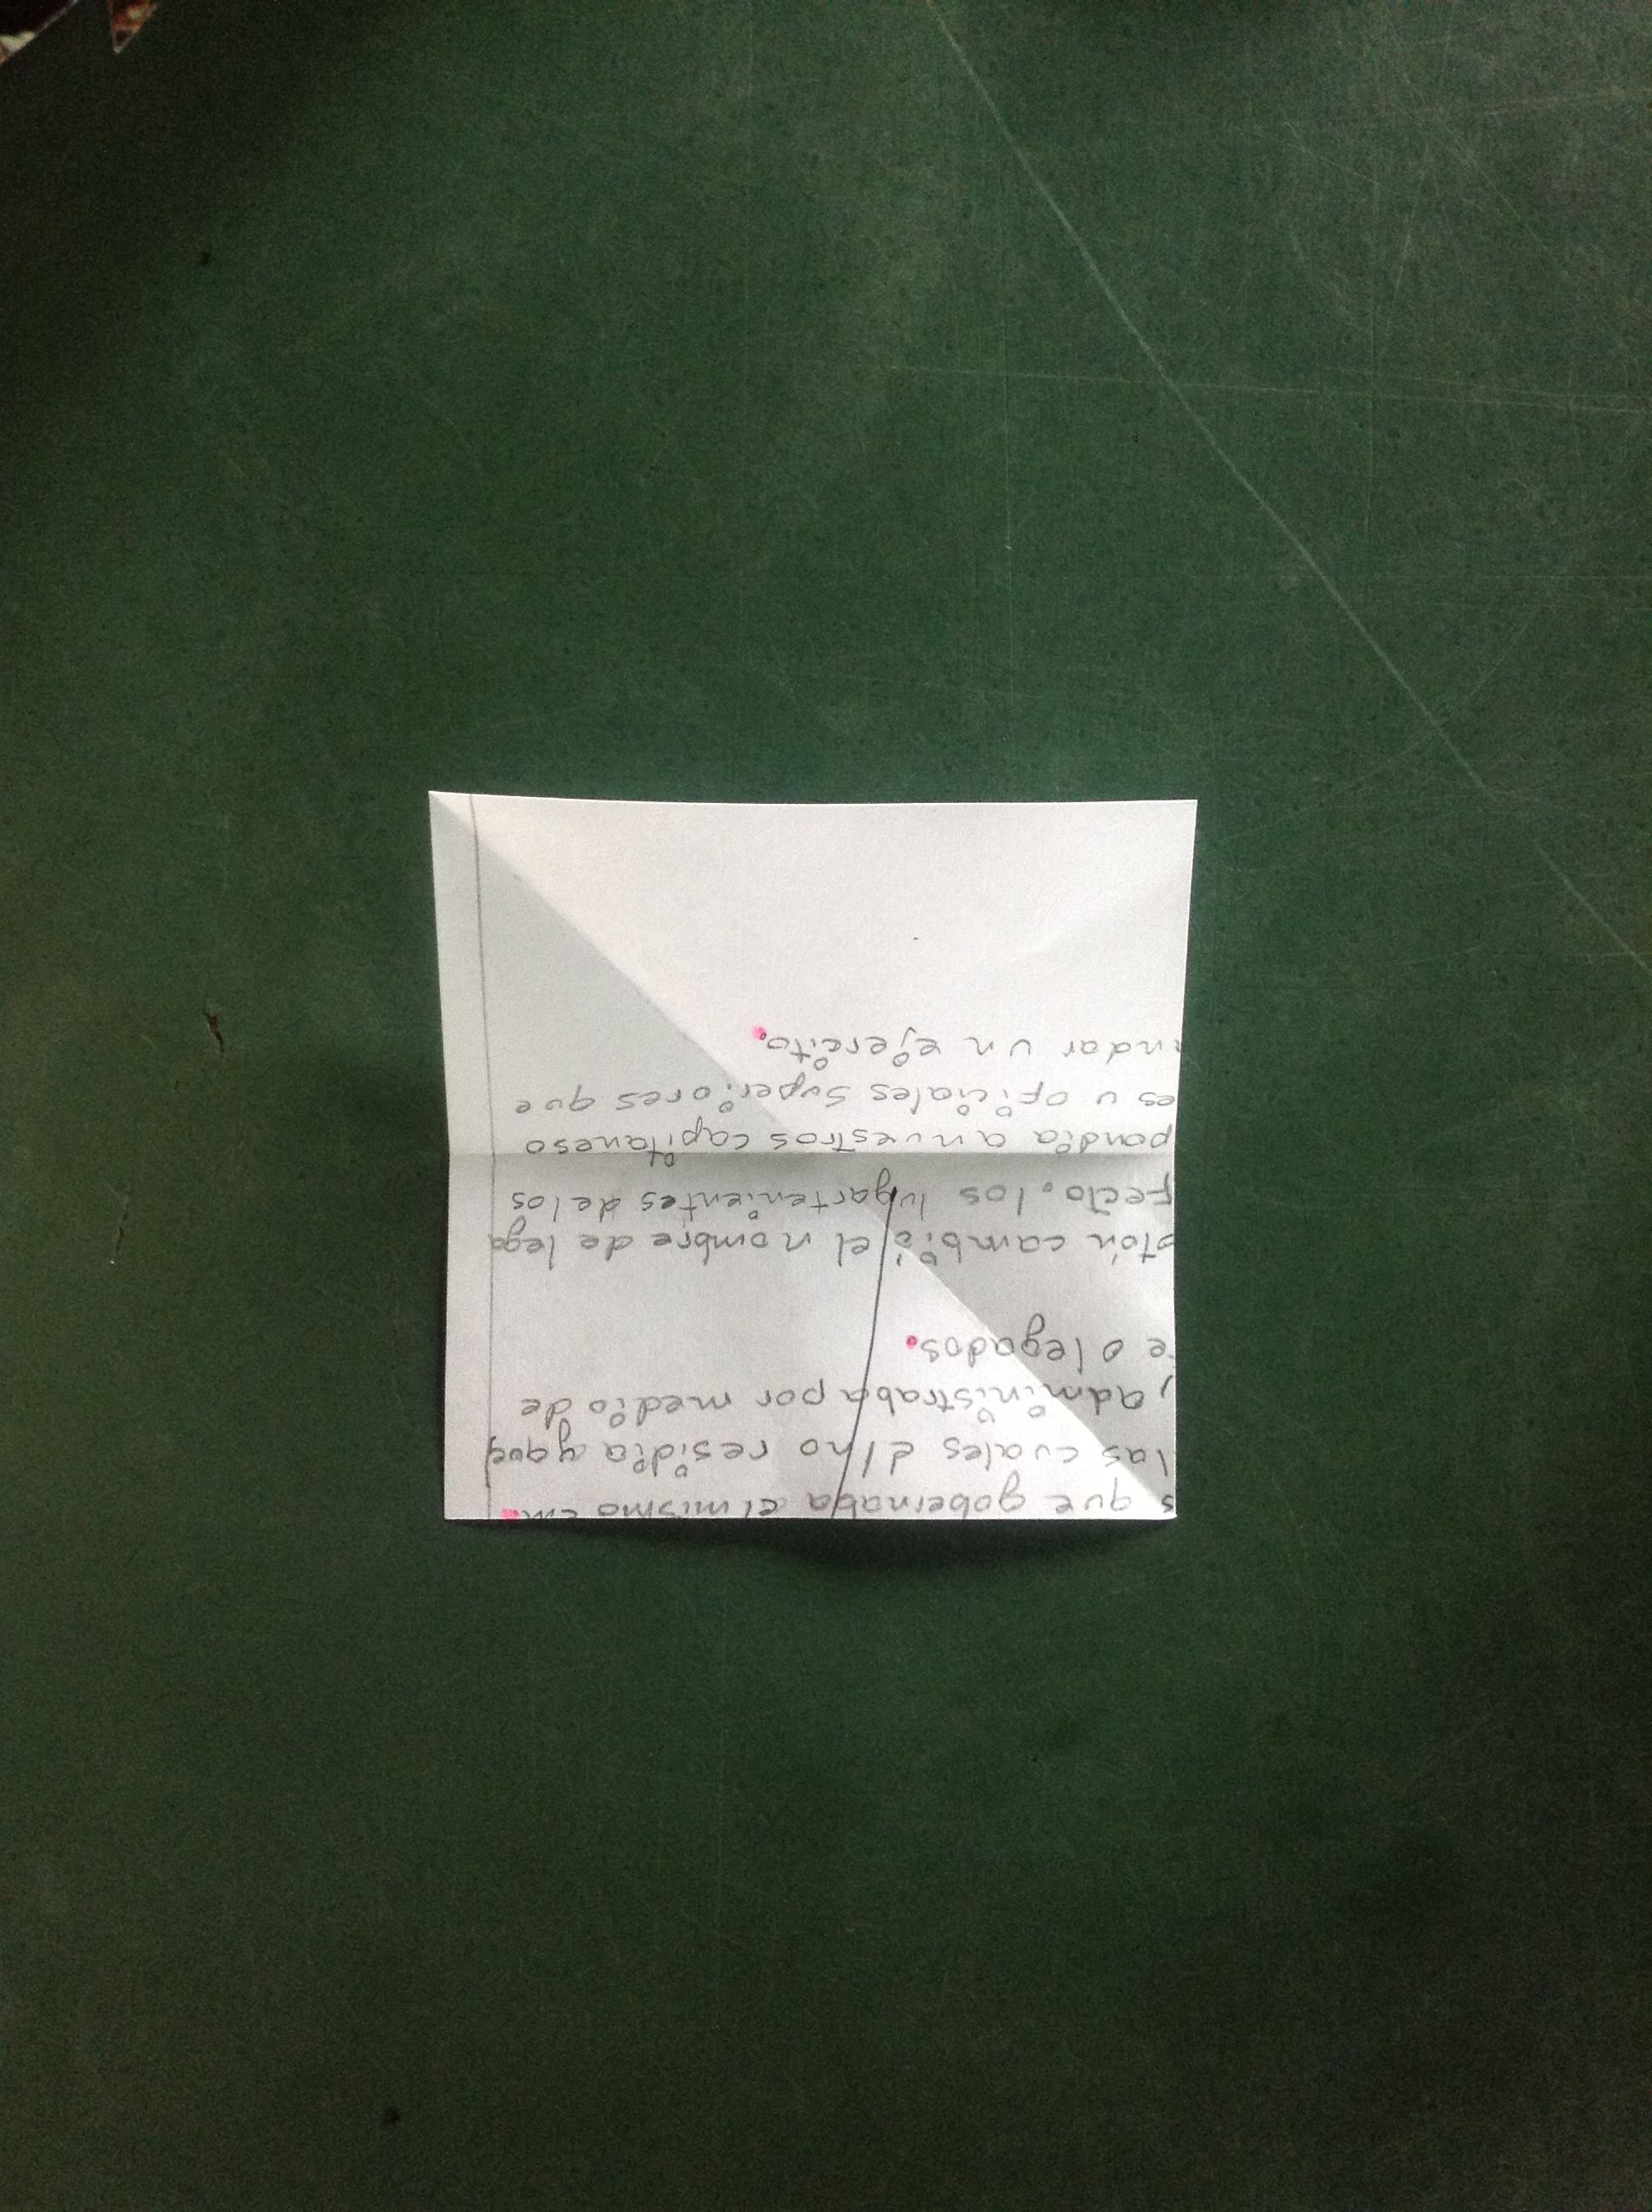
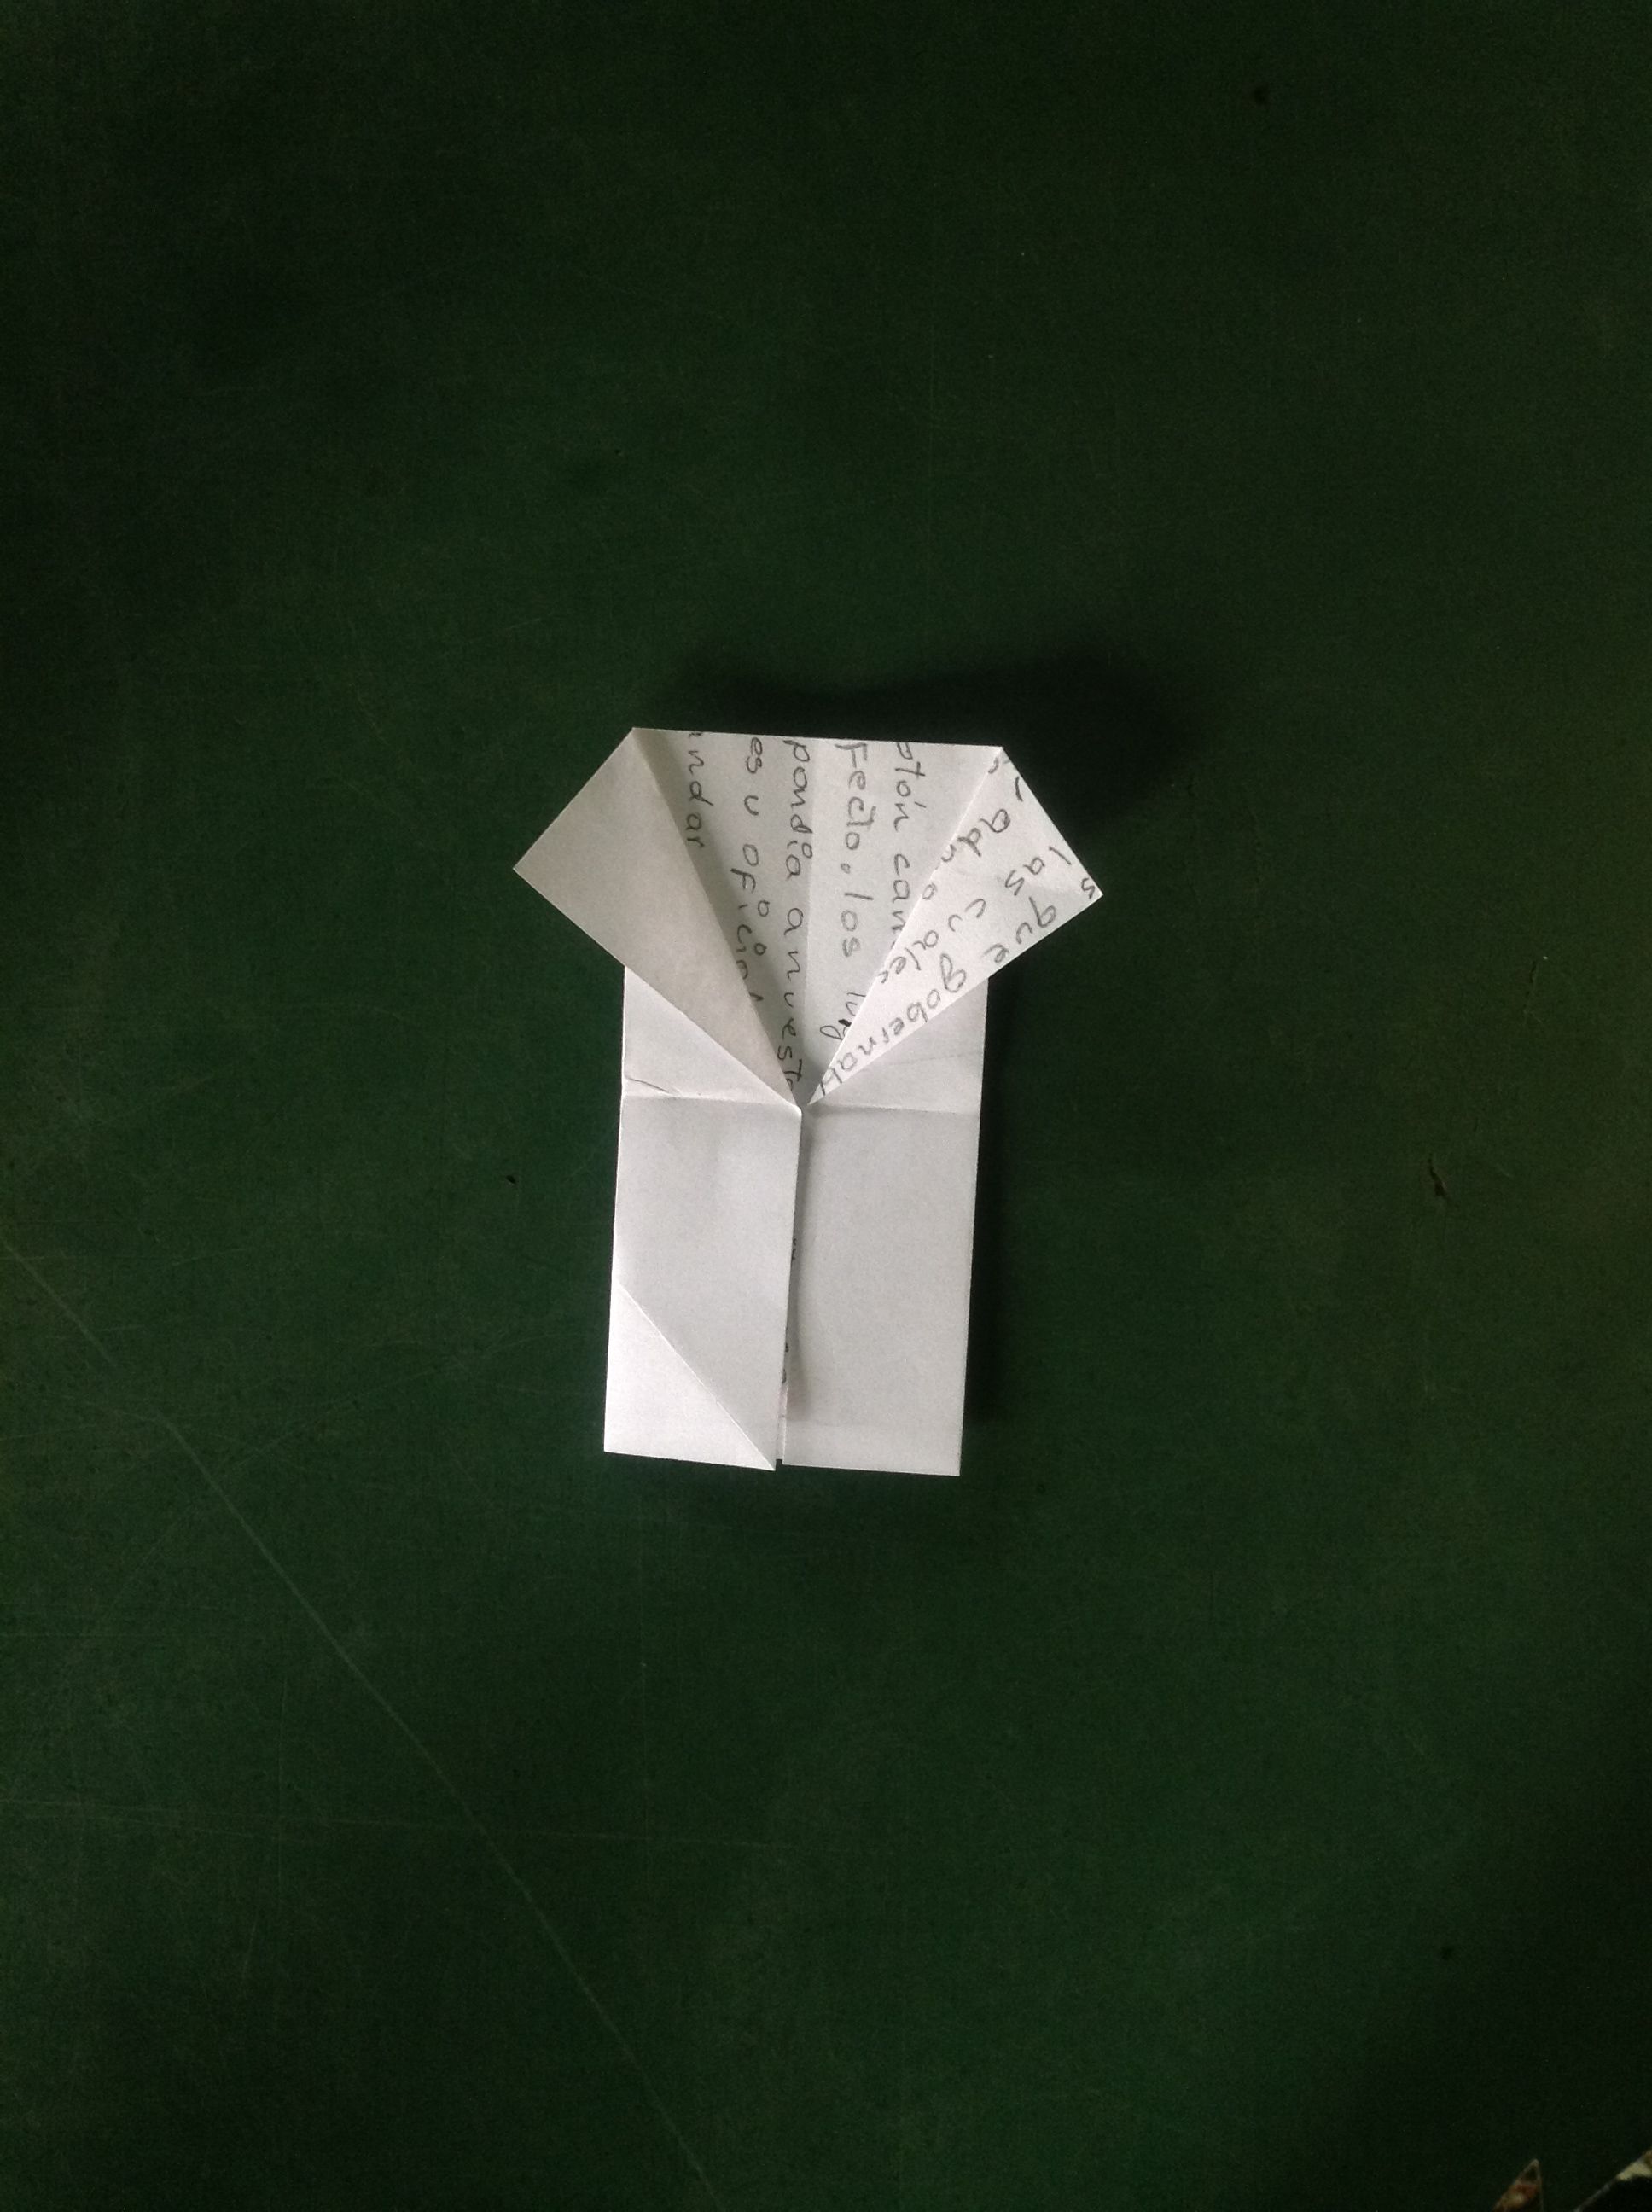
Ahora parecerá un rectángulo, doblaló por la mitad y ábrelo en seguida, este paso también es para marcar una línea guía. Dobla en dirección diagonal las puntas de una de las mitades (guíate por la foto) obtendrás dos triángulos, que simularan las mangas de la camisa.
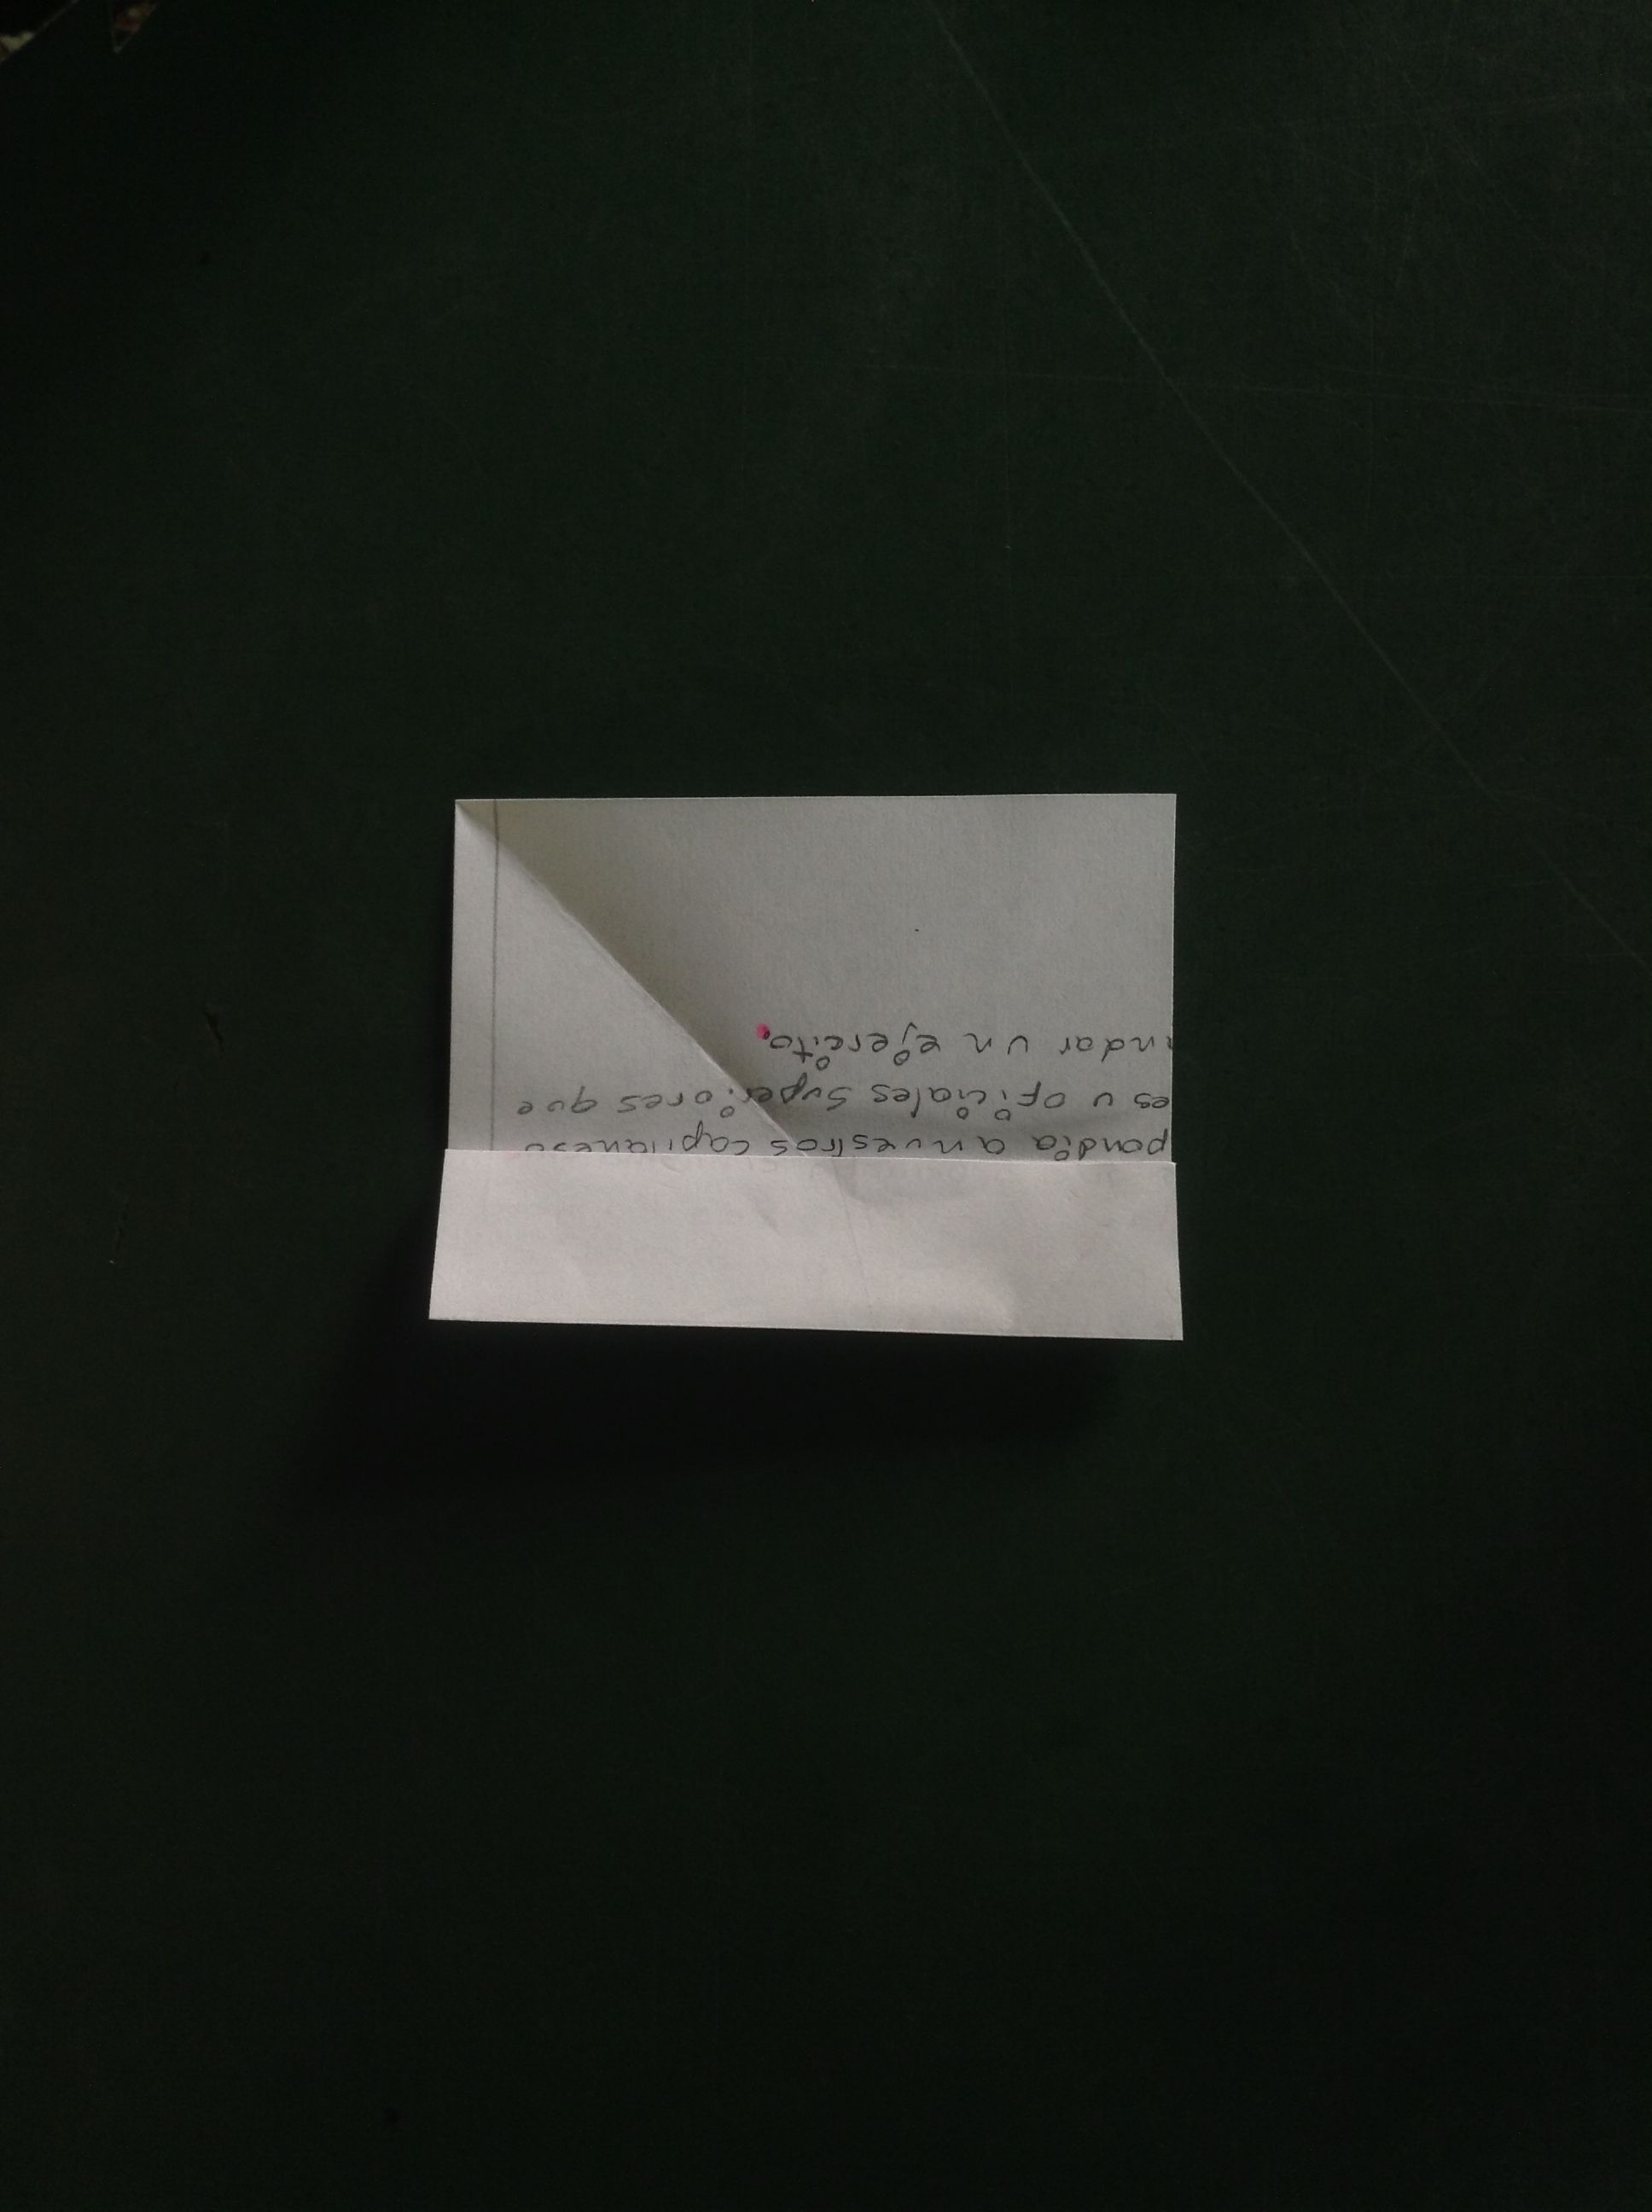
Doblaremos hacia dentro para esconder los dos triángulos grandes, no lo hagas por la mitad, debes dejar una pequeña pestaña en la parte superior. Tienes un cuadrado grande, un rectángulo pequeño en la parte superior y un triángulo pequeño de cada lado.

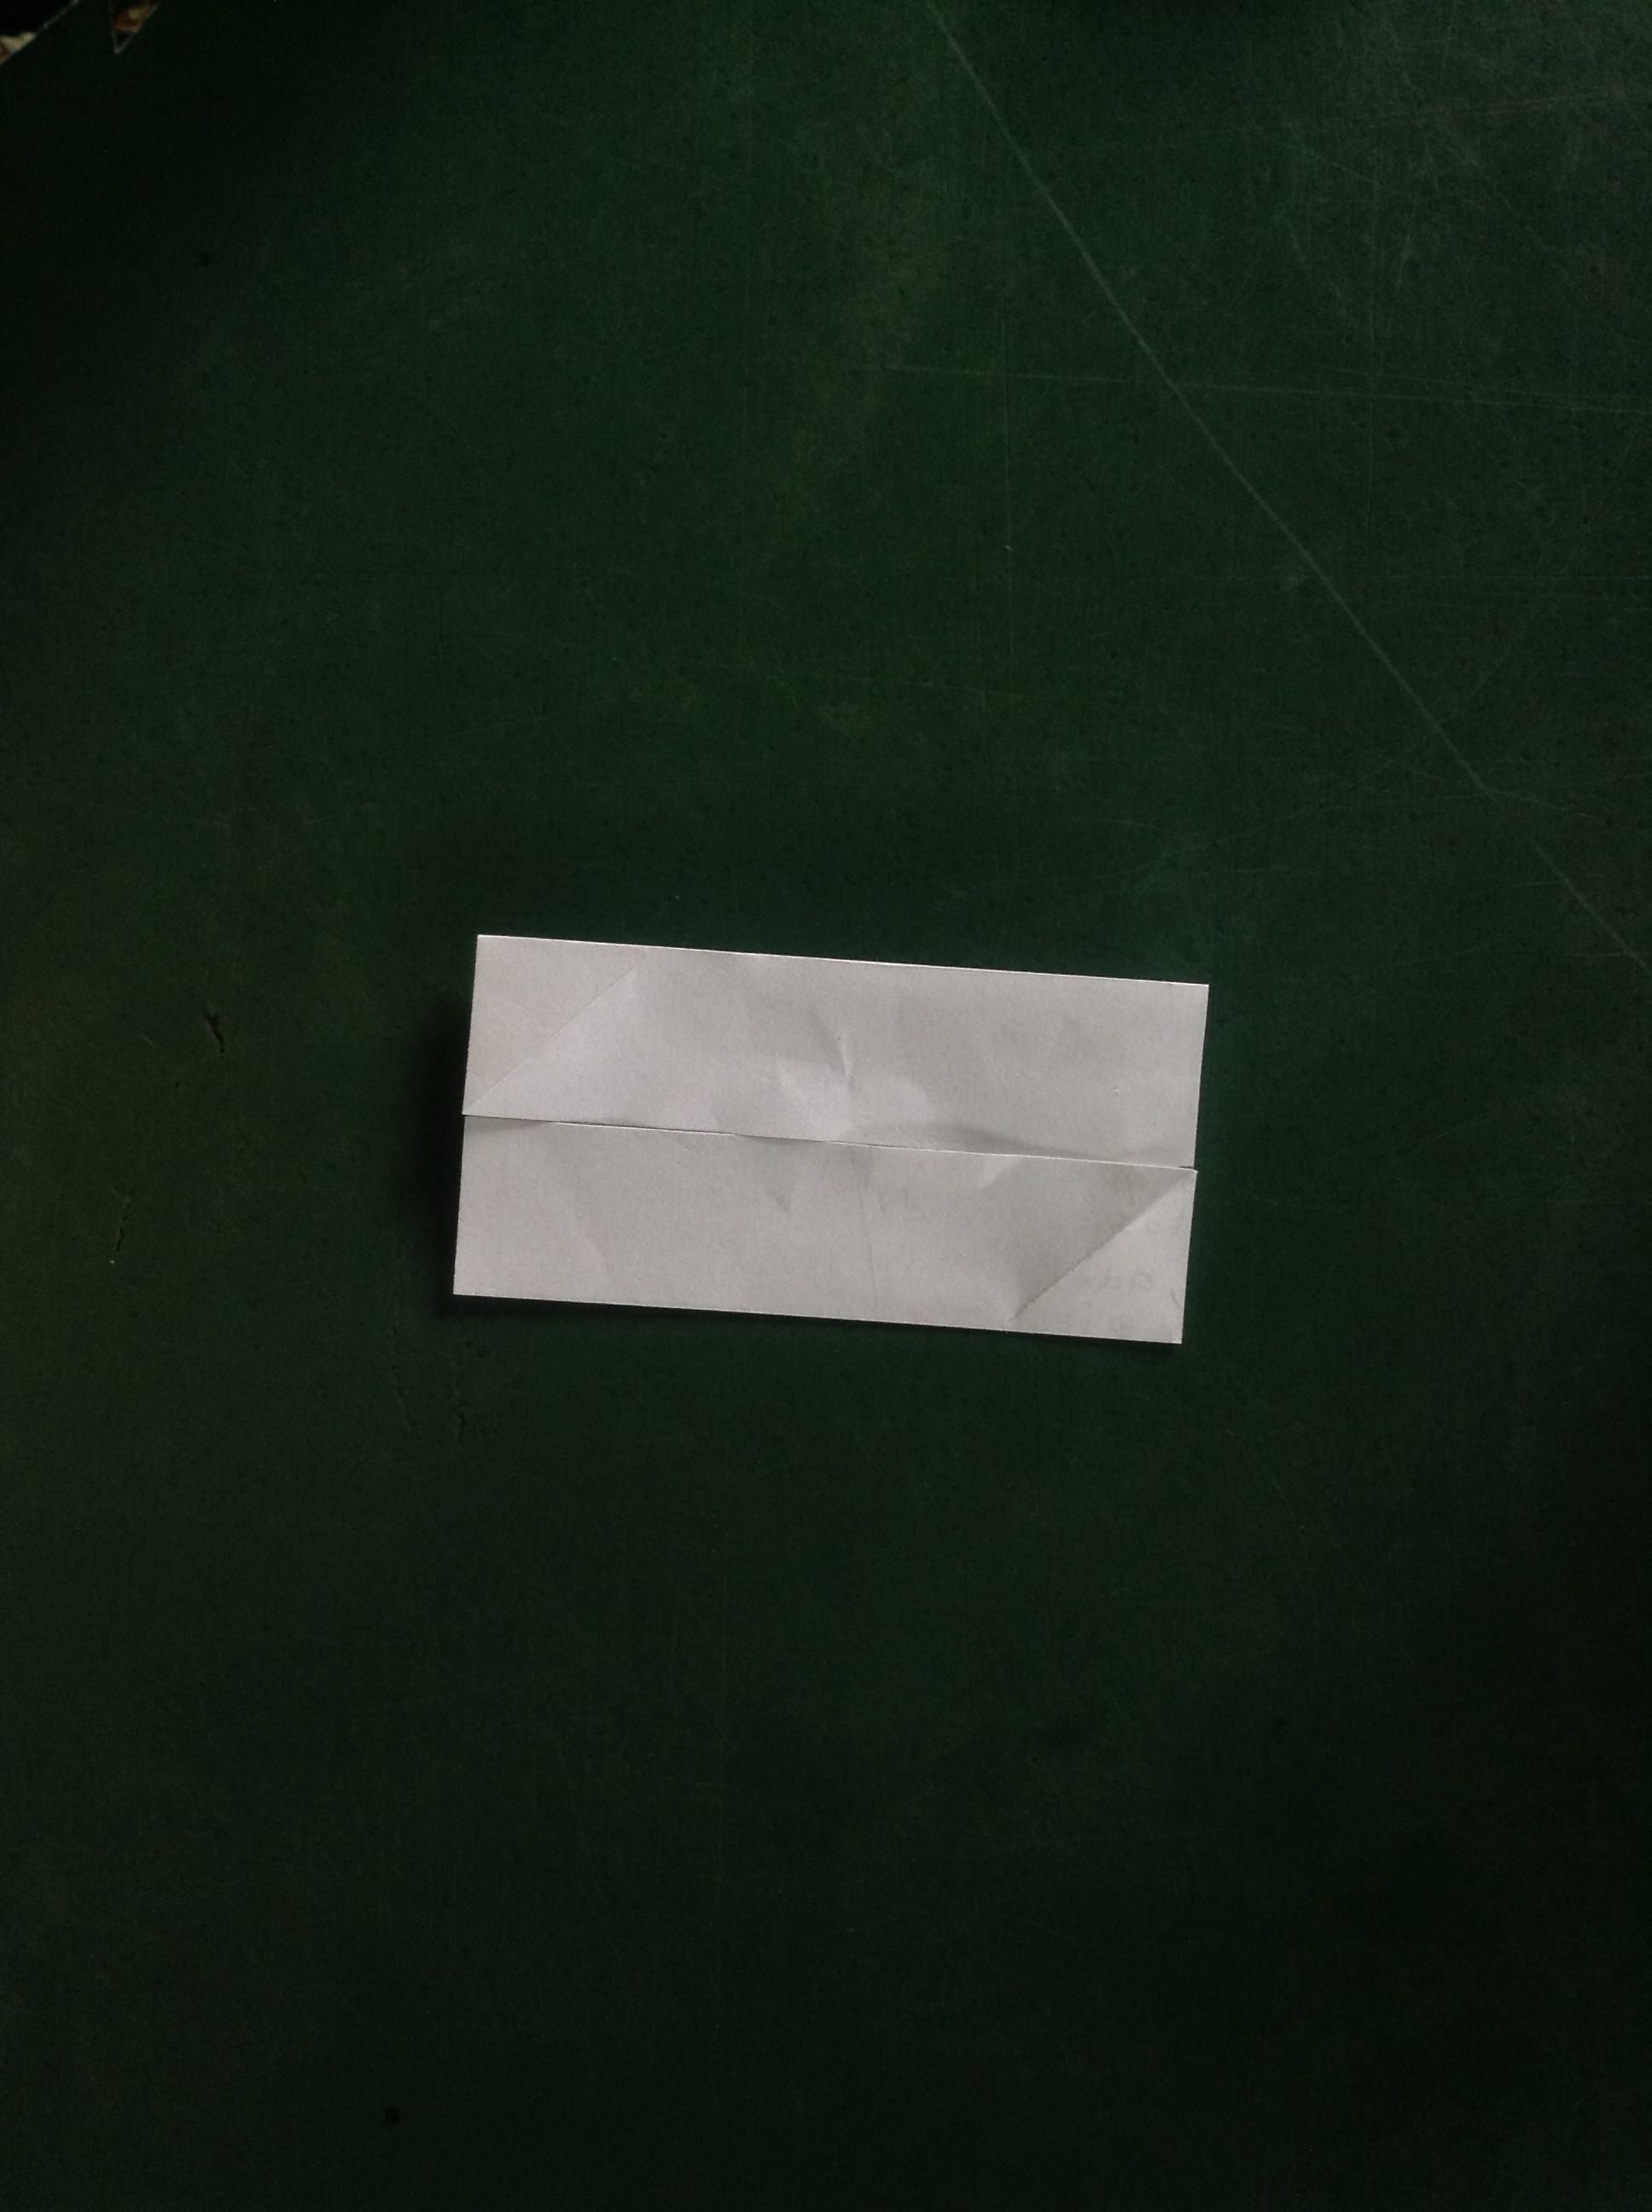
Notarás que el rectángulo está dividido en dos pestañas, doblalás hacia abajo, produciendo dos triángulos pequeños.

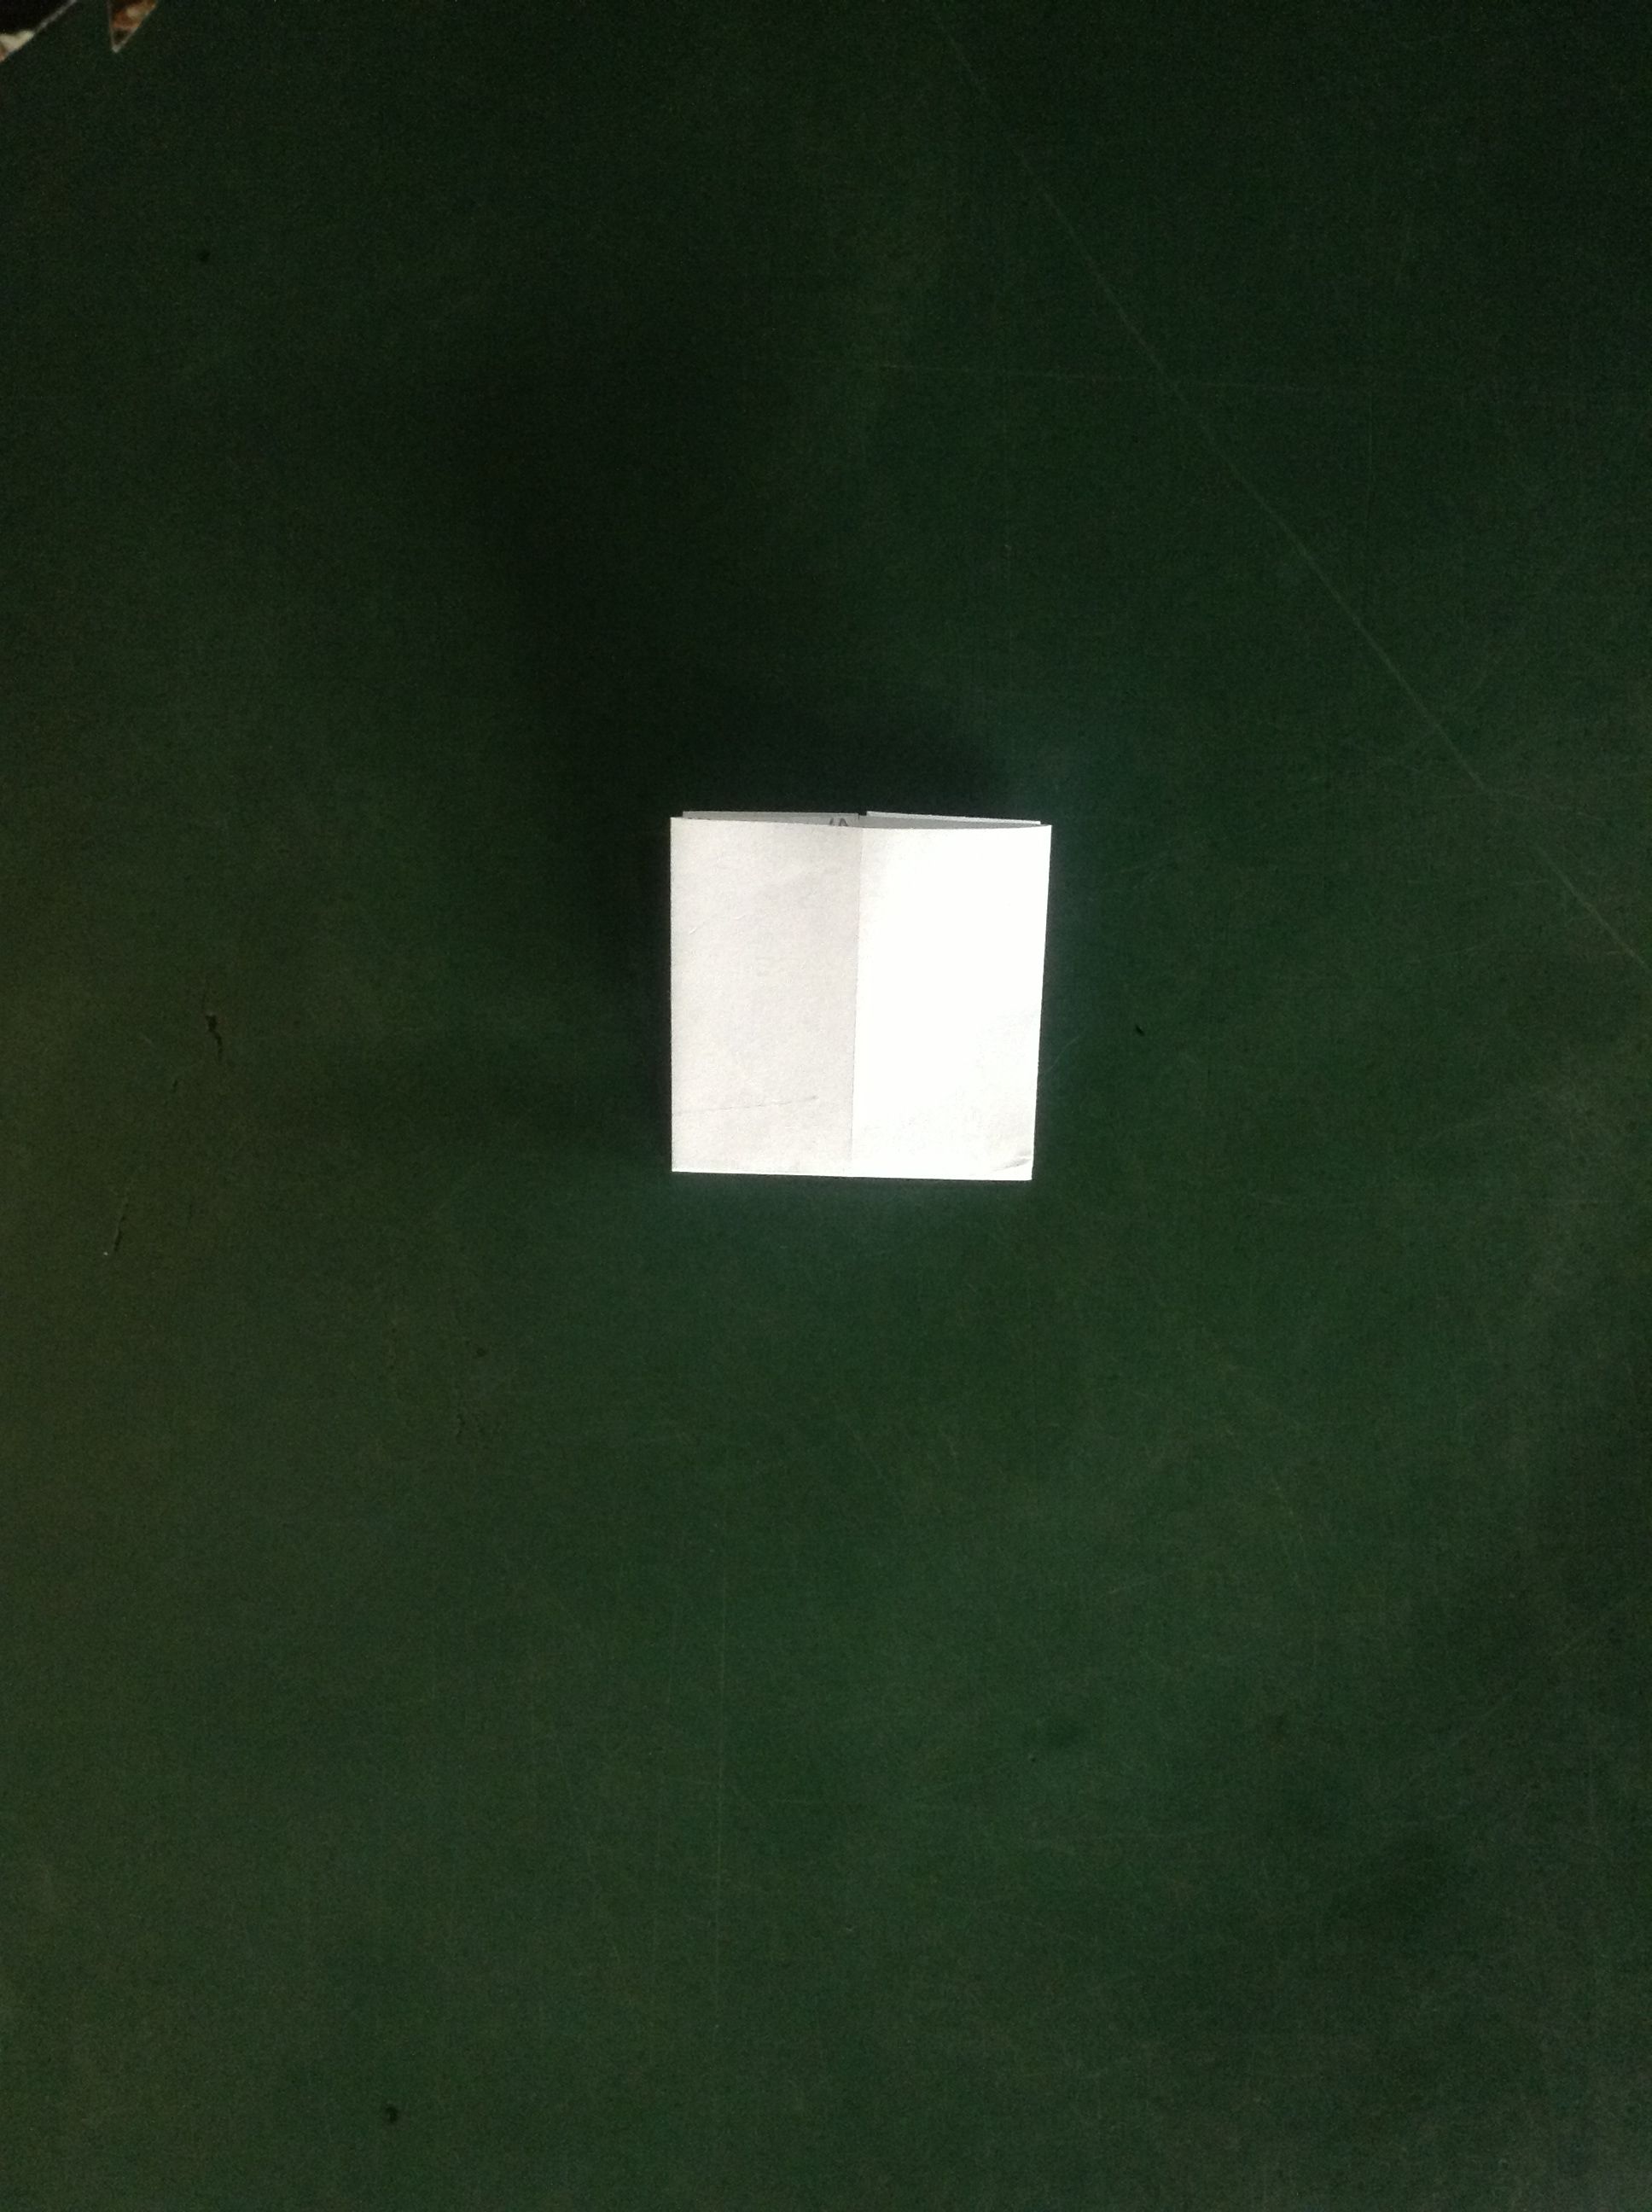
Voltea por completo la figura, por detrás veras un cuadrado con los dos triángulos laterales, dobla las puntas superiores del cuadrado hacia abajo, obtendrás dos nuevos triángulos un poco más pequeños.
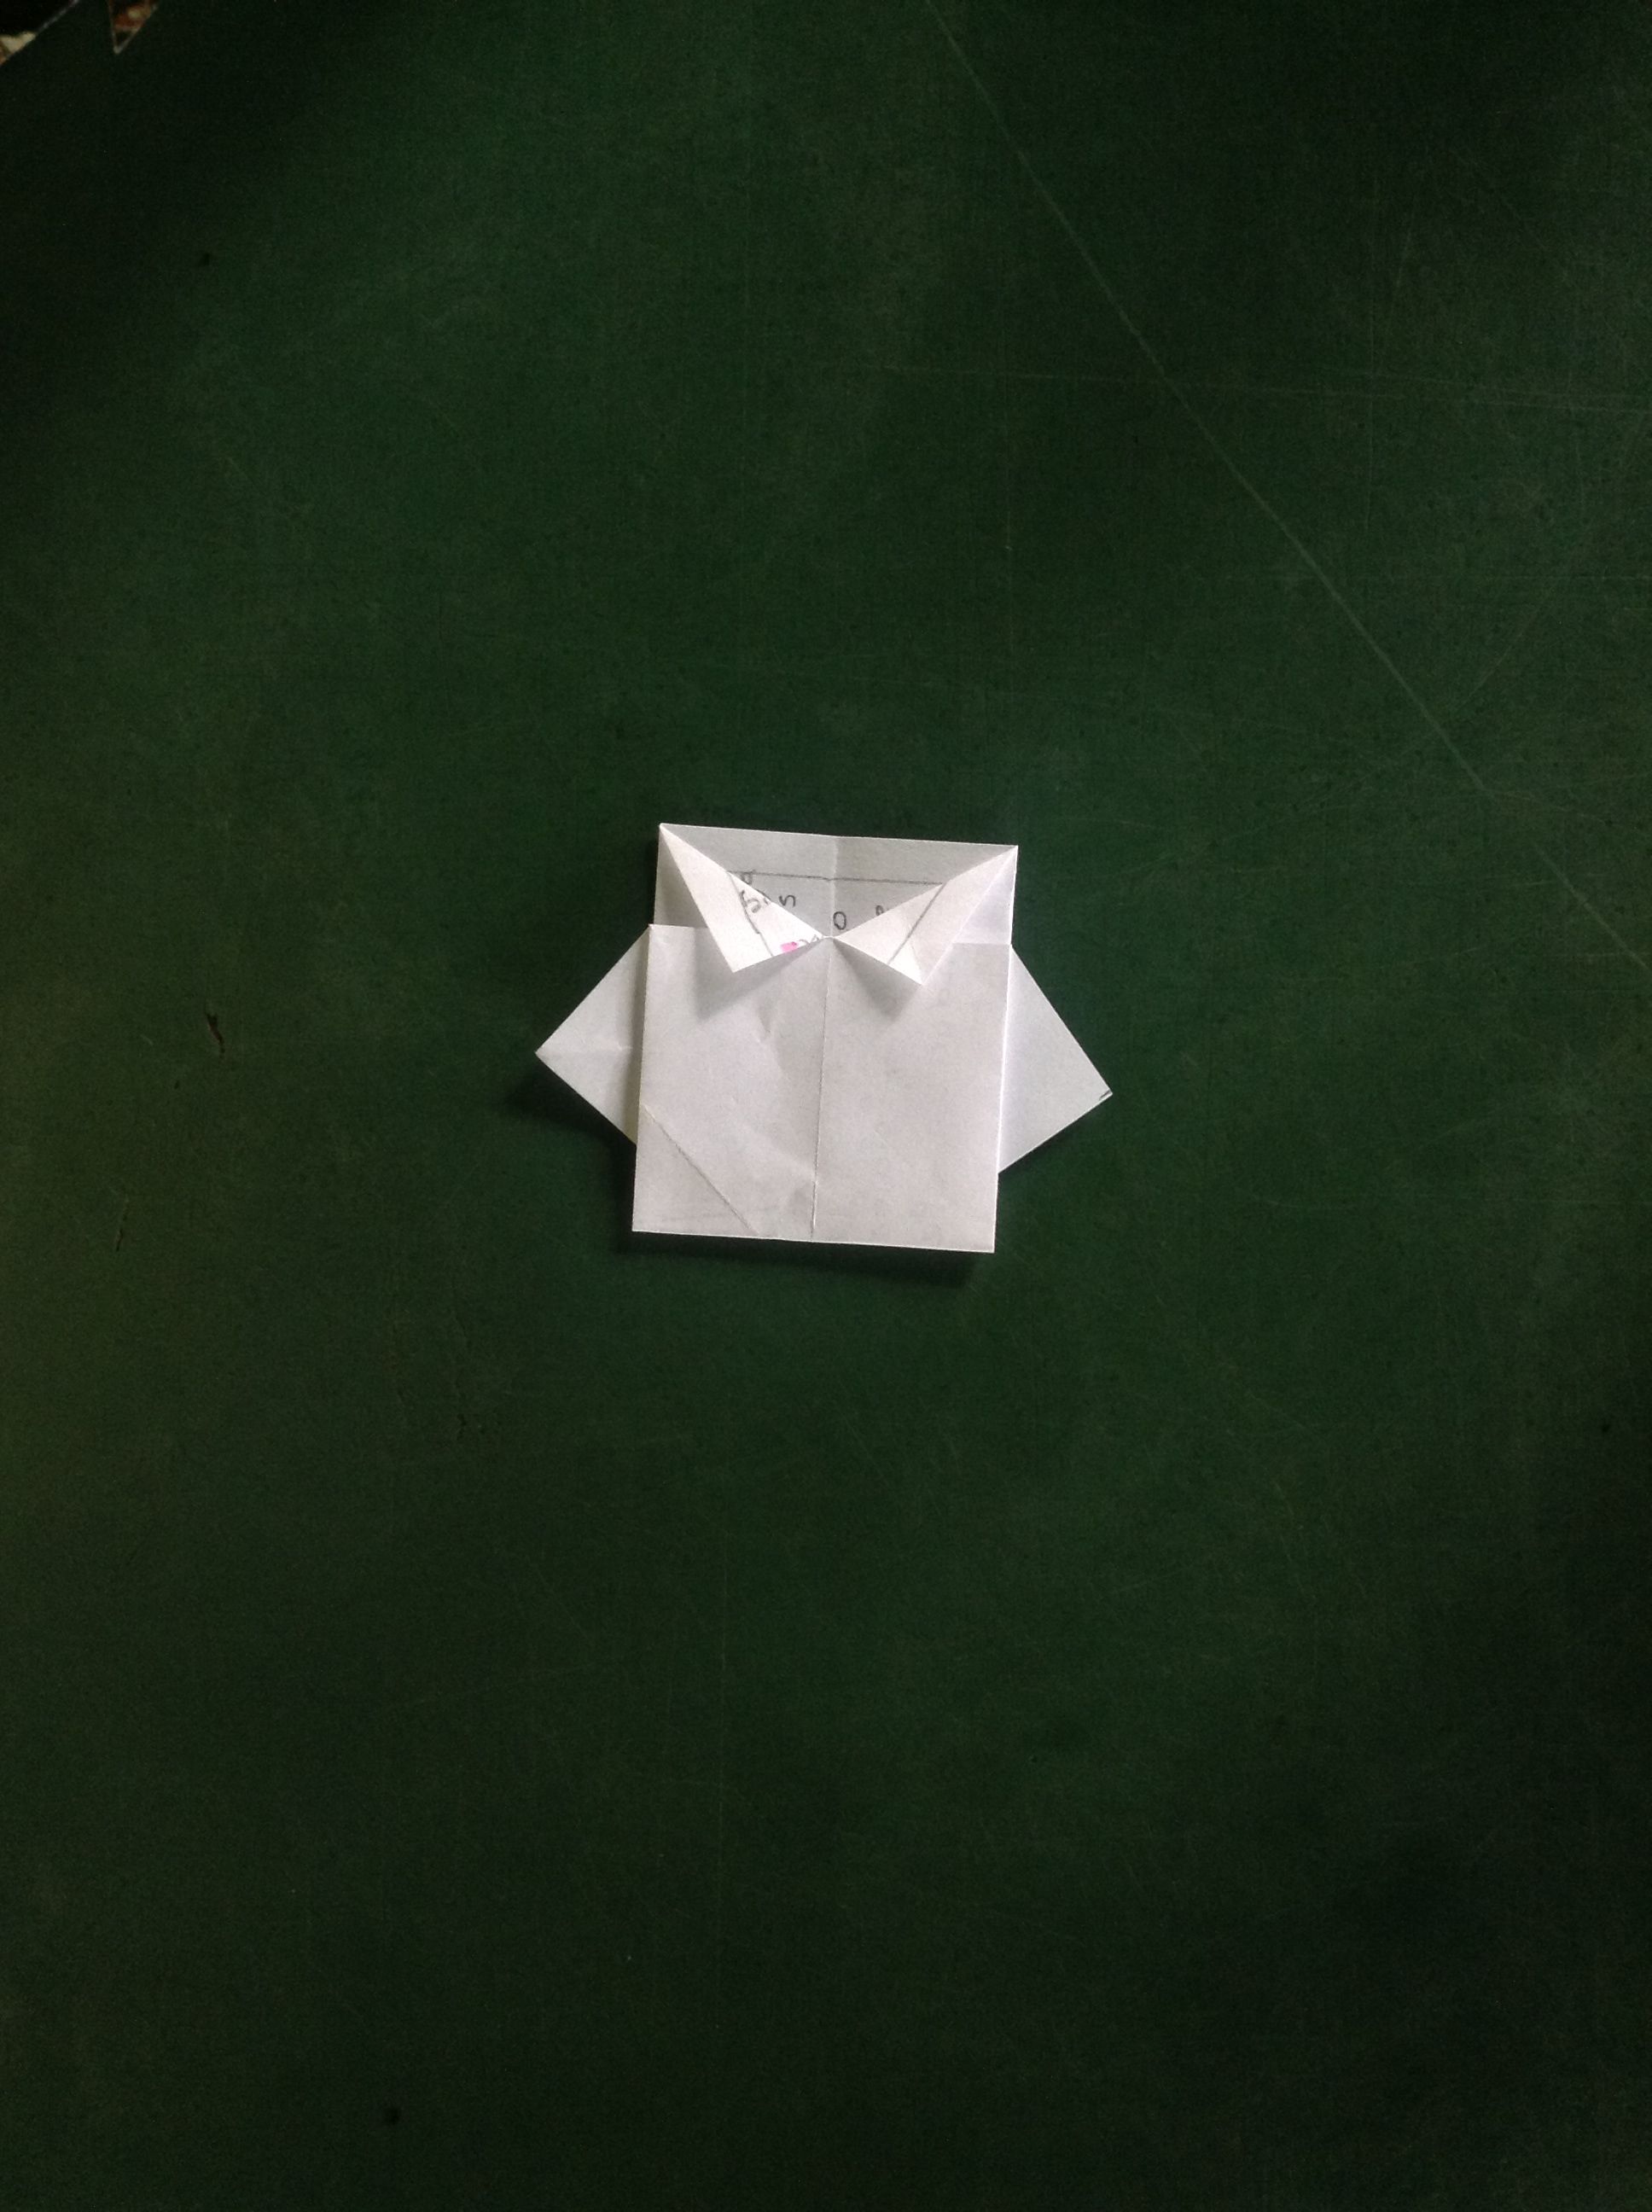
Voltea nuevamente la figura, ya casi terminas, notarás que tu papel ya tiene forma de camisa, dobla hacia atrás la pestaña que sobresale de lo que vendría siendo el cuello de la camisa.
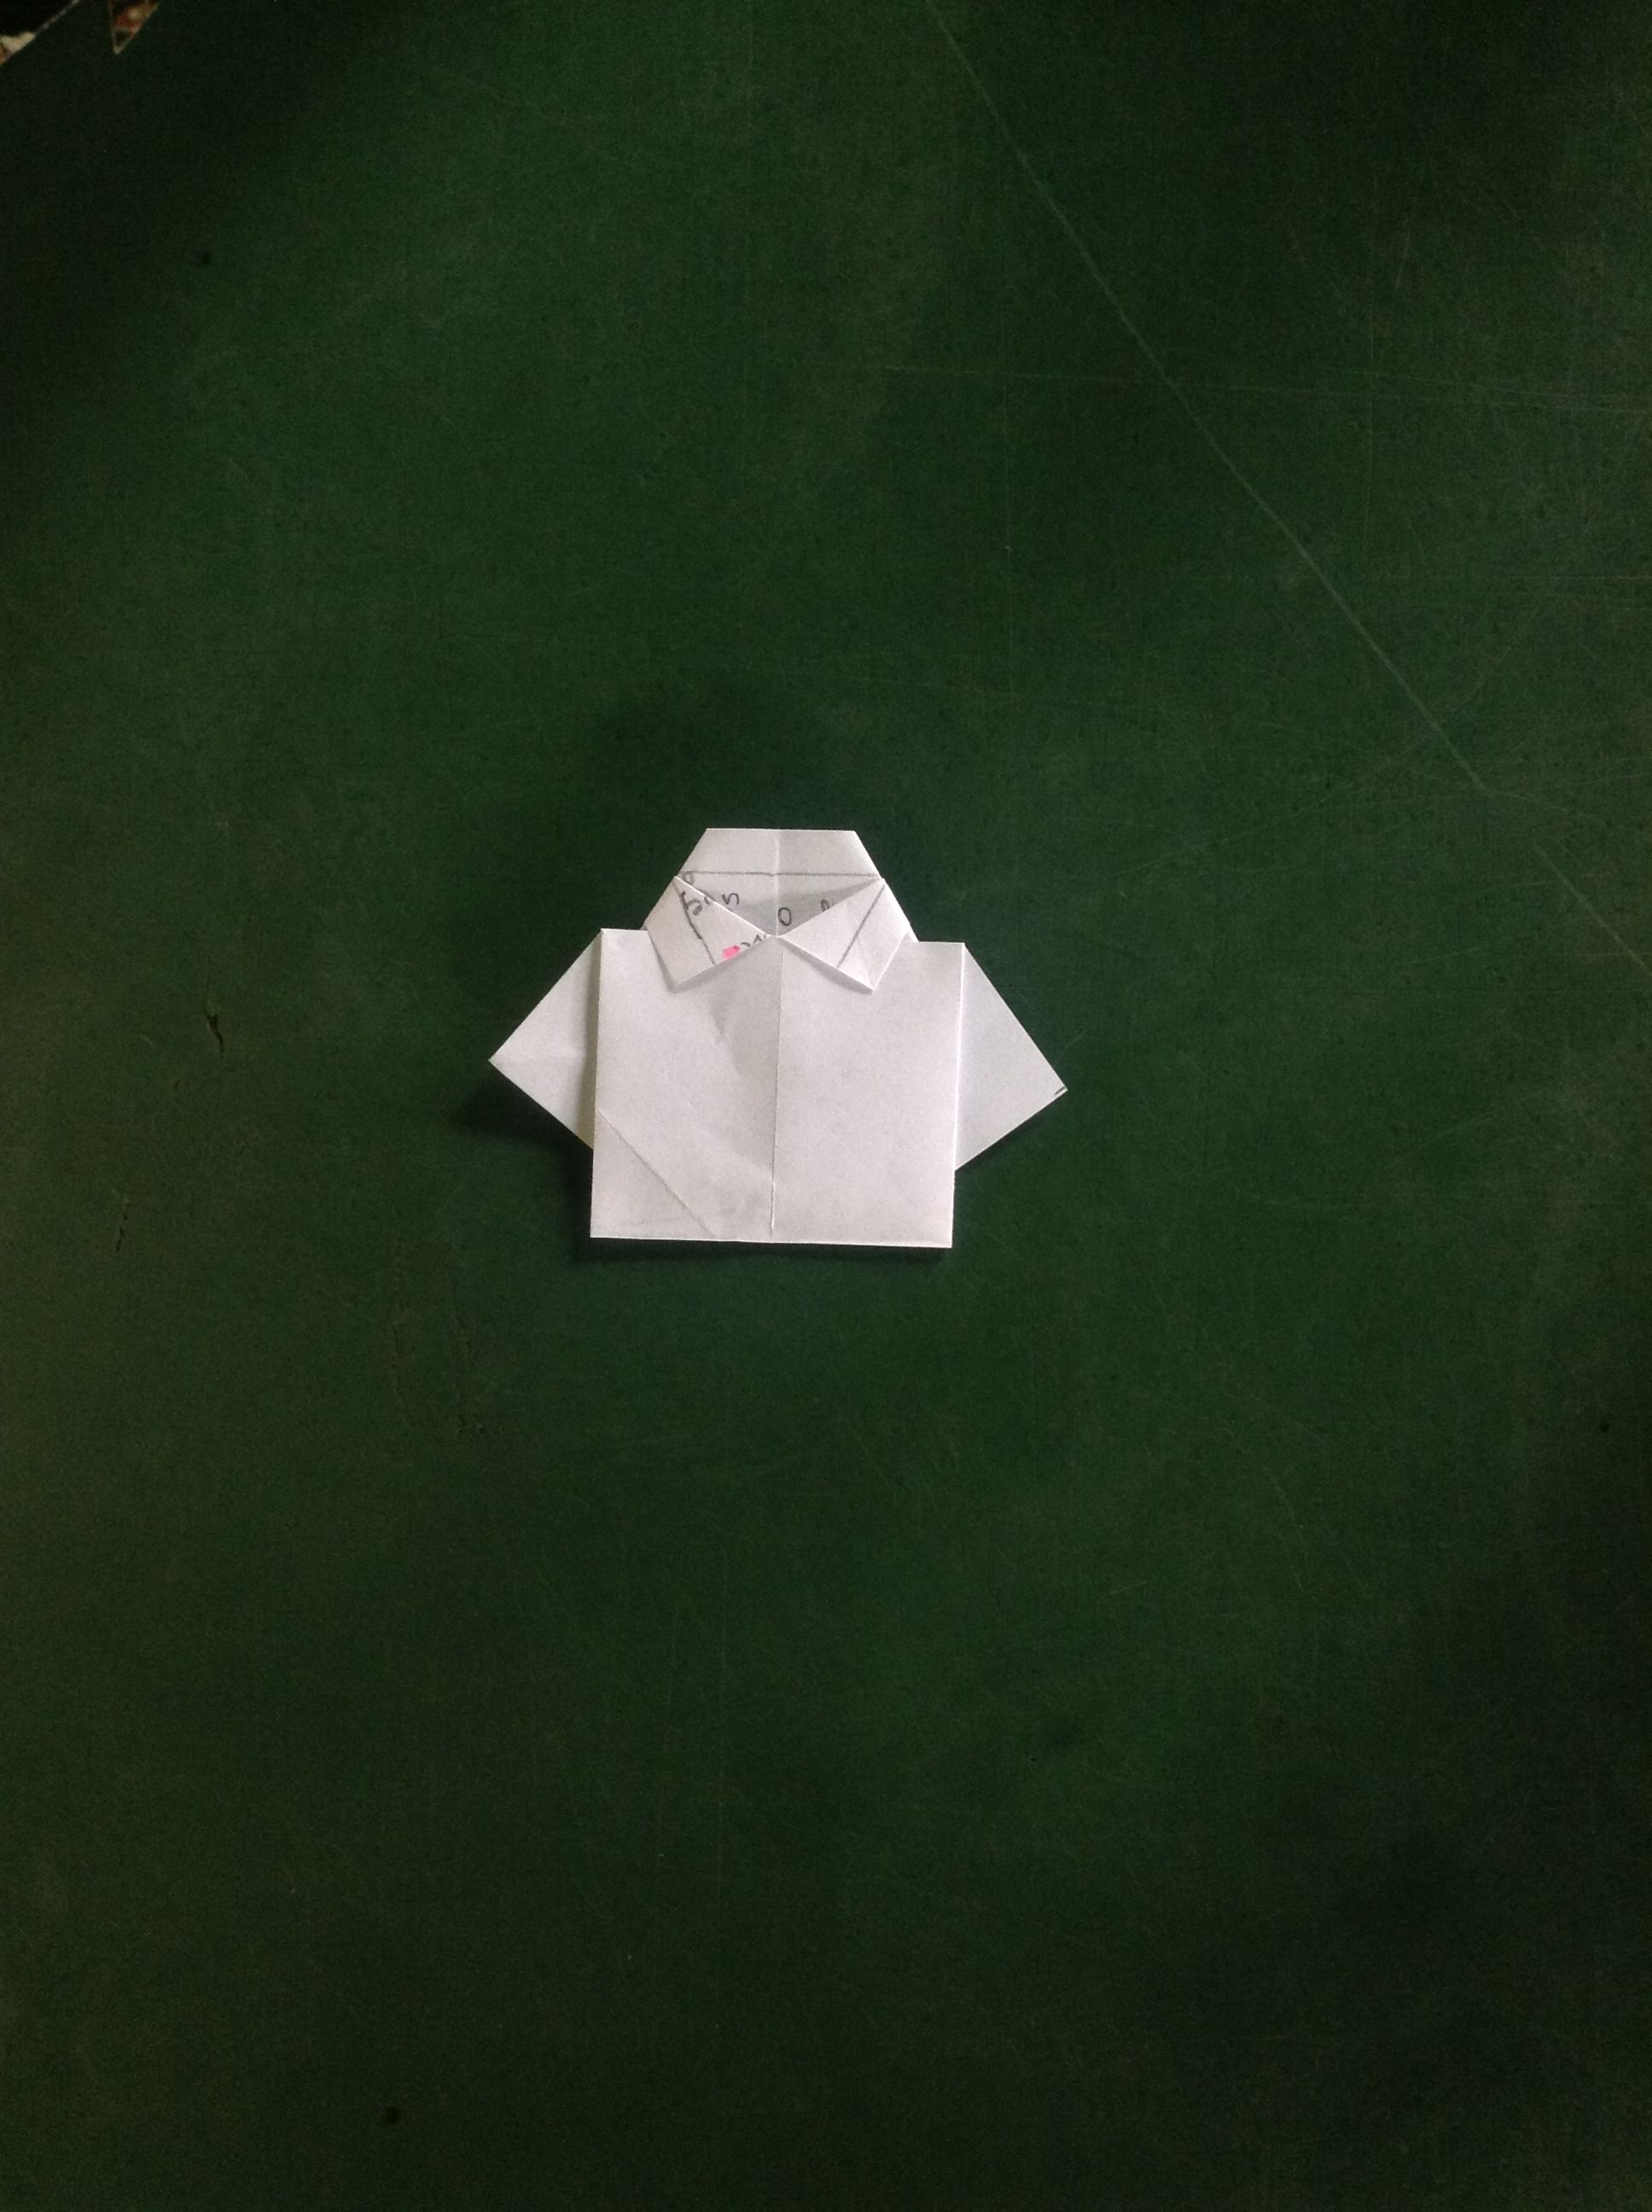
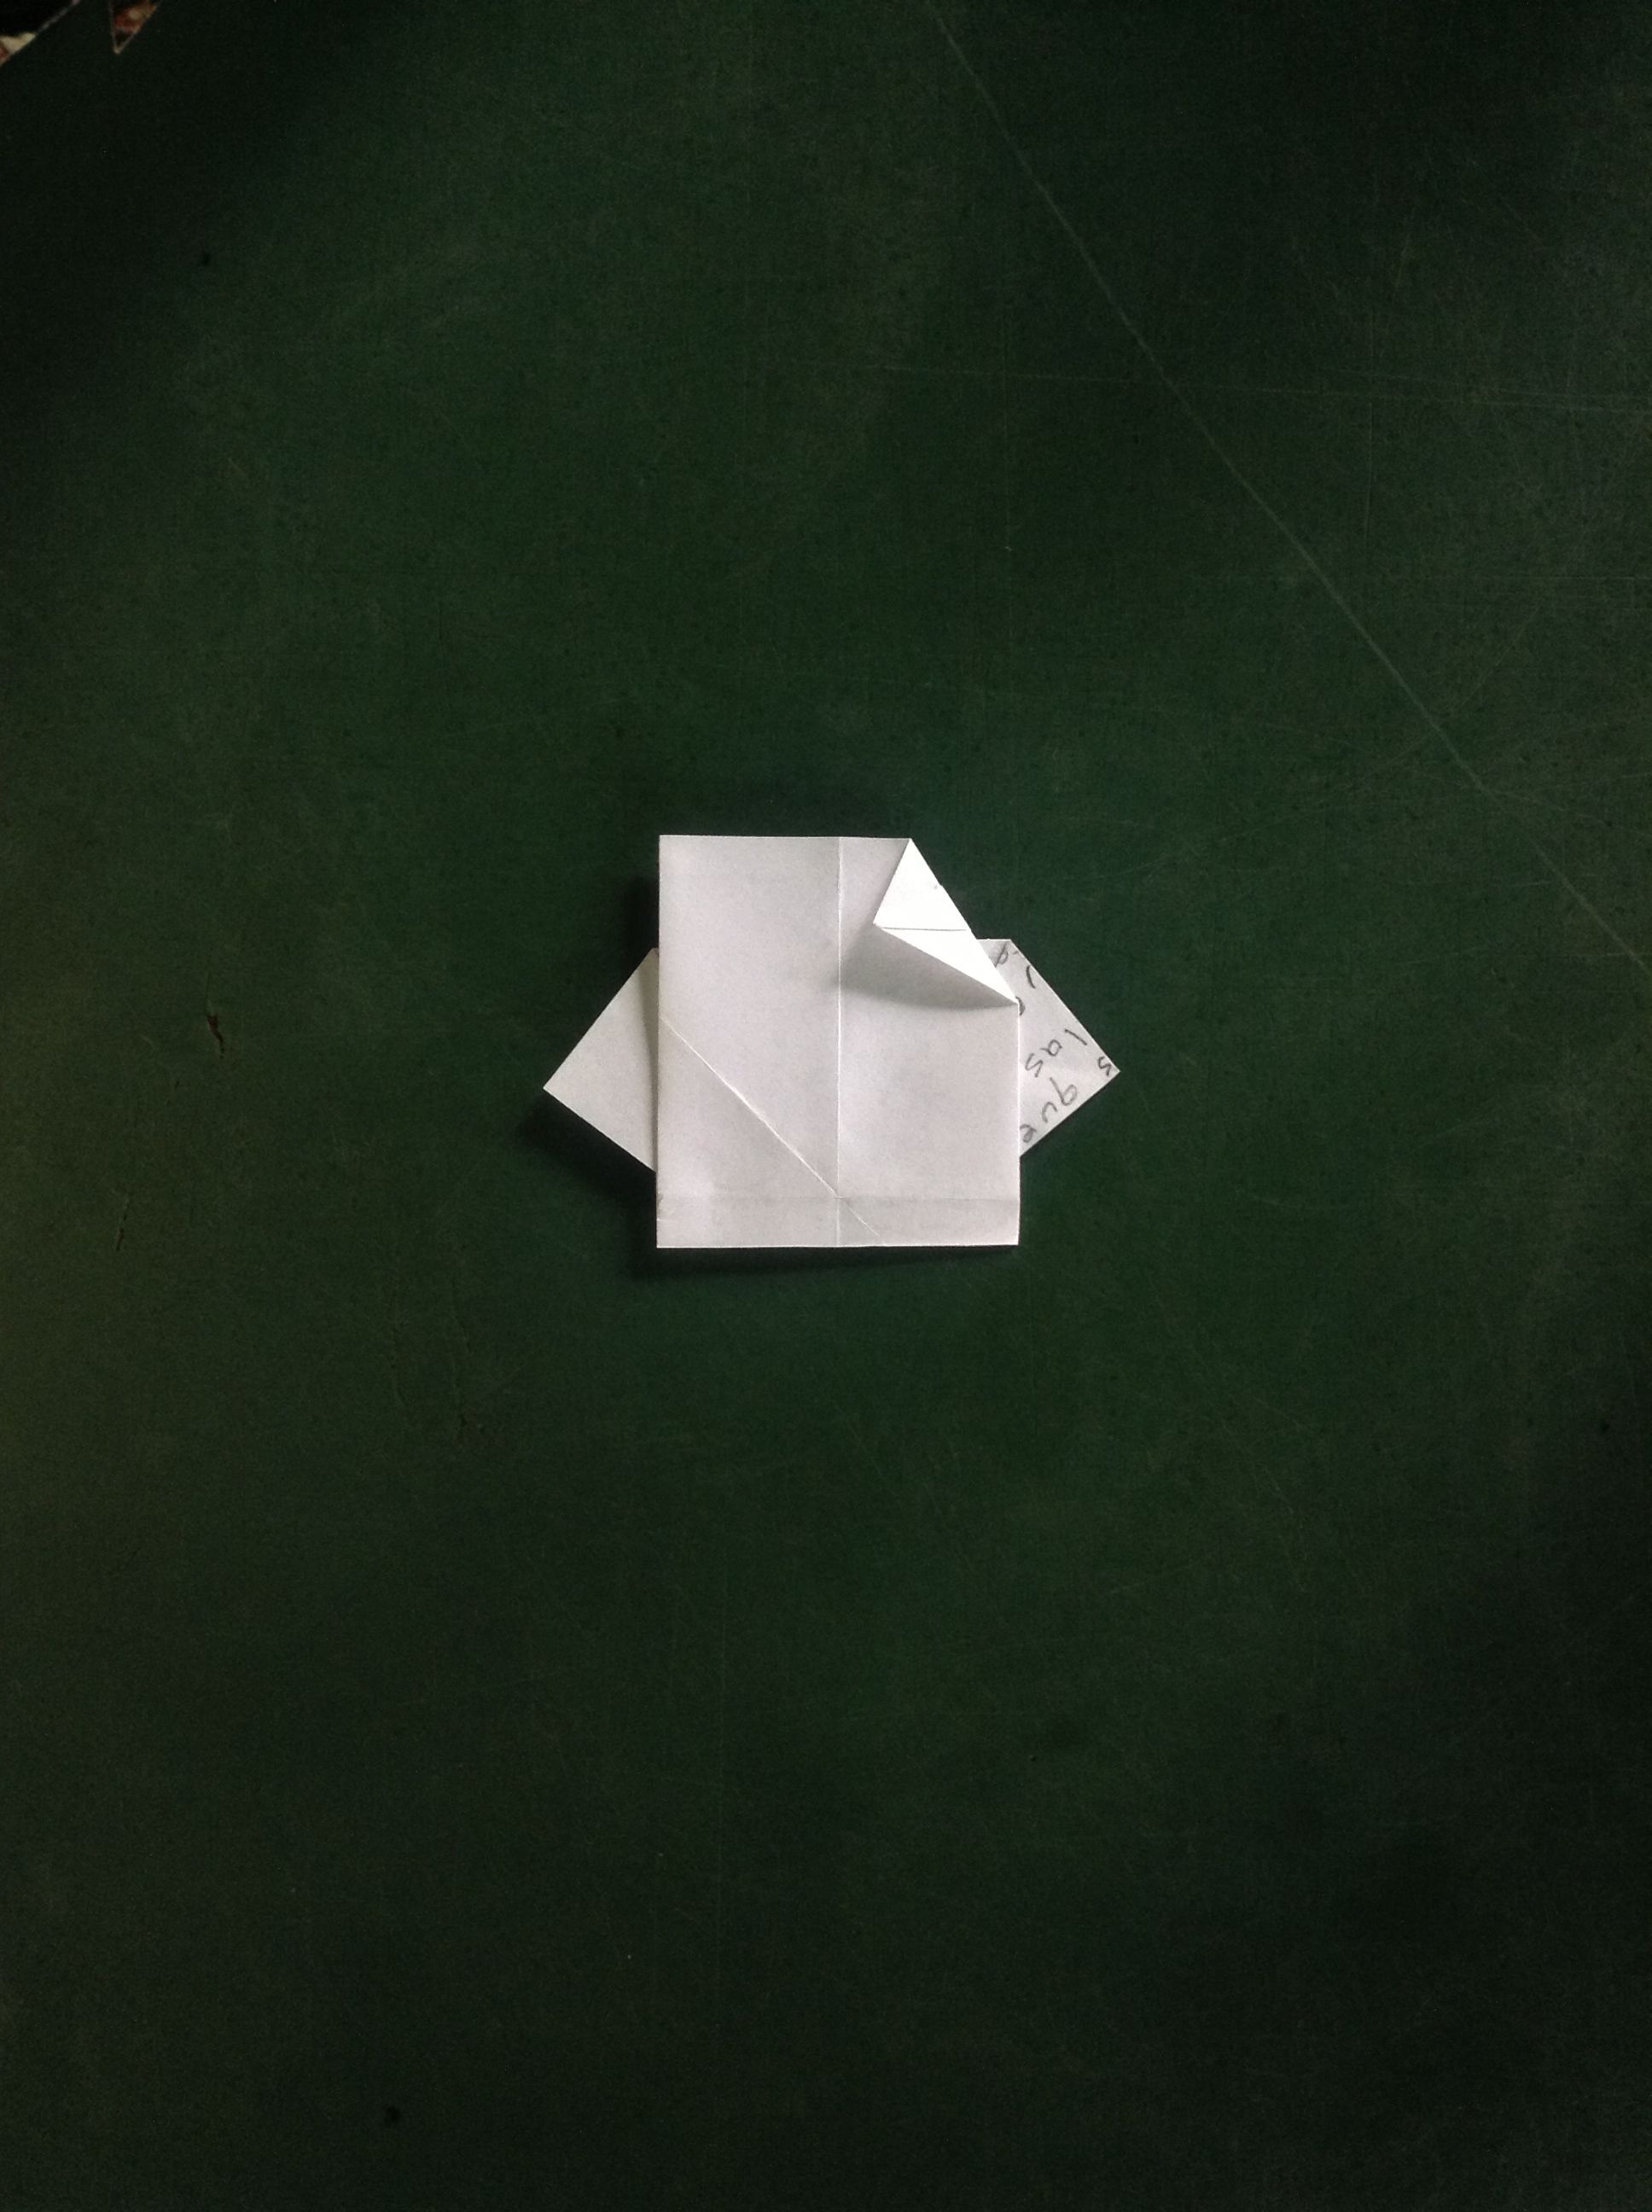
Tu camisa esta lista, falta solo un detalle, voltéalo nuevamente, por detrás dobla muy sutilmente las puntitas de las mandas, para que simule mejor la caída de los hombros.


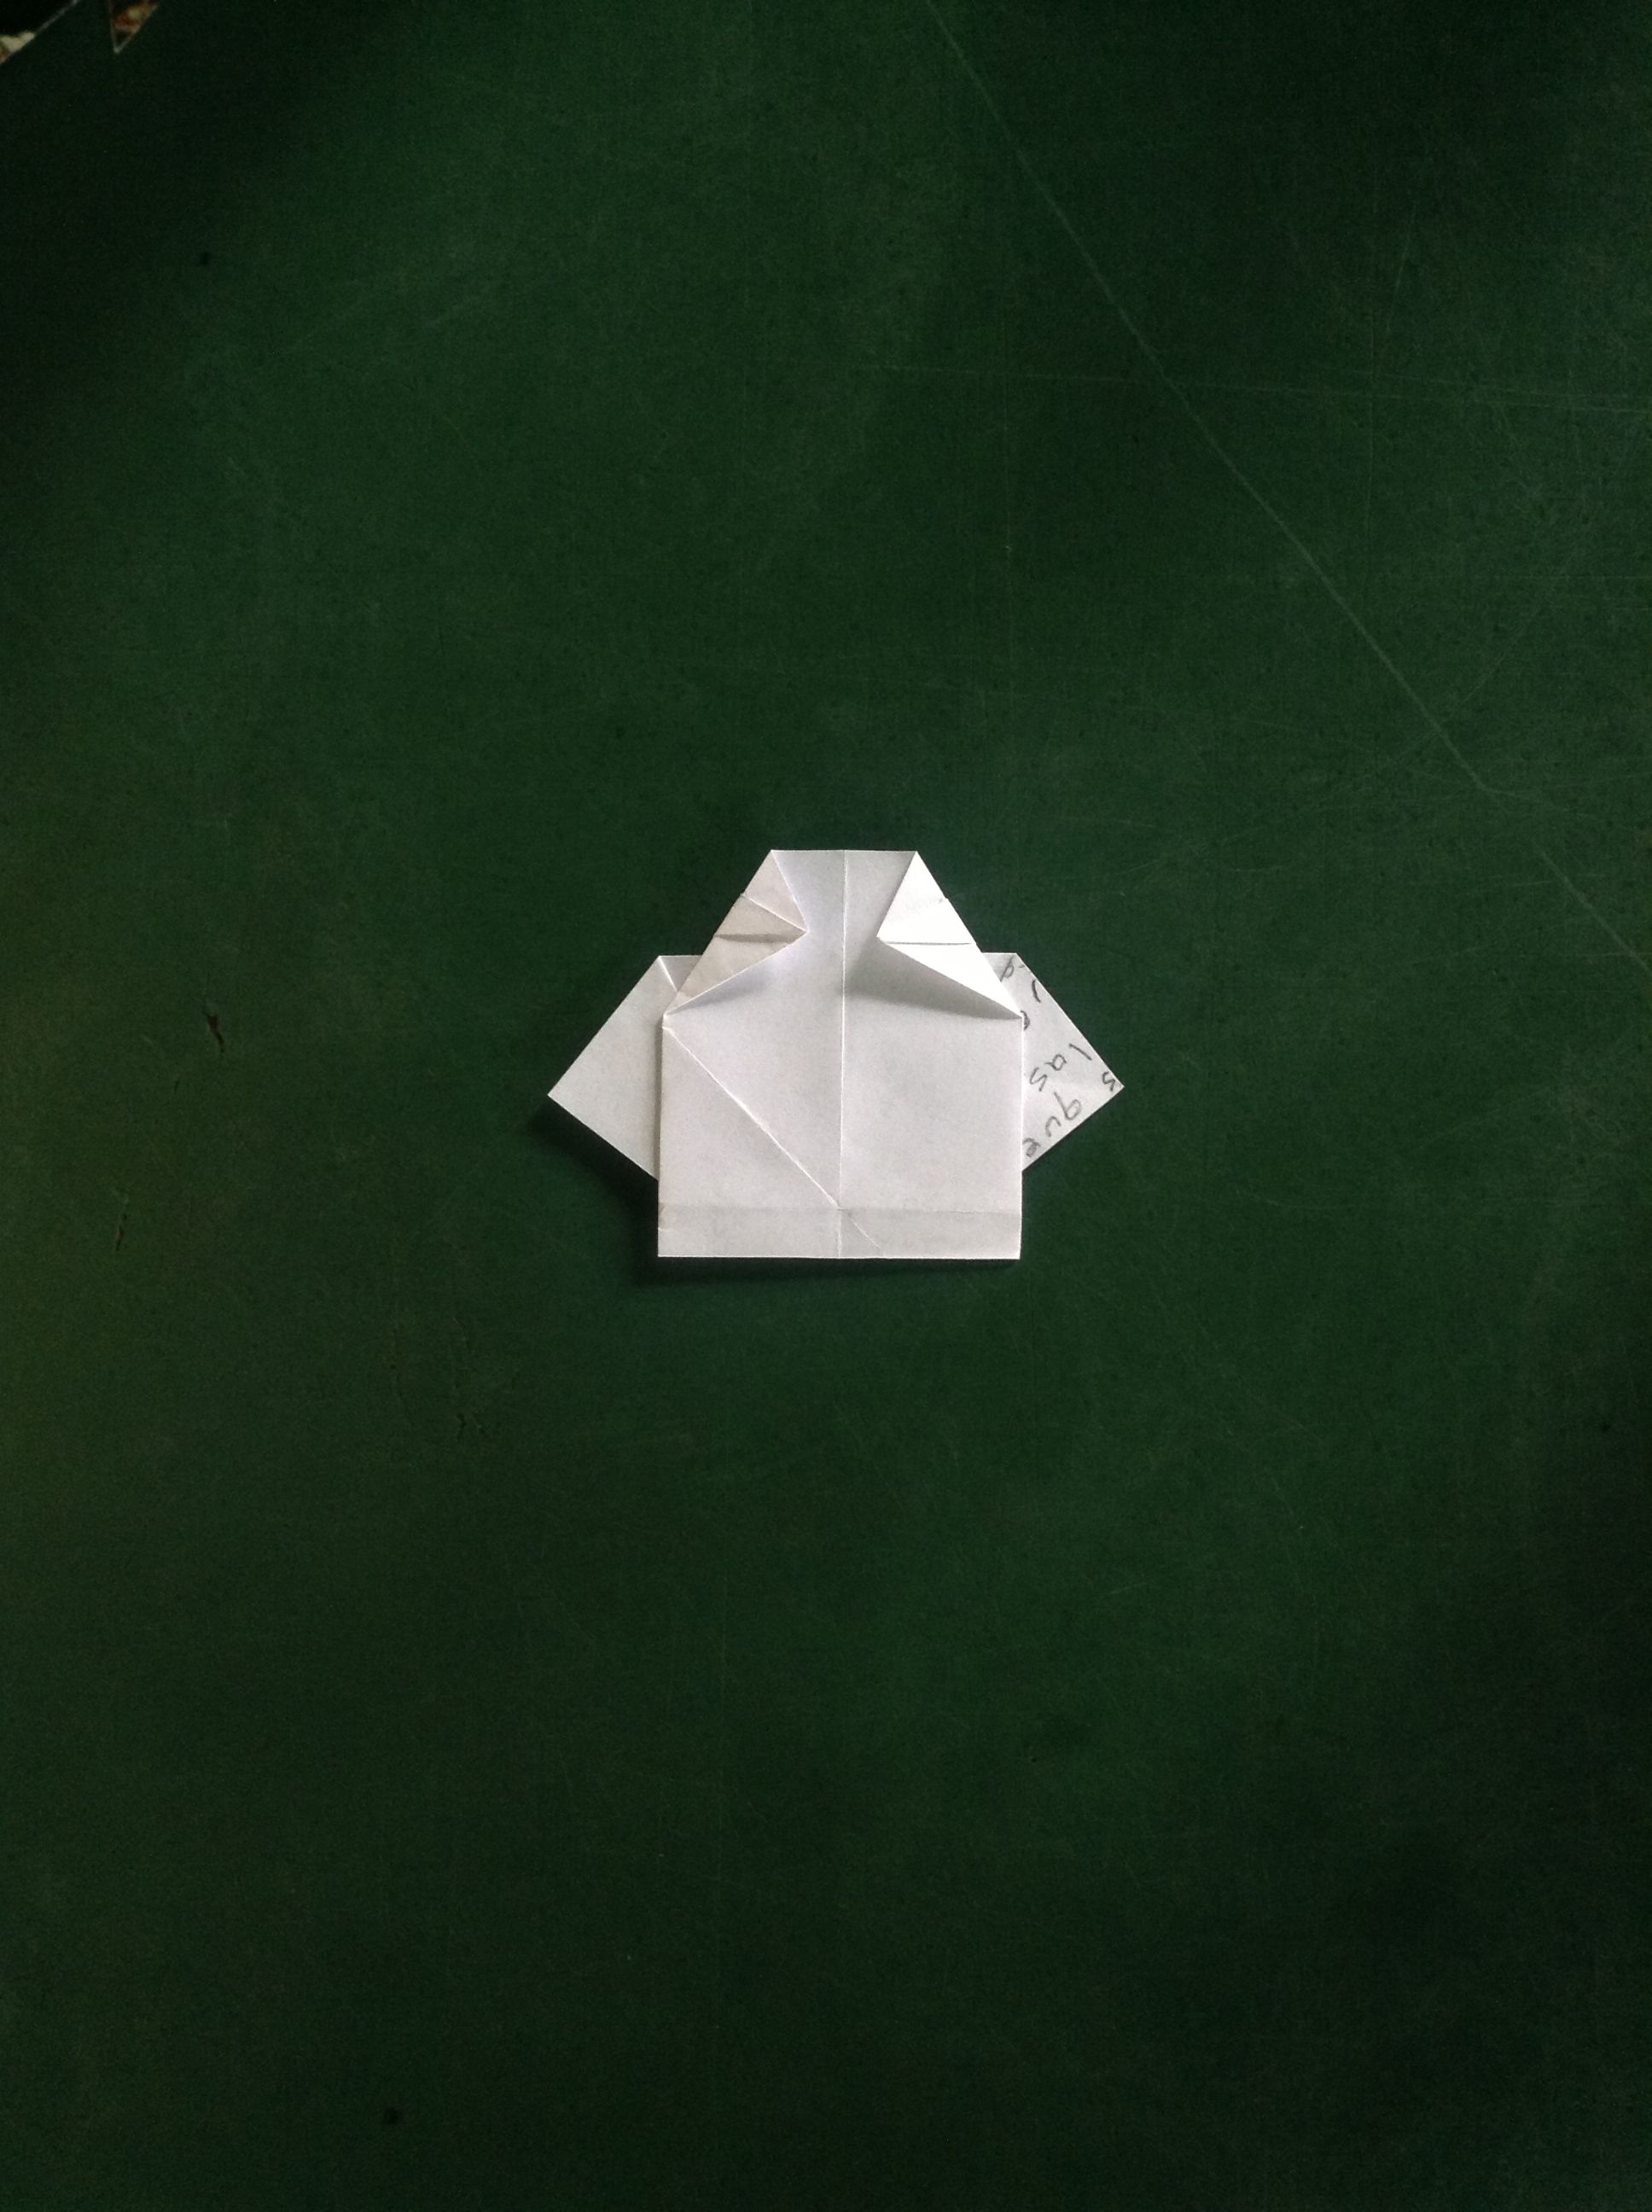
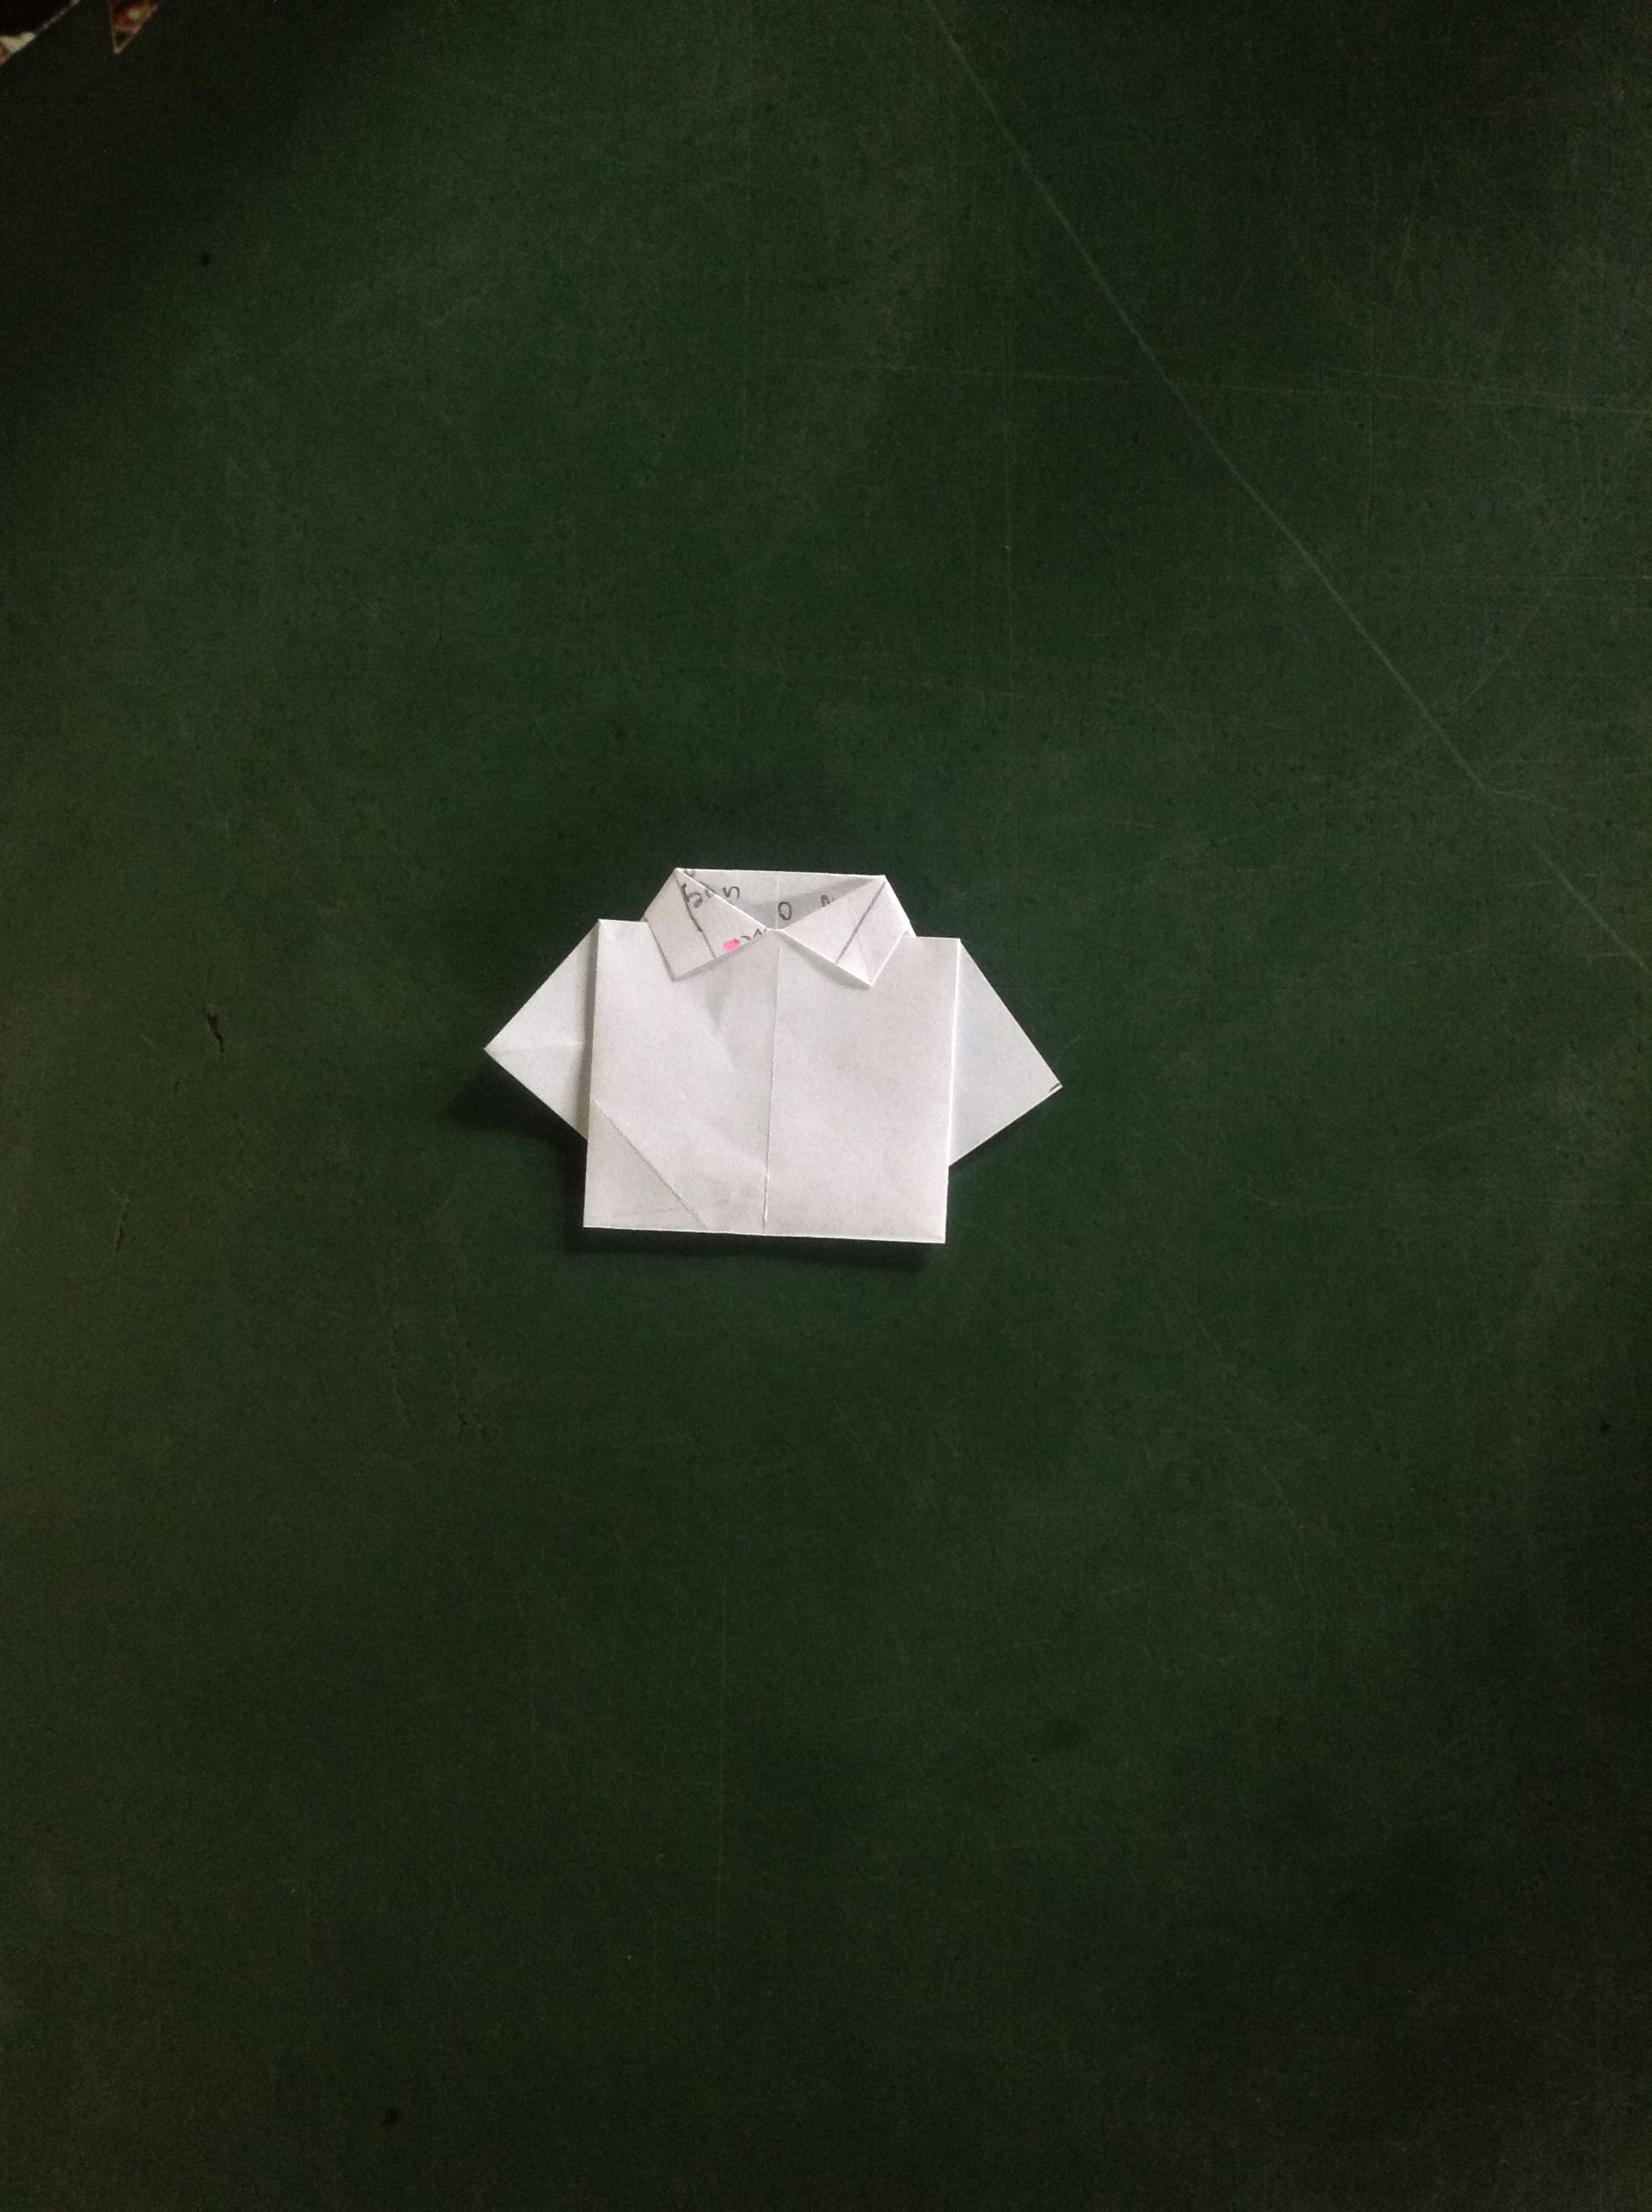
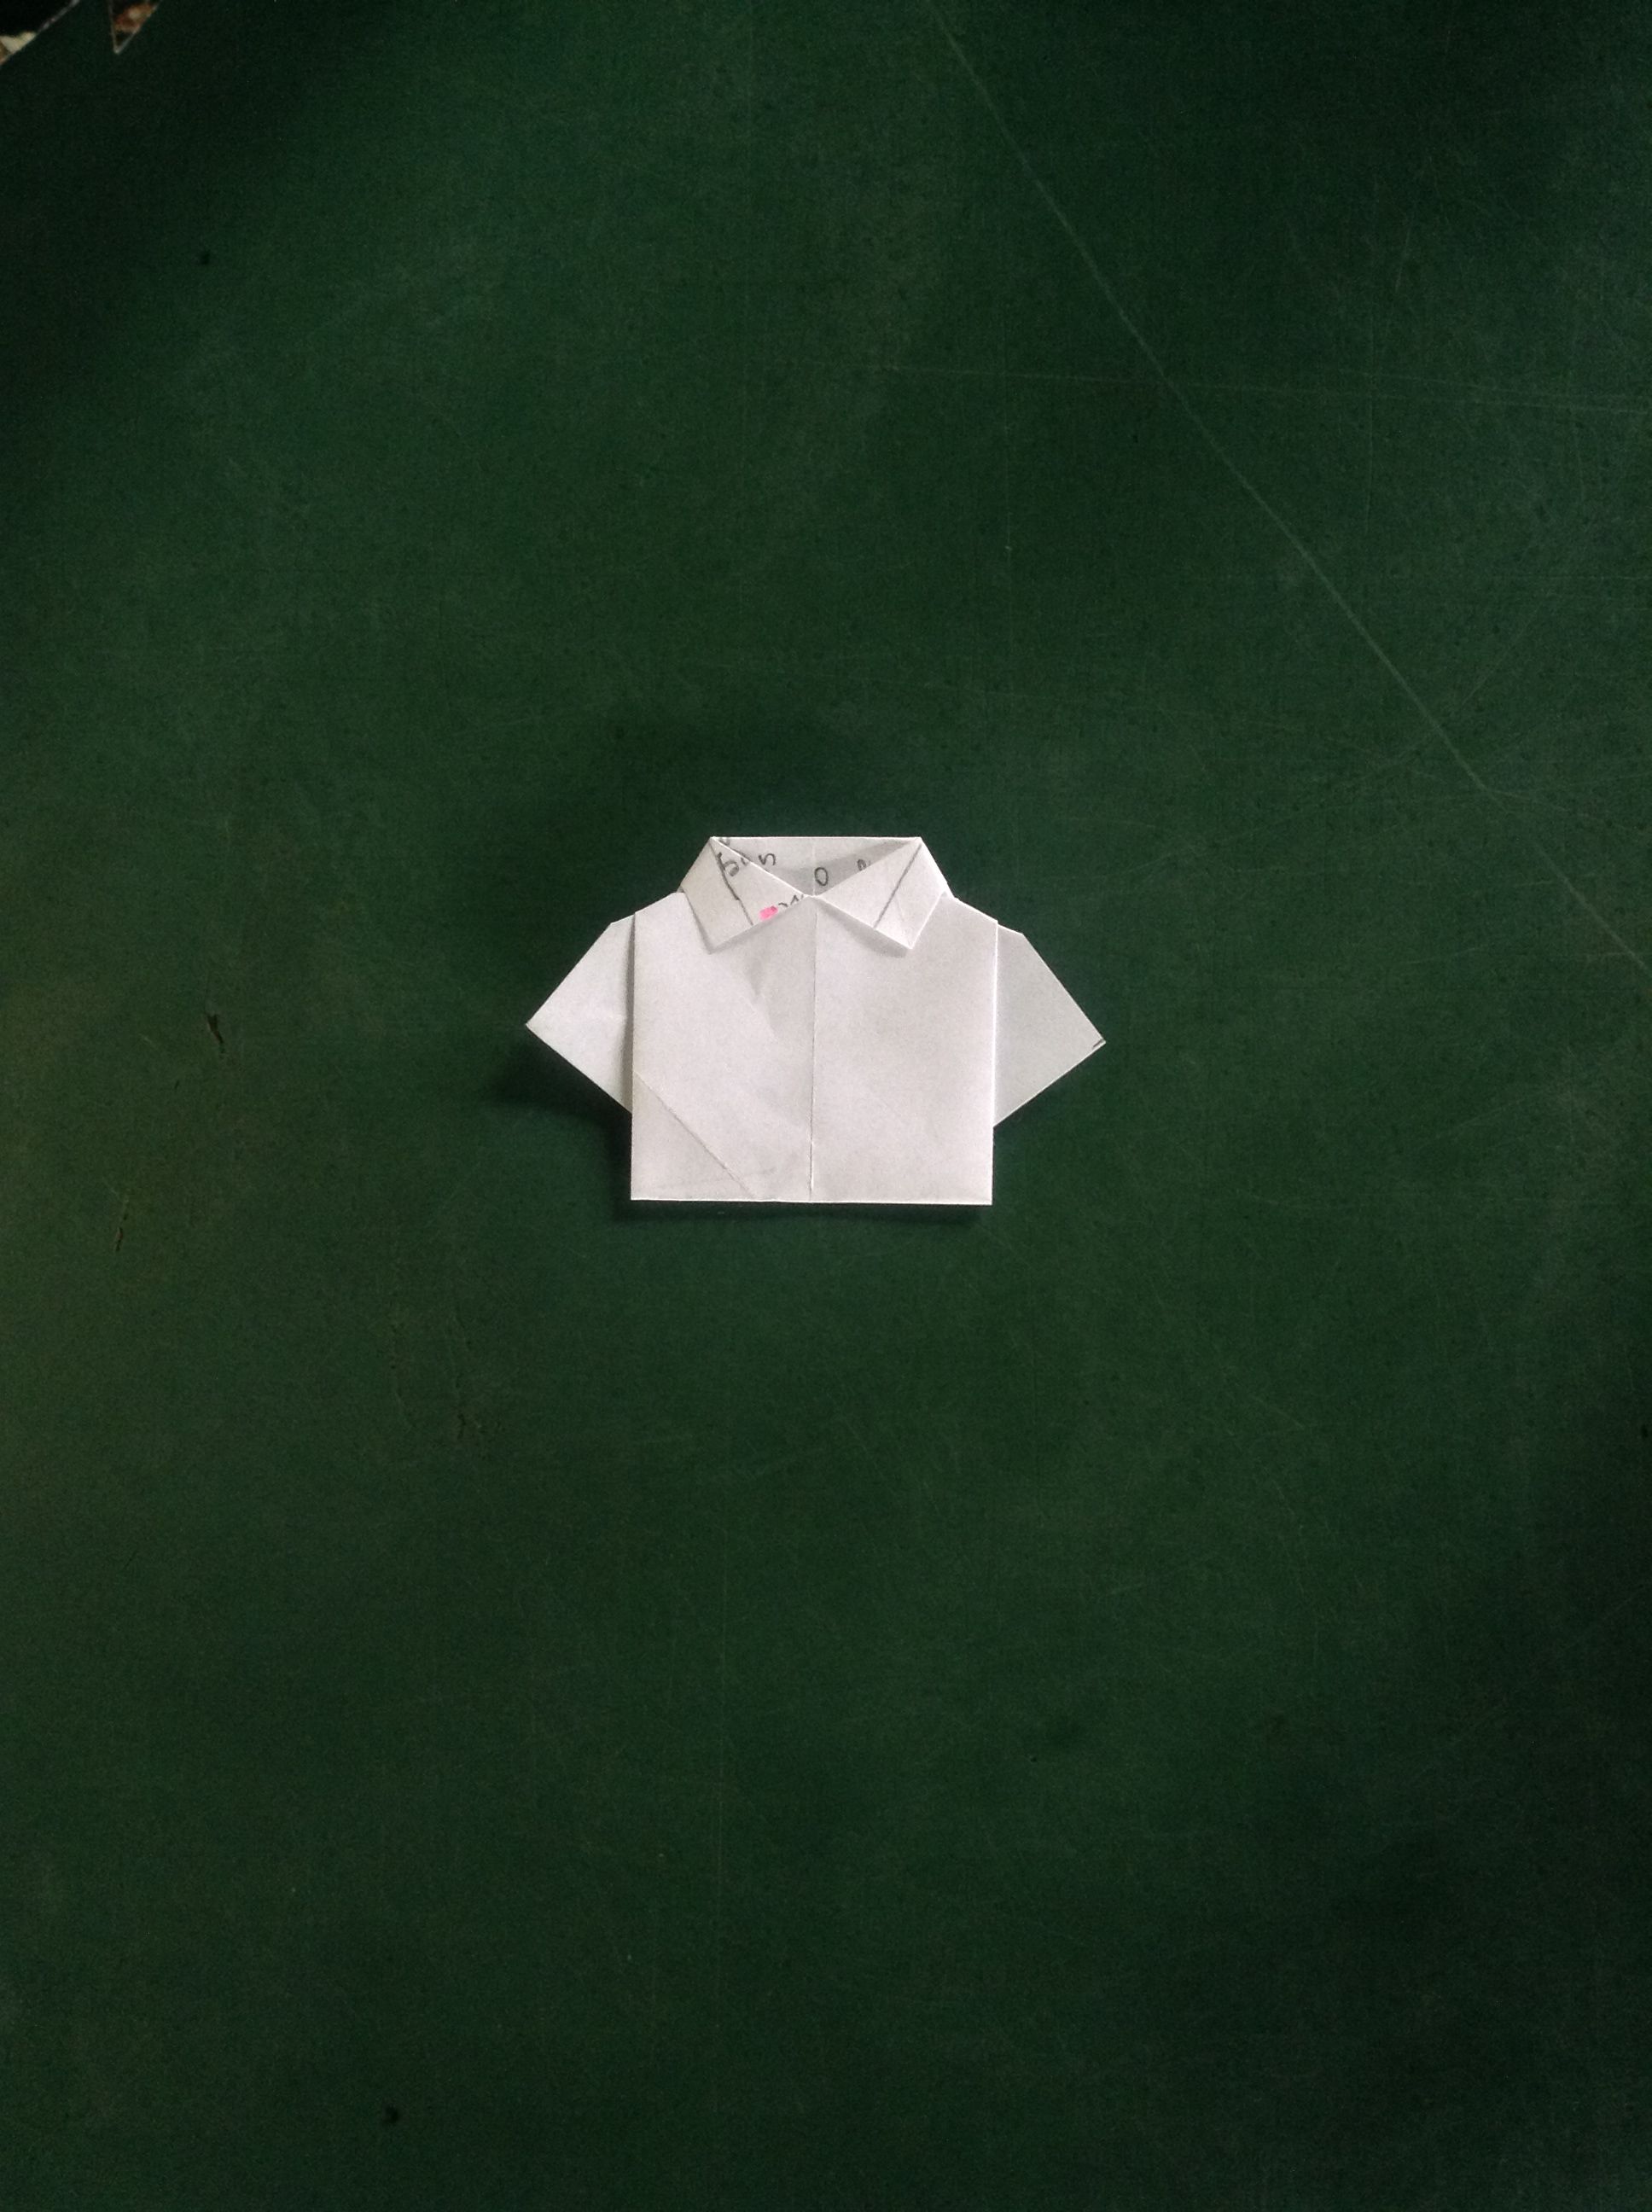
Este es el resultado.
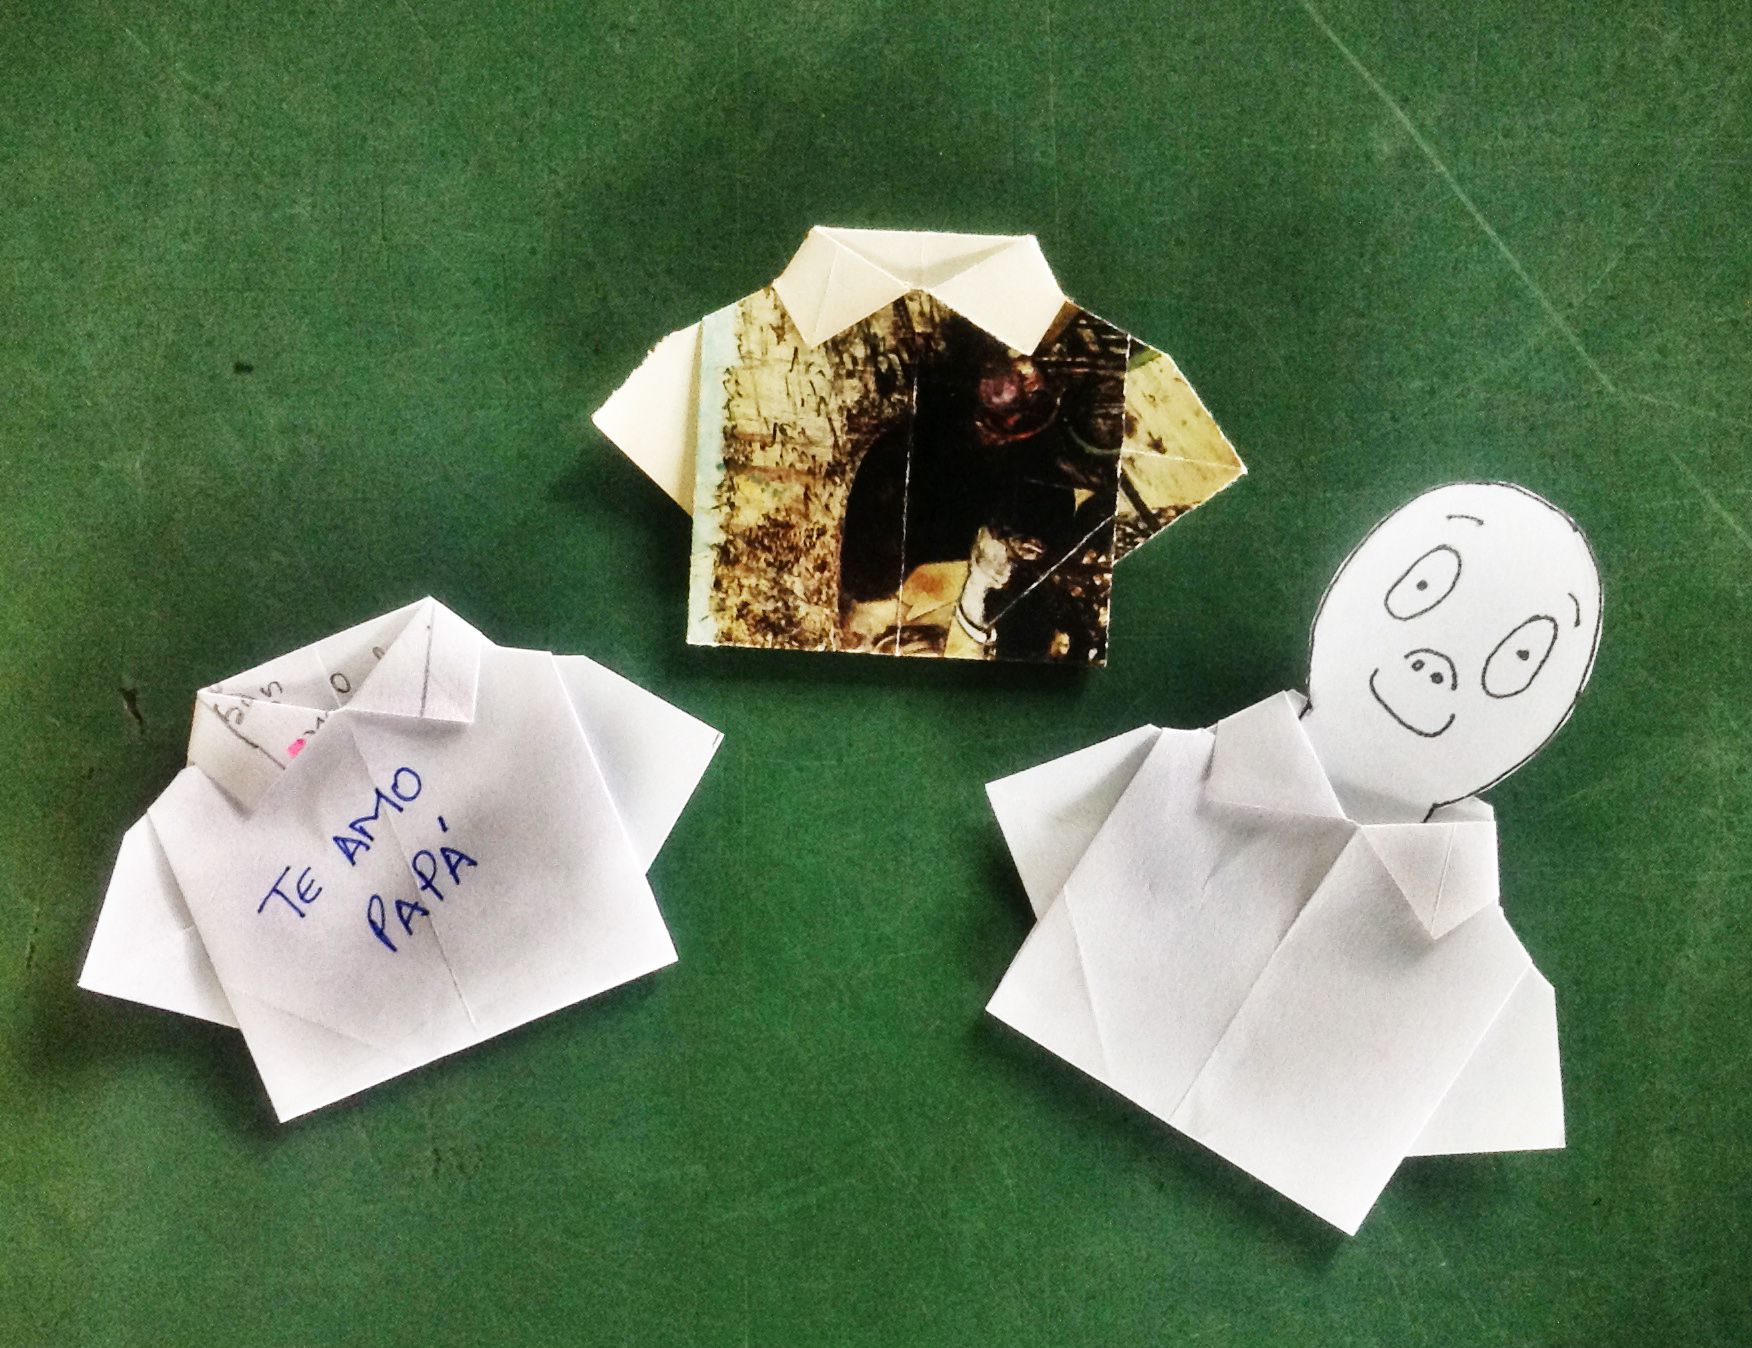
Esta sencilla figura, es maravillosa a nivel estético, a los niños les encanta. Pueden usarla para jugar, hacerles cabezas que perfectamente se pueden introducir por la pestaña del cuello. También en nuestro país es común que se usen figuras de camisas cuando los niños quieren darles una tarjeta de felicitaciones a sus padres, así que esta figura puede ser una linda tarjeta para papá. Sea cual sea el destino de la figura, estoy segura de que los niños disfrutan el proceso y también el resultado.
Espero les guste y puedan hacer la figura siguiendo el paso a paso, también les dejo el vídeo para que lo consulten y tengan éxito en su realización. Hasta la próxima.
Contenido original del autor.
Recursos: Tablet ZTE E10Q
Fotos propios
Traducido con Deepl.com
Todos los Derechos Reservados || @jetta.amaya// 2022
Paper Shirt, Origami at home (English/Spanish)
A loving greeting to all my Hive friends, I am very happy to share this post with you, as it has to do with one of my great passions, Origami. The art of paper folding has wonderful benefits for our mind, it helps us to manage our attention, which results in putting all the concentration on what we are doing and prevent the mind from wandering, as it is a form of active meditation. It also has a great influence on the development of fine motor skills, since the precision of the folds requires our visual/motor coordination. It is a great resource for understanding basic shapes and geometry. Our memory is also fortunate when we regularly make paper figures. For all of the above, many professionals recommend it to trauma patients, but it is also advisable to practice it with children and older adults, because the skills involved in this ancient art should be nurtured at all stages of our lives.
This time I will dedicate this figure to the little ones of the house, because it is simple and fun, from my own experience I can say that from the age of 4 years can perform with the help and accompaniment of someone older. The best of all is that you only need a small box of recycled paper, your hands and all the desire to be part of this adventure.
So, to begin, I will give the indications that I usually apply to you with my students:
-Clean hands and table (paper gets dirty easily, we don't want to damage the work).
-No food or liquids near the work area (The palpe gets damaged when in contact with water).
-Good light (for eye care)
-Straight back (for posture care).
To begin with, you should know that a lot of Origami figures start with a perfect square, this is the case.
Fold it in half and then unfold it, as this step is to mark a guide line.
Direct the two lower ends towards the line you marked and make the fold, do the same with the upper ends.
Now it will look like a rectangle, fold it in half and open it right away, this step is also to mark a guide line. Fold in diagonal direction the ends of one of the halves (guide you by the photo) you will get two triangles, which will simulate the sleeves of the shirt.
We'll fold inwards to hide the two large triangles, don't do it in half, you should leave a little tab at the top. You have a large square, a small rectangle at the top and a small triangle on each side.
You will notice that the rectangle is divided into two tabs, fold them down, producing two small triangles.
Flip the figure completely over, from the back you will see a square with the two side triangles, fold the top tips of the square down, you will get two new slightly smaller triangles.
Flip the figure over again, you're almost done, you'll notice that your paper is now in the shape of a shirt, fold back the tab that sticks out of what would become the collar of the shirt.
Your shirt is ready, just one detail is missing, turn it over again, at the back fold very subtly the tips of the mandarins, so that it simulates better the fall of the shoulders.
This is the result.
This simple figure, is wonderful on an aesthetic level, children love it. They can use it to play, make them heads that can be perfectly inserted through the neck flange. Also in our country it is common to use shirt figurines when children want to give a greeting card to their fathers, so this figurine can be a nice card for dad. Whatever the destination of the figure, I am sure the children enjoy the process and also the result.
I hope you like it and you can make the figure following the step by step, I also leave the video for your reference and success in its realization. See you next time.
Original content by the author.
Resources: Tablet ZTE E10Q
Own photos
Translated with Deepl.com
All Rights Reserved || @jetta.amaya// 2022
Show more
Tags :
Woo!
This creator can upvote comments using 3speak's stake today because they are a top performing creator!
Leave a quality comment relating to their content and you could receive an upvote
worth at least a dollar.
Their limit for today is $0!
Their limit for today is $0!

10 views
a year ago
$
11 views
a year ago
$

9 views
11 months ago
$

16 views
5 months ago
$

17 views
a year ago
$
More Videos

2 views
2 weeks ago
$

12 views
a year ago
$

2 views
a year ago
$

38 views
2 years ago
$

67 views
2 years ago
$

18 views
4 years ago
$
14 views
11 months ago
$
1 views
2 years ago
$
56 views
4 years ago
$

12 views
2 months ago
$
5 views
3 years ago
$
1 views
2 years ago
$

13 views
9 months ago
$
4 views
a year ago
$

4 views
2 years ago
$

6 views
3 weeks ago
$
8 views
3 years ago
$

5 views
8 months ago
$

12 views
2 years ago
$

4 views
a year ago
$

1 views
9 months ago
$

20 views
a year ago
$

12 views
3 years ago
$
68 views
4 years ago
$

13 views
3 years ago
$
Comments:
Reply:
To comment on this video please connect a HIVE account to your profile: Connect HIVE Account