Let's make a paper Velociraptor! / ¡Hagamos un Velociraptor de papel!
7
About :
E N G L I S H
Versión en español más abajo
Greetings community. I hope you are very well and that you had a fantastic week and if not, well the weekend is here to make things better wujujuuu!
I've been a bit busy, but always keeping an eye on the community and the initiatives taking place here. For example, the one from the DIY community that proposes us to bring works made in paper or Origami for the community.
I've been seeing some great works and I was encouraged to bring you something quite special, at least very special for me.
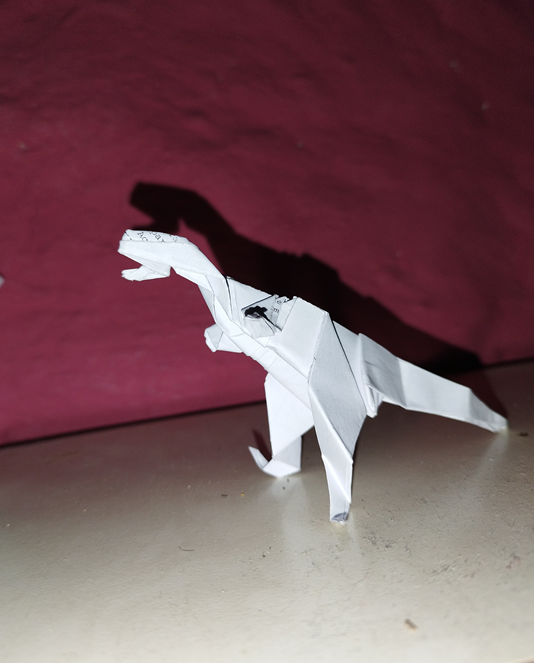
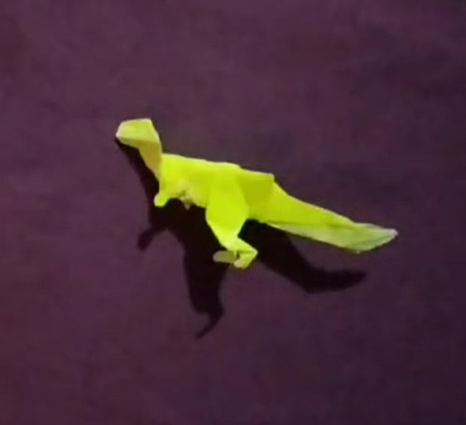
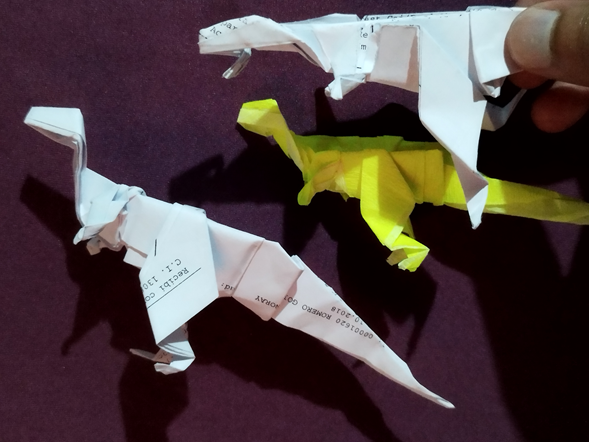
A velociraptor made out of paper!
I am not a great expert in Origami and I have been learning during the process. For example, the importance of a suitable paper to make these works and the more elaborate or larger, the paper is crucial.
You can do your tests as I did, I started with some white sheets of recyclable letter size bond paper that I had. Then I tried tissue paper and finally crepe paper. I had all these materials at home, waiting to be used. Of course, all papers work, but you have to put in a lot more effort to achieve the details you want and depending on the material the project may last longer or not. For example, if you use bond paper sheets, you will have to make the folds with more force and if you need to fold more sheets it will cost more to do it, besides these sheets tend to disarrange the work as they want to return to their natural position. Now, if you use a stronger type of sheet, it will be more and more difficult to fold. On the other hand, if you use a very light type of sheet, such as tissue paper, you will be able to fold it comfortably, but the folds or creases that you can make are very easily lost and if you need to use them as a guide to make a fold that you require, it will be very difficult, the paper will not have the guide, no matter how hard you mark it, it will tend to fold in any direction and will give you a lot of problems if you have a very complex work to do.
The sheet I used for the project I am presenting to you is a small square of crepe paper about 16.6 cm square. The larger the dimensions of the square, the larger our Velociraptor.
There are many better papers, just go to the internet and put in the search engine "origami paper" and you will find a great variety dedicated to this art, I will try to test some of these papers for a future project.
In the video, you will also notice some of the difficulties I had with the paper I used, for example, it did not fold as I wanted, then with a little calm and delicacy I started to orient the paper in the direction I was looking for. Of course, sure if we get more technical in this area, is that if the paper did not yield as it should be, then it is because I did not make a previous step correctly, I did not bend firmly enough, ...
Well, now I have made some screenshots of the video with the intention of explaining the work for those who like to read more. I hope it is understood.
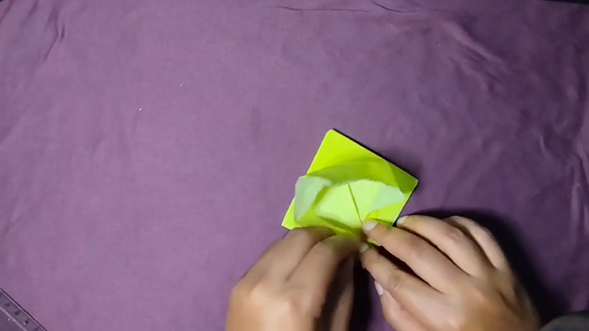
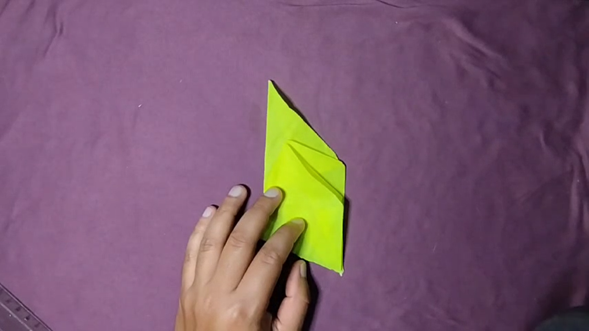
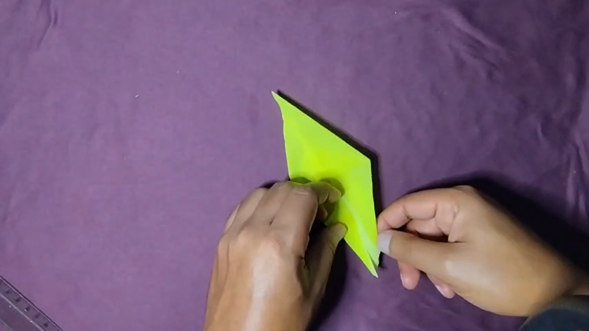
At first I was looking to make a smaller frame than the original, but with the folds distributed in a certain way internally to be able to stretch later the two sides of the frame in a diamond shape.
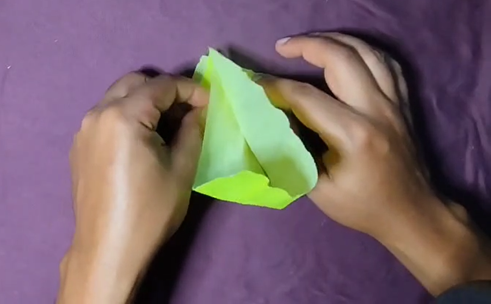
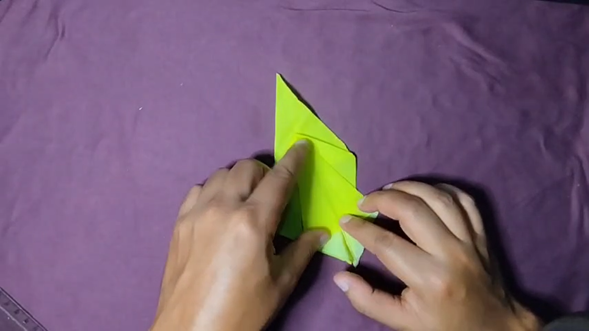
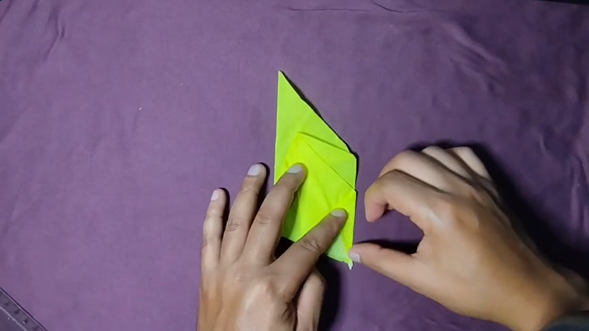
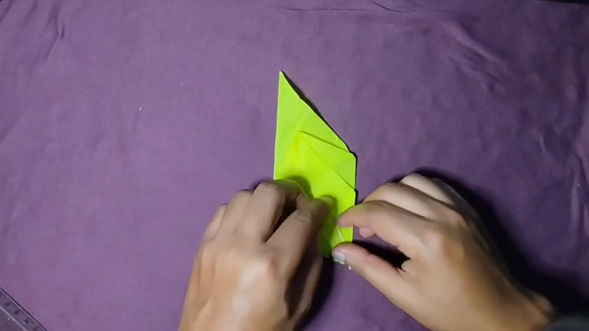
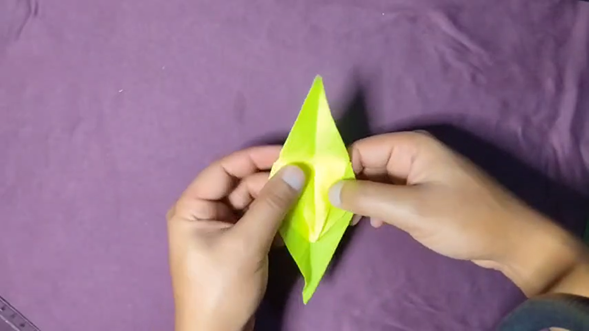
These folds in the square that we designed, are in order to create an elongated diamond on each of the faces. You could notice that I try to create some folds that will serve to give the direction to the sides of my diamond, each diamond was made in the same way. Two small scalene right triangles are made (triangles whose sides are different and one of their internal angles is 90 degrees), which when both are joined by their sharpest vertex will form a new triangle in this case will be isosceles (triangle with two equal sides). Then, I hold the same vertex with the fold inwards and pull the front face of the new triangle upwards until the diamond is formed. As a guide, always use the symmetry of the triangles and the lines that are being drawn (the center line, the fold lines).
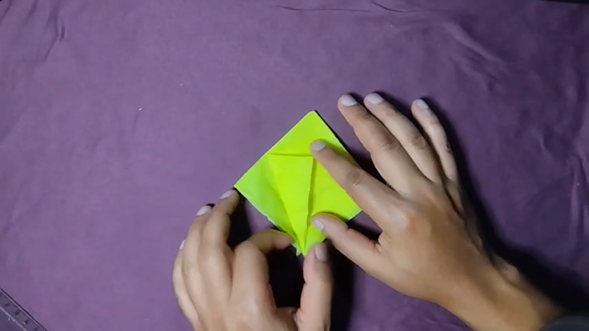

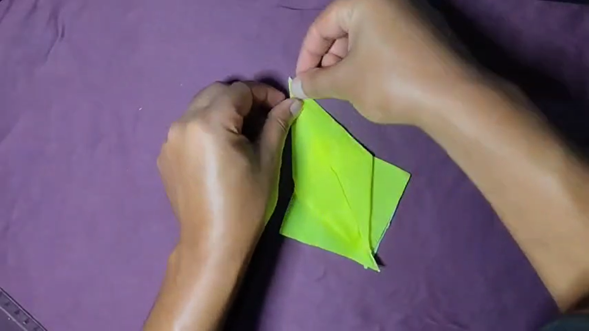
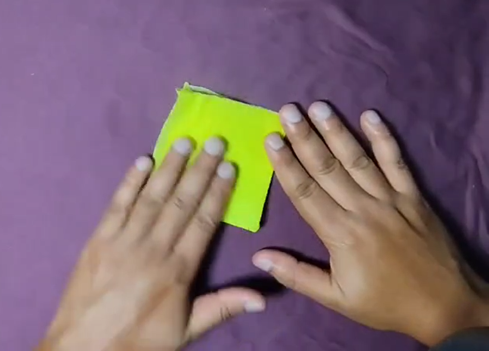
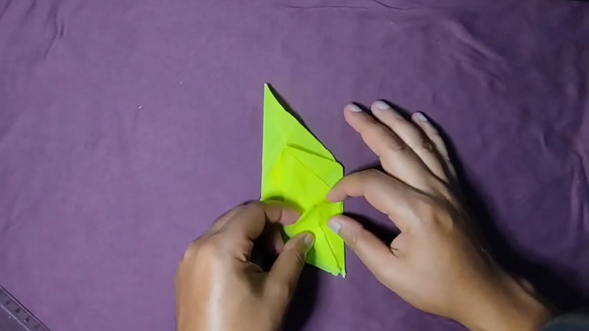
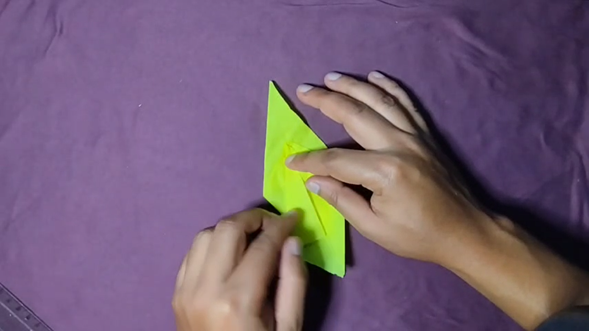
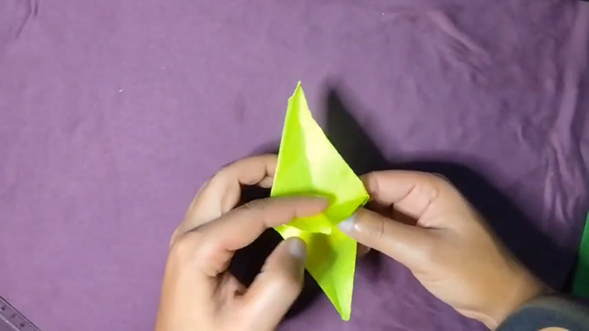
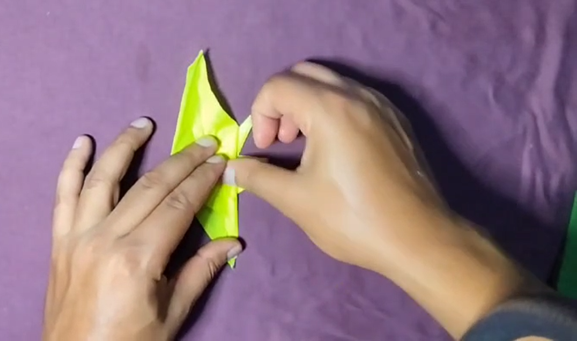
This new diamond will be on hold for the next step later. Now, you will work on the other side of the square which will have a rather diamond shape. Take one of the vertices of this square. I started with the right one. But you can easily do the process from the left one, following the sequence well. From this corner you will form a new right triangle. When you fold it, mark it with enthusiasm. Then unfold and by means of this new edge marked on the paper, you will be guided to form a new diamond, where this edge that was marked will represent the middle line of the diamond on its front face. It will look like a kind of arrow.
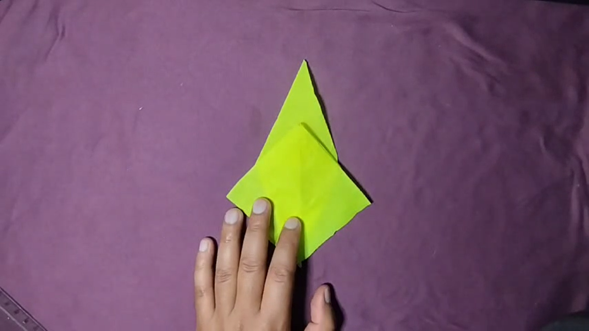
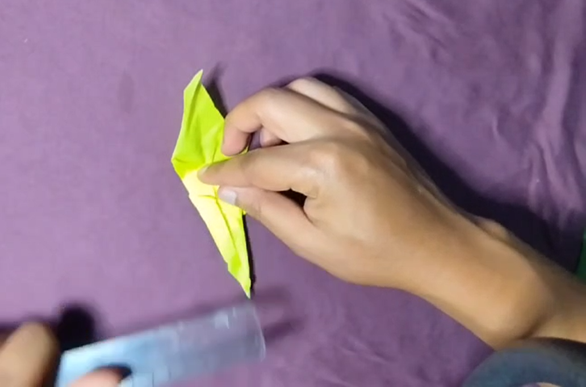
The same procedure that was performed on the face of the previous square, will be performed on the bottom of this arrow that was formed. Use the center line of the arrow as a guide. That is, form two right triangles that meet at a vertex and that give the impression of forming a new isosceles triangle, hold the internal folds that you made at the lower vertex, and stretch the upper face upwards until you form a new diamond.
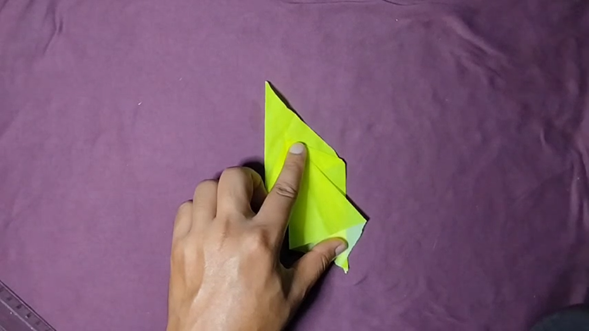
Up to this point it will look like you are making concentric diamonds. In this last one that is formed, fold its top point as far as the paper will allow and then fold the entire top diamond also along its center line. With the intention of looking for the other half of the square that we have not touched (the left vertex).
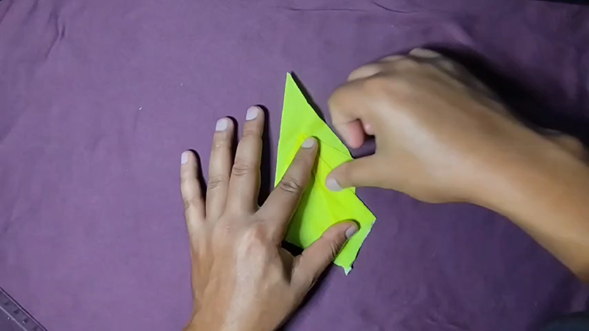
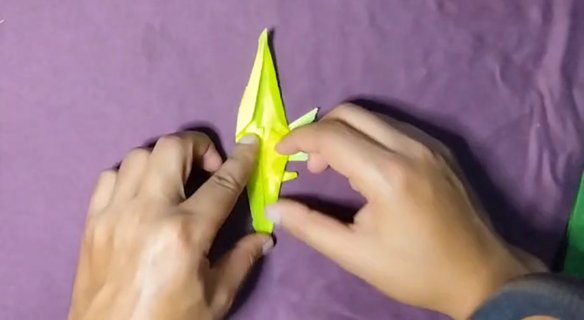
In this new vertex will be performed the same procedure that was performed to the right vertex of the square. It will form a right triangle, then unfold it and along the line that was marked will go flattening the paper until this line forms a central line of the front face that will be formed in a kind of arrow.
In the same way, you will fold the bottom folds of this kind of arrow, with the intention of forming another new diamond. Form two right triangles, then take the bottom inner fold of these and then pull the paper upwards until you get the shape, then fold the top tip as far as the paper will allow.
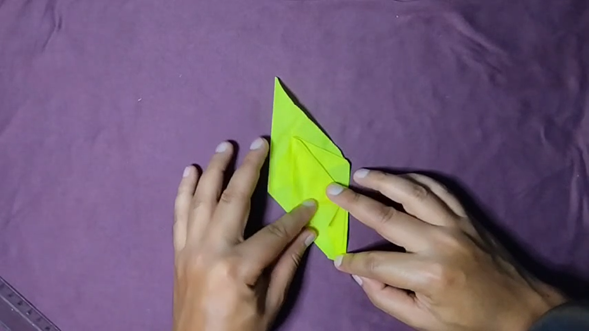
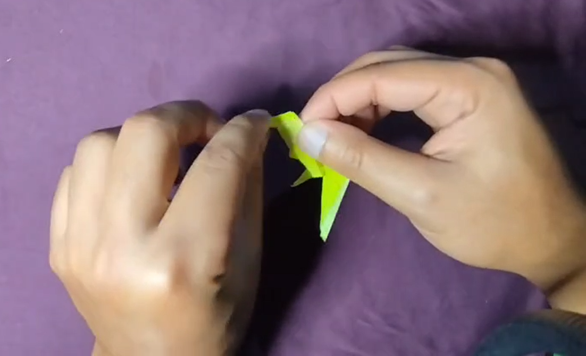
Now, let's work on the face of the first diamond we formed. At the bottom you will see two right triangles that the paper already shaped. Each of these, you will bend them towards the inside of the diamond.
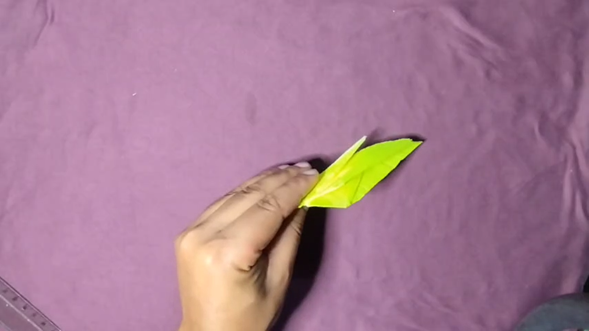
These would be the legs of our dinosaur. Now, we are going to bend all along the center line of the diamonds, so that the legs are facing outward.
At this point, we will only make the shape of the legs, we will not yet give it its final shape. This is done by making a fold where the joints closest to the body would be.
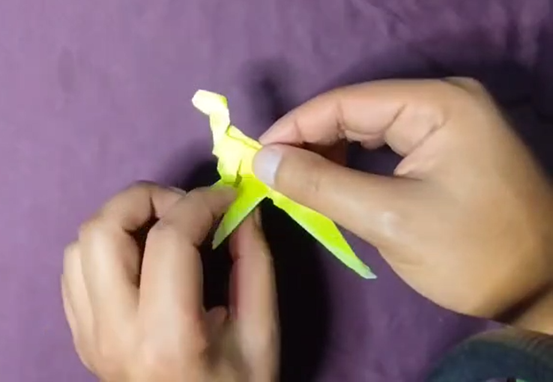
Now, let's give a better shape to the body. To do this, open the diamond again, in the inner part you will find a diamond vertex, this will bend it in the direction of the arms of the animal. Leaving the wide and thinner parts where anatomically, they should be (giving shape to the velociraptor's body).
To make it stand, you will fold the entire top diamond towards the center and then create a new fold upwards (you will fold very close to the center of the diamond and then stretch it upwards again). Finally, you will create some rectangular triangles on all sides of the diamond, with the intention of making the body thinner so that it does not look like a leaf with legs.
Note that the fold or triangles we form are bigger in the direction of the small arms than in the tail part.
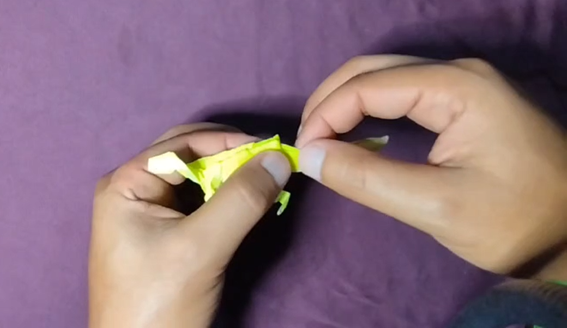
You can fold the body again in the central part and start with the details on the head and legs.
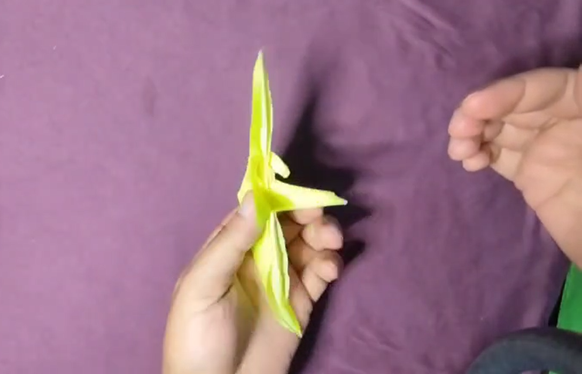
You will see that the new figure is thinner and already presents a more comfortable shape to give the final details. The head has to be lifted, so you have to make the fold in a certain way upwards to form the neck and then give direction to the head so that it is lifted and forward.
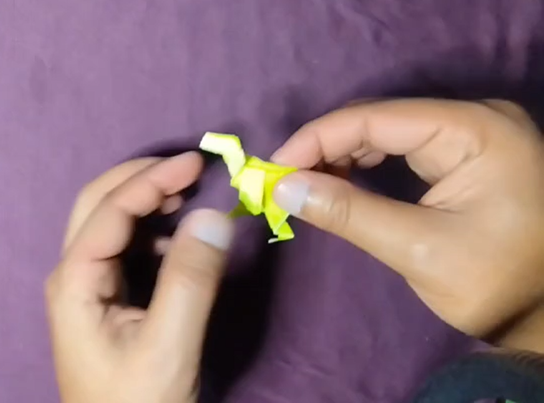
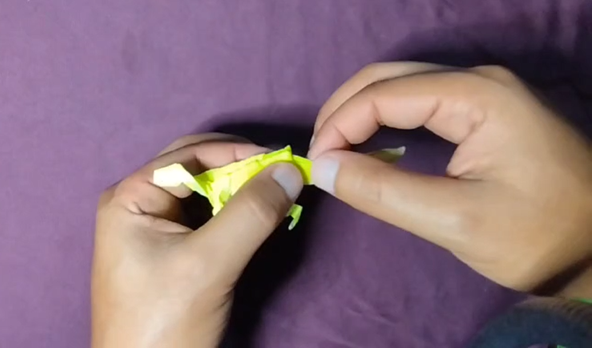
Then, you can work on the legs as you wish. That is, making folds where the joints of the animal would be, elbow, knee, wrists, ankles, hands, feet.
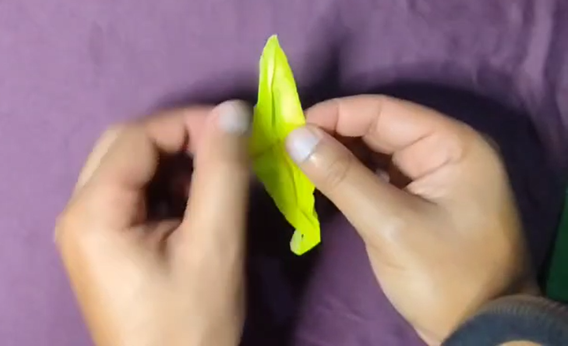
Finally, to better demarcate the shape of the tail, open the work again, turn the tail downwards always respecting the lines and bend it upwards again, but making a fold almost in the center of the body. Here, you can lift the tail a little and give some effects of movement to the tail.
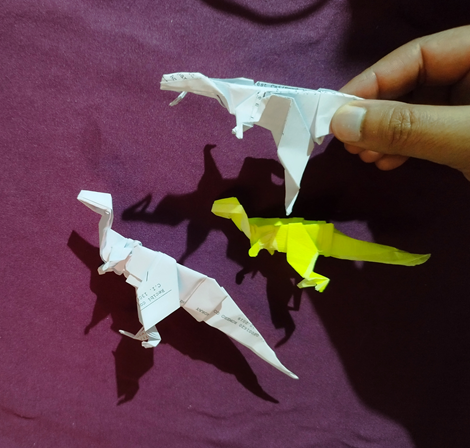
This is my project for the community. Sorry for the length, I wanted to go into as much detail as I could so you could replicate the process. I hope you liked it a lot and if you plan to do it please feel free to tag me, Happy weekend!
Show more
Tags :
Woo!
This creator can upvote comments using 3speak's stake today because they are a top performing creator!
Leave a quality comment relating to their content and you could receive an upvote
worth at least a dollar.
Their limit for today is $0!
Their limit for today is $0!
11 views
a year ago
$

14 views
a year ago
$
More Videos

3 views
2 years ago
$
8 views
2 years ago
$

10 views
9 months ago
$
4 views
a year ago
$
10 views
2 years ago
$

2 views
4 years ago
$

1 views
a year ago
$

5 views
2 months ago
$

0 views
4 years ago
$

10 views
6 months ago
$

38 views
2 years ago
$
7 views
2 years ago
$
11 views
a year ago
$

6 views
5 months ago
$
7 views
2 years ago
$

10 views
a year ago
$
2 views
3 years ago
$

8 views
3 years ago
$
0 views
2 years ago
$

5 views
3 years ago
$

14 views
3 years ago
$

14 views
3 weeks ago
$

18 views
a month ago
$

3 views
2 years ago
$
Comments:
Reply:
To comment on this video please connect a HIVE account to your profile: Connect HIVE Account