Stop motion: Paper, colors, camera and action // Stop motion: Papel, colores, cámara y acción
6
About :
ENGLISH
A little mermaid story
Some colorful mermaids went for a swim,
leaping among the waves,
on the seashore.
Today we are going to create a stop motion animation
Hello friends! Welcome to my blog :) this time I share with you how I made this little video, with the Stop Motion animation technique, some recycled sheets of paper, colored pencils and imagination.
I really like to make Stop motion animations, it is an accessible animation technique, because it can be done with the phone camera; it is simple, since it doesn't require knowledge of complicated animation techniques; and of course, the results are adorable :)
To edit the animation, I used a video editing program, either inshot or capcut.
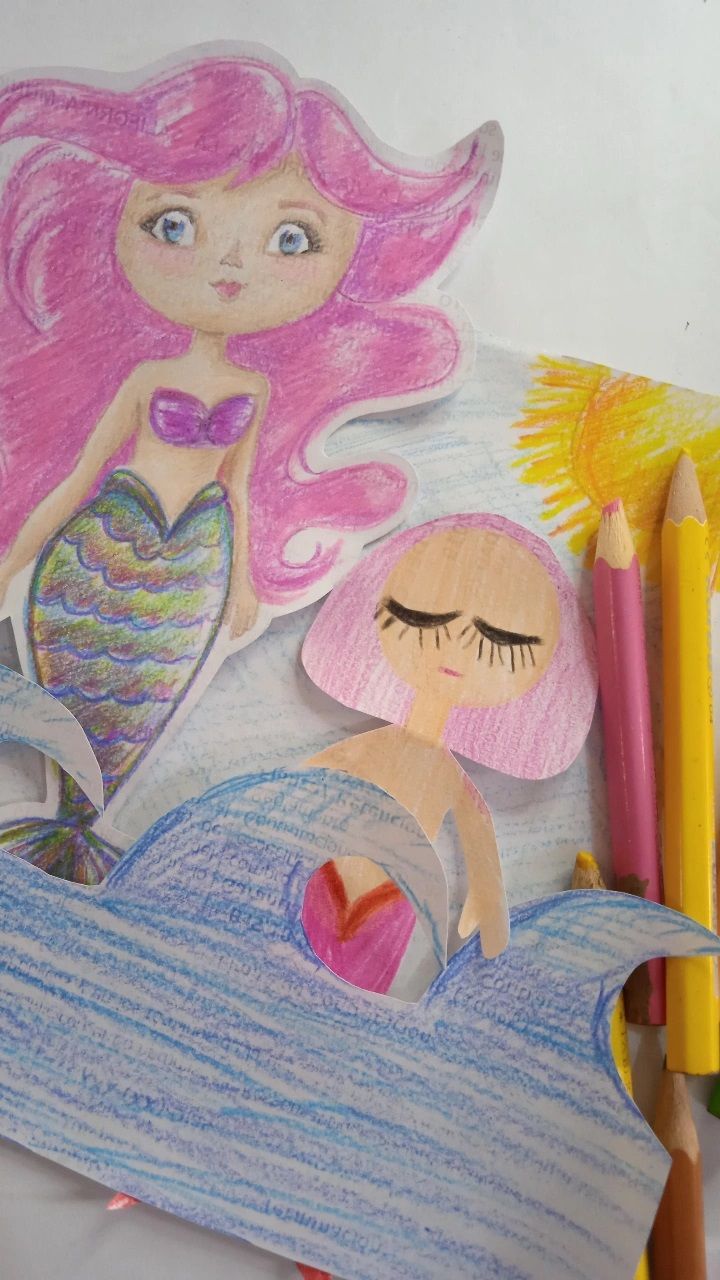
In the following image, you can see the characters and elements of this animation: A little mermaid made by me and another one by my daughter, the waves of the sea and the blue sky with a radiant sun. All handmade, with paper, crayons and scissors.
Before you start drawing, I recommend you to write down or specify the story you want to tell: who will be the characters and what will be the elements of your scene. Once you have defined this, you start drawing your characters and the scenery or elements.
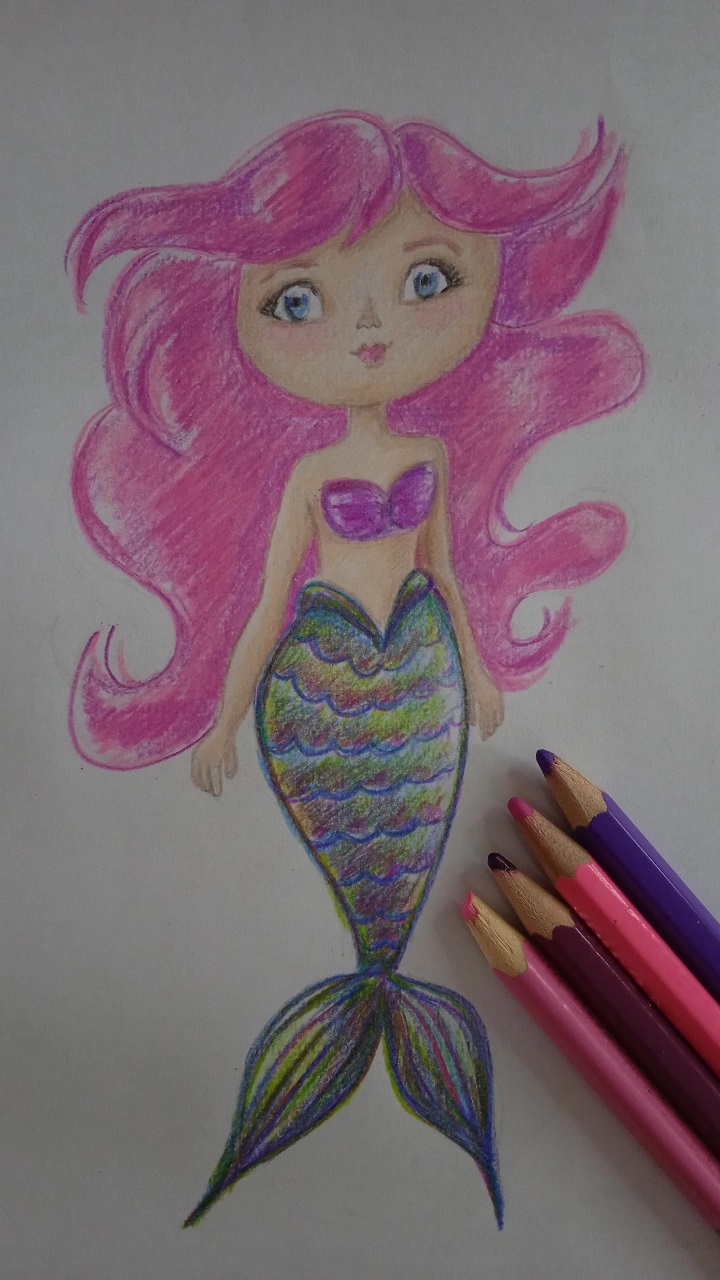
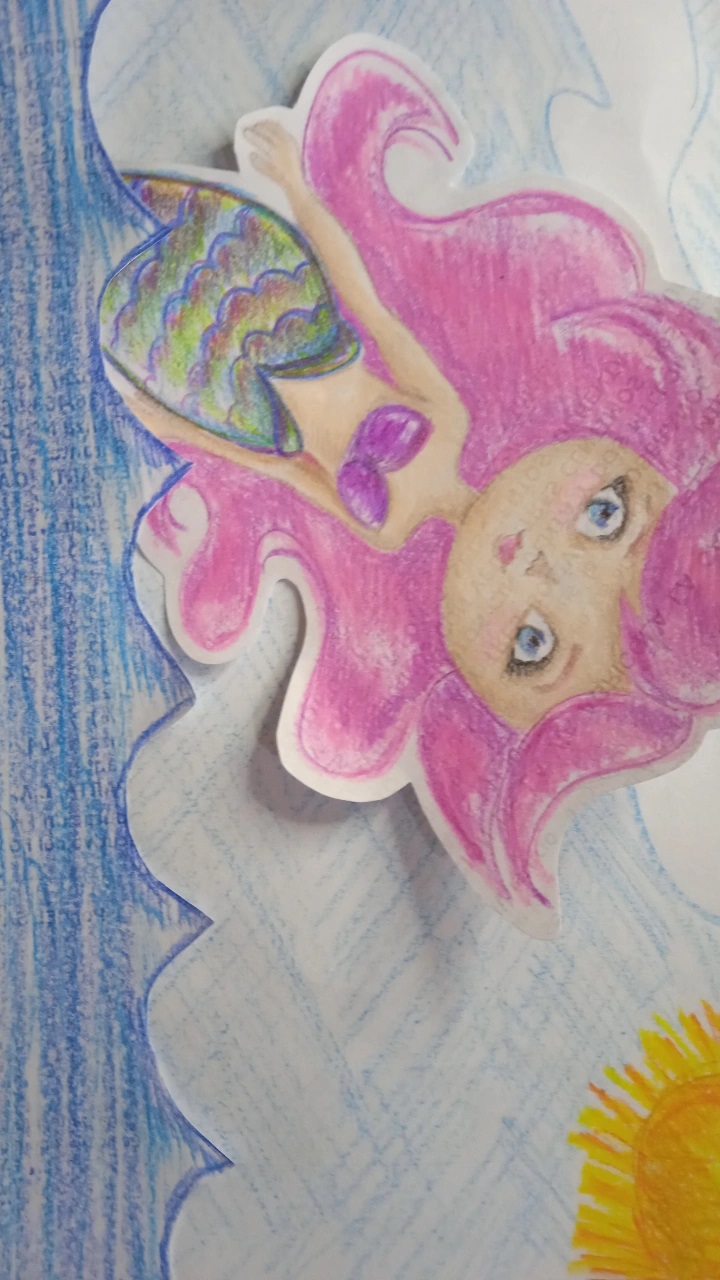
In the following image you can see the little mermaid that I made is one of the characters of this story. Once it was made I cut it out with the scissors.
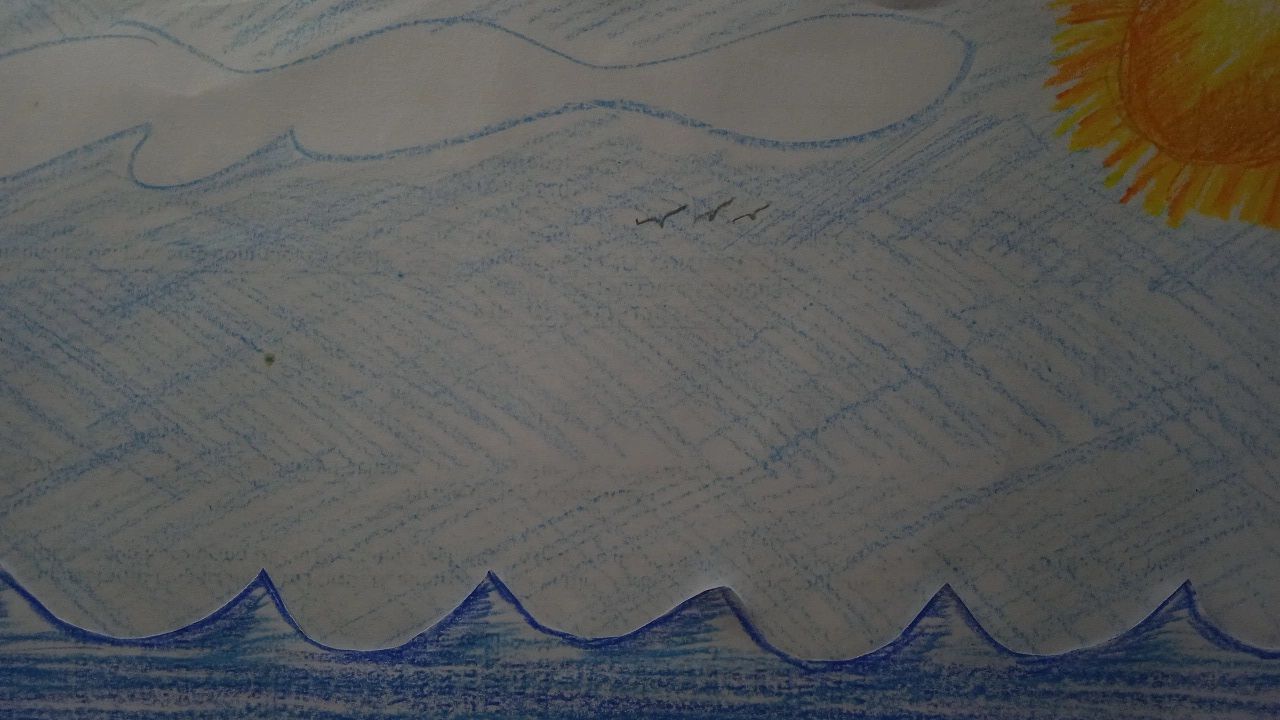
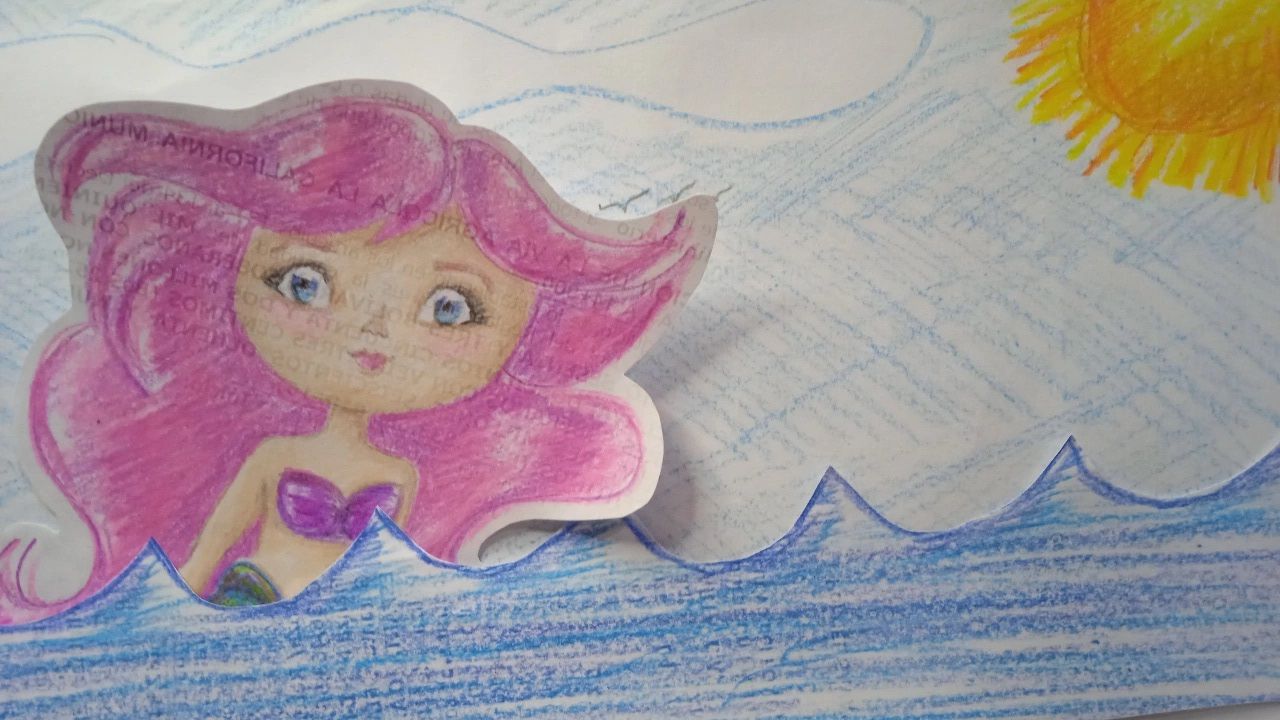
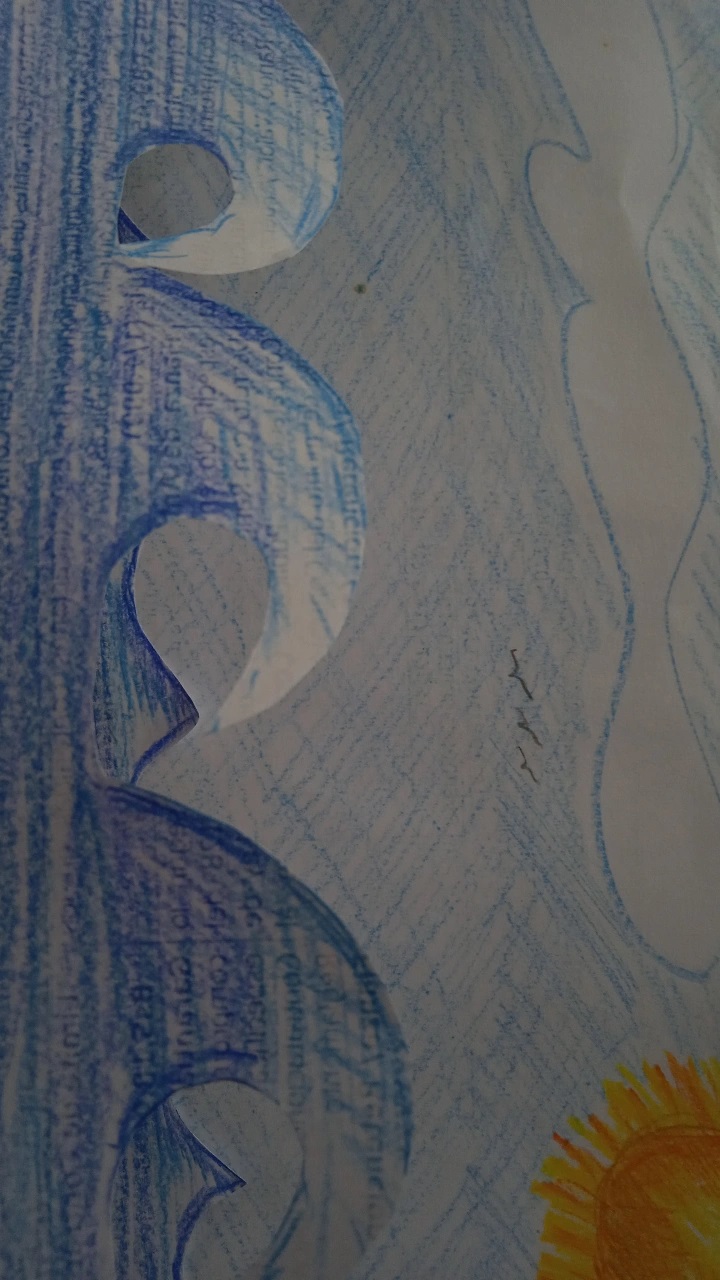
This is our scenery, the image in the background. As you can see, it is a simple drawing with blue sky, clouds, seagulls and a radiant sun :)
At the bottom of the image, you can see some waves; I made these waves on another sheet of paper and then cut out their silhouette.
Here you can see some of the elements of this story: the big mermaid, previously drawn and cut out; she is behind the small sea waves that I made and cut out previously. And as you can see, both the big mermaid and the small sea waves are in front of the drawing of the sky.
Let's make our animation
I already have the story I want to tell. Now it's time for the characters to act and interact with the elements I have created :)
Next, I will share with you some of the pictures I used to make the final animation. I took approximately 15 pictures or maybe more.
Let's start with our sea story
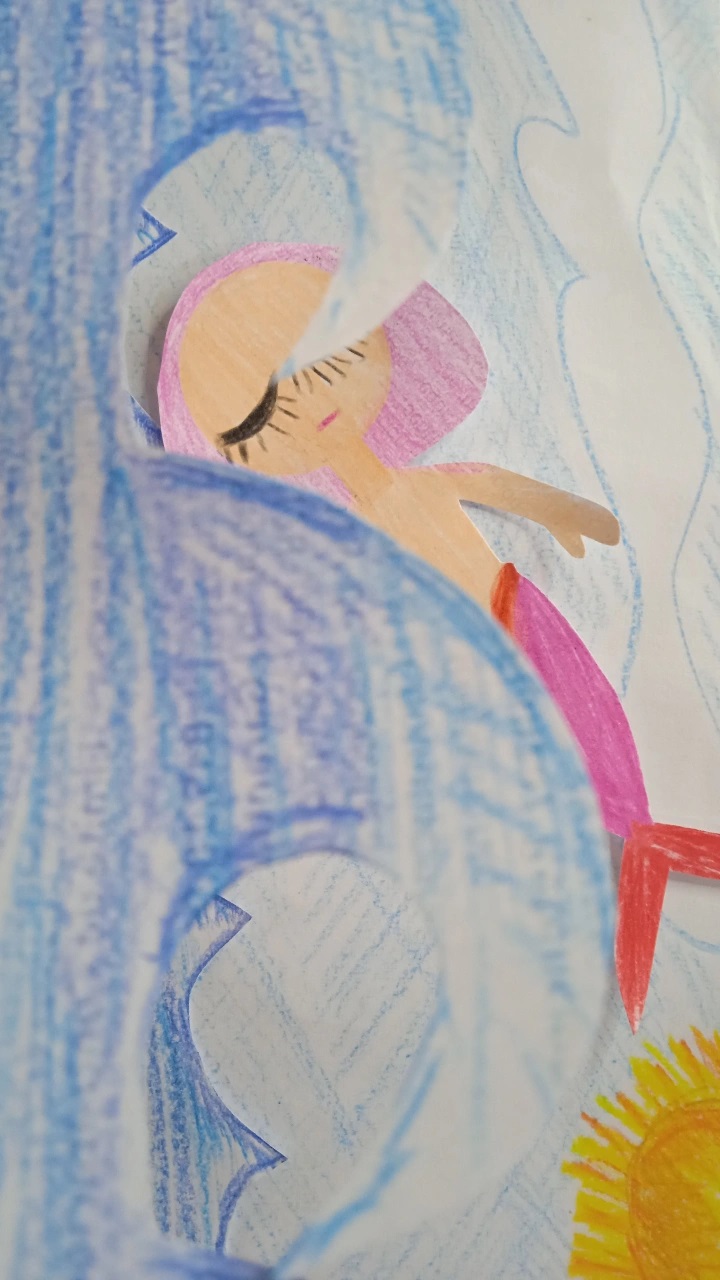
For this animation, the little and big mermaids are going to jump out of the water, over and over again in different directions.
So, I'm going to take different pictures capturing each movement.
As you can see in the following image, the big mermaid is coming out of the sea and the sea is low waves.
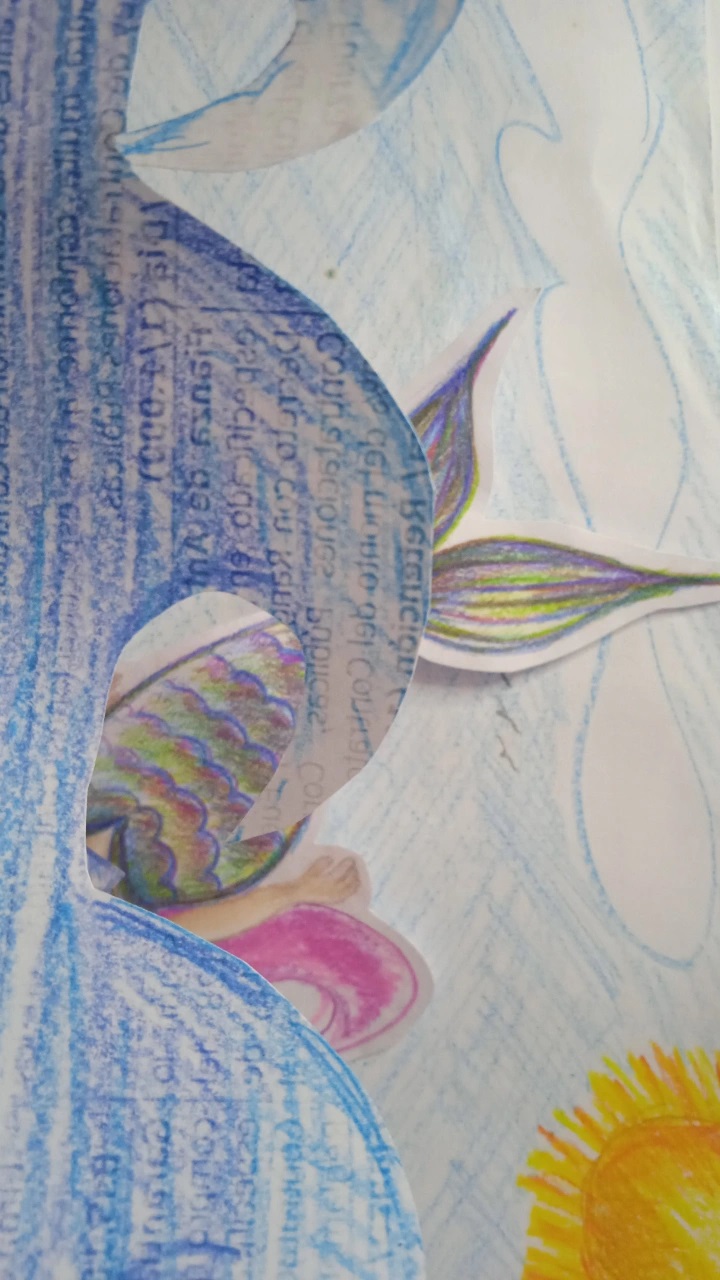
In this other scene, the big mermaid has entered the sea again and this time the sea waves are bigger.
Here you can see the little mermaid, made by my daughter, swimming among the waves of the sea as well.
In this image you can see the waves of the sea, both the low waves and the bigger waves, in different planes, some in the background and others closer to the camera. This is to give the sensation of depth.
Once I have taken all the photos, I can use a video editing program such as inshot or capcut. There are also special stop motion programs like Stop Motion Studio.
I used the video editing program capcut installed on my cell phone. I placed the images in sequence and adjusted them according to the desired duration time, I gave them a short time in seconds to advance the images quickly and thus give the feeling of continuous movement.
Then, I exported the file in MP4 format which is the one you see at the beginning of this post. I also exported it in GIF format, it is a lighter format, but it decreases the quality considerably, as you can see.
This is the result :) an animation made with simple materials and imagination. I loved this adorable story and I also enjoyed a lot the process of creation.
What did you think of this animation? :)
I invite you to make your own animation also with this technique, you will have a lot of fun.
See you next time :)
ESPAÑOL
Una pequeña historia de sirenas
Unas sirenas de colores salieron a pasear,
saltando entre olas,
a la orilla del mar.
Hoy vamos a crear una animación con Stop motion
¡Hola amigos! Bienvenidos a mi blog :) en esta oportunidad te comparto cómo realicé este pequeño video, con la técnica de animación del Stop Motion, algunas hojas de papel recicladas, lápices de colores e imaginación.
Me gusta mucho realizar animaciones con Stop motion, es una técnica de animación accesible, pues se puede realizar con la cámara del teléfono; es sencilla, ya que no requiere conocimiento de técnicas complicadas de animación; y por supuesto, los resulados son adorables :)
Para editar la animación, utilicé un programa de edición de videos, puede ser inshot o capcut.
En la siguiente imagen, puedes ver los personajes y elementos de esta animación: Una sirenita realizada por mí y otra por mi hija, las olas del mar y el cielo azul con un sol radiante. Todo hecho a mano, con papel, lápices de colores y tijera.
Te recomiendo, antes de empezar a dibujar, escribir o precisar la historia que deseas contar: quienes serán los personajes y cuáles los elementos de tu escena. Una vez que tengas definido esto, empiezas a dibujar tus personajes y el escenario o elementos.
En la siguiente imagen puedes ver la sirenita que realicé es uno de los personajes de esta historia. Una vez realizada la recorté con la tijera.
Este es nuestro escenario, la imagen que aparece al fondo. Como ves, es un dibujo sencillo con el cielo azul, nubes, gaviotas y un sol radiante :)
En la parte de abajo de la imagen, puedes ver unas olas; estas olas las realicé en otra hoja de papel y luego recorte su silueta.
Aquí puedes ver algunos de los elementos de esta historia: la sirenita grande, previamente dibujada y recortada; ella está detrás de las olas del mar pequeñas que hice y recorté previamente. Y como ves, tanto la sirena grande, como las olas de mar pequeñas están delante del dibujo del cielo.
Realicemos nuestra animación
Ya tengo precisada la historia que deseo contar. Ha llegado el momento para que los personajes actúen e interactúen con los elementos que he creado :)
A continuación, te compartiré algunas de las fotografías que utilicé para realizar la animación final. Realicé aproximadamente 15 fotografías o quizás más.
Empecemos con nuestra historia marina:
Para esta animación, las sirenitas grande y pequeña van a saltar fuera del agua, una y otra vez en diferentes direcciones.
Entonces, voy a realizar diferentes fotografías capturando cada movimiento.
Como puedes ver en la siguiente imagen, la sirena grande está saliendo del mar y además el mar es de olas bajitas.
En esta otra escena, la sirena grande ha entrado nuevamente al mar y esta vez las olas del mar son más grandes.
Aquí puedes ver a la sirenita pequeña, realizada por mi hija, nadando entre las olas del mar también.
En esta imagen puedes ver las olas del mar, tanto las olas bajitas como las olas más grandes, en diferentes planos, unas al fondo y otras más cerca de la cámara. Esto para dar la sensación de profundidad.
Una vez que he realizado todas las tomas fotográficas, puedo utilizar un programa de edición de videos como inshot o capcut. También hay unos programas especiales para Stop motion como Stop Motion Studio.
Yo utilicé el programa para edición de video capcut instalado en mi teléfono móvil. Coloqué las imagenes en secuencia y las ajusté según el tiempo de duración deseado, les dí un tiempo corto en segundos para que avanzarán las imágenes de manera rápida y así dar esa sensación de movimiento continuo.
Luego, exporté el archivo en formato MP4 que es el que ves al principio de esta publicación. También, lo exporté en formato GIF, es un formato más liviano, pero le disminuye la calidad considerablemente, como puedes ver.
Este es el resultado :) una animación hecha con materiales sencillos e imaginación. A mí me ha encantado esta adorable historia y además disfruté muchisimo del proceso de creación.
¿Qué te ha parecido esta animación? :)
Te invito a realizar tu propia animación también con esta técnica, te divertirás mucho.
Hasta la próxima :)
Show more
Tags :
Woo!
This creator can upvote comments using 3speak's stake today because they are a top performing creator!
Leave a quality comment relating to their content and you could receive an upvote
worth at least a dollar.
Their limit for today is $0!
Their limit for today is $0!
13 views
3 years ago
$
2 views
3 years ago
$
10 views
3 months ago
$
7 views
3 years ago
$
16 views
3 years ago
$
More Videos
26 views
10 months ago
$

23 views
2 years ago
$

9 views
2 years ago
$
1 views
4 years ago
$
10 views
4 years ago
$
34 views
2 years ago
$

49 views
a year ago
$

33 views
a year ago
$
14 views
a month ago
$

3 views
a year ago
$
0 views
2 years ago
$
8 views
3 years ago
$

14 views
a month ago
$
0 views
2 years ago
$
1 views
4 years ago
$

5 views
a year ago
$
9 views
3 years ago
$
8 views
a year ago
$

14 views
a year ago
$
8 views
2 years ago
$

2 views
a year ago
$

2 views
2 years ago
$

54 views
a year ago
$

Comments:
Reply:
To comment on this video please connect a HIVE account to your profile: Connect HIVE Account