Air conditioner DIY service and clean up walk through
5
About :
Hello all, I would like to take this opportunity to share a little bit of my DIY knowledge. My kid call this DIE because it literally pronounced that way. DIY is an abbreviation of "do it yourself", as we all know nowadays servicing industries are expansive and particularly mechanics like automobile repairs kinda of services. So, this is a video about the possibility of getting the climate control motor cleaned up and serviced, and if this worked, it could save us from a hefty repair/replacement cost.
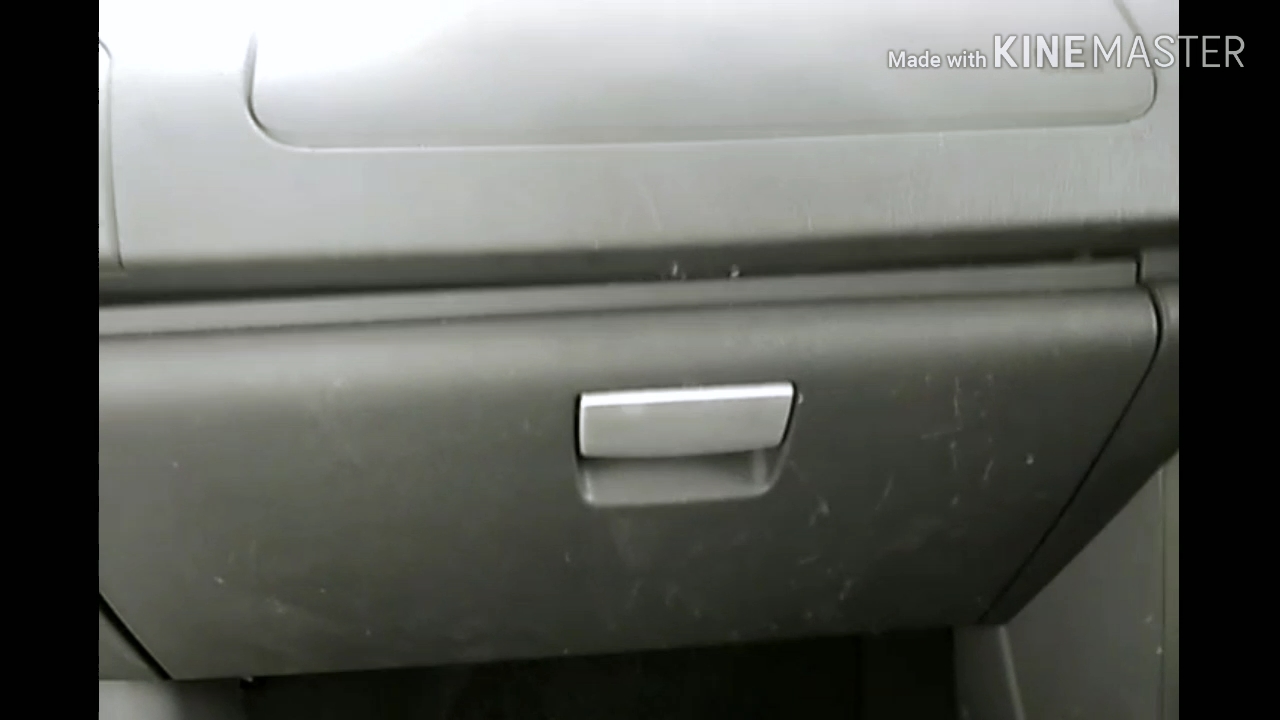
First of all, air conditioning system usually have it's component installed behind the glove box compartment, which is located at the passenger side. In order to have easy access to the components, we need to first take out the glove box. Please inspect your glove box and check on the hinges, mine doesn't even need a screw as it's only two latch hanging the whole glove box there.
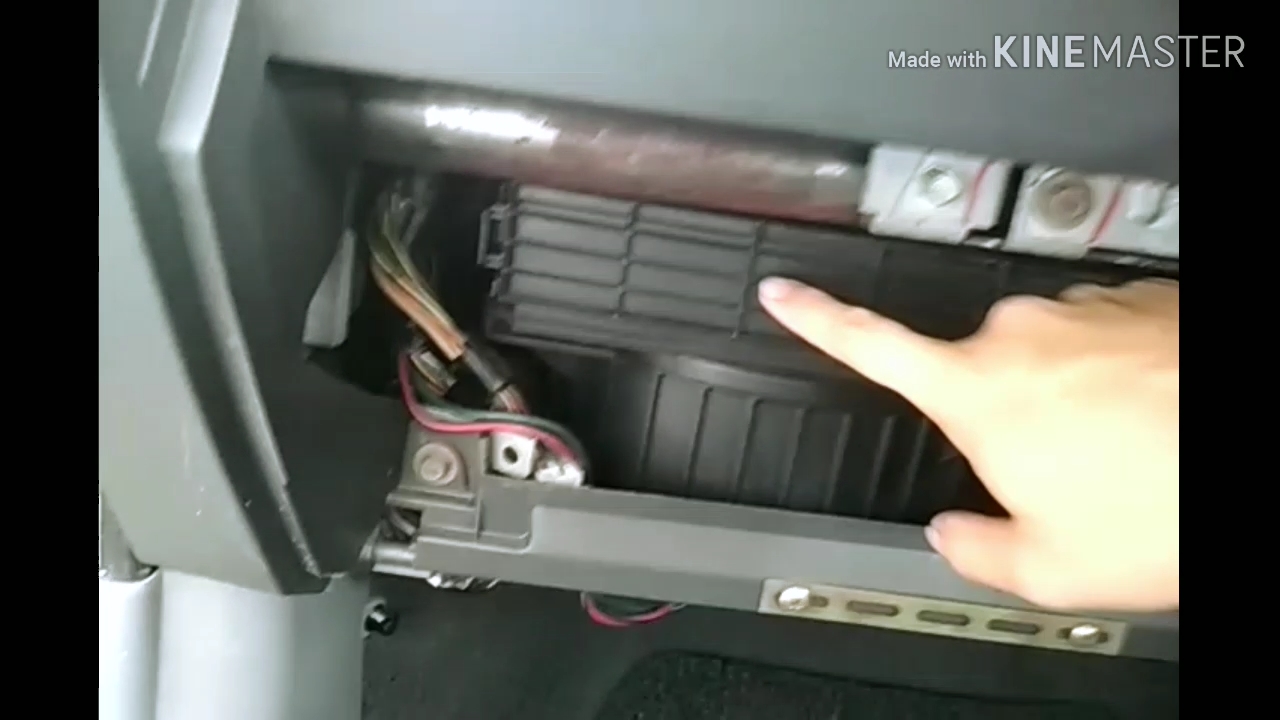
Modern vehicle has this receiver door. This section is called receiver is because this is the place where the airconditioning system receive air from. After open the receiver door, usually you'll be able to see some sort of filter.
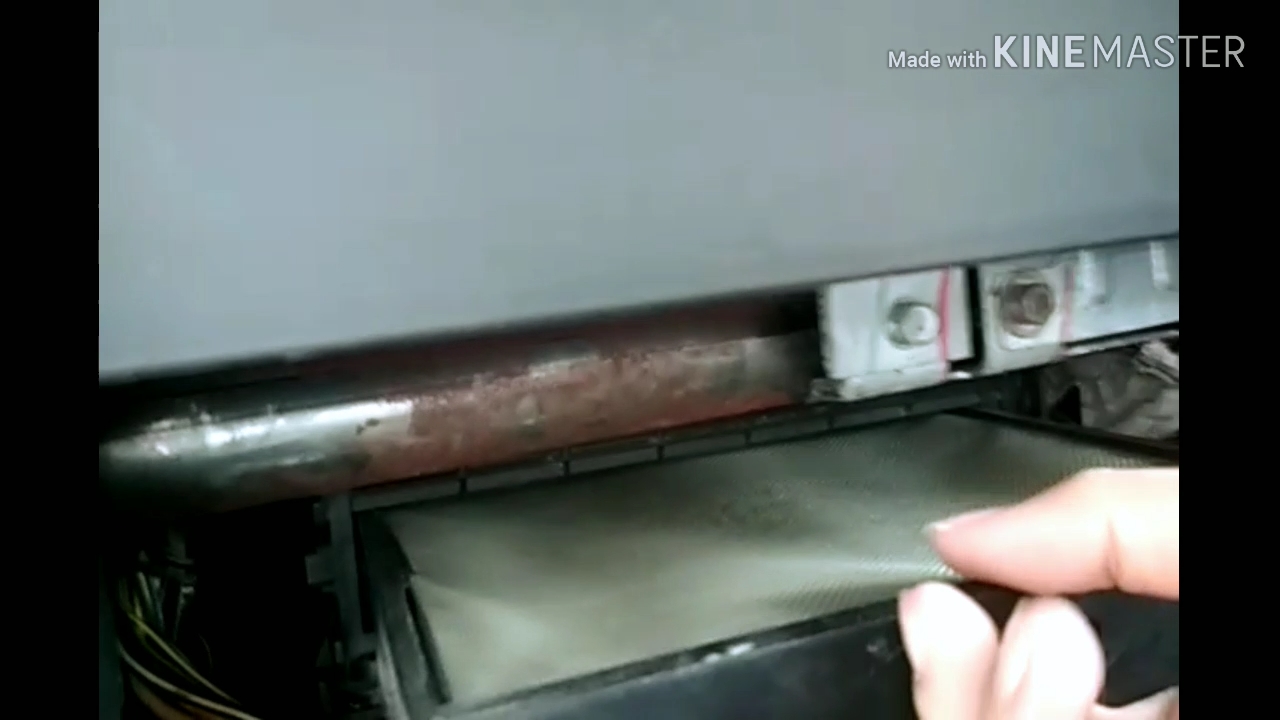
My car has a wire mesh air filter. All I have to do is remove it from the receiver compartment, get it dust off. Since I'm cleaning it on a monthly basis, it's not as dirty as I would imagine.

Source from poirierservicecenter
Check this out if you're wondering how bad could it be.
Other than cleaning the filter, if your blower fan have wicked clunking sound, there's a chance of those dirt, stick, stones got stucked in and got stuck in the motor fan, which located right beneath the receiver. Usually, all we need to do is remove the screw, detached the wire hardness and we will be able to take out the entire blower motor module from the receiver housing.
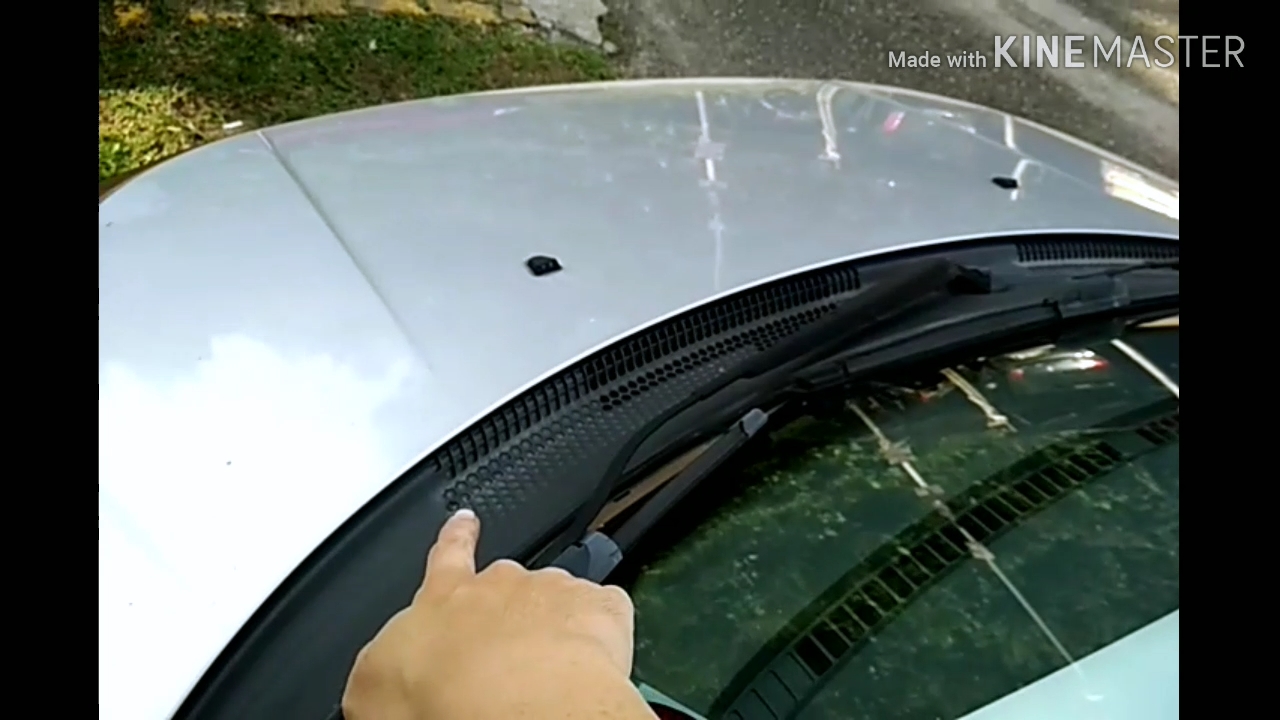
Wondering why the car has their window shut, and we're still not deprived from fresh oxygen even driving for hours? Well, thanks to this air vents beneath the windsheild, where the wiper mechanism stores here. These vents are the ones that suck fresh air into the cabin. If you leave the valve open to receive fresh air, and if your car did not have a receiver filter, that means a lot of debris will be in the blower compartment already.
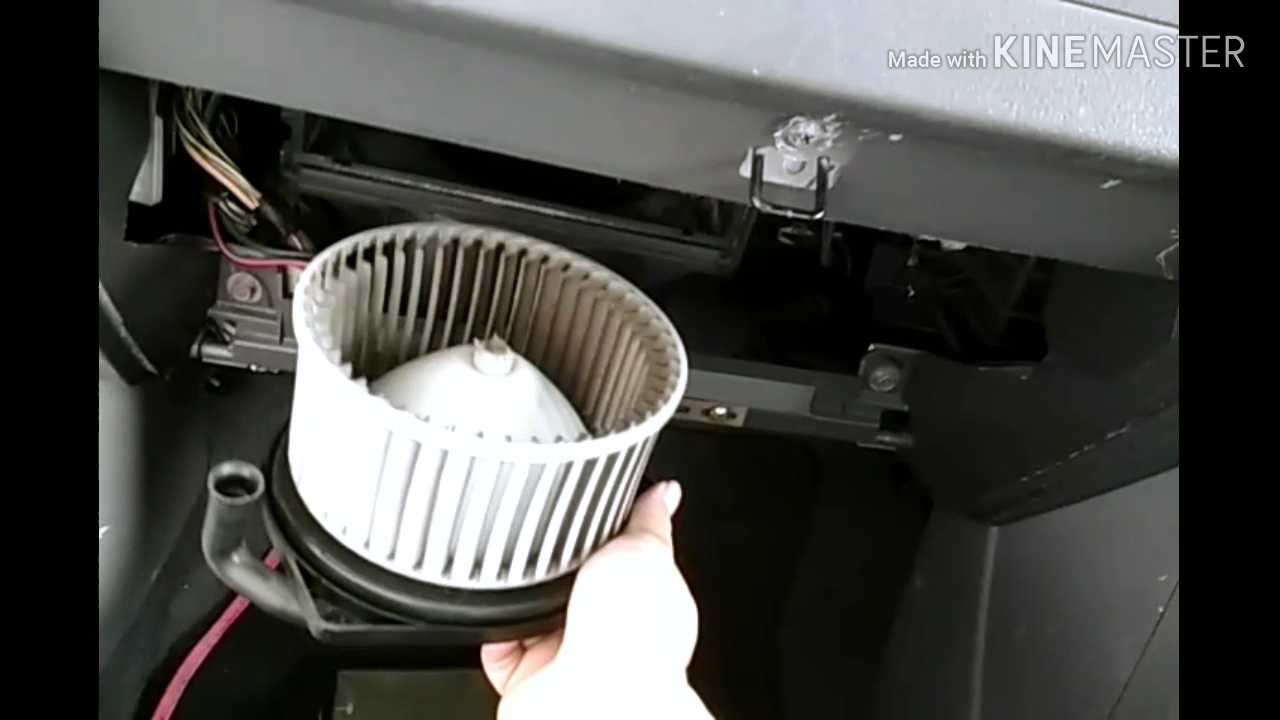
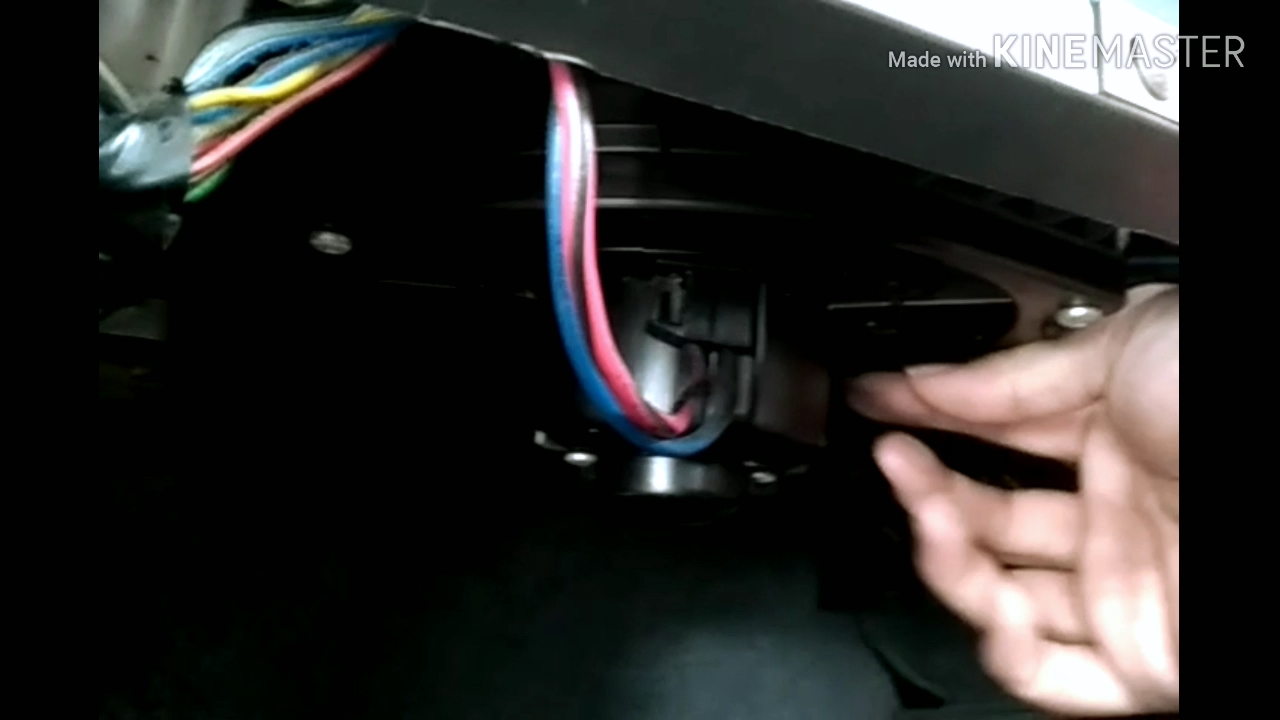
Here's blower motor as you can see. From here you can see I show you where it's originally located before I took it out. And the blower fan is a huge wheel that suck air from the middle and pressure it out towards the entire diameter. Which means, whatever it received from the above will be trying to expel out along the leafs. By pulling this out from the housing, you generally have a better idea of what is broken.
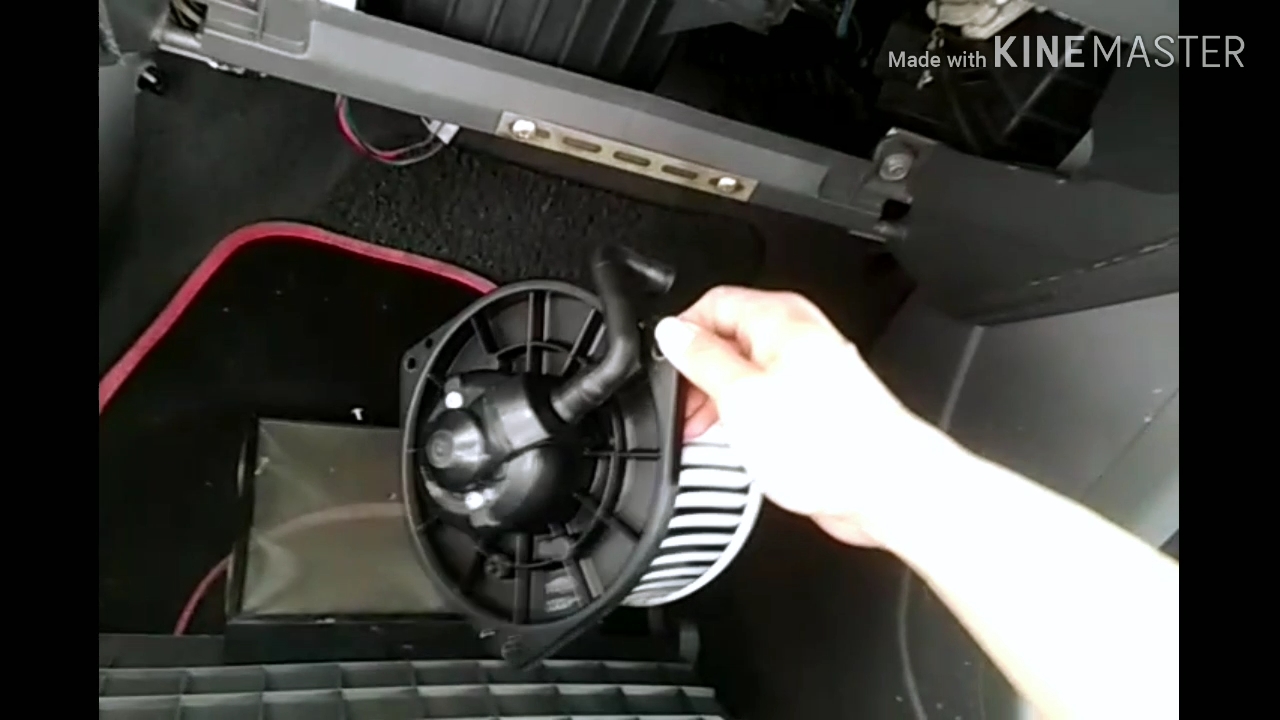
The motor is close fitted in the enclosure casing. Note that there's a wind pipe connected back to the receiver itself. Many mechanics would cut corner and had the pipe removed. If that happen, you will have air leaks on the blower mechanism, and the leaked air will blow directly to the passenger feet. Worst is, the enclosed motor casing now has a hole exposed to dust that may cake the grease, and the motor may heat up faster without having the windpipe that is supposed to cool itself down by the air generated.
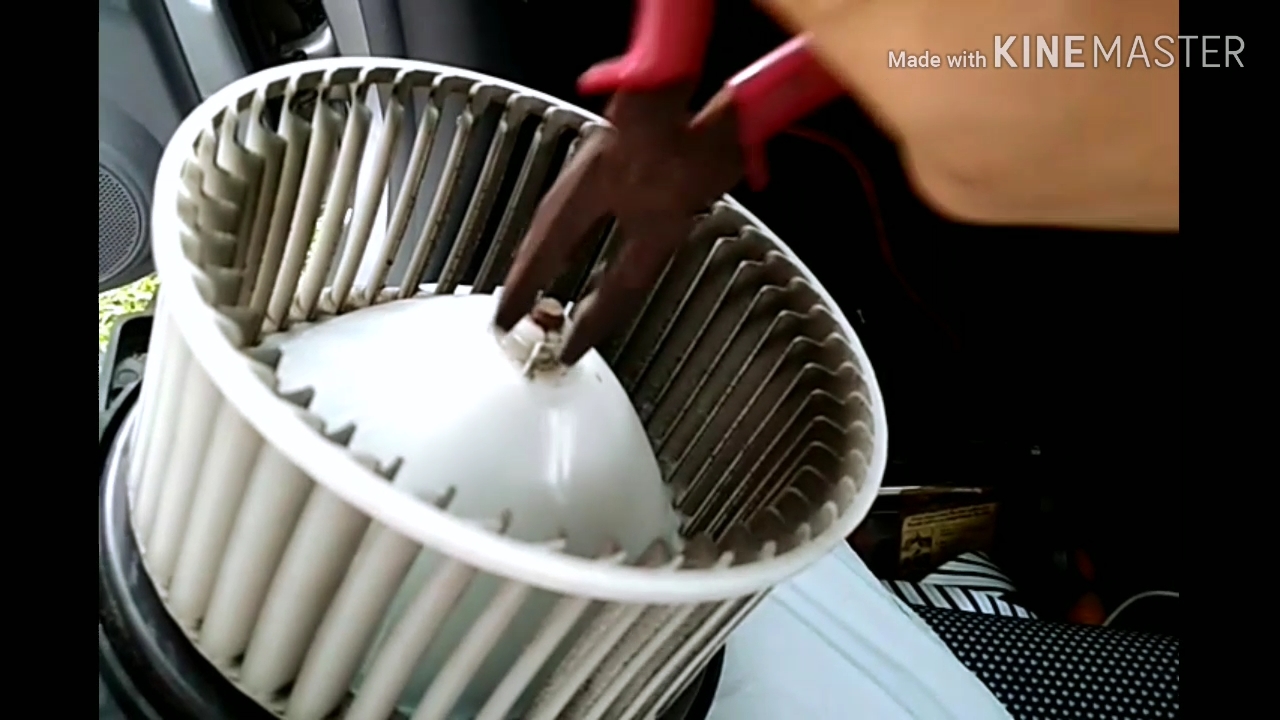
Finally, would like to advise everyone who's trying to give the wind blower wheel a proper clean up or lube up the motor, there's a clip on top of the shaft. Use a prier to clamp on it, take out the clip and we will be able to remove the wheel from the motor. Do note that the housing has a clip on point right at the top of the shaft. Be very careful when you yank the wheel out do not break the clicking point. If not, the whole wheel will be useless, the wheel does not sell separately from the motor.
That will be all, I'm not going to put another set of walk through just for the heck of putting things back together. It's pretty simple and straightforward, just reverse the entire process and put everything back together. Make sure no extra screw left behind, and things should goes back to normal, like clock work.
Show more
Tags :
Woo!
This creator can upvote comments using 3speak's stake today because they are a top performing creator!
Leave a quality comment relating to their content and you could receive an upvote
worth at least a dollar.
Their limit for today is $0!
Their limit for today is $0!

2 views
4 years ago
$

6 views
2 years ago
$

1 views
4 years ago
$

3 views
2 years ago
$

6 views
2 years ago
$
More Videos

2 views
3 years ago
$

8 views
a year ago
$

10 views
a year ago
$

2 views
2 years ago
$

47 views
2 years ago
$
0 views
3 years ago
$

2 views
8 months ago
$

4 views
3 years ago
$

24 views
2 years ago
$

5 views
3 years ago
$

23 views
3 weeks ago
$

5 views
3 months ago
$

6 views
11 months ago
$

4 views
3 weeks ago
$

24 views
6 months ago
$

11 views
10 months ago
$

39 views
a year ago
$

6 views
a year ago
$

2 views
7 months ago
$

13 views
a year ago
$

21 views
4 years ago
$

0 views
a month ago
$

3 views
3 years ago
$

32 views
a year ago
$

15 views
a year ago
$
Comments:
Reply:
To comment on this video please connect a HIVE account to your profile: Connect HIVE Account