Collar fantasía de girasoles🌻 | Creando con Amor para mí [Esp-Eng]
11
About :
Saludos a todos los amigos que haven vida en esta comunidad! Hoy voy a sumarme al Concurso Creando con Amor un collar para mi, una bonita propuesta que nos trae @hive-189504 y a la cuál tengo el gusto de invitar a @dayadam @tere.alv y a @nellyhope a participar.
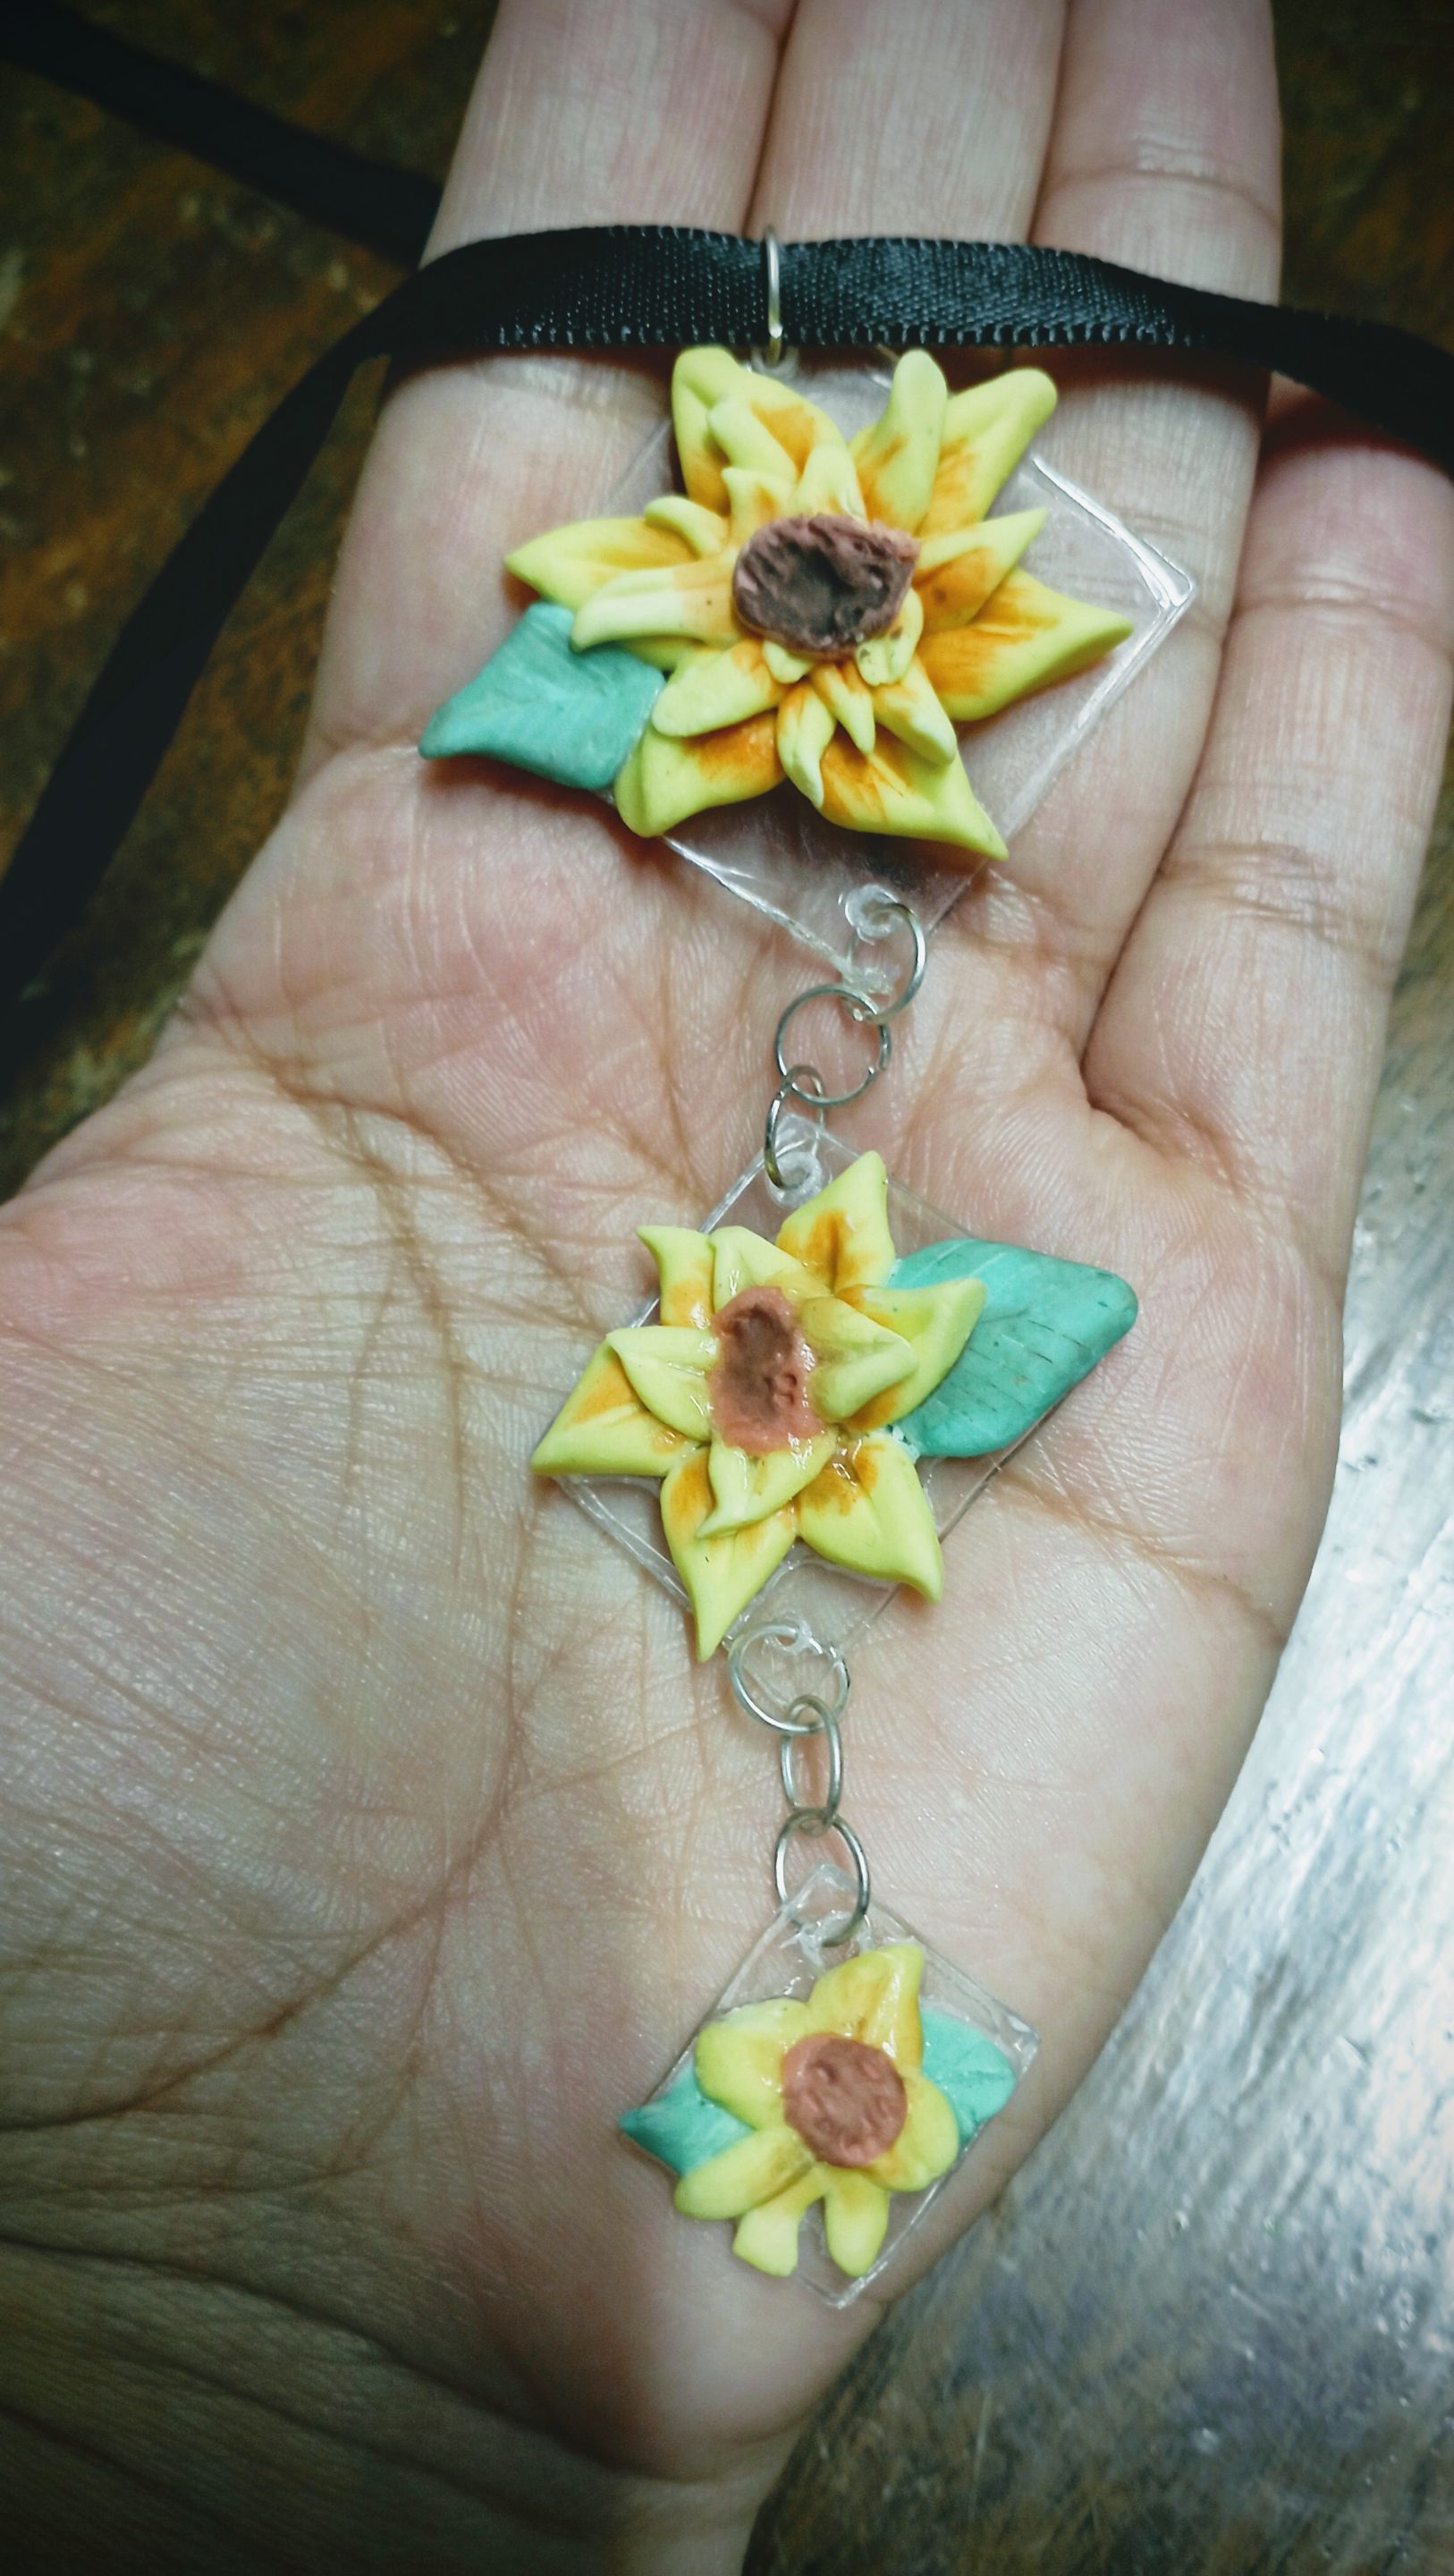
En esta oportunidad quiero compartir un collar que tengo pendiente en mi lista y me parece la mejor forma de culminarlo. Utilizaré 2 materiales que me encanta combinar el plástico reciclado y la porcelana fría. He llamado a este regalo para mí collar fantasía de girasoles y les cuento el paso a paso.
Greetings to all the friends who make life in this community! Today I'm going to join the Creating with Love a necklace for me contest, a nice proposal brought to us by @hive-189504 and to which I am pleased to invite @dayadam @tere.alv and @nellyhope to participate.
This time I want to share a necklace that I have pending on my list and it seems to me the best way to finish it. I will use 2 materials that I love to combine recycled plastic and cold porcelain. I have called this gift for me sunflower fantasy necklace and I tell you the step by step.

Materiales:
-30 centímetros de cinta de tela color negra
-2 broches de cierre
-1 gancho de cierre
-9 argollas
Para la porcelana fría:
-3 cucharadas de Fecula de maíz
-1/2 cucharada de aceite de bebé
-1 cucharada de vinagre
-3 cucharadas de pegamento blanco
-Acuarelas
Materials:-30 centimeters of black fabric ribbon
-2 closing clasps
-1 closing hook
-9 ringsFor the cold porcelain:
-3 tablespoons of corn starch
-1/2 tablespoon of baby oil
-1 tablespoon vinegar
-3 tablespoons of white glue
-Candles
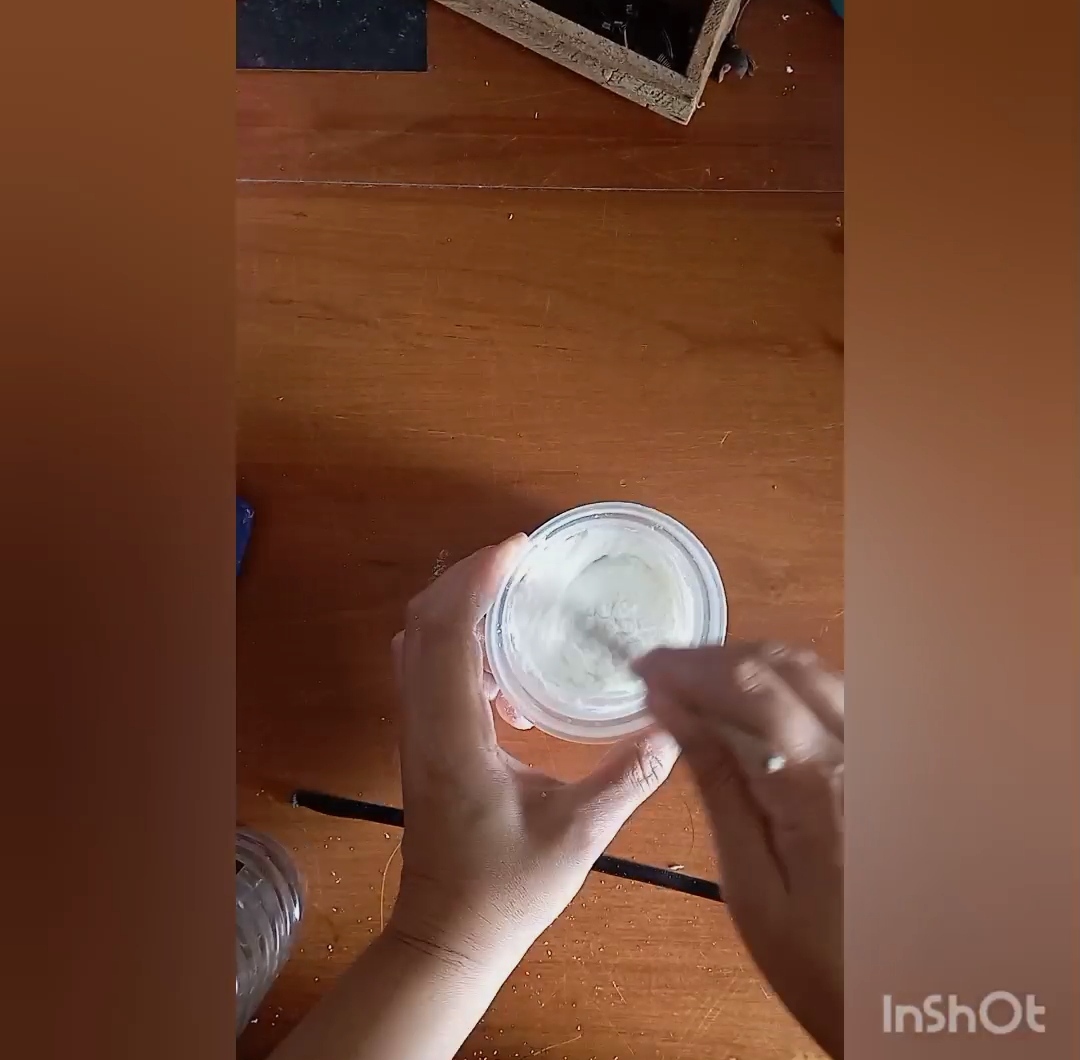
Preparación de la porcelana fría casera:
En un recipiente, destinado solamente para elaborar la porcelana fría, vamos a agregar la mitad de la fecula de maíz (maicena), agregamos el vinagre, el aceite de bebé y el pegamento. Con ayuda de un palito revolvemos hasta que se integre bien. Agregamos la otra mitad de fecula de maíz y automáticamente al revolver se comienza a formar la masa. Cuando presionemos el dedo en la mas y se hunda y se queda en el mismo lugar, la masa de porcelana fría está lista. La envolvemos en un papel plástico y lo dejamos reservado en un recipiente hermético para que se conserve por unos días.
Preparation of the homemade cold porcelain:
In a container, intended only for making the cold porcelain, we will add half of the corn starch (cornstarch), add the vinegar, baby oil and glue. With the help of a stick stir until it is well integrated. We add the other half of corn starch and automatically when stirring we start to form the dough. When we press our finger in the dough and it sinks and stays in the same place, the cold porcelain dough is ready. We wrap it in plastic wrap and leave it reserved in an airtight container to keep it for a few days.
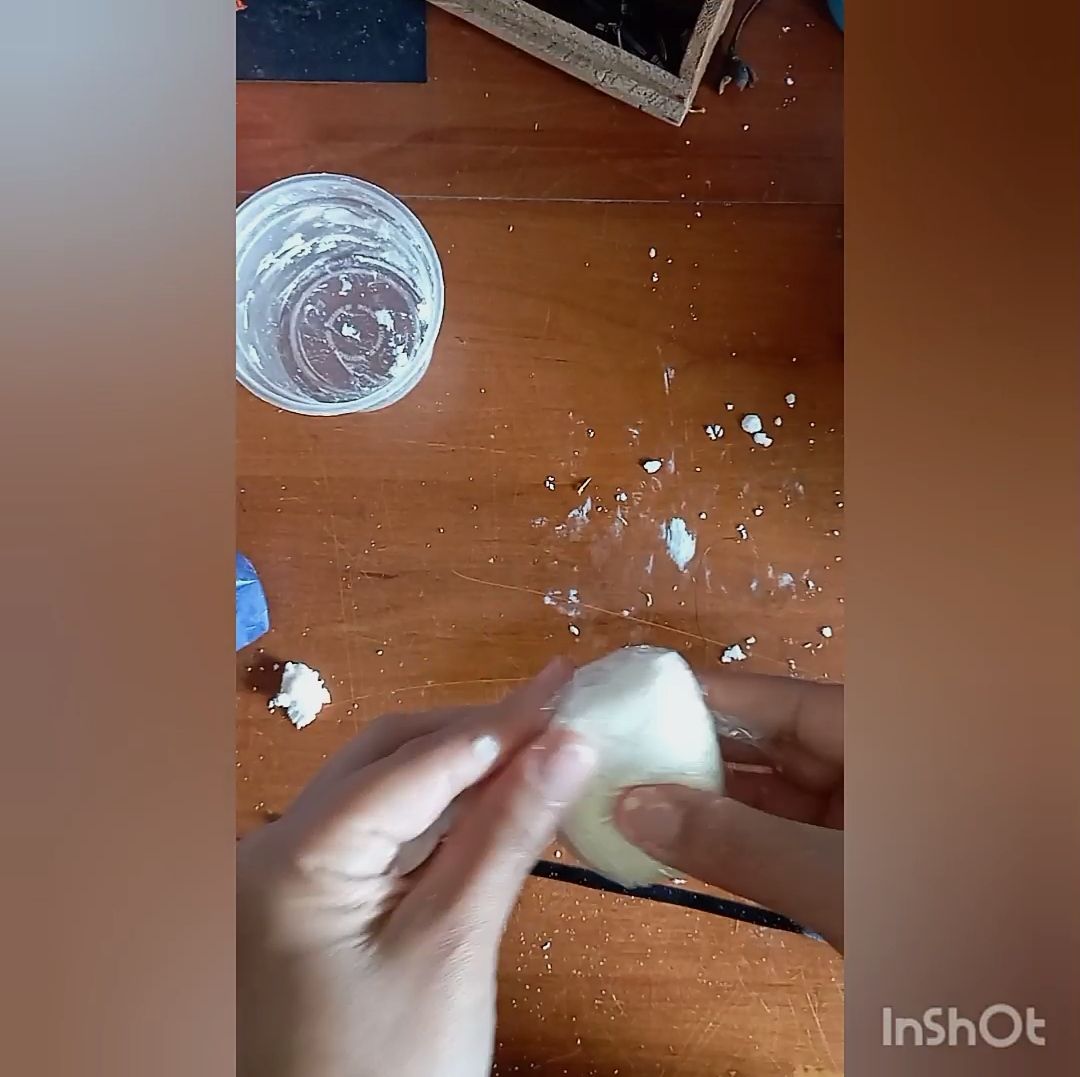
Paso 1: Preparamos la masa de porcelana fría
Step 1: We prepare the cold porcelain dough
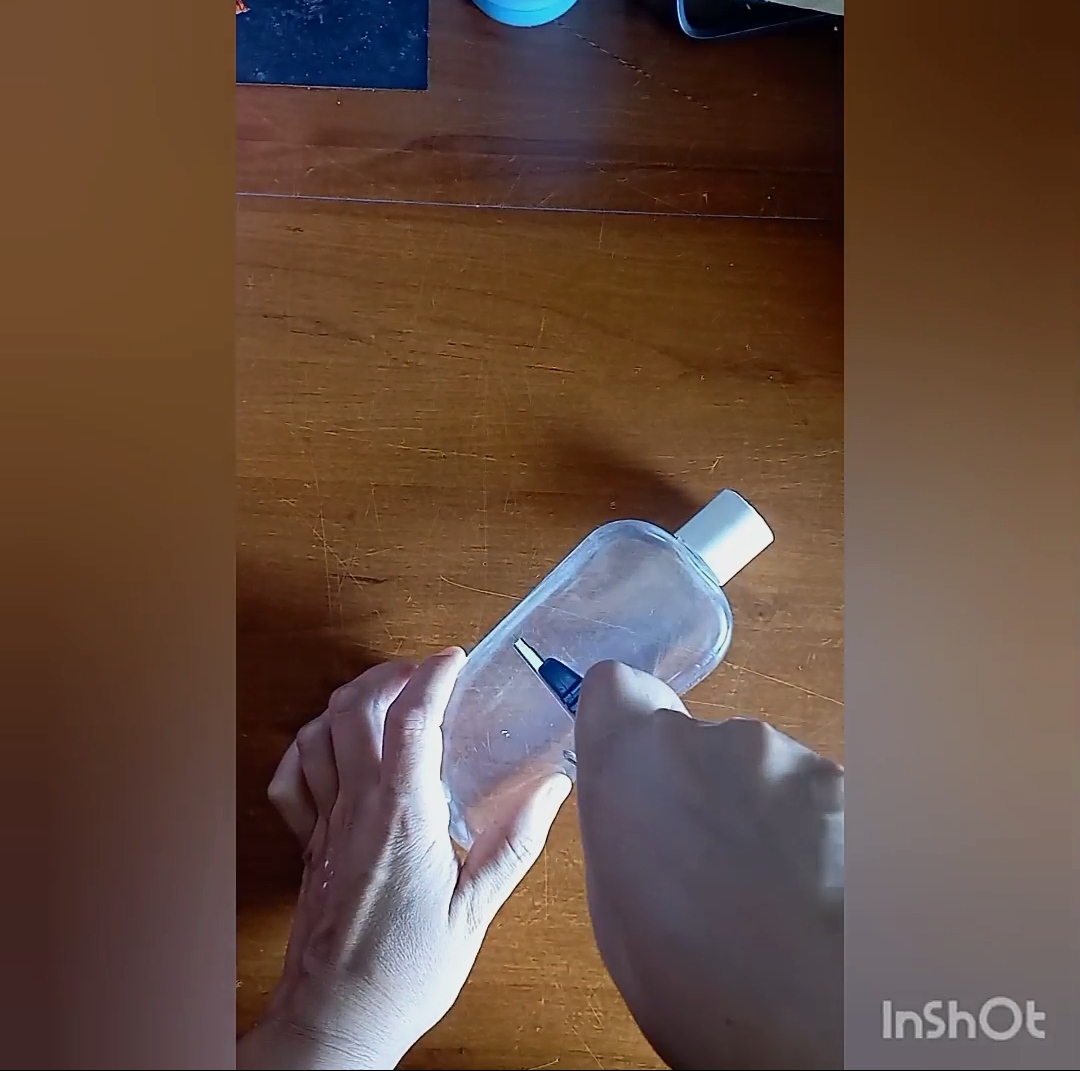
Paso 2: Cortamos el recipiente plástico para reciclar.
Step 2: We cut the plastic container for recycling.
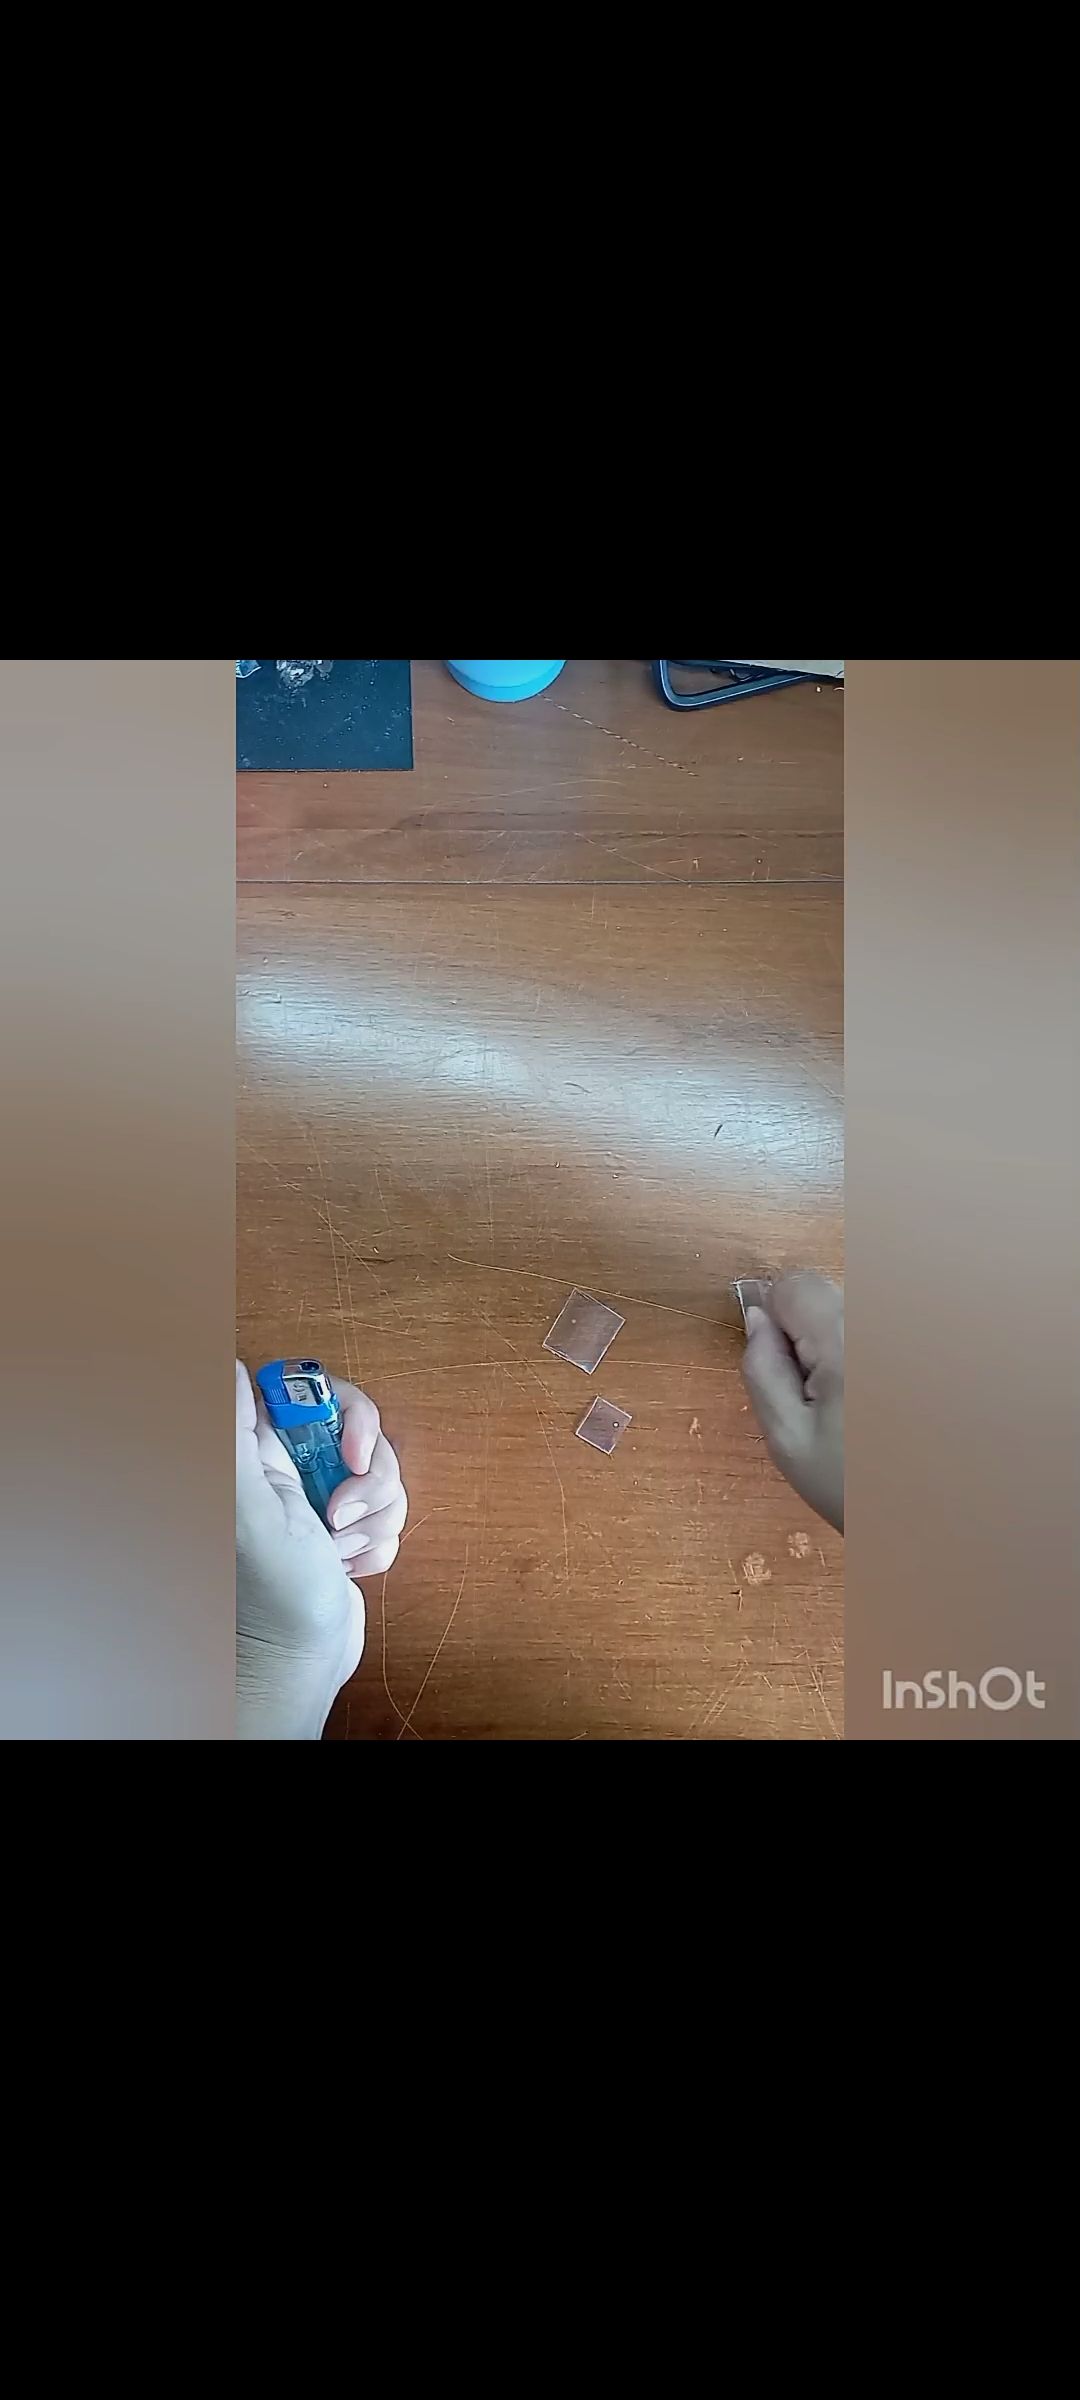
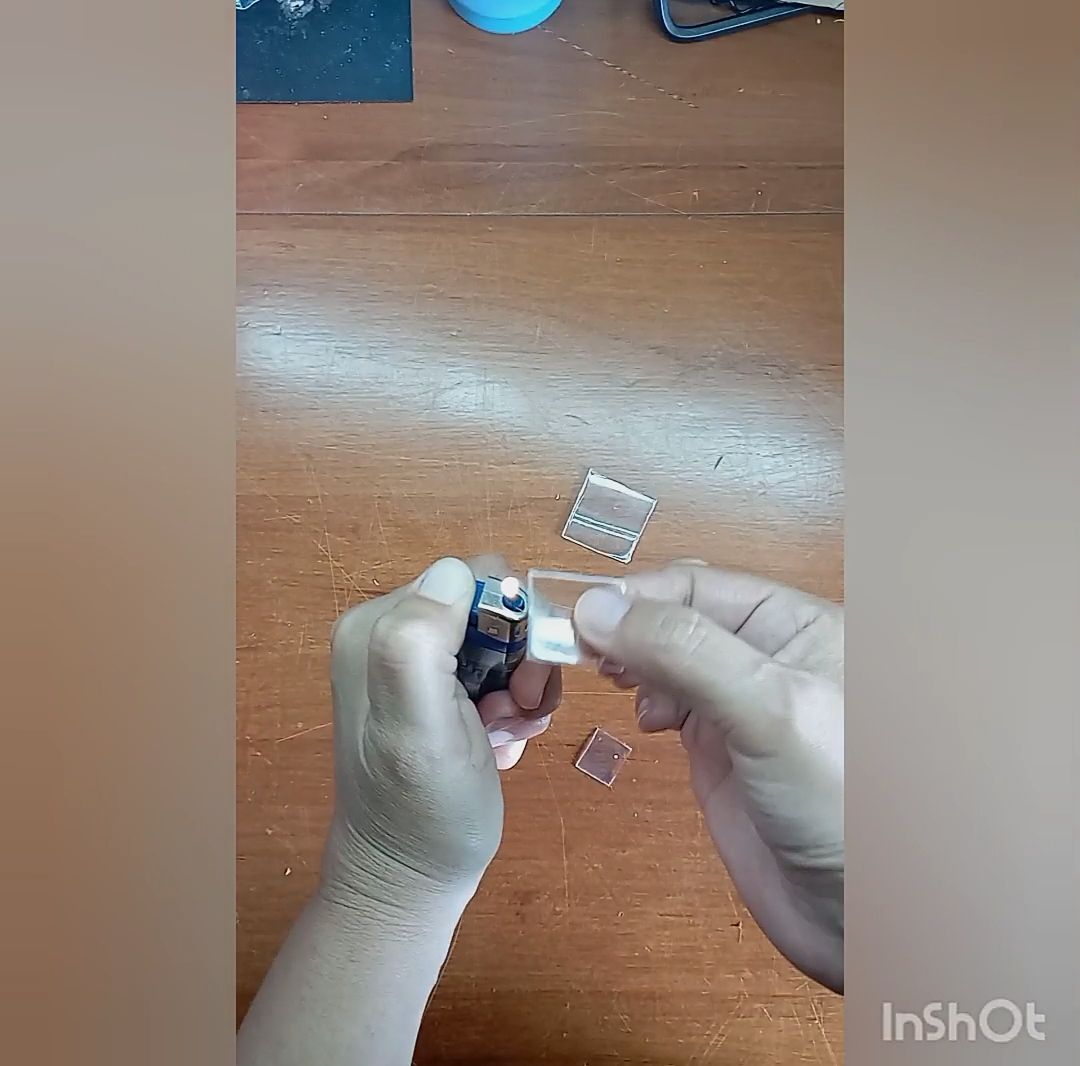
Paso 3: Hacemos las piezas de plástico (3 rombos) y quemamos los bordes con un encendedor. Luego abrimos con un cautín 2 agujeros en cada lado del rombo.
Step 3: We make the plastic pieces (3 rhombuses) and burn the edges with a lighter. Then we open with a soldering iron 2 holes on each side of the rhombus.
Paso 4: Le damos color a la porcelana fría con acuarela. Yo hice girasoles por lo que necesito masa de color amarillo, verde y marrón.
Step 4: We color the cold porcelain with watercolor. I made sunflowers so I need yellow, green and brown mass.
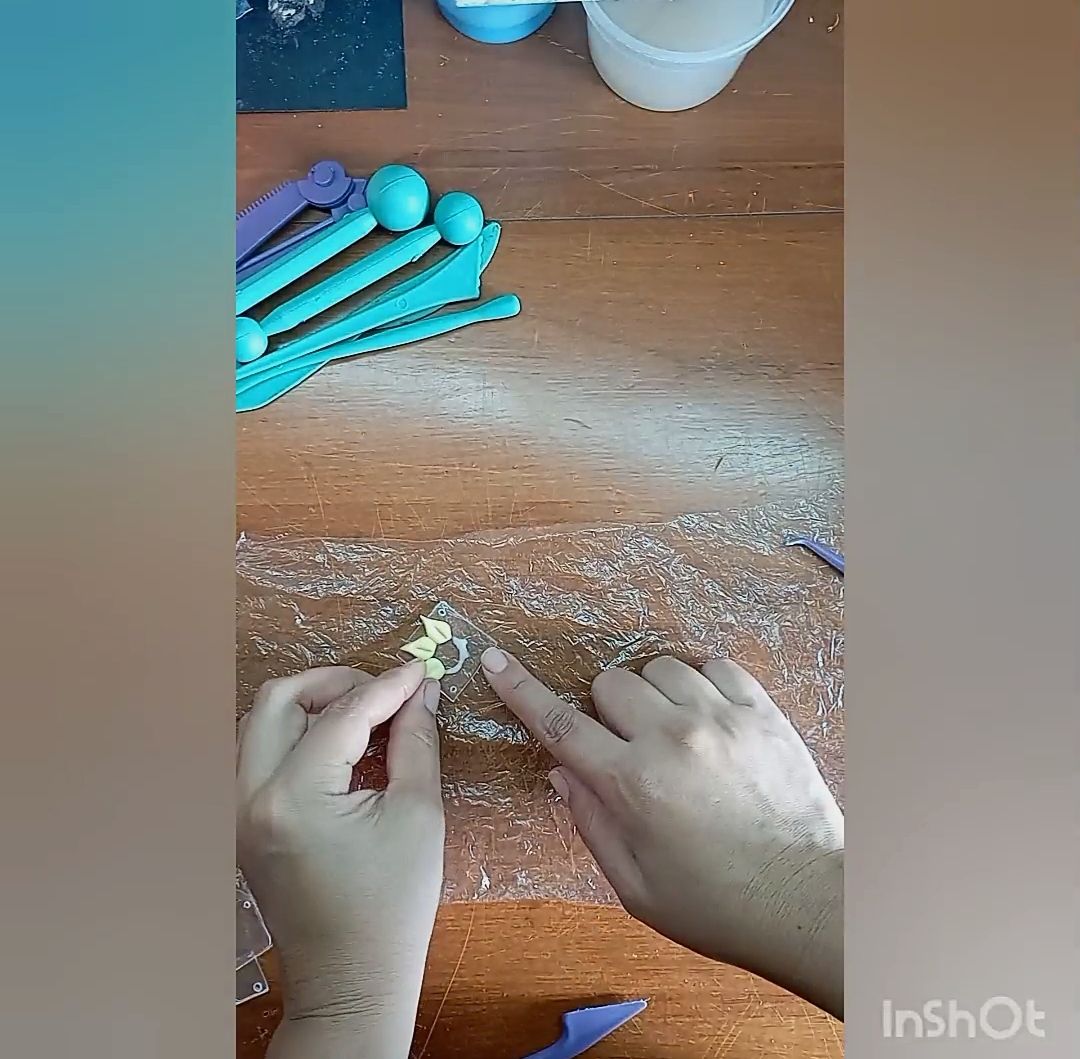
Paso 5: Modelamos los pétalos en amarillo, el centro de la flor en marrón y las hojas de verde. Podemos hacer un girasol en cada pieza.
Step 5: We model the petals in yellow, the center of the flower in brown and the leaves in green. We can make a sunflower in each piece.
Paso6: con aros de bisutería vamos a unir cada pieza para hacer un colgante descendente.
Step 6: with costume jewelry earrings we are going to join each piece to make a descending pendant.
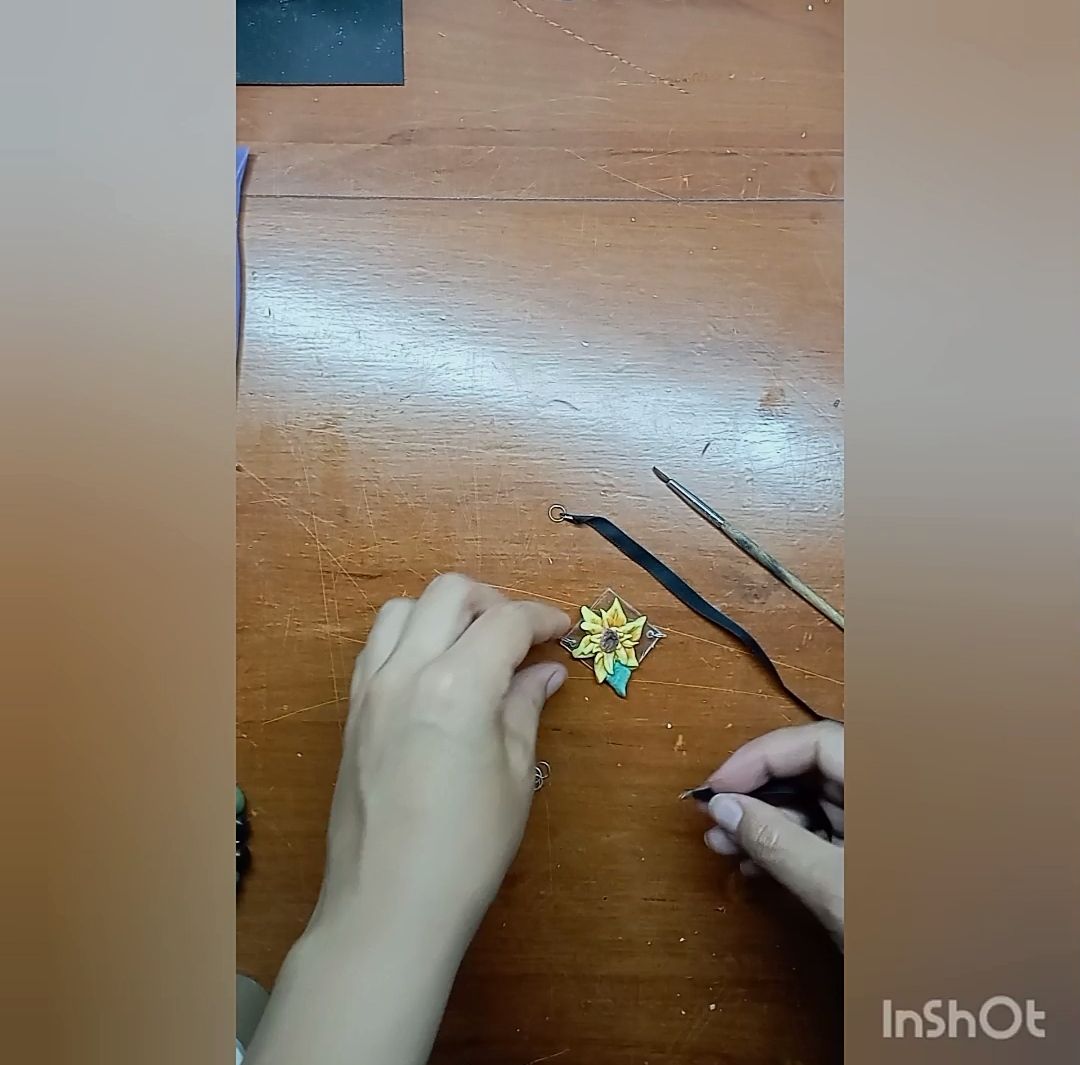
Paso 7: Ponemos un broche de cierre en cada extremo de la cinta y agregamos una argolla. En una de las argollas enganchamos un gancho de cierre. Y vamos a introducir el colgante.
Y listo!
Step 7: We put a closing clasp on each end of the ribbon and add a ring. In one of the rings we hook a clasp hook. And we are going to insert the pendant.
And that's it!
Tenemos un precioso collar. Este collar tiene los colores y la flor que me gusta, lo hice con mucho amor para mí y estoy satisfecha con el resultado. Me divertí mucho haciendo esta pieza y me sentí a gusto ya que hace tiempo no hago algo para mí. Espero les guste. Gracias por visitar mi publicación y nos vemos en una próxima oportunidad.
We have a beautiful necklace. This necklace has the colors and the flower that I like, I made it with a lot of love for me and I am satisfied with the result. I had a lot of fun making this piece and I felt at ease since I haven't made something for myself in a long time. I hope you like it. Thanks for visiting my publication and see you next time.


Original content by the author.
Resources: App: Canva / Giphy / Inshot
📷 Redmi 10 Smartphone
Translation done with Deepl.com
✿ All Rights Reserved || © @chacald.dcymt // 2020-2022 ✿
💌 Discord: chacald.dcymt#3549
_
Contenido original del autor.
Recursos: App: Canva / Giphy / Inshot
📷 Redmi 10 Smartphone
Traducido con Deepl.com
✿ Todos los Derechos Reservados || © @chacald.dcymt // 2020-2022 ✿
💌 Discord: chacald.dcymt#3549
Show more
Tags :
Woo!
This creator can upvote comments using 3speak's stake today because they are a top performing creator!
Leave a quality comment relating to their content and you could receive an upvote
worth at least a dollar.
Their limit for today is $0!
Their limit for today is $0!
6 views
a year ago
$

45 views
7 months ago
$
12 views
3 months ago
$

6 views
a year ago
$

35 views
a year ago
$
More Videos

13 views
8 months ago
$

0 views
2 years ago
$

4 views
2 years ago
$

9 views
2 years ago
$

22 views
3 months ago
$

3 views
3 years ago
$

17 views
2 years ago
$

28 views
a year ago
$
9 views
9 months ago
$

2 views
3 years ago
$

47 views
2 years ago
$

0 views
3 months ago
$

7 views
10 months ago
$

5 views
2 years ago
$
16 views
2 years ago
$

1 views
6 months ago
$

7 views
2 years ago
$

1 views
3 years ago
$

32 views
a year ago
$

4 views
2 years ago
$

1 views
4 years ago
$
6 views
a year ago
$

4 views
3 years ago
$

15 views
2 months ago
$

8 views
4 years ago
$
Comments:
Reply:
To comment on this video please connect a HIVE account to your profile: Connect HIVE Account